• Notice for iPhone users: DO NOT use the image size reduction option when uploading photos to the forum. This causes portrait images to post as landscape. We have added a warning to the image insert pop-up as well.

The beginning.. the end.... and a fresh start

The dash project

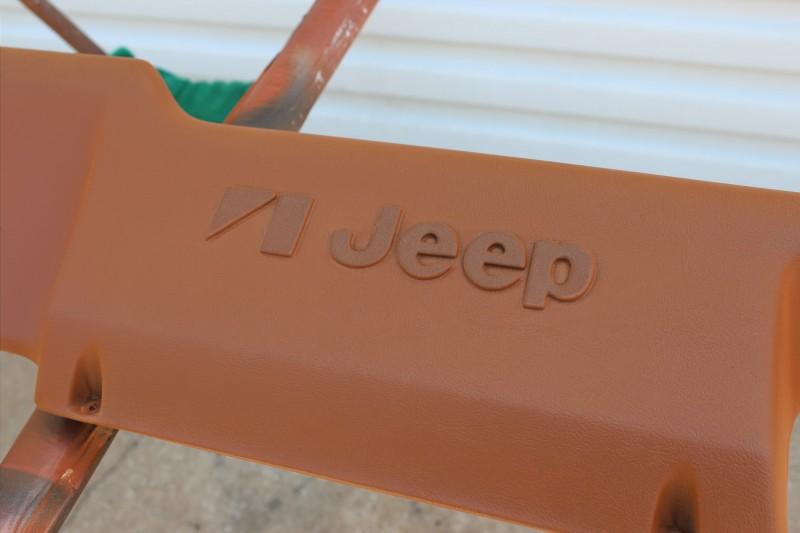
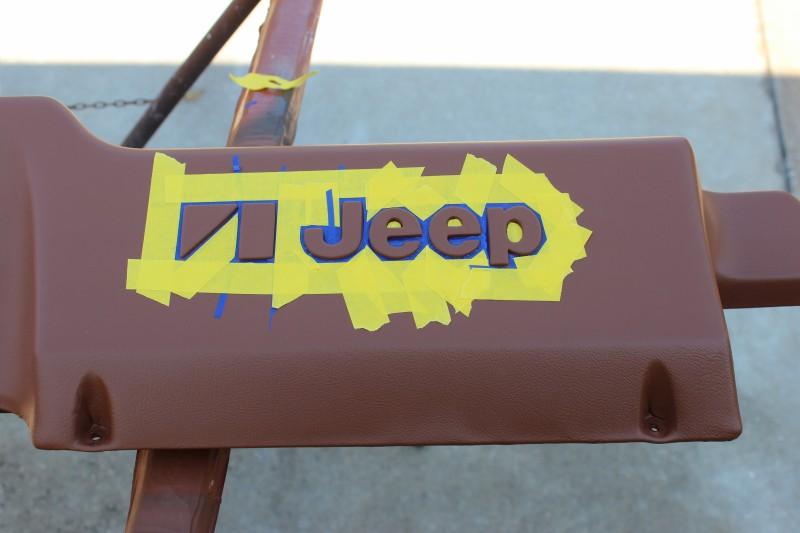
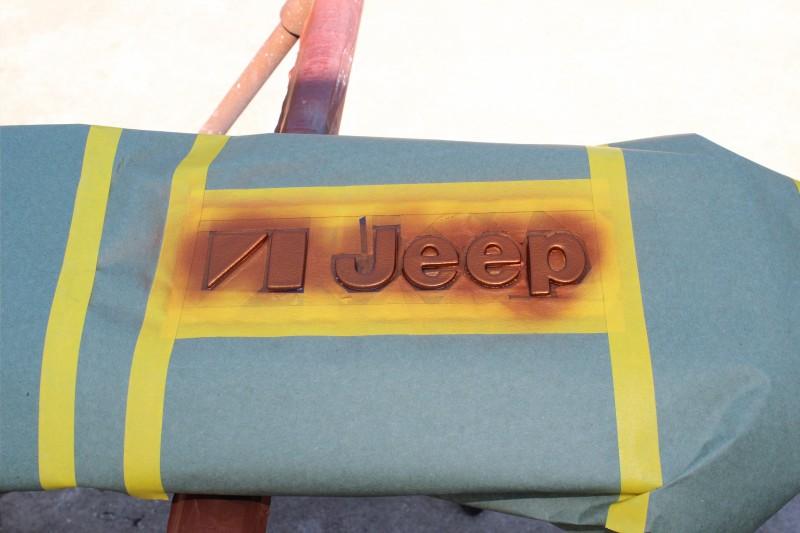
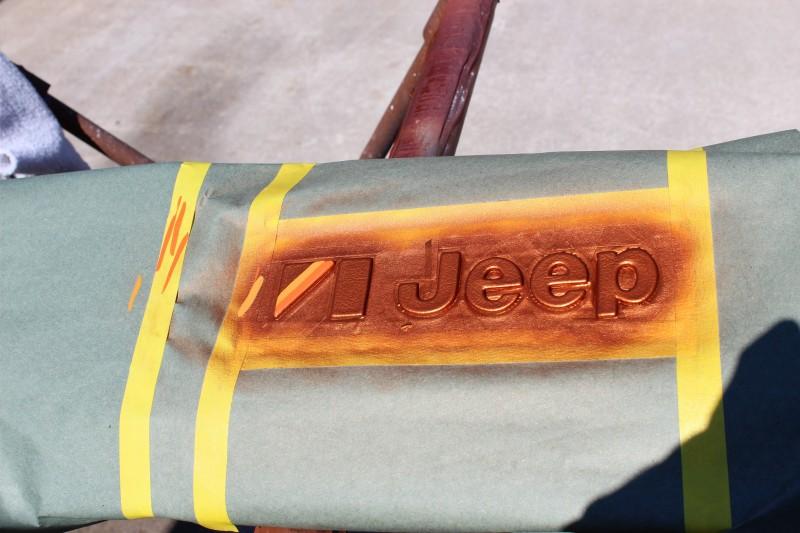
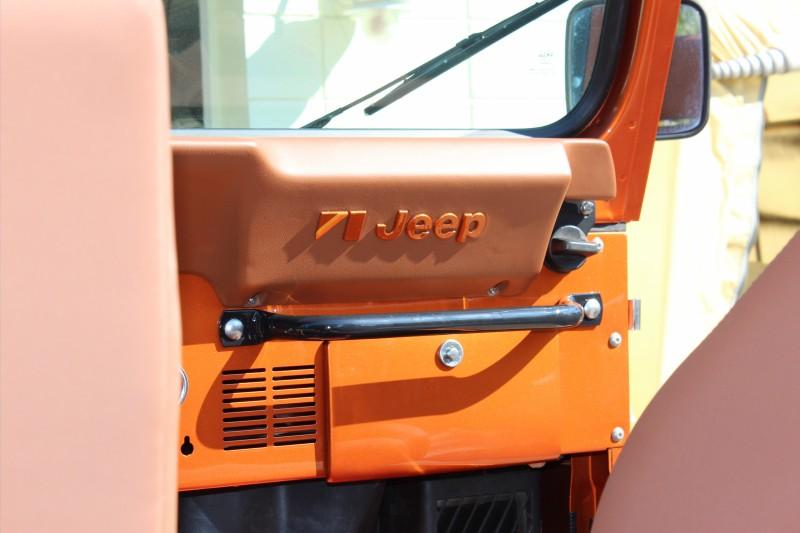
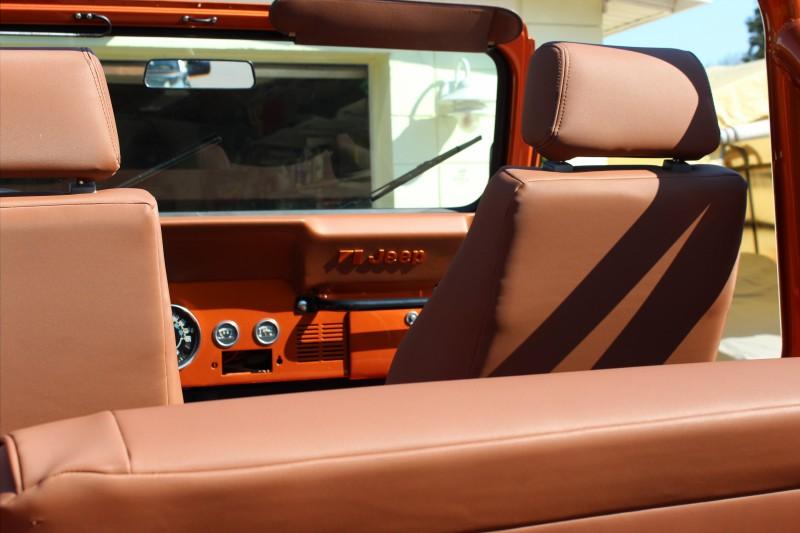
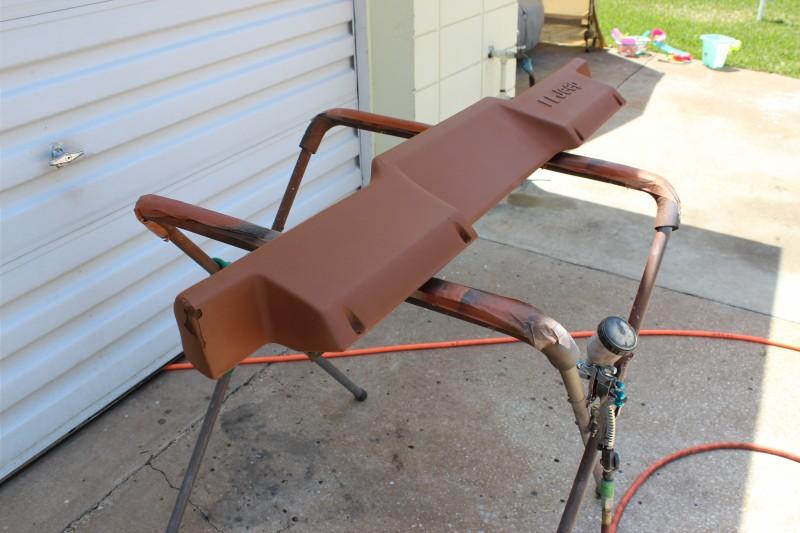
This week I've been working on painting the hard top and painting the dash. I'm working these together because I want to match the interior, dash, and top as much as I can. I used my old dash for the trial and error parts of checking out the color. I used a product from SEM made specifically for painting vinyl.

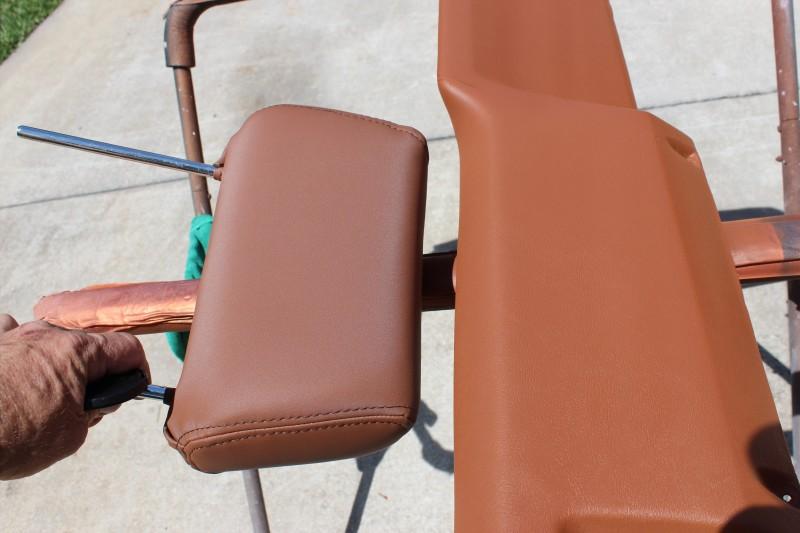
I wanted to match the seats so I took a head rest with me and used that to pull a color from the chart. I cleaned up the old dash and sprayed it. I really liked the way the vinyl paint worked on the vinyl. The first coat looked promising.
2323232327Ffp932323Euqcshlukaxroqdfv43C3-1.jpg
2323232327Ffp932323Euqcshlukaxroqdfv4824-1.jpg


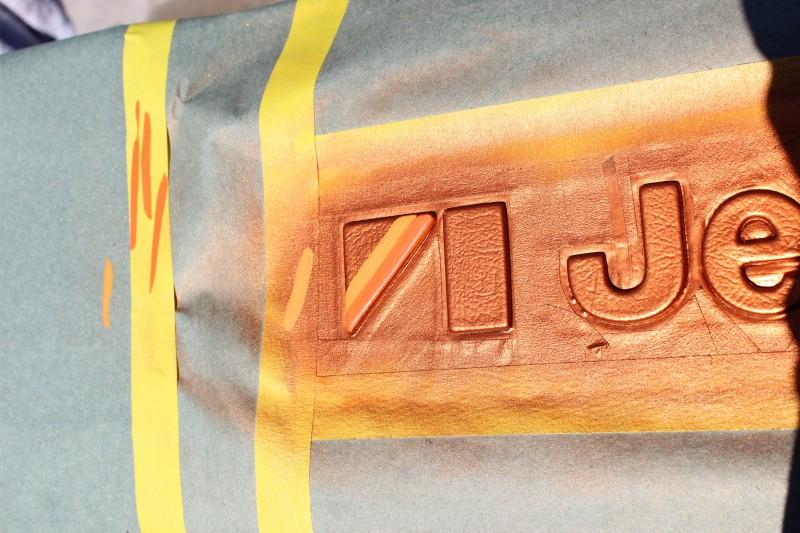
Then after the 3rd coat it was completely covered I used the head rest as my gauge and you can see it's not quite there.
2323232327Ffp932323Euqcshlukaxroqdfv3A3B-1.jpg


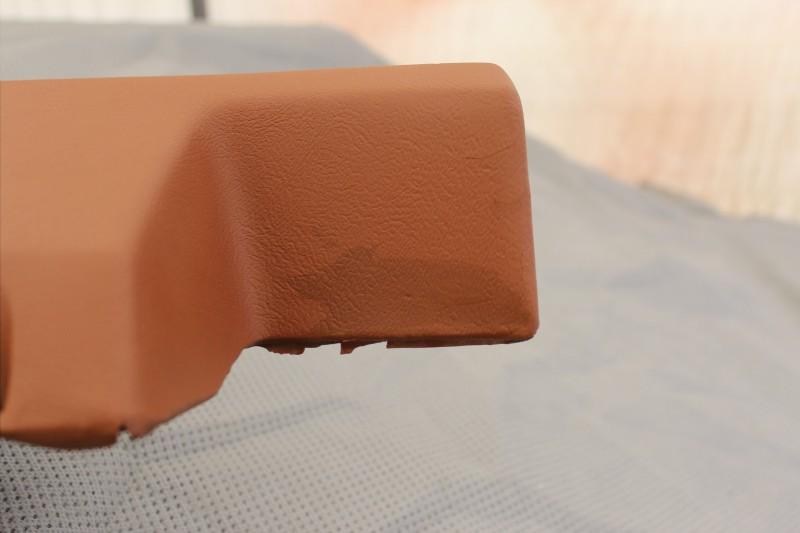
So I went back to the paint shop expecting to buy the next shade darker (and by the way he told me to go darker when I picked the color) instead he poured me a little of the black pigment they use when making the paint and said to add a little at a time until I was happy. You can see in this pic the dash was painted and then I darkened it where you see the test spot.
2323232327Ffp932323Euqcshlukaxroqdfv5325-1.jpg


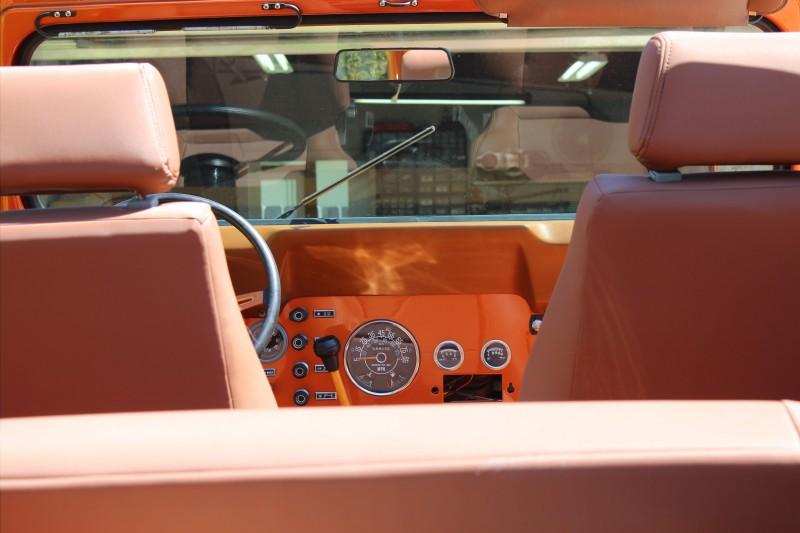
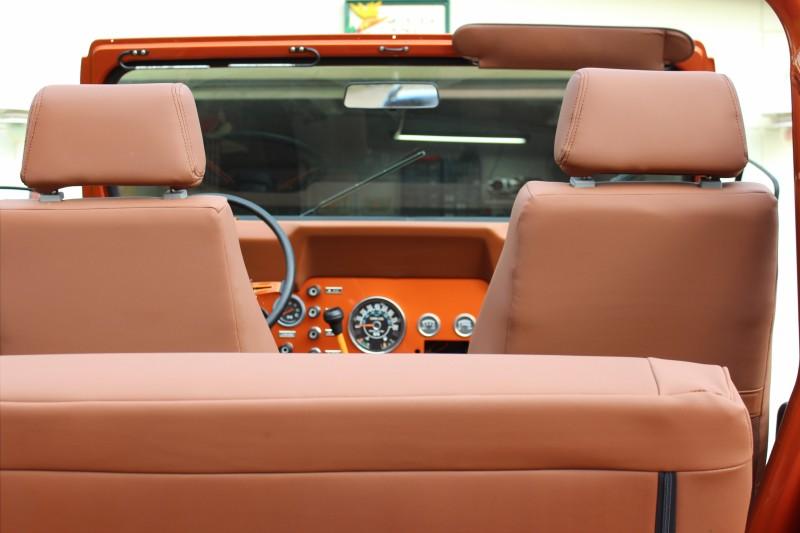
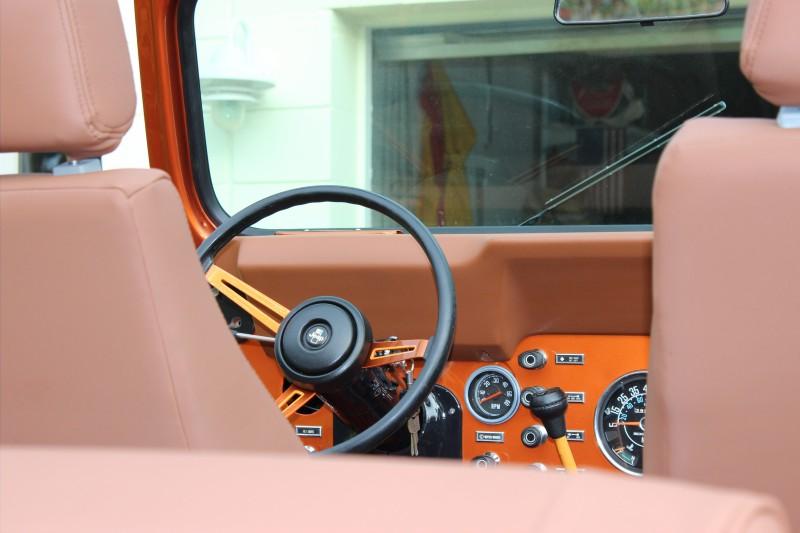
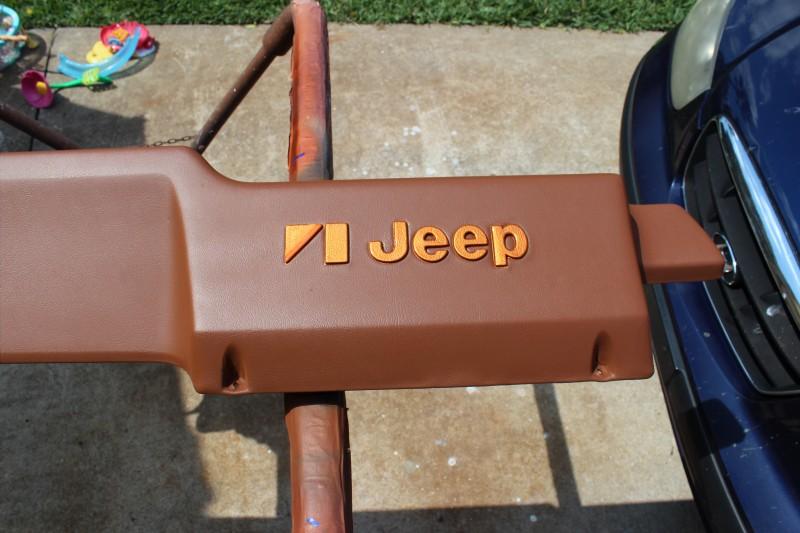
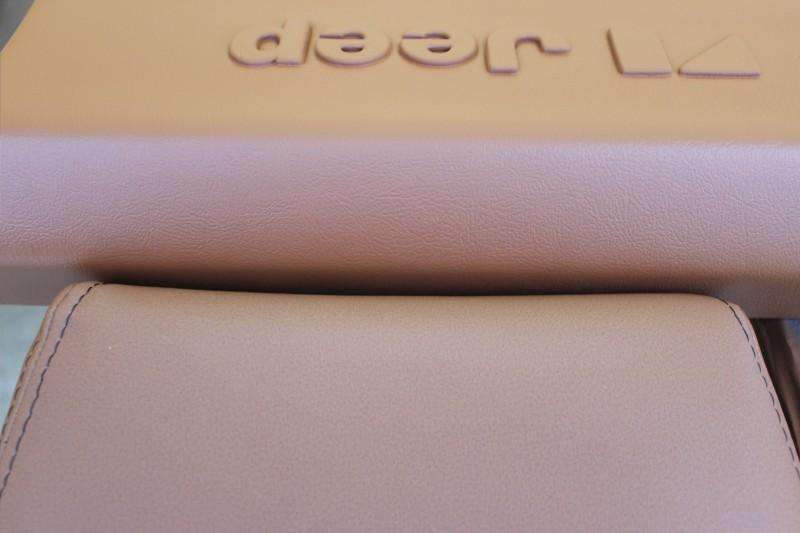
I was happy with the color so today I cleaned up the newer dash and away I went. The sun wasn't cooperating today when I took the pics so it looks somewhat shady but in person it's very close.
2323232327Ffp932323Euqcshlukaxroqdfv6578-1.jpg


Before:
2323232327Ffp932323Euqcshlukaxroqdfv7453-1.jpg


After:
2323232327Ffp932323Euqcshlukaxroqdfv373A-1.jpg
2323232327Ffp932323Euqcshlukaxroqdfv4353-1.jpg
 
The hard top

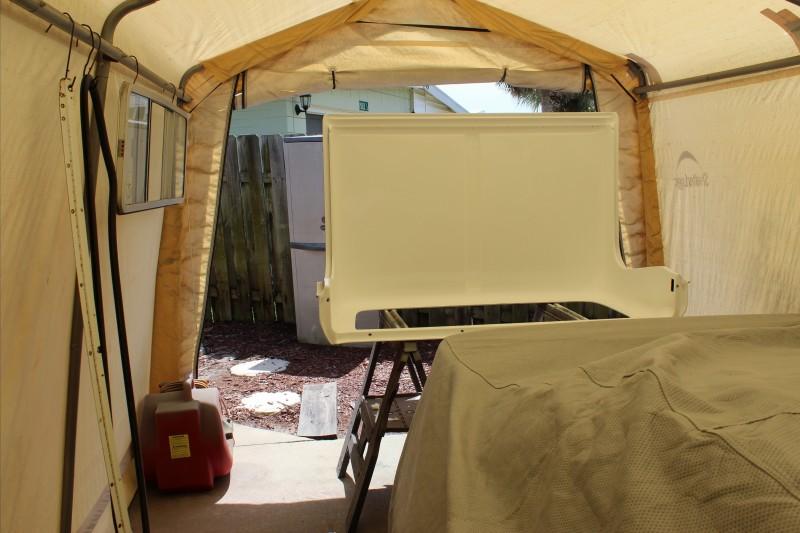
Also got the inside of the hard top prepped and painted. I chose to sand off much of the texture. A little fixing here and there and the inside is done. I have the paint for the outside that we used a color matching gun with the head rest to get the same color. I'll be using a Matte clear finish over the base coat. The last time I painted the top I used a single stage paint. This time it will be a base/clear. Next week I should have the outside finished.

Also, I need to source the little metal/rubber pieces that screw to the inside edges of the top where it butts against the w/s frame on each end. If anyone knows what those are called or where I can find them I'd appreciate the help. Honestly, I removed them and haven't started looking for replacements yet.

2323232327Ffp932323Euqcshlukaxroqdfv3B3A-1.jpg
 
Dash came out great! :thumbsup:

This build just keeps getting better. :wave:
 
How did you get your paint to stick on that dash? I bought a replacement in Grey, and even with adhesive promoter , the pain is not very stable..a strong rubbing makes it flake off...you are a artist though...so that's a major factor I'm sure
 
How did you get your paint to stick on that dash? I bought a replacement in Grey, and even with adhesive promoter , the pain is not very stable..a strong rubbing makes it flake off...you are a artist though...so that's a major factor I'm sure

I've seen grey dashes for sale as a replacement that can be painted and come in a primer. Or is it an oem grey?

The product I used is a vinyl paint made by "SEM". The paint store mixes it just like regular paint from a color formula taken from a color catalog. You paint directly to the vinyl but the vinyl must be cleaned thoroughly. I used some tide detergent mixed in water with a stiff bristle brush and a wash cloth. I wasn't convinced that did the trick so then I sprayed purple degreaser and scrubbed again. Then I used a wax and grease solvent on a rag and wiped it down again. I had all that stuff handy and I think the purple degreaser and solvent would have been sufficient. Each time you could see the years of dirt and whatnot come off. A thorough drying and then the paint job. I used my small spray gun which is called a detail gun or door jam gun. Just followed the instructions on the can for painting.

If you don't have spray equipment they sell a small aerosol can and fill bottle for about $5 called a preval. I prefer that over a spray paint can because you can use better quality paints than are available in a spray can. The key is using paint made for vinyl and not paint made for metal and making sure the surface is super clean and stripped of all prior armour all and such.
 
Wow! It's been over a month since I last updated this thread. I did get two more wheels painted, so I need two more for a total of 5. I also finished painting the hard top and will have to buy a new rear sliding window and some foam tape for the mounting surface. For now I hung it back up because I can work on the doors with no need to spend money for now.

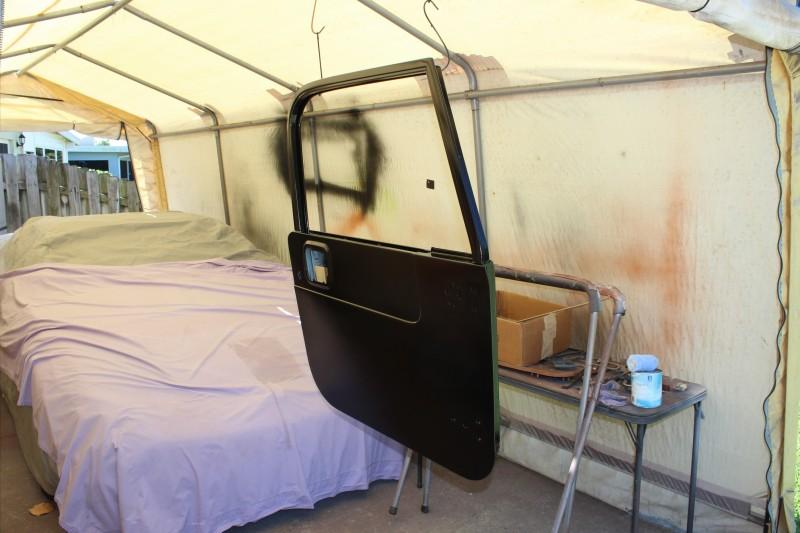
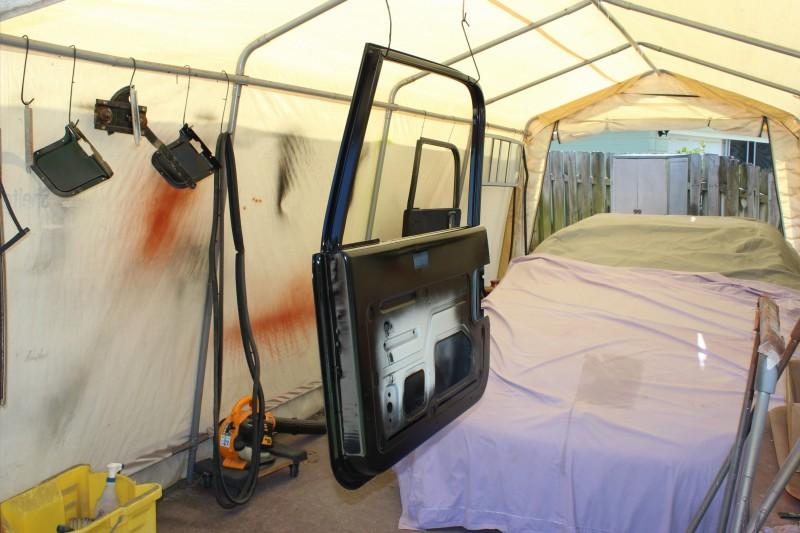
So, yesterday I started on the doors. I have two sets, my old set in the 81 brown metallic which I rebuilt many years ago with new this and that, and the white doors that came with the Jeep. I'm going to use the shells of the white doors since my other shells have some very minor rust. The white doors have zero rust but need some attention. I've disassembled the white doors completely. Then I welded the cracks that are typical around the vent window post. I have a few dings to smooth out and then paint them. Once that's done I'll use the best parts from both sets to make one set.

That's all I have for now. I'll take some pics during the week to update the thread.
 
Summer update

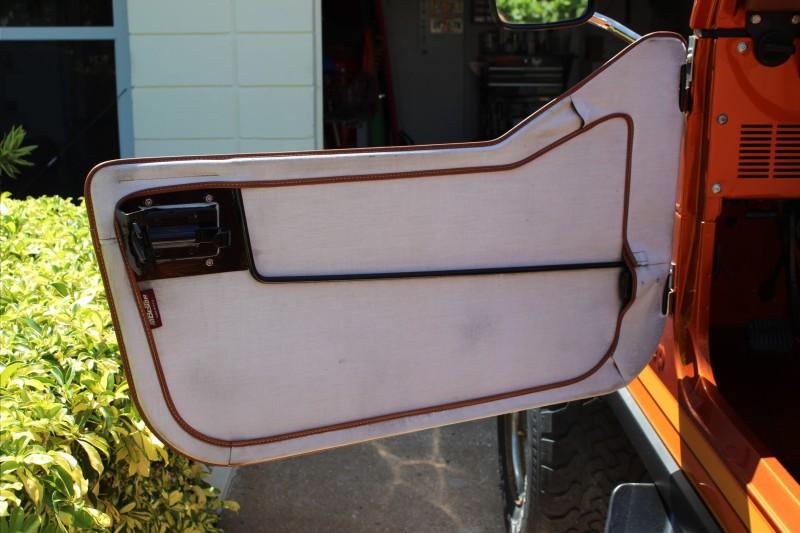
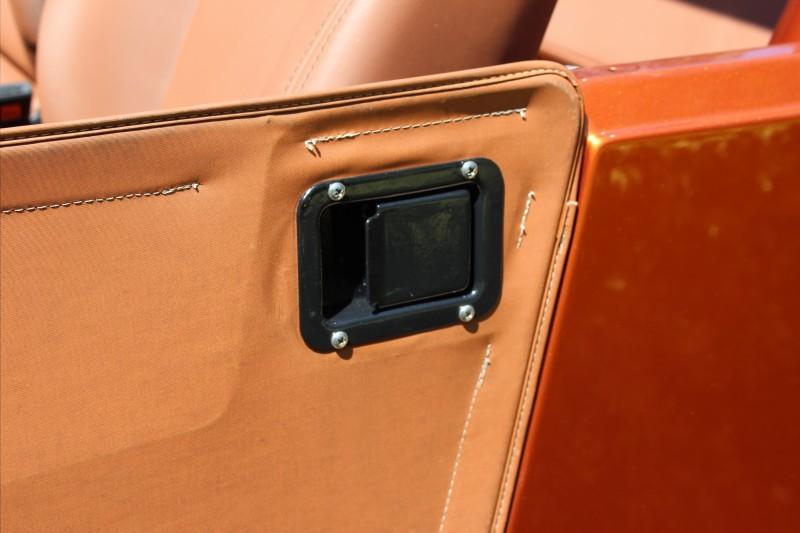
Well summer is here in Florida once again and the heat is here too. Progress has slowed as my daughter is on summer break so my time and funds on the Jeep are limited. I have managed to squeak out a few projects and some progress here and there. I've accumulated all 5 wheels and have finished painting the last one this week, I also cleaned up the canvas half doors and painted the handles. I started the hard doors last week and managed to get them in epoxy primer after welding up the cracks by the vent windows. I have a little body work to do and then off to paint.

2323232327Ffp932323Euqcshlukaxroqdfv53A5-1.jpg


2323232327Ffp932323Euqcshlukaxroqdfv3B94-1.jpg


2323232327Ffp932323Euqcshlukaxroqdfv3A66-1.jpg


2323232327Ffp932323Euqcshlukaxroqdfv63B3-1.jpg


2323232327Ffp932323Euqcshlukaxroqdfv3B3C-1.jpg


2323232327Ffp932323Euqcshlukaxroqdfv73B7-1.jpg


2323232327Ffp932323Euqcshlukaxroqdfv3A46-1.jpg
 
Thanks, I hope to have the doors painted next week. Then I'll need to strip my old doors and transfer all the guts.
 
The doors are finished and on the Jeep. I still need to finish up the hard top with weather seals and a new back slider window. I'm going to take advantage of the deal on here by Gr8tops. That's were I'm at to date. I'll have some pics soon.
 
Your Jeep restoration is the reason that I joined this forum! Just incredible!
I have a question about your portable garage. I know that it is from Harbor Freight. Is it durable to leave up all the time? Do you have to take it down in storms? I am thinking about getting one of them for my boat while I work in the garage. Just wondered what you thought about it.
 
Back
Top