• Notice for iPhone users: DO NOT use the image size reduction option when uploading photos to the forum. This causes portrait images to post as landscape. We have added a warning to the image insert pop-up as well.

The beginning.. the end.... and a fresh start

Welcome aboard, Thanks for setting your anchor on this site and thanks even more for sharing the old pics of your previous scrambler...its really cool to see what these looked like back then , its a great introduction! :woot:

I am glad you realized your old one was just too far gone and found a great CA example to build upon. I believe the mileage too...1981 blue engine block and blue original valve cover...not many left like that !
 
The process begins..

I haven't started the tear down of the Jeep yet as I have a sequence of events that I will follow. Since space is very limited in my 1 car garage I have to be organized and complete each project, small or large, that I start. This way I wont get overwhelmed and have a pile of disassembled Jeep pieces that I'll trip over every time I walk through the garage.

The Jeep will remain in whole condition until I get my 360 put back together. Currently the motor is on a stand upside down waiting for new main/rod bearings. They weren't absolutely necessary but since I was in there... Also bought a new timing chain cover assy. I bought the motor out of a junkyard J10 and rebuilt the whole motor on a tight budget back in 96. This time I wanted to refresh a few things that were "good nuff" back then, and since I had it out give it a bang up paint job which is going to be sort of new old school.

The final color of the Jeep will be Jeep "Mango Tango" copper with Jeep "Dozer" yellow and Jeep "Crush" orange stripes and lettering. The interior will be Nutmeg which I've lived with all these years and still like, except I will be adding a back seat. The engine block will be a base satin black with copper highlites. I haven't decided on the exact flow of color for the engine yet or whether I'll pull some orange and yellow into the mix. Probably once I get it all back together, sit back and look it over, I'll make a final decision.


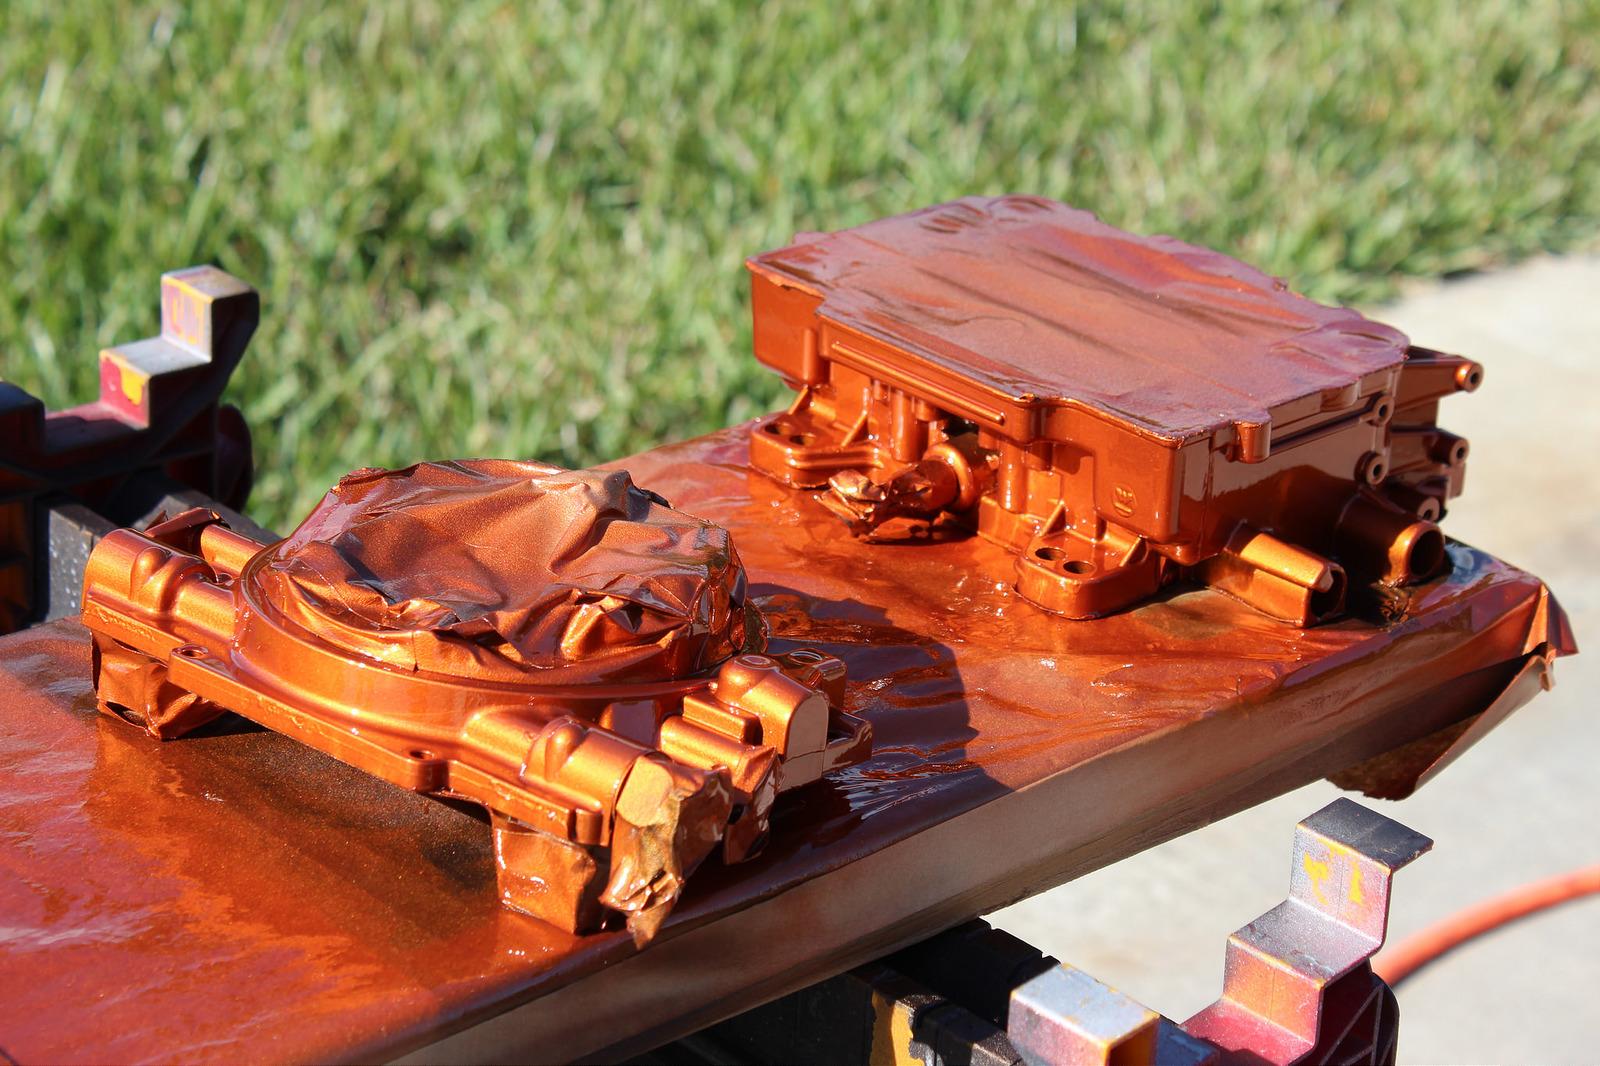
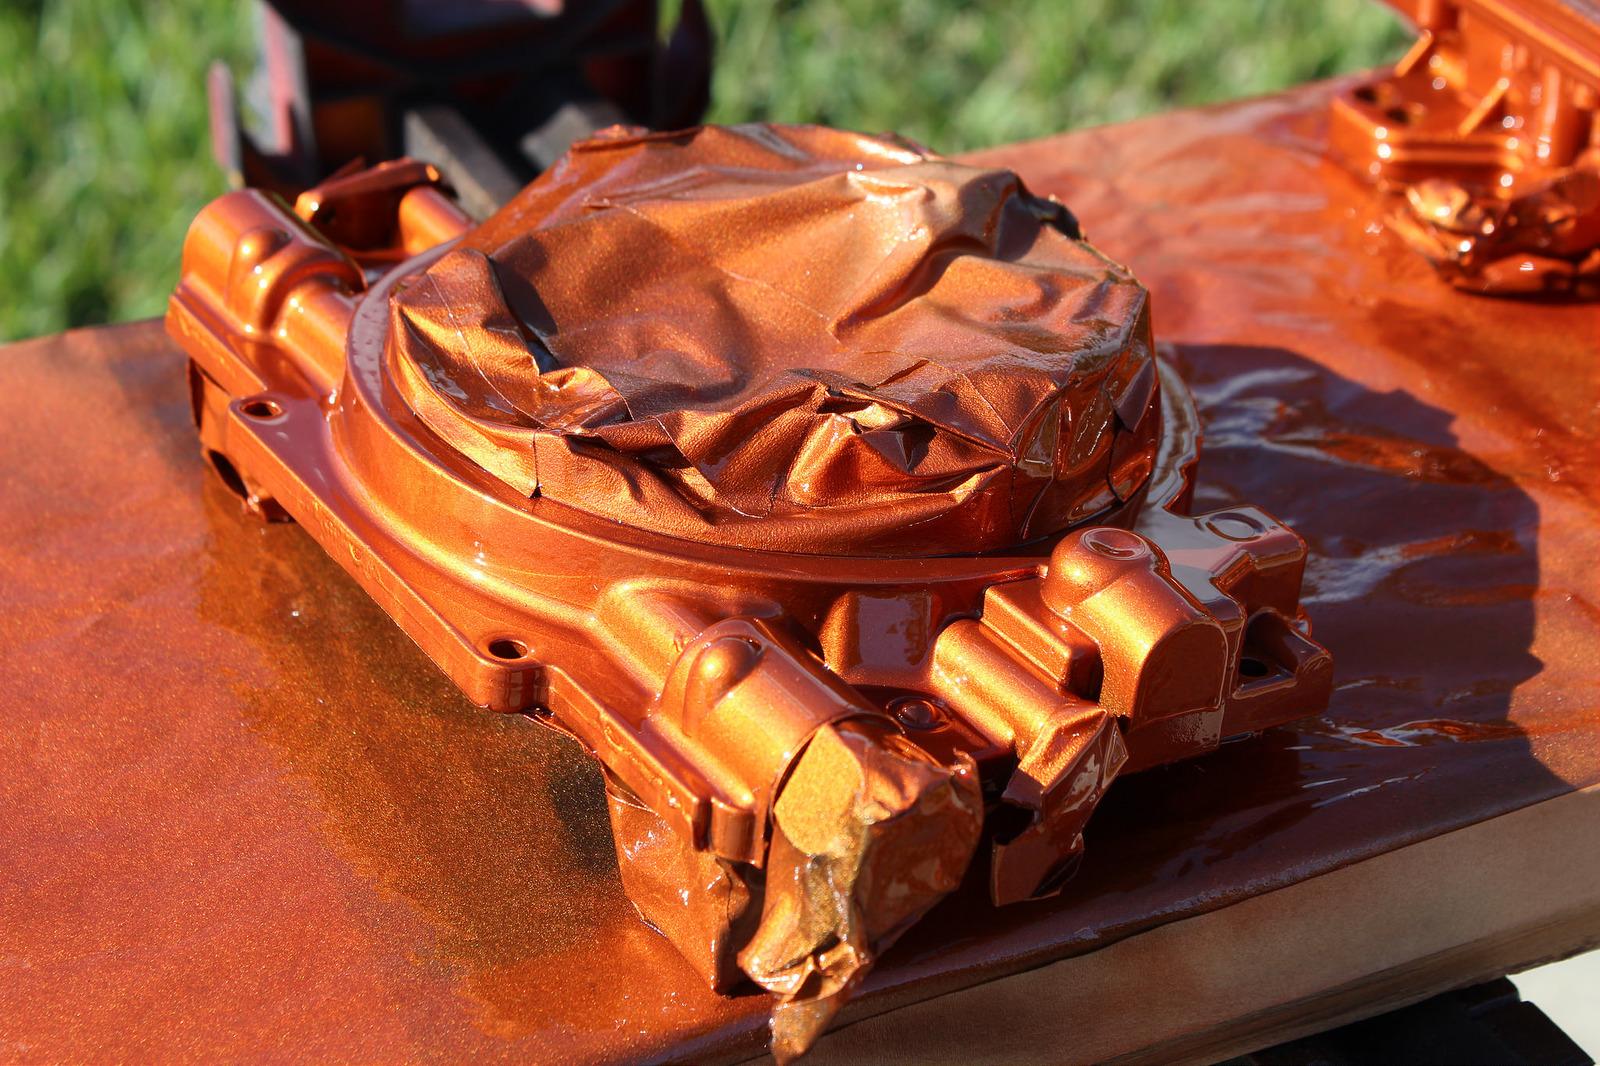
Anyway, here's the first part of the motor to receive a facelift. The carb and parts of the intake will be copper/black. Enjoy..

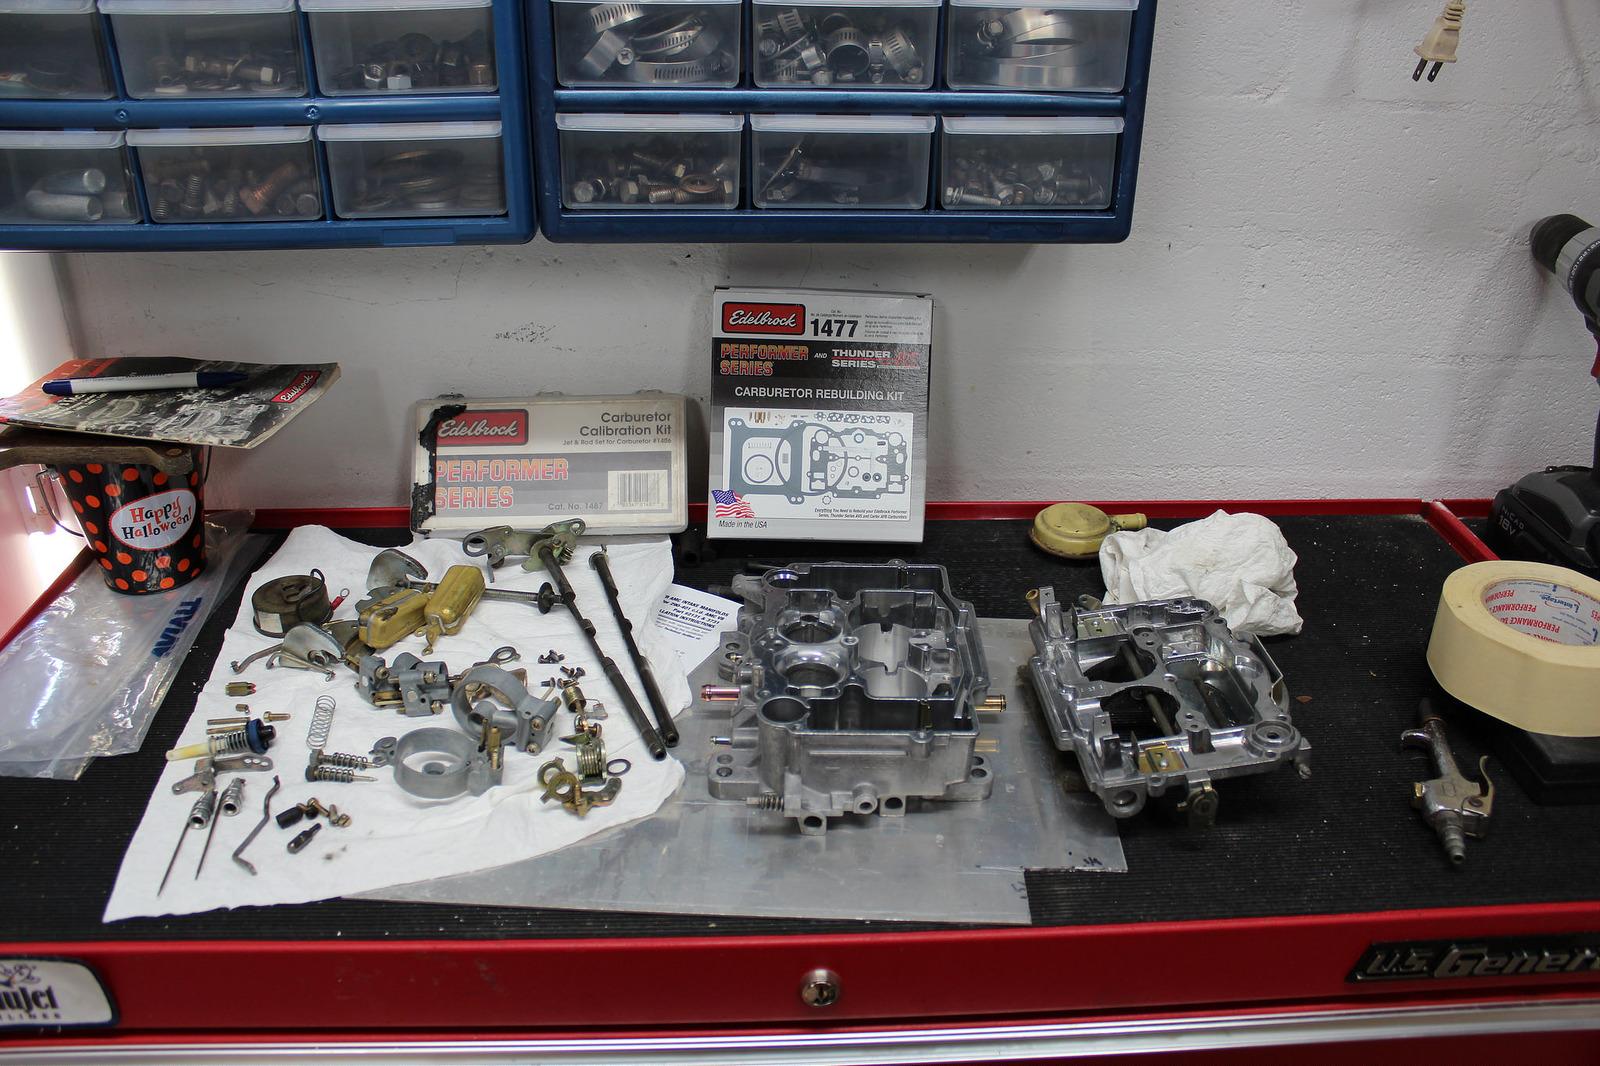
Edelbrock 1406 stripped to the core
31354809774_b76be68b6d_h-1.jpg


32158088516_d3a4087ce9_h-1.jpg


32196353645_3fb4e79680_h-1.jpg
 
Last edited:
I love the painted Carb, that looks Kick @$$.

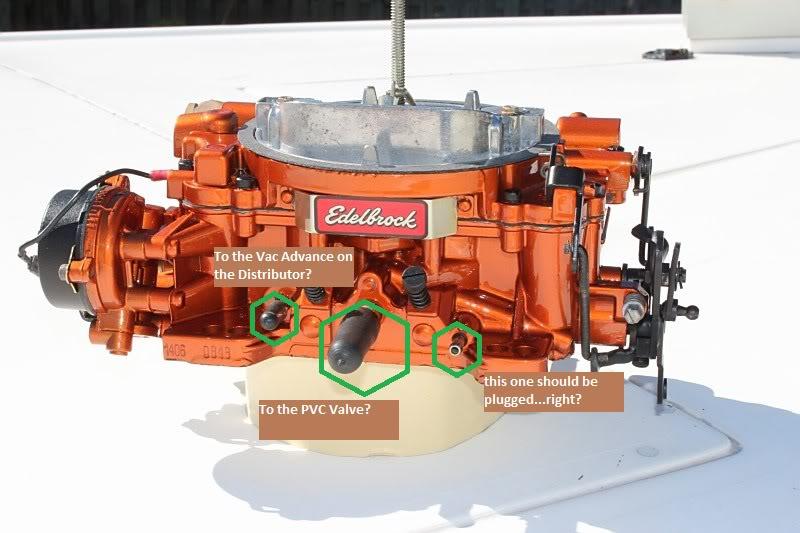
But, I do have a question or two as I just re-routed my own 1406 carb vacuum hoses.

The Edelbrock tuning guide says that the vacuum advance should connect to the upper small pipe and that the front large tube is for the PVC and the back one is for the Power Brake Vacuum pump.

But, I was wondering if that was how you configured it. any reason you may set up one way over the other?

1406Edelbroc-1.jpg
 
The PCV routes from the rear of the carb on the performer intake. I'll check which is which up front. I kinda just stuck the plugs over the ports so I wouldn't misplace them now that the carb project is done.

Wait till you see the intake :thumbsup:
 
So how are you painting the Carb and Intake? Regular primer and then paint? Are you using a high end or compressed air gun or just a rattle can? Seriously, I would have never thought of painting the Carb or Intake, but man it looks sweet!

I am also about to rebuild my carb. I took the top off tonight just to take a look and it looks like I brought some of the desert back from Nevada. Carb is full of dirt and stuff. Yuck.
 
I'm using all the real stuff. I took the carb completely apart, soaked it Berryman carb cleaner, primed it with epoxy primer, then painted it with Dupont Chromabase, and cleared it with Southern Polyurethane clear coat.

I needed to do something with the carb regardless as it had a case of corrosion to the shiny finish it came with. The beachside environment did that. I was going to paint it silver with a single stage polyurethane enamel but then decided to change things up. In either case the aluminum would have to be primed. There are a couple primers that would work but I like epoxy because it is very durable and this particular epoxy is self ecthing meaning it will penetrate the surface for adhesion.

Then it's your choice what you want to coat it with. Also the nice thing about epoxy is it will stick to anything as a great base coat.
 
The epoxy I'm using is also by Southern Polyurethane Inc. I've used it on several projects so far and I'm thoroughly satisfied with the epoxy. As I get going on the paint work everything will have a base coat of epoxy.
I was going to paint the intake off the block but now that I have the bearings in hand I'm going to assemble the block with all the sheet metal including the intake and paint it whole rather than in pieces. I'll try to get that done in the next week or two.
I'm using professional grade equipment although not the latest and greatest as I don't make my living this way. I'm using older grade devillbis HVLP guns through a water seperator.
 
I love the painted Carb, that looks Kick @$$.

But, I do have a question or two as I just re-routed my own 1406 carb vacuum hoses.

The Edelbrock tuning guide says that the vacuum advance should connect to the upper small pipe and that the front large tube is for the PVC and the back one is for the Power Brake Vacuum pump.

But, I was wondering if that was how you configured it. any reason you may set up one way over the other?

1406Edelbroc-1.jpg

The rear large vacuum port will serve either function, PCV or Brake Booster as both draw a constant vacuum source at anything other than WOT. If you remove the carb and look at the base both large front and rear ports are positioned the same so the vacuum registered will be the same. I'll take a pic of the base tomorrow and point out the ports although I don't know how to do that fancy label thing:D
 
The rear large vacuum port will serve either function, PCV or Brake Booster as both draw a constant vacuum source at anything other than WOT. If you remove the carb and look at the base both large front and rear ports are positioned the same so the vacuum registered will be the same. I'll take a pic of the base tomorrow and point out the ports although I don't know how to do that fancy label thing:D

I will look on my carb tonight as I have it dissassembled. I got my info off of an Edelbrock tuning DVD, but I have been doing some reading and the info on the DVD is in some cases not as much a requirement as how they would do it in a given situation.

I used Windows Paint to do my picture labeling. ;) You dont' really need to know how to do the fancy labeling thing 'cause you got the fancy paint job thing all figured out. I'd trade. :D
 
more color testing

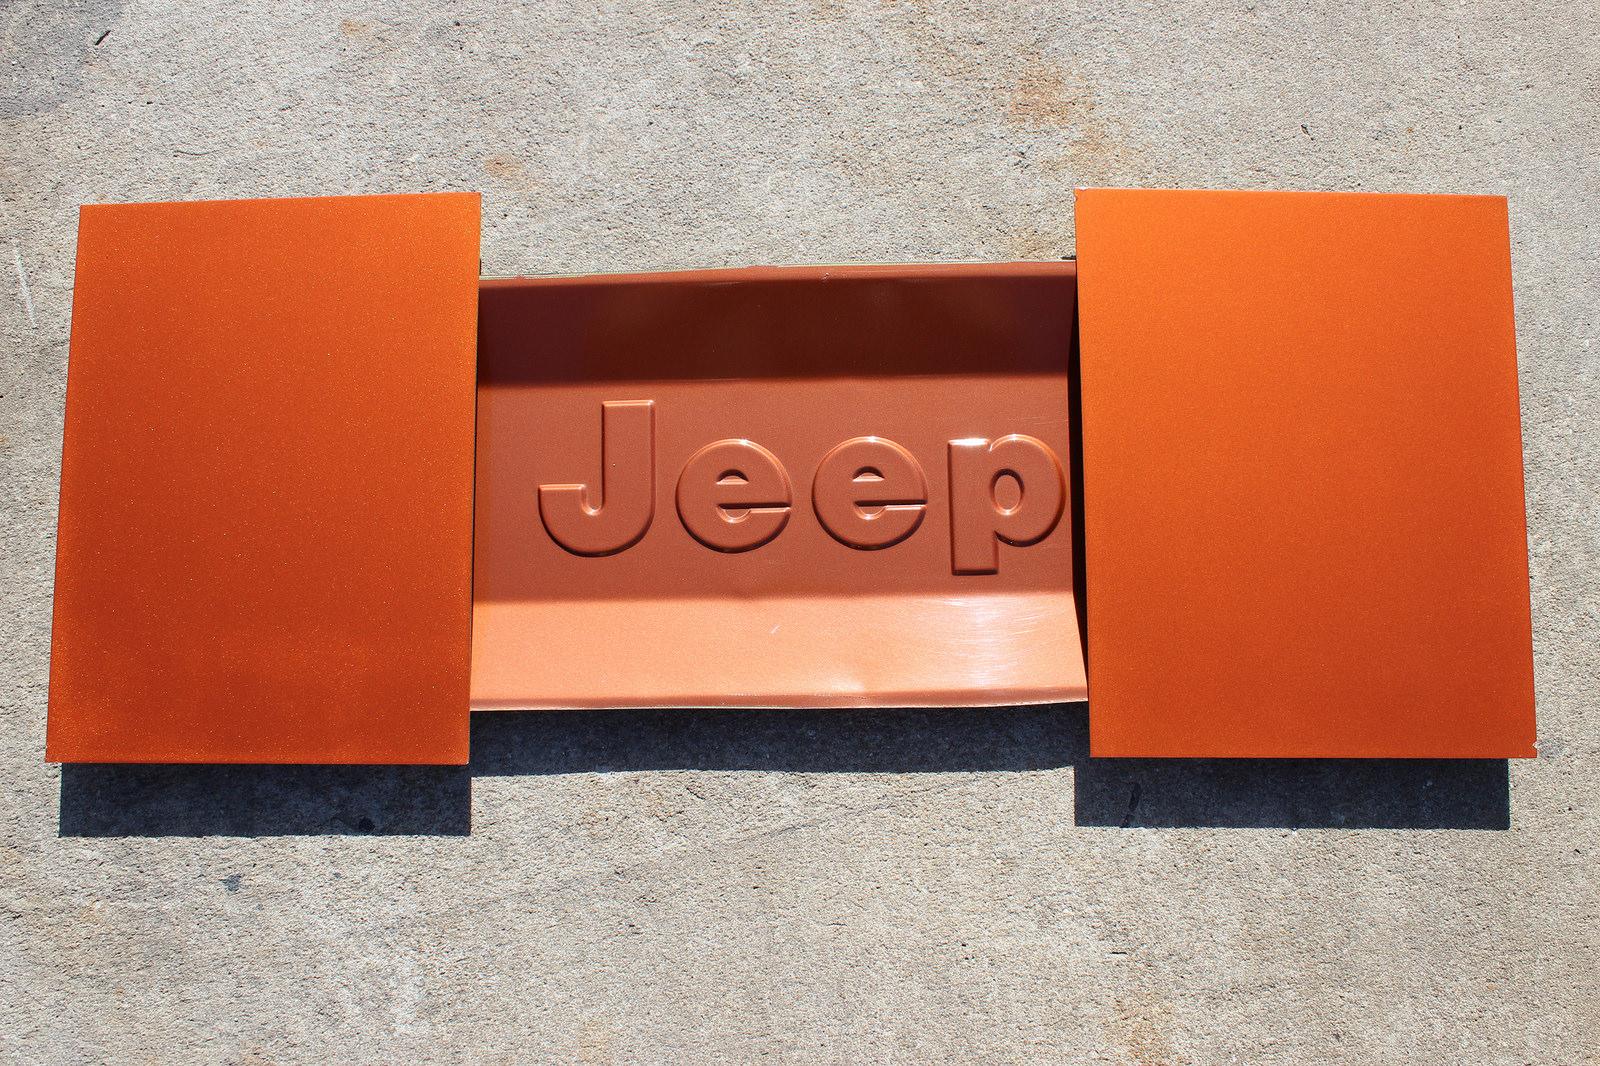
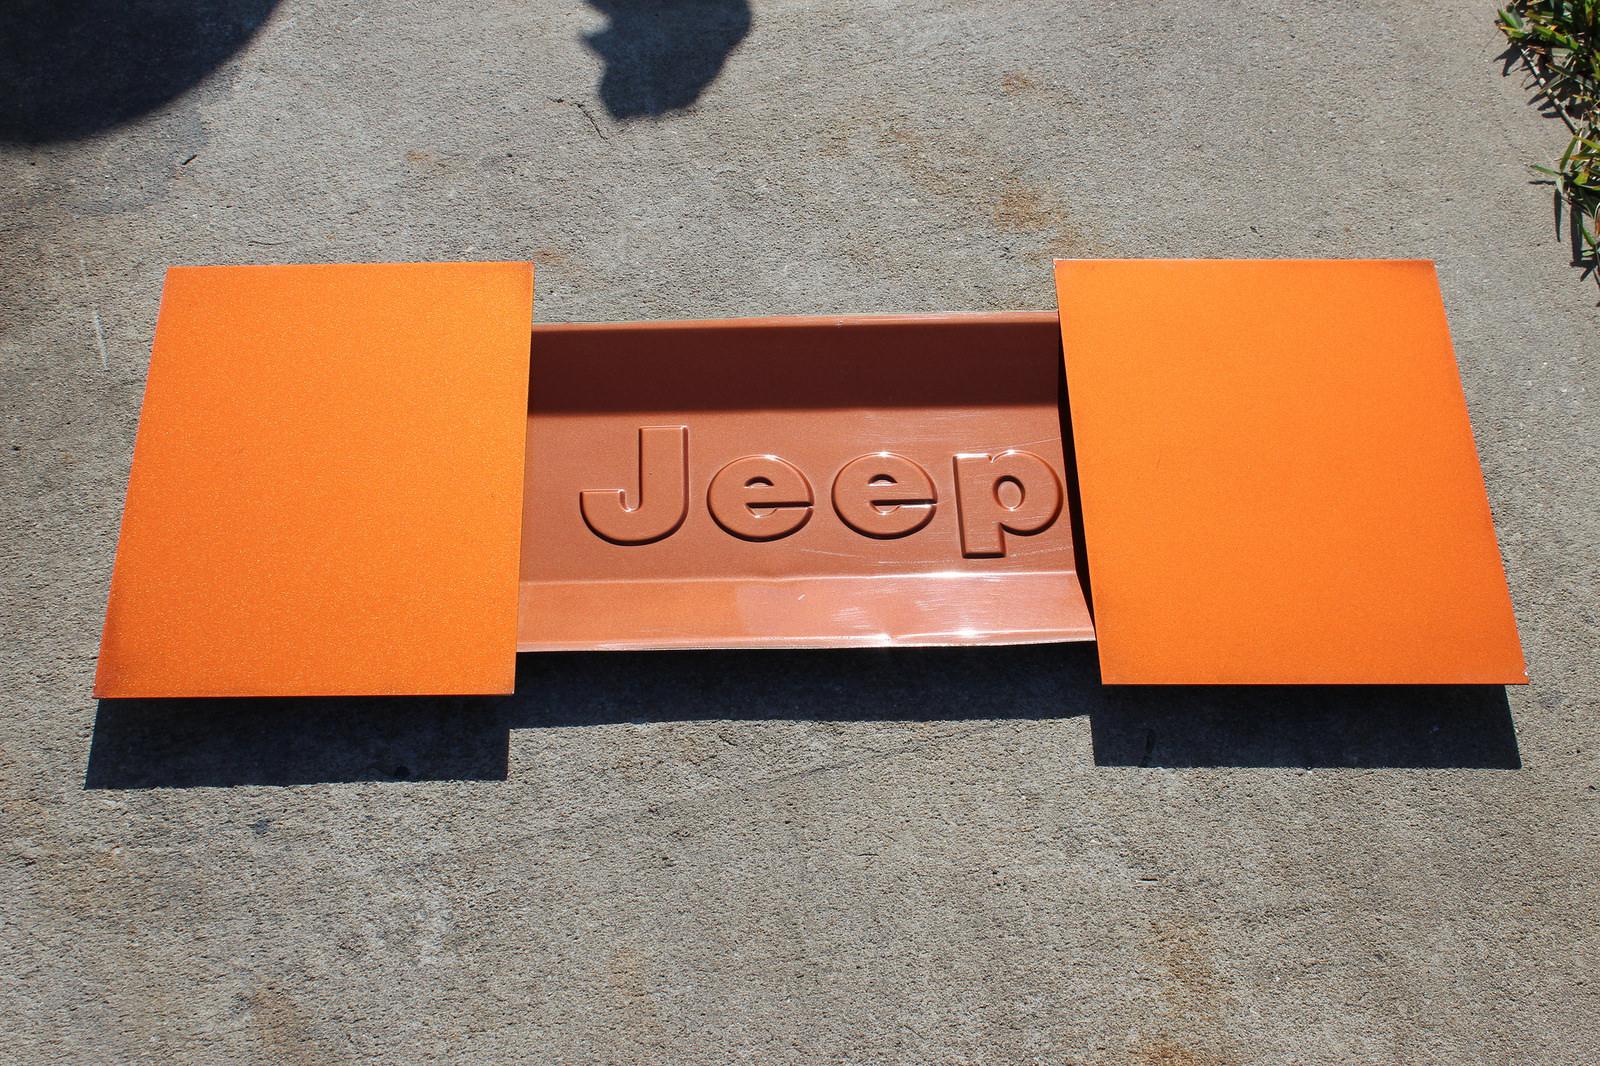
I painted these orange and yellow strips last week. Just now getting around to posting them here. The colors are Jeep Orange Crush & Dozer Yellow. I painted them on a fiberglass panel over a black base since the black will be the base for the whole Jeep. I'm still leaning towards the Jeep Mango Tango but that Chevy Atomic Orange is such a good lookin copper. I have yet to spray the Atomic Orange over a black base like I did with the Mango Tango. The weather looks good for tomorrow so I'll knock that out. The Atomic Orange is just like the Mango except for the added pearl. I'm still looking at that color because the pearl really catches the eye. As I mentioned before the base has a big effect on the final tone of the paint so I have to satisfy my curiosity before I put the nail in the coffin of one of the colors.
 
Last edited:
Great color choices for an 8. I like the atomic orange because of the contrast in the stripe colors. And I'm partial to the Vettes it's painted on... Will it be even a shade darker with the black base?
 
The recommended base color for the atomic is black according to the paint shop reference.

Painted the test panel this morning and what a difference.

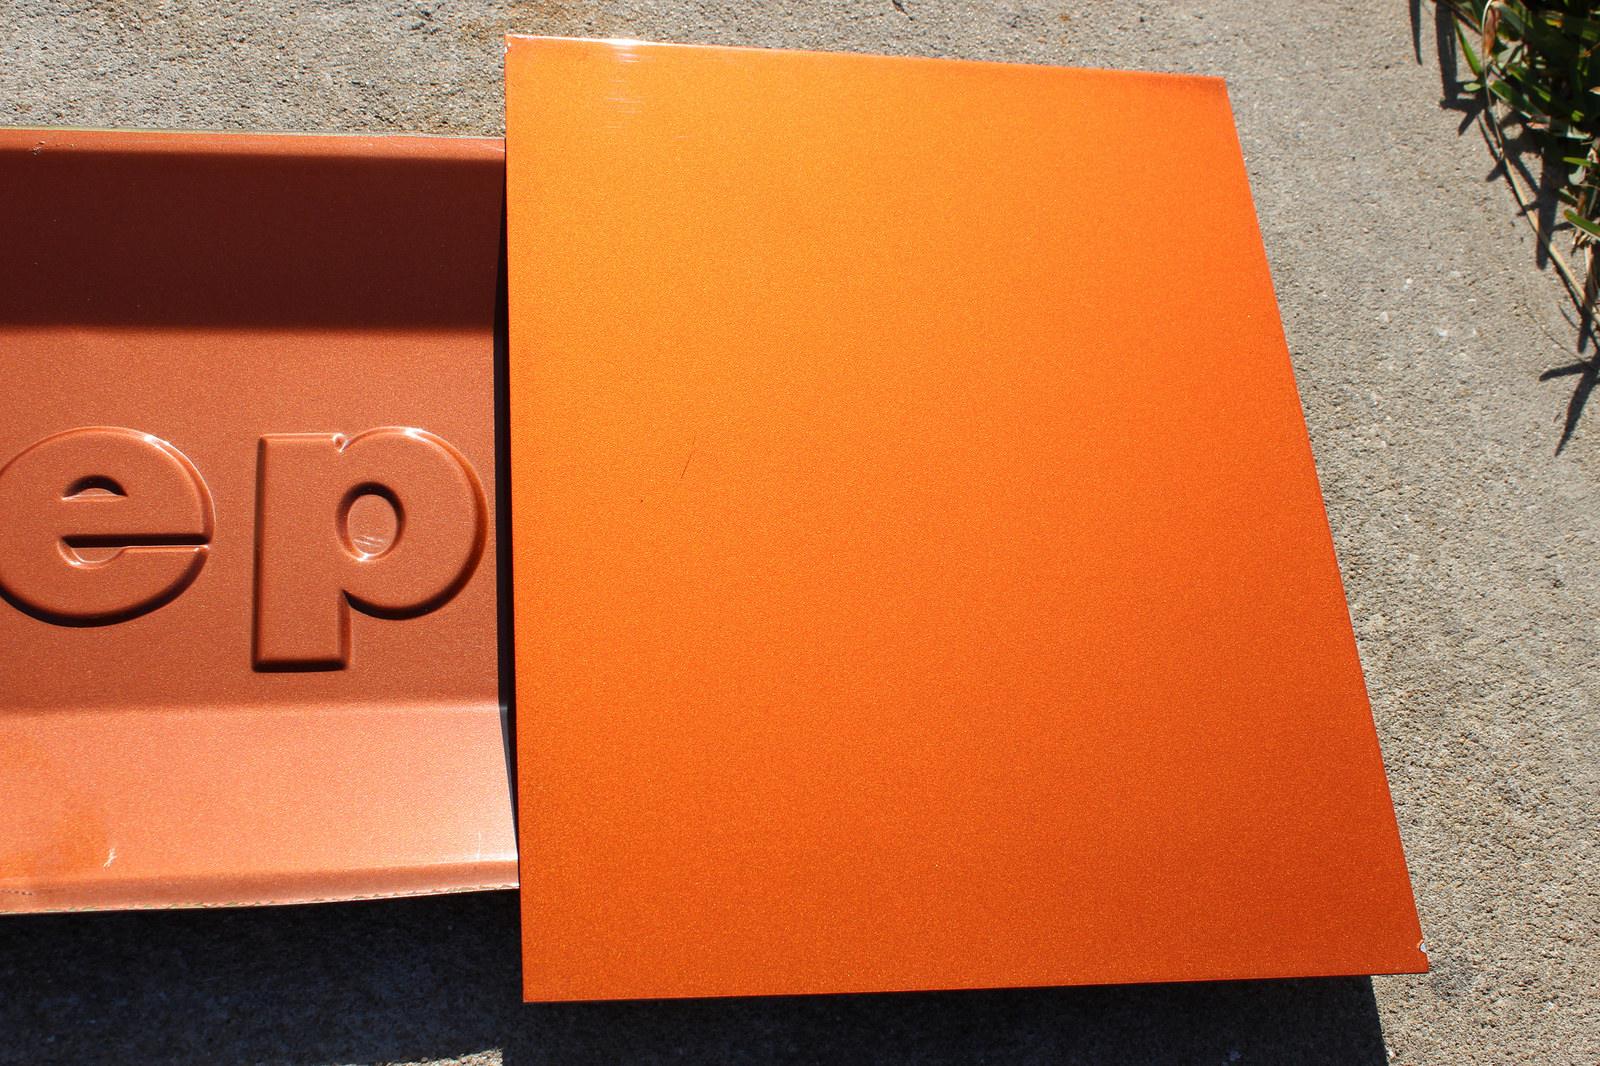
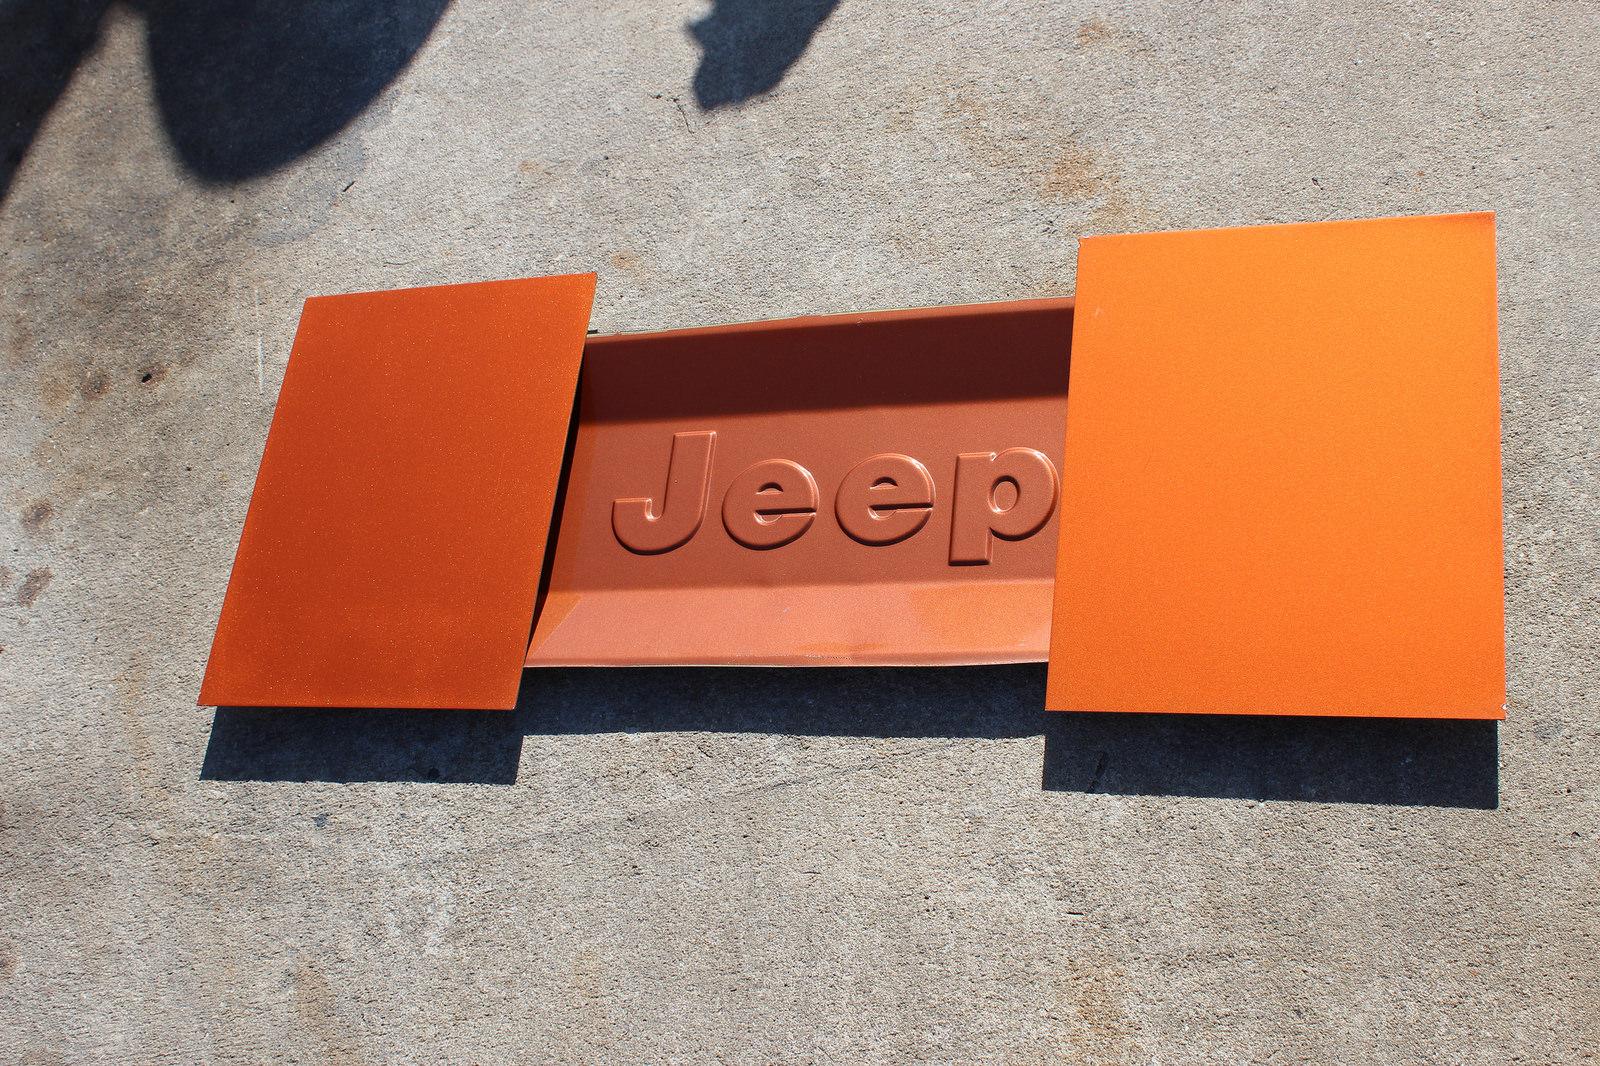
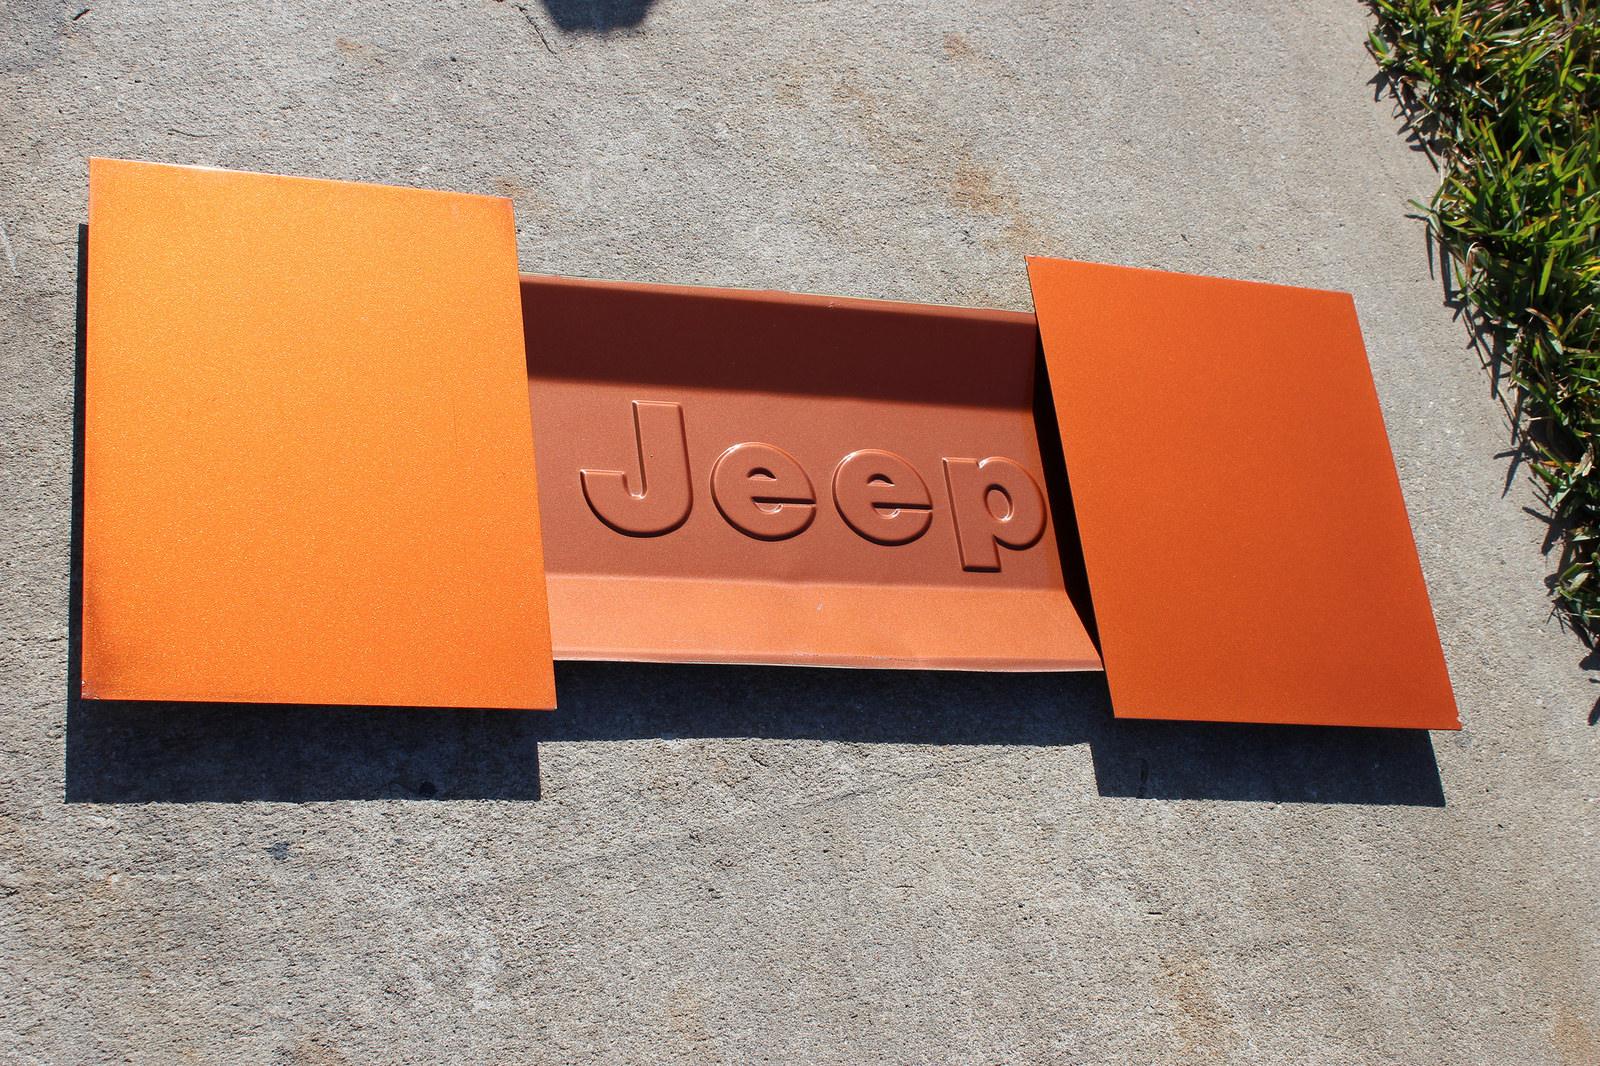
I took a bunch of pictures at different angles so you can see the contrasts.

Just painted, the one on the right is the Atomic Orange
32197539155_6acddc2716_h-1.jpg


31387374033_55ecdce9e4_h-1.jpg


Depending on the angle the color change can be this far apart
32197551265_48589b2e72_h-1.jpg

32159186816_9928e967c6_h-1.jpg


32079248431_18006122e3_h-1.jpg


at this angle they look the same to the camera. In person they are very close. What sets them apart is the pearl in the Atomic Orange. It really gives that copper a dynamic color advantage over the Mango Tango. I'm really going to have to think about this because I'm ready to paint the motor. I think I'll put the panels out in the sun and ask my wife and daughter without telling them which is which.
 
Last edited:
Either would look great but without seeing them in person I think I am partial to the Atomic. Can't wait to see it on the Jeep!
 
My girls have also decided

Atomic Orange will be the color. This morning after the sun got up a bit in the sky I set the two panels out in the driveway. I had my 4 year old daughter come outside with me and choose which she liked best without my influence. I said, "tell dad which color you like best" and she went right to the Atomic Orange. Then I had my wife come outside and she chose the same panel. They both liked the brightness of the Atomic Orange and how it looked with the orange and yellow stripes.

So shall it be!

Although I already painted the carb in the Mango Tango the difference will hardly be noticeable tucked under the air cleaner. The top half of the motor will be copper in a similar fashion to how many are aluminum. I wont be doing much paint work until after the 13th when I'll prime and paint the motor. Until then I'll be out of the loop, after that the motor is pretty much ready for paint.
 
Last edited:
OK, I'm back from vacation and ready to get rolling on this thing again.

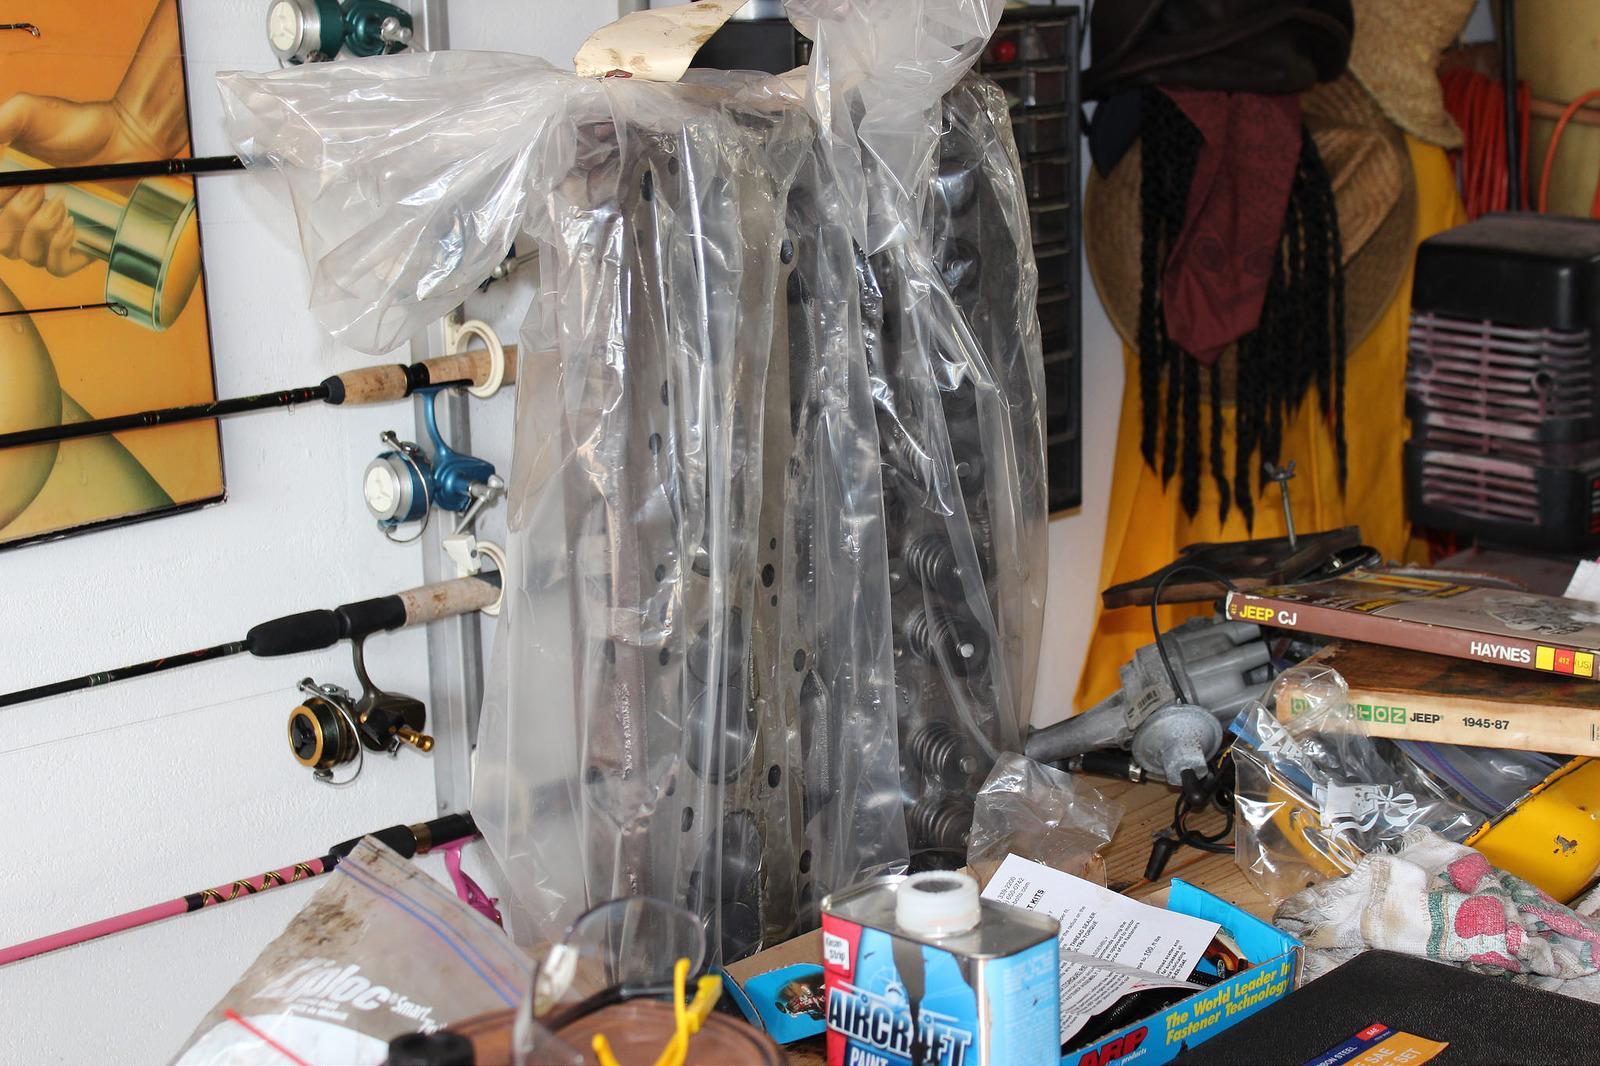
I will be dropping off some misc engine parts tomorrow at the machine shop to have them stripped and cleaned for paint. After that the 360 will be ready for paint. So now it's time to make room and some extra $$

I'll mention this here but will post the full monti in the classifieds. I have a few things to sell from my new project Jeep. Prices are fair and firm.

1. I'm going to sell the complete 39k mile 258 serp belt engine. $1500
2. I'm going to sell the complete hydraulic winch system. $500
3. I'm going to sell the low back seats. (spoken for at this time). $100
 
OK, I'm back on track

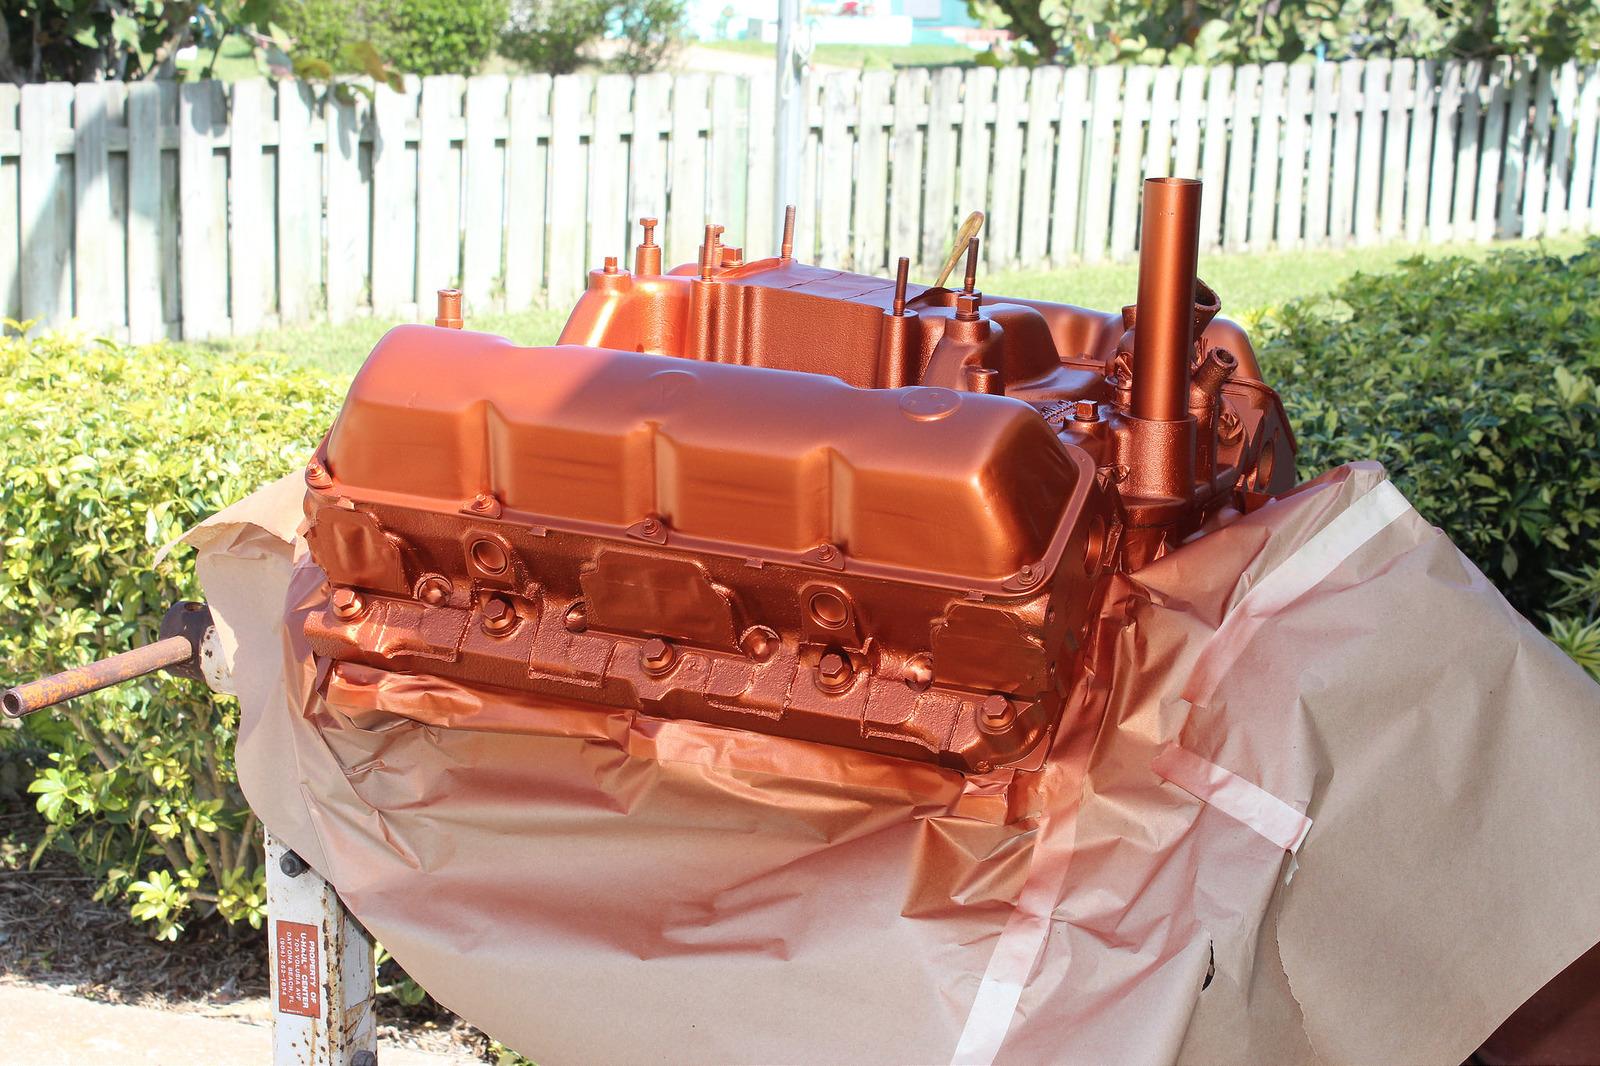
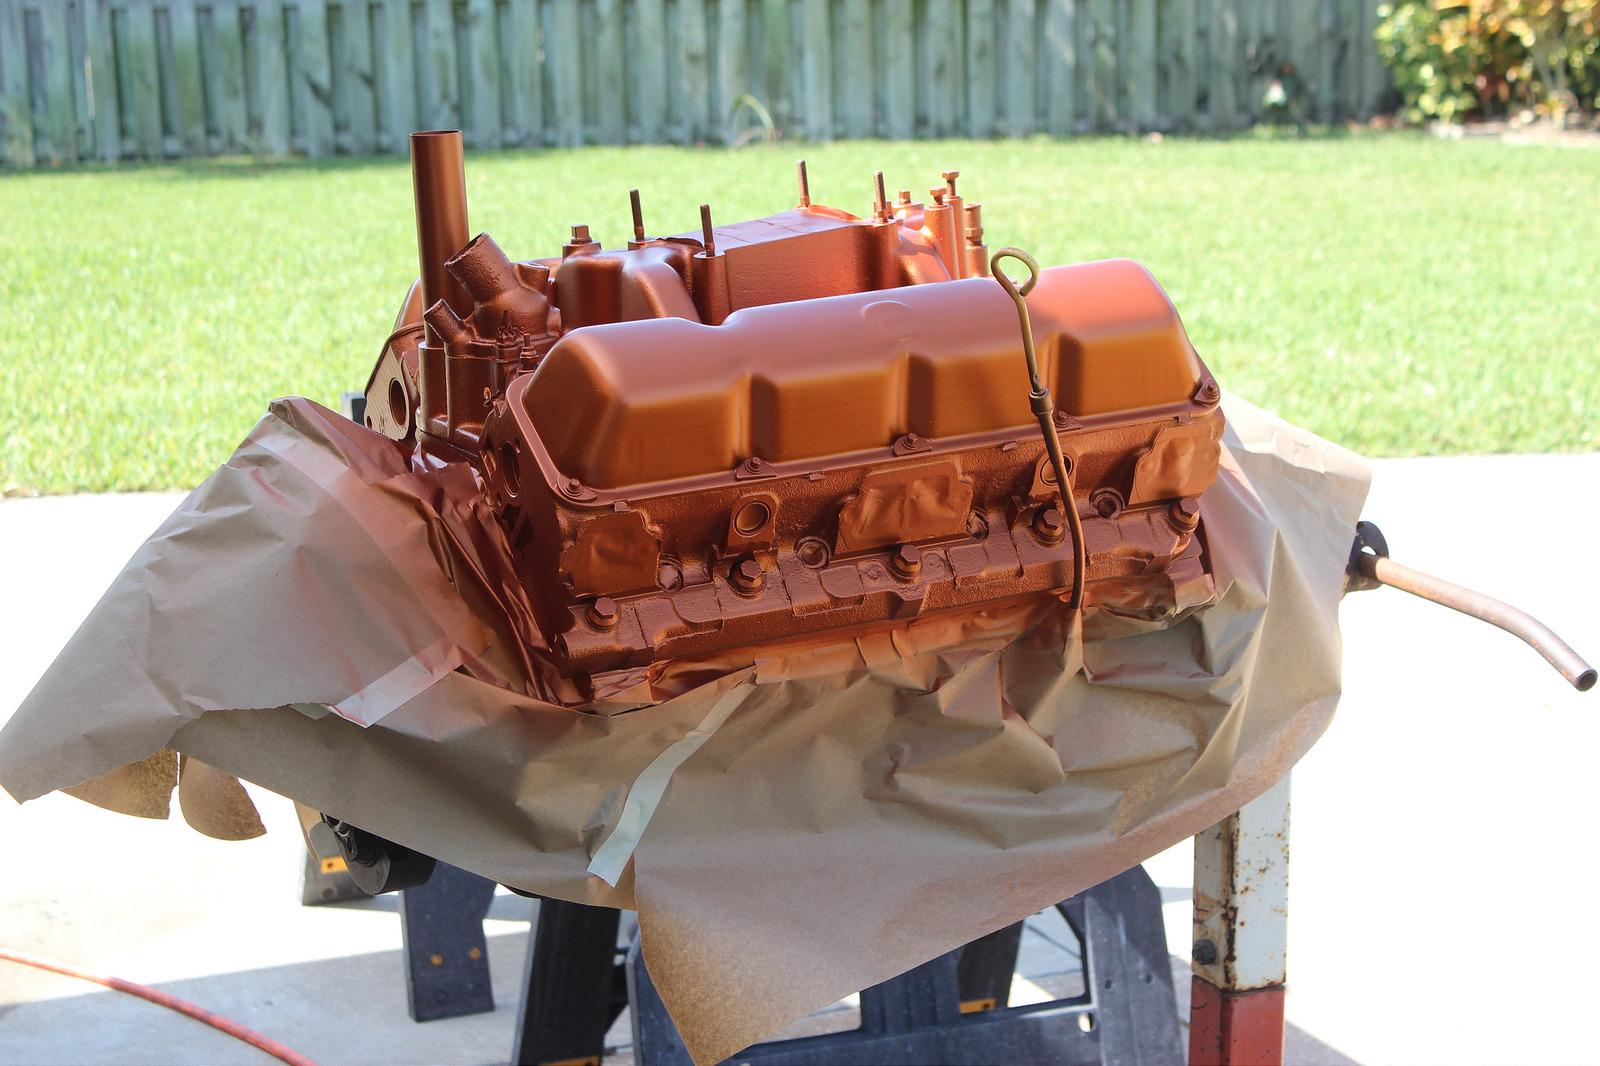
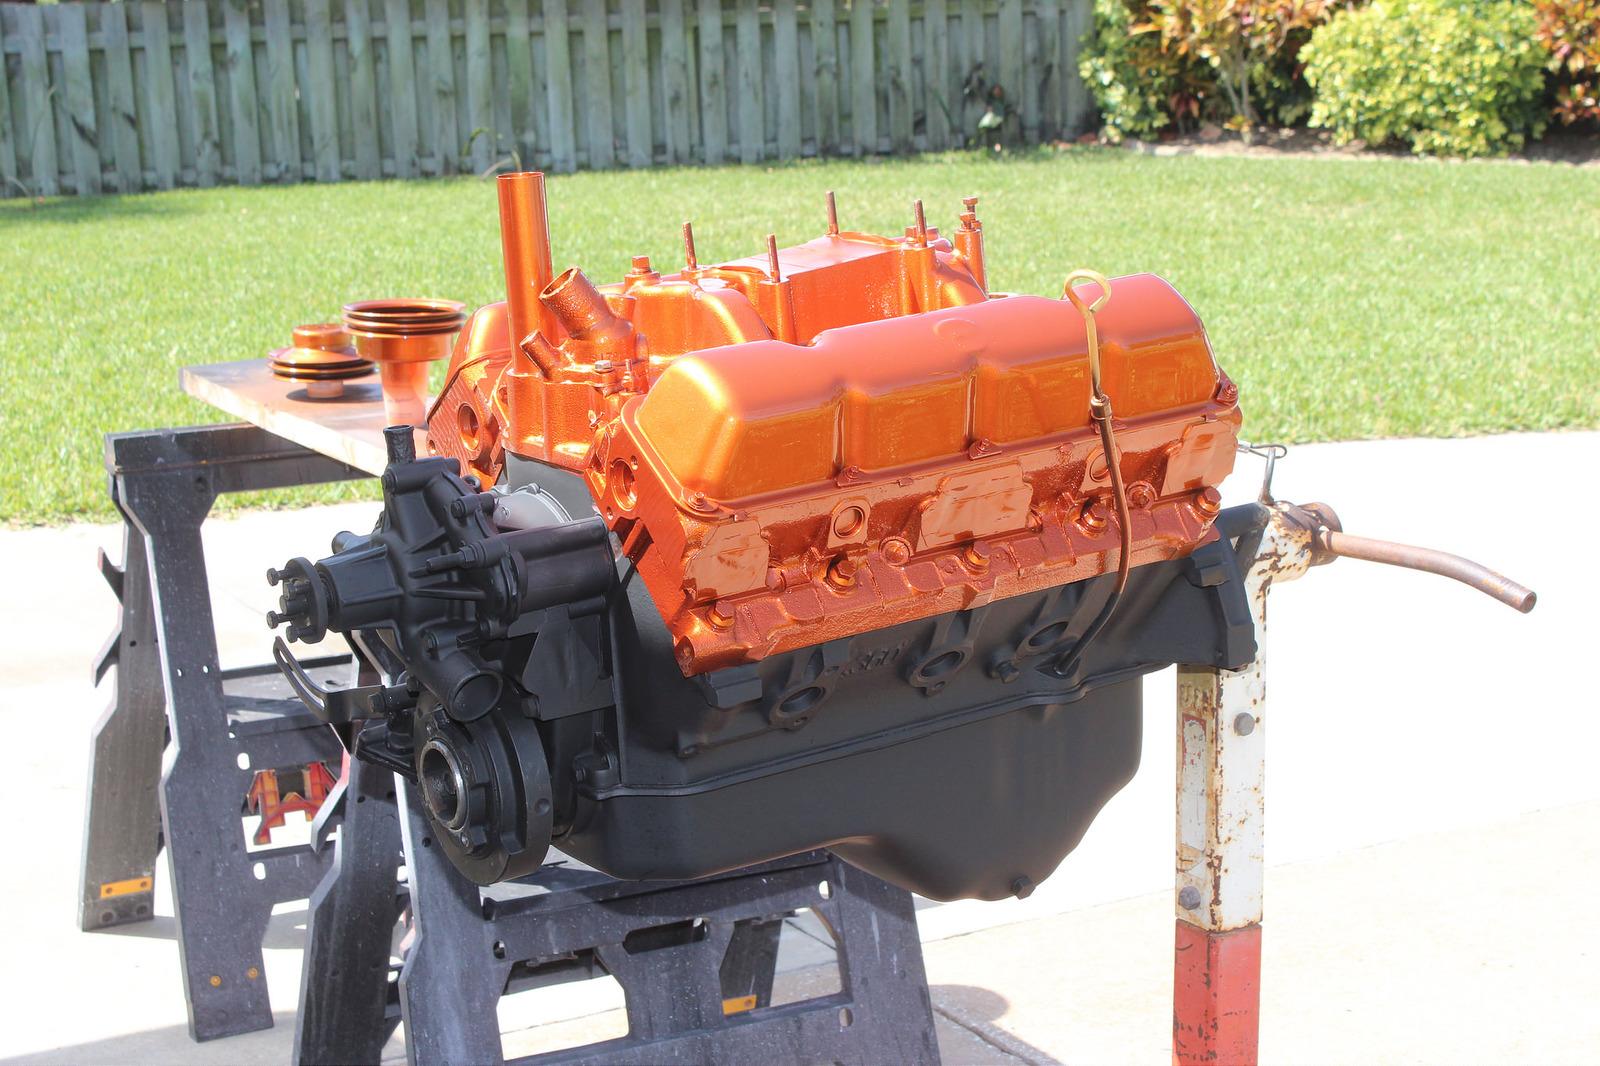
Did more paint work this week on the motor. The first few pics are epoxy primer.
31820907820_d9f9025405_h-1.jpg

32047892502_34765a25b5_h-1.jpg

32047900202_47f0c4ab77_h-1.jpg


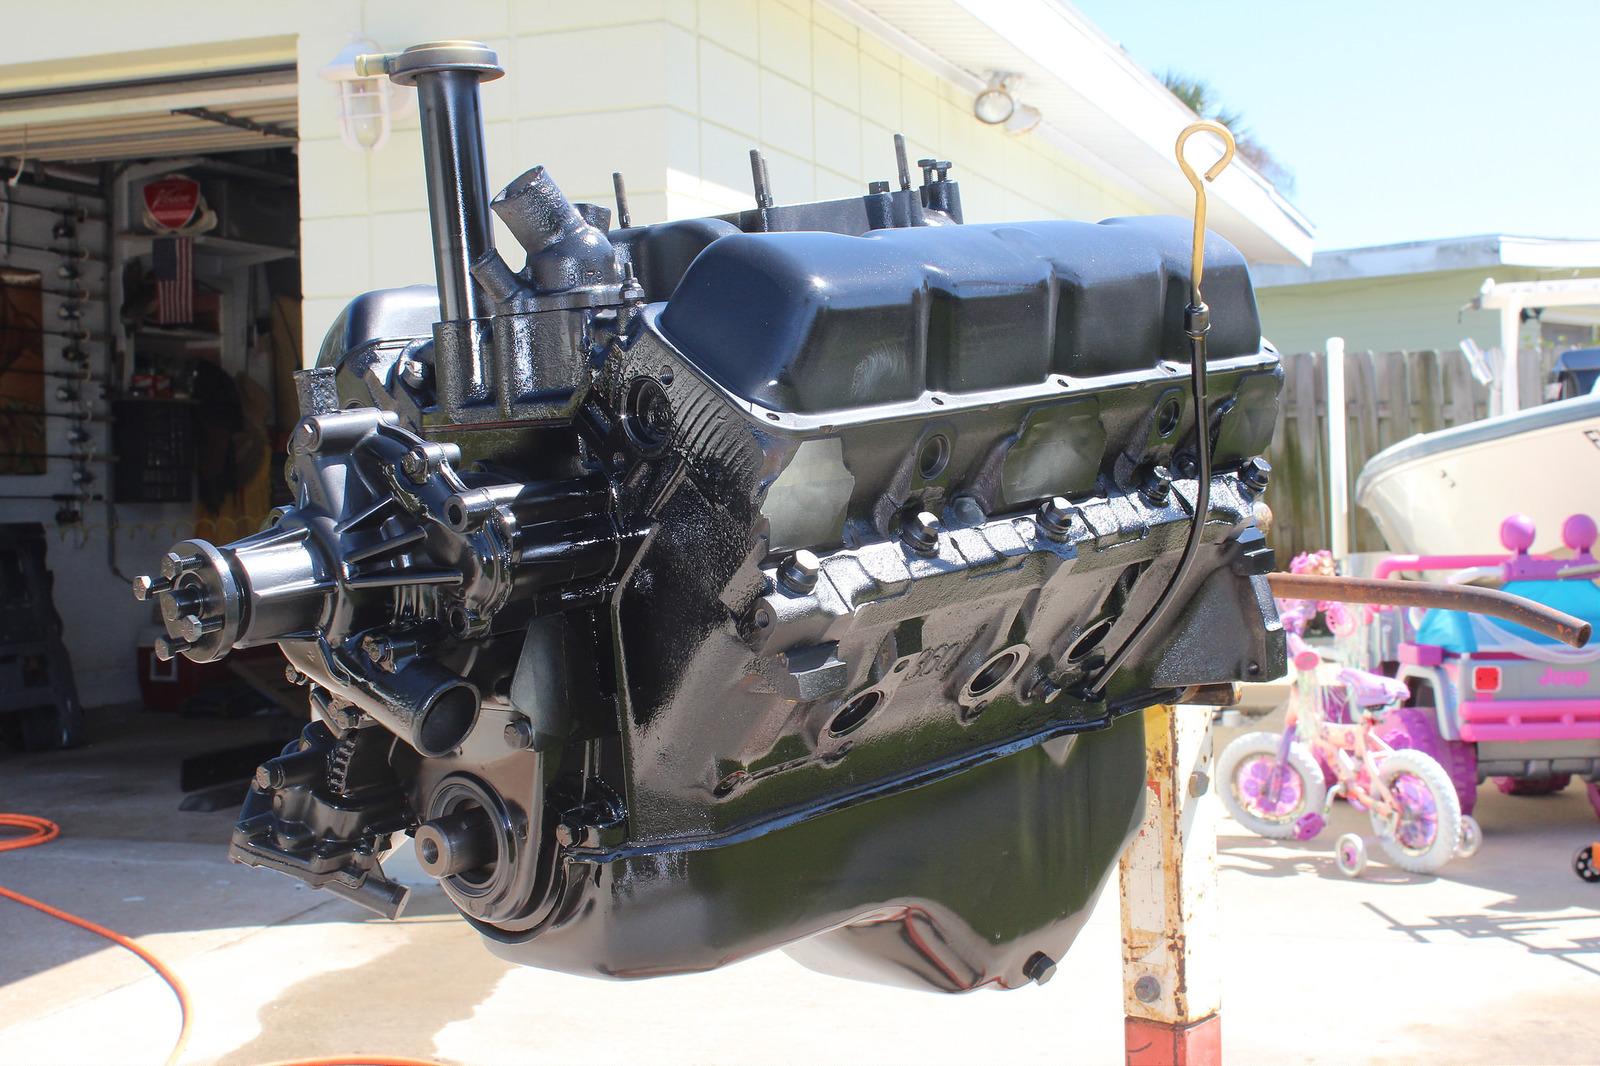
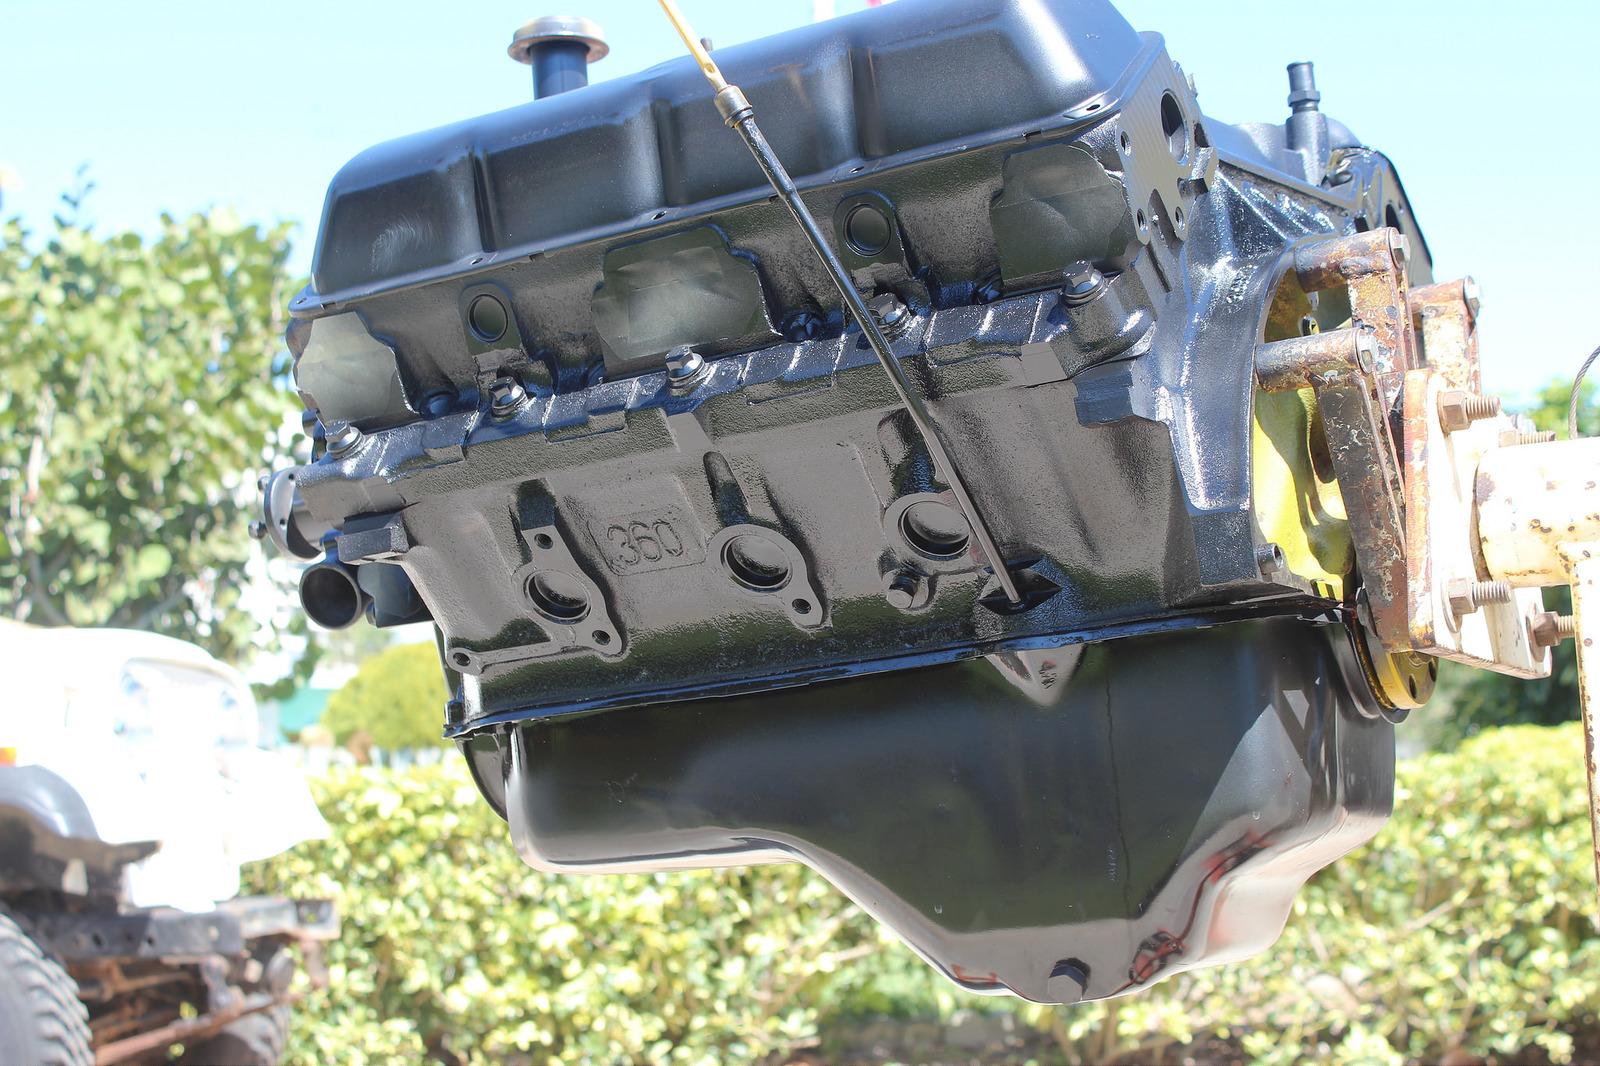
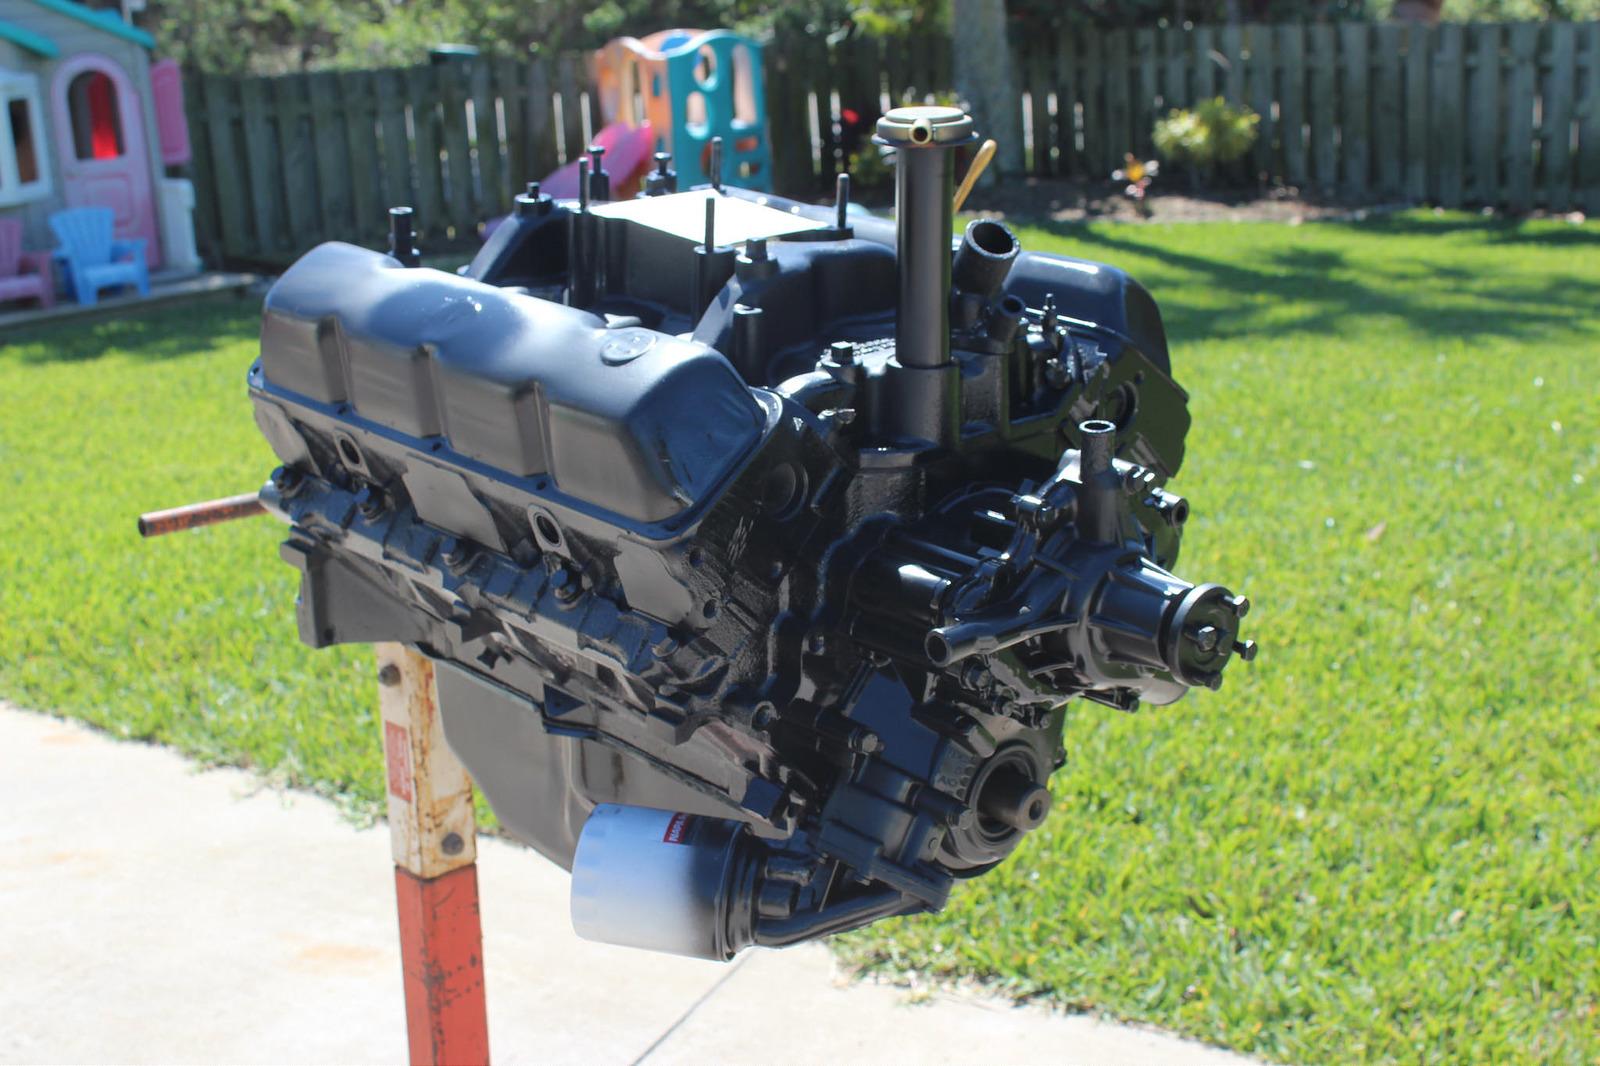
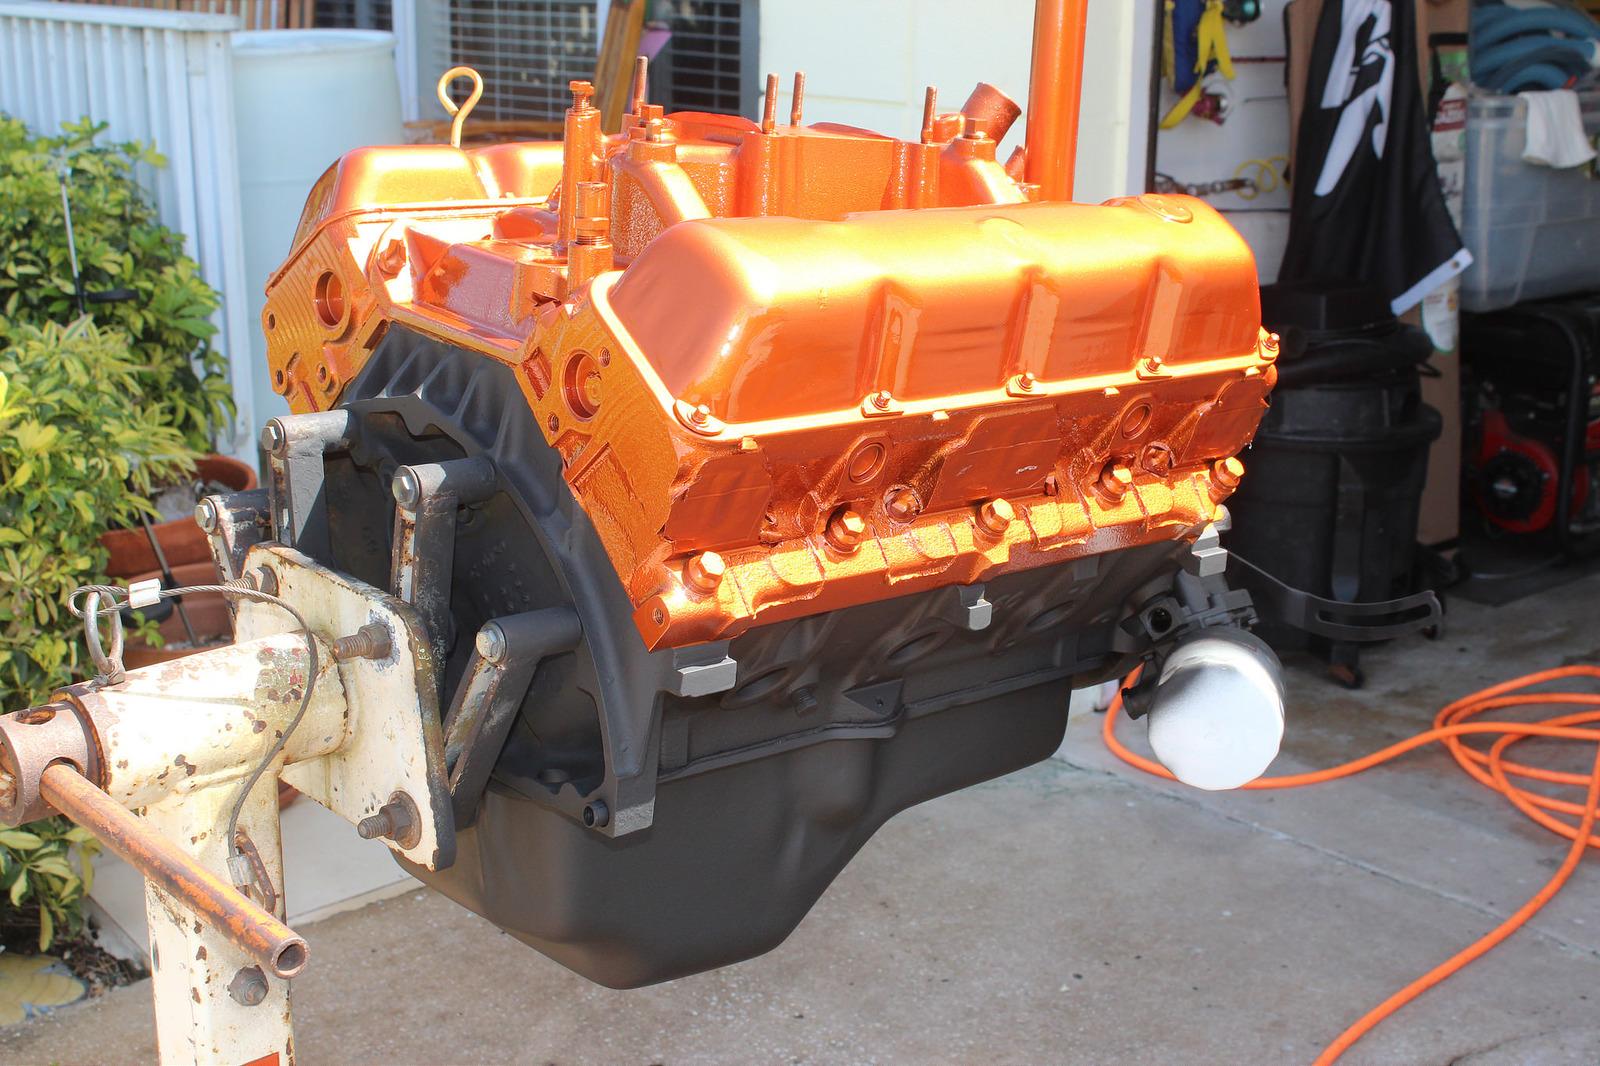
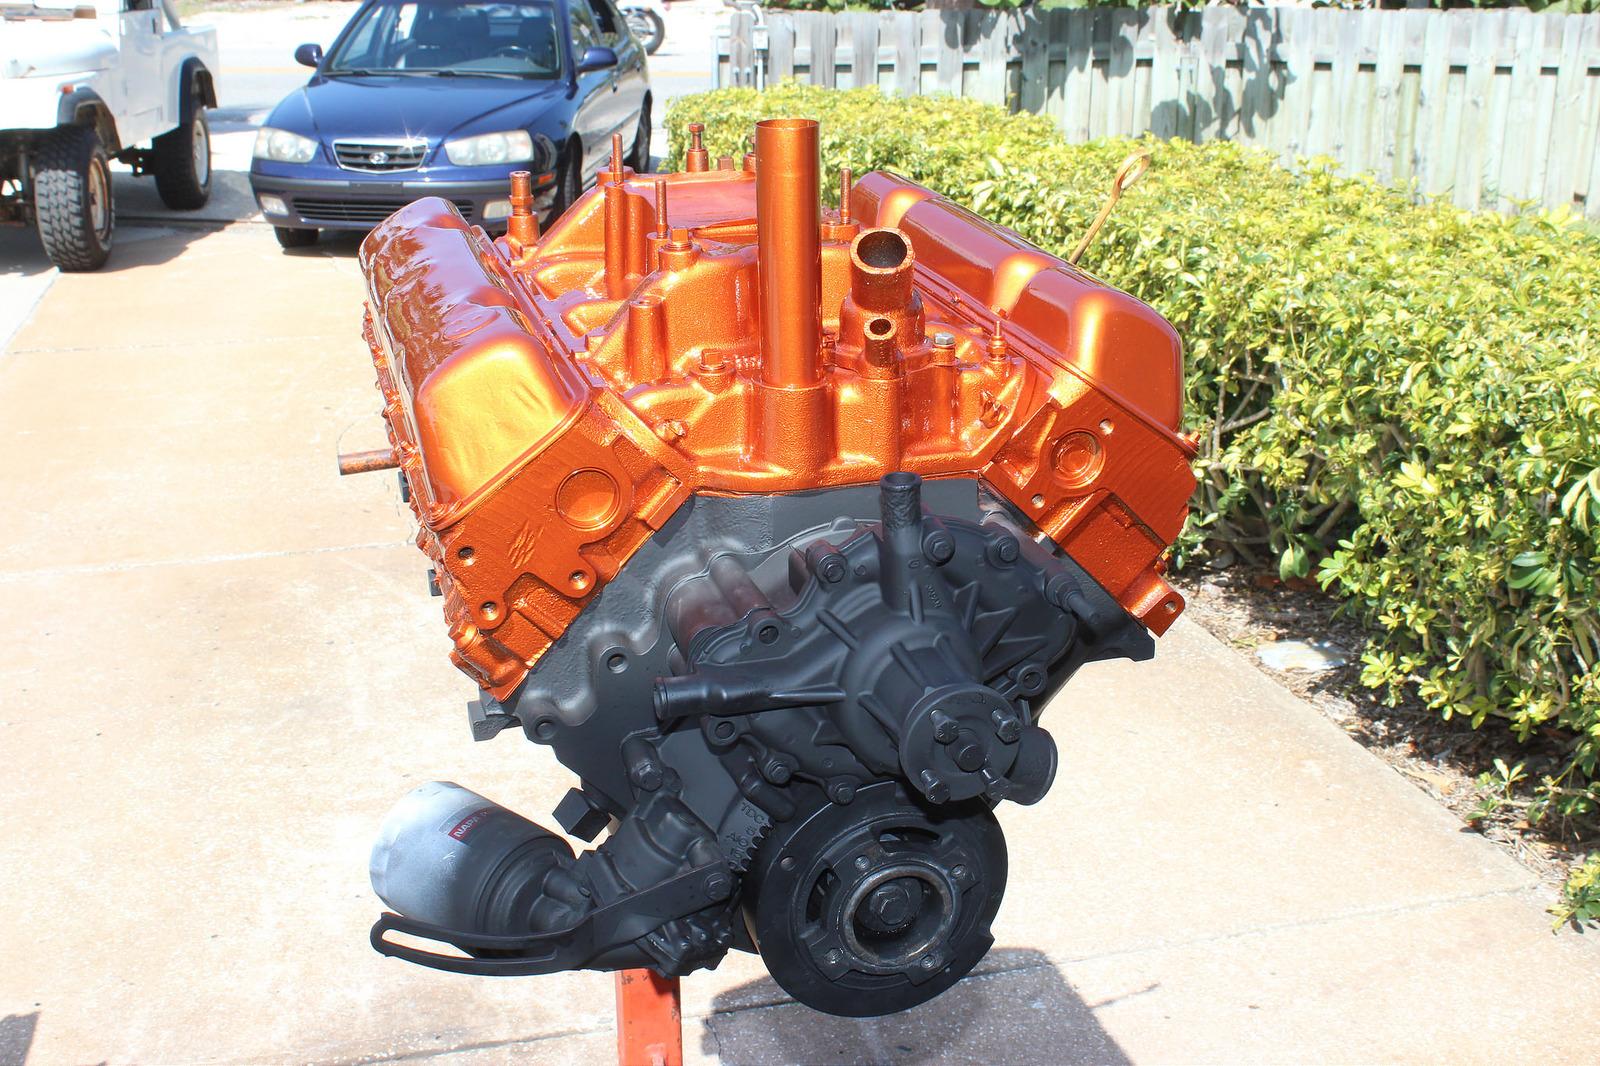
Over the epoxy I sprayed a Flat black single stage enamel from the heads down. This morning I sprayed the top half in the Atomic Orange base/clear. After looking at it I like the top half but I'm having second thoughts on the flat black. I'm thinking of mixing in some gloss with the flat to make an eggshell finish and re-spraying the black. I like the contrast of the copper over black, just not the flat look. If I have time tomorrow I'll test a small batch of the black.

Copper base coat
32047947652_20b59d2fff_h-1.jpg

32078165151_8e7d131ff4_h-1.jpg


Clear coat
32047925502_29963e75d1_h-1.jpg

31386161893_cc9f9773af_h-1.jpg

32158145306_0fadc2a3aa_h-1.jpg
 
Last edited:
The 360

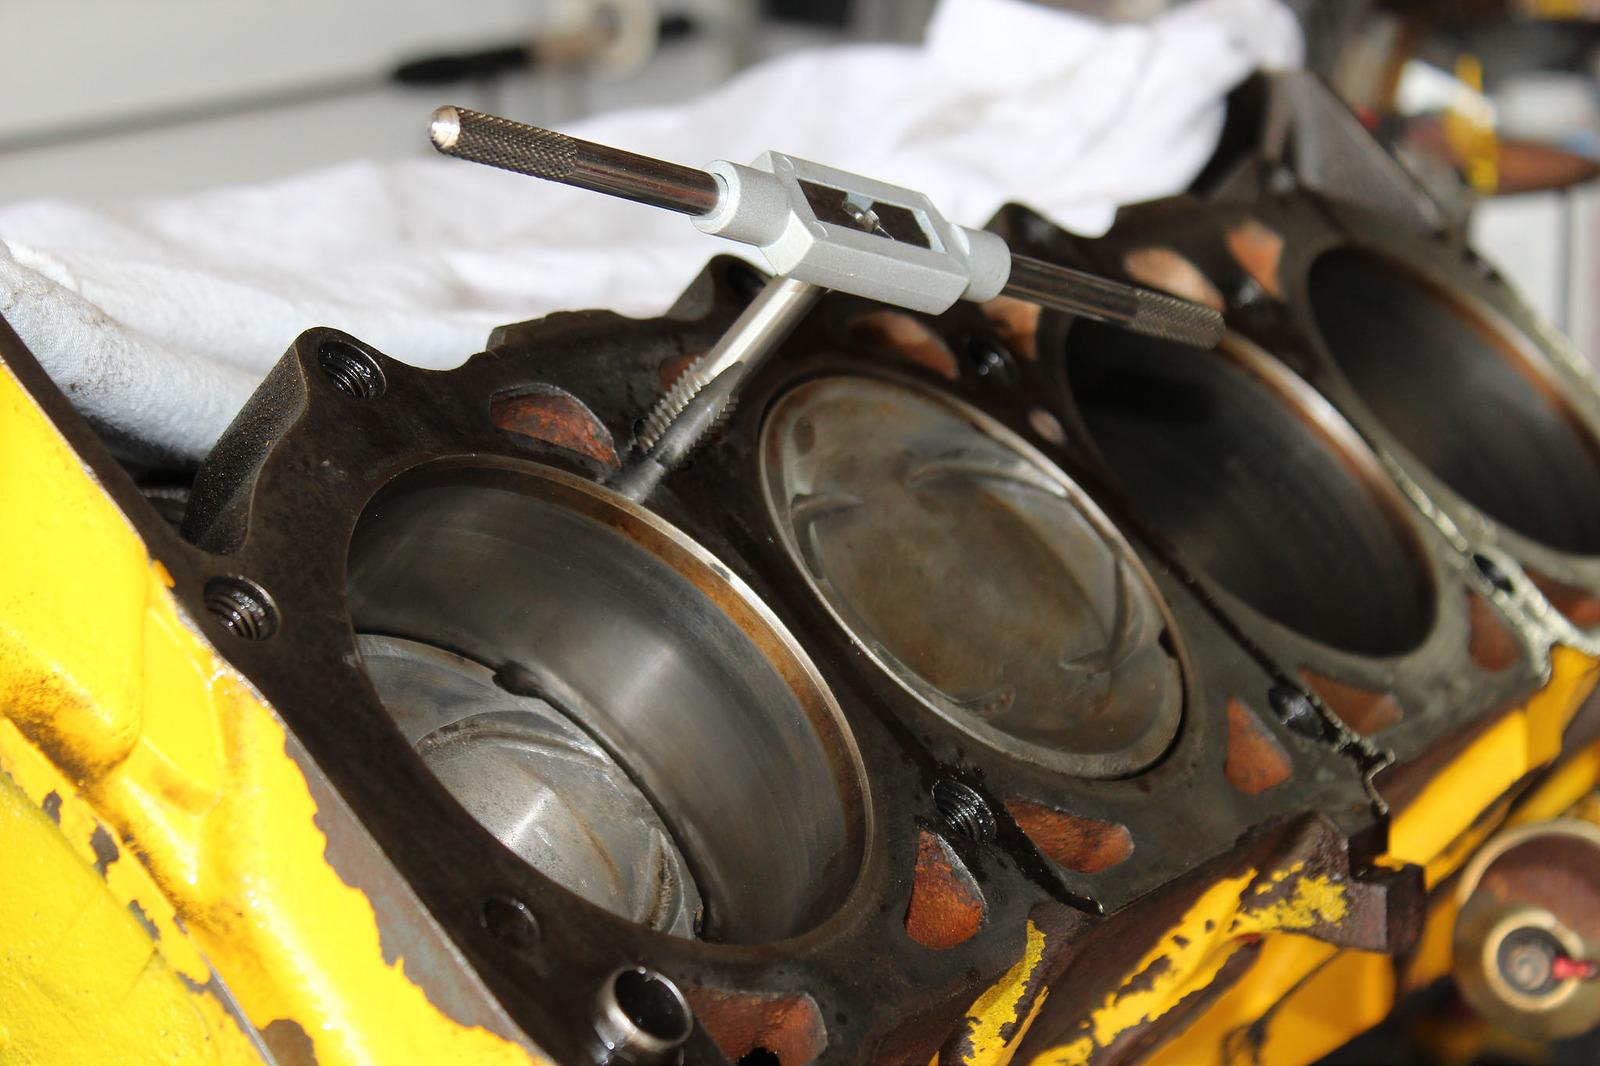
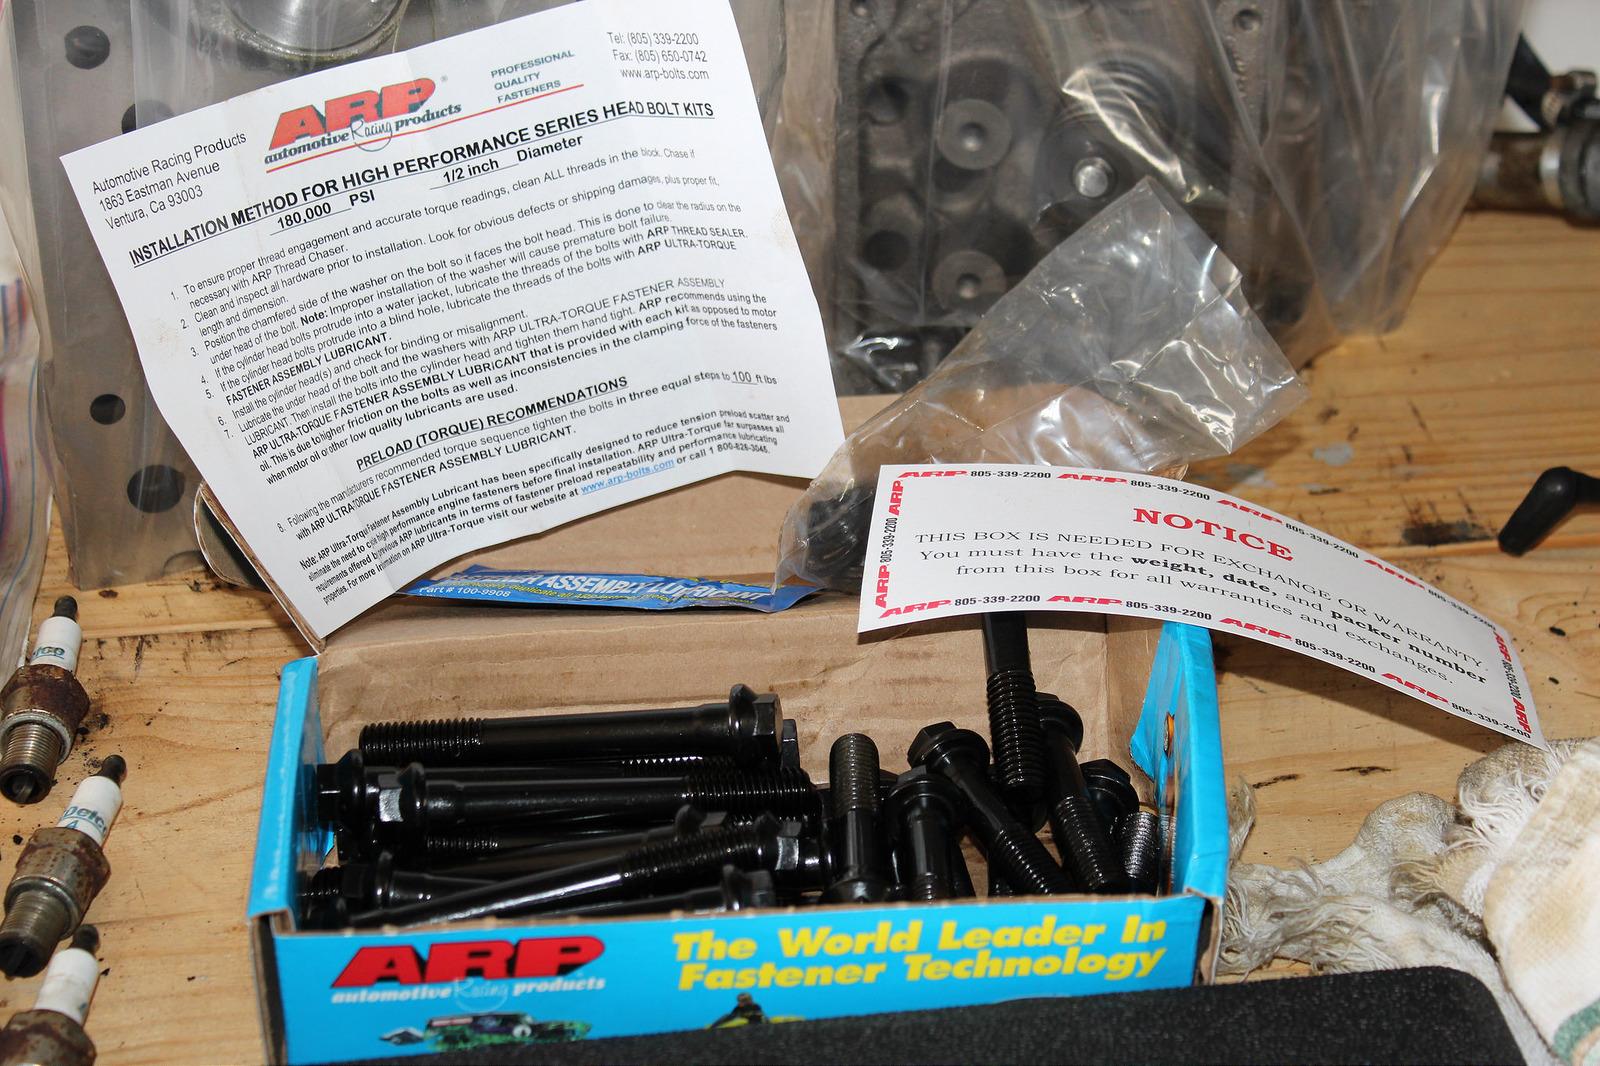
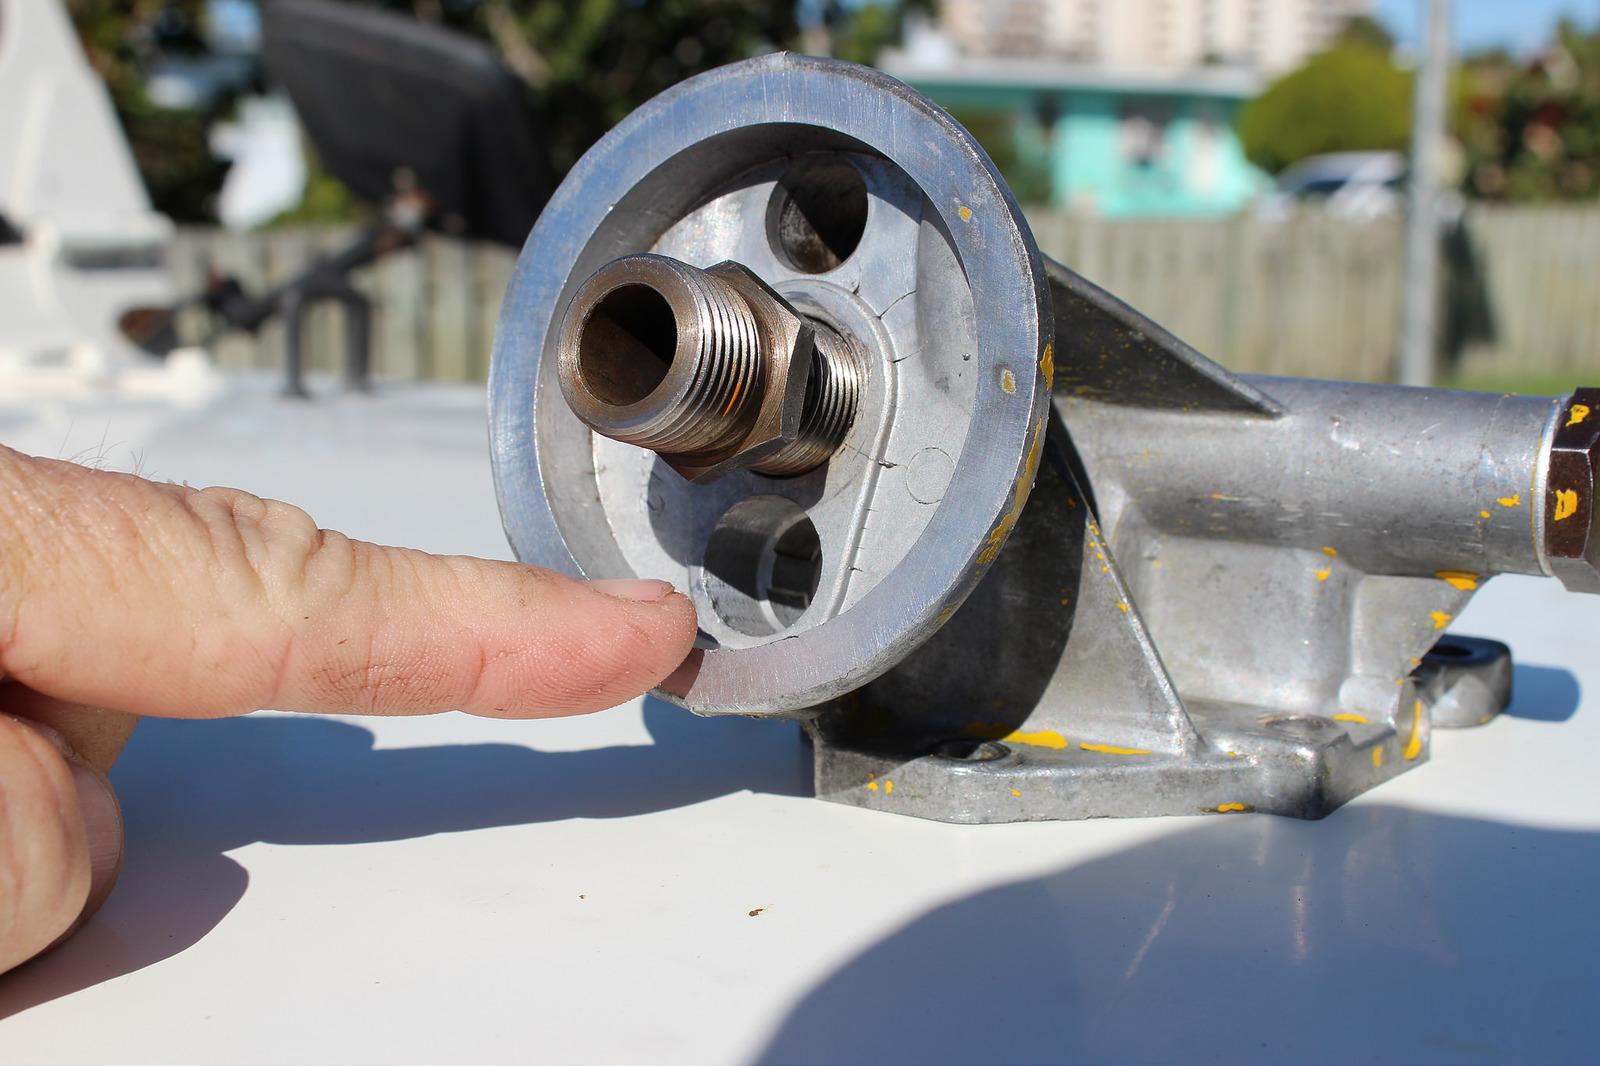
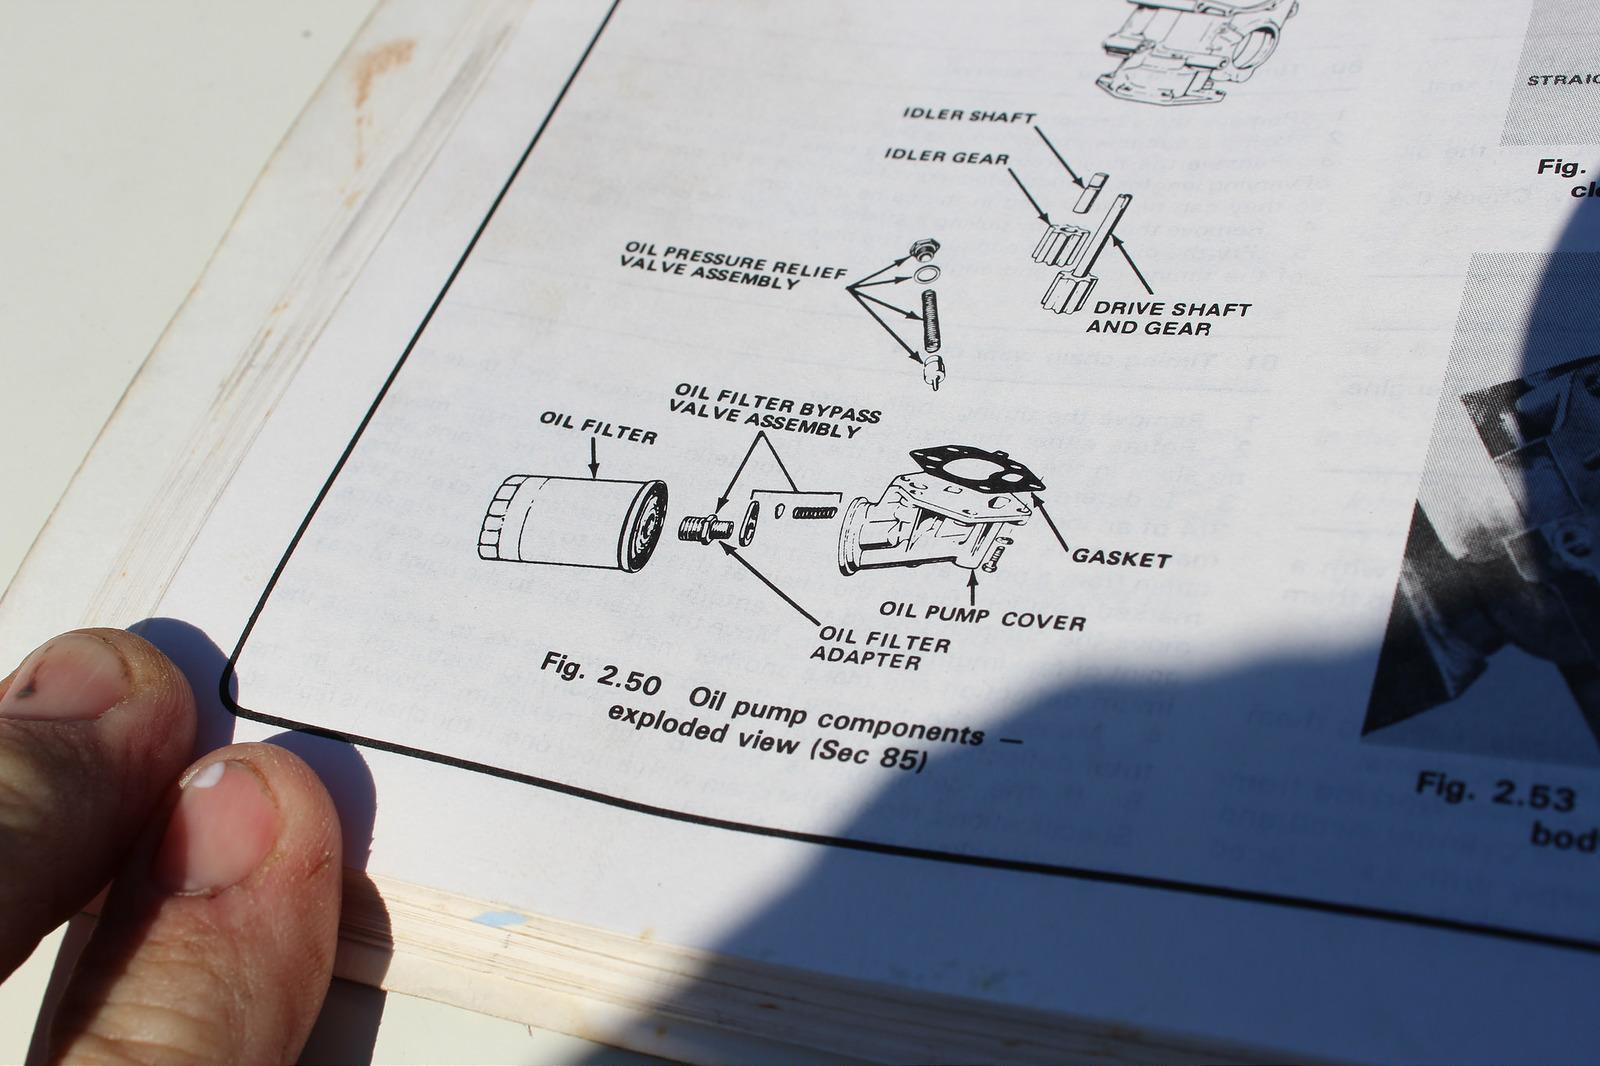
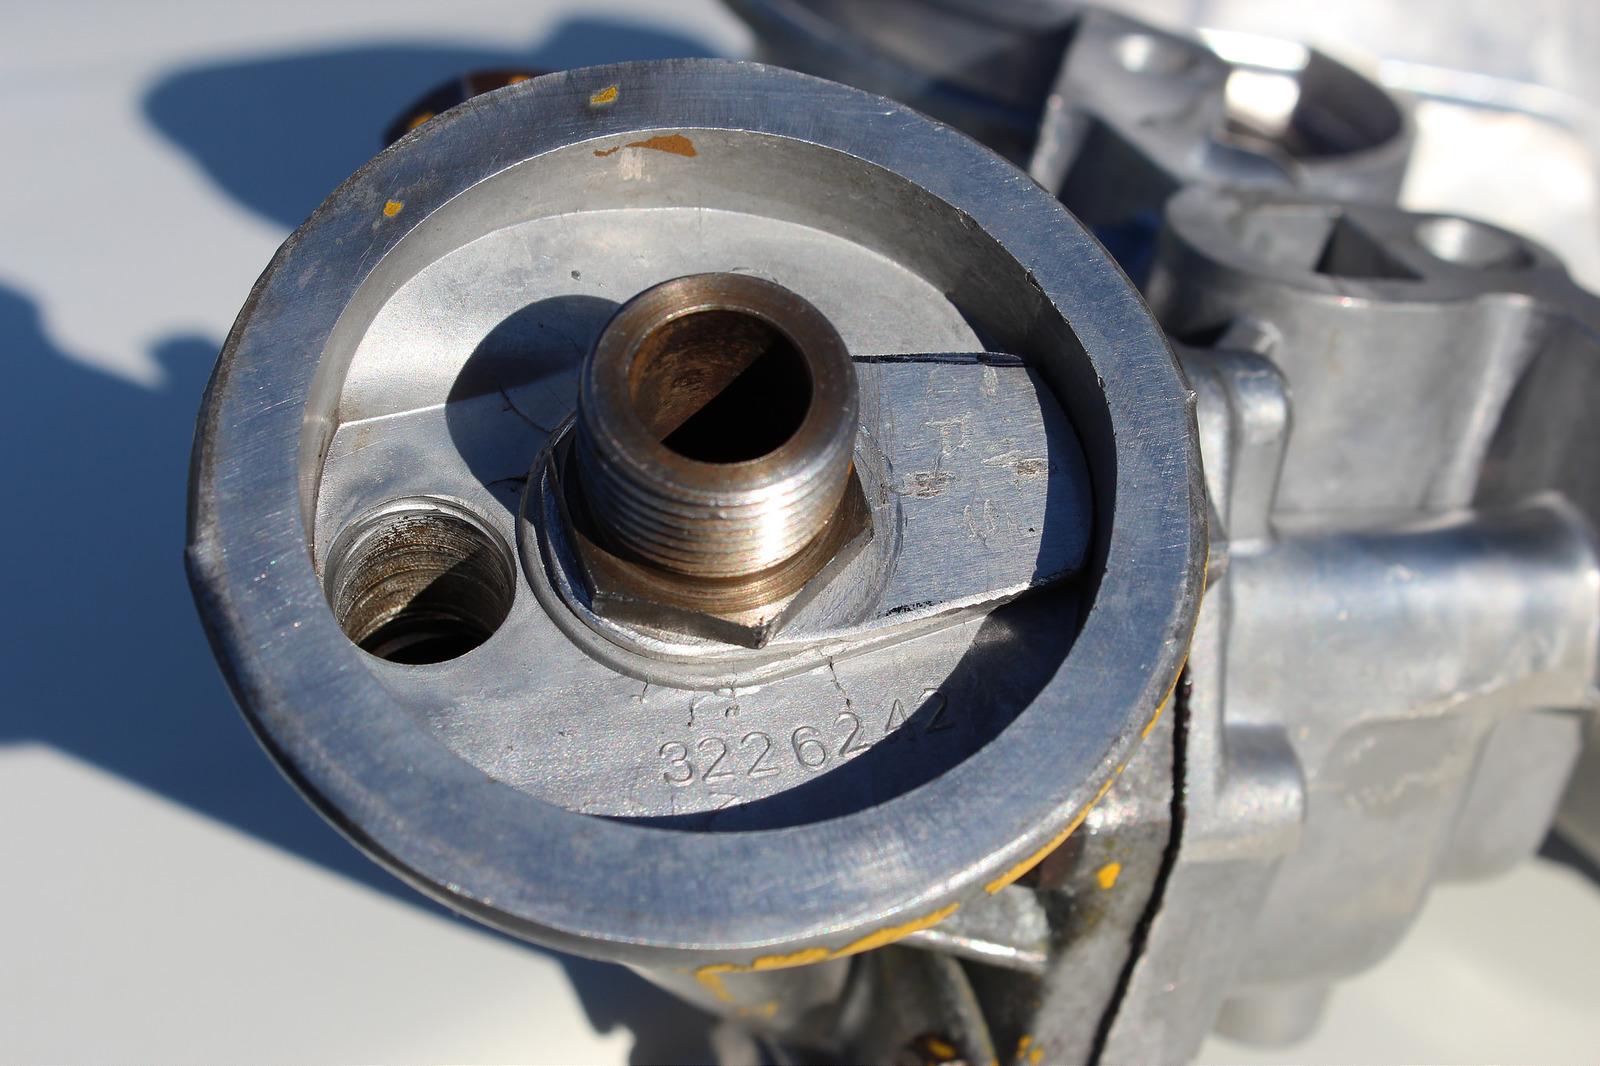
I bought and rebuilt the motor back in 95-96. This time I decided to take the heads off and get them cleaned up along with decarboning the piston tops. Also wanted to replace the oil pump/timing chain cover housings and re-gasket the motor. Glad I did because it revealed a couple issues. The first was the missing oil filter bypass assy which basically left the filter in bypass and prompted the inspection of the crank and rod bearings. They wear scratched up pretty good so I changed them out. Guess I missed that on the first go around. So I fabbed a blanking plate for the pump housing. Also discovered why the rear main always leaked all those years. The machine shop back in 95 installed the top half of the seal backwards when they installed the remaned crank assy. Other than that everything else looked good, so with the heads redone, a new chain cover, and gasket set, she slowly has gone back together.

I also modified Edelbrock Performer intake by fabbing and installing blocking plates over the egr ports. Also made a set of plates to fill the void in the intake gasket. This will keep the hot exhaust gases from plenum area beneath the carb and should result in a cooler intake charge and better performance. I'll dig those pics up later.

31386072943_66cb2ee8b4_h-1.jpg

32078017431_0edc25a0b9_h-1.jpg

32078013161_1c4caf4c60_h-1.jpg

32078097861_06f09f619f_h-1.jpg

31354832834_5eaee1f4be_h-1.jpg

31354830814_5a3af29899_h-1.jpg
 
Last edited:
Back
Top