• Notice for iPhone users: DO NOT use the image size reduction option when uploading photos to the forum. This causes portrait images to post as landscape. We have added a warning to the image insert pop-up as well.

The "Once in a while" 1983 Scrambler Laredo Build

Getting the body back

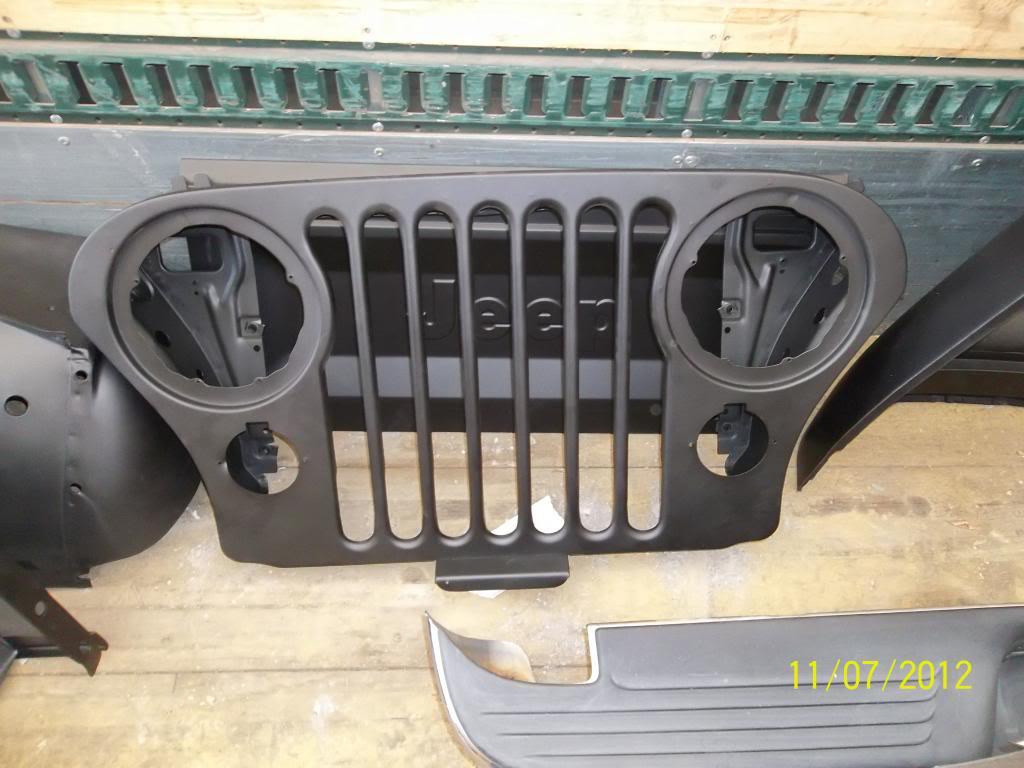
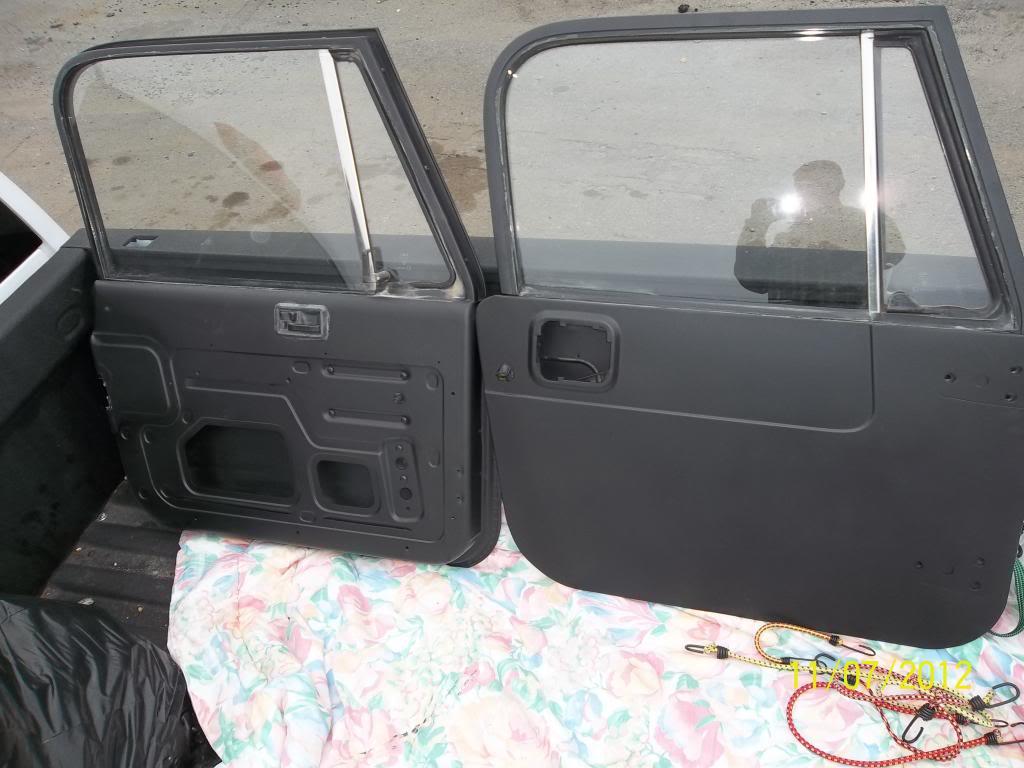
After about 4 weeks of waiting due to work requirements, I was able to make it down to the blasters to pick up the body pieces and see what the damage was going to be. All in all, I was happily surprised. There were only very minor body issues underneath the old paint, no hidden gems to deal with. The blasting company did an awesome job, American Stripping Company in Manassas VA if anyone is looking for a reputable shop.

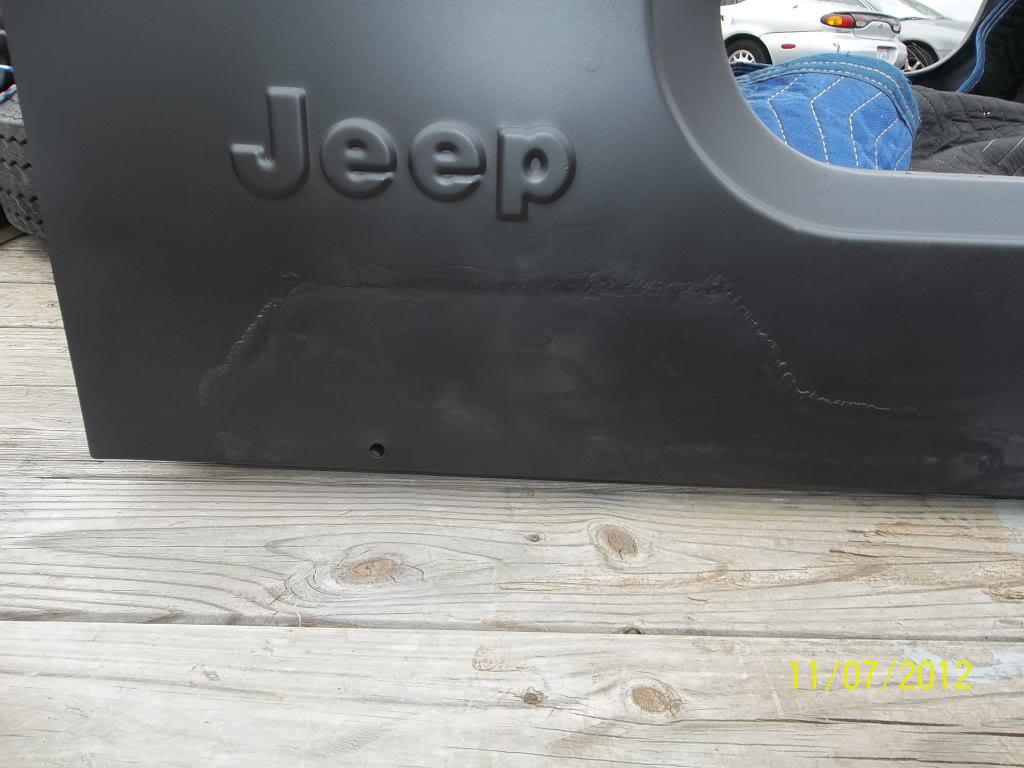
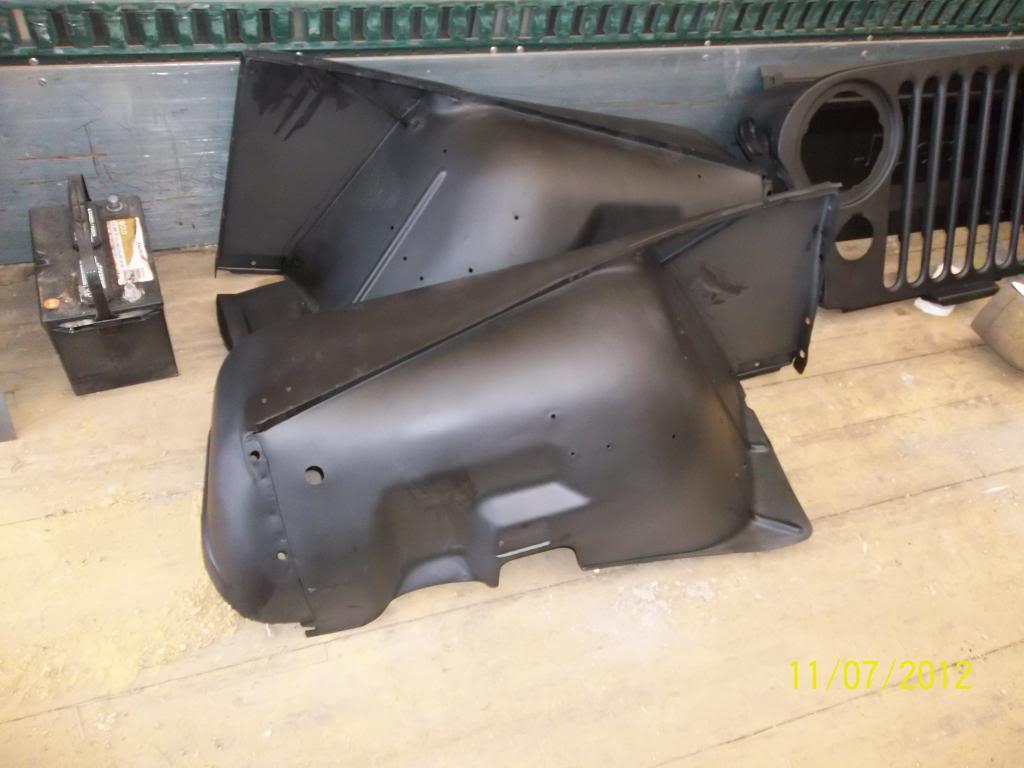
In the first picture you can see some denting on the inside portion of the passenger side front fender. Here a previous repair was made that was called "scoop and poop" by my body shop; I believe that was the term anyway. Apparently you fix a dent by enlarging it "scoop" and then "poop" in the body filler. This was one location that was starting to show on the exterior through the old paint, the body filler was swelling outward and created a bulge in the paint. It will be fixed properly this time.
100_0689-2.jpg


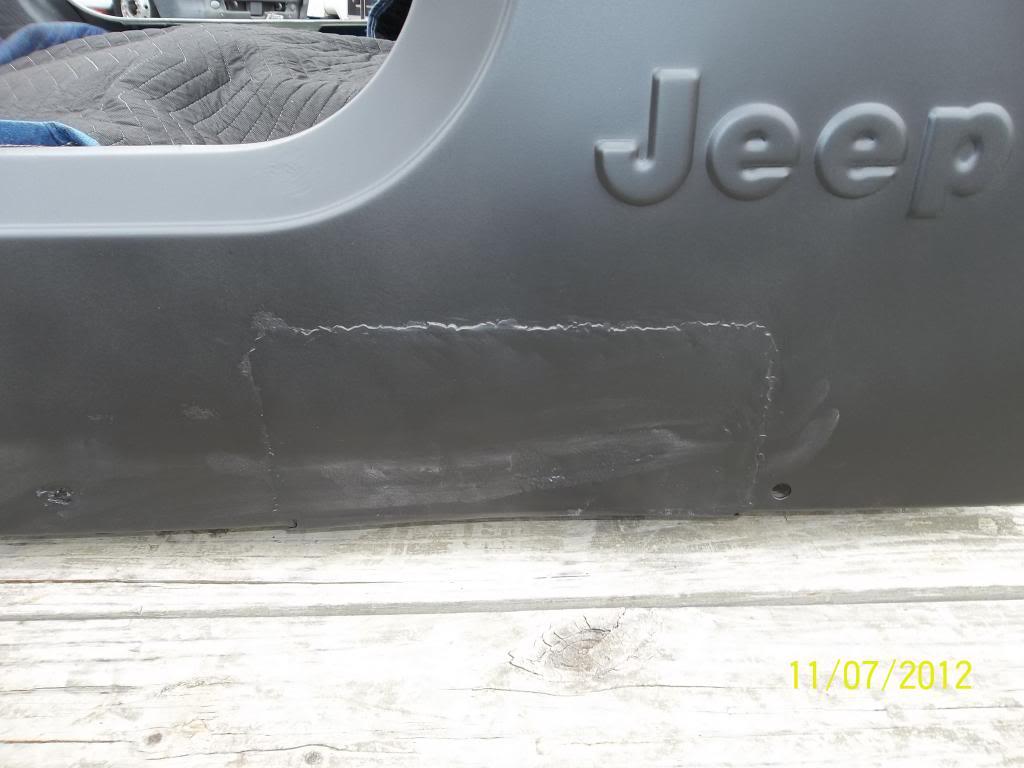
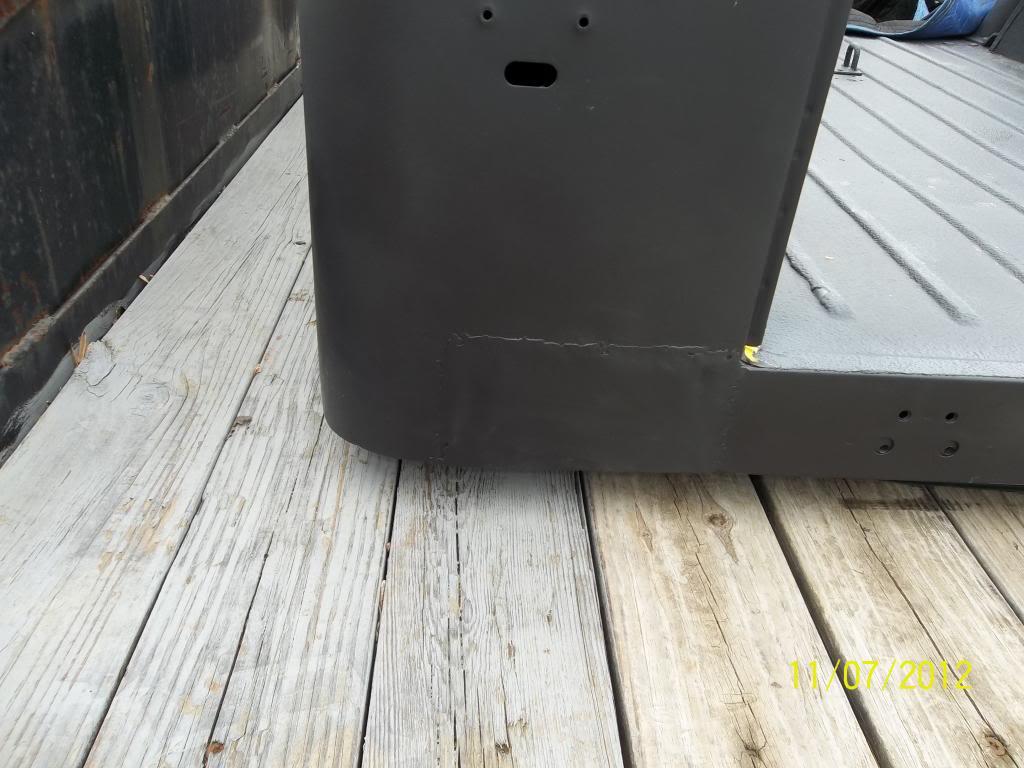
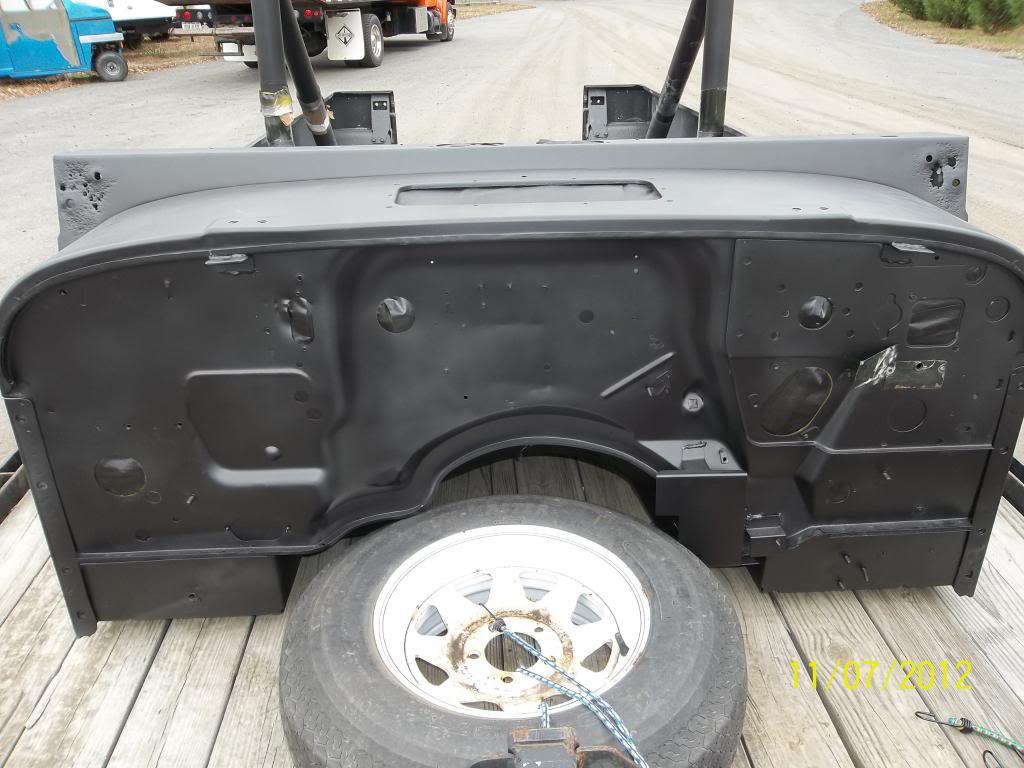
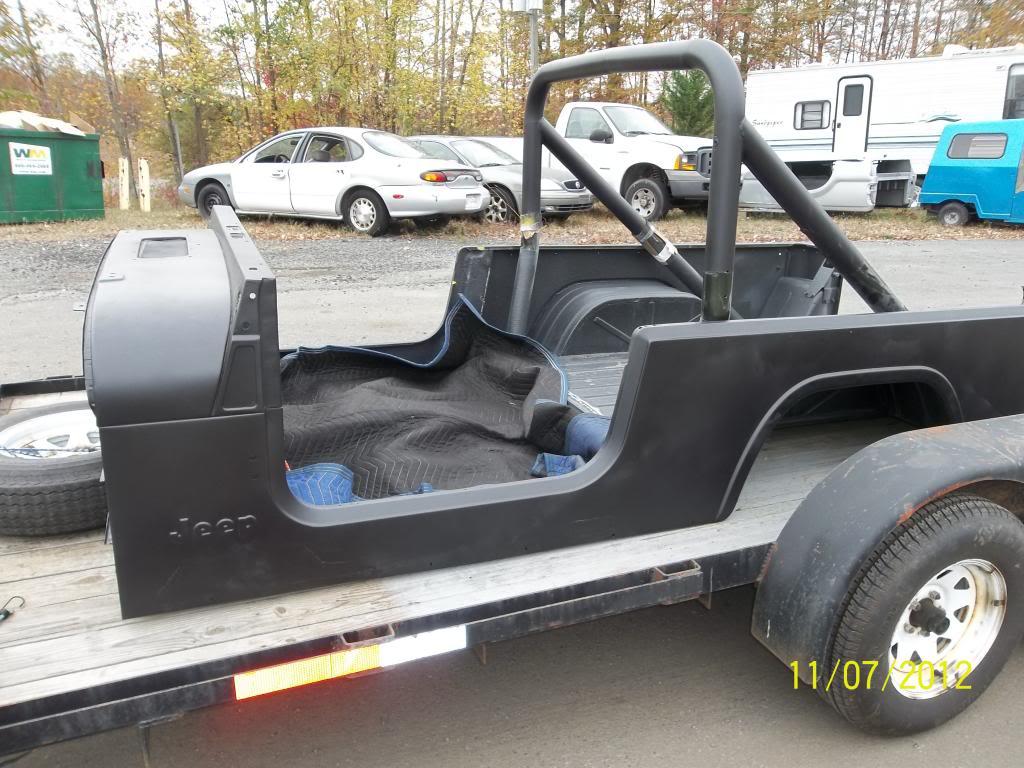
Here's the tub. Some patches were found along the drivers side rocker panel and beneath the drivers side tail-light....the typical spots. The blasters did not go all the way down on the roll bar to protect the bed lining that was appx 18 inches up the roll bar so that will be sanded down by the body shop. I will put closer pictures of the patches and underside in a second post.
100_0694-2.jpg


100_0690-2.jpg


100_0702-1.jpg


100_0698-2.jpg
 
Here's the pictures showing some of the previous carnage that the body underwent in it's previous life.
100_0699-1.jpg


100_0695-2.jpg


100_0697-1.jpg


100_0701-1.jpg
 
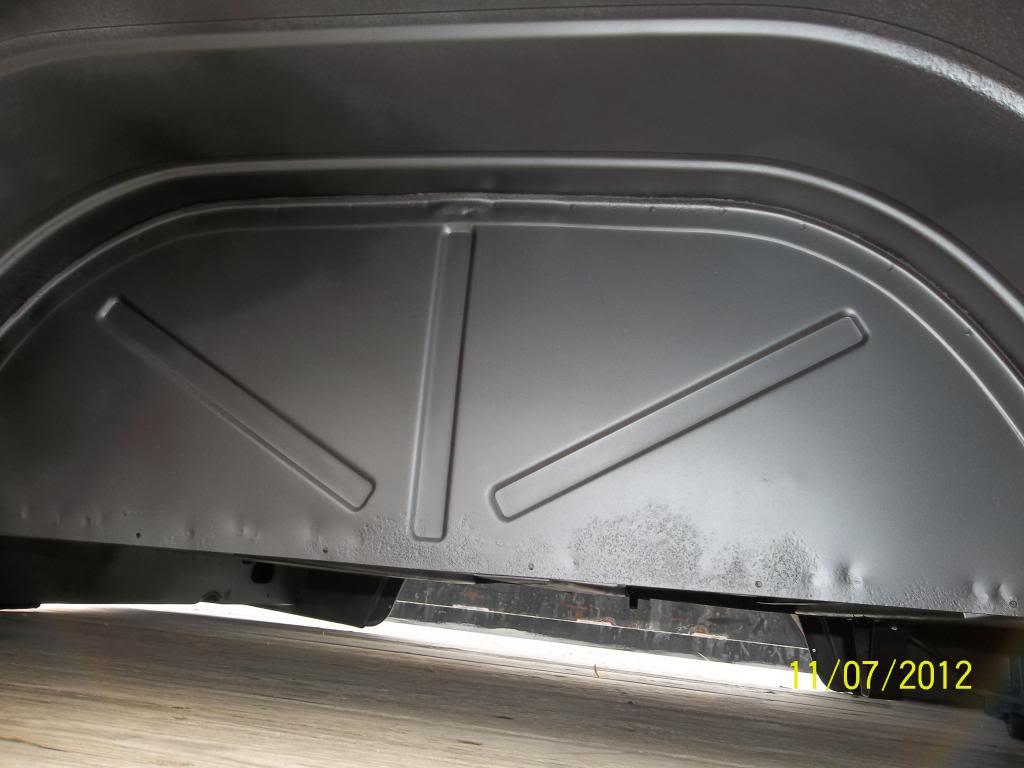
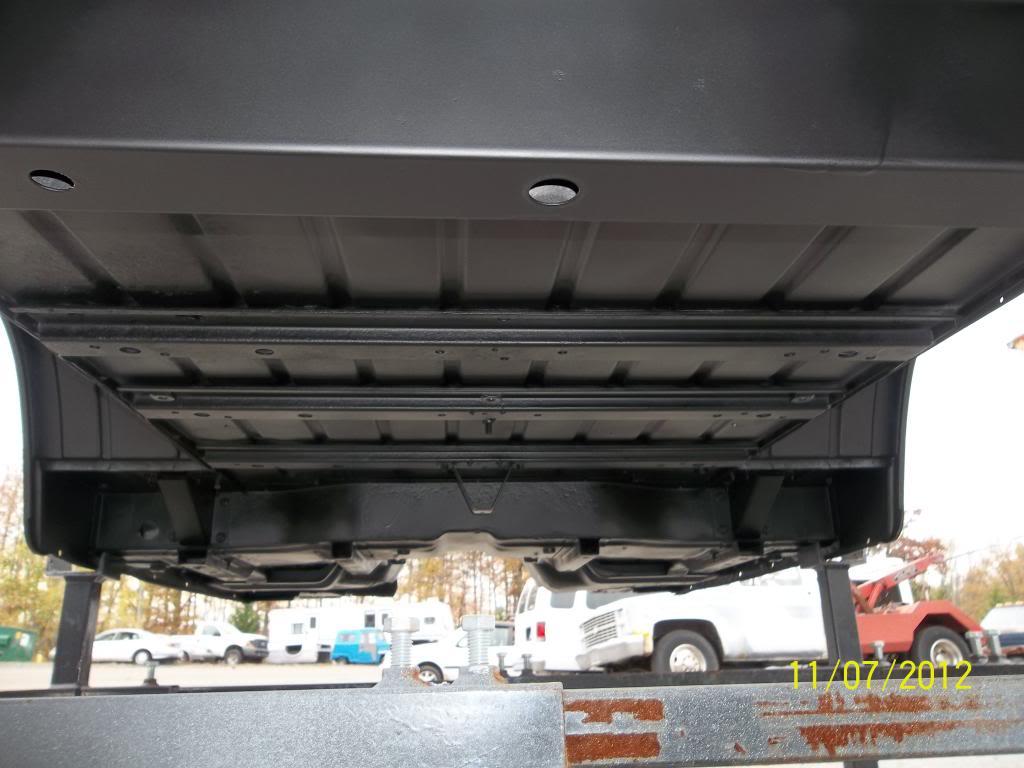
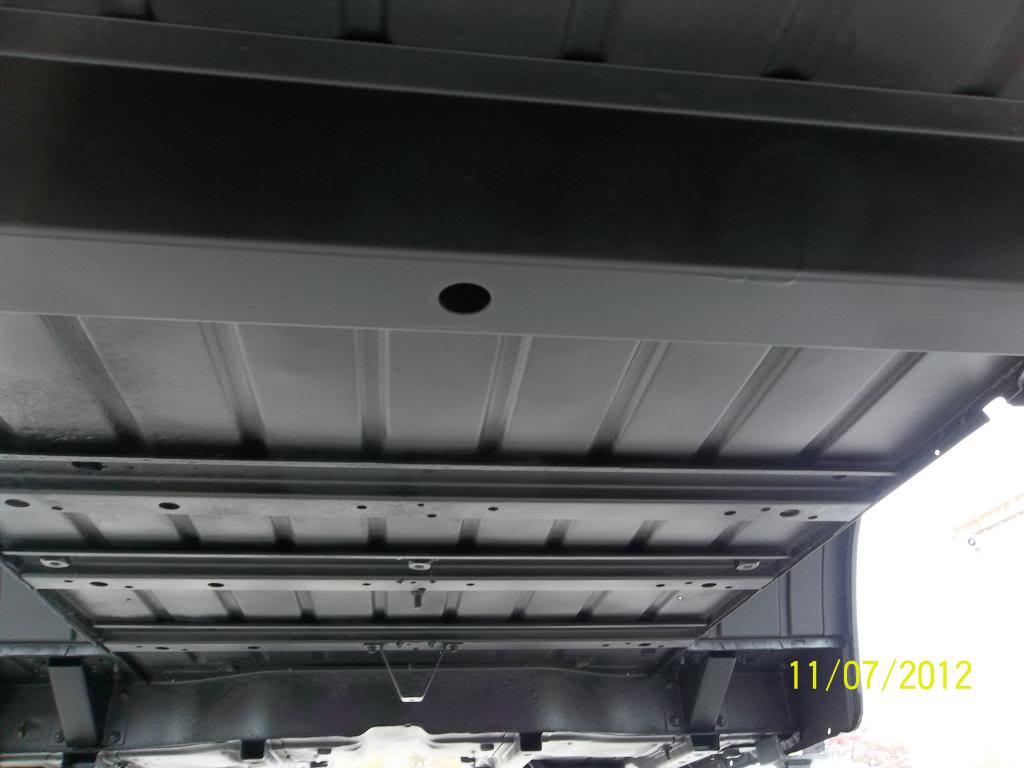
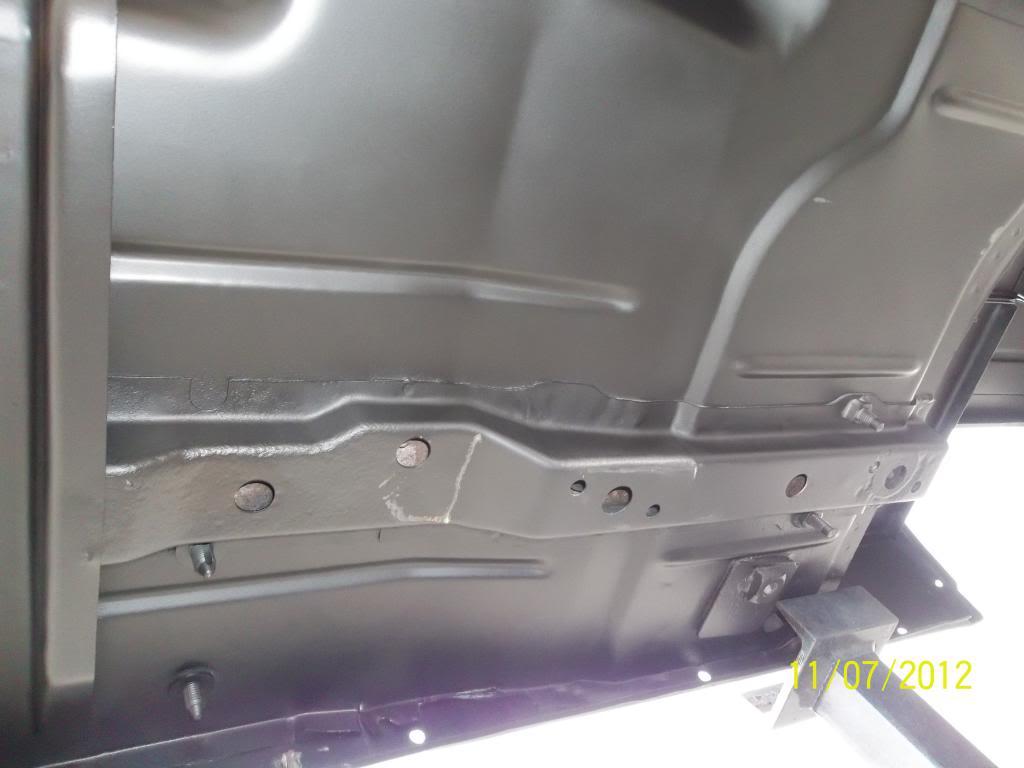
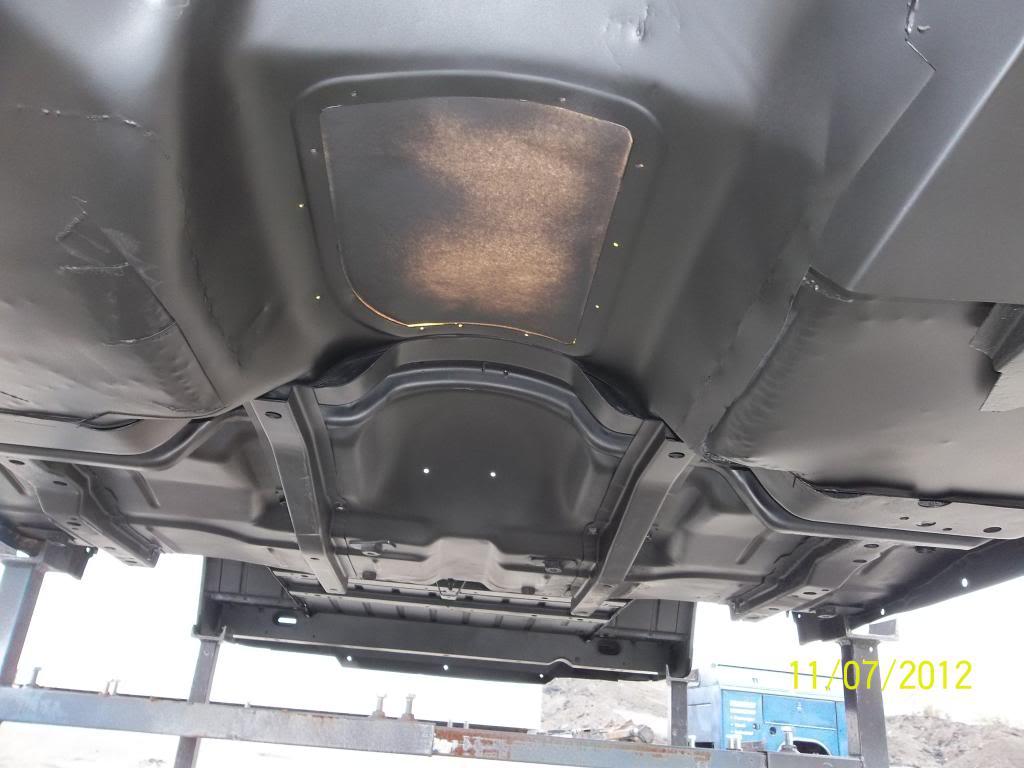
And here are the pictures of the underside of the body. This is where I was really surprised. The blasting took care of all of the surface scale rust that was under here, which is what it looks like 95% of it was. Also the Epoxy primer looked awesome throughout the whole body, DP90 is the product that was used.
100_0705-1.jpg


100_0704-1.jpg


100_0710-1.jpg


100_0710-1.jpg


100_0707-1.jpg
 
Looking good man !!

Thanks. It is really coming along. I will have more pictures to post in the next couple days. We got the body back from the painters a couple weeks ago and I almost have the wiring done thanks to OneTon's help. I hope to hear the engine run again in a few days!
 
Looking great! Making me a little self conscious about mine now...haha! Any idea how far the blaster people are from Ft Myers? Don't suppose you'd be willing to share how much the damage was including the primer spraying?? :)
 
Looking great! Making me a little self conscious about mine now...haha! Any idea how far the blaster people are from Ft Myers? Don't suppose you'd be willing to share how much the damage was including the primer spraying?? :)

They should be about 20-30 min from Ft Myers. Thats about the same distance I was from them. I don't mind sharing what it cost me. It was $2300 for the blasting/priming. I got the Tub done(not inside, just outside and underside), front fenders, grille, hood, windshield frame, 2 hard doors, tailgate, and dash. They did a great job, and also have some good prices on powdercoating.
 
Cool... thank you sir! I may just hit my bumper project with some heavy paint for now and have them blast and etch prime it when I get in country. :) Stupid road cancer salt here is driving me nuts. :)
 
Cool... thank you sir! I may just hit my bumper project with some heavy paint for now and have them blast and etch prime it when I get in country. :) Stupid road cancer salt here is driving me nuts. :)

Cool. Be careful with what paint you use if you eventually want it blasted. They do plastic media blasting, it can strip paint and the spray can undercoating fine but anything heavier than that and it might not be able to get it off.
 
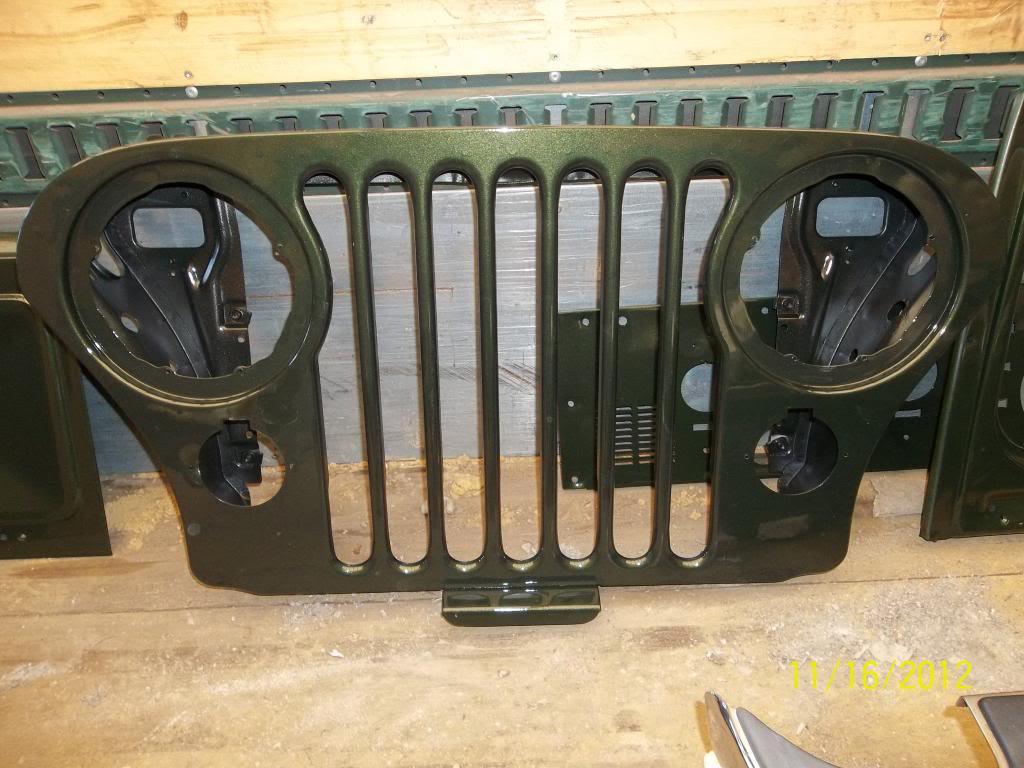
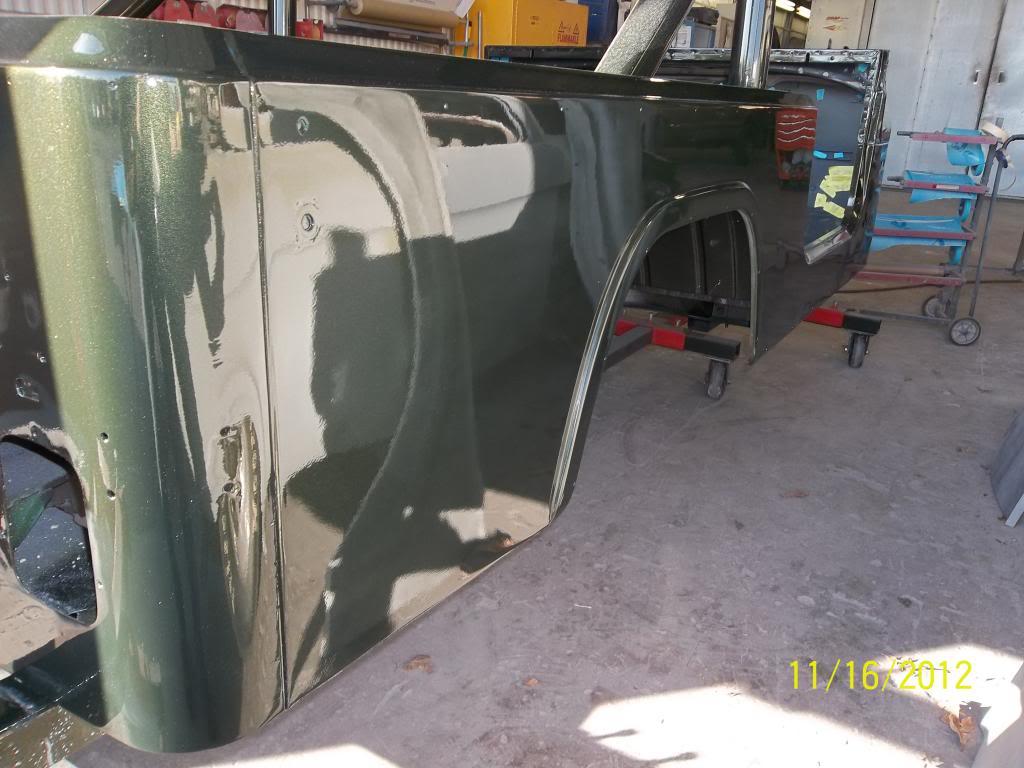
Paint is done!

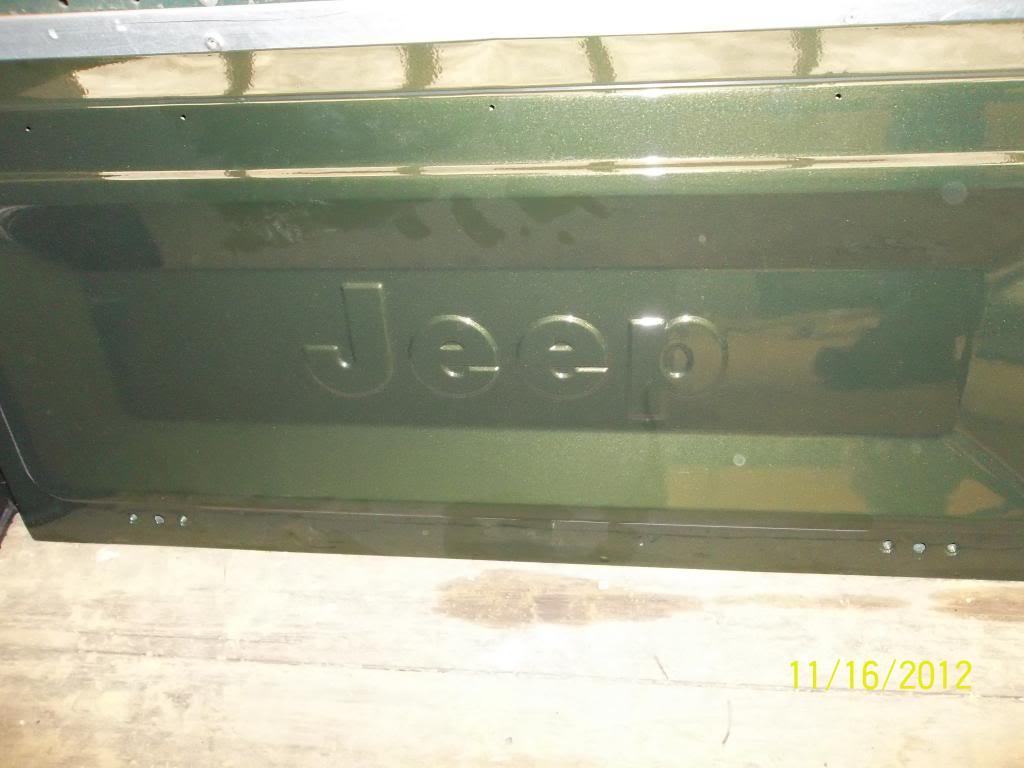
This was the most nerve-racking yet easiest part of the build for me. The transport of the newly blasted/primed body to the painters was a little hectic but thanks to OneTon we were able to get it there without so much as a scratch on the new primer. It took me a couple months of searching off and on for a reliable shop to paint the Jeep. Many places who focus on insurance claims gave me the impression they would just stick my Scrambler out on the back 40 until they could get around to it (1-2 months). I had eyeballed a shop in Richmond which was about an hour away because they did classic car restorations but low and behold I found a reputable place just 2 miles from my house, Skibo's Auto Body in Stafford, VA. They do insurance work but the owner also has several classic trucks and cars that he has helped with the restorations on...the owner also seemed like an honest guy. This was the nerve-racking part...you never really know how something like this is going to turn out.

In the end, it turned out great and I couldn't be happier. I specifically asked for an original quality paint(same levels of orange peel, etc). I told him not to worry about making the body as smooth as glass because I didn't want the Scrambler to look like a trailer-queen/show car.
100_0713-1.jpg


100_0712-1.jpg


100_0714-1.jpg


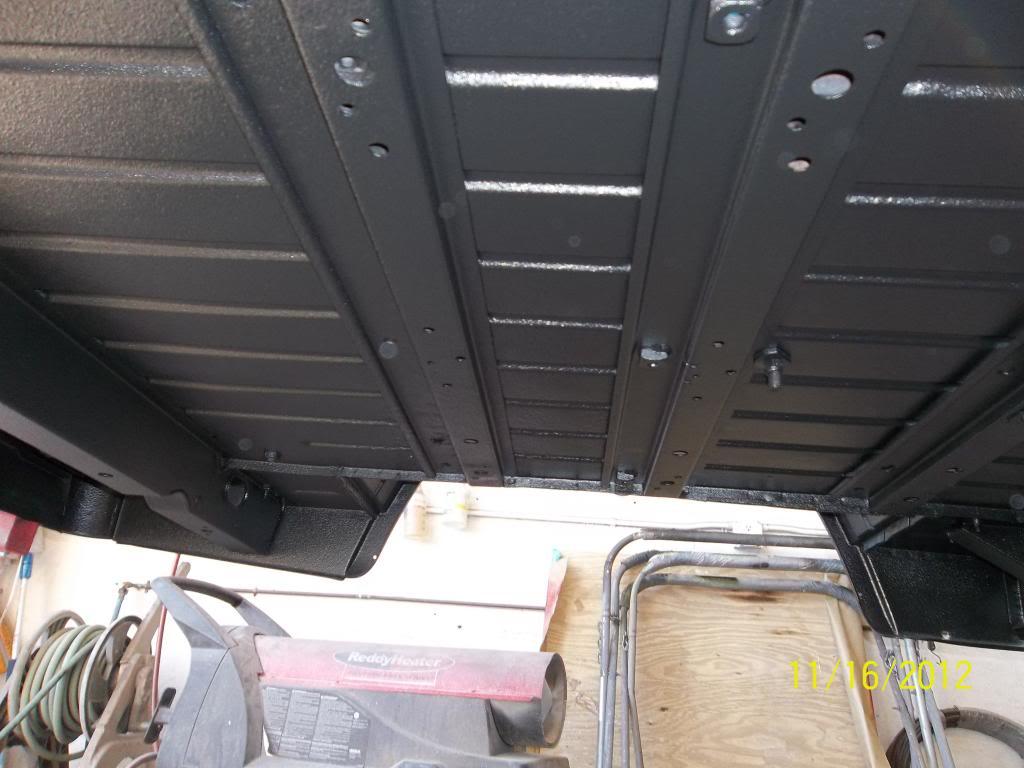
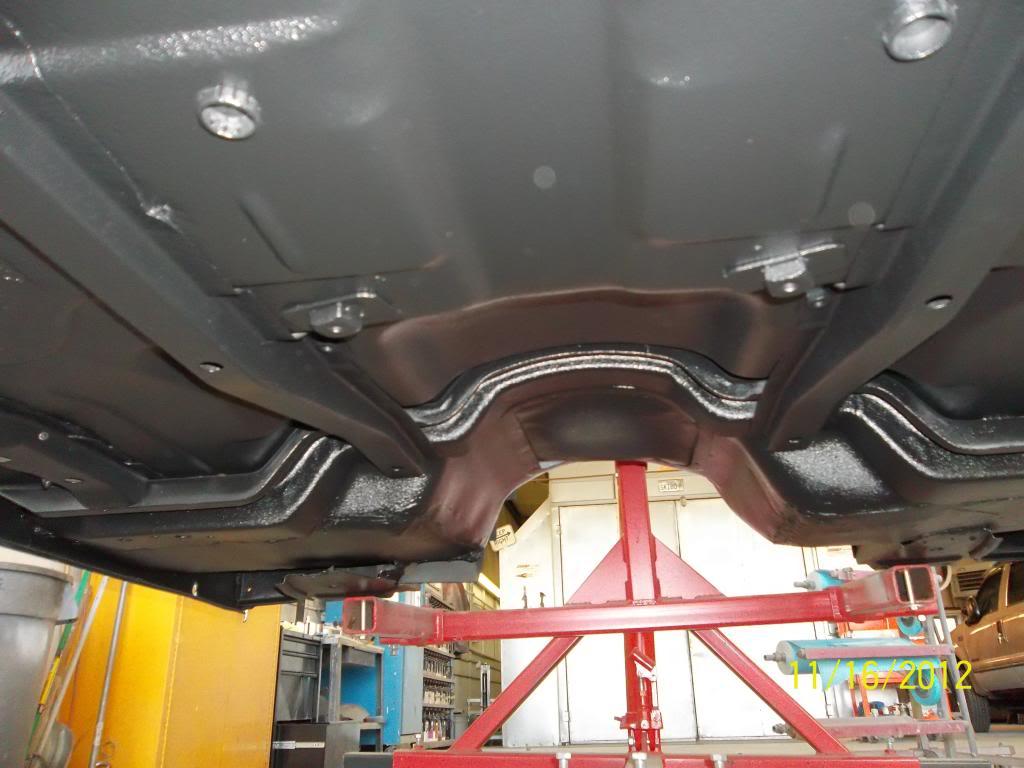
The underside was going to just get paint but since the blasters did such a good job I opted to go with a U-POL sprayable bedliner underneath. Not stock, I know, but I would rather it be protected.

100_0716-1.jpg


100_0717-1.jpg


I know some asked how much the blasting was so I figured I will post how much the body work was as well. To fix all the rust, the PPG base/clearcoat of Sherwood Green Metallic, and the underside of the Tub/fenders lined with the U-POL product + labor came to $3,400. $5,700 total was what I had to put into the entire body. That was a lot more than what I was originally planning ($3,000) but the realization of what had to be done to make everything right led me to do it this way.

Oh, I forgot to add. Skibo's Auto Body put the body on a rotissery and rolled it into the shop right away...nothing spent even an hour outside. Also you can imagine my surprise when they called me for pickup only 7 days after I dropped it off!
 
Very nice! :thumbsup:

Now just to figure out the trick to twinkle your nose and make it all put back together.:bacon::woohoo::bacon: :wave:

I hear Spankrjs has a team of elves that come out after dark and are done by daybreak with the assembly! :shrug:
 
Very nice! :thumbsup:

Now just to figure out the trick to twinkle your nose and make it all put back together.:bacon::woohoo::bacon: :wave:

I hear Spankrjs has a team of elves that come out after dark and are done by daybreak with the assembly! :shrug:

I wish I had a team of elves to run back and forth to the parts store for the thousands of miniscule essentials like bolts, screws, nuts, electrical terminals, line clamps etc!!
 
I wish I had a team of elves to run back and forth to the parts store for the thousands of miniscule essentials like bolts, screws, nuts, electrical terminals, line clamps etc!!

It's a Jeep thing and I DO understand! Keep up the good work. :wave:
 
Looks great! That is my favorite color.

Someday I'll get around to paint...
 
That is beautiful. Seriously.
 
I just spent the last 20 mins reading your thread! Great job! Looking forward to the post that reads IT'S ALIVE AGAIN. :bacon:
I also would have to say that its my favorite color too!
 
I just spent the last 20 mins reading your thread! Great job! Looking forward to the post that reads IT'S ALIVE AGAIN. :bacon:
I also would have to say that its my favorite color too!

Thanks...hopefully it will be alive in the next couple days. I am behind on my posts....I will be catching them up this week.
 
Back
Top