• Notice for iPhone users: DO NOT use the image size reduction option when uploading photos to the forum. This causes portrait images to post as landscape. We have added a warning to the image insert pop-up as well.

Well finally start building

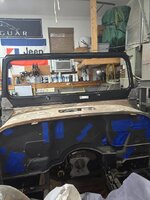
Been striping paint and sanding. My 80 gal Ingersoll pressure switch decided it didn't want to play anymore so currently work on hold. It's ok made me go back to working on my deck. Received my reman window frame today. And folks are right QC is low on their list of things but with a little fiddling she should be fine. Now as for shipping. Is Fed Ex trying to go out of business. Thank goodness the frame manufacturer placed sticky foam on the corners. The box was totally destroyed I don't mean damaged I mean destroyed. Inspected the frame and overall ok a couple small things but I can fix them.
It is a fairly large piece but not heavy so WTF. Anyway mounting holes appear workable inside dimensions are close to original frame. Jeep 77.jpg
 
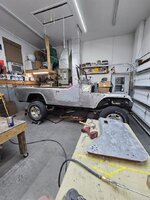
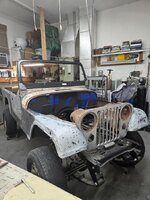
Yes stripping and sanding .I couldn't help myself had to mount half door.Jeep 83.jpg
 
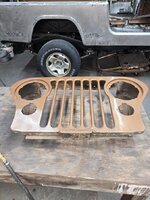
Wasn't looking forward to stripping this beast. No chem stripper (to fiddley). JJeep 86.jpgust sanding and a couple green things I bought off Amazon. They actually did ok so far. Don't last long but long enough.
 
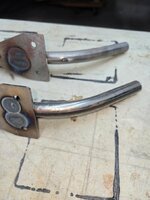
Hey just a point of interest if you folks have a bead blaster. I've had mine (skat blast) for 20+ years love it. I've changed nozzle's many times (ceramic, carbide, steel. Media also glass, aluminum oxide). Performance over time has gotten slower and media didn't change results. Decided to do a rebuild New nozzle head and pieces but also siphon tube (check picture). Top tube original (with a lovely hole in the wrong spot).
Not really build subject but hope this could save folks some aggravation.


Bead blaster repair.jpg
 
Bead blaster working like a champ. Working on cleaning fasteners (what a pain). Cleaned / stripped body panels were taking up space so I mounted them plus it makes me feel better.

Jeep 88.jpg
 
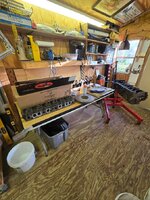
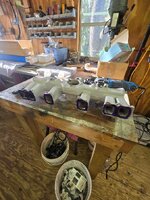
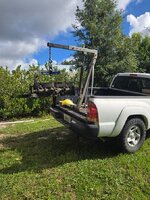
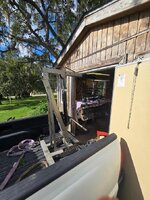
It is motor time. Had to move engine from under deck to shed (not garage because limited floor space and body work being done). Problem was how to get it there and inside. After much thought I came up with this. Picture is after we disassembled and moved out for another pressure wash. Cylinder bores showed normal wear and measurements are well within spec (no machine work required. Crank journals measured to spec. Number one connecting rod journal had a couple marks that were suspect. Brought crank to Titian machine in Ocala to get cleaned up. Wanted to pick up Titians master rebuild anyway. Building motor to basically stock they recommended there RV cam (just a little more low end torque). We port matched the stock intake manifold and stock cast iron exhaust. Carburation is being handled with a Howell EFI.


Jeep 96.jpgJeep 94.jpg


Jeep 92.jpgJeep 93.jpg
 
Back
Top