• Notice for iPhone users: DO NOT use the image size reduction option when uploading photos to the forum. This causes portrait images to post as landscape. We have added a warning to the image insert pop-up as well.

Retitled: 83 Scrambler resto-mod finally gaining momentum

ball joints done.. for now, I think

thanks to everyone on the forum that schooled me after my frustrations of last weekend.. it's amazing how having the right tool, no matter how simple it is, makes a difference..

most of the "lessons learned" on this project were pretty exclusive to my inexperience, so I'll spare the board from all my ignorance and just post a few before and after pics.. the "how to" by dsgraf above and the help I got over in the "suspension and steering" sub forum really helped..

on to the pics..

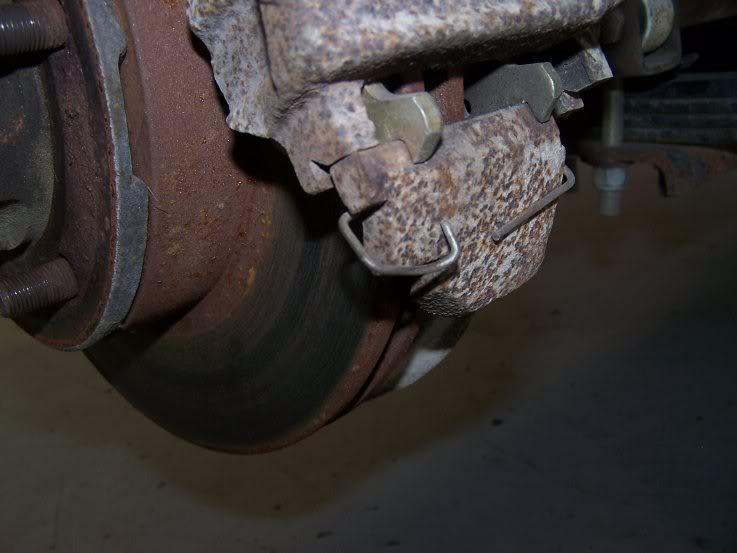
a shot of the brake caliper (rebuild and cleanup on those is another upcoming project, I'll do them all at once with a master cylinder service and longer stainless brake lines)
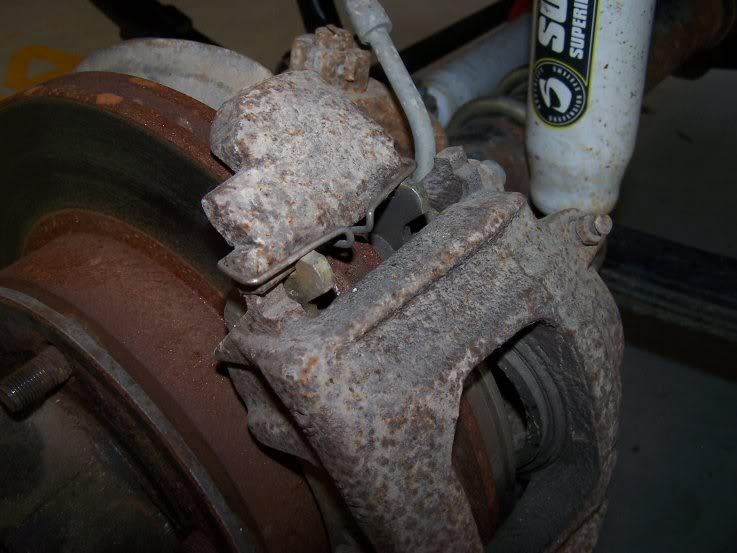
Brakesbeforeupper-1.jpg


Brakesbeforelower-1.jpg


here's the knuckle mounted in the vise (another very handy tool at the shop that I don't have at home.. gonna shop CL for one of these).. you can see, once again, the "patina" of twenty years or more of Texas farm use on it..
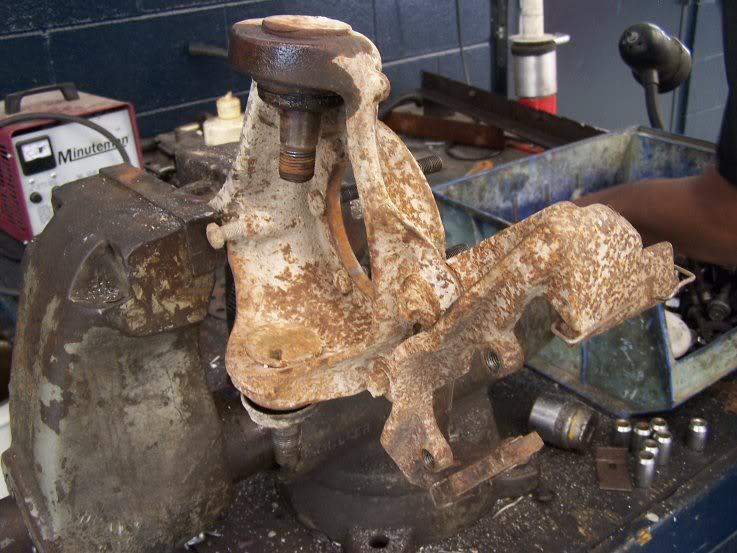
PassSideKnuckleinVise-1.jpg


axle naked... it surpised me to learn how, um, "open" the ends of the axle carrier are.. didn't realize that it wasn't sealed at that end in any way.. looks bad in this pic but it's not so bad in person
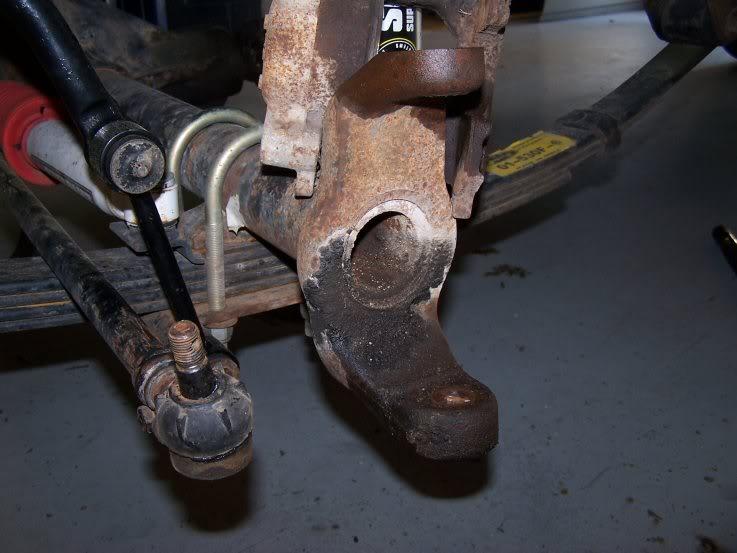
PassSideAxleEmpty2-1.jpg


parts layout.. I didn't change any of these parts but I'd done the wheel bearings years ago, and since I've hardly ever driven this thing, they're basically new.. but would buy if you're goine to do this project on something in use..
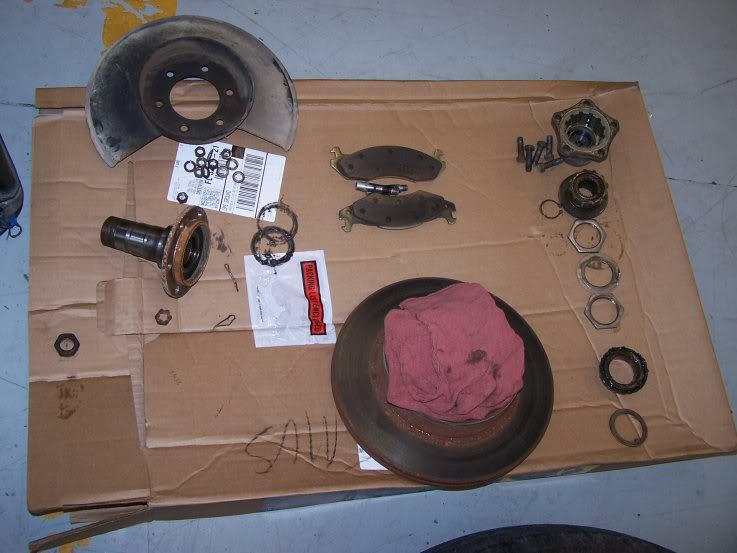
PartsLayout-1.jpg


here's the knuckle after some sandblasting.. I also blasted the axle shafts (the exposed u-joint portions), no pics of that though..
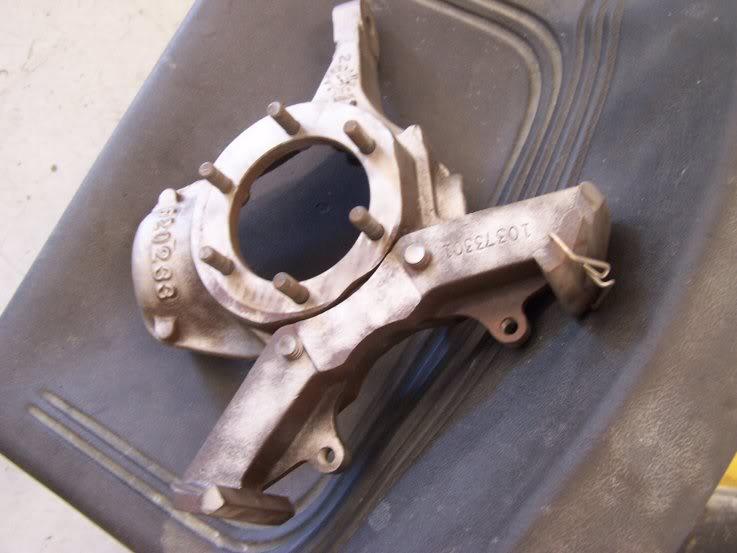
Knuckleaftersandblast-1.jpg


here's some assembled pics... first the painted knuckle.. looks a bit better..
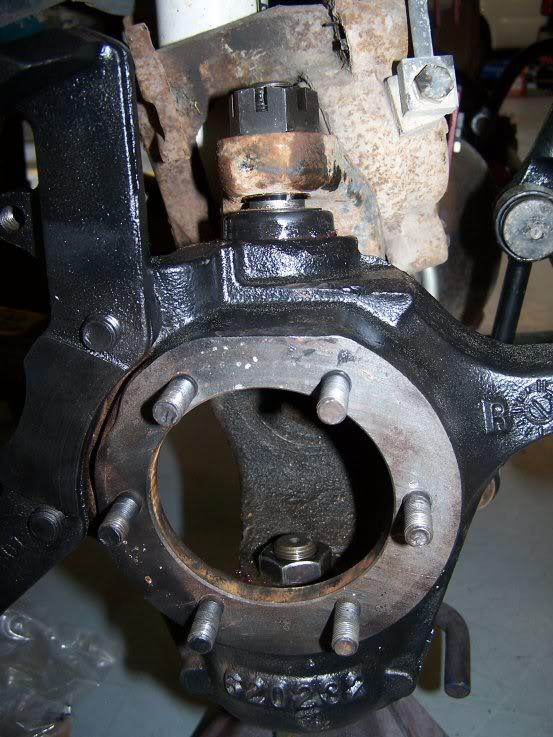
steeringknucklecleanedandpainted-1.jpg


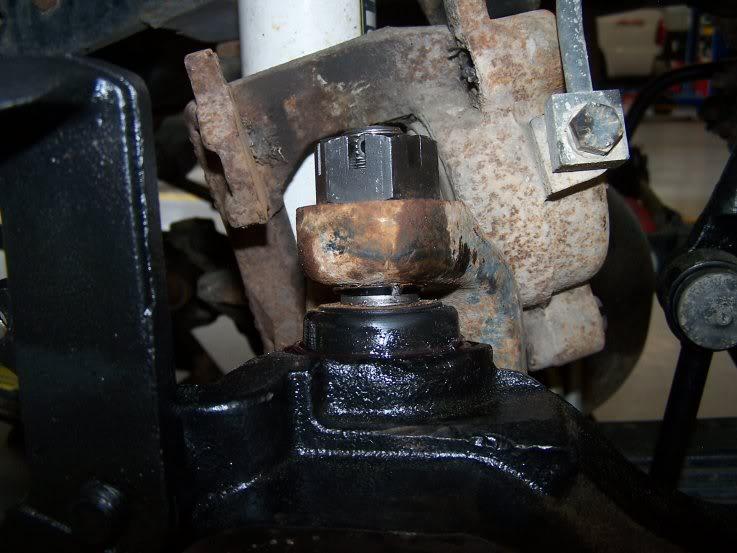
here's the lower and upper ball joints after proper torque-ing and assembly (I think I did it right, we shall see when it comes time to get this pupply aligned and on the road again)
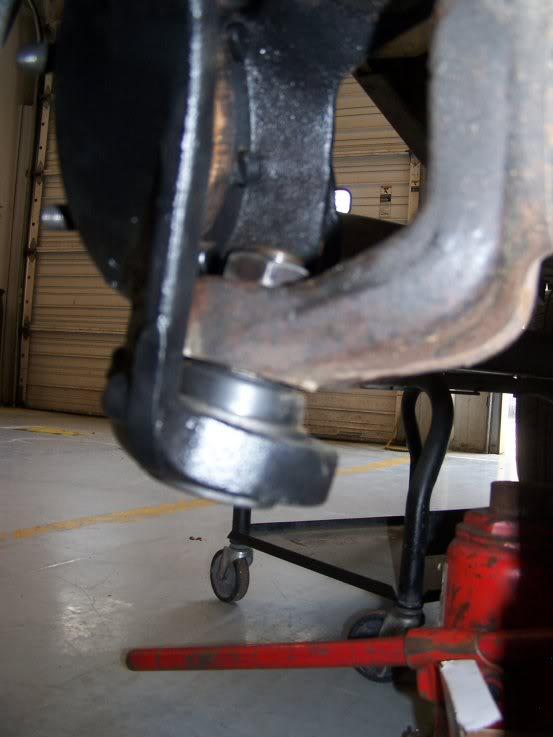
lowerballjointsafterpropertorqueapp-1.jpg

Upperballjointsafterpropertorqueapp-1.jpg
 
Last edited:
and yes I did line up the castle nuts and put in the cotter pins.. not pictured..

and one technical note.. you can see on the upper ball joint above the split ring sleeve comes out the bottom of the steering knuckle.. which concerned me for "correctness" but I saw on the old split sleeve that it had a bit of rust on the bottom, indicating that it probably came out the bottom side as wel.. good to hang on to the old parts til your done..
splitringoldshowingrustonbottom-1.jpg


finally.. all the paint I've done on the projects over the last few weeks has been with a can of chassis black rattle can from NAPA.. been pretty impressed with the volume, consistency, and results of that brand of paint..

I chose not to paint the sandblasted axles and u-joints.. figured I'd see how they did in their "natural" cast metal state for awhile.. one of these days I'm going to pull the entire axle assemblies completely and service them, to include cleaning and painting so.. that will come in time..
 
meanwhile.. off topic in another place..

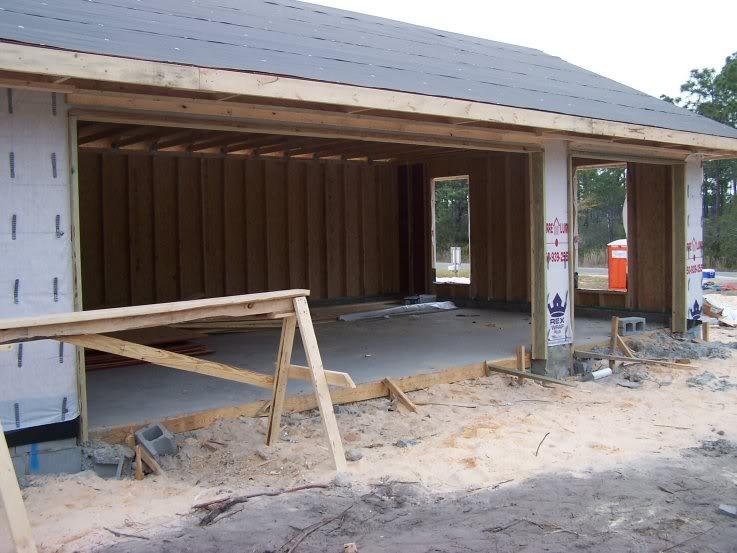
house build is coming along.. 3 car garage will be nice but I've come to appreciate the access to the multitude of tools and advice I get at the shop on base..

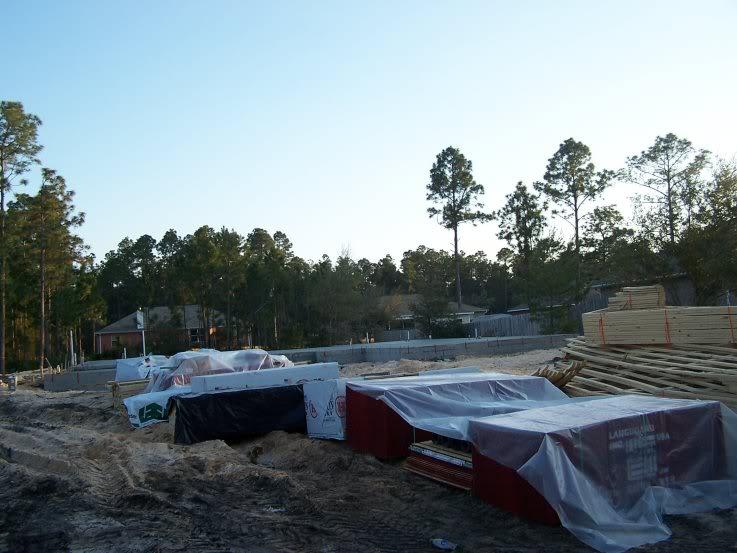
in less than a week we went from this:
19MAR10LumberandFoundation-1.jpg


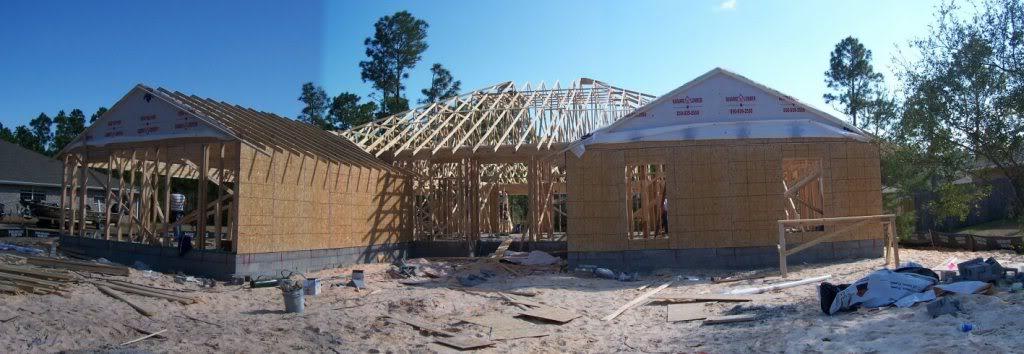
to this:
22MAR10Roofingstartedpan2resized-1.jpg


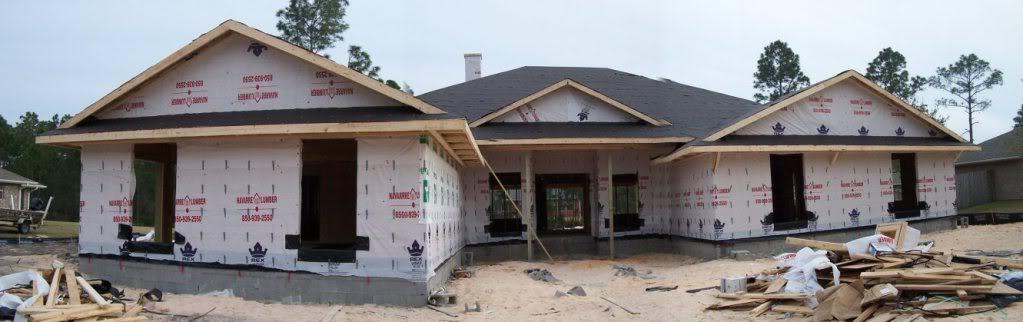
to this:
24MAR10SidingONpan2resize-1.jpg


and the future garage view..:smokin:
24MAR3Cargarageframedout-1.jpg
 
well, now I'm fired up...

after a consistent trend of projects that took longer, cost more, and confused me more than each should have.. tonight I pulled the truck into the shop to start a body lift install, optimistically thinking that I might get one half of it done, or perhaps only have 1-2 captured nuts that spun on me..

and nothing went wrong..

took me about 2.5 hours of work, some of that was silly inefficiencies on my part but, a pretty simple install and pretty gratifying work.. I actually had fun doing this tonight!

I didn't take "along the way pics" to do any detailed tech write up but, this is a pretty simple project.. simpler with air tools and a nice big shop to work in.. but something anyone could do in their driveway..

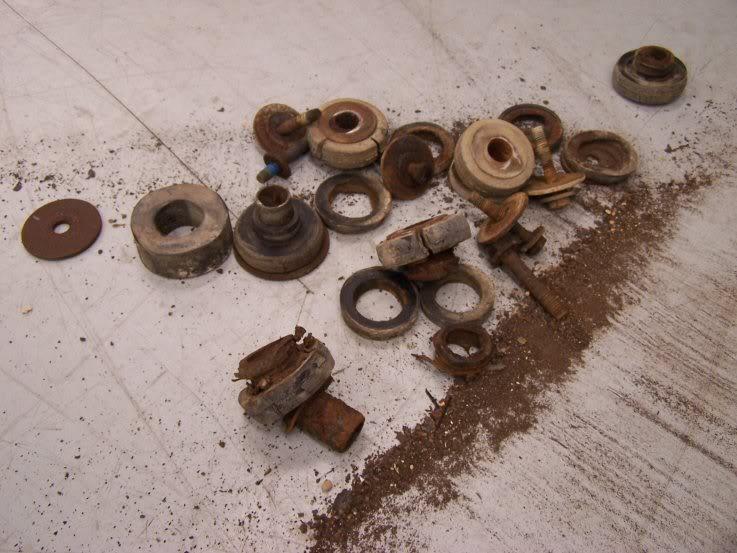
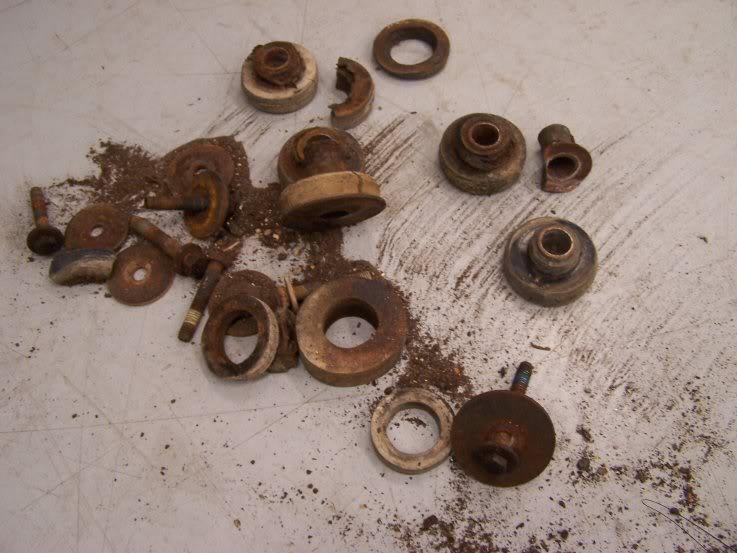
here's the residue that came off the truck, to include the dirt captured within some of the mounts (another benefit of air tools, occassionally "dusts" as you go!)

OldMountsandDirt1-1.jpg


OldMountsandDirt2-1.jpg


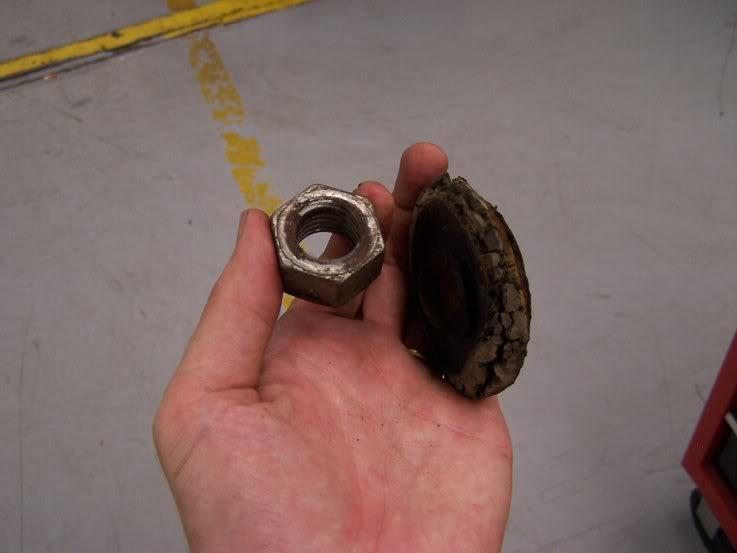
the front mount was probably the worst of the group, and had no, or zero, bushing or rubber under the frame.. someone had billy-bob'd a big nut on the bottom to hold it together.. probably responsible for the slight "gangsta lean" the truck always appeared to have..
OldMountsfront-1.jpg
 
before during and after

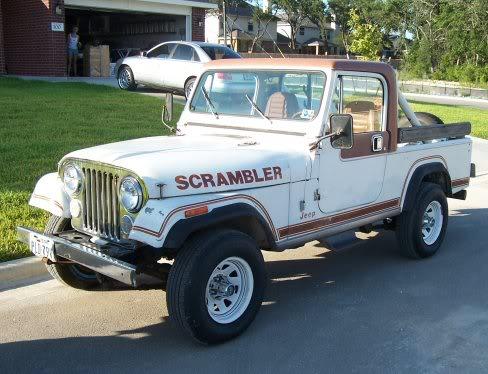
first pic is the truck as I bought it in 2005

scrambler1-1.jpg


and then after the spring and shackle lift (2.5 plus 3/4")

beforebodylift-1.jpg


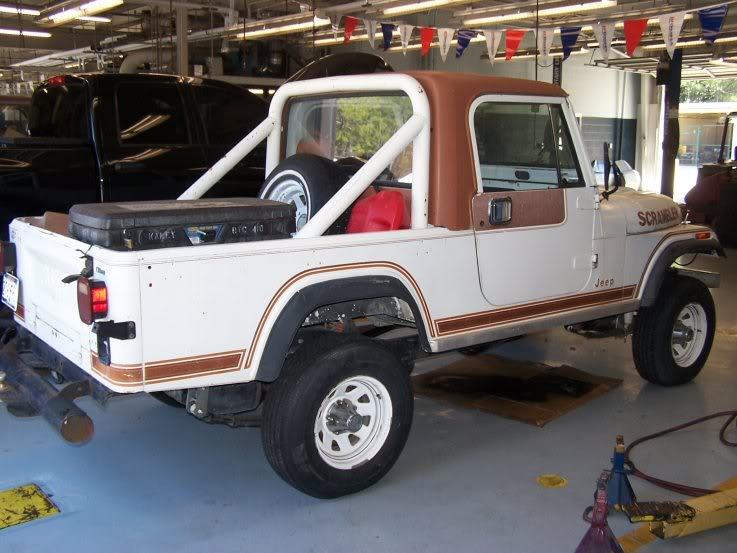
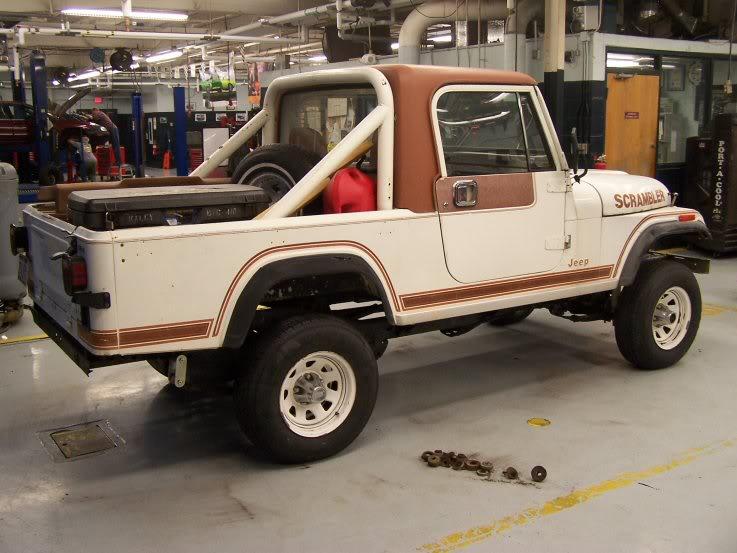
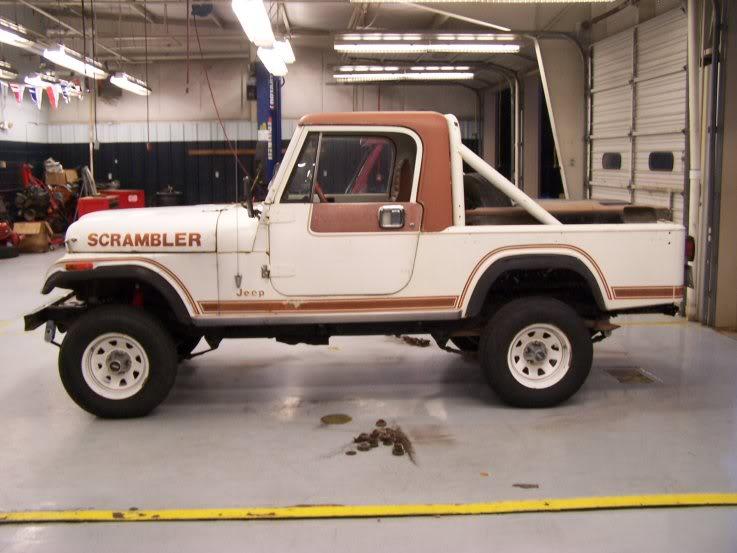
and then some shots from tonight after the body lift install.. I was a little wary that it might look goofy, but I think I'm happy with the stance. I'd say the functional lift was closer to 1.5 or 2 inches, as the existing factory body mounts were pretty tired and compressed.. the replacements seemed well over an inch taller side by side.

I'm now am pretty excited about getting some 32-33" tires to replace the dime store 235/75s on there.. considering wheel options as well.. I like the American Racing Teflon Mojaves alot but not sure they work with the current paint scheme.. lots of "functional" spending to do before I get to dressing..

AfterBodyMountInstall-1.jpg


AfterBodyMountInstall2-1.jpg
 
Last edited:
among the next projects..

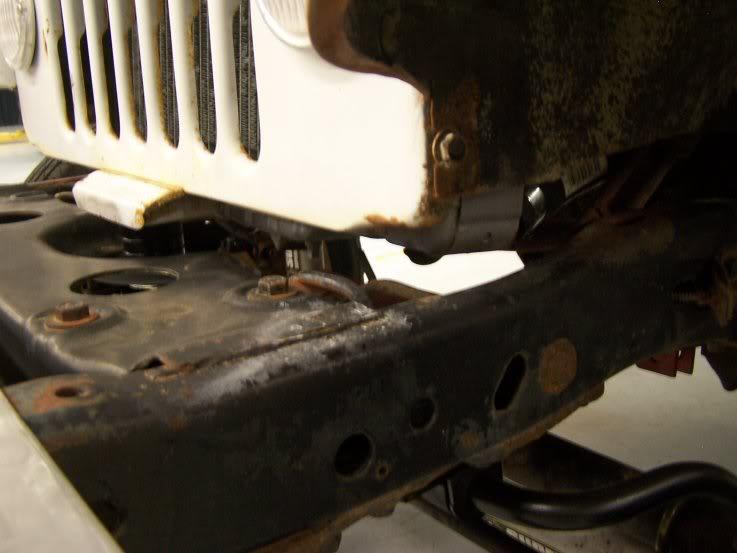
.. is to replace the (nonexistant) steering shaft boot at the steering gear box.. saw some discussion recently about how the lower radiator hose/outlet tend to rub right up against the steering boot.. mine did that as well and I was wondering how to over come that.. appears that the body lift will pretty much solve that for me..

not exactly easy to see but my radiator is painted hammertone silve so you can see the new gap between the radiator bottom and anything below it..

FrontMountlowerradiatorhoseclearanc-1.jpg
 
anyone want this?

pickup only..

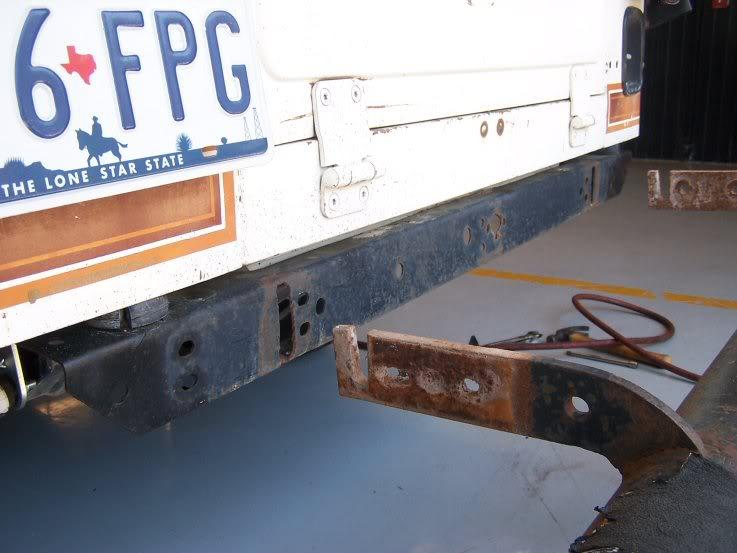
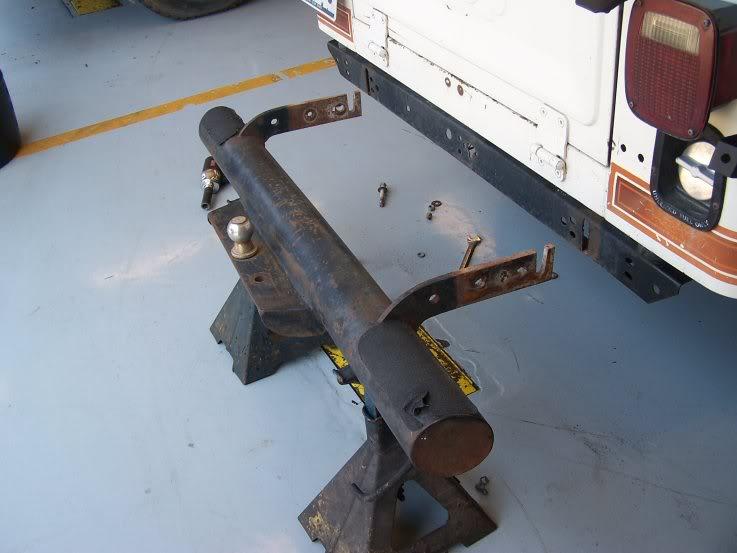
this masterpiece is a homemade tube bumper that came on my truck.. has brackets which passed through the rear cross member (thus the reason I need to replace mine) and then bolt via 4 11/16 bolts through the frame..

I'd guess that it weighs about 50 lbs or so.. was set up with a towing ball/hitch.. might also function as a boat anchor.

not interested in shipping but if anyone wants it.. it's free for the taking.. otherwise I'll dump it

RearBumperremoved1-1.jpg


RearBumperremoved2-1.jpg
 
not exactly easy to see but my radiator is painted hammertone silve so you can see the new gap between the radiator bottom and anything below it..

FrontMountlowerradiatorhoseclearanc-1.jpg

A winch hides that gap nicely.....:D
 
Isn't it great when something goes smoothly!:thumbsup:
 
Great to hear that you had something go nicely, a body lift is not generally that trouble free!

Watch CL for some cheap 33s, you can pick them up until you do rims/tires and sell them off for what you paid.

And a big THANK YOU from Scramblers everywhere for getting that bumper off of there! :thumbsup: I'd list that thing on CL, some misguided soul somewhere will want it.
 
thanks for the encouragement guys.. it is nice when something goes smoothly and you get the result you want.. motivates me to jump into something else... I'm actually at a point here where I feel I can see the light at the end of the tunnel (hopefully it's not a train), but I may be able to get her on the road and drive it pretty soon!

John, good point.. I'd planned for a winch but didn't make the connection that it would help hide my least favorite effect of the lift
 
Randy,

Great post bud. I just picked up a CJ8 here in Nebraska. Got to do all the same you went through except for the starter and trans. Hope yours works out sweet for you.

--Doug
 
Randy,

Great post bud. I just picked up a CJ8 here in Nebraska. Got to do all the same you went through except for the starter and trans. Hope yours works out sweet for you.

--Doug
Welcome! :wave:

When are you starting another thread with some pictures of the new ride?? ;)


Back on topic: I was getting used to the rapid posts :evil:
 
BW...

yeah.. momentum has stalled.. I was wondering how far down my thread must have fallen..

wife and son returned from an extended stay at home with her family (long story but she went to attend paternal granddad's funeral and ended up staying a few exta weeks, during which all my previous posts were made)... so we've been spending more time together now in the near term, although I'm planning to start action on a valve cover/RMS replacement today and hopefully finish this weekend..

I did actually get to the shop for about 4 hours last weekend with a few "smaller" projects in mind and was able to fix exactly NONE of them, including
- replacing the dust boot at the base of the steering column where it connects to the PS pum
- my wiper motor is not connected, has a harness that is spliced from the original four colors (black, blue, red, green as I recall) into four completely different colors, and I've got a pick-n-pull wiper switch on the dash which I can't figure out what color wires go to what leads (there are more wires coming out of the switch than go to the wiper motor harness)...
- rear PCV (inlet) vavle is "puffing" smoke out (see thread in engine forum)
- became painfully aware of rapidly growing leak at the rear of the engine (hence my RMS thread in the engine forum)

I walked away from the garage last weekend feeling frustrated, incompetent, defeated and ready to boot this thing out of my life.. time to hit the "easy" button.

So, got some projects to start today and hopefully will get through them..

Missed an opportunity this week to get a complete working AMC304, 3sp, D300 for 250$ off CL because I sat on it one night thinking about what I really wanted in the future (old school V8, 4.0 conversion, or just fix the 258 I've got). Angry about that, and still not sure what I want to do long term... I'm not an experienced engine guy but the idea of doing a basic build interests me.. as does dual exhaust.

Did got check out a set of 6 Bridgestone Dueler REVOs in a 31x10.5/15..guy wanted 500, but he had 3 nearly new ones and 3 pretty well used ones.. so I passed, and he called me later to say he'd take 450 for all 6, which is probably not the worst deal, and they rate as good tires online, but not sure it's the deal I want.

I have yet to actually drive this truck outside of the parking lot at the shop...
 
I think I'm going to name my Jeep..

.. Time Bandit. :banghead:

No photos today, but will get some shots tomorrow.

Got the truck into the shop and checked out a few things BEFORE I start my RMS replacement, just to make sure I"m not totally wasting my time.

First, I did a compression test. First time I ever did one, and not sure about the accuracy of the gauge I was using (no reason to doubt it, but it didn't "hold" a reading, you just had to watch/guess the highest point the needle made it to). I wrote down the results and don't remember exactly which cylinder got what reading, but the basic results were:
  • 1 cylinder at 135
  • 3 cylinders at 120
  • 2 cylinders at 110

I understand 120-150 is "normal". I have no ideas how many miles are on this engine (odometer reads over 100k, but the speedo cable was new when I bought it so, not sure how long it went without one). The engine doesn't, or at least hasn't under the very short usage I'm giving it, produced much smoke so... unless someone tells me otherwise, I'm going to assume that this is relatively normal wear and that, for a basic useable engine that I plan to drive on until I can buy/build another option, this is good enough. :shrug:

Step two today was removing the valve cover. I've done this before on my 86 CJ7.. what I didn't realize before I got started was the difference in the bolt patterns (or lack thereof on the 83), and to expect the plastic knobs that hold this factory valve cover in place. So what? This cover was secured with RTV and no gasket... no bolts/washers over the studs on the driver's side of the head either. So this cover has been held on with the two little nuts on the top/center of teh cover, and a bunch of RTV.. that's it. So as I tried to separate it from the head, I was using a razor, then a gasket scraper, to break the seal between the cover and the head and get it off, trying to open up as much as I could lengthwise before putting any leverage upwards on it (to avoid breaking it).. turns out, I broke 3 of the 5 little plastic t-ts off in the process.

So, thinking that glueing them back together is probably not an acceptable option, now I need a new valve cover... and no local parts stores have/can order one so.. Q-tec mail order here I come.. another week waiting on a part. :banghead:

Next on the menu.. the area surrounding the valve train under the cover was gooped up with what appeard to be a very tar-like oil surface.. it actually wasn't sticky to the touch, but where it had pooled it had a black scum-like film on the surface. Figured this can't be good for it, and as I'm going to pull the oil pan anyway, I'm going to get one of those 5 minute engine degreaser bottles (basically diesel fuel), pour it over the valve train, replace the valve cover temporarily, and then run the engine for a few minutes before I drop the oil pan.. hoping it will wash all the goop/scum down there.

This 5-minute product was recommended to me so, if any of you has some warning to me on why NOT to use it, please let me know quickly, or give me an easier/better solution. Otherwise I'm at it tomorrow AM by 9.

Off to bed. RMS and motor mount replacement starts tomorrow.:eek:
 
random pics..

.. from things other than working on my Scram that I did in the last few weeks..

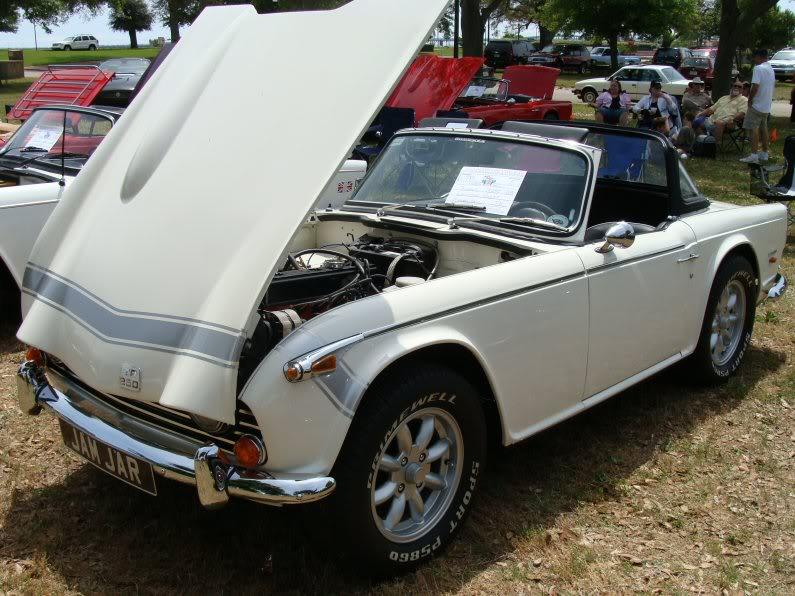
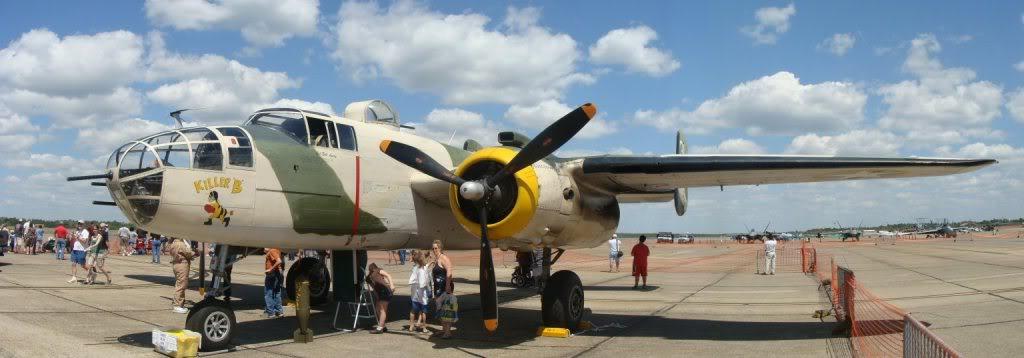
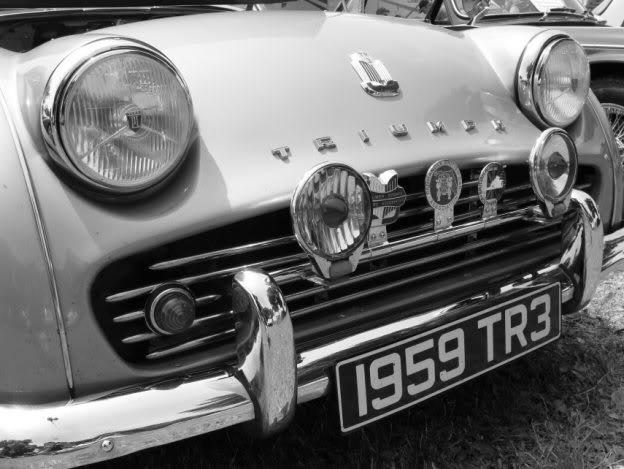
local Air Base show and a local British Car Club show.. both cool events..

20100417PensacolaBritCarShow3-1.jpg


20100417PensacolaBritCarShow5-1.jpg


20100417PensacolaBritCarShow6-1.jpg


20100412B25MitchellPan1resize-1.jpg


20100412EglinAirShowThunderbirds4-1.jpg
 
Sorry to hear that. Did you go for the aluminum valve cover upgrade?
 
Sorry to hear that. Did you go for the aluminum valve cover upgrade?

I didn't order it yet, but probably will. Qtec has cheaper prices on both type than 4wdhardware.. the plastic kit is "only" about 60 bucks.. the two things that make that tempting are (a) cheapness, as I've got no idea how much else I'm going to spend, or not, on this engine and (b) no drilling/tapping.. I have this vision of the next thread I post being something like "how do I fix the fact that I drilled into the water jackets on the head?"

but in the end.. yes, probably will get the alumy version.. why not, I"m dumping cash in this thing anyway..
 
Last edited:
opinion...

Just a FWIW..You will be very UNhappy with the plastic valve cover. Promise! Even the Alley-minimum one is not super easy to get sealed right...must follow the directions :eek:. But at least it won't crack and warp (you would hope!) after only a few months!
 
Back
Top