• Notice for iPhone users: DO NOT use the image size reduction option when uploading photos to the forum. This causes portrait images to post as landscape. We have added a warning to the image insert pop-up as well.

Another Scrambler Purchase/Road Trip - UPDATE- BODY ON FRAME AGAIN

Something seems off with those gauges sitting way off to the left like that. They might not be for the right range of your senders or something else seems off. You should not have to bend any arms on the fuel sender and I think the temp is just wrong if you have a new sender.

I thought so too, but there are built in "pegs" on the face of the gauges to limit the needles movement. I think that the needles should rest on the left peg when they are off, which they do. These gauges are different from OEM/NOS gauges, I think that is why they look "different" when off, i.e. the needles swung really far to the left:shrug:

I will have to do some more investigating. The instructions that came with the gauges did not mention using different sender units, so I assumed they should work with the OEM sending units:shrug: The instructions were pretty detailed, and they did not mention using different senders, I hope I don't have to buy new sending units:fingerscrossed:

As far as the float arm on the sending unit, I have been amazed at the different bends in these arms. I could compoare 5 different sening units and every one has a different bend in the arm. That is why I think that is the issue with this sending unit, even though the tank is full, the float is floated all the way up, but the arm is not all the way up on the "scale" to register full:shrug:
 
Stewart Warner

They look like they are Stewart Warner gauges by the packaging. It even shows their part number. Maybe you can get some help here.
Stewart Warner
 
the float on the mopar sending unit is garbage. they crack and fill with gas. if you can find a NOS sending unit (working or not), the float looks like a shot gun shell. brass end that goes on the clip and some kind of foam for the floatie.
 
Something seems off with those gauges sitting way off to the left like that. They might not be for the right range of your senders or something else seems off. You should not have to bend any arms on the fuel sender and I think the temp is just wrong if you have a new sender.

I have to aggree. I came across at least 3 different risistance ranges between gauges and sending unit in the gas gauges alone and this is the types of reading I was getting. To solve this problem i made sure I ordered matching sets of the same manufacturer.
 
Fuel gauge - With a full tank of gas the needle points to 3/4 of a tank. I don't think this is a problem with the gauge, I believe it is a problem with the sending unit arm. I will have to drop the tank again, fill it with fuel, then slightly bend the arm on the sending unit so that the gauge will read full when the tank is full. That is my only idea on how to fix this issue.

I see the opposite with my stock (I assume) fuel gauge. Off just looks empty plus, not so far down. Full is pegged hard past the F. Empty shows just under 1/4 tank. It's a nuisance, but a "someday" project to drop the tank and deal with it.

Temp gauge - All my factory CJ temp gauges, when they work, always point to the dead middle spot between H and C when the engine is at 195 degrees. This gauge points right at the C, or just a little past the C. Some people have said this is normal, no way to adjust the gauge or sending unit (that I know of), so I will just have to get used to it.

At running temp of 195° with my stock (assumed again) temp gauge is maybe 1/4 onto the green. Definitely NOT midpoint. The only time it ever goes higher is sitting still. Back in forward motion, it's back to the 1/4 point. Maybe it'll rise a bit with summer heat, but I kinda doubt it.

But, as ever, helluva beautiful build. :bow: And if you can't get your squeaks and rattles reinstalled, I've got a few spares I can ship you at no charge. :D
 
0124-1.jpg

I put this pic on the wall in my garage. inspiration...
 
I was looking through the build tread this morning. I wonder were spankyrjs has been, hopefully we'll get an update soon.
 
I have a feeling its going to look freakin sweet next time he posts some pictures of it ;) :popcorn:
 
I was looking through the build tread this morning. I wonder were spankyrjs has been, hopefully we'll get an update soon.

Been working on the Scrambler, was waiting till I had some worthwhile updates.:wave:
 
Been busy working on the Scrambler. Got a bunch done this weekend. I decided to not mess with the temp and fuel gauges for now, instead I did some major aesthetic work.

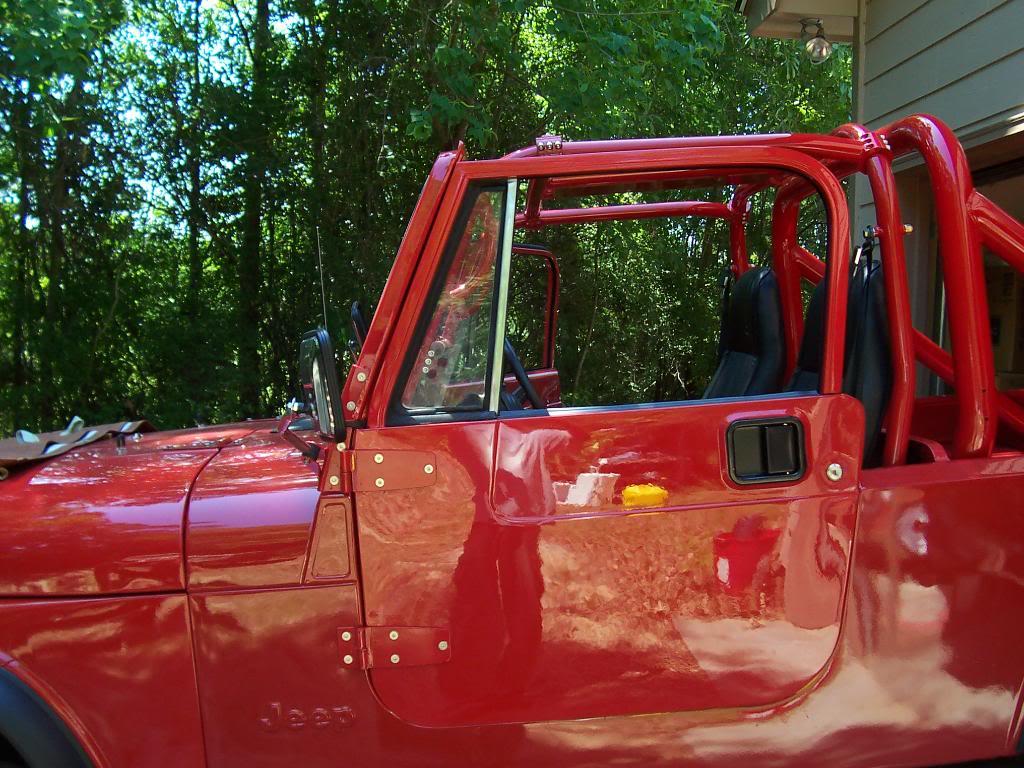
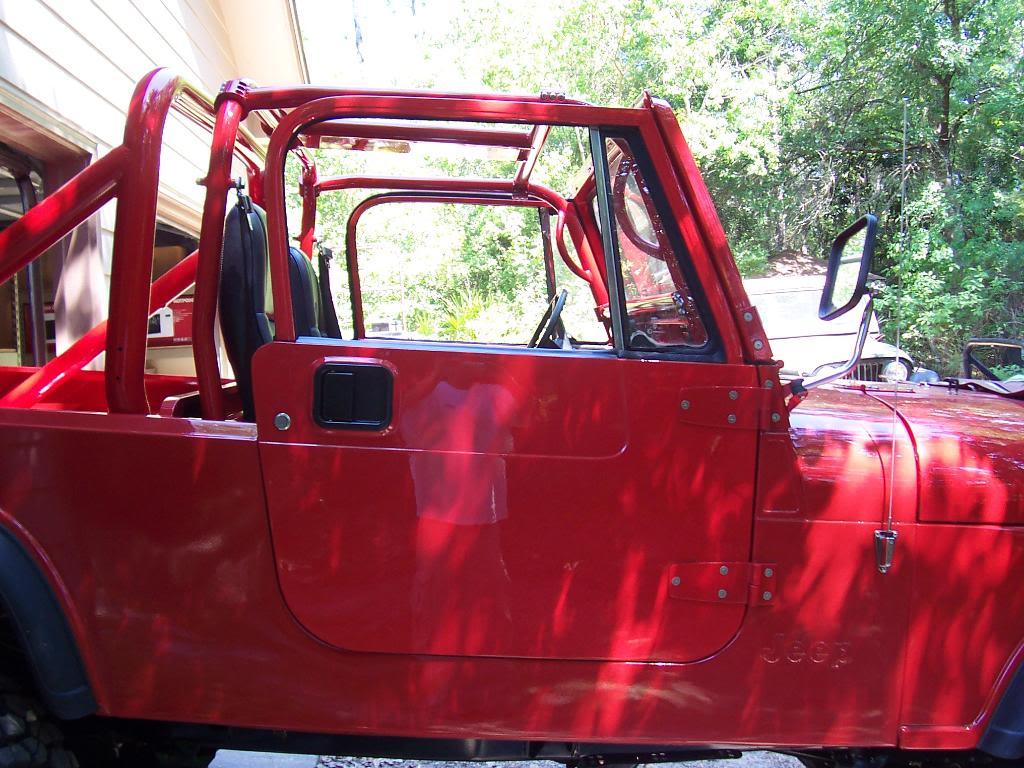
First, I installed my hard doors. I still need to do some adjustments, but they are functional.

00118-1.jpg


Drivers side.

00219-1.jpg


Passenger side.

00316-1.jpg


Both of my doors are sitting low, but i dont have any more upward adjustment on the hinges. They dont rub the door sills, but they are close. I might just space the doors up on the body by installing some spacers on the hinge pins. I adjusted the windshield angle (per the Whitco 1/2 soft top instructions, 98" from top of windshield frame to back of body) and the doors seal tight against the windshield frame. I will do some more tweaking/adjusting later. Also, i need to replace my strike pins, the doors don't sit flush at the rear when they are shut.

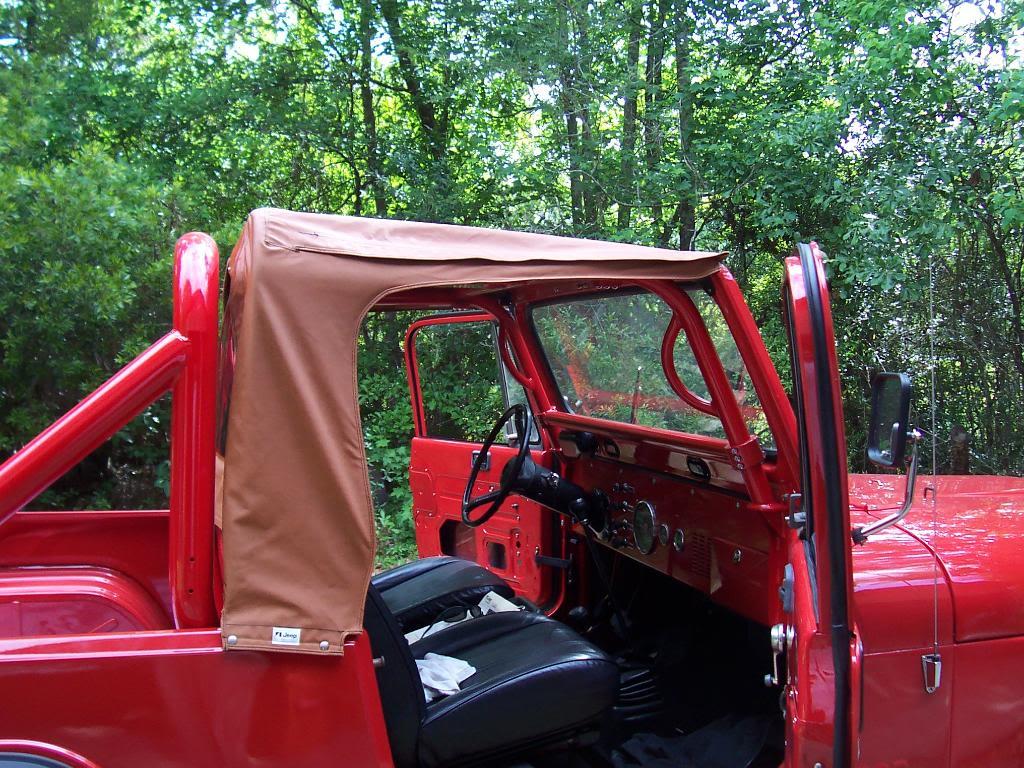
I installed the doors so that I could finally install my NOS Whitco 1/2 soft top.

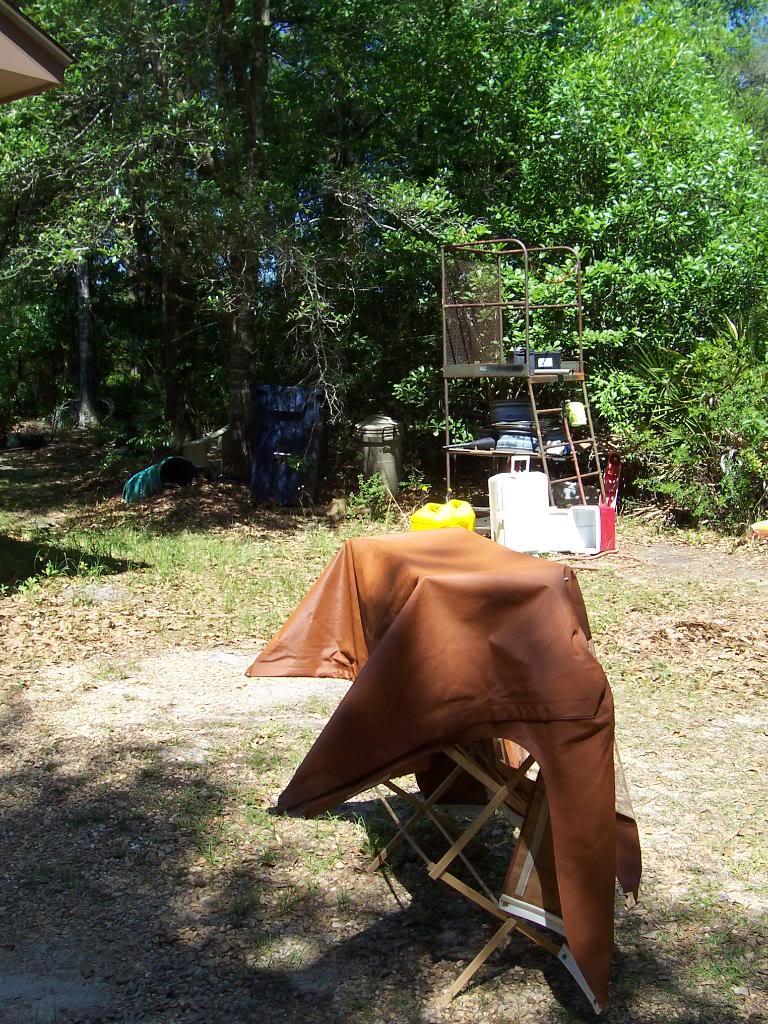
Picture of the top.

00417-1.jpg


Picture of the top hardware. This picture shows all the hardware needed to install the Whitco 1/2 soft top used with steel doors. My hardware all had old tape residue and slight oxidation. I cleaned all the old sticky residue off with Goof Off and cleaned the metal up with #000 steel wool. Everything still looks dingy in these pics, but you will see how well it cleaned up in later pictures.

00516-1.jpg


First I installed the header channel.

00611-1.jpg


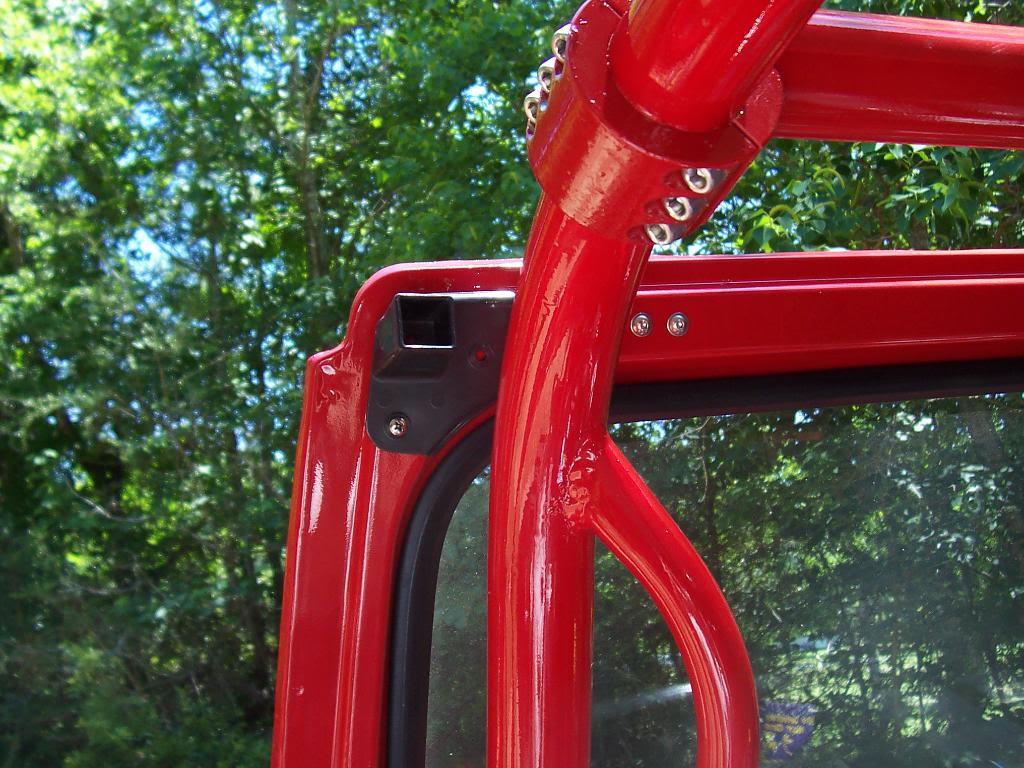
Next I installed the pieces that go on the corners of the windshield frame. I had to fold the windshield frame down to drill the other two holes for each corner piece, the cage gets in the way. That is why this pic just shows one screw holding on the corner piece, it takes 3 screws per corner piece.

00711-1.jpg


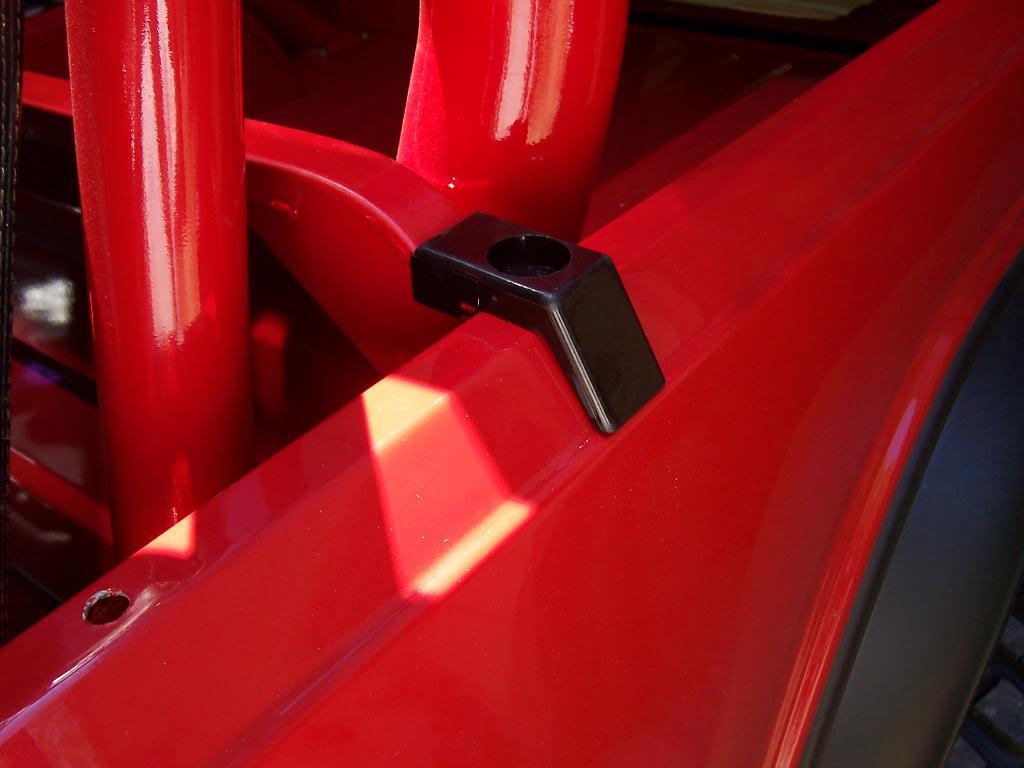
The body side pieces that hold the rear bow in place.

0089-1.jpg


Installed the "bag" on the inside of the bulkhead. This storage bag hold the top and all the hardware inside the vehicle when you remove the top, pretty neat. This picture just shows the center footman's loop, two more ar installed, one on either far end.

0098-1.jpg


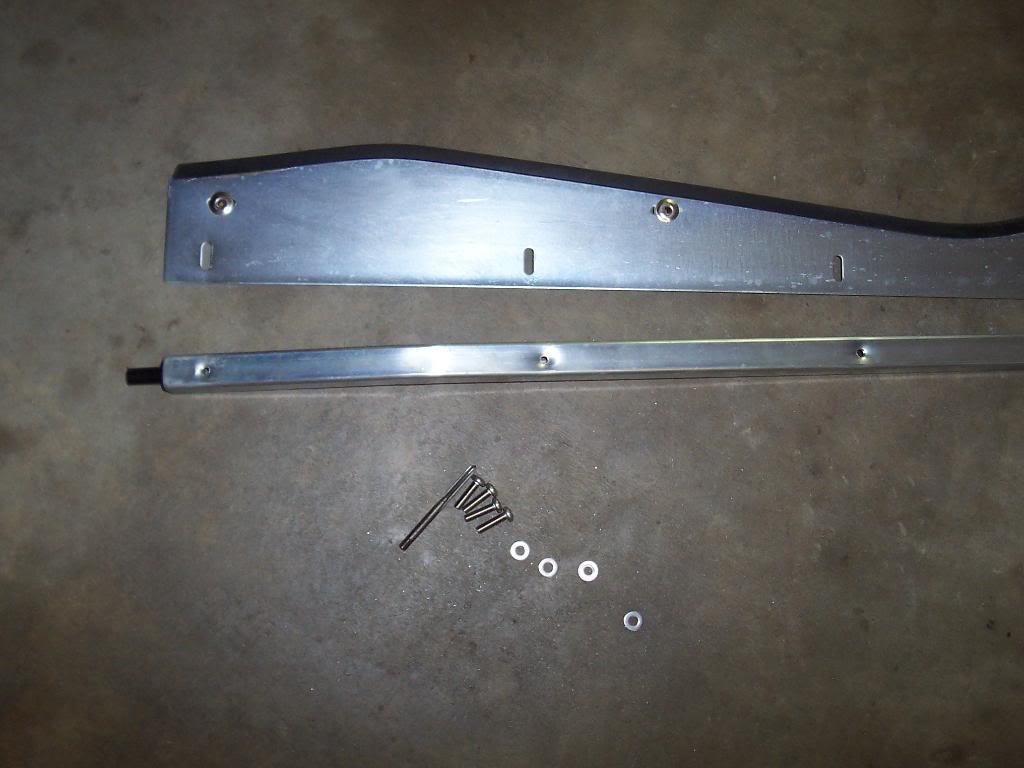
Next I assembled the side pieces. The flat sheetmetal pieces screw to the square tube post pieces, one for drivers side and one for passenger side. The instructions called for a "#10-32 thread cutting screws" to be used. I did not receive any of the screws with this top (except for the snaps and snap screws), so I tapped the square tube posts with a #10-32 tap and screwed it together. Worked perfect. All the other screws used with this install are common off the shelf parts.

0106-1.jpg
 
Last edited:
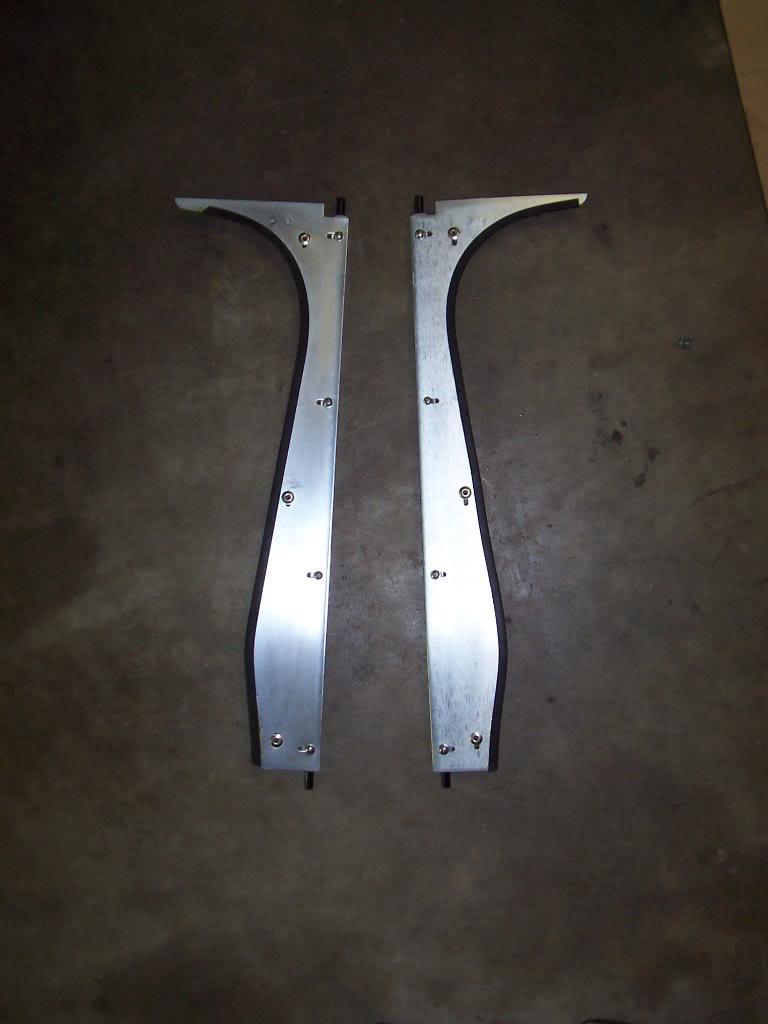
The assembled side pieces.

0115-1.jpg


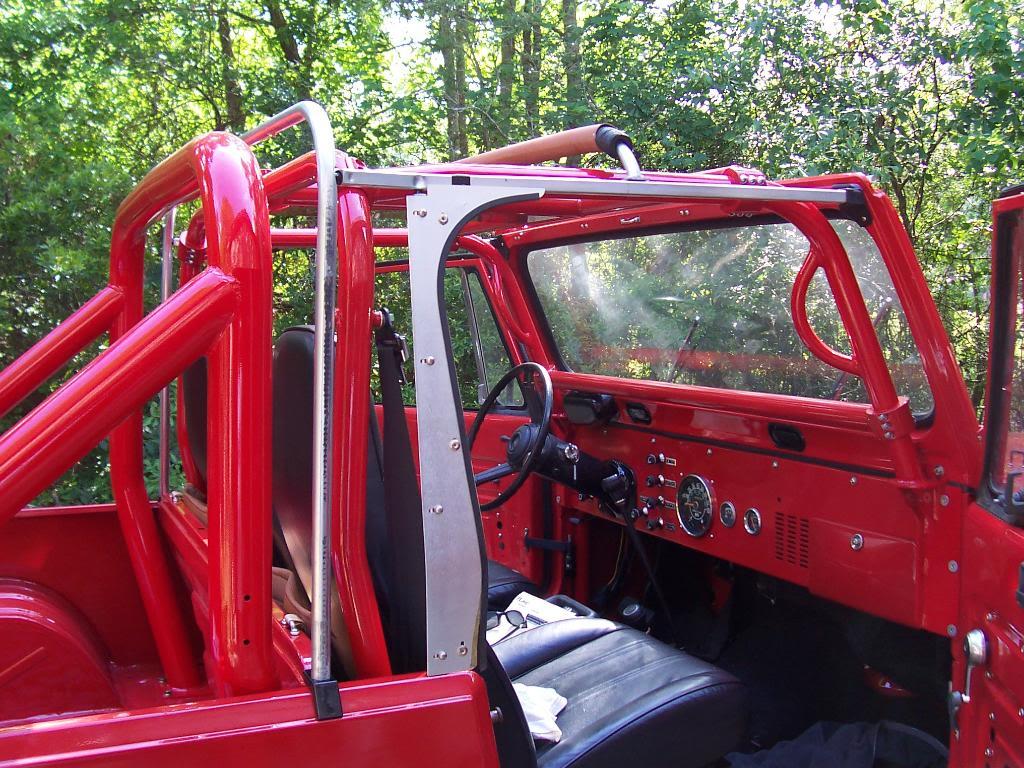
Picture of all the hardware installed. NOTE - The center support with the Nutmeg cushions must be installed AFTER the top is on.

0125-1.jpg


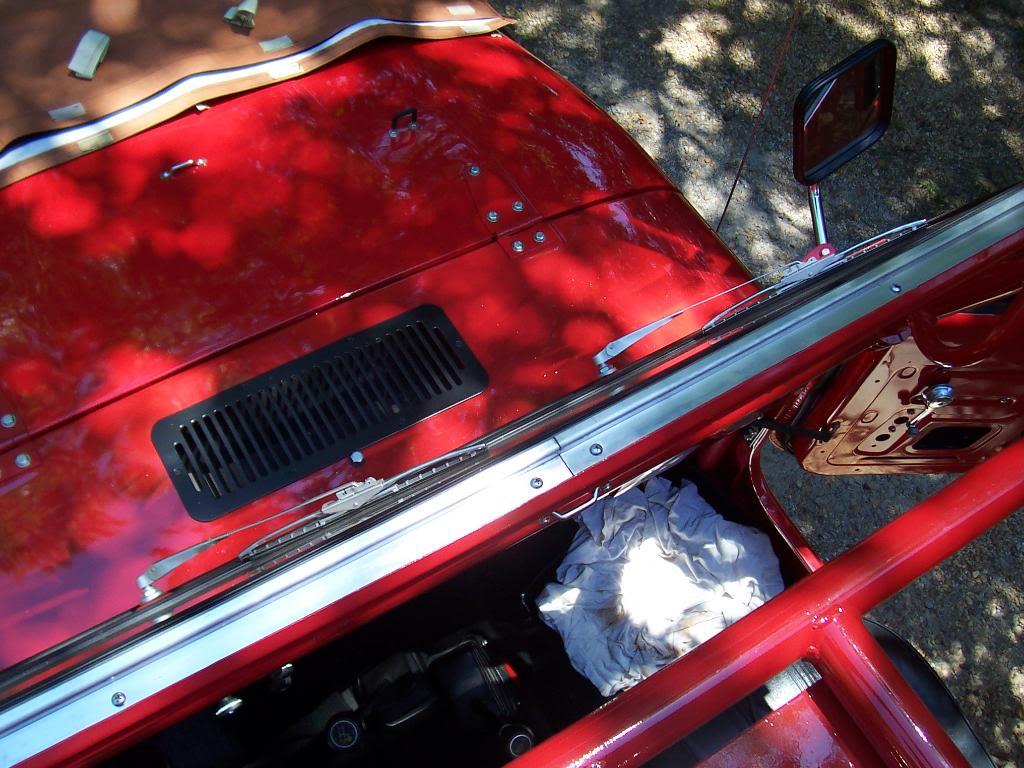
I then draped the top over the hardware. I thought the hard part of this install was going to be assembling all the hardware. I was wrong.

0134-1.jpg


0144-1.jpg


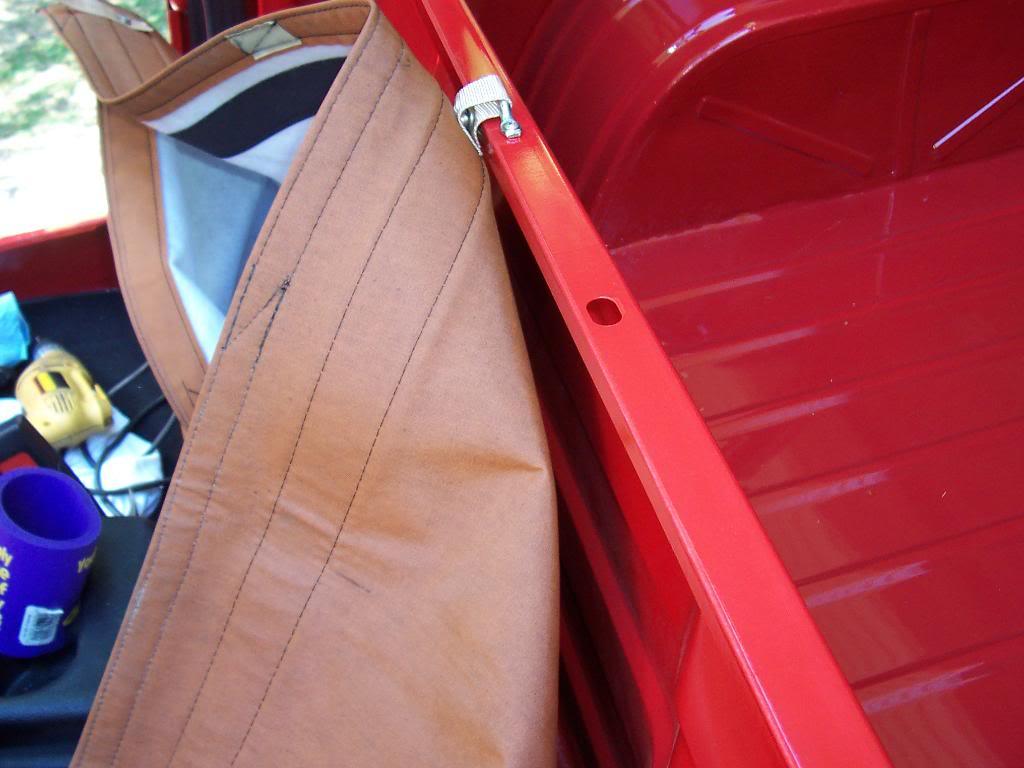
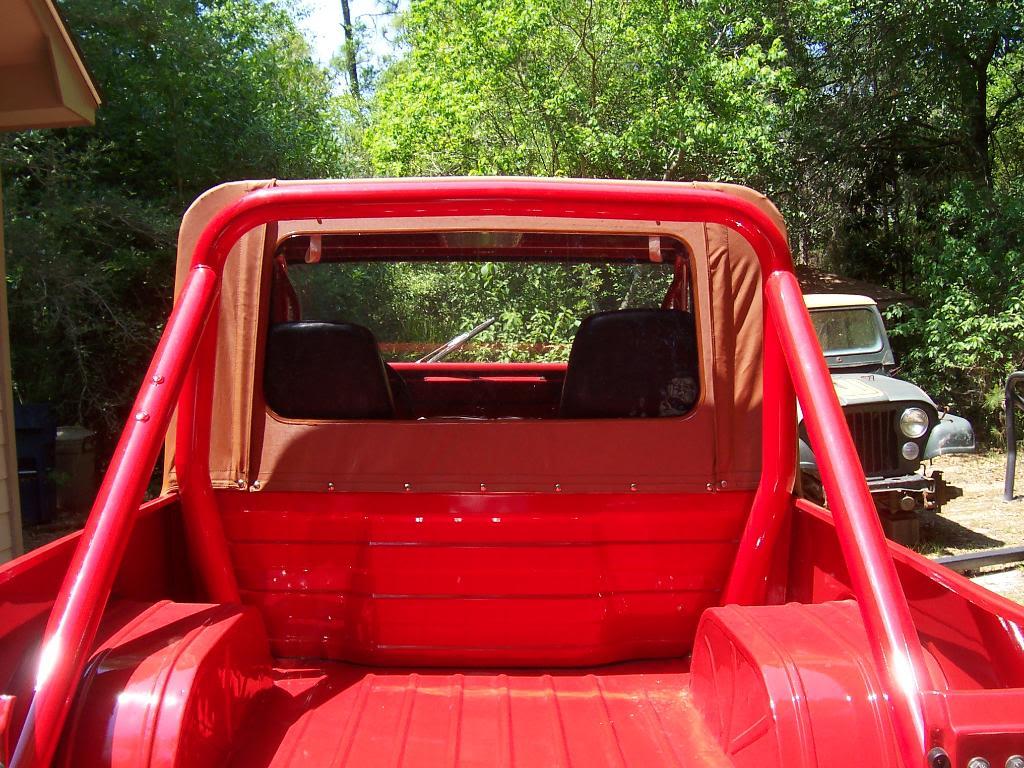
You can see in the last picture the gap at the rear of the top above the bulkhead. I guess frome age, and the fact that I washed the top previously, the top had "shrunk". I had to "stretch" the top back into shape in order to get it to fit. In order to stretch it, I had to soak the top with water repeatedly, and I had to keep the top wet to prevent it from shrinkng back up. Make sure you do this on a warm day with your carpet removed, by the time i was finished I was soaking wet and the whole interior was soaking wet. Once I got the center snap installed and the top snapped to it, I moved outward to the next snaps. After I got the 3 center snaps installed it wasnt that bad. But, due to the shrinkage, it took me close to 4 hours to get this top installed correctly. It fits very good and it was not damaged by my "stretching"method. I am going to leave the top installed all this week to let it get into shape before I install the two corner windshield snaps.

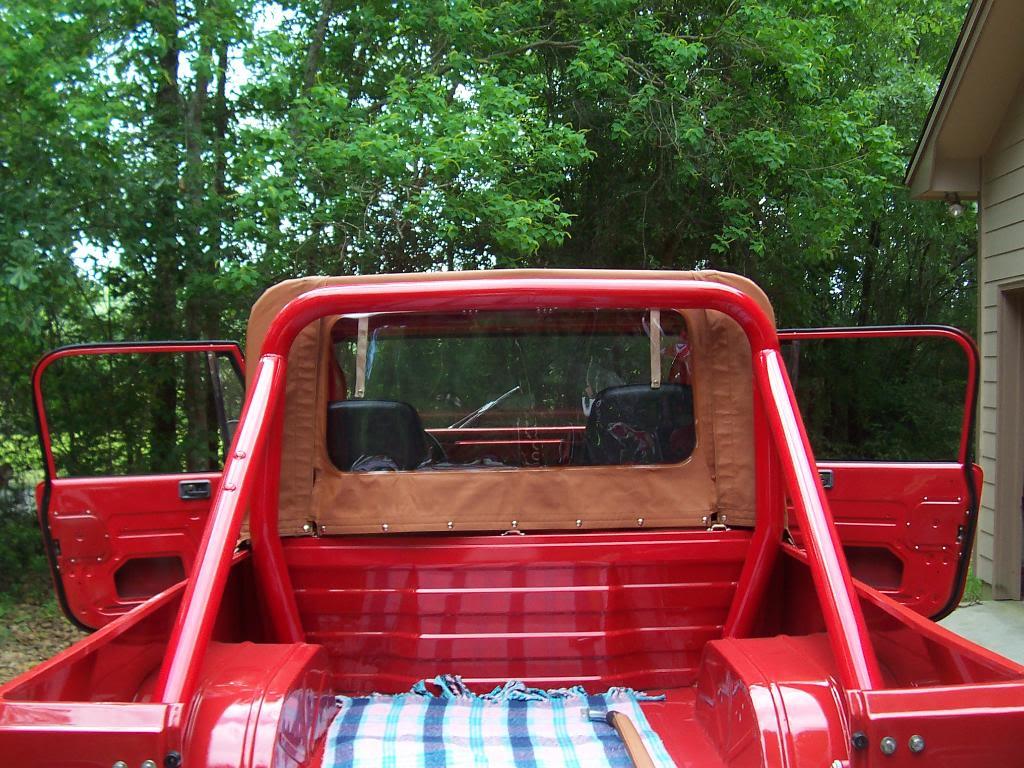
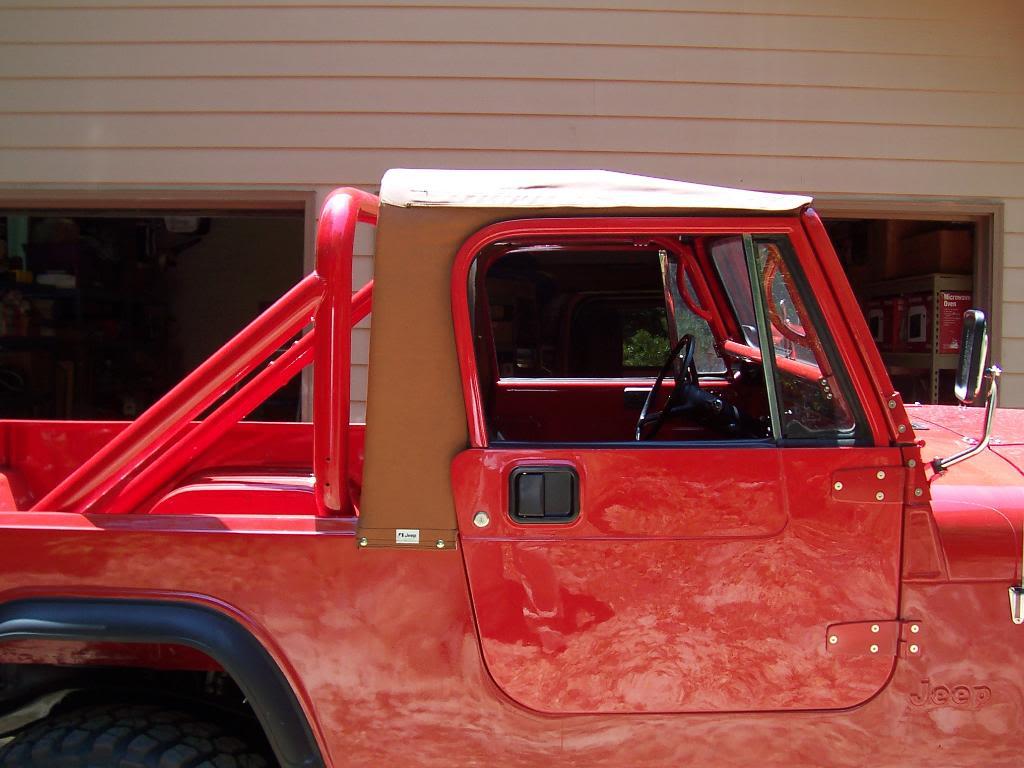
Pictures of the installed NOS Whitco Nutmeg 1/2 soft top.

0154-1.jpg


0164-1.jpg


0173-1.jpg


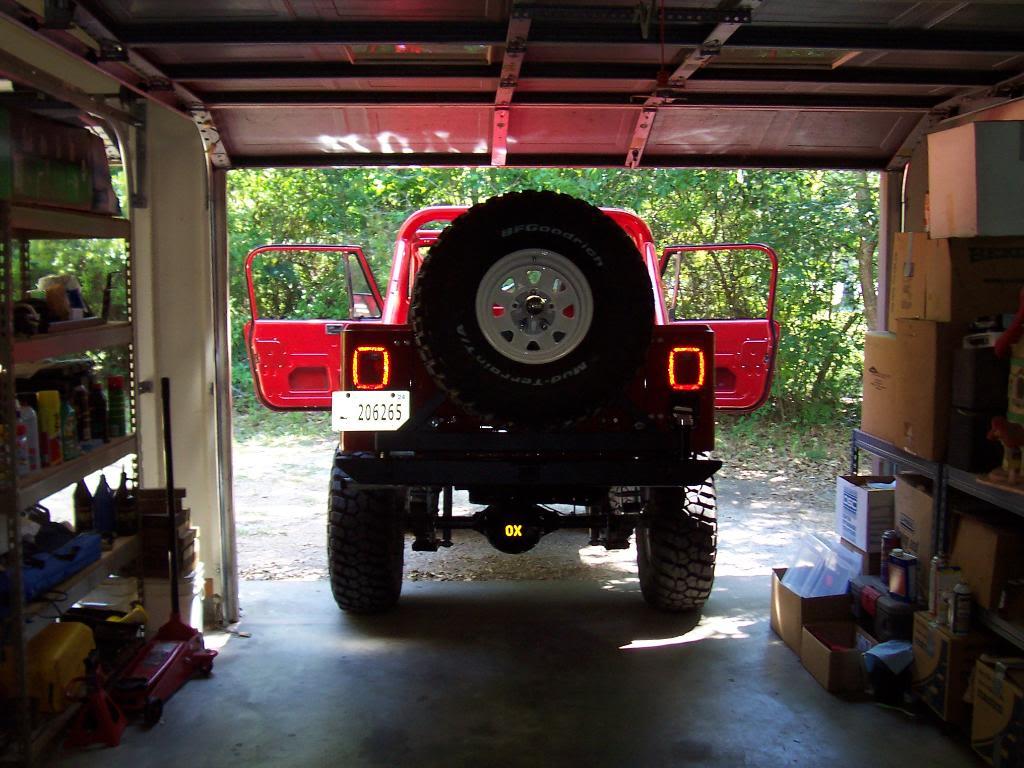
And the most important thing, the Scrambler fits in my garage with the top installed with about 2" to spare.
 
Last edited:
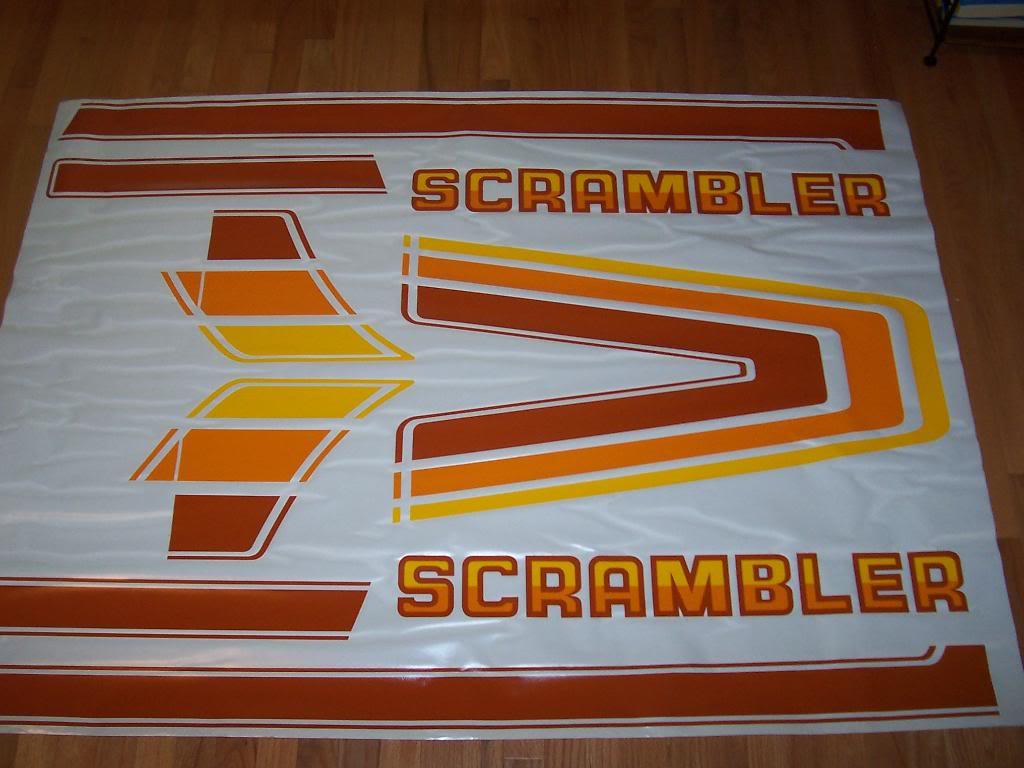
Next up was to install my decals. These came from Phoenix Graphics, they are the factory colored Orange/Yellow/Terra Cotta. This picture shows the decals with the protective film still over the decals. The colors look slightly different once installed.

0183-1.jpg


At first, I did not like the way the Terra Cotta color looked, I thought it was to brown. I changed my mind once they were installed on the vehicle. They look like a burnt orange on the bright red background.

I had been dreading installing these decals, I thought it was going to be difficult. I was talking to a guy at the NAPA by my house about the decals, and how I thought it was going to be a difficult job. He called his dad up for me, who is a retired guy who restores muscle cars in his spare time. He has installed numerous Phoenix Graphics decal sets. He told me to bring my Scrambler over Sunday afternoon and he would "help" me install them for $40. I told him SOLD.

We installed the decals in about 3.5 hours. I "helped" by cutting the decals out and helping hold up the long ones. I also spread out the slider gel, which I highly recommend, works way better then soapy water. The guy actually told me he would not "help" me unless I had the gel. Anyway, they came out very good, we did not have to do any cutting or trimming. No rips, maybe a few tiny bubbles. I am not going to take any credit for the decals, this guy that "helped" me did an excellent/professional job.

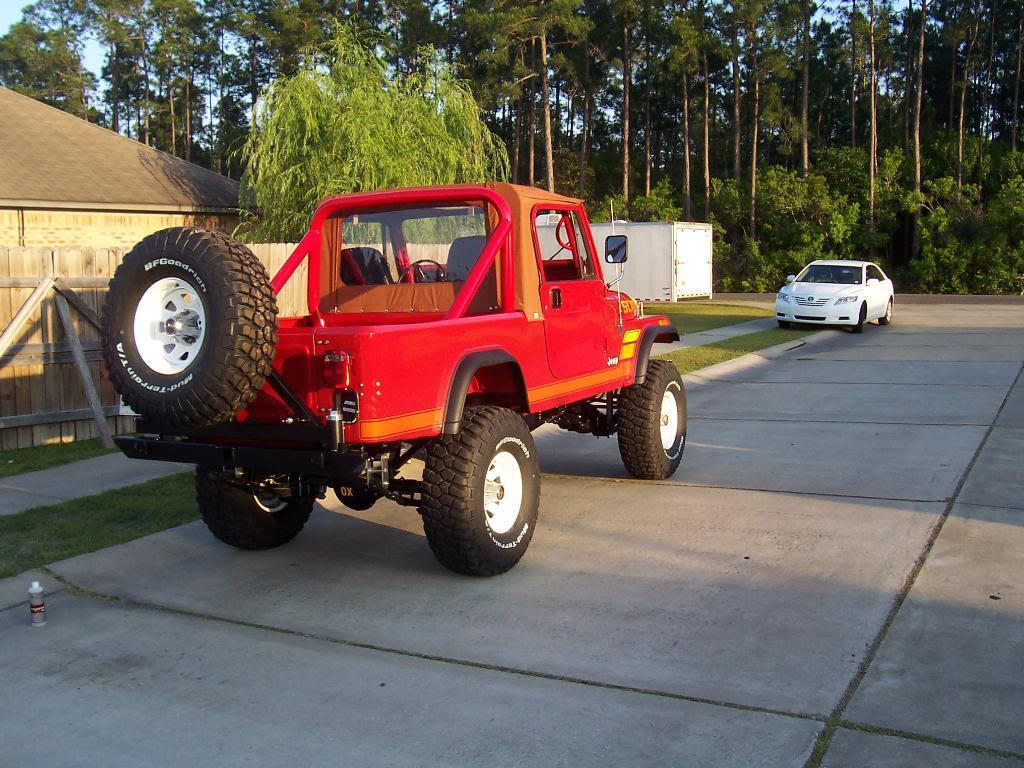
Pics.

0194-1.jpg

019.JPG
0204-1.jpg


020.JPG

0214-1.jpg


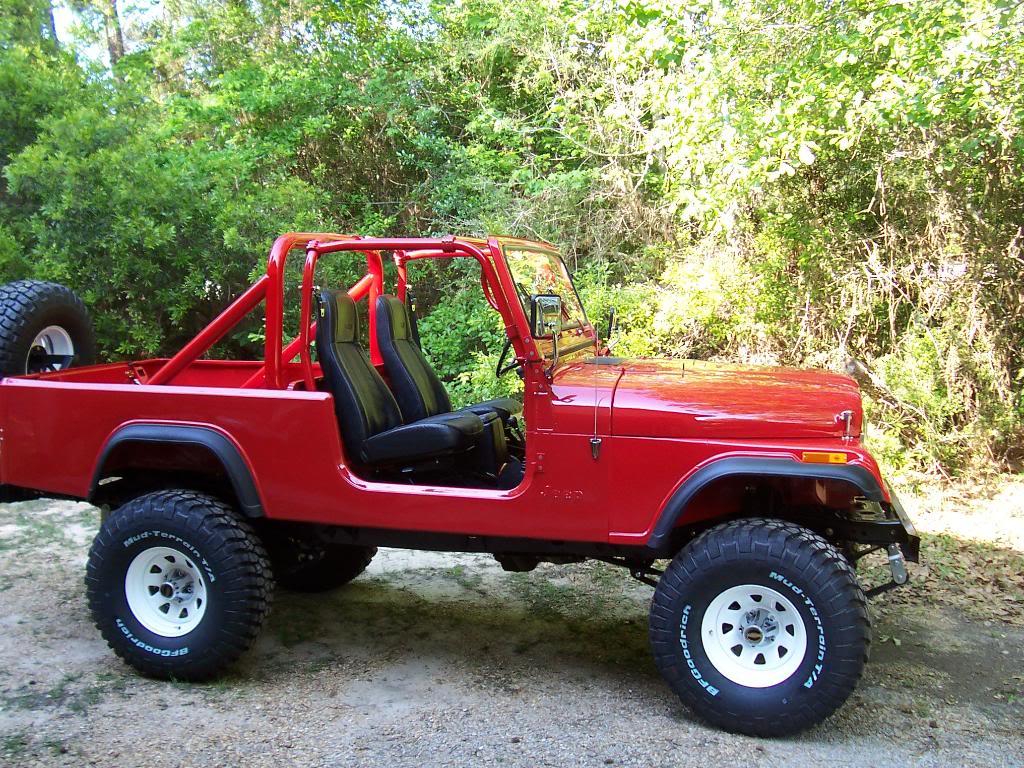
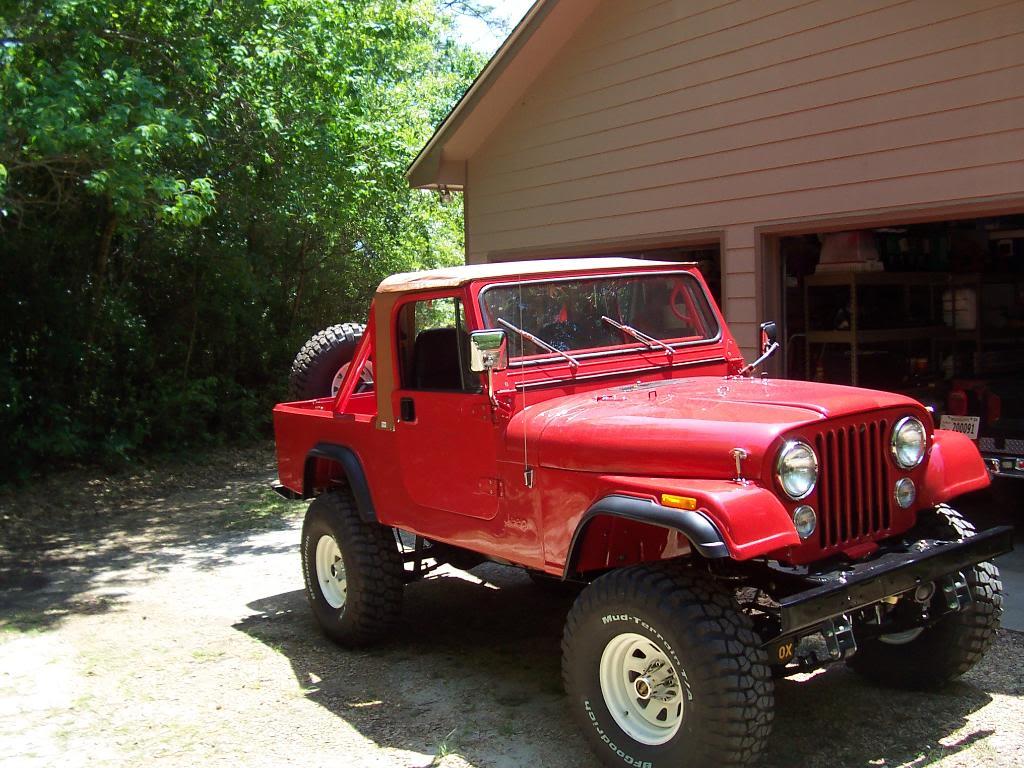
I will take some better pictures and post up later. It is amazing how the set of decals completely tranformed the look of this jeep. I think it looks way better with the decals vs the plain red color.

Thats it for now.
 
Last edited:
Man that looks freakin sweet. The decals make it look totally different. Me likey :drool:

This picture just does it for me
0194-1.jpg


I'm gone work on mine now.
 
Last edited:
Holy WOWZERS!!!!!!! Boy I have something to really dream about now. Your build is what has let my wife let me have free reign on working on mine. I just keep telling her that one day "ours" will get to that point but I have to spend the time and money to get it there. HAHAHAHAAHA!
 
Back
Top