

You are using an out of date browser. It may not display this or other websites correctly.
You should upgrade or use an alternative browser.
You should upgrade or use an alternative browser.
Another Scrambler Purchase/Road Trip - UPDATE- BODY ON FRAME AGAIN
- Thread starter spankrjs
- Start date


- City
- Biloxi
- State
- MS
Thanks for all the compliments everyone
Went Jeeping Saturday and helped a buddy pull his motor/trans/t-case out of a YJ on Sunday.
I did get all my body mount bolts loosely installed, I also installed my rear body mount plates (made necessary due to the fact that the Classic Enterprise rear floor piece is made incorrectly).
Just need a few hands to help me square the body on the frame, then I can adjust the front sheet metal, then I can drive.
Will post a few pics tomorrow
Went Jeeping Saturday and helped a buddy pull his motor/trans/t-case out of a YJ on Sunday.
I did get all my body mount bolts loosely installed, I also installed my rear body mount plates (made necessary due to the fact that the Classic Enterprise rear floor piece is made incorrectly).
Just need a few hands to help me square the body on the frame, then I can adjust the front sheet metal, then I can drive.
Will post a few pics tomorrow
- City
- Biloxi
- State
- MS
Man I opened this thread up to show my wife your awesome work and apparently photo bucket it down! Well maybe later. Any daytime pictures yet?
No day light pictures yet, have some updates, but with photo bucket broke, I will wait till it is fixed before I update
Thanks for the compliments
- City
- Biloxi
- State
- MS
Update from this past weekend.
Finally got all the body mounts installed. I had to make some adapter plates/cut down two of the body mounts in order to get everything lined up correctly. The rear bed floor I bought from Classic Enterprise was built incorrectly so two of the body mounts (row 3 from the back) would not line up correctly. Make sure to check your floor piece before you install it.
Cut down the two body mounts 5/16" to make up for the thickness of the plates.
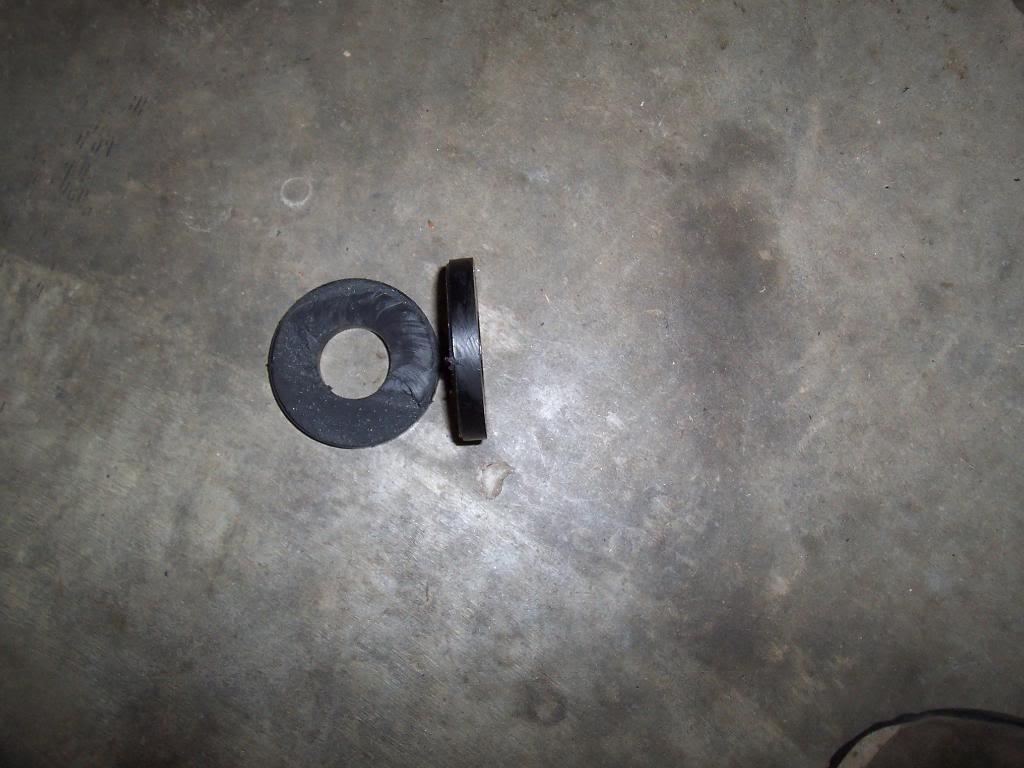
Bolted my two steel plates to the underside of the rear floor and installed the body mounts. Worked out pretty good, I think.
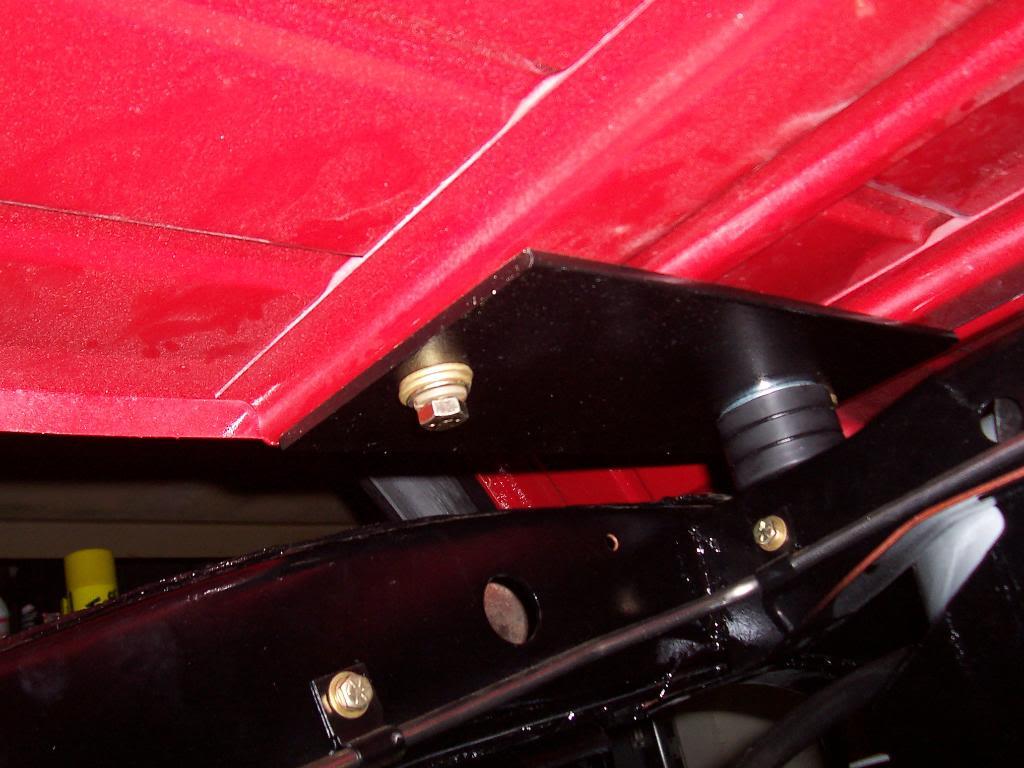
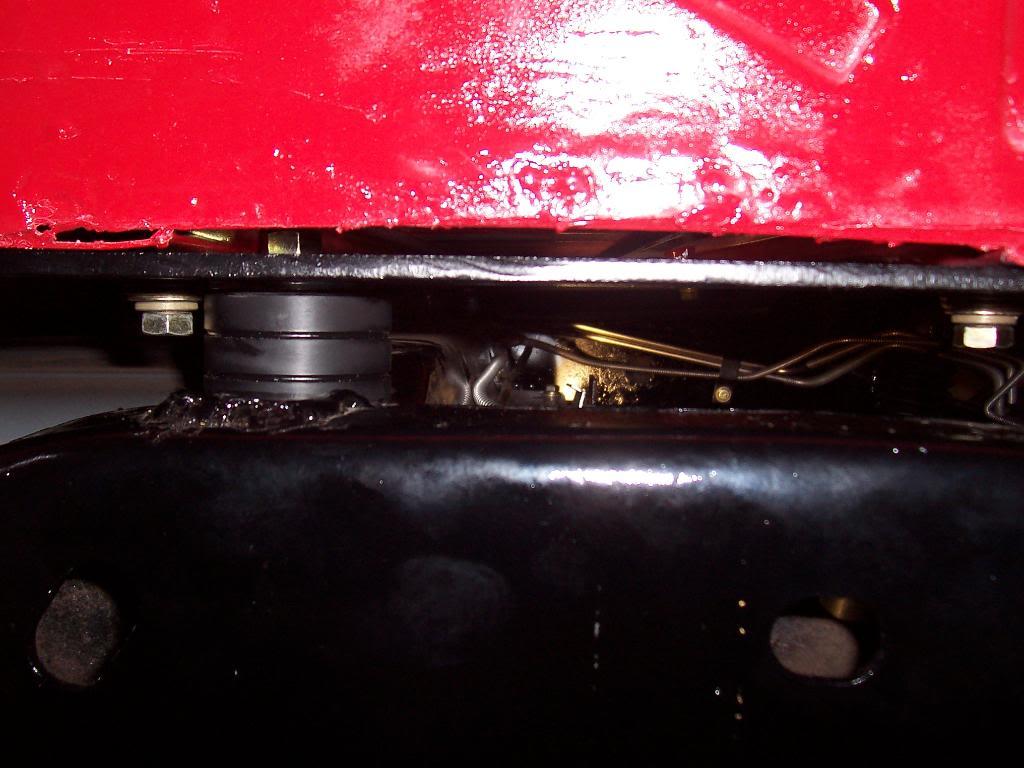
Got the body squared up on the frame and tightened all the body mount bolts down. The body is probably within 1/8" of being completely square with the frame, I checked at the 4 corners of the body tub. That is as close as it is going to get, that is probably just as good as they came from the factory.
After the tub was bolted down, I adjusted/tightened down the front fenders, hood, grill, and the tubular front fender braces. Fenders and grill lined up and adjusted out just fine, the hood is a little off, i.e. the gap where the hood meets the cowl is a little tighter on one side versus the other side, but it sits straight and the spacing at the grill is good. I remember the hood sat like this before I took it off, doesn't look bad, functions fine, so I am happy with it. Maybe the cowl is a little "off" ???
Fixed the last unexpected problem I ran into a couple weeks ago: the rear axle was leaking gear oil. A few weeks ago I filled all the axles up with oil. A couple days later I noticed a big puddle of gear oil on the floor underneath the passenger side rear tire. It was leaking oil from underneath the spring perch??? I drained the rest of the oil and cleaned up the mess to investigate why it was leaking oil from the spring perch area. It didn't make sense, seeing how the axle wasn't rusted out and their shouldn't be any holes their???? Well, it turns out that I must have accidentally drilled a hole into the axle housing when i was trying to remove the old leaf spring center pins from the perch. I remember they were froze up in the perch holes and that i had to drill them out. Well, I must have went a little too deep with my 1/8" pilot hole and went into the axle. Cleaned up all the oil, sanded the paint off, and used some JB Weld type stuff to fill the hole. I would have welded it back up, but the only way to get to the hole to weld it up would require pulling the entire rear end back out and flipping it upside down to be able to get a straight shot at the hole. The epoxy weld stuff seems to be working. Its not a project until you JB weld or duct tape something together :-)
Picture of the area I am talking about.

Greased up all the suspension bushings with the Daystar poly lube. I went through almost two tubes (they are the small 3 oz tubes). Don't buy their grease gun it is a POS. I ended up smashing mine to pieces outside with a 2.5 pound hammer after wasting about 3 hours of my time trying to get it to function properly.
Well, everything is oiled, greased, and tightened down, but due to prior "house watching/dog sitting" commitments I haven't been able to drive it yet. Should get a chance to drive it on Saturday or Sunday. Killing me.
My decals came in from Phoenix Graphics (will post pics later) and I also ordered a Rock Hard Rear Bumper/Tire Carrier which should come in today. I am hoping that the weight of the spare tire and the rear bumper/tire carrier will help to speed up the rear springs settling in period.
Thats it for now.
Finally got all the body mounts installed. I had to make some adapter plates/cut down two of the body mounts in order to get everything lined up correctly. The rear bed floor I bought from Classic Enterprise was built incorrectly so two of the body mounts (row 3 from the back) would not line up correctly. Make sure to check your floor piece before you install it.
Cut down the two body mounts 5/16" to make up for the thickness of the plates.
Bolted my two steel plates to the underside of the rear floor and installed the body mounts. Worked out pretty good, I think.
Got the body squared up on the frame and tightened all the body mount bolts down. The body is probably within 1/8" of being completely square with the frame, I checked at the 4 corners of the body tub. That is as close as it is going to get, that is probably just as good as they came from the factory.
After the tub was bolted down, I adjusted/tightened down the front fenders, hood, grill, and the tubular front fender braces. Fenders and grill lined up and adjusted out just fine, the hood is a little off, i.e. the gap where the hood meets the cowl is a little tighter on one side versus the other side, but it sits straight and the spacing at the grill is good. I remember the hood sat like this before I took it off, doesn't look bad, functions fine, so I am happy with it. Maybe the cowl is a little "off" ???
Fixed the last unexpected problem I ran into a couple weeks ago: the rear axle was leaking gear oil. A few weeks ago I filled all the axles up with oil. A couple days later I noticed a big puddle of gear oil on the floor underneath the passenger side rear tire. It was leaking oil from underneath the spring perch??? I drained the rest of the oil and cleaned up the mess to investigate why it was leaking oil from the spring perch area. It didn't make sense, seeing how the axle wasn't rusted out and their shouldn't be any holes their???? Well, it turns out that I must have accidentally drilled a hole into the axle housing when i was trying to remove the old leaf spring center pins from the perch. I remember they were froze up in the perch holes and that i had to drill them out. Well, I must have went a little too deep with my 1/8" pilot hole and went into the axle. Cleaned up all the oil, sanded the paint off, and used some JB Weld type stuff to fill the hole. I would have welded it back up, but the only way to get to the hole to weld it up would require pulling the entire rear end back out and flipping it upside down to be able to get a straight shot at the hole. The epoxy weld stuff seems to be working. Its not a project until you JB weld or duct tape something together :-)
Picture of the area I am talking about.
Greased up all the suspension bushings with the Daystar poly lube. I went through almost two tubes (they are the small 3 oz tubes). Don't buy their grease gun it is a POS. I ended up smashing mine to pieces outside with a 2.5 pound hammer after wasting about 3 hours of my time trying to get it to function properly.
Well, everything is oiled, greased, and tightened down, but due to prior "house watching/dog sitting" commitments I haven't been able to drive it yet. Should get a chance to drive it on Saturday or Sunday. Killing me.
My decals came in from Phoenix Graphics (will post pics later) and I also ordered a Rock Hard Rear Bumper/Tire Carrier which should come in today. I am hoping that the weight of the spare tire and the rear bumper/tire carrier will help to speed up the rear springs settling in period.
Thats it for now.

- City
- stafford
- State
- va
Can't wait to see you drive it
Also can't wait to see it DIRTY !!
Also can't wait to see it DIRTY !!
- City
- Biloxi
- State
- MS
Can't wait to see you drive it
Also can't wait to see it DIRTY !!
Me too

- City
- Biloxi
- State
- MS
Awesome Man! What color graphics did you go with?
orange/yellow/terra-cotta (1983 style)

Gary R
Legacy Registered User
- City
- Arlington
- State
- TX
orange/yellow/terra-cotta (1983 style)

Sorry, just HAD to do it, with the mention of decals.....and no photo


- City
- Dexter
- State
- MI
I can't believe it's ready to drive and you didn't drive it yet 

When I finished my rebuild/build up after the accident (mine took a lot longer than yours though) you couldn't have kept me from driving it with a blizzard, an army, and a troop of trunk monkeys.
When I finished my rebuild/build up after the accident (mine took a lot longer than yours though) you couldn't have kept me from driving it with a blizzard, an army, and a troop of trunk monkeys.
- City
- Biloxi
- State
- MS
Sorry, just HAD to do it, with the mention of decals.....and no photo
When I get a chance to get back to my house i will take some pictures
- City
- Biloxi
- State
- MS
I can't believe it's ready to drive and you didn't drive it yet
When I finished my rebuild/build up after the accident (mine took a lot longer than yours though) you couldn't have kept me from driving it with a blizzard, an army, and a troop of trunk monkeys.
Believe me, it is killing me
 It is sitting in the garage ready to go, but i wont have time to get back to my house until probably Sunday I told a buddy I would help him take apart/reassemble/upgrade his Dana 300 (HD front and rear outputs) Friday night, and I know that I wont finish that until Saturday at the earliest
Another funny thing, I will probably have to spend about 5 hours doing yard work (cutting back tree limbs, trees, bushes, etc) before i can get it out the driveway without scratching it all up on its maiden run. Ask jeepaddict about my "driveways"

- City
- Biloxi
- State
- MS
Got a little work done this weekend.
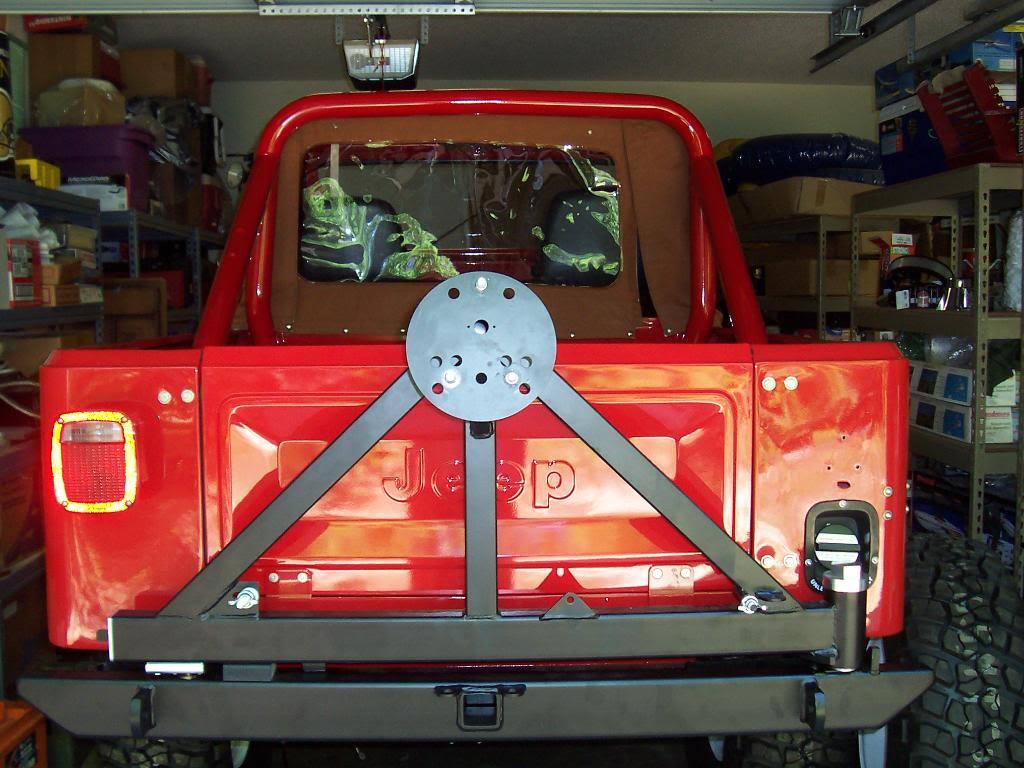
Installed the Rock Hard rear bumper/tire carrier. Very nice piece, works well, no rattles. Bolts on fairly easy.
Picture of the bumper/tire carrier. The small bar pictured is not used on CJ's.
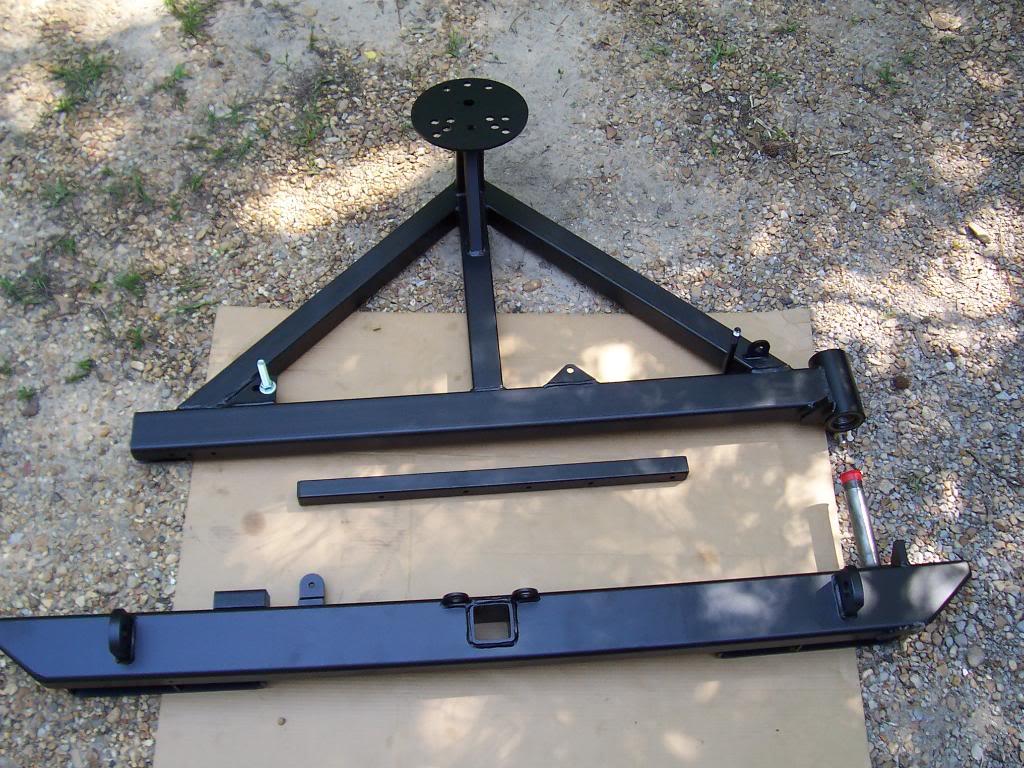
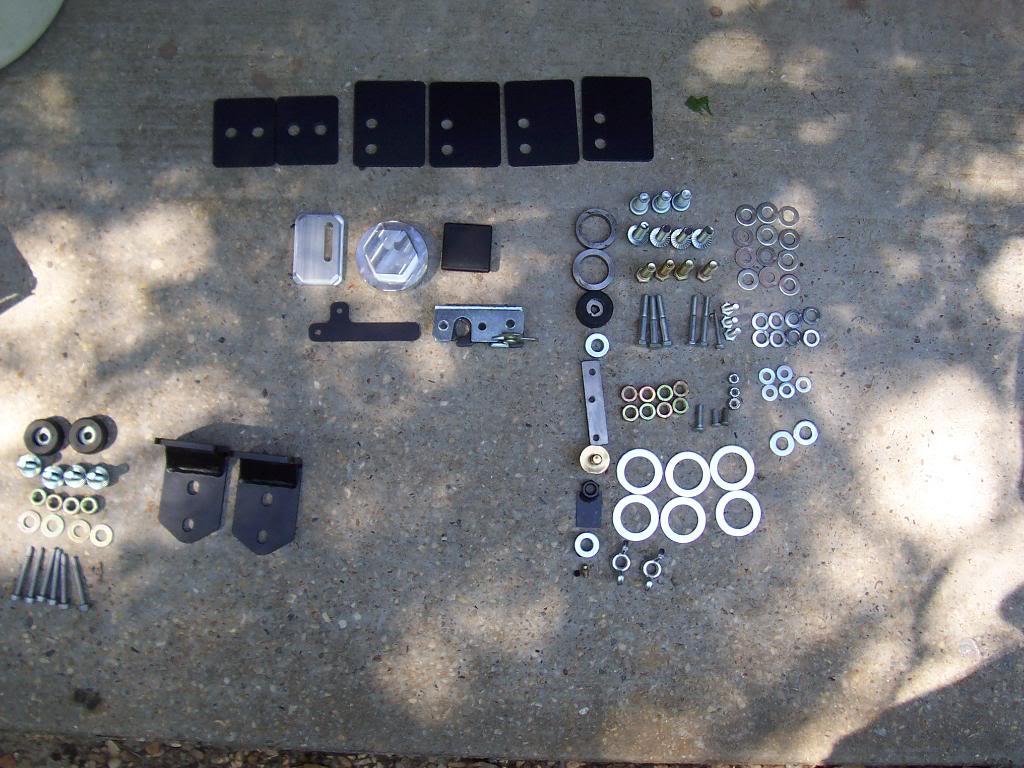
Picture of all the hardware.
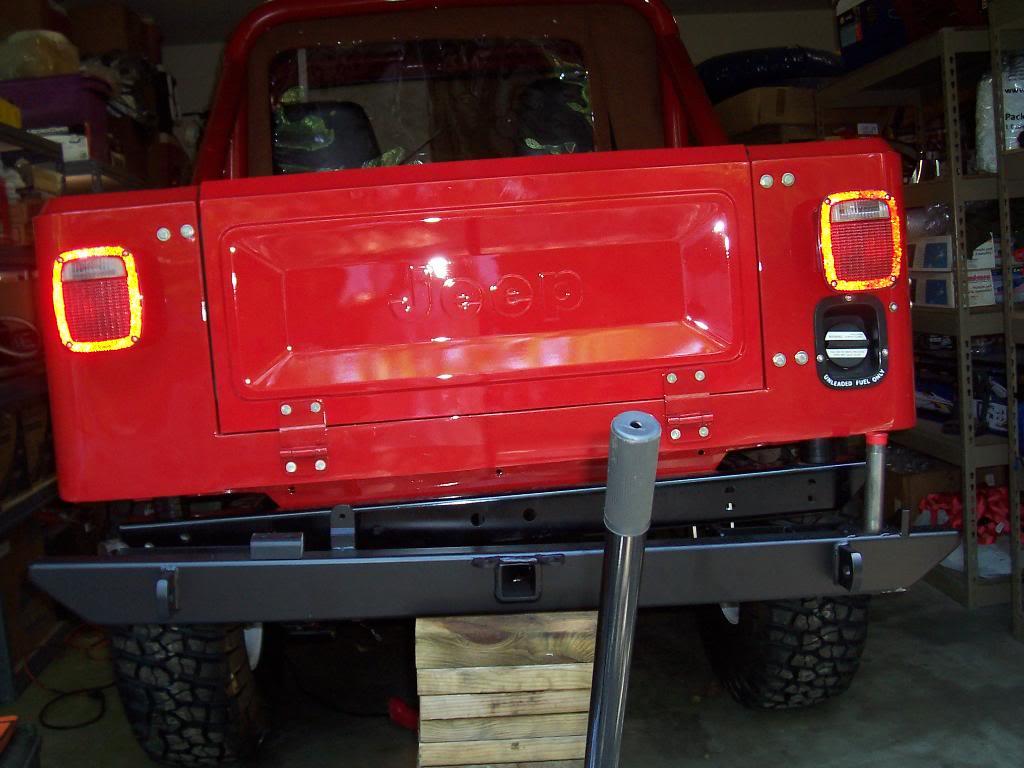
Since I was by myself, I used a floor jack with a stack of wood to get the bumper in position.
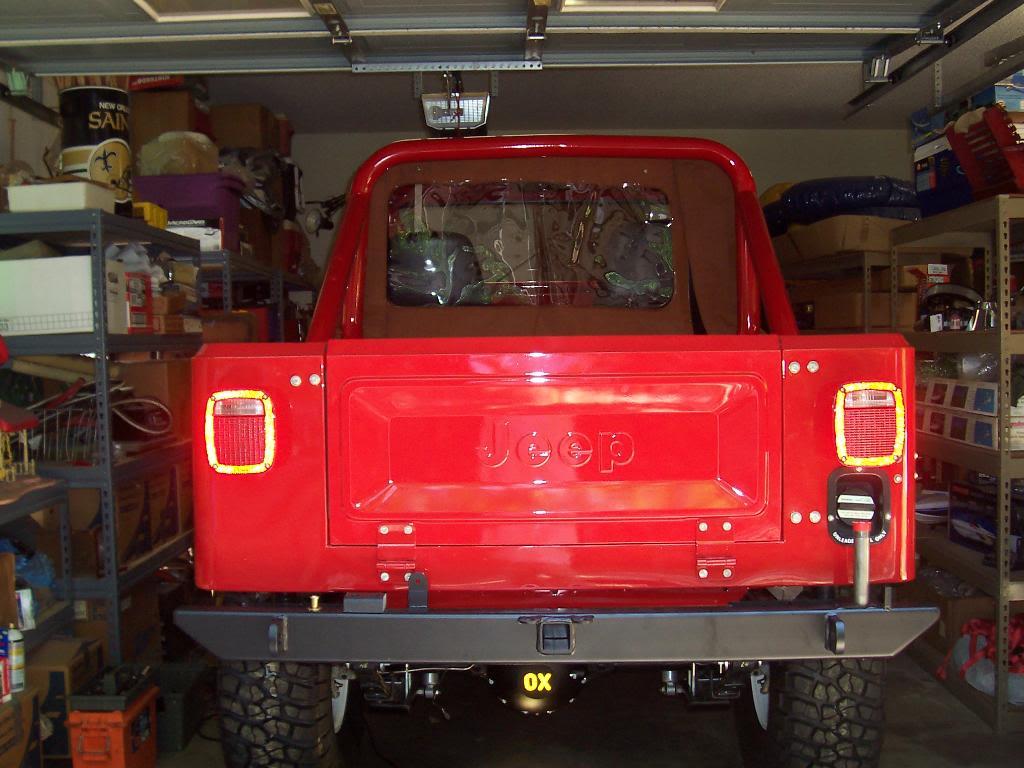
Rear bumper bolted up.
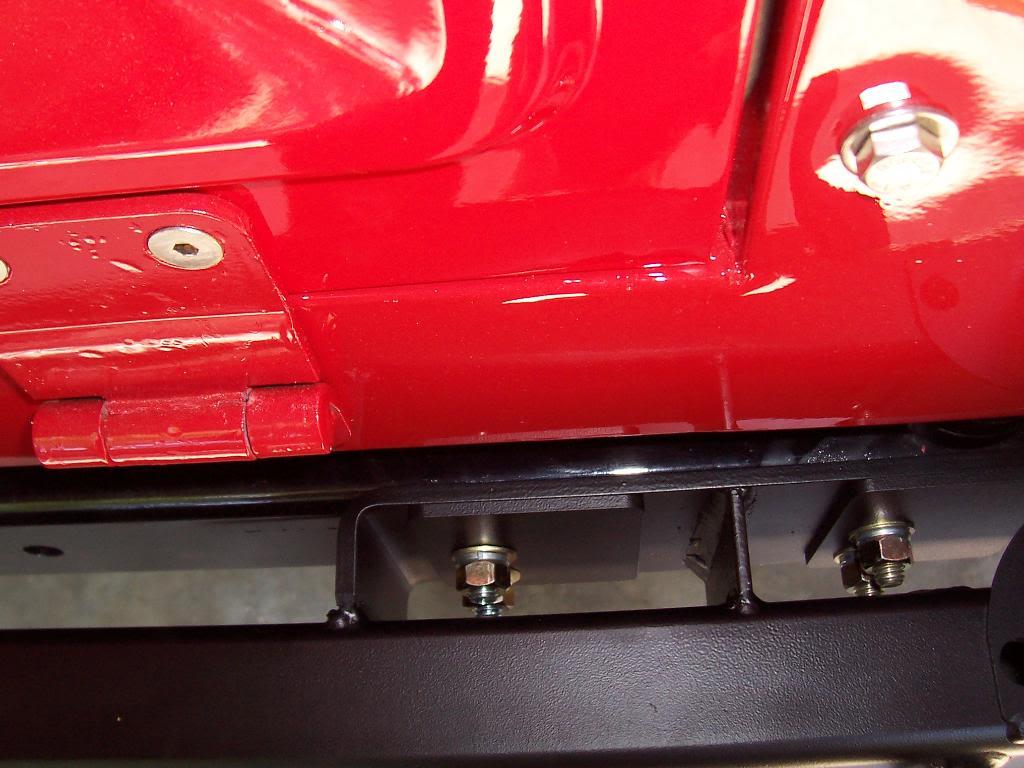
Close up of how it bolts to the rear cross member.
Tire carrier on.
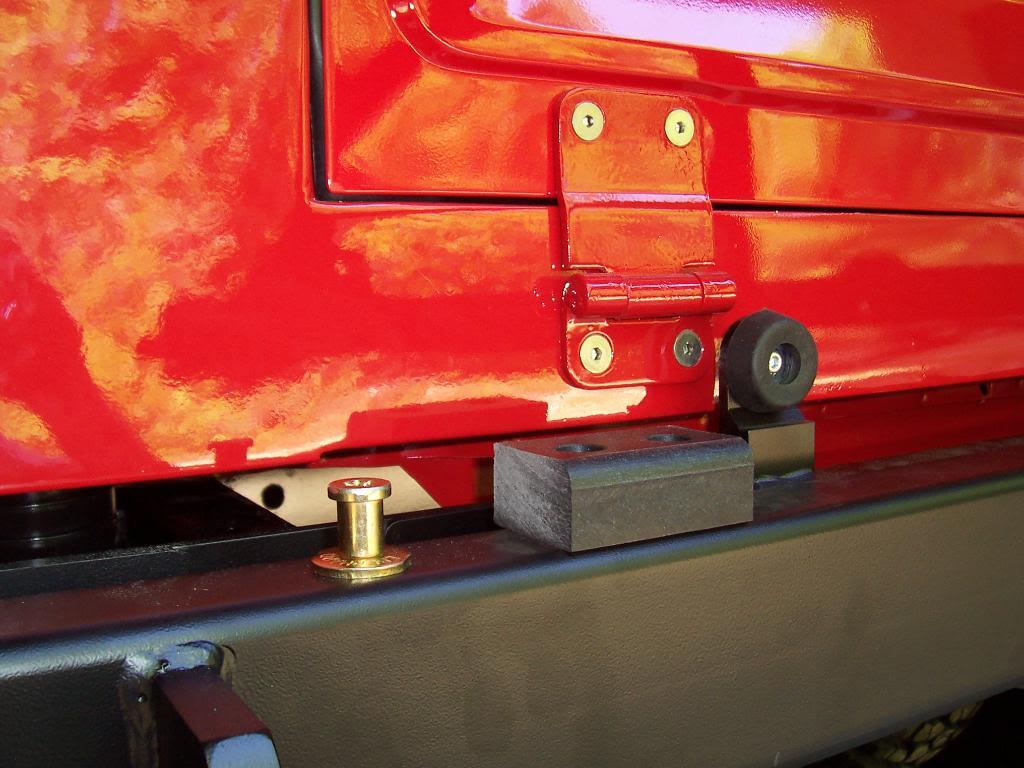
Close up of the latch pin and the pad that the carrier rests on.
Picture of the latch (kind of dark).
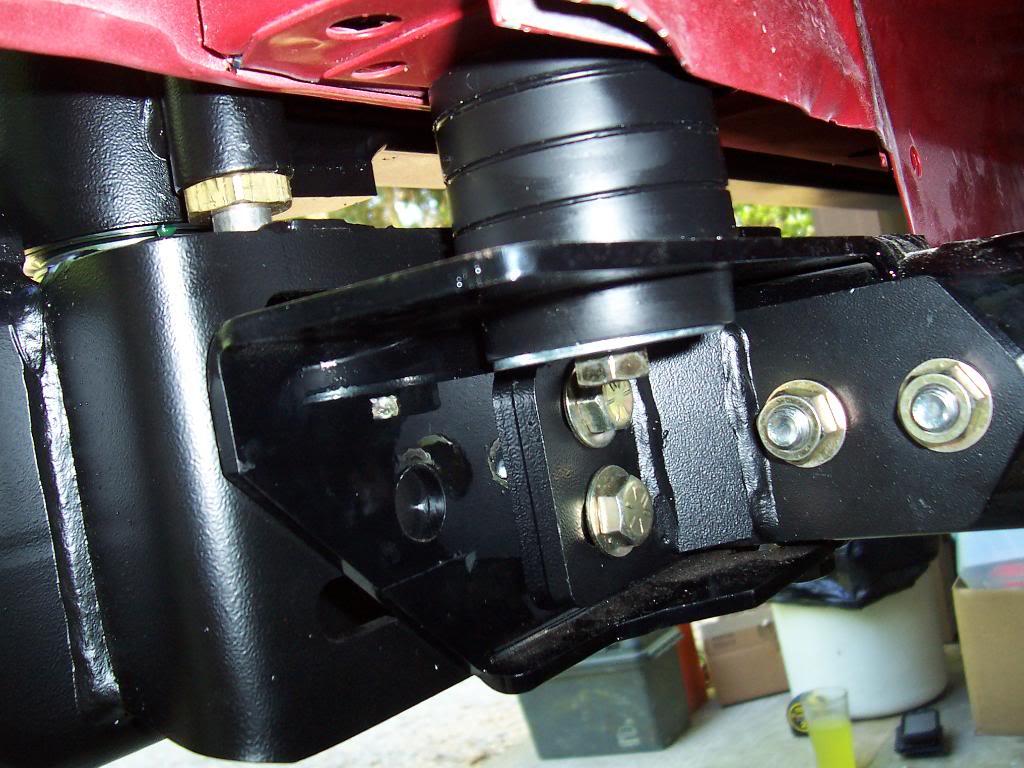
Picture of their "frame reinforcing brackets". They mount on the outside of the frame rails. I have some larger brackets that I will probably bolt on to the inside edge of the frame rails.
And with the spare tire on. It is not too fun picking up a 35" tall spare tire this high.
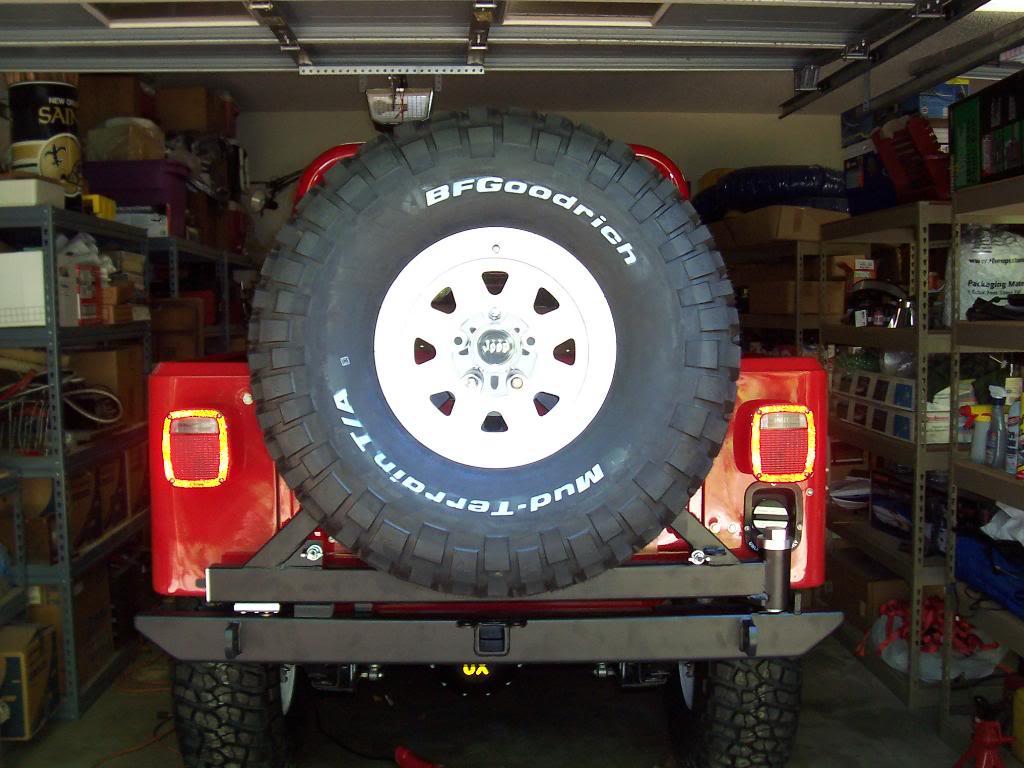
Installed the Rock Hard rear bumper/tire carrier. Very nice piece, works well, no rattles. Bolts on fairly easy.
Picture of the bumper/tire carrier. The small bar pictured is not used on CJ's.
Picture of all the hardware.
Since I was by myself, I used a floor jack with a stack of wood to get the bumper in position.
Rear bumper bolted up.
Close up of how it bolts to the rear cross member.
Tire carrier on.
Close up of the latch pin and the pad that the carrier rests on.
Picture of the latch (kind of dark).
Picture of their "frame reinforcing brackets". They mount on the outside of the frame rails. I have some larger brackets that I will probably bolt on to the inside edge of the frame rails.
And with the spare tire on. It is not too fun picking up a 35" tall spare tire this high.

SCJeeper
Legacy Registered User
- City
- Pickens
- State
- SC
Very nice man! I just got my tire swing put on too. Quick question....did you buy the kit that had all the stainless bolts and whatnot so you would have everything or are you just filling them as you go? I noticed that the bolt that you are using on your hinges are allen heads and not torx. I am wanting to do the same thing after mine gets paint. I mean replacing all the bolts that show in the rear with stainless button tops of something. Let me know if what I'm saying doesn't make sense. Thanks!
- City
- Biloxi
- State
- MS
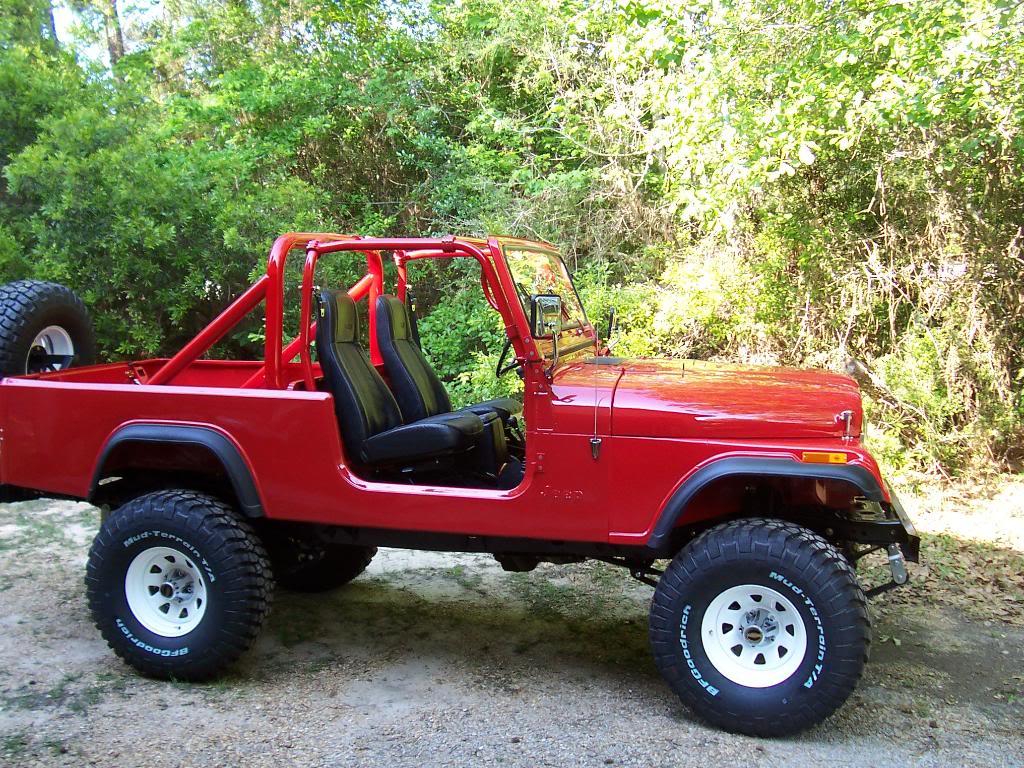
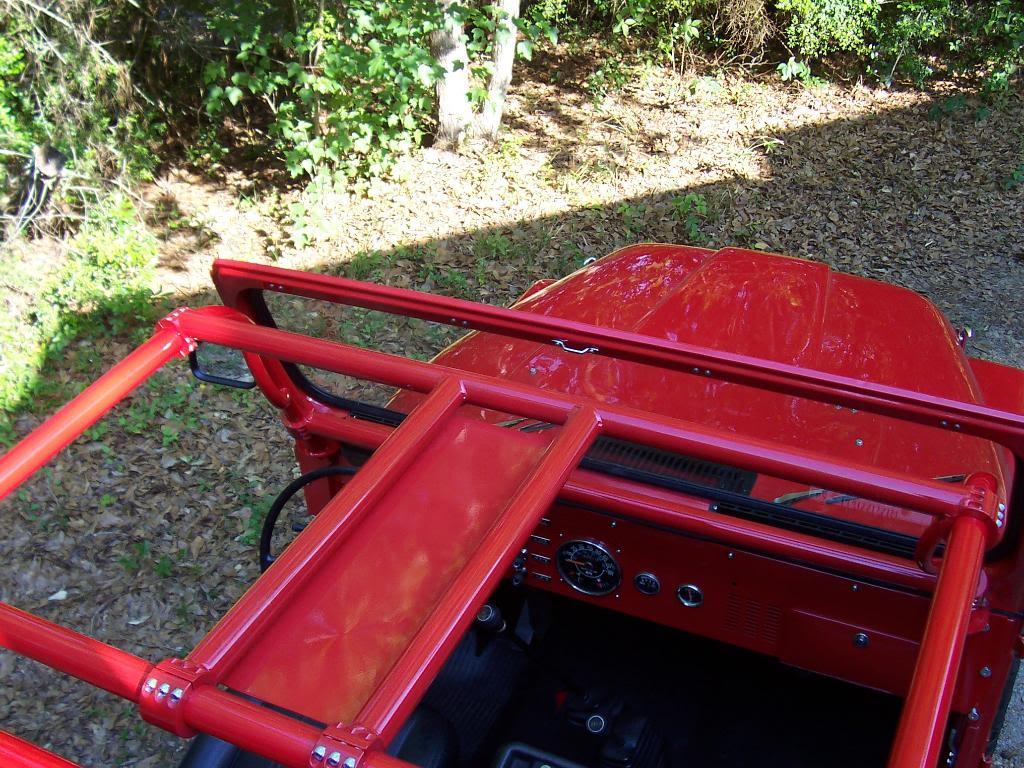
After I got the rear bumper/tire carrier bolted on, I started it up and drove it outside. I knocked all the dust off of the Scrambler, and here are some outdoor/day light pictures.



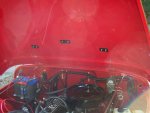
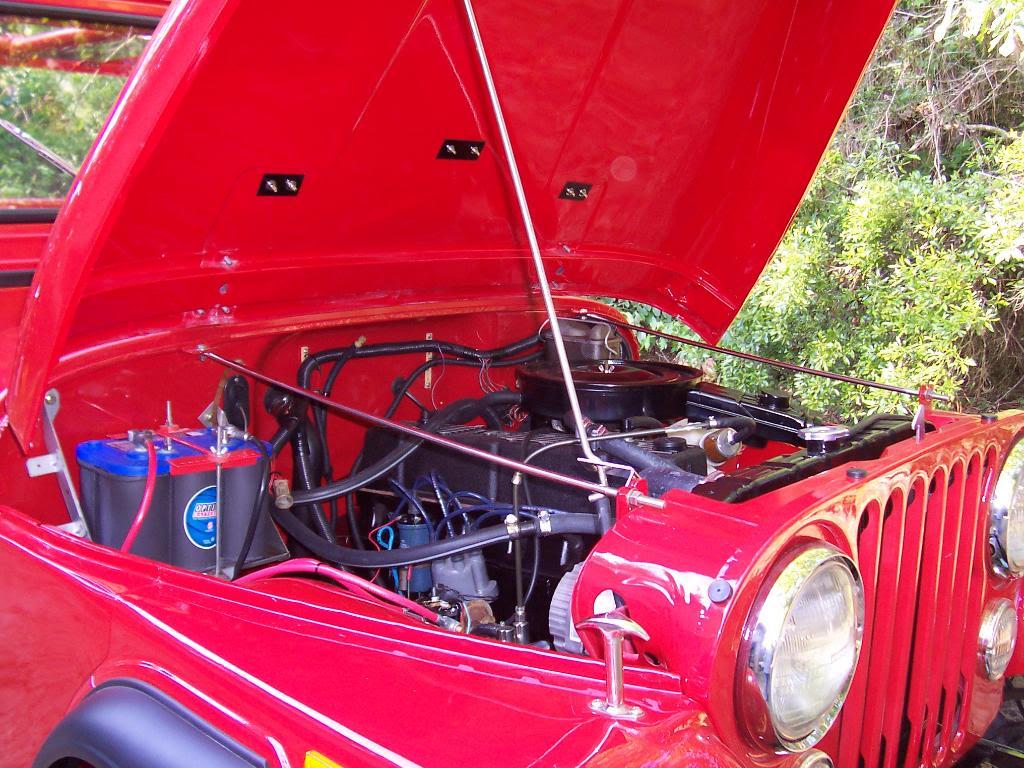
A few under hood shots.

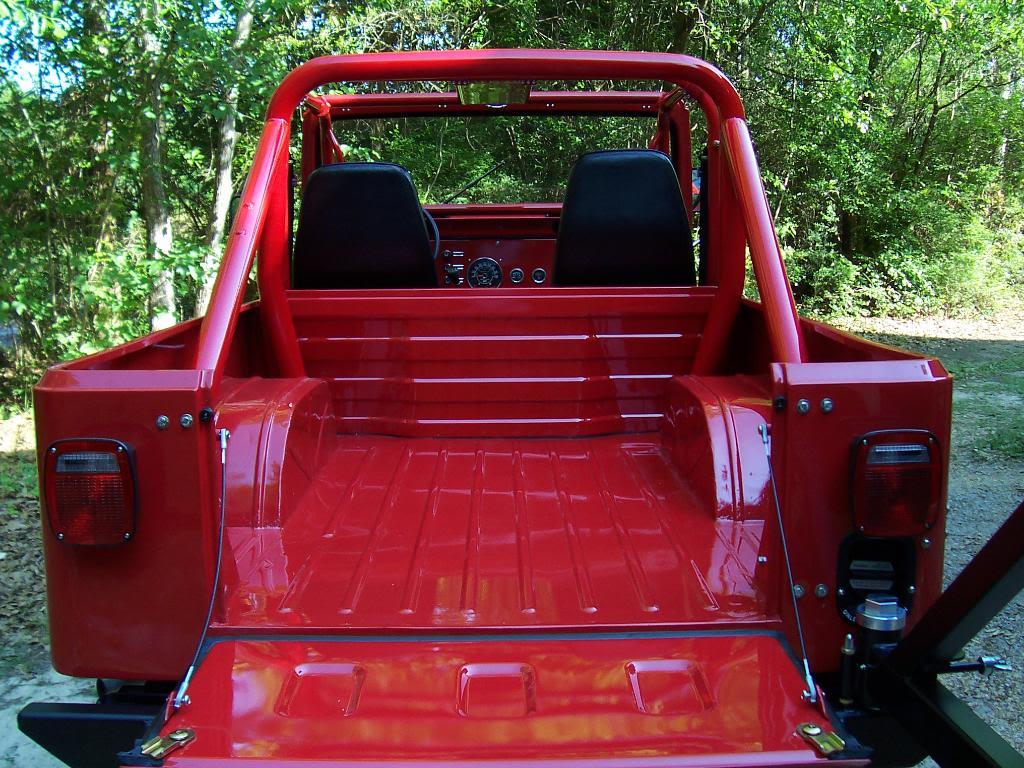
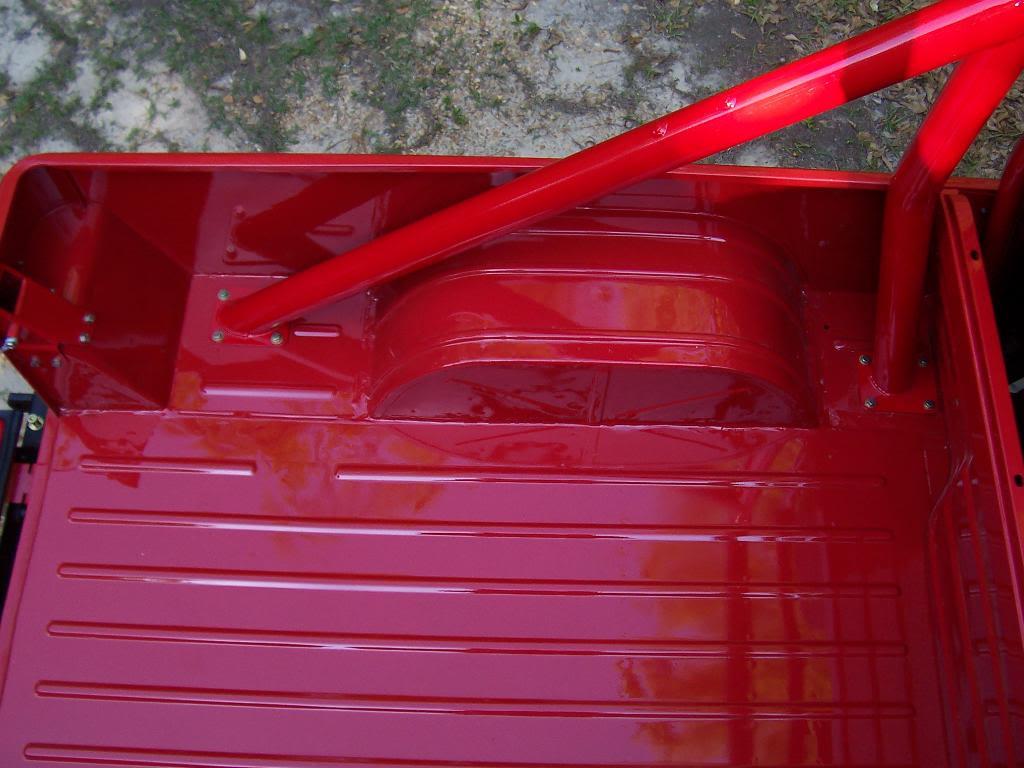
Looks way better then any bed liner, IMO.
Two random shots.
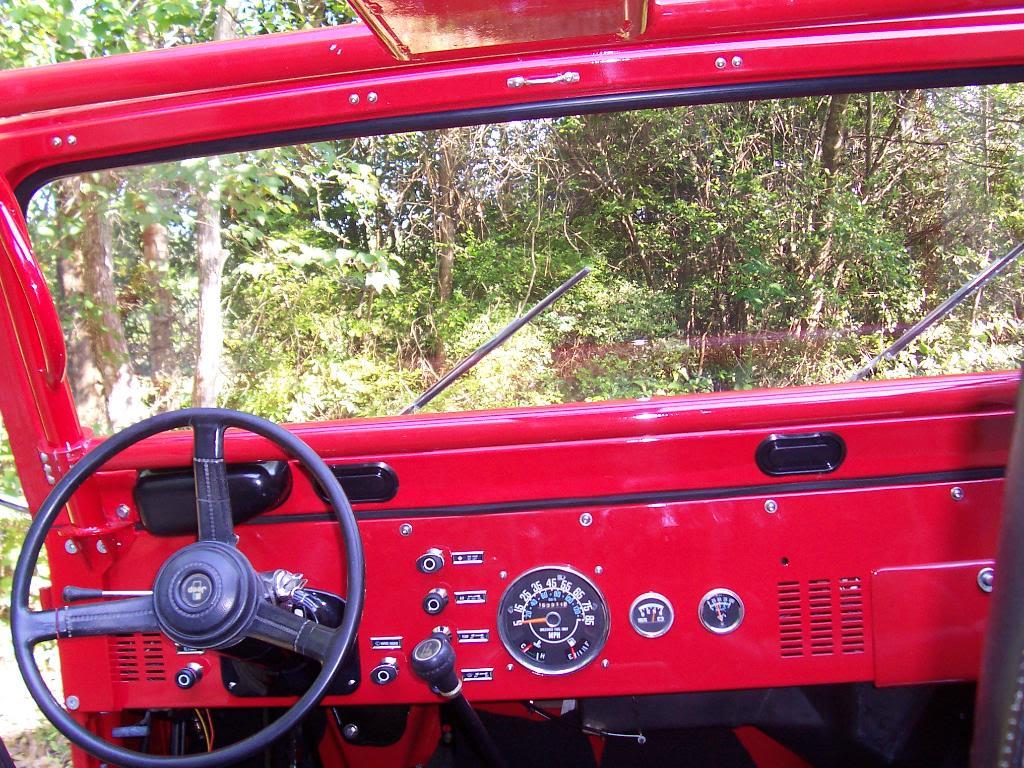
Took it for a quick 20 minute drive, so far so good. Drove great. Just has a little bit of bump steer and I am a little low/still some air in the power steering. The springs settled a little bit, it rides very smooth. No rattles or squeaks. My exhaust came loose, I think just my "repair coupler". Probably wont get a chance to drive it again until this weekend.
That's it for now.
A few under hood shots.
Looks way better then any bed liner, IMO.
Two random shots.
Took it for a quick 20 minute drive, so far so good. Drove great. Just has a little bit of bump steer and I am a little low/still some air in the power steering. The springs settled a little bit, it rides very smooth. No rattles or squeaks. My exhaust came loose, I think just my "repair coupler". Probably wont get a chance to drive it again until this weekend.
That's it for now.
Last edited:
- City
- Biloxi
- State
- MS
Very nice man! I just got my tire swing put on too. Quick question....did you buy the kit that had all the stainless bolts and whatnot so you would have everything or are you just filling them as you go? I noticed that the bolt that you are using on your hinges are allen heads and not torx. I am wanting to do the same thing after mine gets paint. I mean replacing all the bolts that show in the rear with stainless button tops of something. Let me know if what I'm saying doesn't make sense. Thanks!
I bought the "Totally Stainless" kit, but I still had to purchase literally a ton of new hardware. The allen head bolts that you are talking about I bought from Fastenall. I bought a bag of 50, they are stainless, and I used them everywhere that the factory used the aggravating Torx head fasteners
Appreciate the compliments
