• Notice for iPhone users: DO NOT use the image size reduction option when uploading photos to the forum. This causes portrait images to post as landscape. We have added a warning to the image insert pop-up as well.

Another Scrambler Purchase/Road Trip - UPDATE- BODY ON FRAME AGAIN

Small update from last night. I am not doing too much work this week due to my trip this weekend.

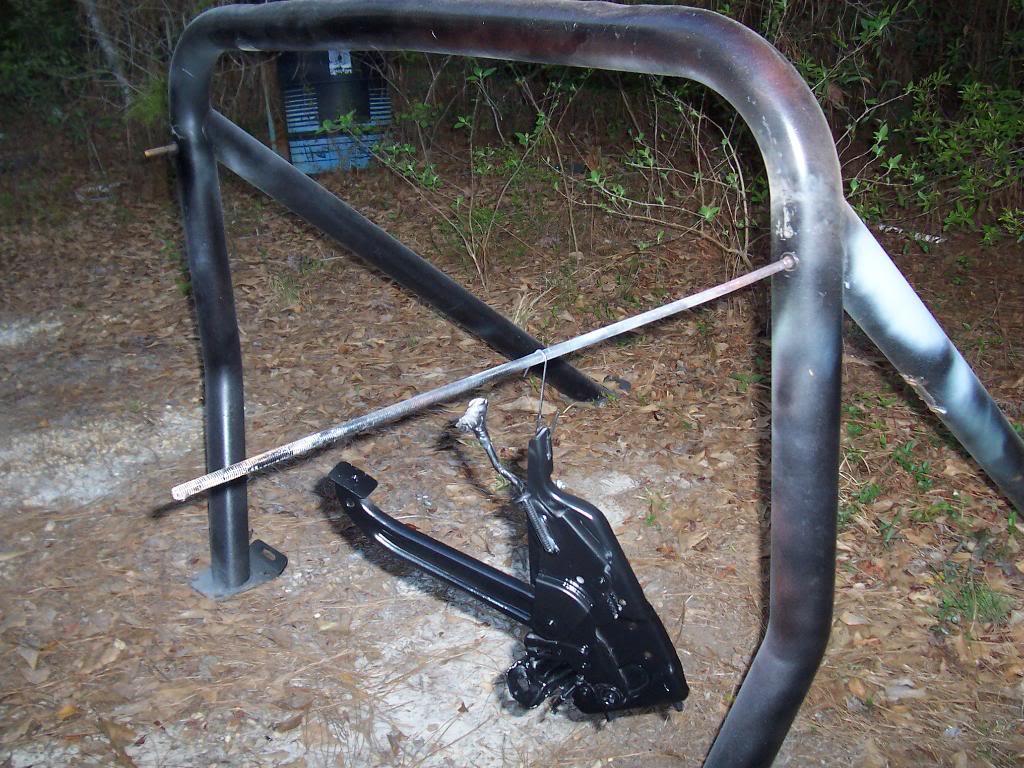
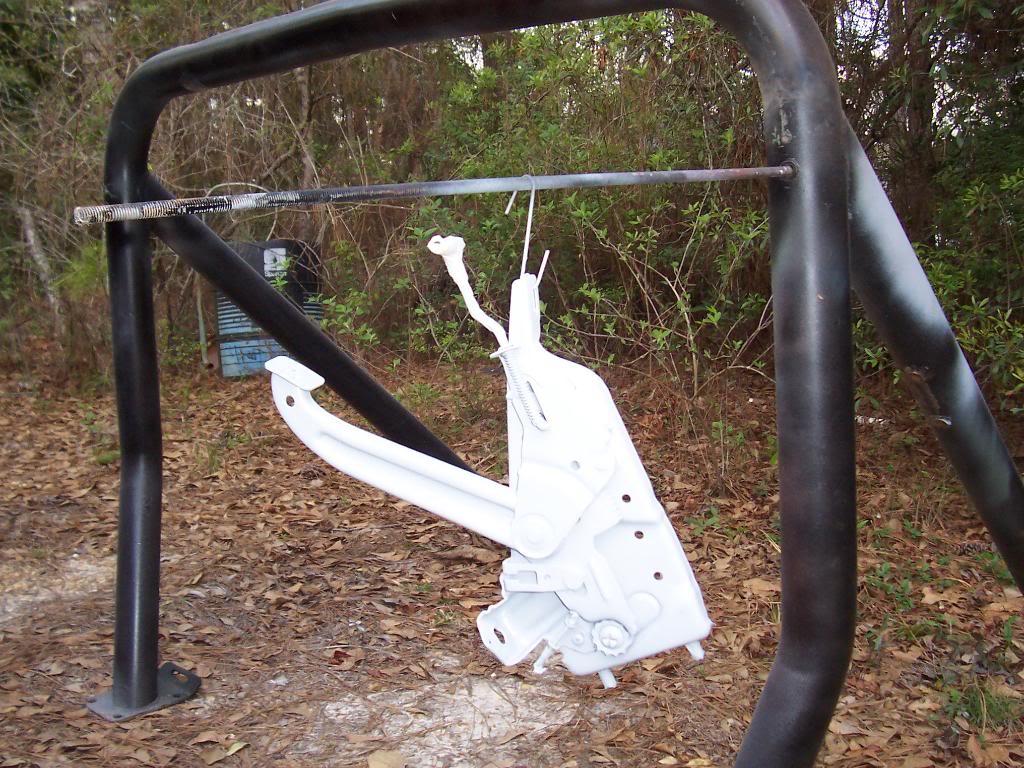
Cleaned up, primed, and then painted the parking brake pedal assembly.
0016-1.jpg


0026-1.jpg


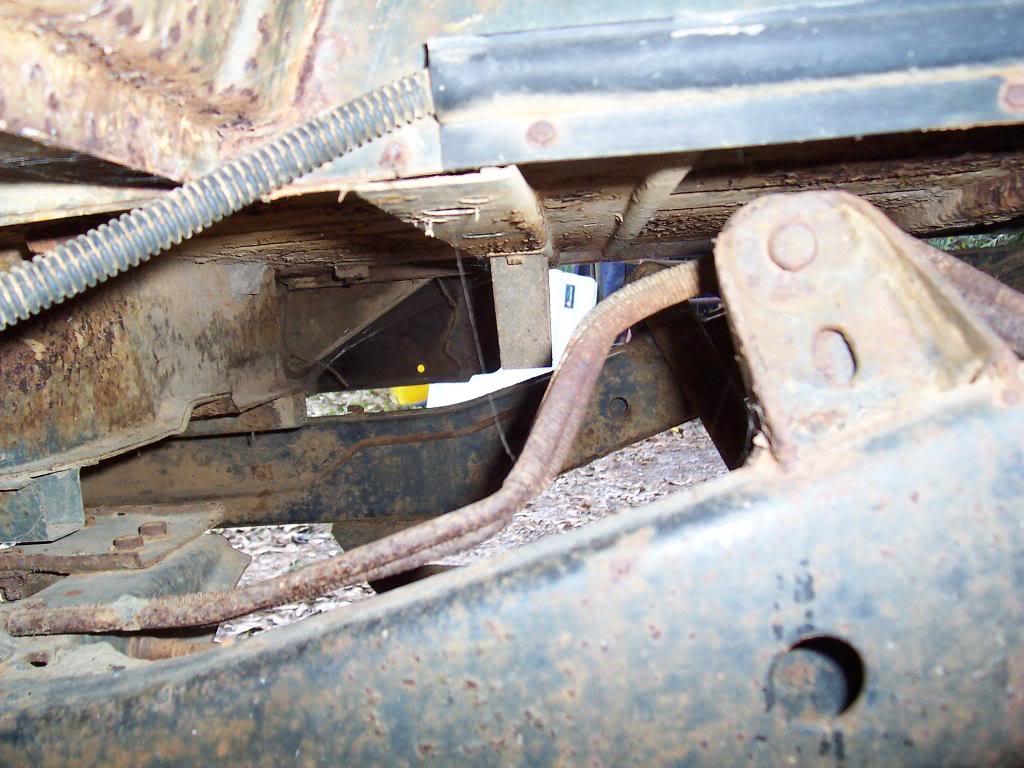
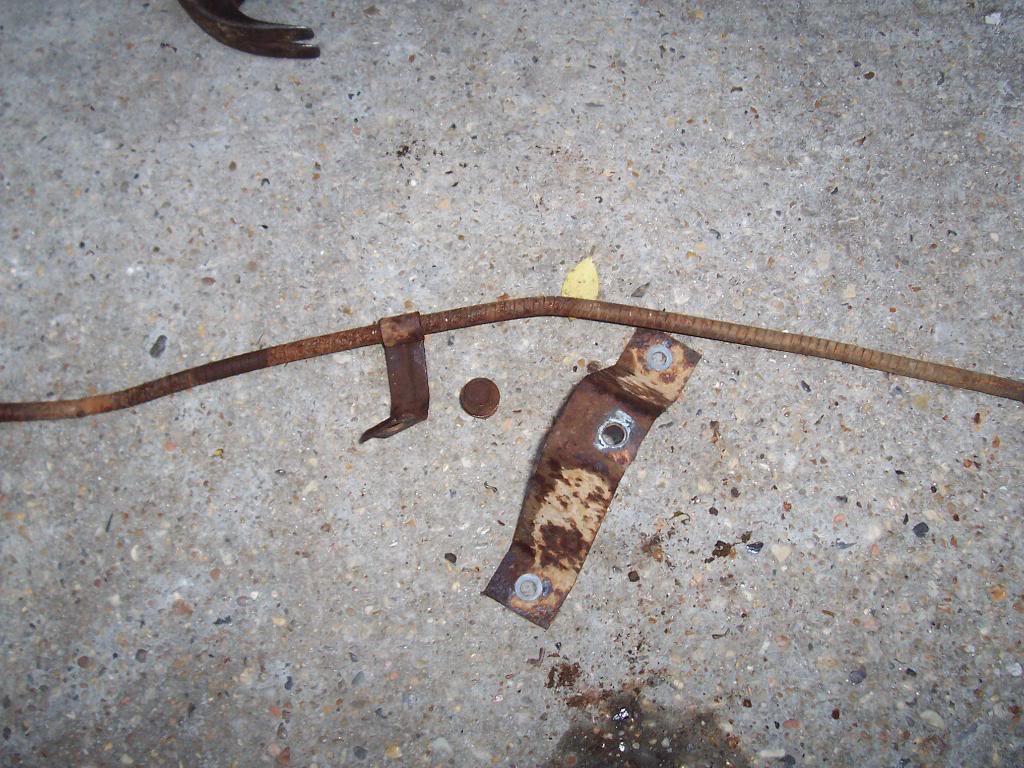
Two more rusty parts that I need to clean up and repaint so that I can install the parking brake cables: the triangle piece hangs off of the bottom of the body, the little clip; then secures the cable to the triangle mount.
0036-1.jpg


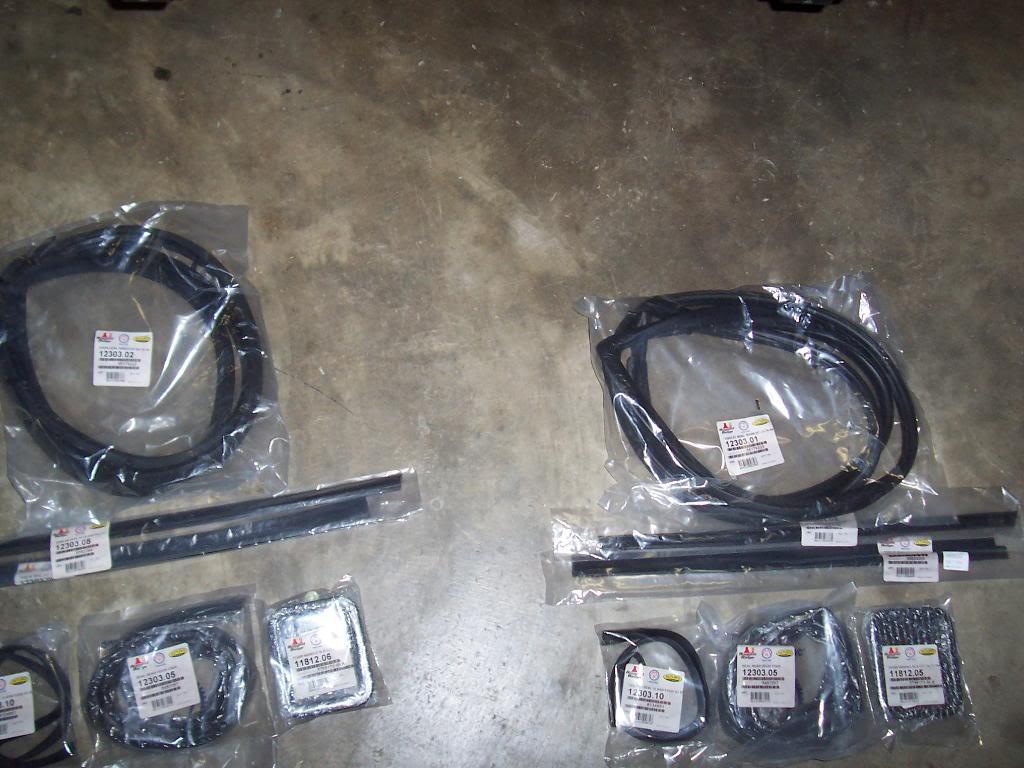
Picture of all the new door weatherstripping and handles.
0046-1.jpg


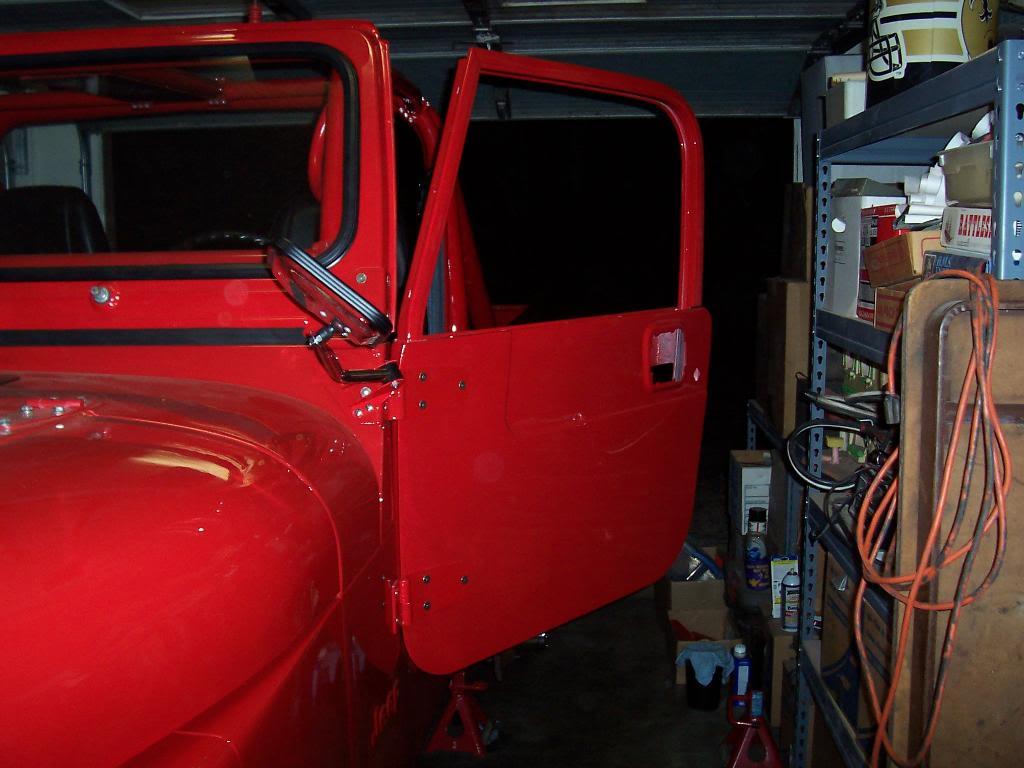
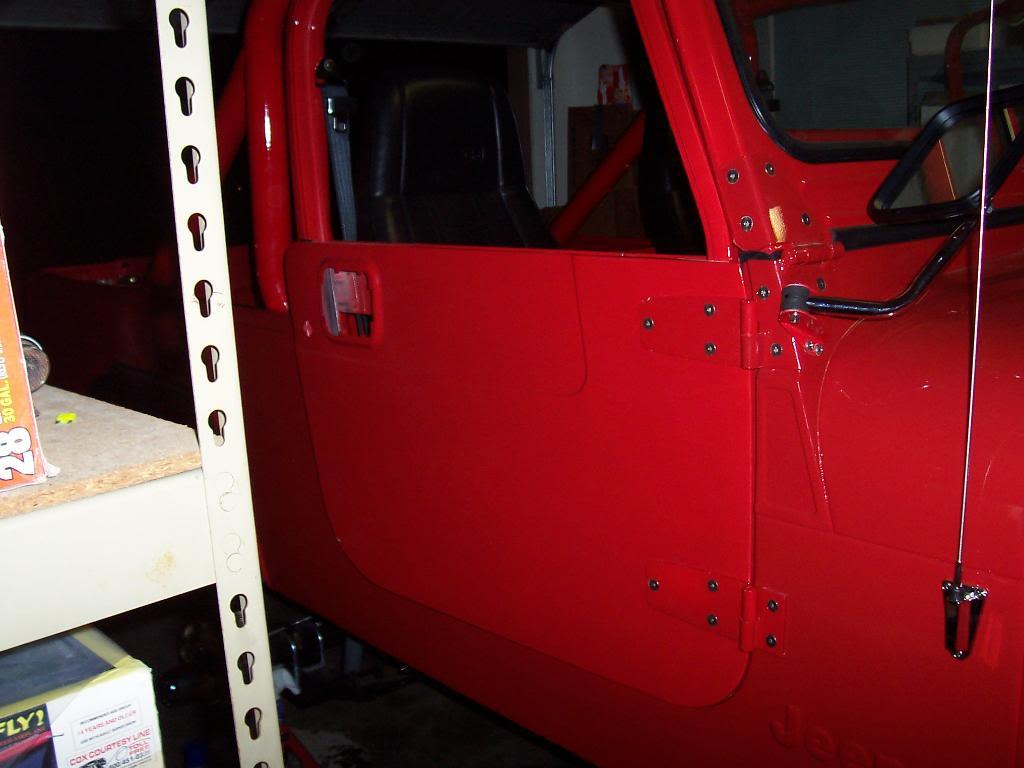
And temporarily hung the two doors.

0056-1.jpg


0064-1.jpg


I still have a bunch of adjusting and fitting to do before the doors open and close correctly. I mainly wanted to hang them so that I could start putting all the window/handle/weatherstripping stuff back on them. The tub makes a great door hanging tool:thumbsup:

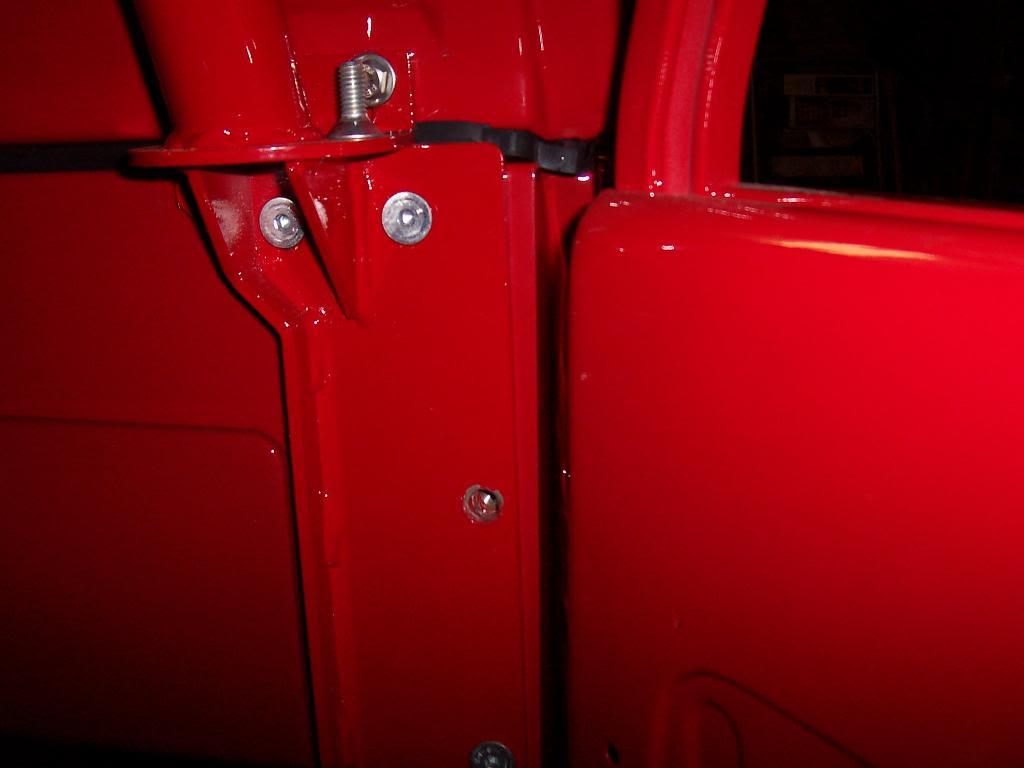
First issue with the doors and body: The doors hit the bolts that secure the Rock Hard cage plates to the dash. I figured this was going to happen. The Rock Hard plates are countersunk for 1/4" bolts which is what you use to mount the plates to the dash if you don't use the pieces that tie the plates to the floor. Since I used the extra pieces to tie the plates to the floor, I used the supplied 5/16" bolts. Should be an easy enough fix to get a counter sinking bit and enlarge the holes in the plates, I hope.

Picture of the bolts in the door jamb area. I already removed one of the bolts in this picture.
0082-1.jpg


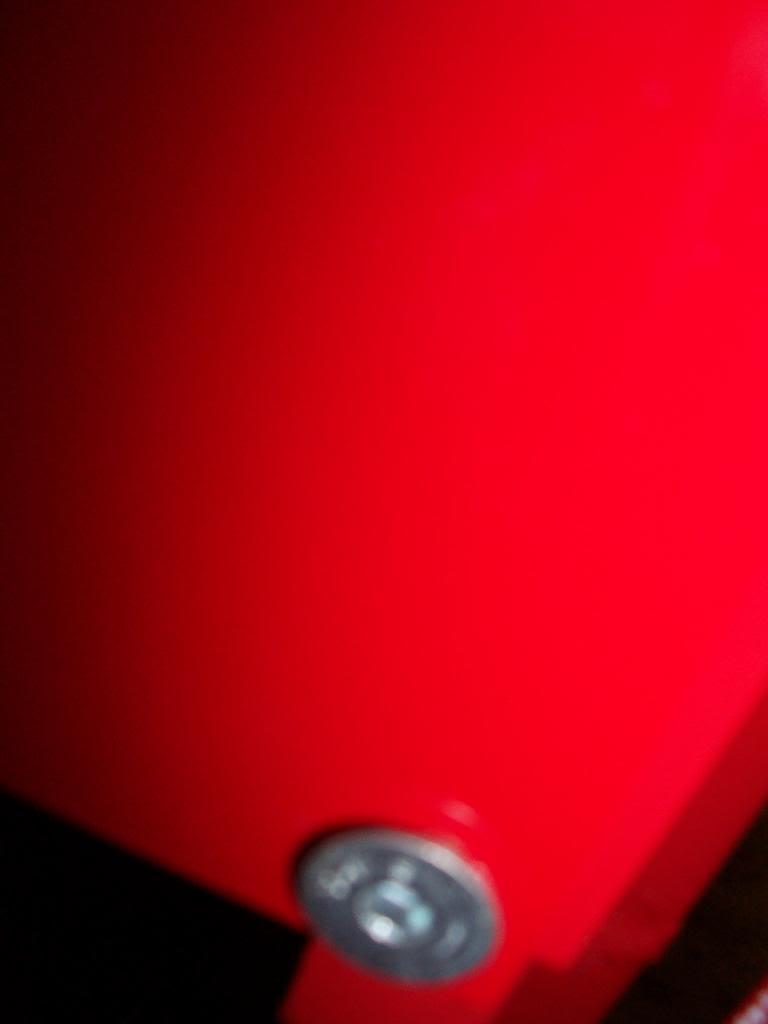
Close up picture showing how the head of the bolt sticks out. Once I countersink the holes in the plate to the correct size the bolt heads will sit flush, and no more problems, I hope.
0073-1.jpg


My sand blaster blasted the rims already this morning, should prime them late today or early tomorrow, should be able to pick them up tomorrow afternoon. Then, back to the painter.

That's it for now.
 
Is there a pic anywhere showing where that triangle mount and clip go? Are they Scrambler-specific parts? They don't look at all familiar to me.

Also, my Rock Hard cage should have shipped today. With the added thickness of the Aqualu dash, I'm concerned about my doors closing even without the countersunk bolts. How exactly do you countersink bolts? Is there a special bit, or do you just have to be extra careful using a larger bit?
 
Last edited:
Is there a pic anywhere showing where that triangle mount and clip go? Are they Scrambler-specific parts? They don't look at all familiar to me.

Also, my Rock Hard cage should have shipped today. With the added thickness of the Aqualu dash, I'm concerned about my doors closing even without the countersunk bolts. How exactly do you countersink bolts? Is there a special bit, or do you just have to be extra careful using a larger bit?

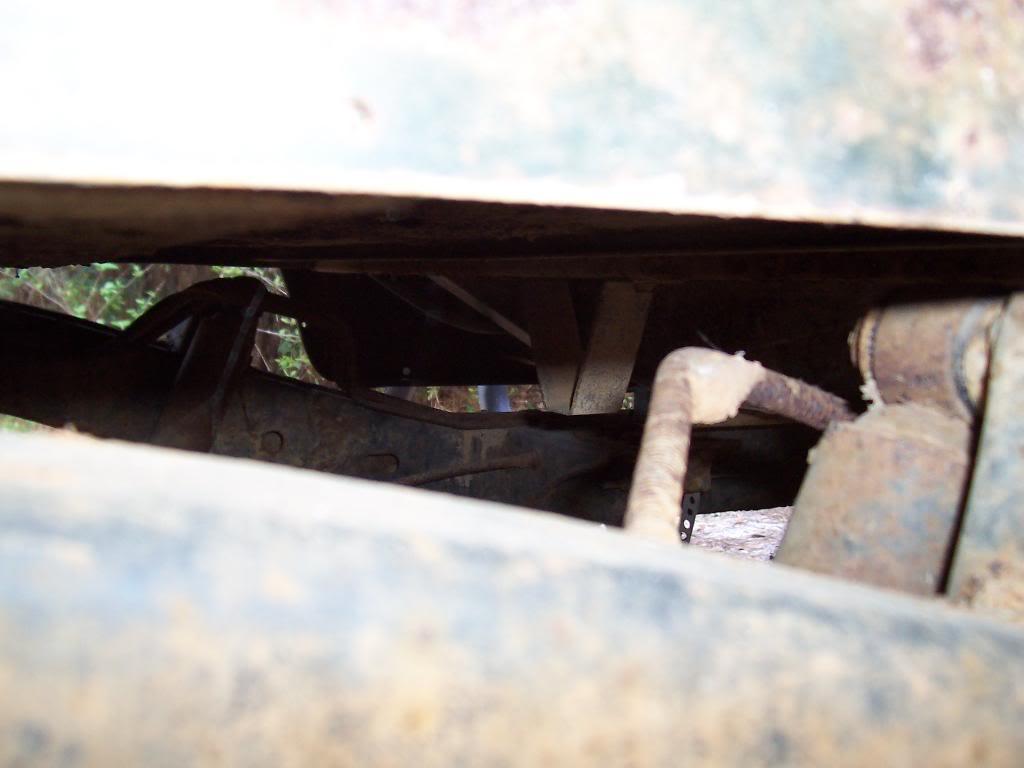
The triangle piece mount underneath the rear bed floor on one of the tub cross members, I think. I will take a pic of the piece mounted on one of my other Scramblers for reference:thumbsup: It is not Scrambler specific, pretty sure they use that piece on all CJ's:shrug:

Unless your dash is super thick, the doors should hopefully work. My dash is an aftermarket dash that is a little thicker then stock, and it all seems to fit OK :fingerscrossed: I think I still have a little adjustment on my doors rearward, but I really need to countersink those bolts.
They make a special bit for counter sinking holes in steel, I will post up a picture of one once I buy/borrow one:thumbsup: You could probably counter sink the holes with a larger bit, but it wouldn't be as "clean".
 
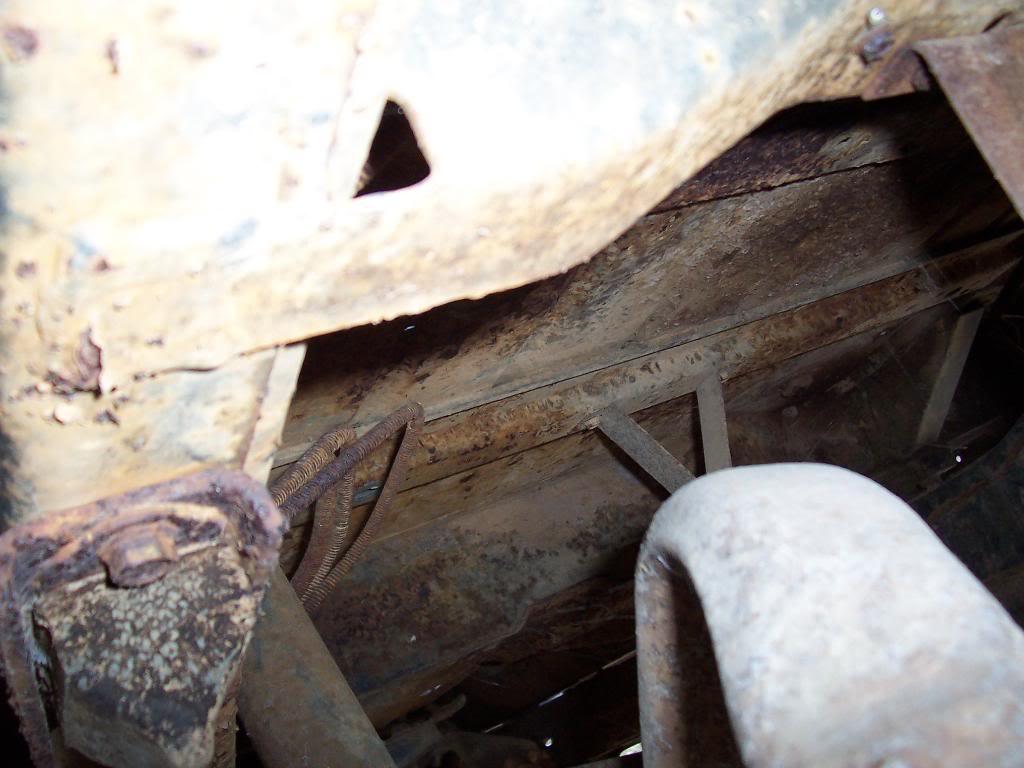
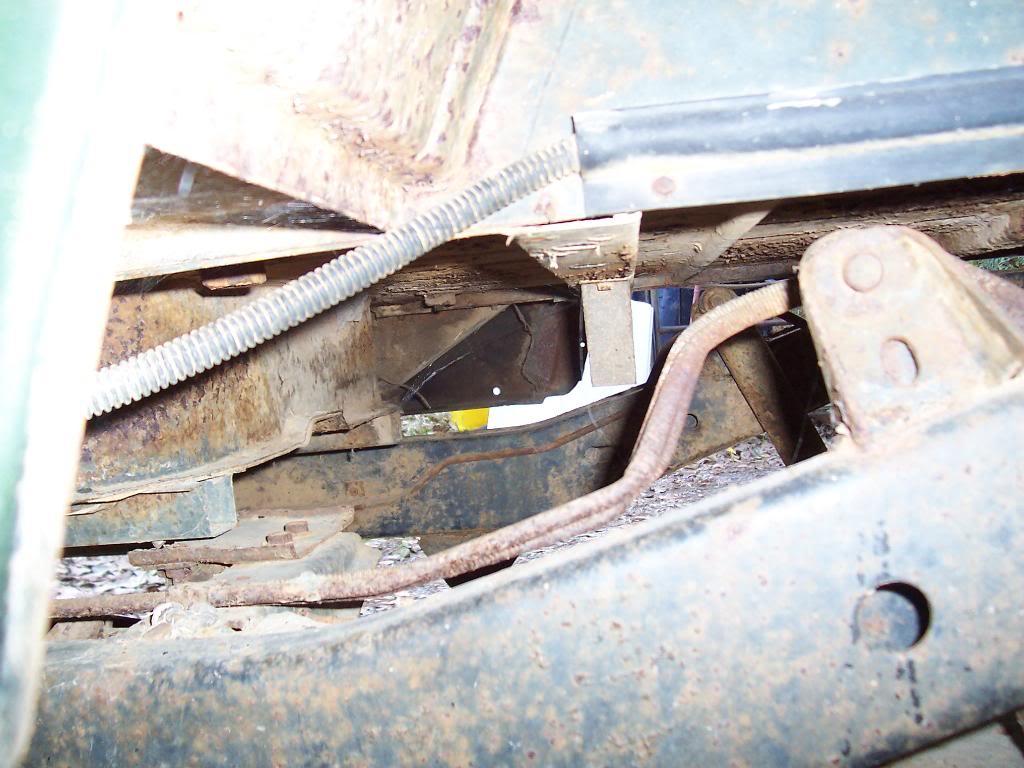
Pictures of the triangle piece mounted up under another one of the Scramblers that occupy space in my yard:thumbsup:

Drivers side rear looking forward view:

0017-1.jpg


Drivers side looking at it from the side view:

0027-1.jpg


0037-1.jpg


Passenger side rear looking forward/sideways view:

0057-1.jpg
 
More "little stuff" progress.

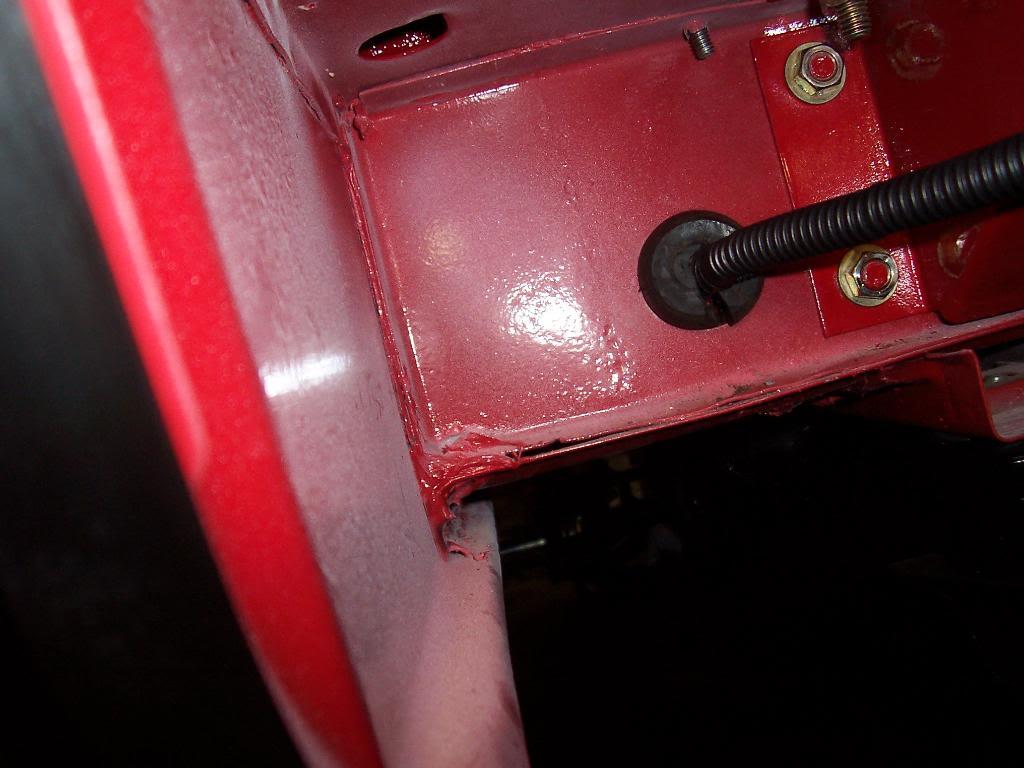
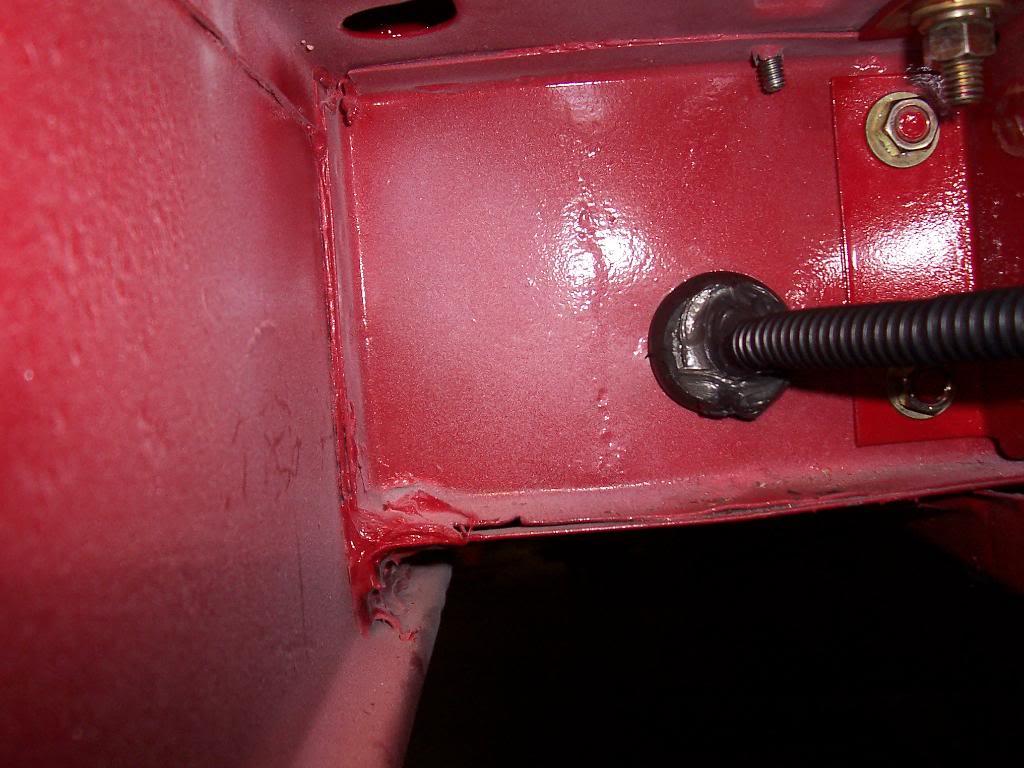
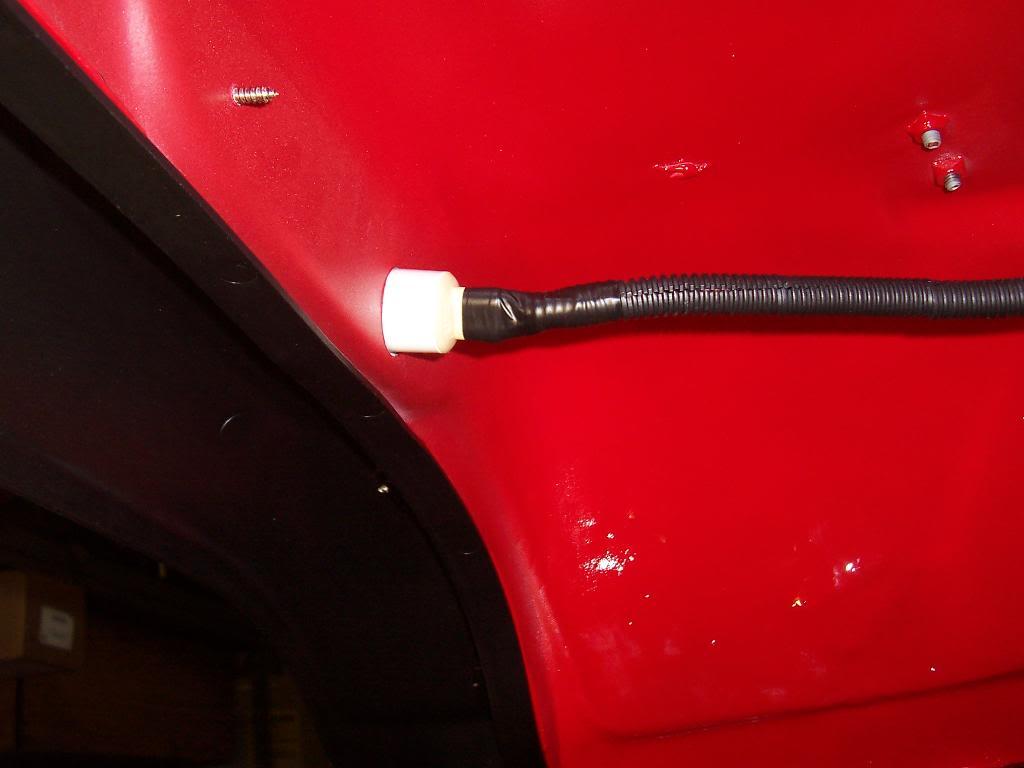
Finally got finished installing/routing the rear electrical harness through the body tub correctly. This harness passes through the rear floor riser at the back of the cab area and runs to the tail lights etc. The Rock Hard in cab cage rear hoop plate (on the drivers side) kinda blocks this hole. Fairly simple fix to get around this small issue, though. First, I cut the factory grommet so I could remove it from the wire harness. I then installed it on the wire harness backwards, i.e the fat end sticks out to the rear, the thin end goes inside. Slightly loosened up the bolts that secure the cage/rear roll bar reinforcing plate to the rear floor riser, and installed. Fits fine.

0083-1.jpg


And used some black RTV to seal it up.

0092-1.jpg


I also finally installed my new side marker lights, the ones that are on the edges of the front fenders. I have been looking at those wires hanging down for way too long.

0102-1.jpg


That's it for now.
 
I also have a "Wanted Thread" in the "Wanted" section:fingerscrossed:

I desperately need 3 pieces of hardware so that i can install my 1/2 soft top.:fingerscrossed:

#1) Whitco #10244114 - "Horizontal Support Rod Skt. RH" - This is the plastic piece that screws to the corner of the windshield frame that holds up the horizontal bar that runs over the door opening. My top came with 2 drivers side pieces:( I need the piece that goes on the PASSENGER SIDE

#2) Whitco #10244139 - "Bow Support Socket L.H."
#3) Whitco #10244138 - "Bow Support Socket R.H."

These are the pieces that lay over the edge of the body tub, one on each side of the body, even with the bulkhead. They look like bent pieces of plate with a large hole in each one. These hole are what locate the the rear bows.


I could possibly fabricate the "Bow Support Sockets" if i had some detailed pictures/dimensions, if there are none available for sale:shrug:

Please help me out if you can, these are the only missing pieces that I need to install my 1/2 soft top:thumbsup::cheers:

:fingerscrossed::fingerscrossed:
 
One last update before I leave to go Jeeping.

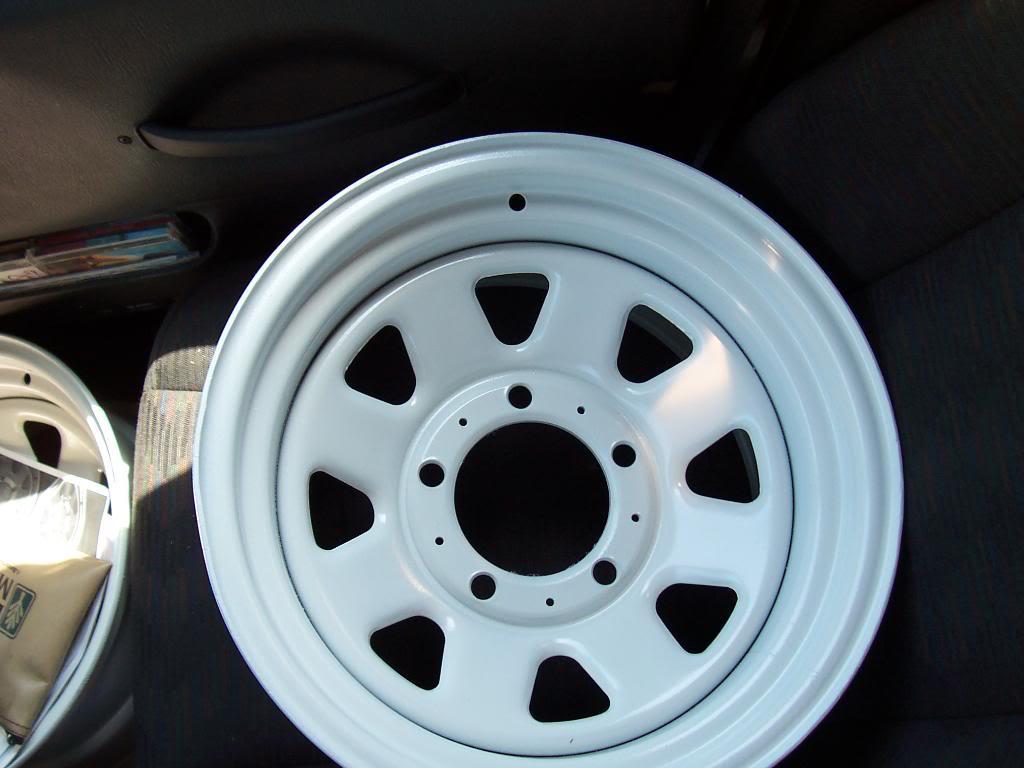
Picked up my rims from the sandblaster and dropped them off at the painters shop. These pictures are of just the primed wheels, they have not been painted yet. They cleaned up really well.

0018-1.jpg


0028-1.jpg


0038-1.jpg


That's it for now.
 
If primer can look that good I wouldn't even mess with paint! You are going with white for wheel color right?
 
If primer can look that good I wouldn't even mess with paint! You are going with white for wheel color right?

Yes, they will be painted white with a Sebring Red pinstripe:thumbsup: They should be finished today:fingerscrossed:
 
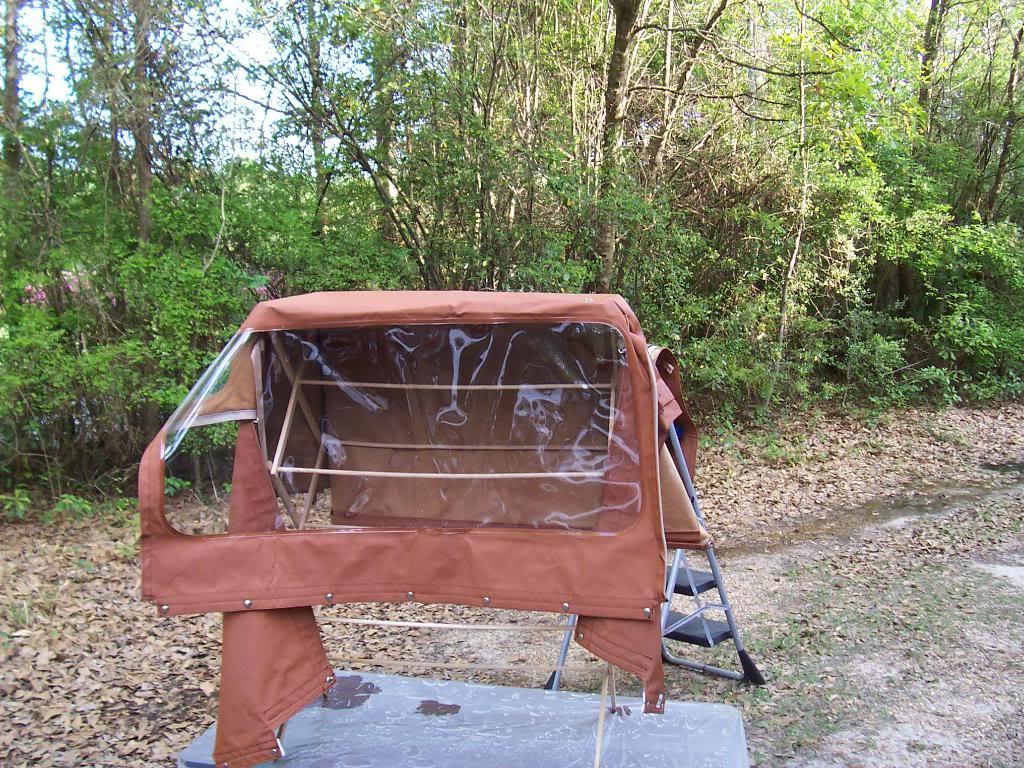
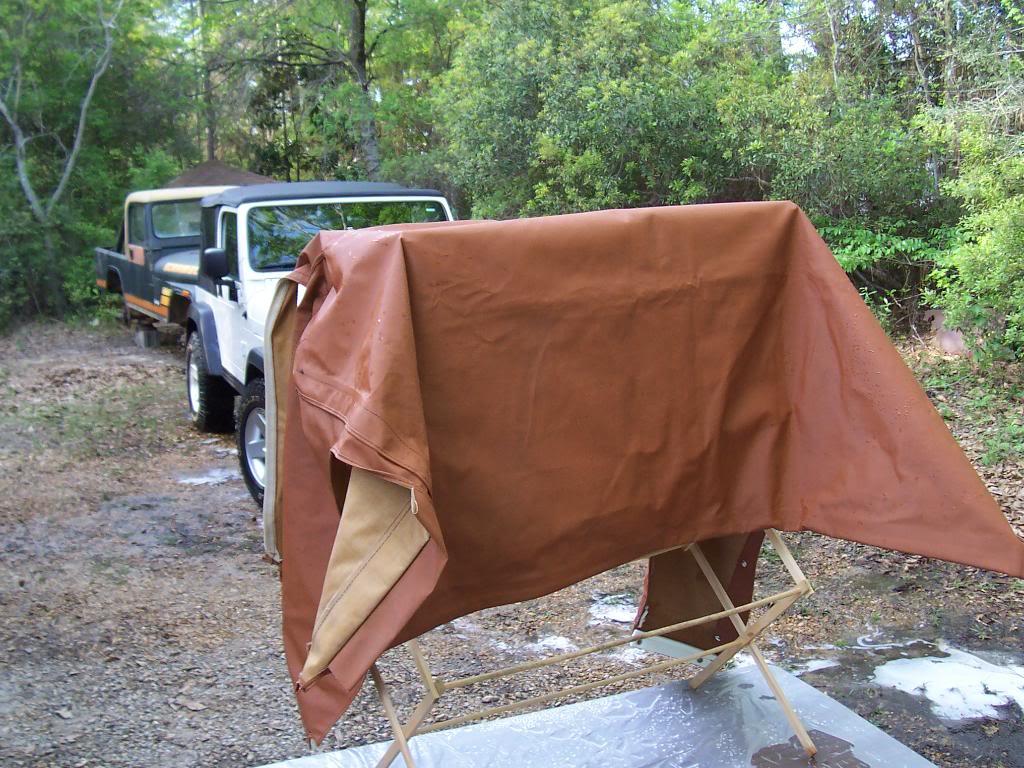
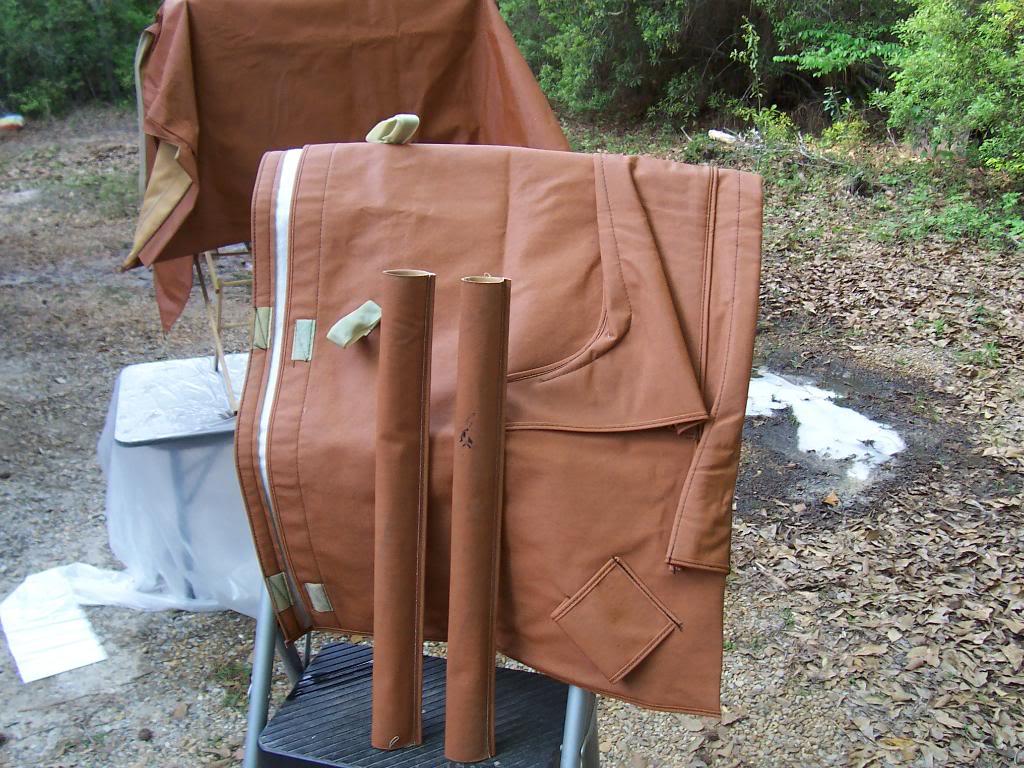
Small update. Before I went jeeping I took my NOS Whitco 1/2 soft top out of its box and spread it out over my roll cage, to help it dewrinkle. I got back to my house early enough on Sunday to wash it. It was dusty/dirty from being packed up for so long. It cleaned up very easily with just a little Downy clothes detergent. Window is still crystal clear in the back, no stains, just like new. I was a little worried if the top was still waterproof, considering its age, but when i went to wash it the water would immediately bead off of it just like a freshly waxed car, so it should be good to go. I will definitely let it sit out in the sun for a few hours before I try to install it.

00111-1.jpg


00211-1.jpg


The only "problem", feels/looks like a bit of tar on one of the bar covers. I will have to carefully scrape it off.

00311-1.jpg


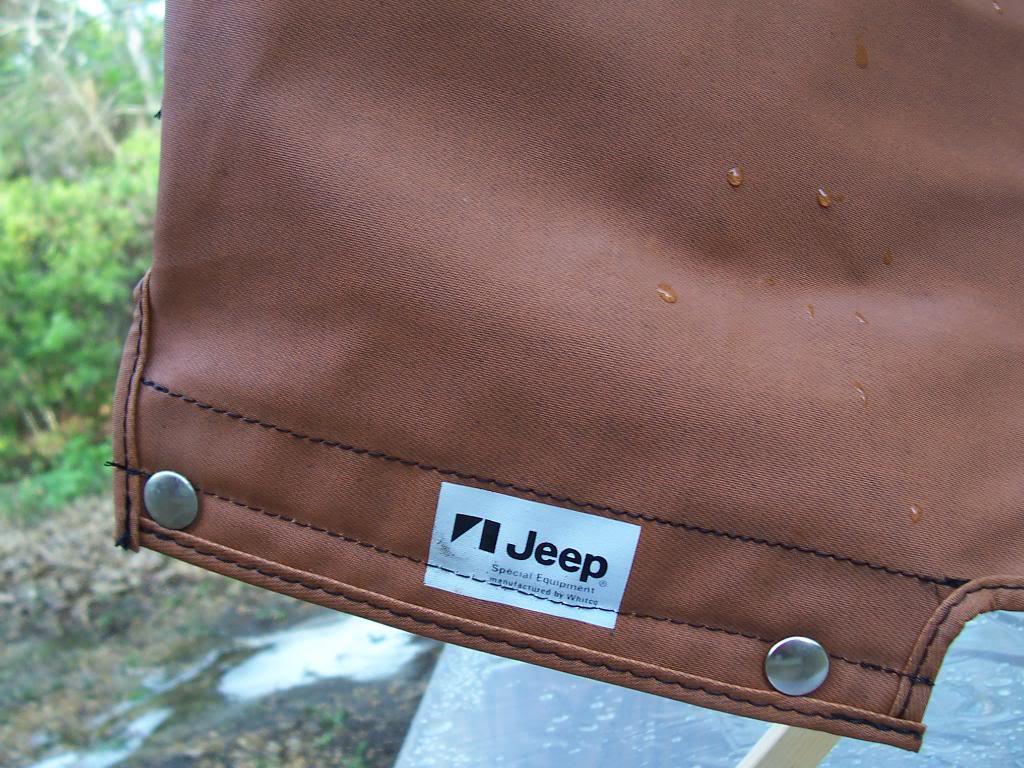
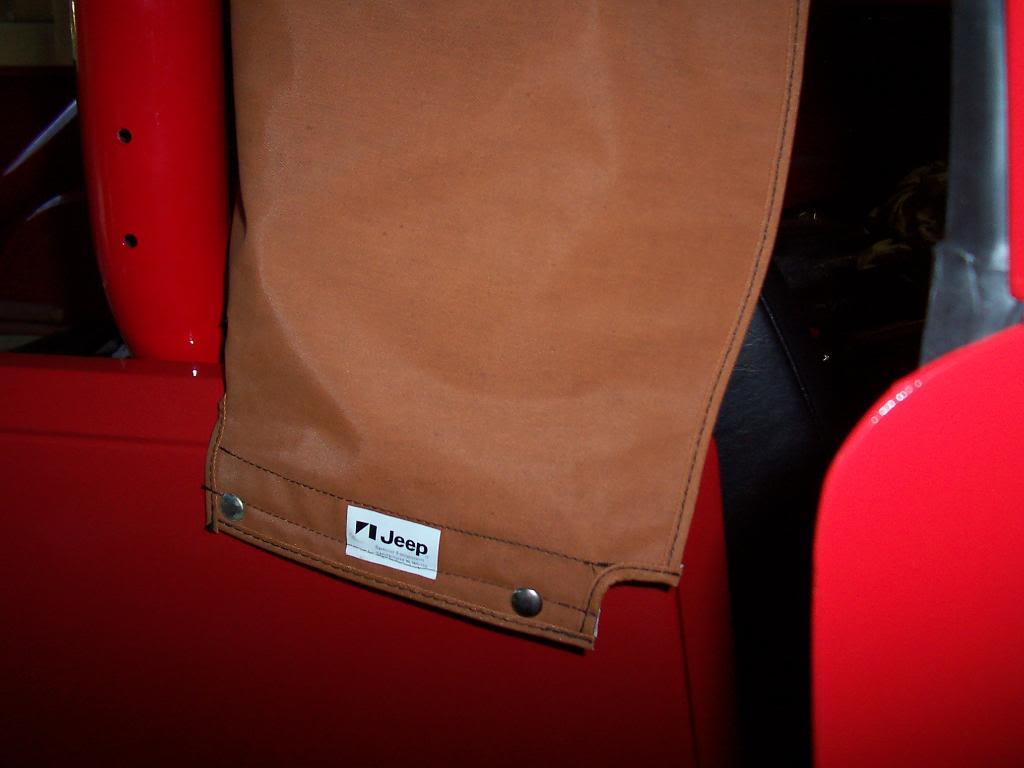
Close up of the stamp.

0049-1.jpg


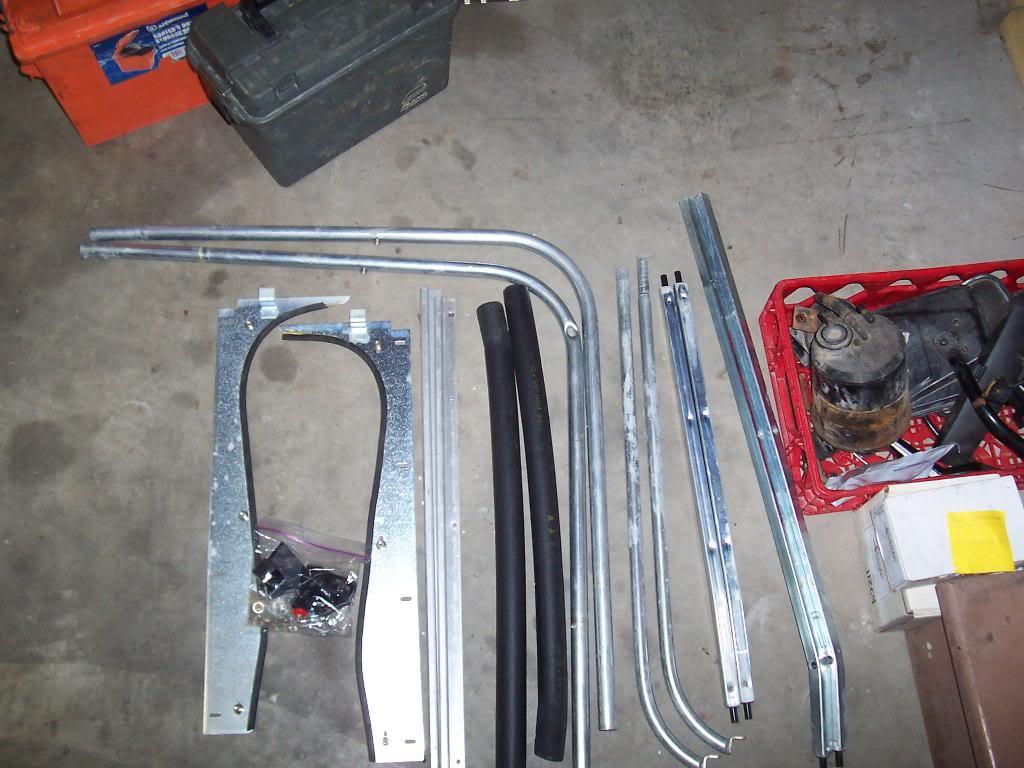
Picture of the hardware. I should receive my missing windshield frame bracket this week and I still need to fabricate the two "bow support sockets". I might be able to install this top this weekend.

00510-1.jpg


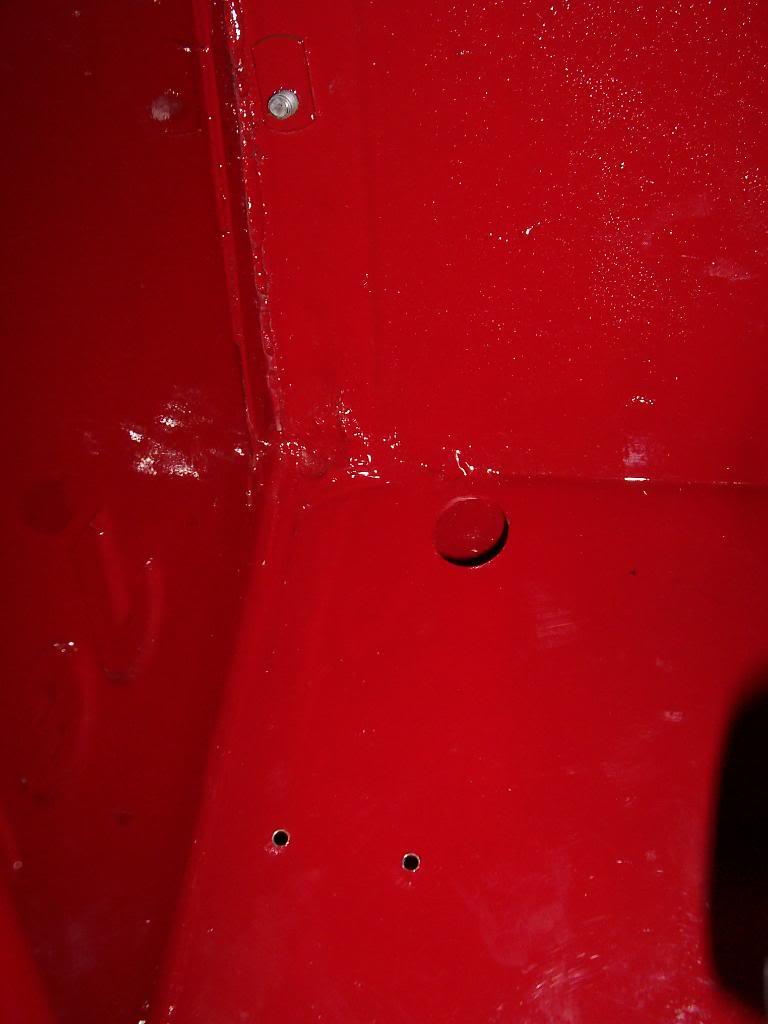
I carefully pulled some measurements out of my "yard ornament" Scrambler and drilled the holes for the parking brake cable to pass through and the high beam foot clicker switch bolts.

0067-1.jpg


That's it for now.
 
Last edited:
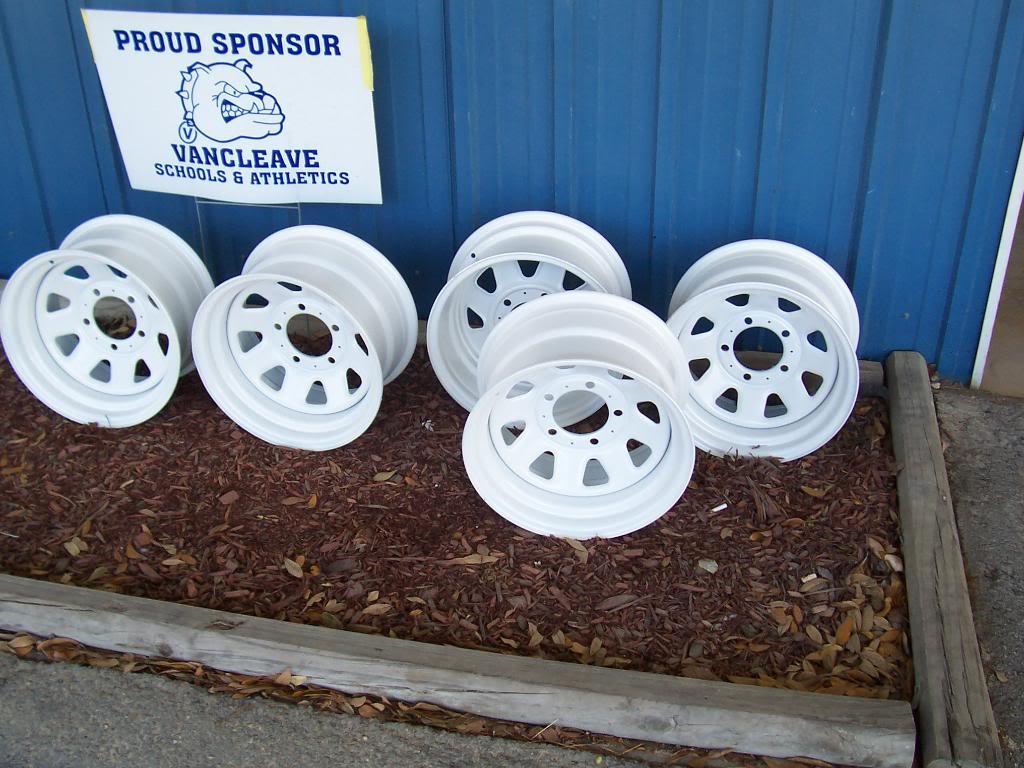
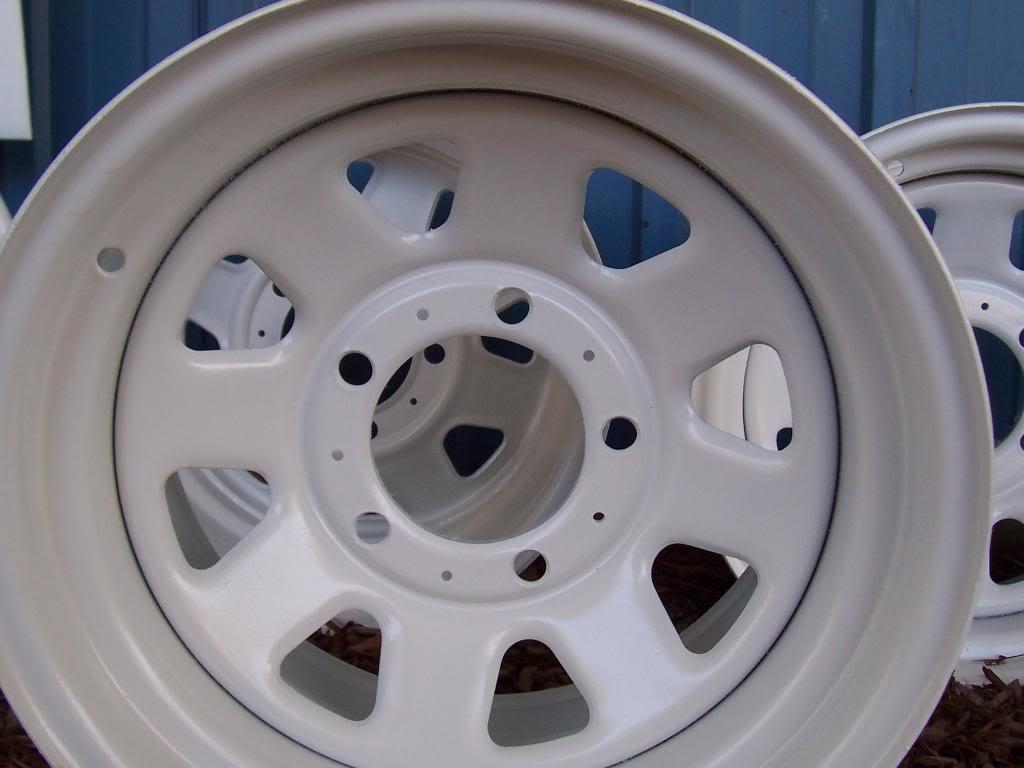
Picked up my rims yesterday. White paint looks good, the pin stripes look bad:( The stripes did not stay exactly "perfect", and any flaw with a circle really stands out, especially on a white background. I took them home, but they look worse mounted up. I really wanted to get the Scrambler running, but i am not going to mount the tires on these rims. Not going to take any short cuts at this stage, so i dropped the rims back off at the painters early this morning so he could repaint them:(

These rims are killing me:banghead:

On the good news front, I have found all the missing 1/2 soft top hardware I needed, so the soft top install should go smoothly, once I get the Scrambler movable:fingerscrossed:

I also installed the parking brake pedal assembly and the high beam switch.

That's it for now.
 
Quick update, not too many pictures.

I reassembled my doors. I did not take any pictures, but this is the order in which I put them back together:

door lock cylinder
exterior door handles
door closer piece (piece that clamps onto the post on the body)
inside door latch with interior linkage
big glass
window regulator
vent window assembly

I tried to reassemble them based off the FSM and looking at other peoples rebuild info, but this way worked best for me.

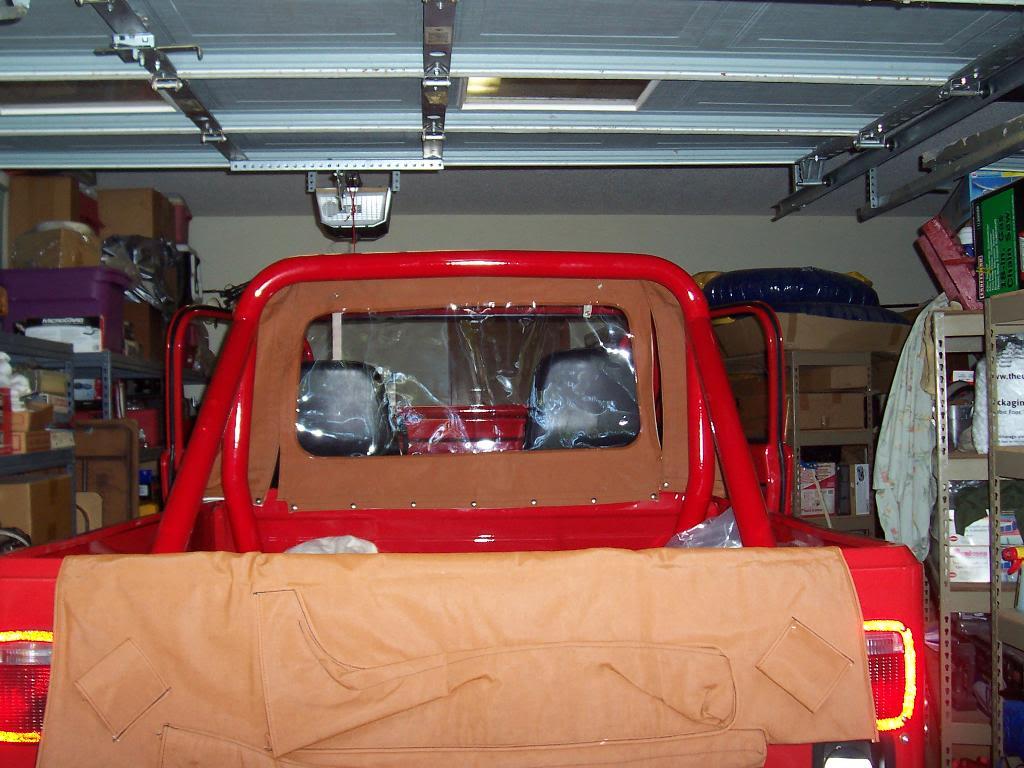
Two quick pictures of the top laid out on the jeep. I think the nutmeg and red combination looks great.

00112-1.jpg


00212-1.jpg


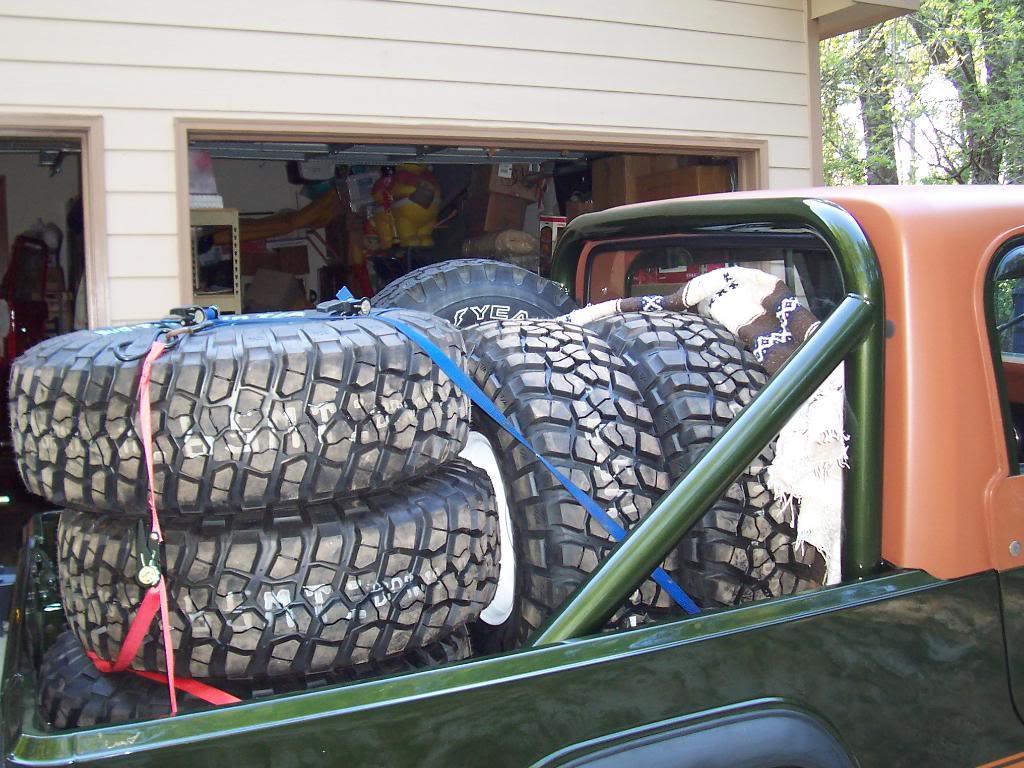
Picked up my tires on Friday. All 5 fit in the bed of my green Scrambler just fine, but it did fill the bed up.

00410-1.jpg


00511-1.jpg


And with a center cap on. Center cap is hard to see due to the glare/flash.

0068-1.jpg


That's it for now.
 
Last edited:
Another quick update with some more pictures.

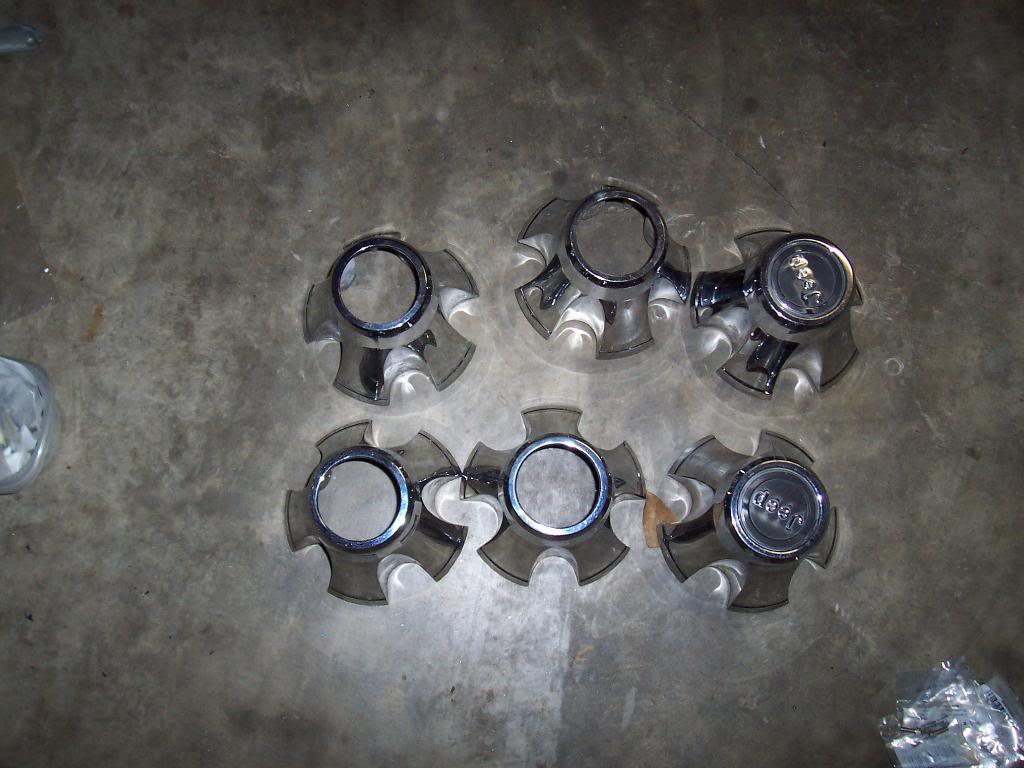
Cleaned up my factory center caps. They cleaned up/polished up pretty good. All of them have slight chips/blemishes/blisters in the indented parts where the lugs go. I guess this happens to most of them over the years from people ramming impact sockets into them? I needed 4 open face ones (fronts) since I have lock in hubs at all 4 corners. I will use a "Jeep" stamped one on the spare.

00113-1.jpg


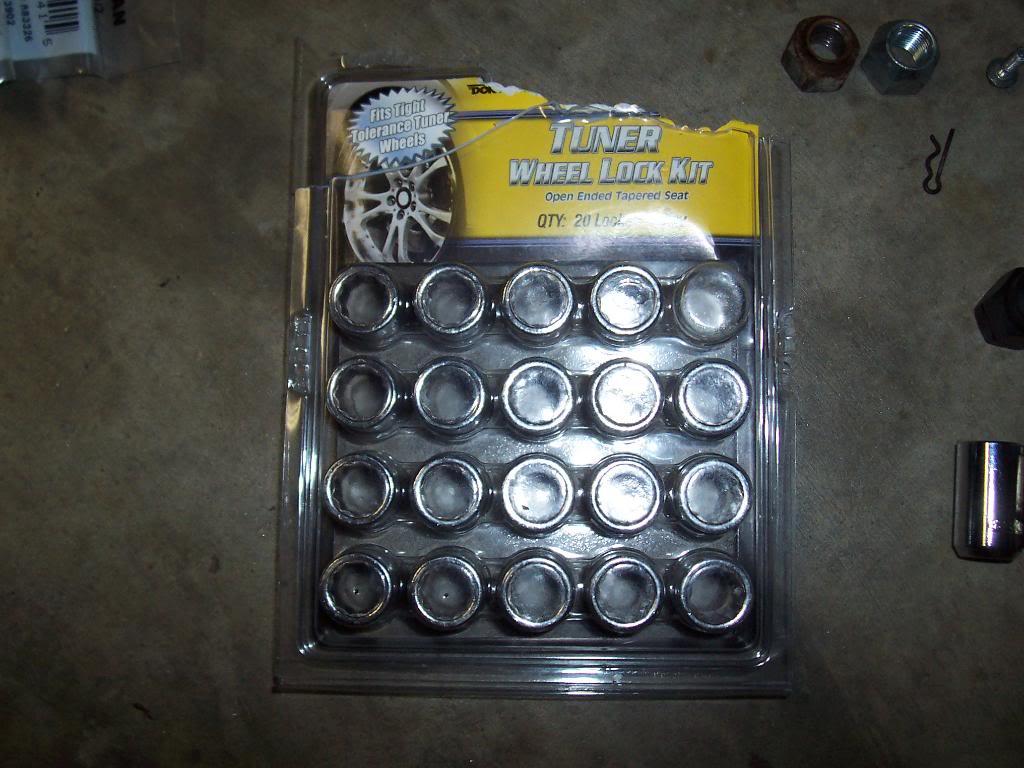
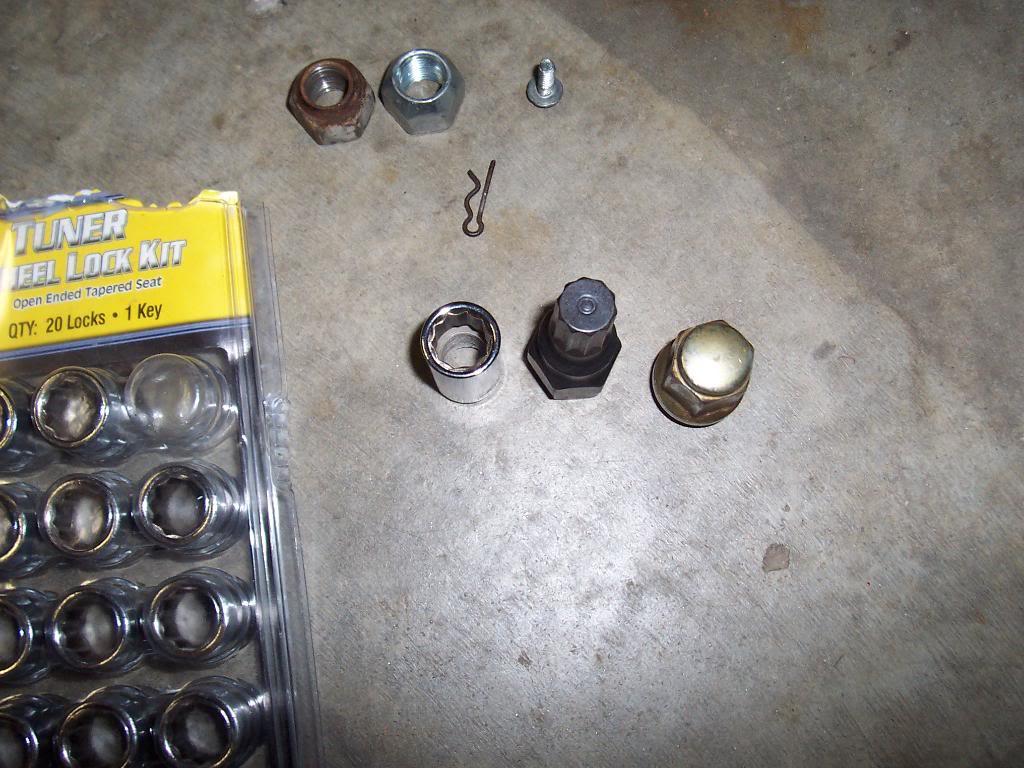
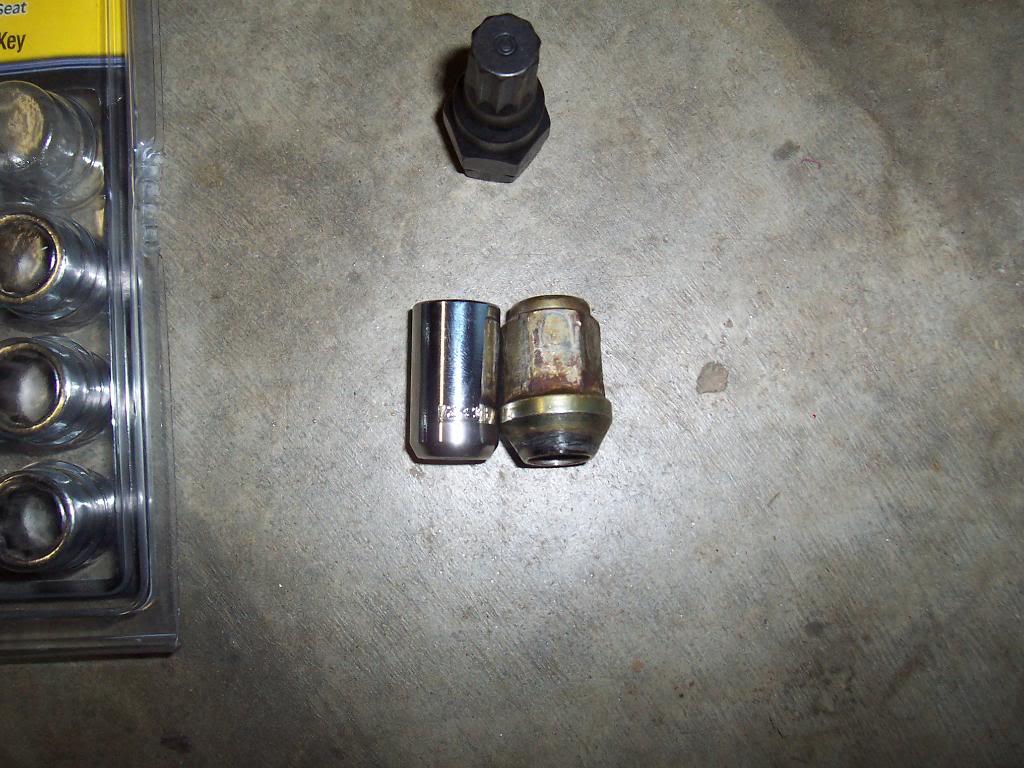
This past Saturday I went out to buy some lug nuts. Figured this would be an easy chore. Wrong. I went to 5 different parts stores and a tire store looking for factory style lug nuts. No one carries them. The factory lugs have a raised "waistline" on the outside to keep the lug wrench/socket from spinning against the face of the rim, and thus protecting the paint/chrome. I guess I will have to search the Internet and try to find some factory lug nuts?

Anyway, the only thing that I could find that will work are these super cool, 50 HP increasing, "Tuner" lugs. Hell yeah. They use an internal spline with an open face, which I am not crazy about, since I can already see the open end getting packed with dirt. I only had to pay $10 for them, so I will use them until I can find some factory style lug nuts.

00411-1.jpg


00213-1.jpg


00312-1.jpg


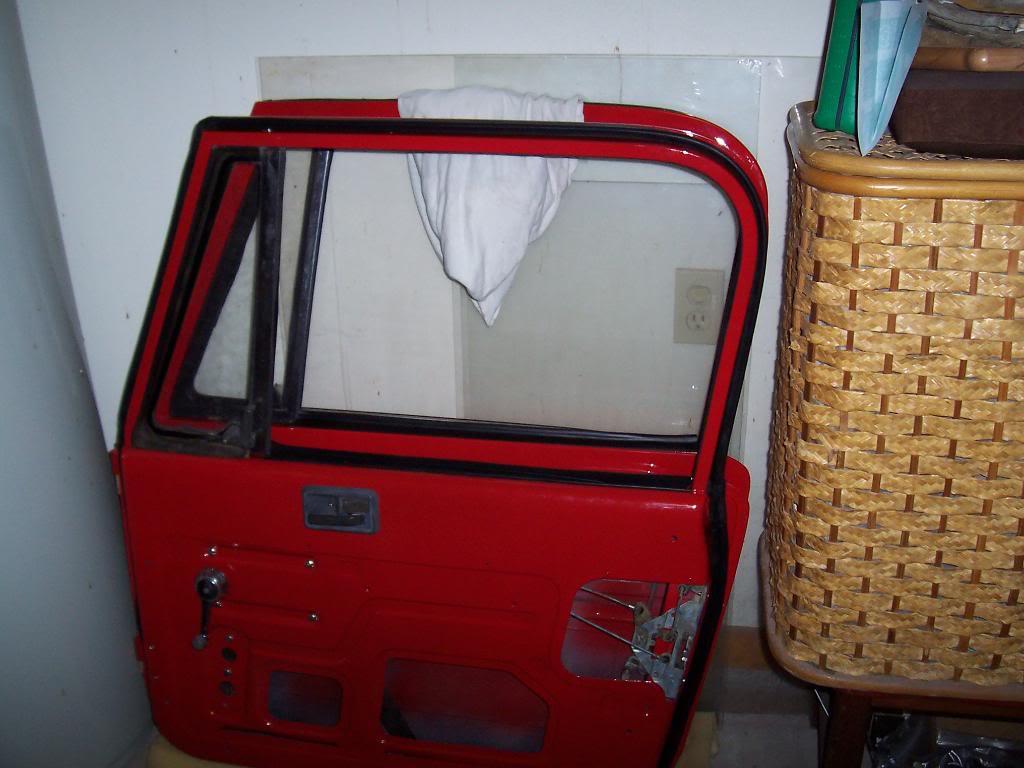
Quick picture of the doors. I still need to buy some internal door panels (black) and some new interior door handles, since both my handles are faded and cracked. They still work, but I do need to fix them.

00512-1.jpg


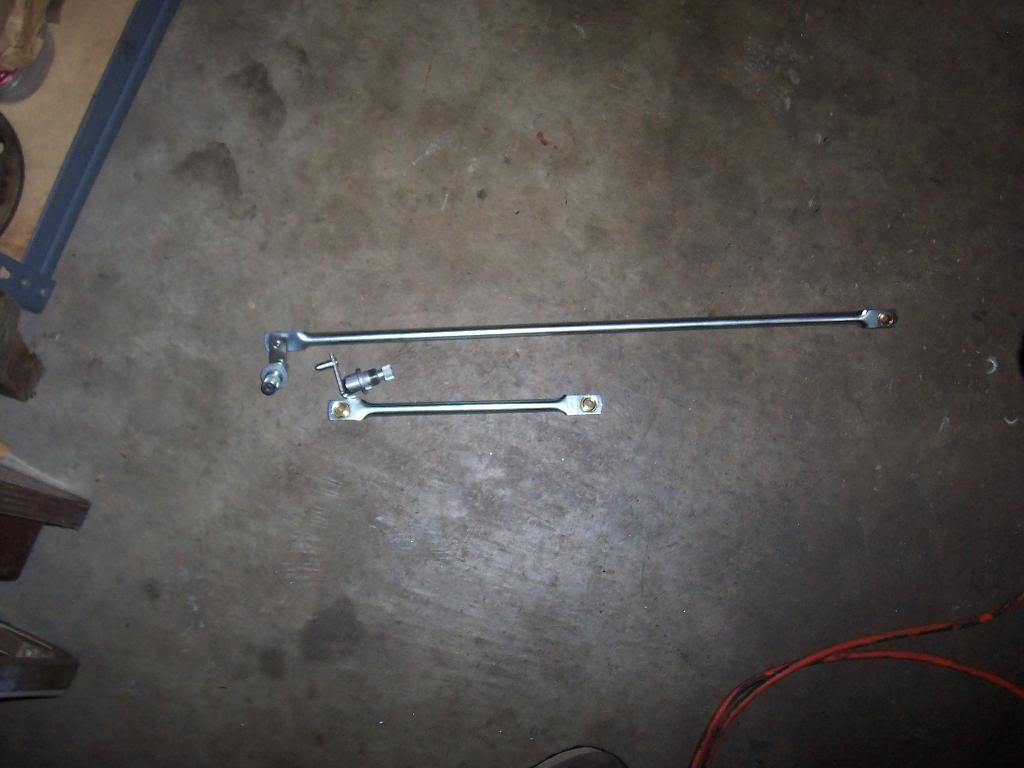
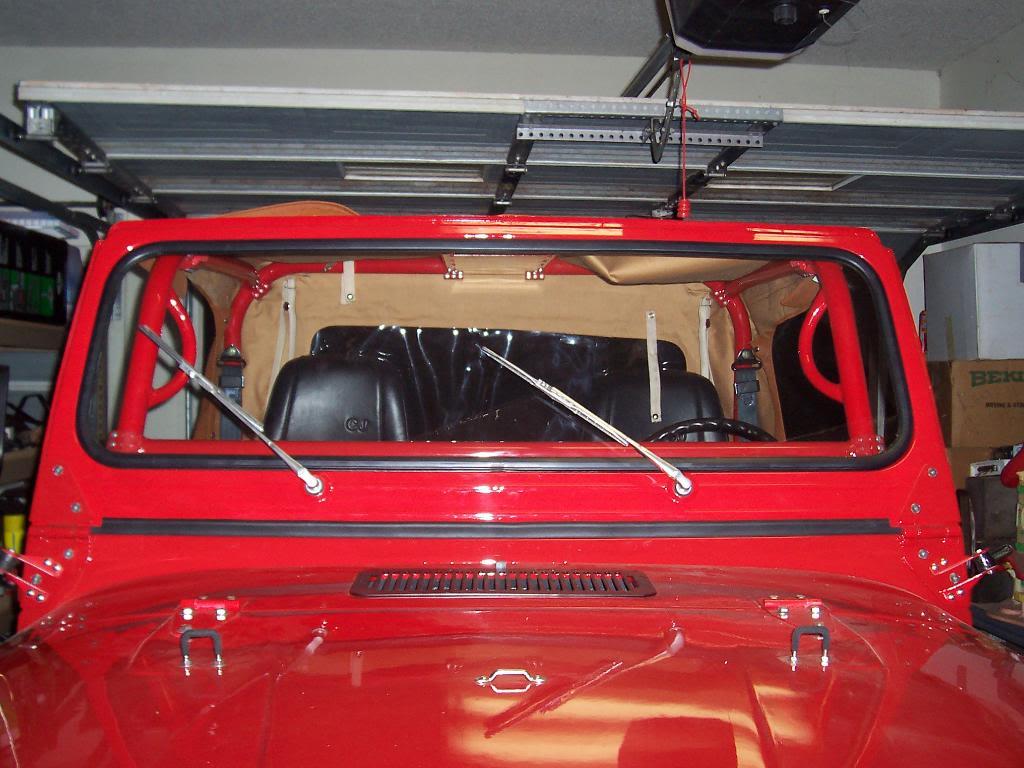
My wipers were making noise due to all the factory linkage pieces having slight wear. Finally got the replacement parts installed.

0069-1.jpg


Once I put the above mentioned parts in the frame I finally slid on the wiper arms.

0077-1.jpg


My squirter nozzles were filled with bed liner junk. I still have them soaking in acetone. Hopefully, the liner junk will dissolve out of the tiny holes so that the squirters will work again.

0086-1.jpg


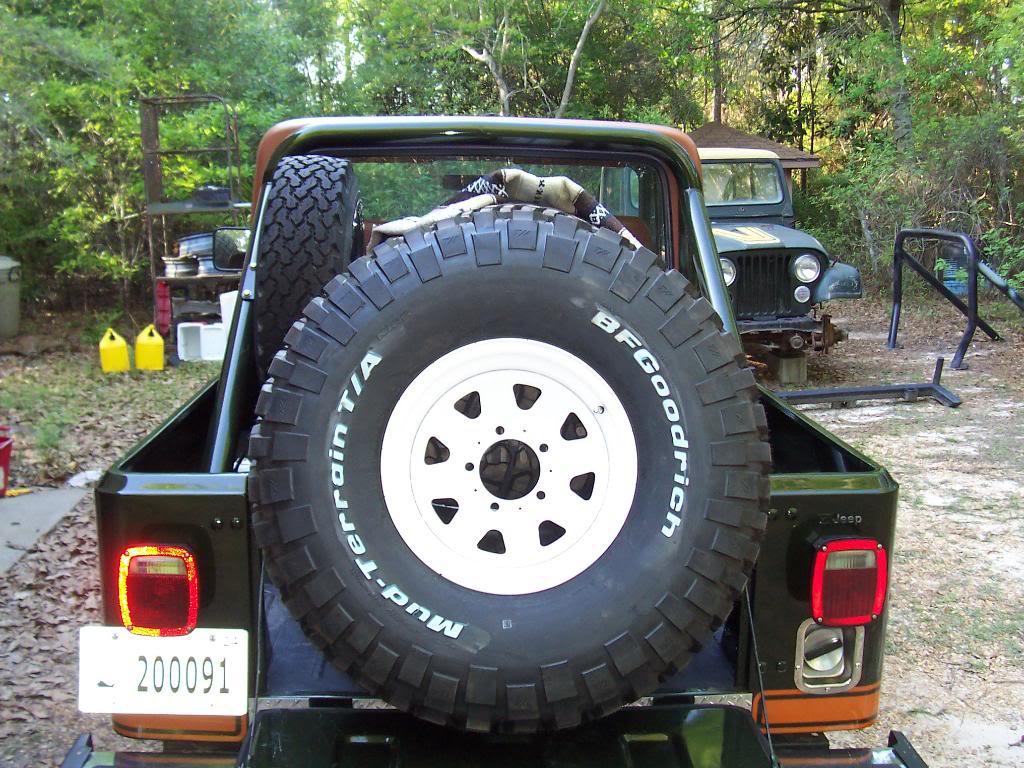
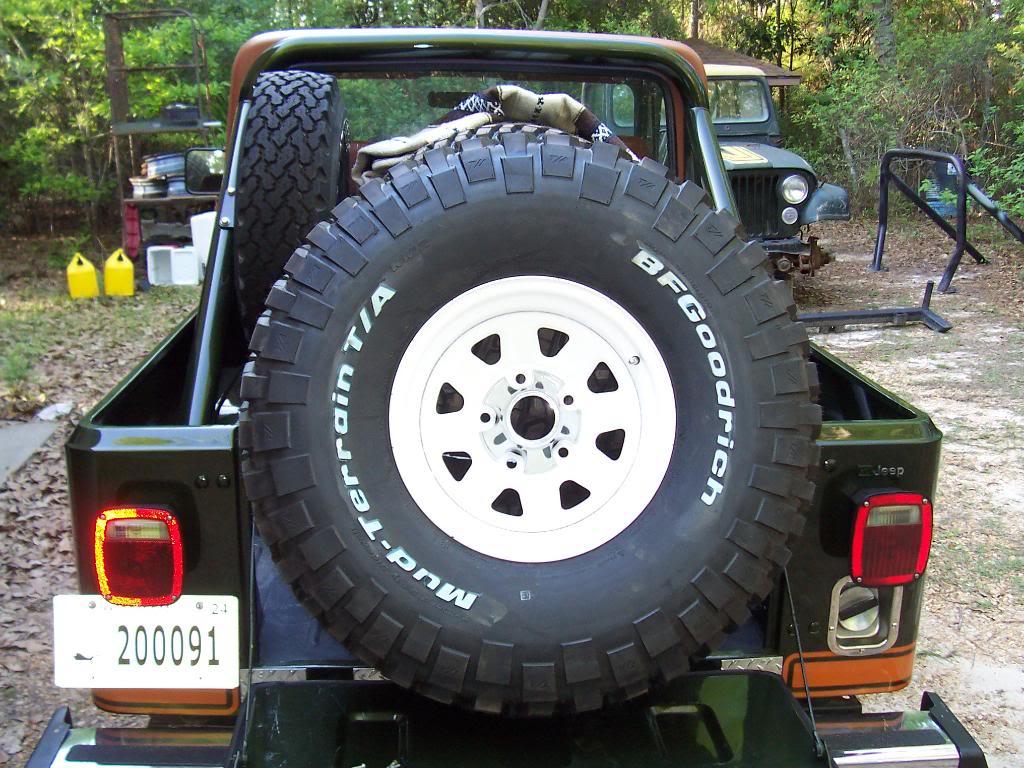
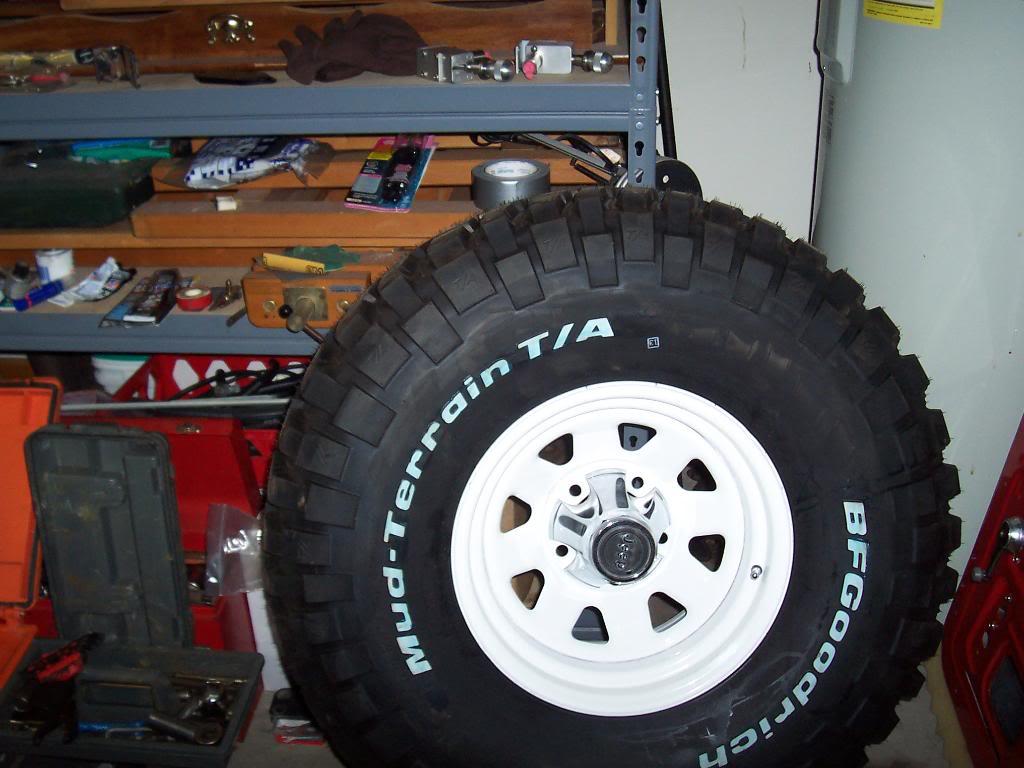
Quick picture of the spare tire with center cap mounted.

0095-1.jpg


Been pretty busy with other stuff, but I hope to mount up the tires soon. I still want to finish installing/tightening the body mounts and adjusting the front sheet metal before I put the tires back on. Much easier without the tires in the way. I also still need to bleed the brakes and finish installing the parking brake parts, then it will be drivable.
 
Looks great, but why the cap on the spare? Won't you just have to remove it to use the tire?
 
McGuard "Tough Nuts" come in the Bulge style, I think Gorilla makes some too. They aren't cheap... I paid $12.00 for a 4 pack...
 
Looks great, but why the cap on the spare? Won't you just have to remove it to use the tire?

Yes, I will have to remove it, but I am out of open face caps:thumbsup:

I figured the spare would look better with a closed face cap. I will just have to switch caps when I rotate tires, or until I get another open face cap:thumbsup:
 
McGuard "Tough Nuts" come in the Bulge style, I think Gorilla makes some too. They aren't cheap... I paid $12.00 for a 4 pack...

I will have to look into that. Thanks for the names:thumbsup:

Maybe I can trade my "Tuner" lug nuts for some real lug nuts, any takers:rotfl::rotfl:
 
McGuard "Tough Nuts" come in the Bulge style, I think Gorilla makes some too. They aren't cheap... I paid $12.00 for a 4 pack...

The gorillla nuts are by far the best locking lug nuts on the market.

for those on here that may have wheels that they are worried about people stealing, i would strongly recommend those.
 
Back
Top