• Notice for iPhone users: DO NOT use the image size reduction option when uploading photos to the forum. This causes portrait images to post as landscape. We have added a warning to the image insert pop-up as well.

Retitled: 83 Scrambler resto-mod finally gaining momentum

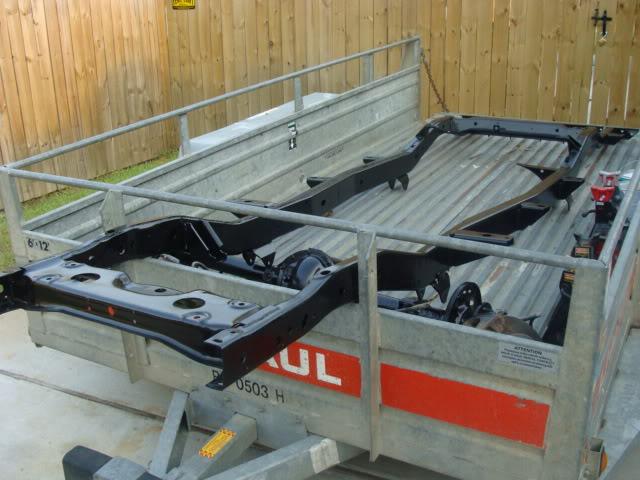
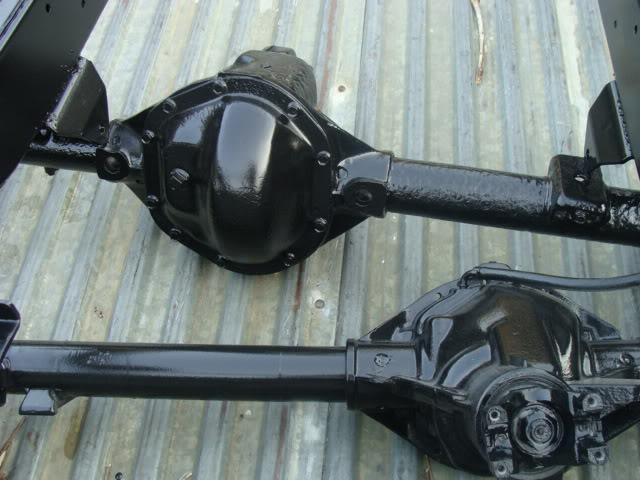
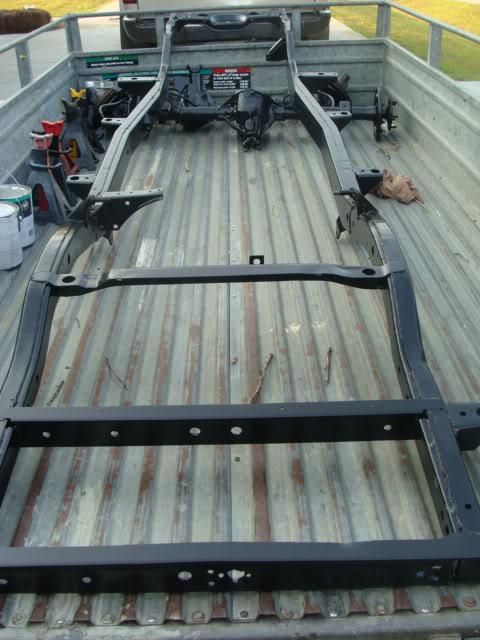
and a very few "after" shots
20110521after1-1.jpg

20110521after2-1.jpg

20110521after3-1.jpg
 
few lessons/observations from this:

if I'd been more disciplined, I'd have taken the front yokes/rotors off, but I simply asked the guy not to blast the ends of the axle, as I'd just recently done new ball joints and didn't want to go through that hassle again.. we'll see if I regret that but the plan is to do a touch-up clean on the outer axles..

most of my frame accessories came off without too much of a fight, EXCEPT for the sway bar frame mounts, which have two internal (but not "captured") nuts inside the box frame.. I could get box end wrenches over them with the help of a telescoping magnet, but I could never get them to "bite" from the inside.. they simply spun (and one snapped clean off).. so I had to cut all four off with an angle grinder from the outside, then grind down the bolt/washers, punch the boltbody through the hole with a hammer/pick, and fish out the frozen nut/bolt end with the magnet.. sounds complicated but pretty easy: bottom line is that it would have saved me about two hours of frustration if I'd just cut them in the first place..

the frame paint I chose was a PPG epoxy base coat, comes in two parts (A/B) and is pretty heavy duty stuff.. the sandblaster offerred me to paint the frame axles for 100$ if I bought the paint (another 100).. another "steal" in my mind...

sandblaster I used was Cobern machine in Pensacola FL: cost me 450 total for the job, including the cost of the paint, and he did it on a Saturday.. it's not a "finesse" job but I wasn't too concerned... seems like a straight shooter, came recommended to me by 2 different guys, and I'm happy with the results so far..
 
questions/way ahead:

I think my next issue is a "top coat", which I'll probably try to do with a rattle can or brush on urethane (as I think urethane is the right type to go over epoxy)...

I'm concerned about internal rust and saw a trick posted here about painting the inside of the frame, which I may try to replicate.. wondering if anyone has seen a write up on how to use the boiled linseed oil method?
 
final thought.. I'm now at the very starting point.. i have a clean/prepped (or almost prepped) frame as a basis to start building my Jeep again, piece by piece.. excited, but intimidated..
 
questions/way ahead:

I think my next issue is a "top coat", which I'll probably try to do with a rattle can or brush on urethane (as I think urethane is the right type to go over epoxy)...

I'm concerned about internal rust and saw a trick posted here about painting the inside of the frame, which I may try to replicate.. wondering if anyone has seen a write up on how to use the boiled linseed oil method?

I used eastwoods internal frame paint
 
Jim,

how did you apply it?

Never mind.. found the install on their website..
 
Last edited:
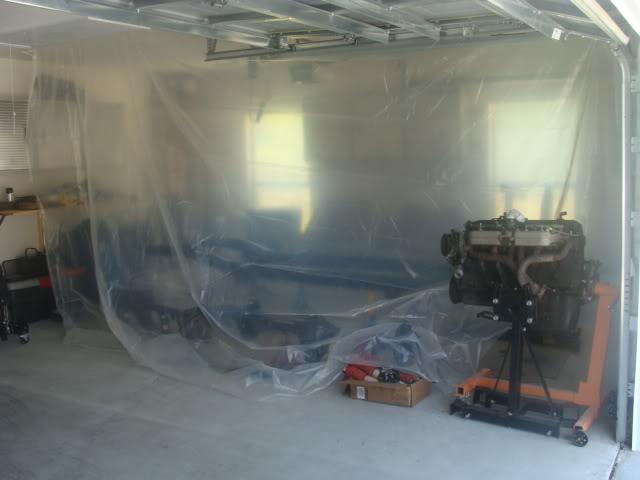
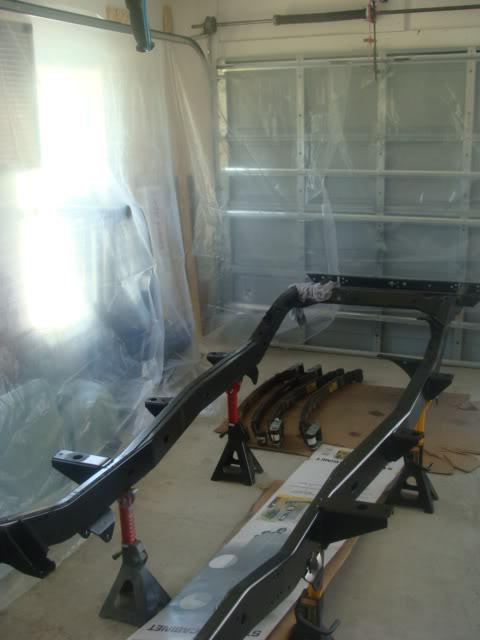
made a "paint booth" at home today

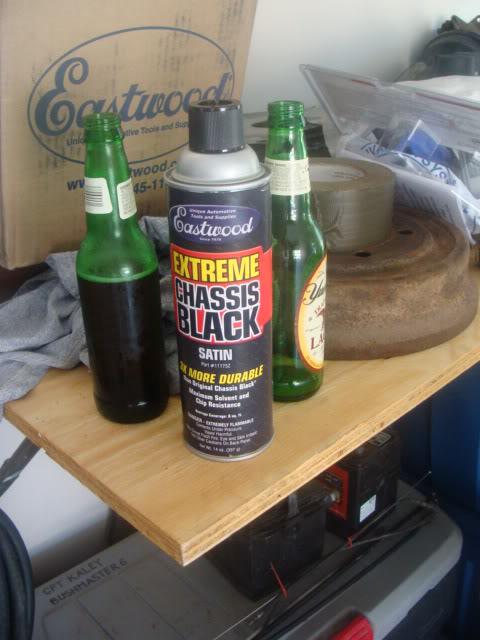
made a homemade paint booth.. I'm not using a compressor.. just some rattle can topcoat for my epoxy base that was sprayed on last weekend.. ordered 3 cans of this from Eastwood (the paint, not the beer)
DSC02275-1.jpg

put up some plastic sheeting
DSC02272-1.jpg

DSC02274-1.jpg


I know it's only rattle-can but I've got enough crap in the garage I want to protect and the last time I spraypainted some small stuff I had residue that spread all over..

I had some concerns about bonding between the fully-cured epoxy and the spray paint, called around for some advice and was told "don't scuff it", so all I did was a degrease/wipe and then sprayed it... so far so good.. takes 24 hours+ between coats for the Eastwood Chassis black so I won't finish it up til tomorrow night..

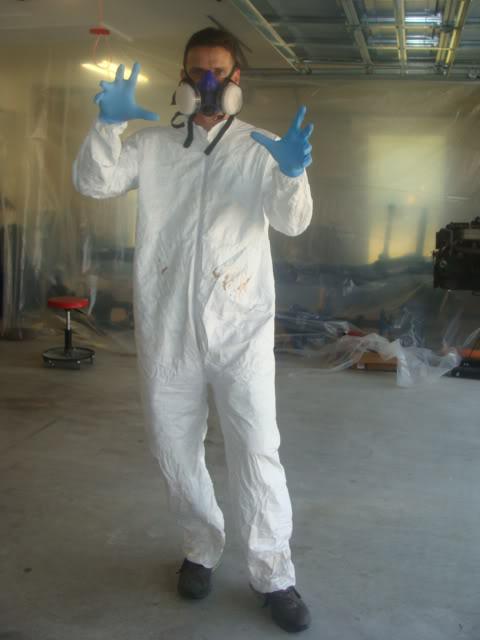
since I was working in the "booth" I went ahead and geared up for safety..
DSC02278-1.jpg
 
a week later

well, the first thing I can tell you is that making my "paint booth" was worth it.. even using (alot of) rattle-can spray paint caused a good sized mess which I contained in the booth.. even under controlled conditions, the sh-t gets everywhere..

been picking and poking my way around some progress.. I did two top-coats of the Eastwood chassis black over a couple of nights. I did NOT scuff or sand the epoxy base per instructions from the auto-paint supply shop.. it had cured for well over a week and they recommended to leave it as-is.

Problem 1: I allowed the two coats of "top coat" to fully cure/dry and then enlisted the help of my neighbor to flip the frame on my jack stands to get access to the underside for 2 coats down there. I had enough Eastwood paint to get through about .85 coats on the bottom side.
Problem 2: NAPA no longer stocks their in-house chassis black. In lieu of ordering (and waiting for) two more cans of eastwood (at 20$ a can plus shipping), I ran out and got some Rustoleum semi-gloss at Wal-Mart. I tested it in some areas and , for the most part, I think it went on just fine and gives a similar appearance to the existing chassis-black.
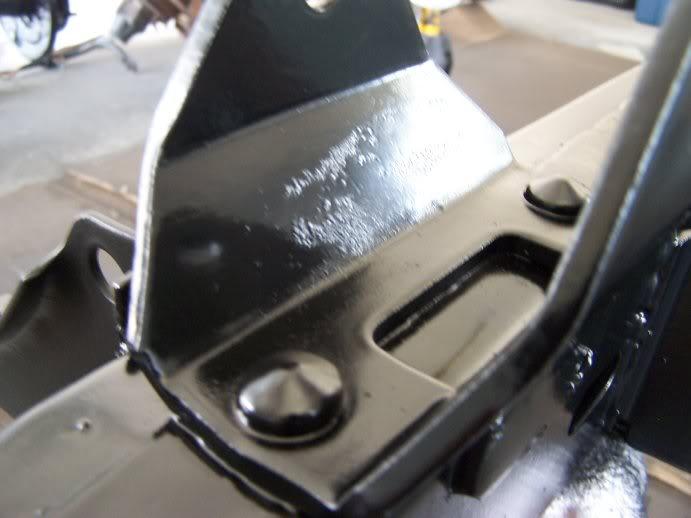
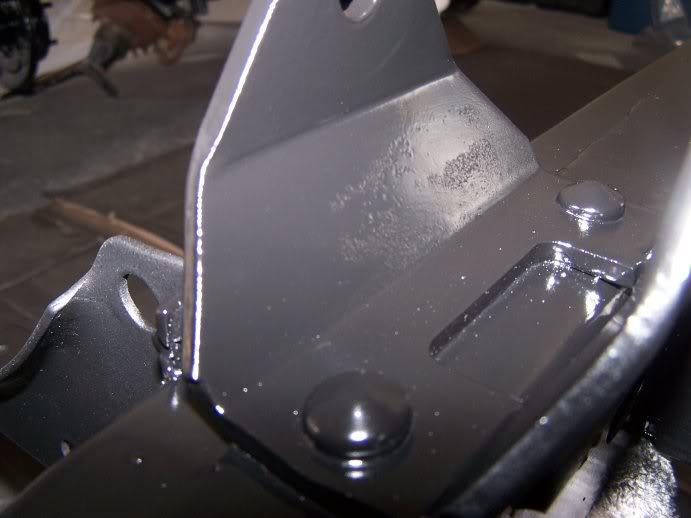
Problem 3: in between coats on the bottom side I noticed a few small areas that look like either (a) bad adhesion or (b) bad application technique
20110604frameadhesion11-1.jpg

20110604paintadhesion1-1.jpg


I sanded those areas down and re-applied the entire 2d coat with the Rustoleum semi-gloss. While the total project looks great, I'm concerned that I may see peeling or flaking down the road. I still have a chance to "save" it before I start assembly if anyone has definitive experience with this.
 
Last edited:
Fiscally, I"m not willing to commit to the level of time/money that some others have invested in their build (as much as I'd like to), I'm trying to do an economy version of the same and simply acheive a driver that won't rot out from under me. Perhaps more of a preservation restoration than a true restoration. I'm tyring to recycle and reuse as many of the original parts as I can and simply get it to "good enough" while not compromising engineering or safety.

While I'm wary that switching paints may have been a mistake I've adopted the approach that (a) I recognize that I'm probably being overly detailed about parts of this project that I'll never notice/see once it gets driven/dirty and, most practically (b) as I assemble the vehicle I know that I'm going to nick and scratch bits and pieces of it and I want to be able to do quickie "touch ups" with rattle cans as I go.

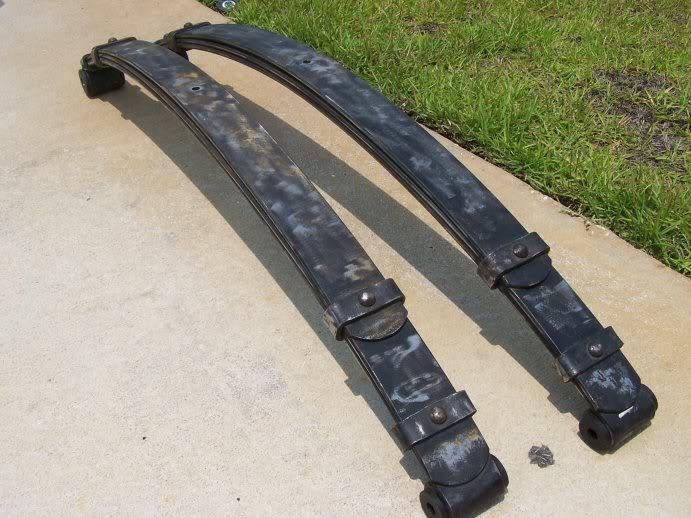
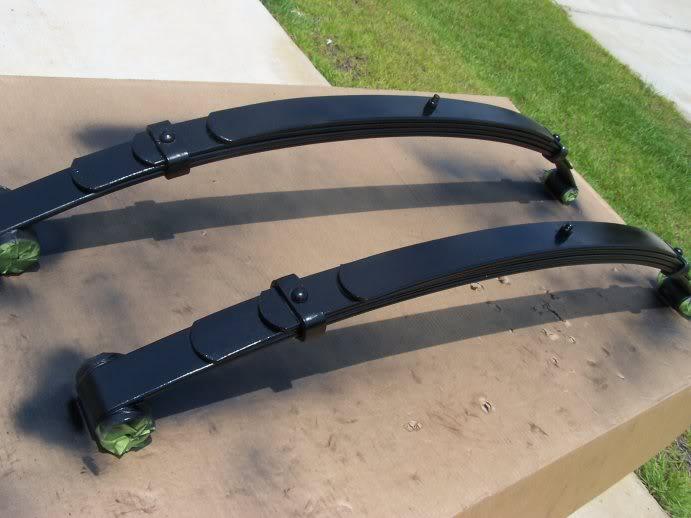
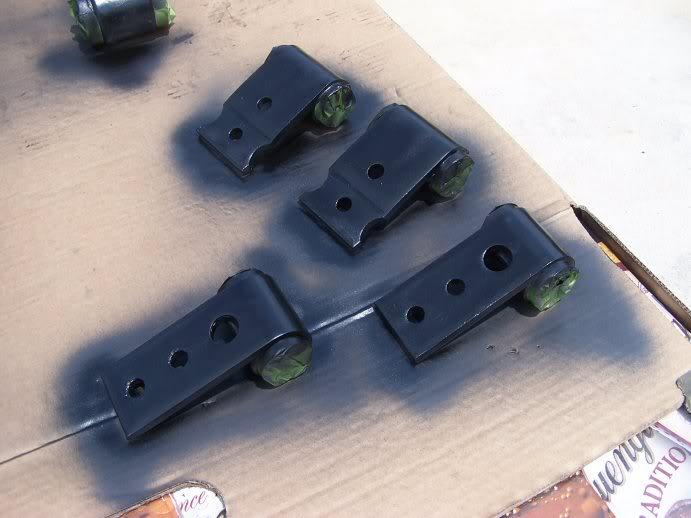
In that light: I ground down the springs and their mounting hardware and spray painted them with the same paint:
20110604rearspringsduring-1.jpg

20110604rearspringsafter-1.jpg

20110604springhangers-1.jpg


Also sanded/stripped and repainted my four shocks and the steering stabilizer. No pics but, like many systems on this truck, I've replaced all of them in the last few years and put almost NO wear on them, yet they sat outside and got rusty/crusty and would like like crud going back on my fresh frame.
 
Last edited:
I love the amount of Yuengling I'm seeing in these pics ;) :cheers:

Looks good and I think you're probably just fine with the Rustoleum with everything else you did to get that frame prepped. I'm a huge fan of the Hammered version because it seems to resist (or at least not show) nicks and scratches a bit better and when you touch it up, it's very hard to tell that you did it because of the non-smooth finish. Also looks a bit like textured powdercoating to me.

Just FYI if you're painting other things and buying more paint at some point.

Keep up the great work! :thumbsup:
 
yeah.. I like the hammertone too.. on my CJ7 I did my mirrors, tire carrier, bump stop, and any black trim pieces with it, liked the hard finish.. on the CJ8 I just did my shocks (which were white) today in hammertone silver.. it's forgiving to apply and, like you said, easy to blend in touch-ups..

I've also got a rear Runck bumper and the factory swing out spare tire carrier that I did in the Duplicolor bed liner.. will see how well it holds up, but I like the look and texture so far
 
I think you'll be fine, paint wise. Honestly, nothing- even powdercoat- will stop a flying rock form chipping paint. Just touch it up regularly and you'll be fine.

If I had unlimited time and money, I'd galvanize then powdercoat....
 
minor progress continues

planned to move my frame out of the garage so I could paint and start reassembling my ft/rr axles in my "paint boot"... my second set of hands fell through on me to move the frame so, decided to go ahead and do my internal frame treatment while I had it in the bay..

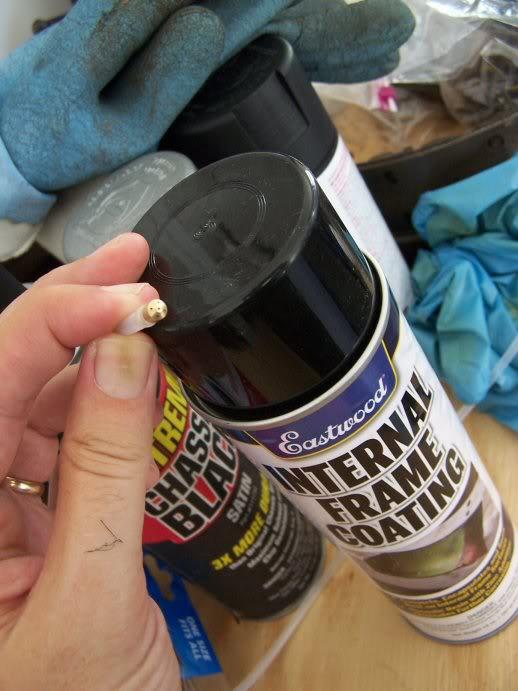
this is the product I used:
20110612framecoatingtip1-1.jpg


You may be able to see that it's a standard aerosol can with the Eastwood product inside and then a hose (about 24" long) which ends in a small metal nozzle cone-tip with about five spay-holes on it.. Idea is you feed it into the frame, start spraying, and withdraw as you spray. It's not paint, but some sort of converter/encapsulator.

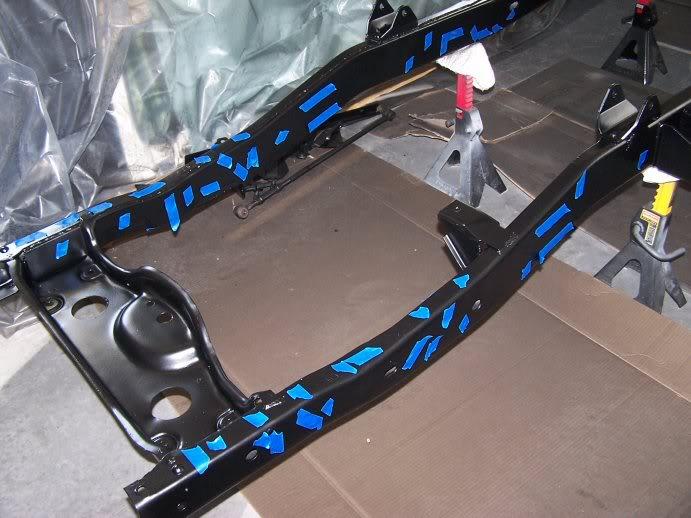
I practiced going over the frame with the tube once (dry) and then masked all the holes that I wasn't feeding hose through:
20110612framemasking-1.jpg


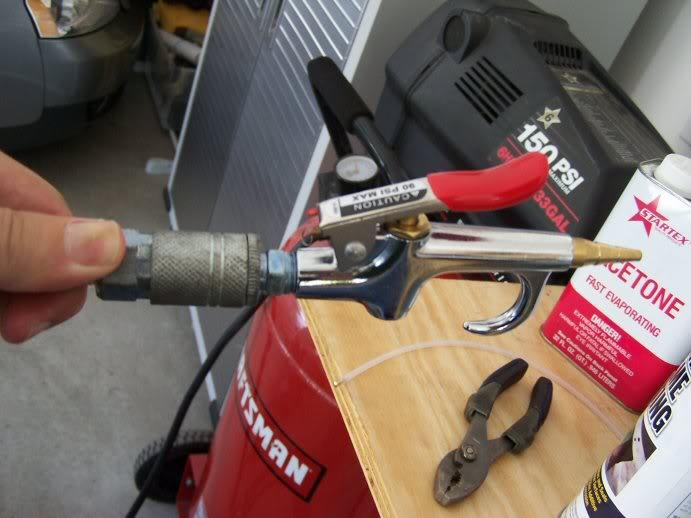
I then blew out the frame best as I could with my blow gun and compressor:
20110612blowgun-1.jpg

which did remove quite a bit of residual sand (primarily from only the DS frame rail.. assume it was lower when they blasted it.. not sure else why). More than what you see on the ground here came out, but this is an idea:
20110612sand-1.jpg

I just wanted to make sure I wasn't painting dirt inside the frame (or boogering up the sprayer as I fed it through mounds of sand/dirt).
 
Results and lessons learned

I used two cans. I ran out of the first can about 3/4 of the way through the first side, and then moved faster/lighter with the second can to finish the first side and then did the second side.

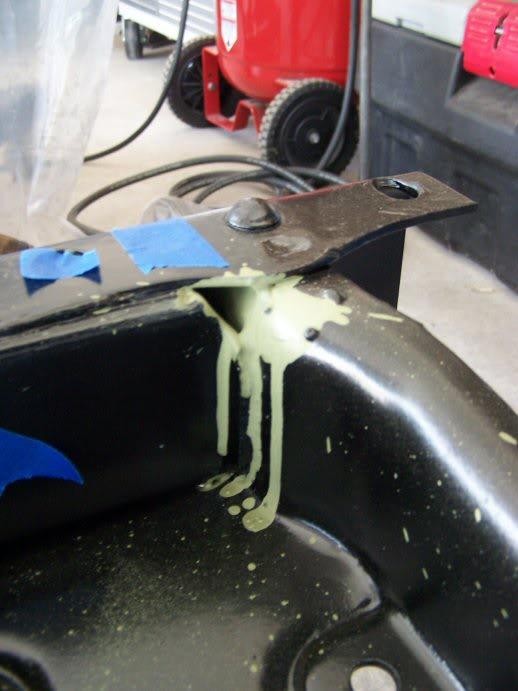
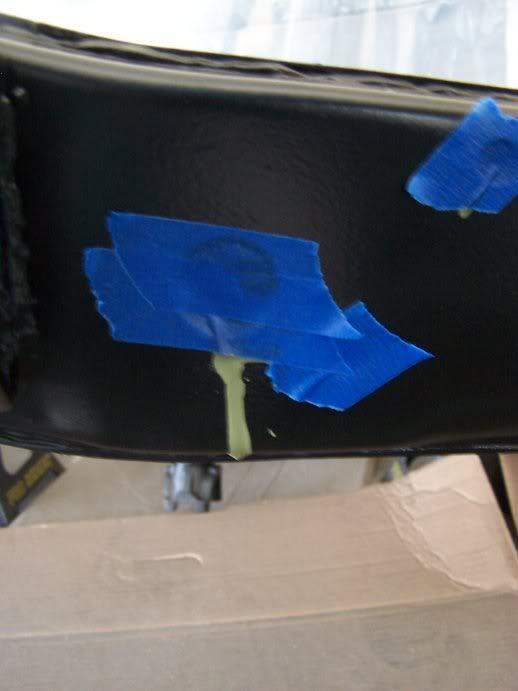
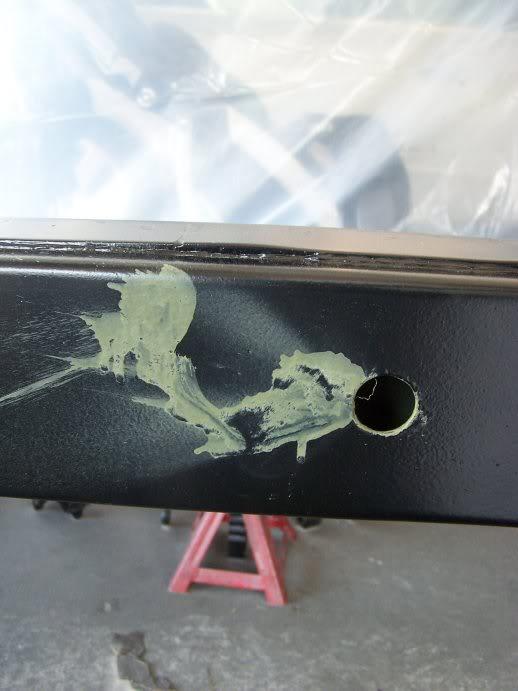
The product is alot more like paint than I expected. I leaked through any unmasked areas and put a bright colored green booger of product all over my freshly painted frame. I'm unsure about cleanup (nothing on the can) so I'm going to call eastwood tomorrow and find out if there's a good chemical clean up that won't damage my existing paint. If not, I'll find out if I can just spray paint over it.

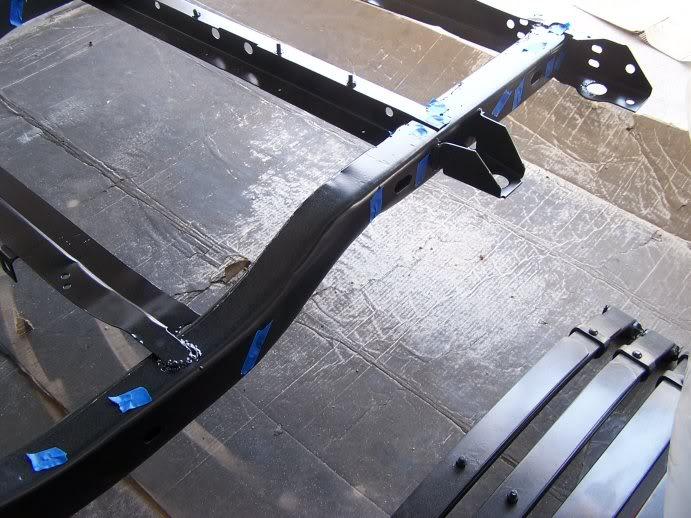
See some of my masking issues and overspray/leaks here:
20110612results1-1.jpg

20110612results2-1.jpg

Once as I was withdrawing the tube I lost the grip on it and allowed it to exit the hole while I was still spraying:
20110612results3-1.jpg
 
Last edited:
internal coverage

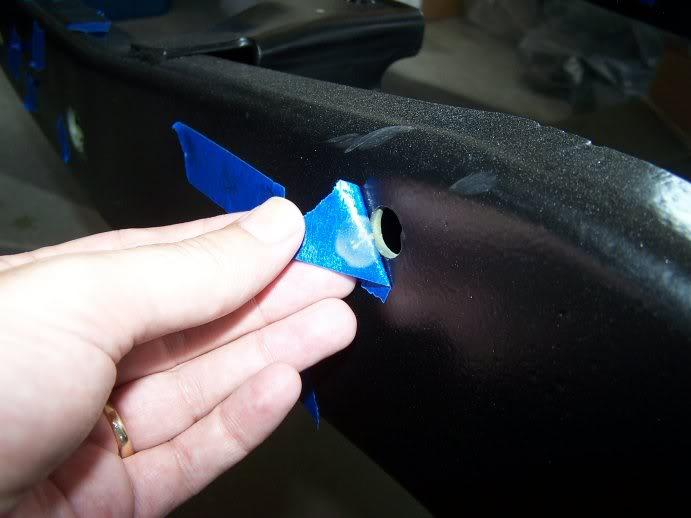
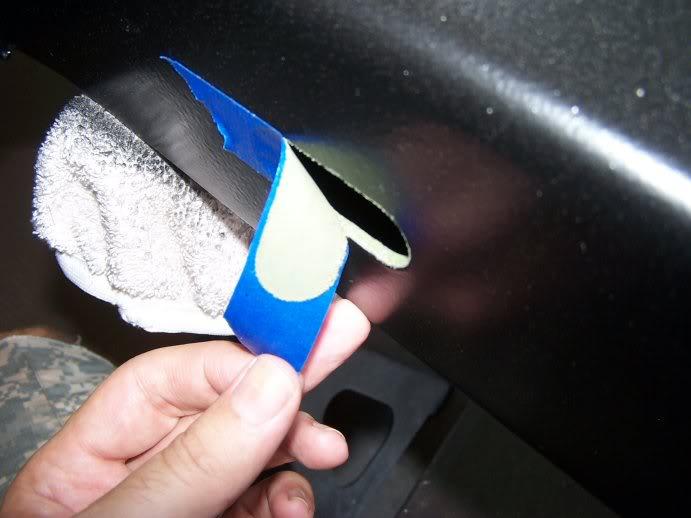
I pulled a few masking sections to check on coverage and I got pretty mixed results, but it appears that MOST of them got at least some product on them. AT 20$ a can, I don't think I'm going to order another set of this stuff, as the frame lasted 28 years without it, and will now likely last much longer than I'll own the truck...

so-so results here:
20110612results4-1.jpg

better results here:
20110612results5-1.jpg


Final thoughts:
  1. I would order at least 3 cans
  2. I rushed it a bit, knowing I had more product would have let me slow down/be patient
  3. I did my frame "upside down", and later thought it would be a better idea to do it "right side up", as the product is designed to settle, and then it would settle on your areas that collect dirt/water
  4. Mask better for better results
  5. Have a rag/towel in hand for quick cleanups of big messes.
 
Last edited:
don't waste your time with this

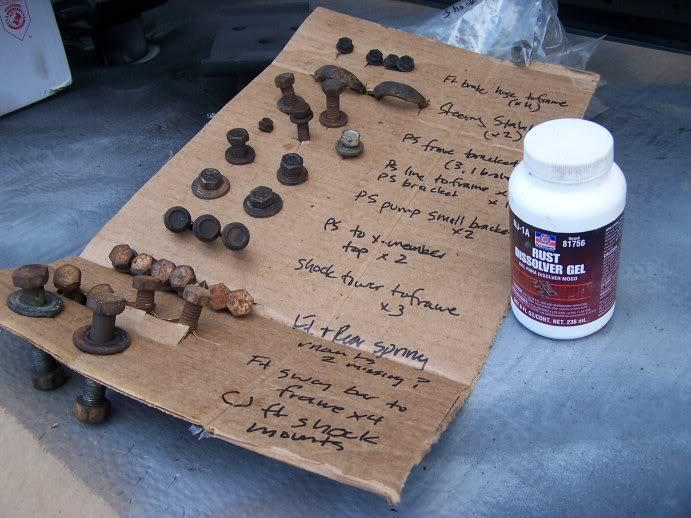
as this is a "budget" build, I am trying to re-use what I can.. gave a shot to cleaning up some of the chassis/suspension hardware with a rust treatment..

20110612boltproject-1.jpg


lesson learned: don't bother... negligible results. I think I'm going to buy a bench grinder and get some cleaning/brushing wheels to enable faster bracket/brace/bolt cleaning, as my available sandblaster is (a) at work and (b) not that great..

As far as replacing these: I've searched for the stainless sets but it appears they are offered for bodies and engines, but not for the chassis so, I may be hunting/pecking in the grade 5/8 shelves at Lowes for this stuff..
 
Check your local True Value or Ace first. I've found that their prices beat the heck out of Lowes or Home Depot.

There's a farm supply/manufacturing place in town that sells grade 5 and 8 by the pound...they have the best prices.
 
thanks Randy, I will...

I was originally planning to just "clean" them and then paint over them to get a clean look (same rattle can as the frame got), but many of them look corroded in the threads so I'm going to replace them..
 
Back
Top