• Notice for iPhone users: DO NOT use the image size reduction option when uploading photos to the forum. This causes portrait images to post as landscape. We have added a warning to the image insert pop-up as well.

Retitled: 83 Scrambler resto-mod finally gaining momentum

my local fastenal only sells items in gross lots (ie: bags of 100 ct or more.. I passed on it as I didn't have a real appreciation for what amounts I needed by size and didn't want to pay for a bunch of excess... not sure if other franchisees operate differently :shrug:

Depends on who is working the counter at the Fastenal by my house:woot:

They might not necessarily want to just sell a few bolts at a time, but if you go there with a 3 page list, with sizes/lengths/quantities/thread/grade etc, they become much more accommodating:thumbsup:
 
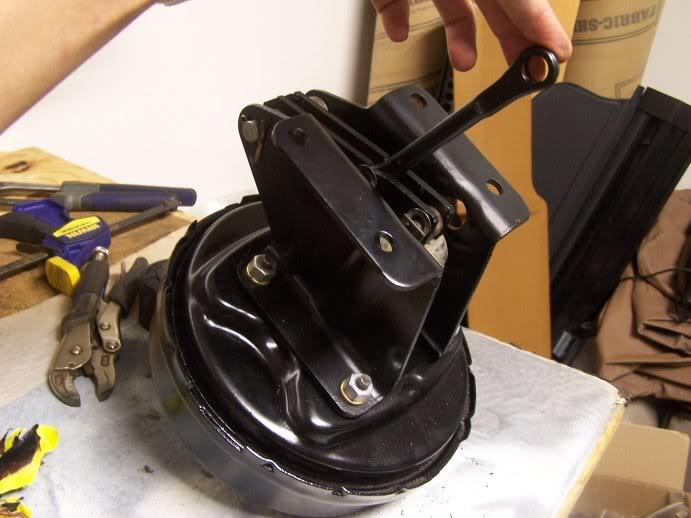
more details on the brake booster assembly

SOME UPDATES ON PREVIOUS PAGE (24) IF YOU WANT TO GO BACK AND CHECK THEM OUT: moving forward...

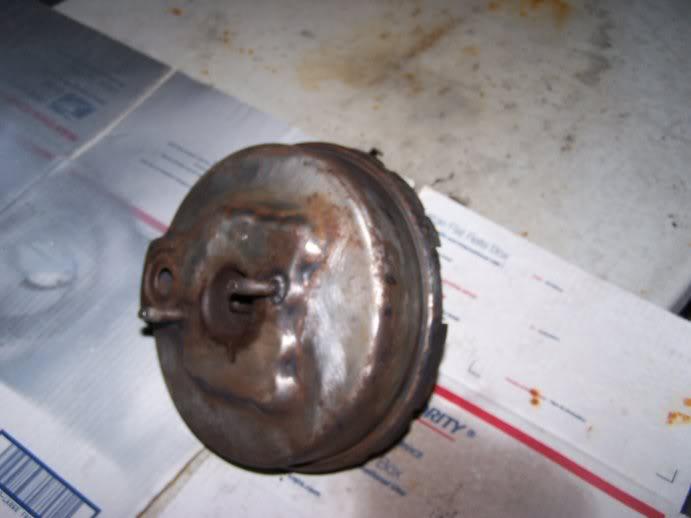
took me a TON of time to clean up the booster: lots of hard to get to places to clean and grind:
201112brakeboosterafter1hour-1.jpg


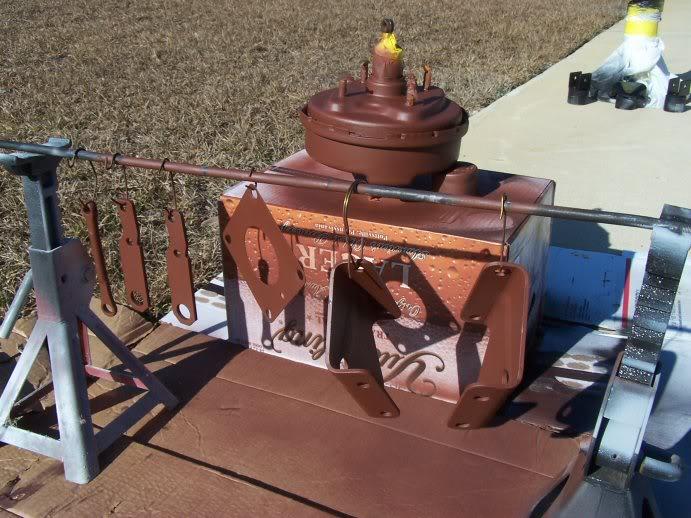
I wasn't sure about painting or just grinding/cleaning all the brackets, as they appeared to be coated in something under all the patina (not paint, but zinc or galvanizing), and weren't in terrible shape, they just looked rough.. I ended up stripping them all and going for spray bomb update:
201112brakeboosterandbracketsprimed-1.jpg


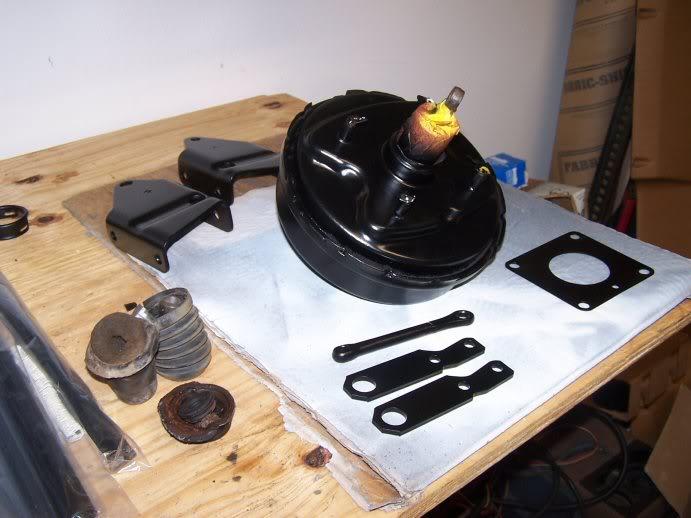
the assorted pieces now painted:
201112brakemasterallparts-1.jpg


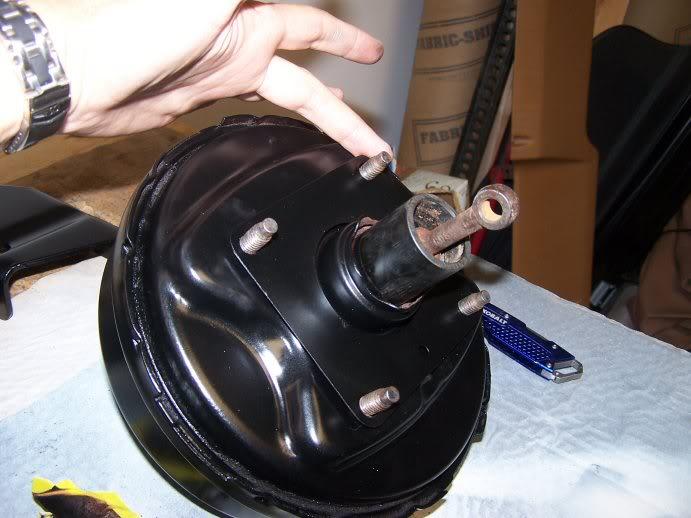
there's a small square gasket or shim plate that goes on first:
201112brakeboostsquareplate-1.jpg


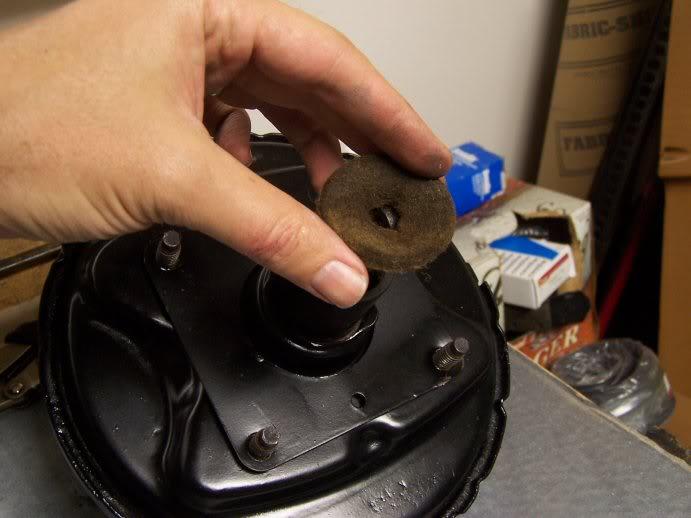
put on the felt donut and the rubber dust boot at this point (I forgot them until I had the whole thing together, and had to take it all apart.. at least twice)
201112brakeboostfeltgasket-1.jpg
 
Last edited:
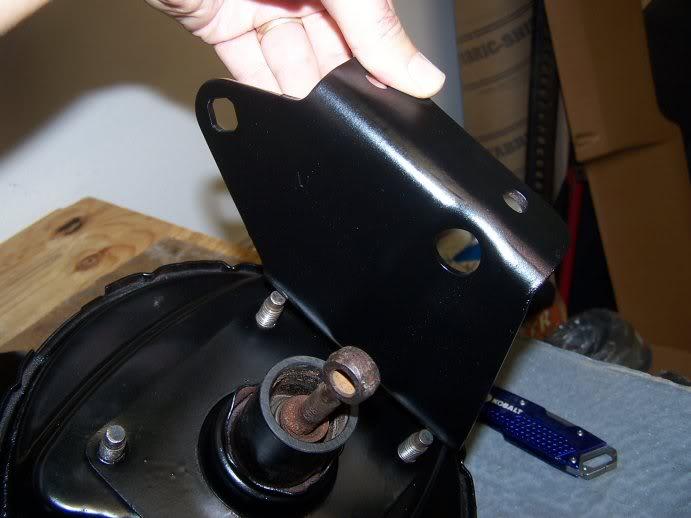
then the two main brackets can be put in place (the flanges go outward, and the one with the square hole goes on the PS)
201112brakeboostmainbracket-1.jpg


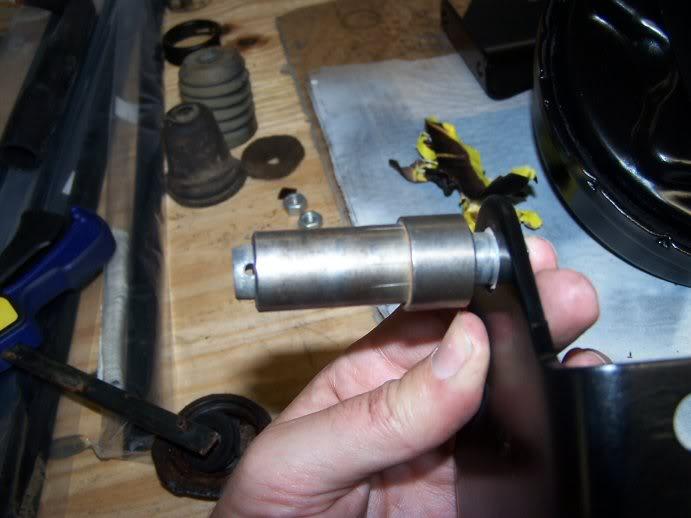
that square hole holds this (long) pin, which passes through what's basically a pressure fit dry bearing:
201112brakeboostpressbushingwithsquarepo-1.jpg

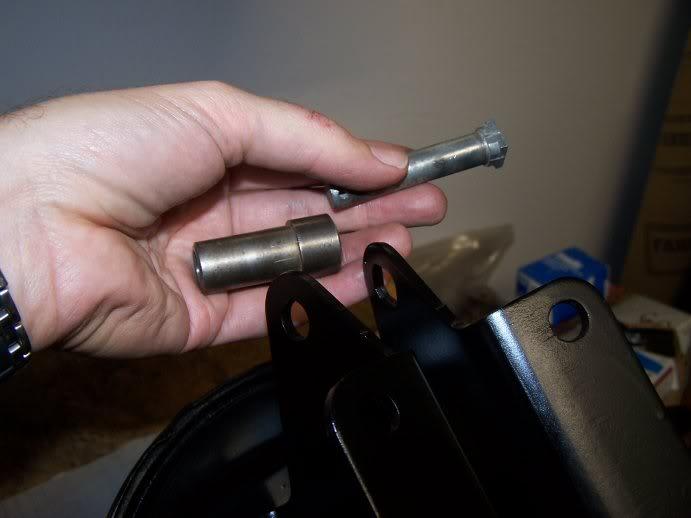
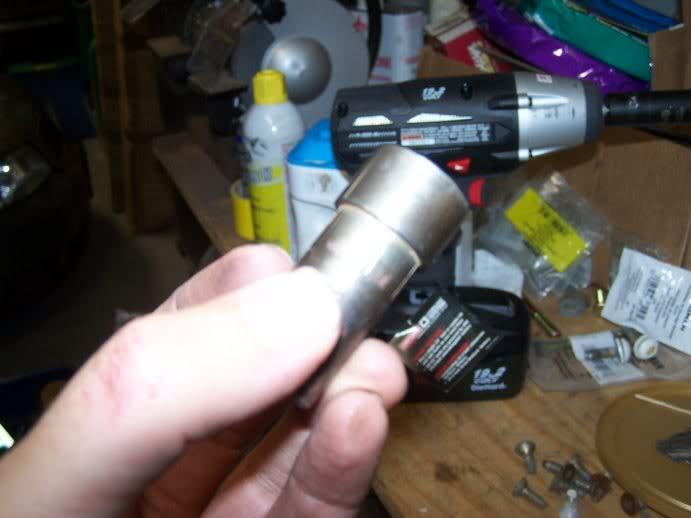
bad picture, but this inner bushing has some "teeth" to it, just below the fat part... I had to use a hammer on it with a deep well socket as a brack to get it seated in the hinged bracket
201112brakeboostpressbushing-1.jpg
 
here's what it looks like assembled:
201112brakeboostpressbushingwithsquarepi-1.jpg


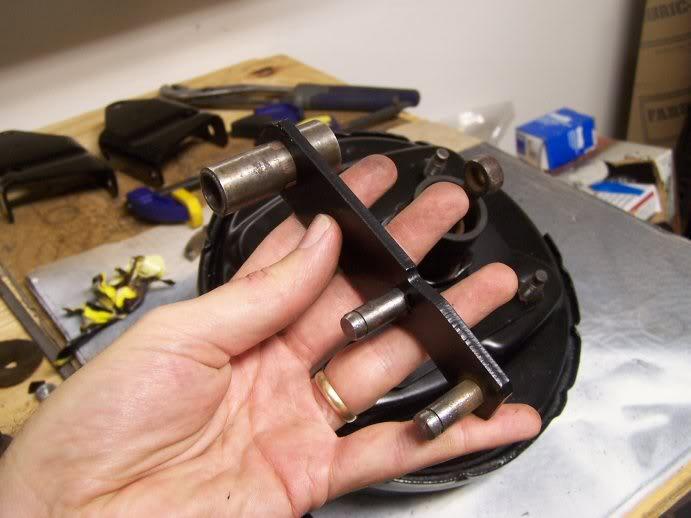
then mount the two hinge pins on one side of the brackets:
201112brakeboostarmpins-1.jpg


NOTE: I took pictures at various stages of the (three) times I put this thing together, so some pieces may/may not appear in all the shots, as I was doing some trial+error assembly sequencing... notice in these pics that I forgot the felt donut gasket and the dust cover boot for the vacuum booster (see previous post)

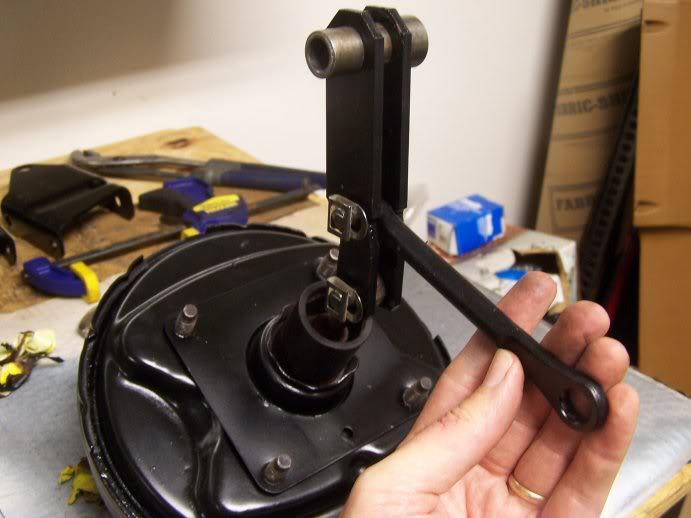
mount the brake linkage on the center pin oriented downward (this will eventually allow it to meet the hole in the firewall when you rotate this assembly between the PS/DS main mounting brackets, and get everything assembled), and use the two pin clips to secure the second side of the moving bracket:
201112brakeboostarmassembly-1.jpg


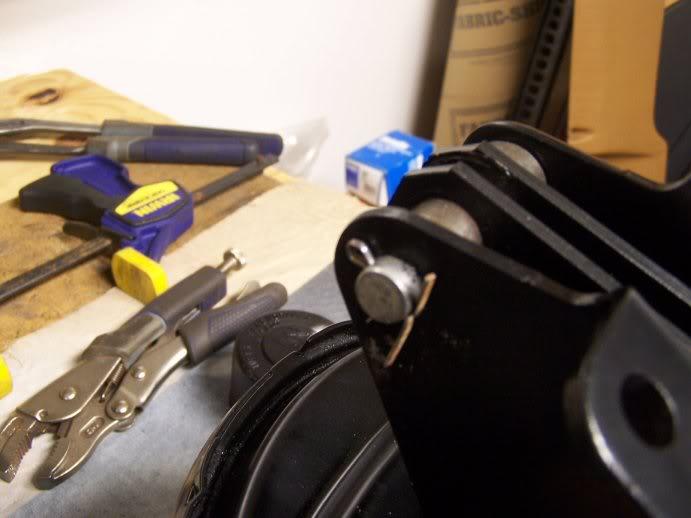
rotate the links up and between the two main firewall brackets and secure the large pin on the DS bracket with a cotter pin:
201112brakeboostcotterpin-1.jpg
 
Last edited:
here it is mostly together:
201112brakeboostcomplete-1.jpg

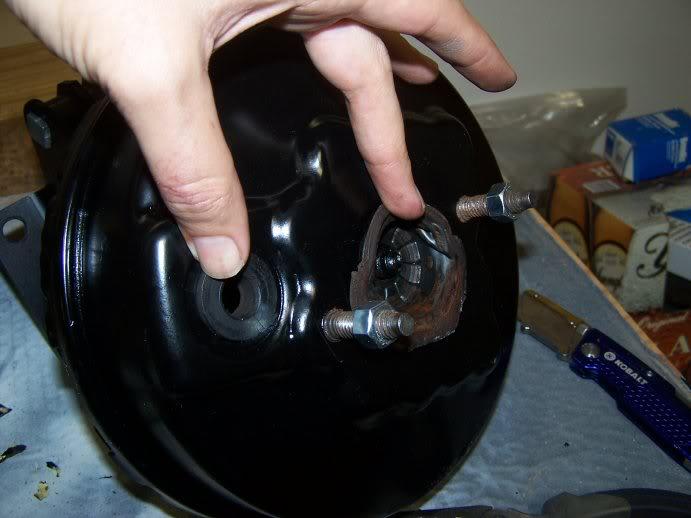
the front side had a worn out little rubber gasket that appeared to be pressed into a diaphragm between the brake booster and the M/C... my new (rebuilt) M/C didn't come with one, and I didn't bother trying to find one of these online.. not sure how important it is.. mine looks bad, but is complete:
201112brakeboost1-1.jpg


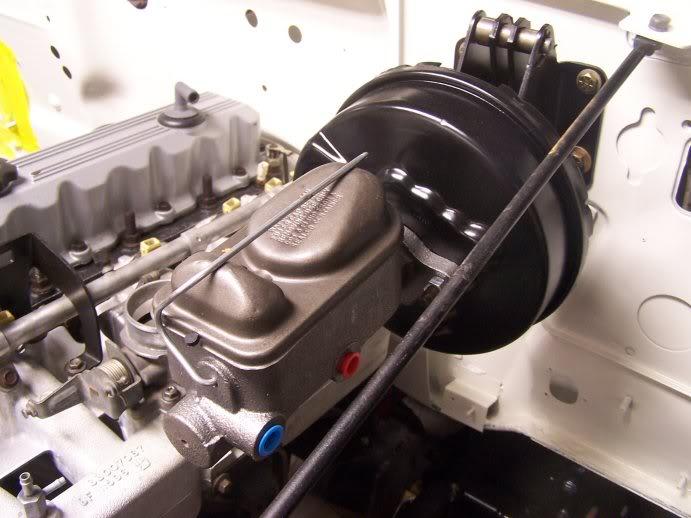
and mounted.. the M/C here is just on as a placeholder, I haven't bench-bled it yet, and still need to connect the lines from the proportioning valve up. I bought a remain booster from my "hook up" guy at the local Advance (not usually my store of choce, but noone can beat the price I'm getting on some of these things)
201112brakeassemblymounted-1.jpg
 
blazer blower motor updgrade

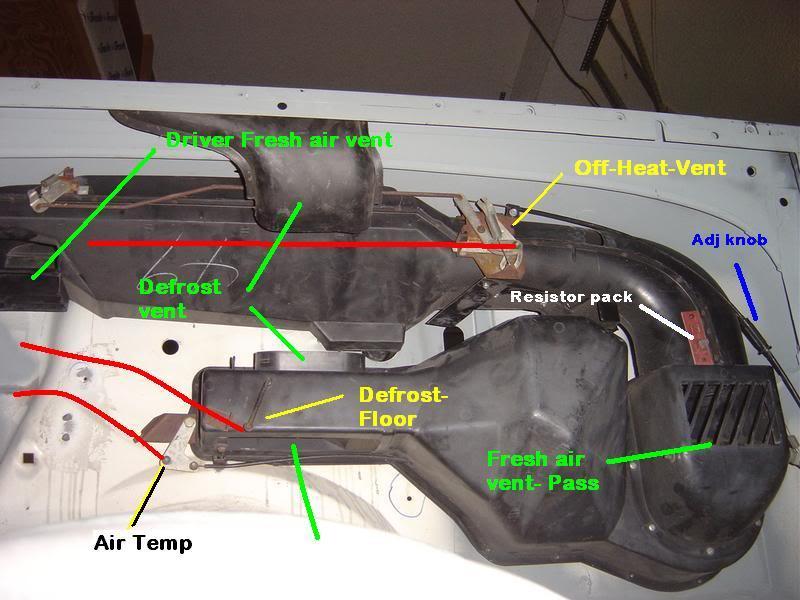
UPDATED HVAC PICS BACK ON PG 24 IF YOU WANT TO CHECK THEM OUT: moving forward...

I actually planned to NOT do this, but ran into a bunch of frustration trying to find a stock replacement blower motor for my factory set up.. only solution was places like Qtec at 3x the price of the blazer motor upgrade, and my local Napa/Autozoners couldn't get me a direct fit for the CJ either.. so, pressed for time, and with a really cheap price and rapid availability, I sourced a blower motor for a 73 Chevy blazer without A/C and compared it to my Jeep original..

there are plenty of write-ups on this mod online so you can get details elsewhere, I'll just post some of the nuances I encountered unexpectedly, and how I handled it..

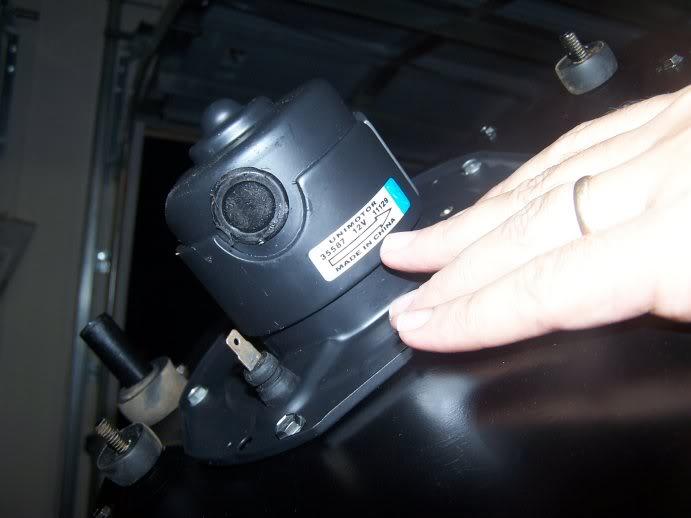
here's the part:
201112HVACblazermotor-1.jpg


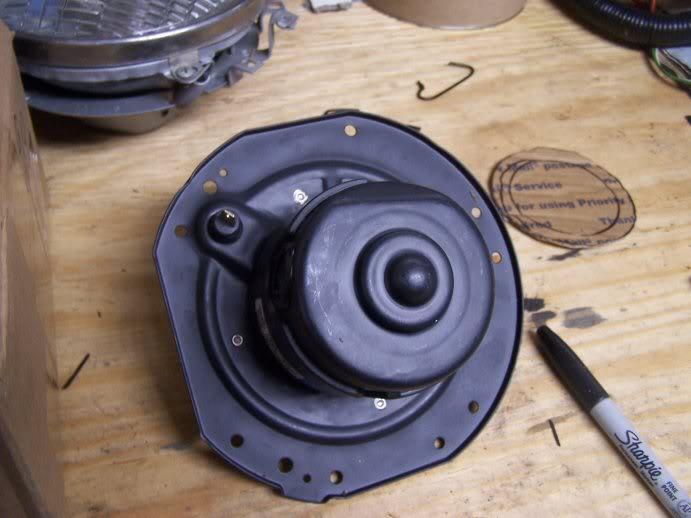
notice that just above my finger there's a round rubber grommet filling a hole.. the motor comes with a hole (not sure why), and parts guy and I had to raid a few other blower motor boxes on the shelf to find a grommet that would fill the hole.. I'd read on other people's write-ups about this that the grommet came with the motor, but mine did not :shrug:


the significant difference (other than much more power) of this motor, is it's circumference.. it's about a 1/4 inch wider in every direction than your factory CJ motor, the mounting plates and electrical connections are nearly identical:
201112HVACblzermotor-1.jpg


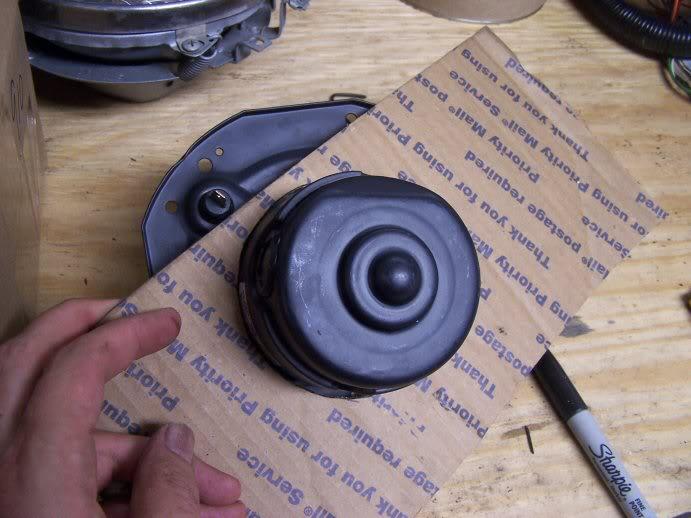
I cut a cardboard template of the required holes size:
201112HVACblazermotorhole0-1.jpg

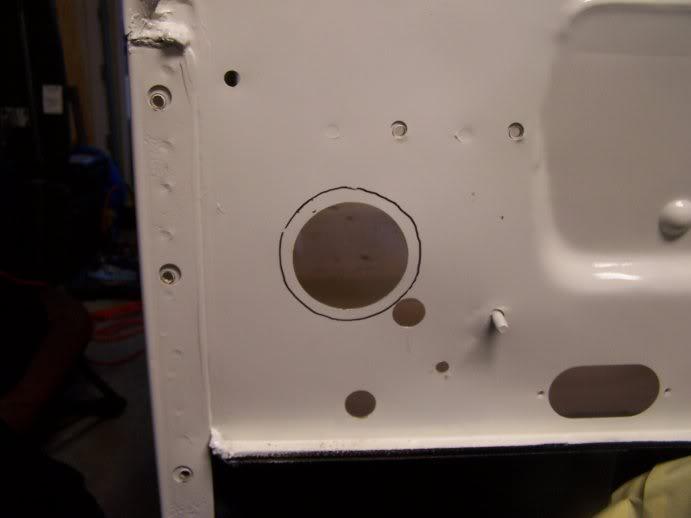
and transferred that to the firewall via Sharpie:

201112HVACblazermotorhole1-1.jpg
 
Last edited:
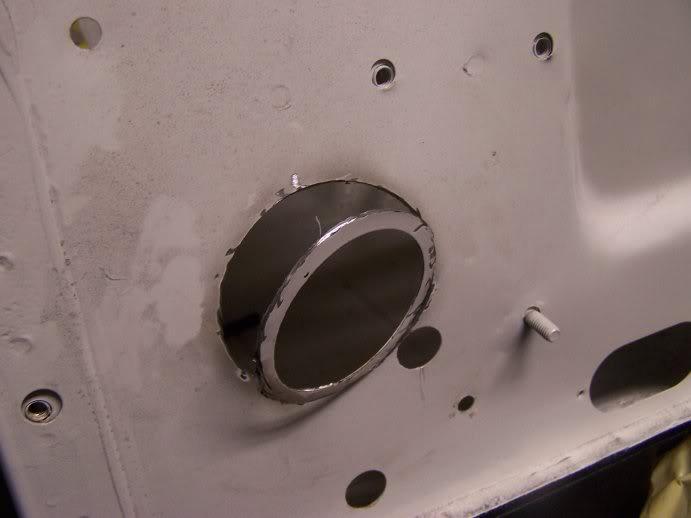
I cut the hole (required patience and a sort of steady hand) with a dremel cutting wheel:
201112HVACblazermotorhole2-1.jpg


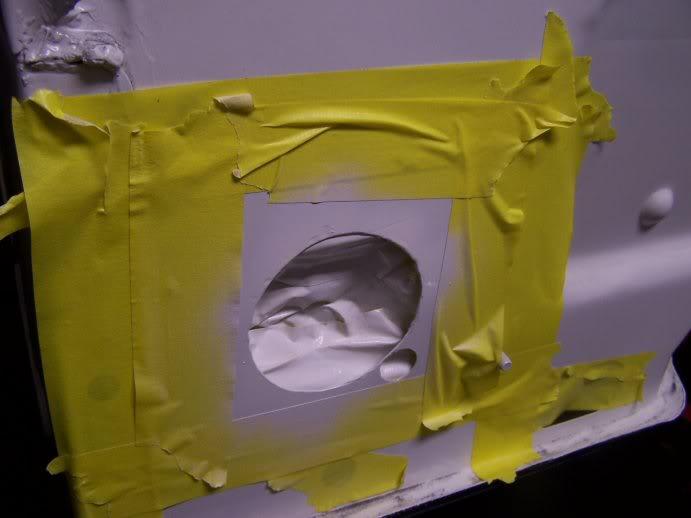
and then ground the rough edges, masked, and painted:
201112HVACblazermotorholecomplete-1.jpg


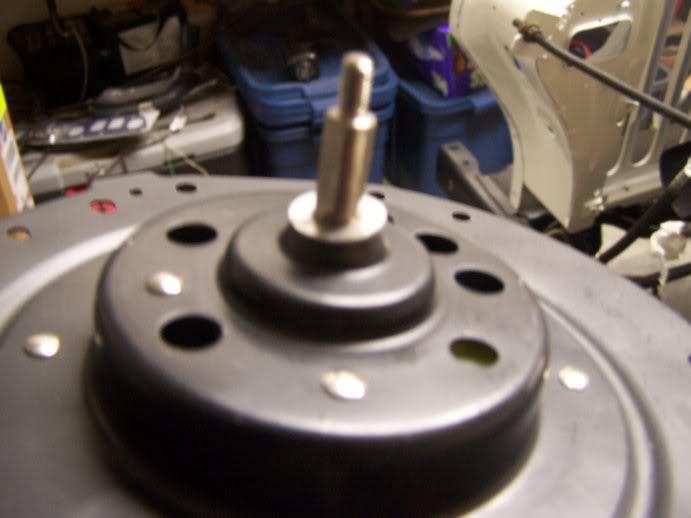
I did notice a VERY slight tolerance on the shaft when I mounted the fan (hamster wheel), and I didn't want any guessing about it, so I had to shim it with a small washer so it would seat firmly
201112HVACblowermotorshim-1.jpg


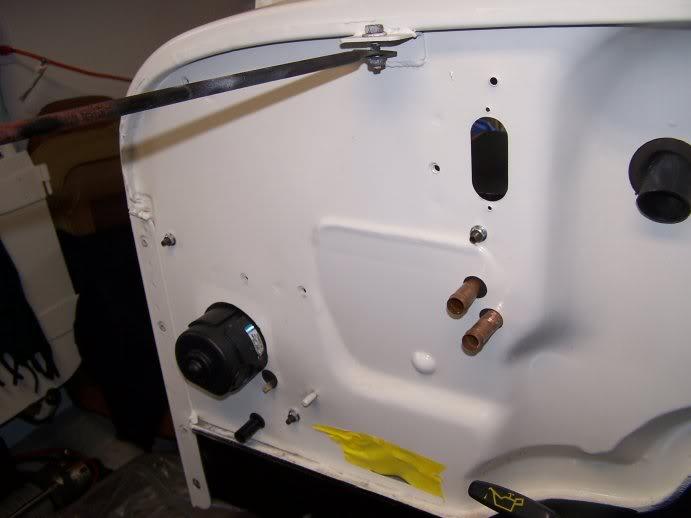
I took no pictures of this but, I found I had to "clock" the motor on the heater box a few degrees clockwise (as you're looking from the engine side of the firewall) to get the electrical connector to pass through the CJ factory hole.. this required drilling new pilot holes in the heater box's steel backing plate, and then screwing the new motor in with those new holes (hope that made sense).. I had NOT read of that problem on line anywhere else

and here it is all mounted up:
201112HVACinstalledfirewallside-1.jpg


relatively easy mod, just takes a little time... didn't think it was that big of a deal as my half-cab shouldn't be too hard to heat, but if I do eventually get a full soft top, it might come in handy, particularly since I'm moving to Denver (brrr).. other reviews I've seen of it online rave about the benefits.. we shall see!
 
Last edited:
other stuff

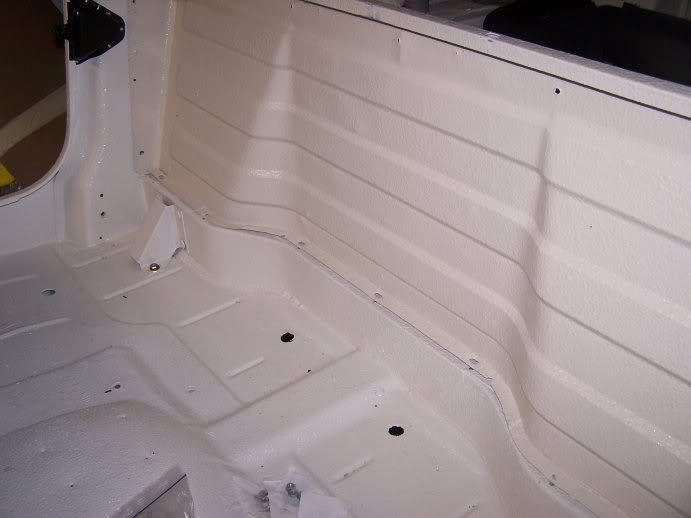
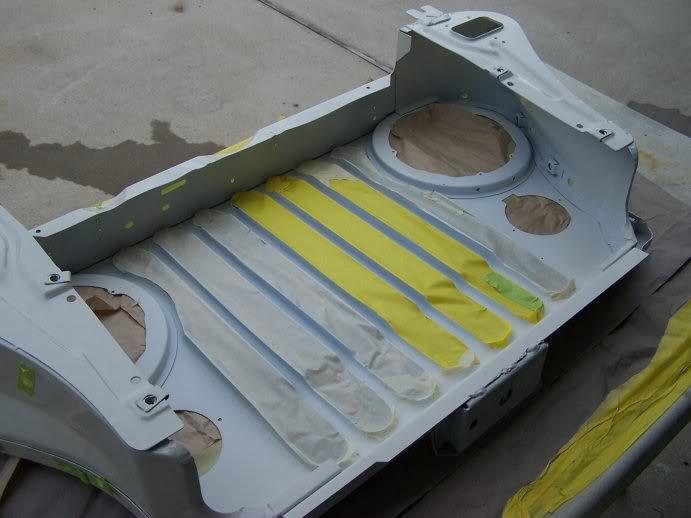
test-fit my bulkhead, and although it's hard to see in this pic... the bedliner on the bulkhead (and my tailgate) are now way off the color of my re-painted bedliner (from the rust problem a month ago):
201112bulkeadcoloroff-1.jpg

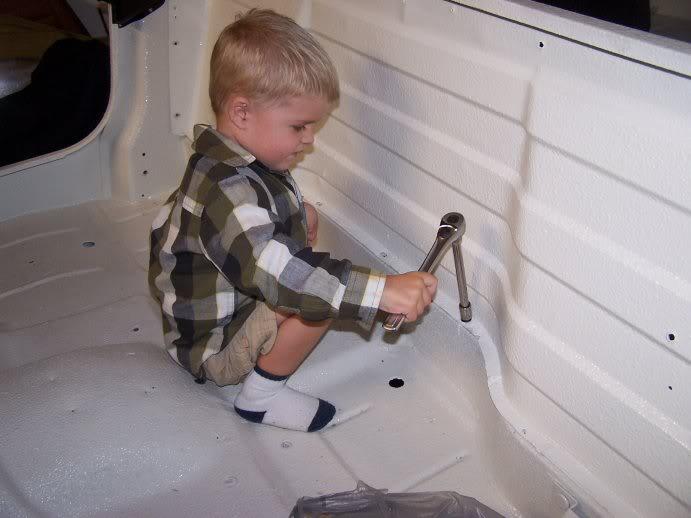
so I pulled it, and rattle-canned it Rustoleum "biscuit" (which is a very close color match but EXTREMELY slow to cure (like 48 hours from a rattle can??), and my little man helped me install it:
201112goodhelp31-1.jpg


he got three bolts in and said (in his 2.5 year old diction) "it ready to dwive Daddy?"... not yet buddy

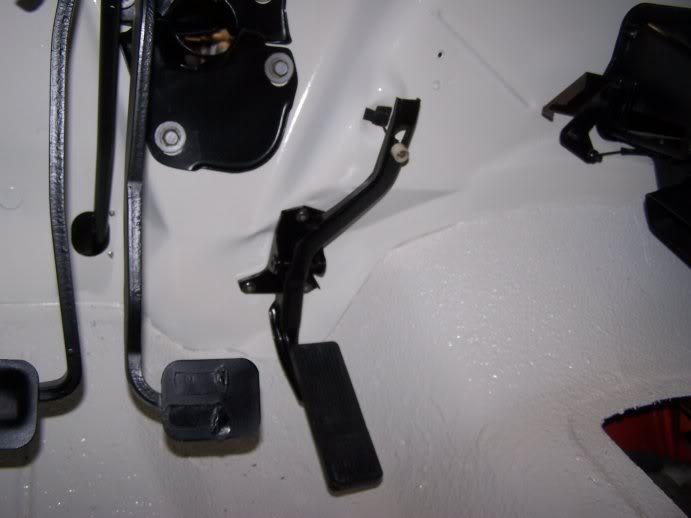
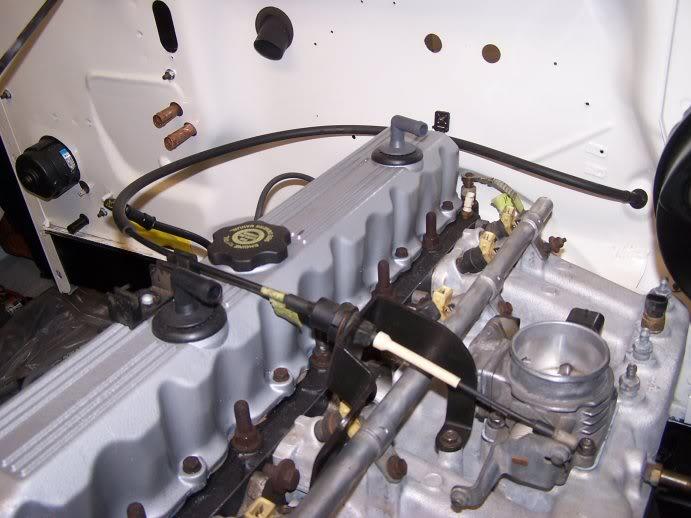
got my gas pedal painted and installed, along with the YJ throttle cable, which fit perfectly:
201112gaspedal-1.jpg

201112throttlecable-1.jpg


Hesco CPS adapater mounted up front (bad pic):
201112CPSmounted-1.jpg

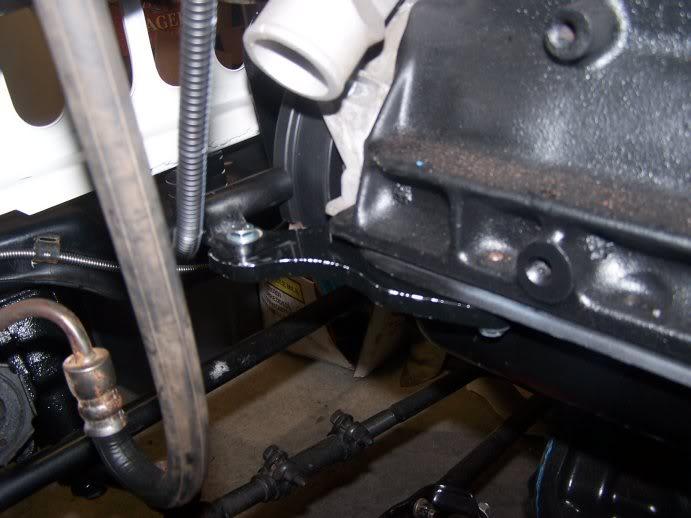
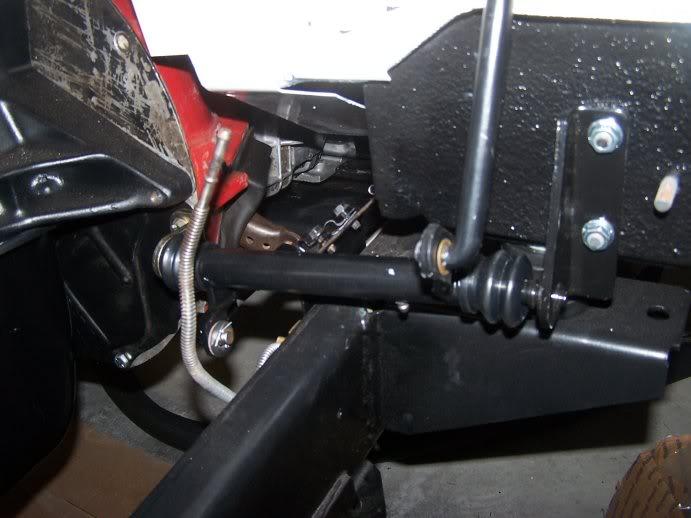
clutch bell crank mounted (same issue Raymond had to resolve on his build due to teh body lift: it throws off the bell crank alignment).. I don't have time to fix this now.. will look at swapping to a hydraulic clutch somewhere down the line:
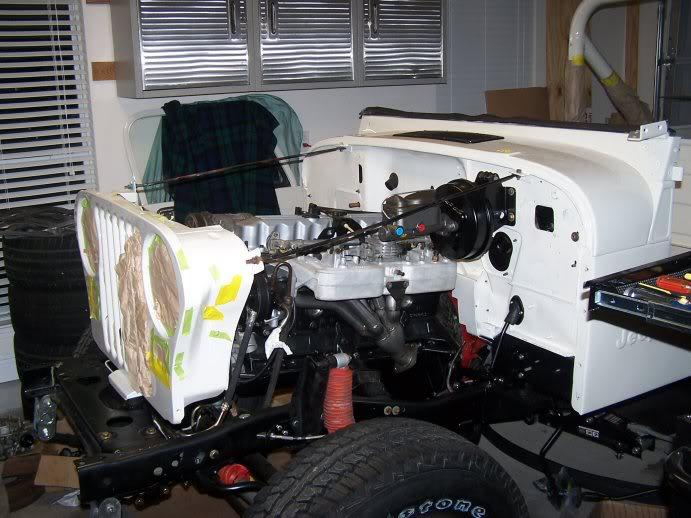
201112clutchassembly-1.jpg


another area I discovered my painters didn't get good coverage on was the inside of my grill, good portions of which remained just primer.. so had to mask it up and spray bomb the inside:
201112grillinnerpaint-1.jpg

now mounted and drying:
201112grillebackon-1.jpg


got some more stuff to update and post, but it's way late here.. time for bed!
 
201112goodhelp31-1.jpg


he got three bolts in and said (in his 2.5 year old diction) "it ready to dwive Daddy?"... not yet buddy
!


"take your dirty shoes off before you get into my Jeep!!!"

My 4 year old love helping me with the Jeep. :D
 
Good write-up on the power brake setup. I've been considering upgrading to a factory power brake setup as mine has manual currently. Thanks
 
tire carrier improvements

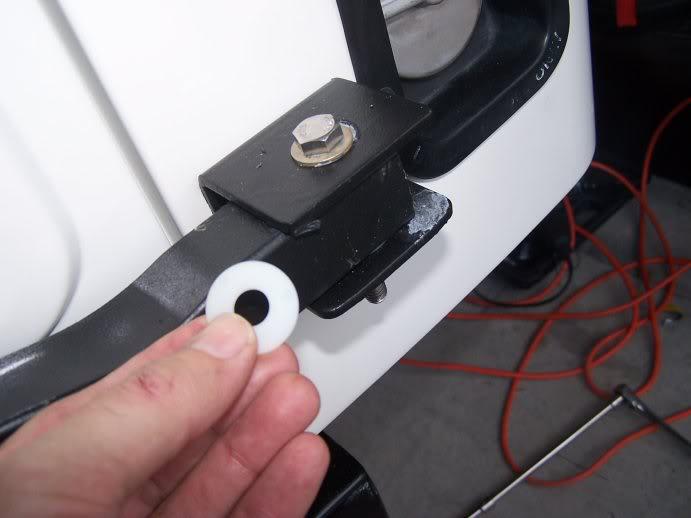
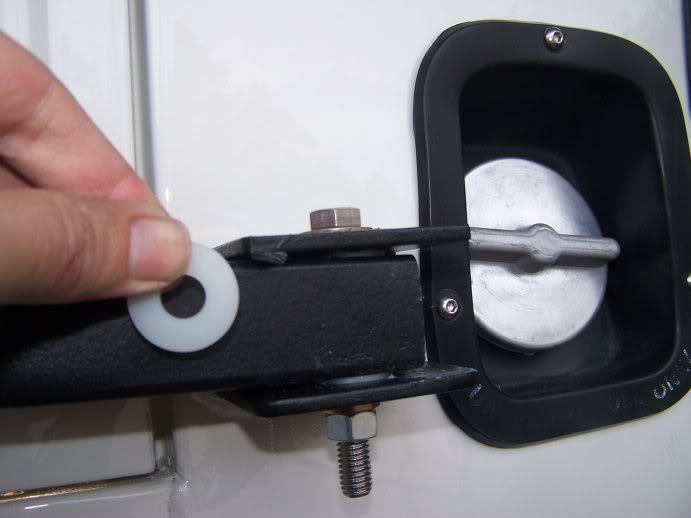
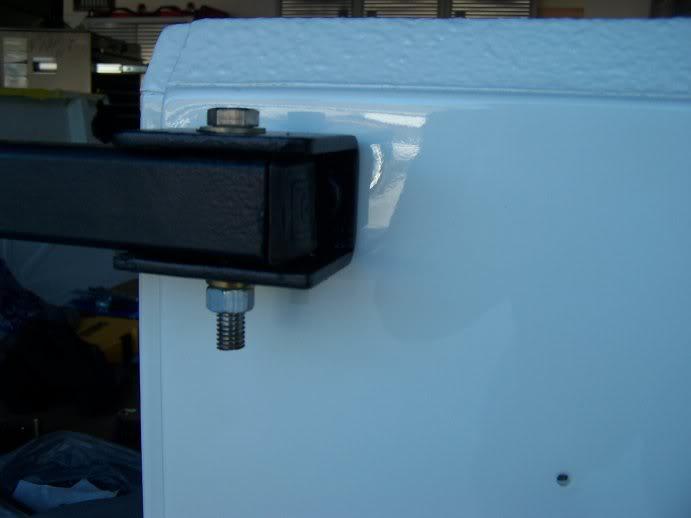
I found these nylon washers at Lowes and used them to tighten up the box tubes of the factory tire carrier inside the to-tub swivel brackets.. the goal is to reduce some of the noise and loose quality of the factory assembly, and to minimize the metal-metal or paint-paint contact, which always ends up in rusted hinge parts.. I needed two on the lower hinge, one on the upper, and it feels a lot tighter and smoother now

201112tirecarrierbushings2-1.jpg

201112tirecarrierbushings-1.jpg


I'm sure they'll wear over time, but as the tire carrier is a relatively low-use item, I think it should last a bit, and if I have to replace them, it's cheap/easy
 
Last edited:
my old box tube ends (the square plastic bits) looked like h-ll,

201112carrierhardware1-1.jpg

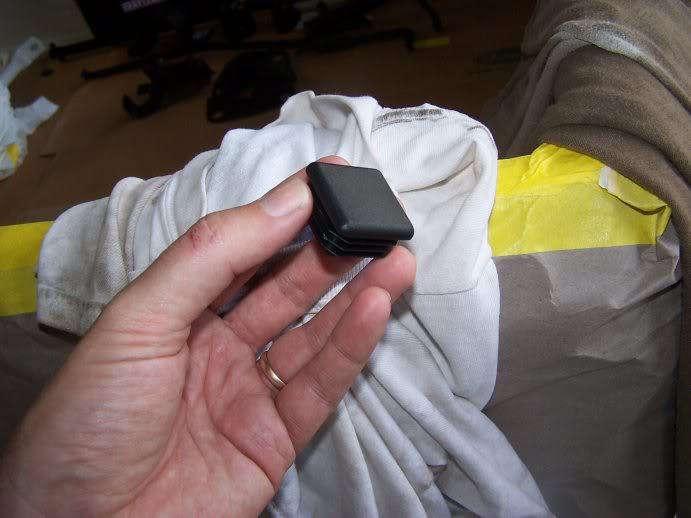
so I noticed these furniture end caps when I was sifting through the fastener aisle at my local Ace hardware.. they are 1.25 inch sized and cost .90 each
201112tirecarrierendcaps2-1.jpg


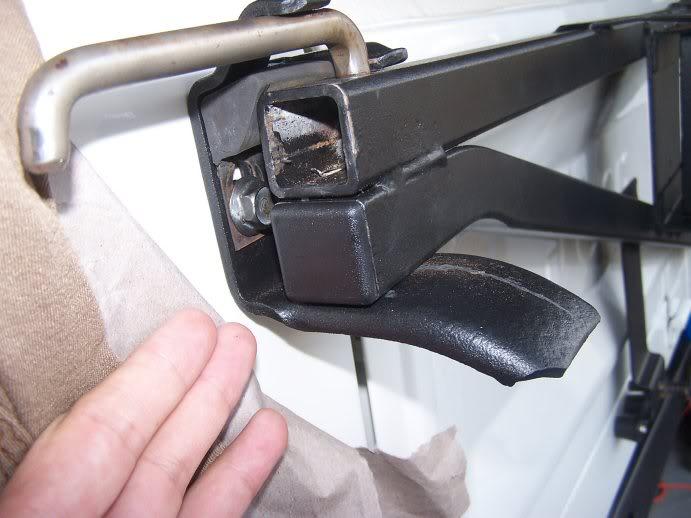
they have three baffles or flanges of thin plastic on the inner portion, which I had to cut/remove with a razor to ease them into the box tubing, but they then fit very nice (and tight.. had to use a hammer to gently tap them in), and I think they complement the look of my Duplicolor bed liner texture on the carrier pretty well
pic next to an open/bare end for comparison:
201112tirecarrierendcaps-1.jpg
 
re-mounting the rear bumper

you may recall I had a botched up rear x-member and, using the same approach as Big Walton, decided to lop off the ends of the x-member and set the Runck bumper in even closer to bascially replace the factory bumper, although mine is a bolt-on only install, where he welded a bead on his directly to the x-member

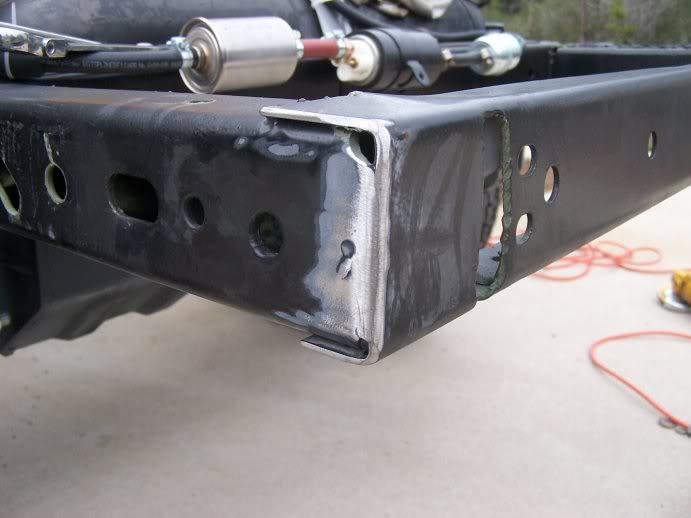
here's the x-member with ends (and body mount holes) deleted:
100_3029-1.jpg


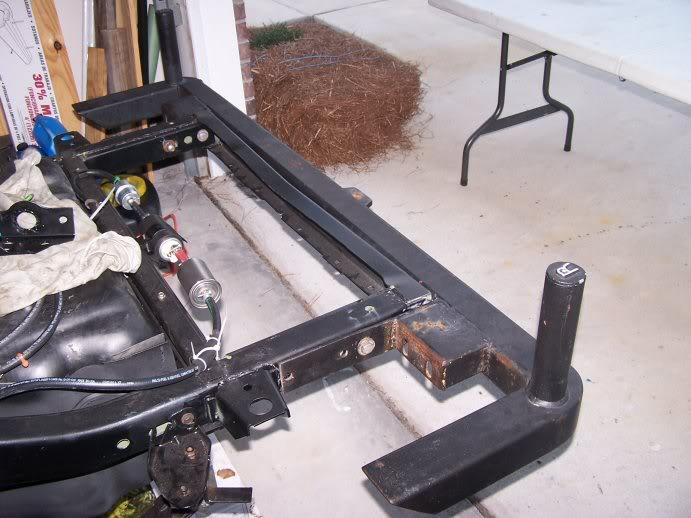
and here's a dry fit of the bumper:
100_3030-1.jpg


you'll note that I now am missing 2 body mount holes for the rearward-most 2 body mounts..

so after I mounted the tub, I used a 2.5 inch nail, standing on its head and running up into the captured nut hole as a "plumb" for where the body mount bolt would run, and therefore marking where I need to drill a hole for the body mounts

I then re-removed the Runck to get it ready for drilling
 
Last edited:
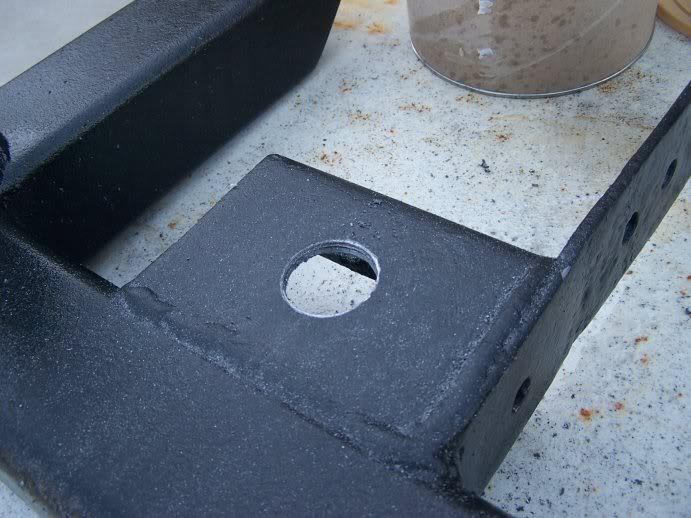
off-setting the bumper from the intended frame holes, and drilling the new body mount holes, required me to drill a couple of precise holes through some pretty thick steel.. sounds like a simple job, and it is, but I did some research (Youtube) on "how to drill thrhough steel" and came away with some good tips..

some of the tools required:

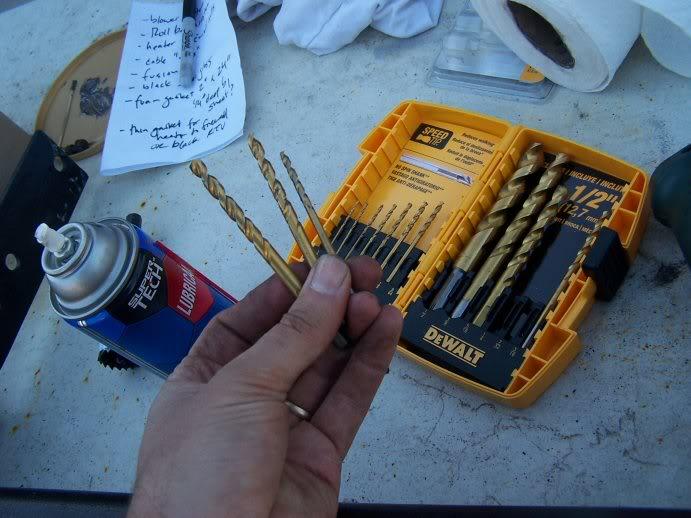
some good sharp drill bits (to create pilot holes), happened to be 1/2 price at Lowes the day I went, which put the whole box at about the price of 1-2 individual bits.. I'm showing the three successive bits I used to create successivly larger holes.. they go quickly after the first one, but it is small and easiest to control:
201112bumperhole1-1.jpg

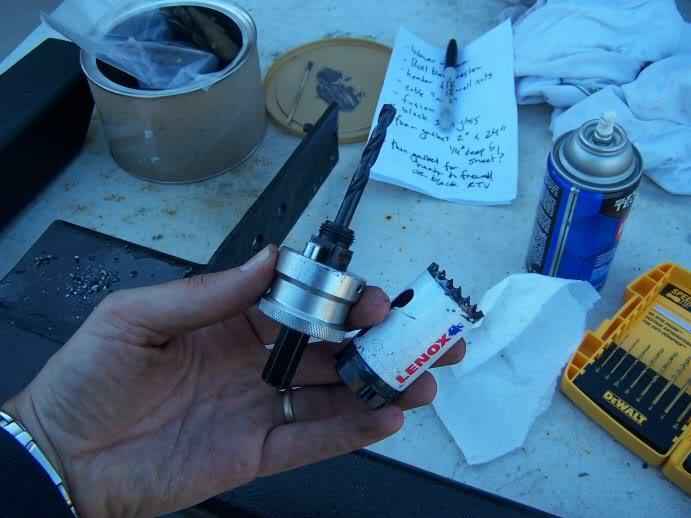
an arbor to hold a hole saw, and the appropriate sized hole saw for your application:
201112bumperhole31-1.jpg


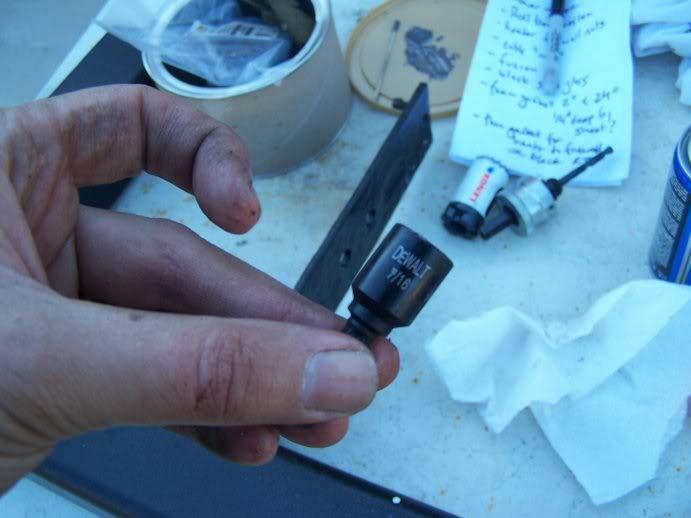
I also bout a set of "impact ready" driver bits for my corded drill (big enough to hold the arbor, which in this case I think was a 1/4" bit)
201112bumperhole41-1.jpg


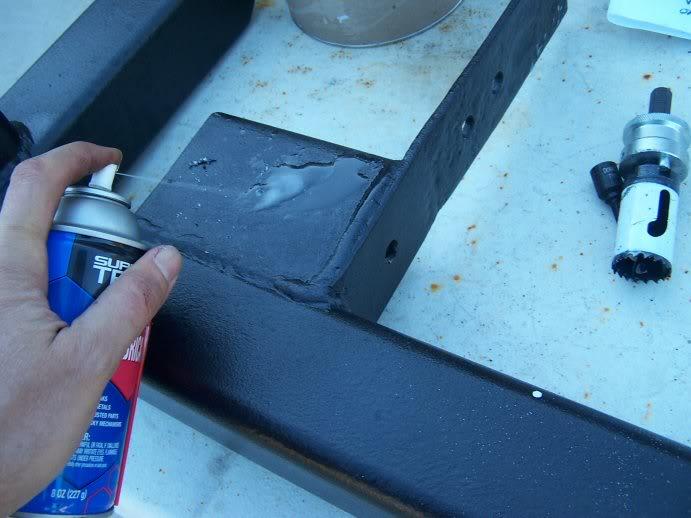
and some "lube" for drilling.. the trick is to (a) drill successively larger pilot holes, (b) keep a slow bit speed and (c) keep the drill be lubricated, which I did with occassional sprays of Wal-mart brand WD40
201112bumperhole2-1.jpg
 
Last edited:
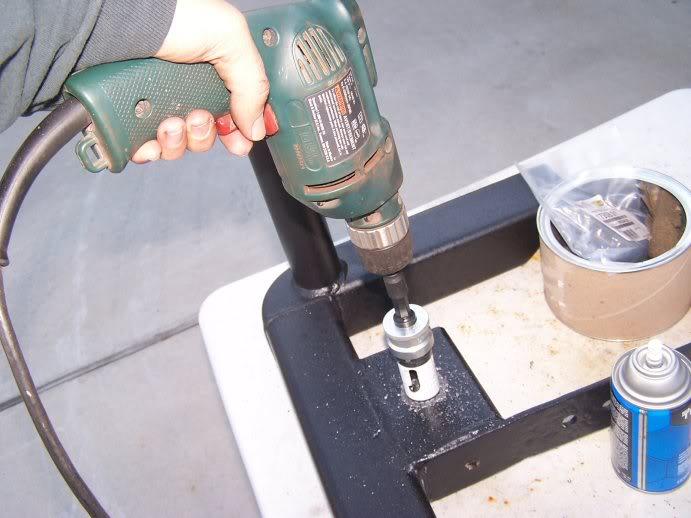
The drilling in action:
201112bumperhole5-1.jpg


on my first attempt I didn't make the pilot hole big enough for the arbor, and I got some "wandering" by the hole saw, until I stopped and went back and re-drilled the pilot hole.. made for a little messy start to the hole-saw hole, but eventually got it right:
201112bumperholebad-1.jpg

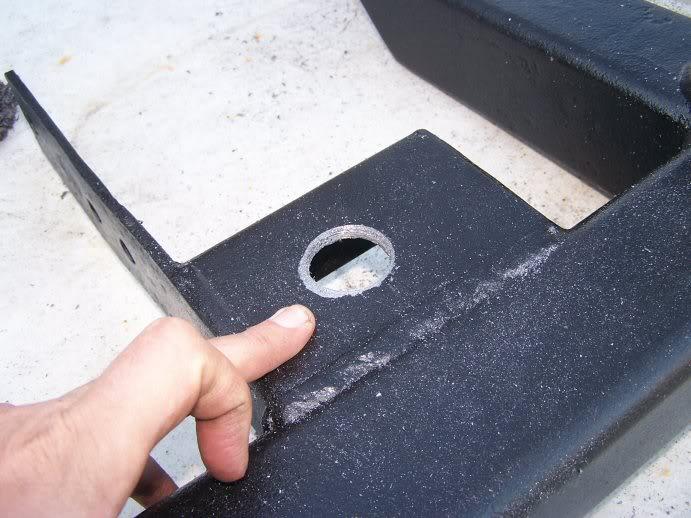
fixed myself for the second hole and got it in cleanly:
201112bumperholegood-1.jpg


I then primed and painted all the freshly cut (and any rusty) surfaces on the bumper, let that cure up, and then re-sprayed the whole bumper with another coat of the Duplicolor rattle can bedliner, and re-mounted the bumper..

the measuring technique worked well, and with the flexibility of the (moveable) captured nuts in the body, I was able to get it all lined up just fine.. the only complication was that the bumper sits JUST a bit lower than the original x-member, and I had to shim the body mounts with about 1/3 of an inch of fender washers (space with rubber washer) to get them snug against the body.. I've got a pic of that, but haven't downloaded the camera yet..
 
Last edited:
Your write up has been fantastic as well as everything you have accomplished to this point. I will refer to your work many times while I build mine.
 
Looking good:cheers:

For future reference, a "uni-bit" is much better at drilling round holes through thick steel;)
 
Looking good:cheers:

For future reference, a "uni-bit" is much better at drilling round holes through thick steel;)

I was going to suggest that. I love the Unibits, or step drills as some people call them.

Also, for the mystery seal between the m/c and booster, I have found a toilet gasket in the plumbing section of my local hardware store fits great. It's a red gasket and comes in a few sizes...I think it's called a "ballcock shank washer".

Found it!http://forums.off-road.com/jeepster...45731-improve-your-jeepster-toilet-parts.html
 
Last edited:
Randy I thought of you the other day.. did some post-Christmas-sales shopping the other day and Eddie Bauer stores have a wall poster of the back end of a GW with a bunch of presents stacked on the tailgate..


"ballcock shank washer"

lots of opportunities there... must resist...

I did actually buy a step bit, but the holes in the bumper required a much larger diameter than the step-bits avaialable (at least at Lowes)... I think the body mount holes are 1-1/4, but my memory is cr-p.
 
Back
Top