• Notice for iPhone users: DO NOT use the image size reduction option when uploading photos to the forum. This causes portrait images to post as landscape. We have added a warning to the image insert pop-up as well.

New To Me 83--Parts Needed

Hell the way I look at it you have a Jeep that with a nice paint job would be a $15K rig (if someone were to look at the build, see how it was done, and realize that it's a totally sorted out, no corners cut rig).

I added up what I have in my CJ7 I bought in high school once. Never had the desire to do it again. A CJ belonging to a teenager tends to need lots of repairs. Good thing gas was < $1 gal or I probably would have sold it at some point!

VERY nice build, and I'm really impressed that you did it that cheap. My green Jeep was one I bought to fix up and resell using my extra parts, and I ended up liking it and decided to keep it. :D
 
Hell the way I look at it you have a Jeep that with a nice paint job would be a $15K rig (if someone were to look at the build, see how it was done, and realize that it's a totally sorted out, no corners cut rig).

I added up what I have in my CJ7 I bought in high school once. Never had the desire to do it again. A CJ belonging to a teenager tends to need lots of repairs. Good thing gas was < $1 gal or I probably would have sold it at some point!

VERY nice build, and I'm really impressed that you did it that cheap. My green Jeep was one I bought to fix up and resell using my extra parts, and I ended up liking it and decided to keep it. :D


Appreciate it:cheers:

I figure about 4 grand, new bed floor, blast and paint the body/frame, add newer interior and accessories, this thing would "look" as good as it drives:thumbsup:

But, this being a "budget" build, after paint, it would have become another "well, I can't use this old part" problem for me, and costs would have escalated exponentially:crazy:

For a "ware house stored" ocasional trail riding Scrambler, it should hopefully last a long time. And in the future, if so desired, it would not take too much to make it into a "head turner", famous last words...............:rotfl::thumbsup::wave:
 
Nice work, again, Raymond. I still vote for a clean, buff, and polish. That exterior latex paint job I did on my half-cab has held up well, and some Fusion black spray paint will make those flares look new. Cheap cosmetic alternative to a full refresh.


And please get those white walls on the inside ;)
 
Nice work, again, Raymond. I still vote for a clean, buff, and polish. That exterior latex paint job I did on my half-cab has held up well, and some Fusion black spray paint will make those flares look new. Cheap cosmetic alternative to a full refresh.


And please get those white walls on the inside ;)

Appreciate it:thumbsup:

I am going to let JeepAddict deal with the exterior aesthetics:thumbsup:

White walls wont be staying on much longer, they are pretty dry rotted:crazy:
 
If any of us ever added up the money we spent on our jeeps our wives would have strung us up a looonnnggg time ago.
As I told my wife its better that I am messing with this 30 year old and not some other. At least she knows where I am at all the time.
 
If any of us ever added up the money we spent on our jeeps our wives would have strung us up a looonnnggg time ago.
As I told my wife its better that I am messing with this 30 year old and not some other. At least she knows where I am at all the time.

LOL :rotfl::cheers::thumbsup:
 
If any of us ever added up the money we spent on our jeeps our wives would have strung us up a looonnnggg time ago.
As I told my wife its better that I am messing with this 30 year old and not some other. At least she knows where I am at all the time.

To make matters worse, I have spent the same amount of money on my Jeeps (and her Jeep) that I have spent on her... so since I am broke, I can't get any other 30 year olds.... ROFL.

cb
 
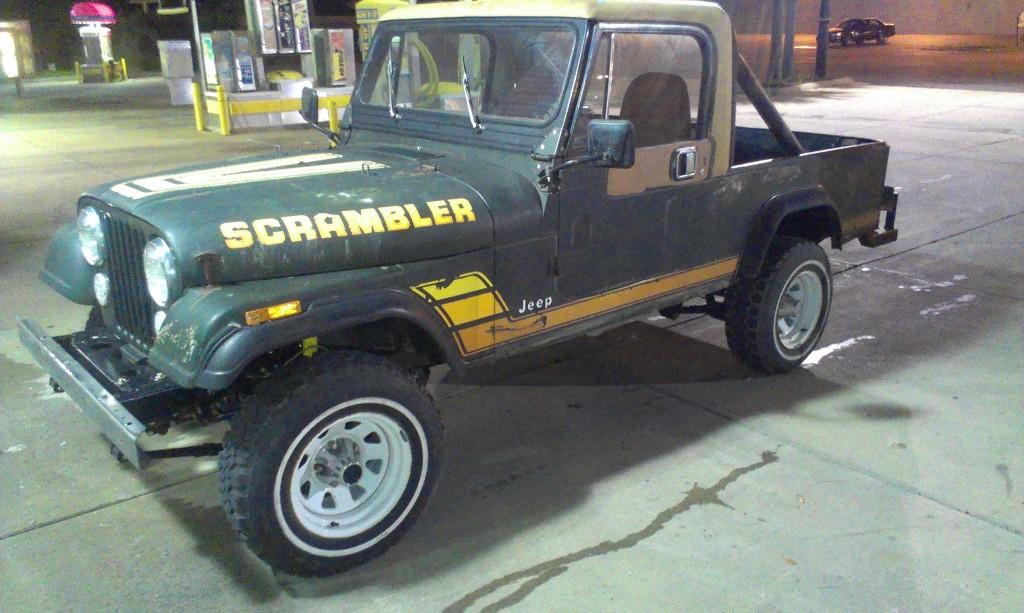
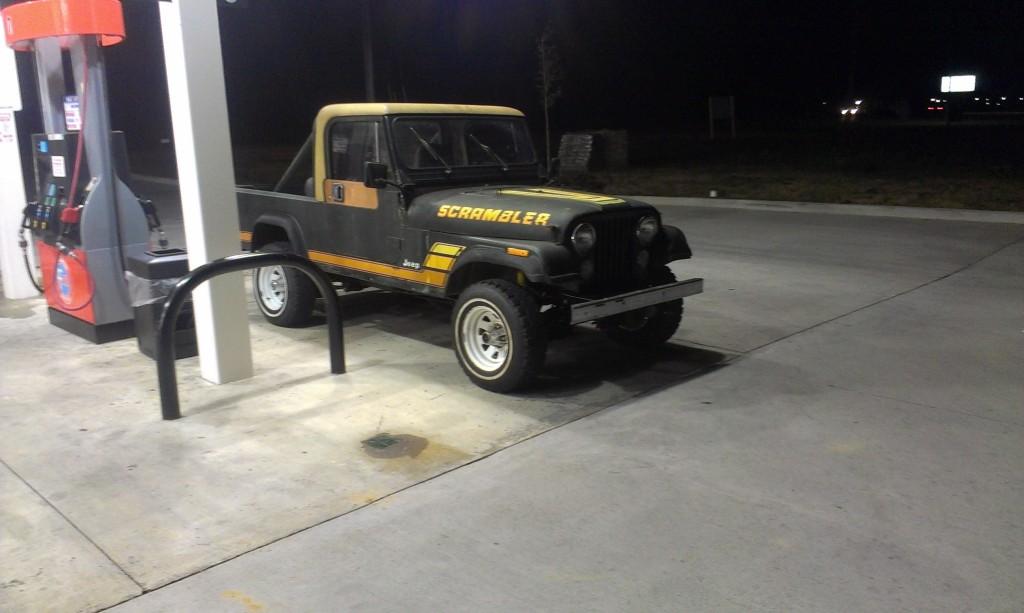
I have been able to tinker with "Yard Scrambler" a little bit more lately, and have worked through a few more minor "issues".


IMAG0259_zpsd562a16f-1.jpg


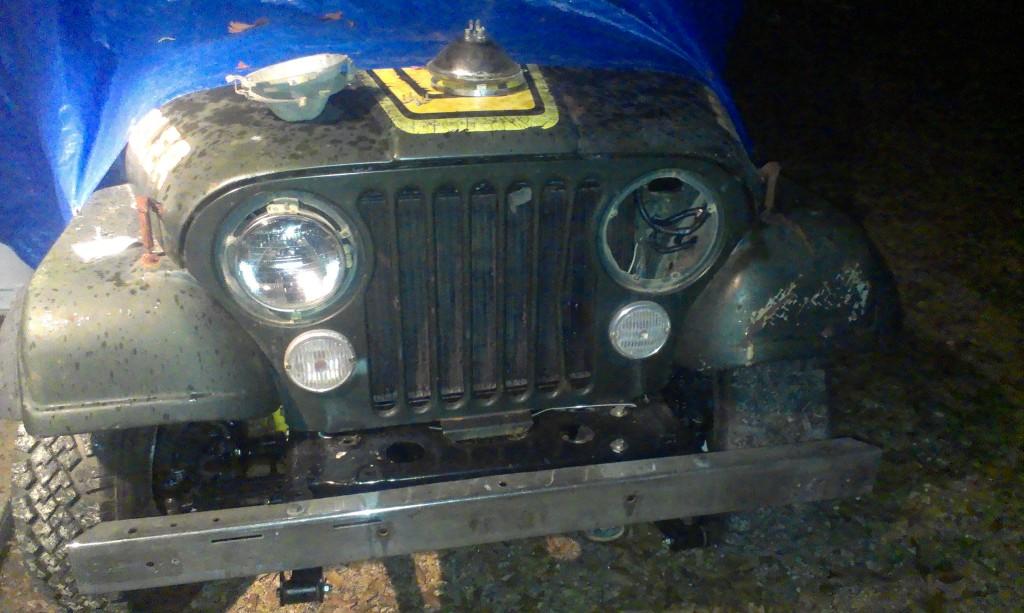
I went to go for a drive the other night and realized that both head lights were shining down to the middle of the road about 5' in front of the jeep. When I removed the headlight bezels, both light kind of 1/2 way fell out the buckets. On both head lights, the plastic tabs that the adjuster screws thread into were stripped out. A quick trip to Lowe's, and I had a less then $5 fix.

IMAG0264_zps9c4d789d-1.jpg


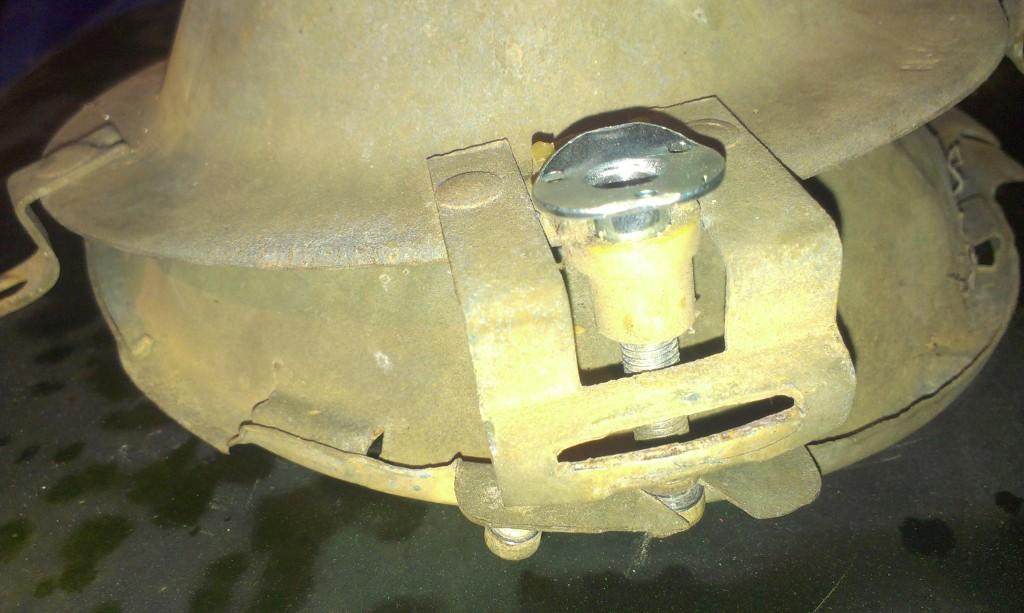
I slightly drilled out the existing holes in the plastic tabs with a 5/16 bit.

IMAG0260_zpsff9c75b1-1.jpg


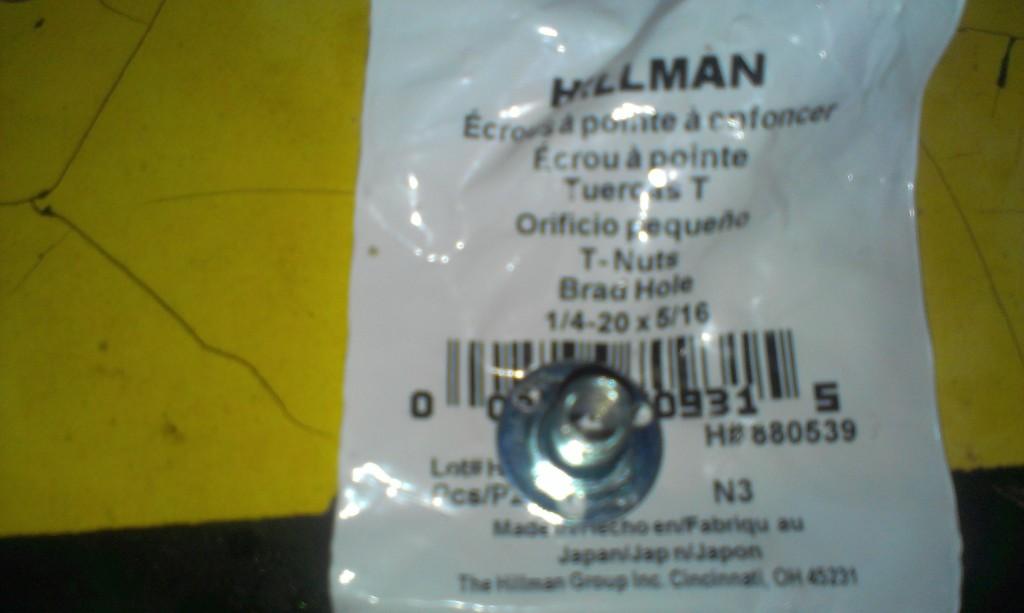
And inserted the "T-bolts" from the back side. On the "T-bolts", they come with 1/4-20 threads. The adjusting screws are 1/4-28 thread. I drilled out the existing threads with a 7/32 bit and then tapped them for fine threads. Works perfectly.

IMAG0262_zps78823339-1.jpg


The "T-bolts" might turn a little bit when adjusting the screws, but I have been able to just put light pressure on them by inserting a flat screwdriver through the bucket to put a little downward pressure, and they quit spinning. For a $5 fix, works very well, especially considering how expensive/hard to find new light buckets are. I need to find a big flat wall so I can adjust the light properly, and this issue will be finished.


I got the volt gauge working, just some loose connectors on the back of the gauge.

I also was able to get the oil pressure gauge working. My FSM has the wiring connectors labeled backwards!!! A quick look at my green Scrambler, switched two wires around, now the oil pressure gauge works.

The temperature gauge is kind of working. It goes past the cold line a little bit, then stops. I believe I need a better ground on the speedometer assembly. Fuel gauge is not working currently.

I am going to clean/re-lube the speedometer cable in the next day or two, and hopefully that gauge will work.

I also installed the interior door panels, the interior actually looks pretty nice now.

Once I install a temporary exhaust hanger, I plan on driving this rig quite a bit more.

That's it for now.
 
Did a little bit of work to "Yard Scrambler" last night, and took it for a drive.

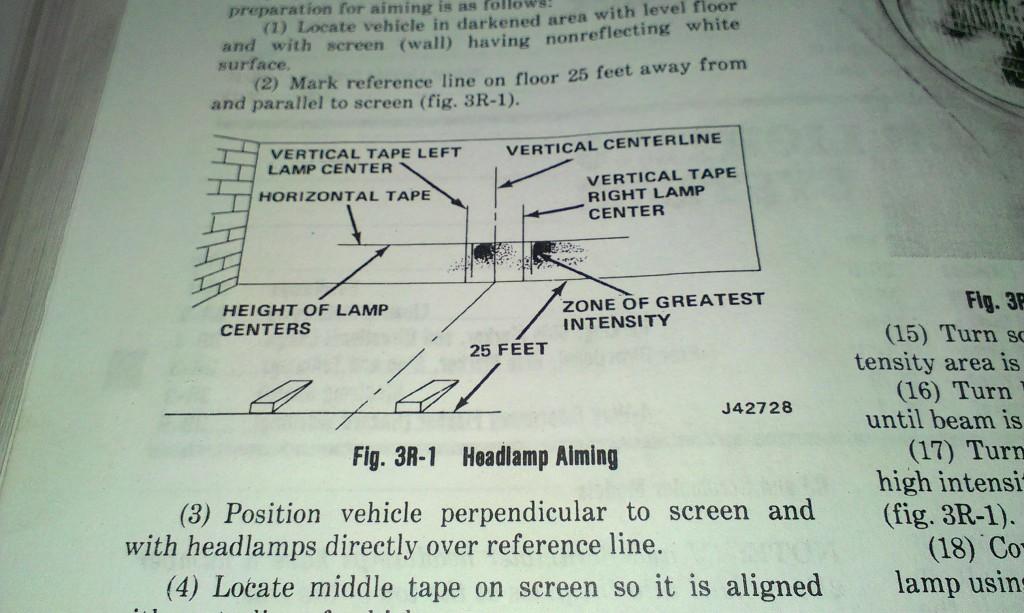
Finally adjusted the headlights. Picture from the FSM on how to do it:

IMAG0270_zpse0095414-1.jpg


I found a large, flat wall, with an equally flat parking lot. Broke out some masking tape and made my marks:

IMAG0271_zps52db1244-1.jpg


The picture doesn't show it, but you have to adjust one light at a time, while the other is covered. The above picture shows both lights, after being adjusted. It must be close to what it needs to be, I can see much better and I don't have people flashing their lights at me, so I am going to consider it good to go.


After adjusting the headlights, I took the Scrambler for its longest drive yet, about 20 miles. It drives/operates really well. The brakes and steering work great, and the engine performs great. It is really fun to drive. It is also fairly quiet, except for the hard top jumping off the windshield frame due to me not screwing it down yet. All in all, I am pretty happy with it.

A few pictures of it out of the yard, just to prove it moves:thumbsup:

IMAG0273_zpse12b4c25-1.jpg


IMAG0268_zps62afa977-1.jpg


IMAG0266_zps3add8c19-1.jpg


I hope to knock out a few more minor issues with it over the next couple of weeks, then i am going to quit working on it.

Short list of whats left to do:

1) Secure hard top/seat belt bushings
2) Install speedometer cable/possibly change speedo gear due to gear/tire swap
3) Install new heater control cables/plastic glove box/ center console
4) Need to "fine tune" the timing/carb adjustments/choke settings
4) Work on gauge/dash board grounds
5) Get new exhaust/tires installed

That's it for now:wave:
 
Did a little bit of work to "Yard Scrambler" last night, and took it for a drive.

Finally adjusted the headlights. Picture from the FSM on how to do it:


IMAG0271_zps52db1244-1.jpg


I saw this on the news last night. They are trying to find who keeps taping up the outside of local buildings. Said it may be the same responsible for crop circles :huh:
 
Did a little bit of work to "Yard Scrambler" last night, and took it for a drive.

Finally adjusted the headlights. Picture from the FSM on how to do it:


IMAG0271_zps52db1244-1.jpg


I saw this on the news last night. They are trying to find who keeps taping up the outside of local buildings. Said it may be the same responsible for crop circles :huh:

They are trying to figure out whose gang sign it is :rotfl:
 
Did a little bit of work to "Yard Scrambler" last night, and took it for a drive.

Finally adjusted the headlights. Picture from the FSM on how to do it:


IMAG0271_zps52db1244-1.jpg


:


So I get the "25 feet from the wall" part. Want to cue us in on the measurements for where the tape goes (inches off the ground, and inches up and down)? I certainly need to aim mine and would appreciate directions on doing it correctly. Seems like that would make a good sticky!
 
So I get the "25 feet from the wall" part. Want to cue us in on the measurements for where the tape goes (inches off the ground, and inches up and down)? I certainly need to aim mine and would appreciate directions on doing it correctly. Seems like that would make a good sticky!

Basically, make a line parallel and 25' from the wall you are aiming at. Put your grill directly over this line. You must have the jeep "square" with the wall. Make sure your line is parallel. Mark the center of your grill, and make a corresponding center line mark on the wall. If you are not square and centered up, it wont work. The two short vertical pieces of tape on the wall were just to mark the corners of the box I laid out. Basically, a 10' wide, 25' long rectangle, center of the jeep at the 5' mark. I made a box so as to be sure the lines were parallel/true.

The horizontal tape line on the wall is your center of headlight height.

The center vertical line on the wall is center line between the headlights.

The two other vertical lines are the center lines of the headlights.

The picture from the FSM better describes graphically then i could describe verbally with regard as to where to aim the lights:crazy:


Hope that helps:thumbsup:

Having the lights adjusted correctly made a huge positive difference:thumbsup:
 
Last edited:
Got it! That helps! Gonna do it on the neighbors garage door while they're gone!
 
Back
Top