

You are using an out of date browser. It may not display this or other websites correctly.
You should upgrade or use an alternative browser.
You should upgrade or use an alternative browser.
Randyzzz Scrambler Restification Thread!
- Thread starter Randyzzz
- Start date

- City
- Redmond
- State
- OR
This might be easier than I thought!
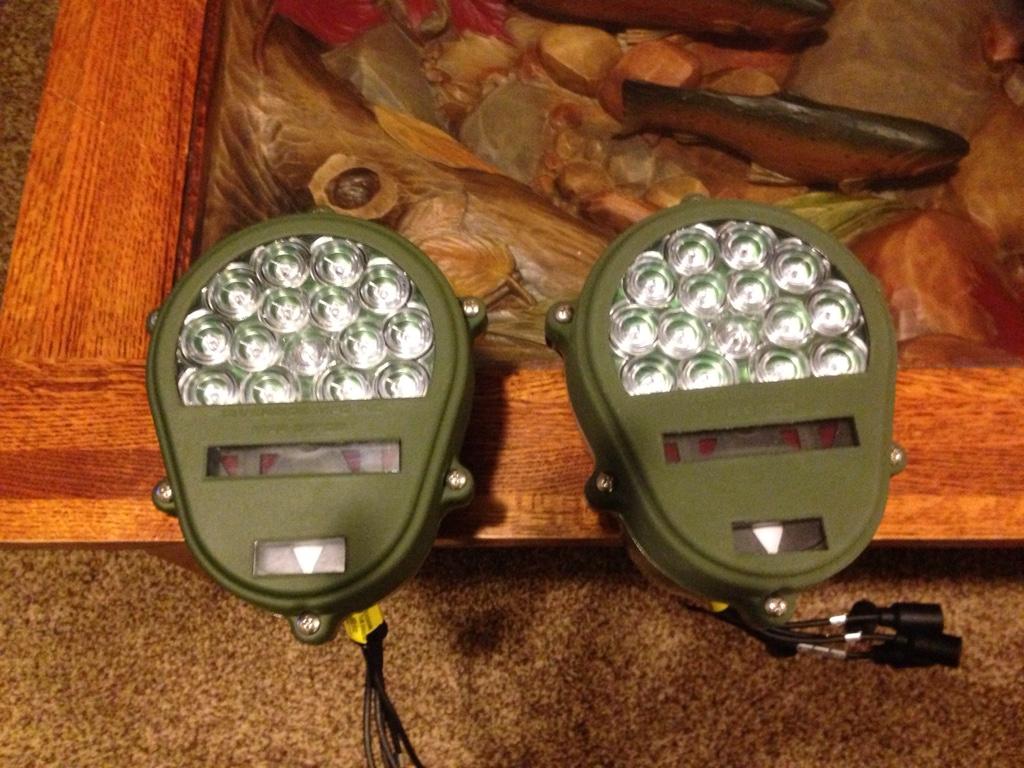
Removed the rear housing. The housing is plastic but the lens assembly bezel is aluminum. The light assy is fully potted in resin and 100% waterproof. Looks like I'll just have to cut a rectangular hole in the rear where the stock lights used to go. I'm also considering shaving the plastic rear housing to give just enough clearance for the square protrusion.
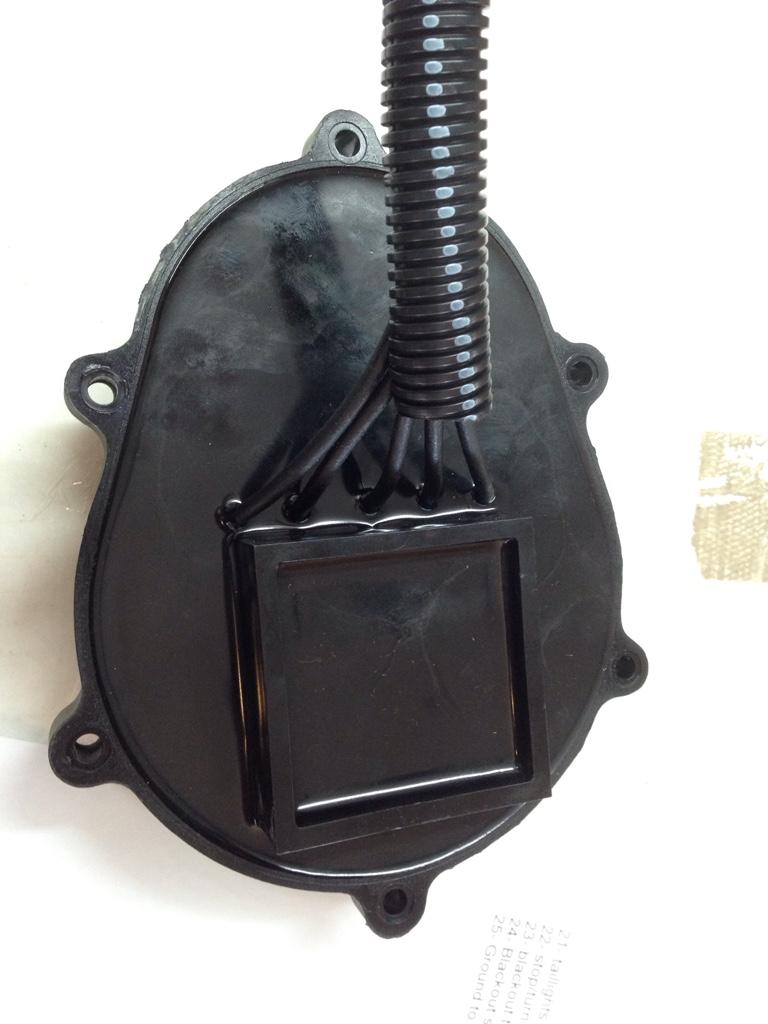
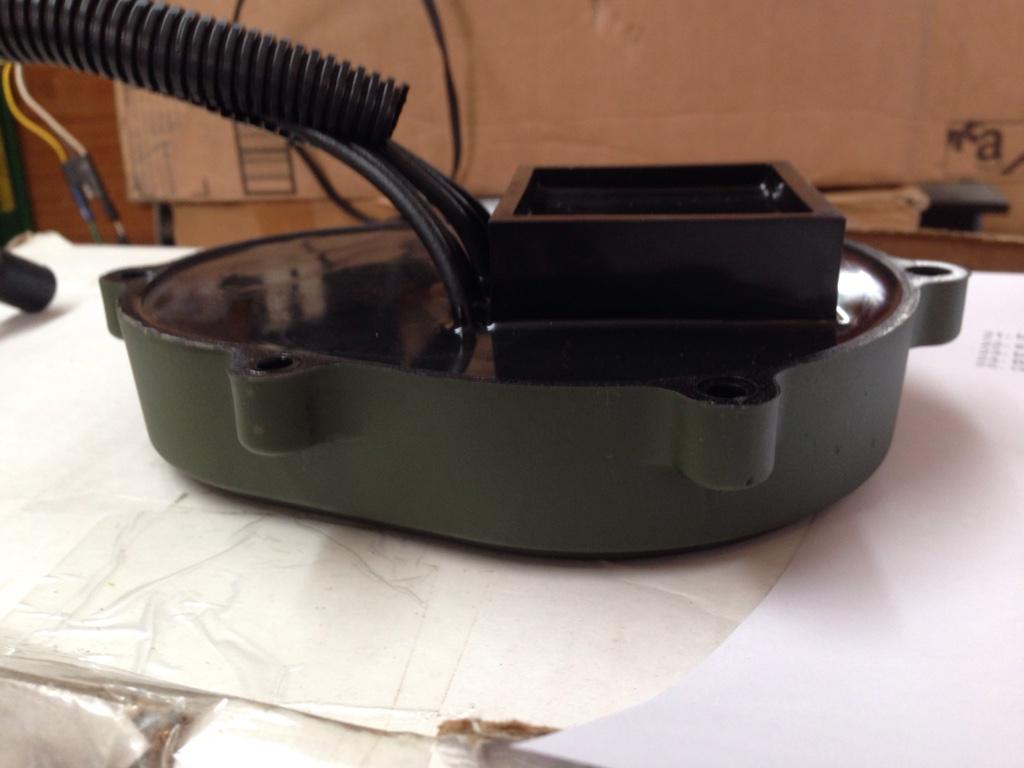
I thought the Savvy lights were bright- these are just as bright if not brighter. The blackout lights are super dim, however. Not sure how I'm going to incorporate them. I'll have to add a separate back up light too.
Should I have a tire carrier or not? I think I'll start a poll just to see what you guys think.
Removed the rear housing. The housing is plastic but the lens assembly bezel is aluminum. The light assy is fully potted in resin and 100% waterproof. Looks like I'll just have to cut a rectangular hole in the rear where the stock lights used to go. I'm also considering shaving the plastic rear housing to give just enough clearance for the square protrusion.
I thought the Savvy lights were bright- these are just as bright if not brighter. The blackout lights are super dim, however. Not sure how I'm going to incorporate them. I'll have to add a separate back up light too.
Should I have a tire carrier or not? I think I'll start a poll just to see what you guys think.

- City
- Redmond
- State
- OR
where did you get those?
Off EBay from Riverside Manufacturing. Got the last set for $110/pair delivered. They were an overrun from a Gov't contract. There are others from different manufacturers still available, but I'm really thinking I scored on these. They still have some of the matching fronts available too.
- City
- Redmond
- State
- OR
Well, had to do it. Matching front lights ordered, along with light dot red LED's for the rear sidemarkers, and 4 9W led's for bumper mounted back up lights.
Need to get the steel for the rockers, and for the rear corner protection. Then it's time to bring a truckload to the powder coater. I'll post build pics along the way.
Need to get the steel for the rockers, and for the rear corner protection. Then it's time to bring a truckload to the powder coater. I'll post build pics along the way.

- City
- Redmond
- State
- OR
More progress on the parts acquisition front. I backed out on the 9w dot style clear LED's, reviews say they are more suited for interior lights.
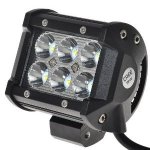
Instead, I've got a set of the squarish 18W Cree led wide angle work lights coming, going to french them into the rear bumper as backup lights. If those work well, I'll get another set in spot style for the front bumper, with matching frenched in mounts.
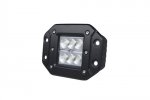
Then, I was thinking alley lights would be cool. Got a set of the 18W Cree flush mount LED's coming for that- I'll put those in the rocker guards under the front doors behind the reinforcement.
Speaking of rockers, I found out that my son-in-law has access to a huge press brake at work. Will bend an 8' sheet of 3/16 steel like it was butter. So, I'm going to make the rockers and rear corners out of aluminum. Save some weight, still powdercoated to match.
And, just to go with the UAV theme, I replaced my burnt out headlight(s), and used a pair of H4 halogen units that I had been saving. They had provision for a "street light", a 194 bulb that is on during daytime hours. I replaced those with a set of mini strobes, clear of course. Fit perfectly. They had been waiting for me to find a use for years. They make the headlights flash like an emergency vehicle- Illegal as all heck if I use them on the street, but cool none the less.
I promise I'll be careful...
Instead, I've got a set of the squarish 18W Cree led wide angle work lights coming, going to french them into the rear bumper as backup lights. If those work well, I'll get another set in spot style for the front bumper, with matching frenched in mounts.
Then, I was thinking alley lights would be cool. Got a set of the 18W Cree flush mount LED's coming for that- I'll put those in the rocker guards under the front doors behind the reinforcement.
Speaking of rockers, I found out that my son-in-law has access to a huge press brake at work. Will bend an 8' sheet of 3/16 steel like it was butter. So, I'm going to make the rockers and rear corners out of aluminum. Save some weight, still powdercoated to match.
And, just to go with the UAV theme, I replaced my burnt out headlight(s), and used a pair of H4 halogen units that I had been saving. They had provision for a "street light", a 194 bulb that is on during daytime hours. I replaced those with a set of mini strobes, clear of course. Fit perfectly. They had been waiting for me to find a use for years. They make the headlights flash like an emergency vehicle- Illegal as all heck if I use them on the street, but cool none the less.
I promise I'll be careful...
Last edited:

- City
- Gonzales
- State
- La
Hey, Dennis! How are you doing?
The lights are actually military over runs from a military requisition for HMMVW lights. I think they'll be perfect for the look I'm going for.
Thanks Randy, I'm doing great. I haven't been ignoring CJ8.com just not making many replies.
Cool is way more important than legal.
As always, i'm looking forward to seeing your build.....More pictures.......
My Hummer forum buddies speak highly of the Cree lights.
Dennis

- City
- Redmond
- State
- OR
Looking good. What do the fronts look like?
Tracking numbers predict Friday delivery. I'll post up pictures then!

- City
- Redmond
- State
- OR
I approve this thread
Eric, you just put a big smile on my face.

I do feel guilty that I haven't rebuilt the photo content of this thread, that will have to be a snowy day project this winter...
It just feels good to be working on her again. My EBay sales were supposed to be for funding work on Red, but I figured the smart thing would be to "finish" Copper before starting anything else. Especially now that Red is going to be built for Carol.
- City
- Redmond
- State
- OR
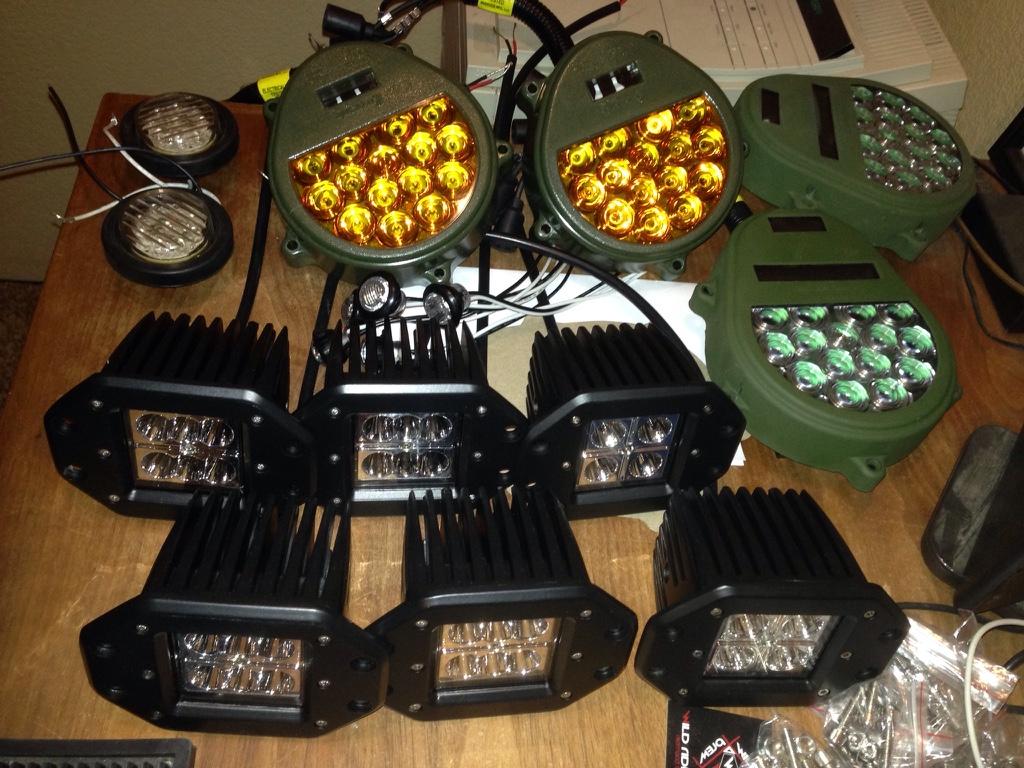
Let there be lights! The last of the LED's showed up today. Now I have to get busy with installation, wiring, switches, etc. There's pairs of tail lights, front signals, backup lights, side markers, aux backup lights, alley lights, and front floods, whew! You should be able to see me from space once I get all these hooked up!

- City
- Redmond
- State
- OR
You have more lights then my Xmas tree. 😝
Sent from my SPH-L900
 Yep, you'll be able to see me from space...unless I'm in blackout mode.
- City
- Redmond
- State
- OR
So I decided to start with the front turn signals today. I figured that they would be the easiest to do. But I should know better...
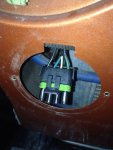
I had to rework some of the wiring, initially I had the marker lights flash with the turn signals. The new LED's allowed current to back feed and not flash at all. Easy fix, isolate the circuit. I used weatherpack connectors, they rock. I also ran a lead for future hookup of the blackout lights.
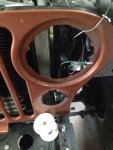
Mounting the Milspec turn signals was the easiest part, just drill 5 holes and secure with stainless screws. They cover the old hole completely.
However, the new signals are considerably thicker than the originals. Thick enough that my winch wouldn't clear the housings. I ended up having to move the winch mount forward about 2 inches. Didn't think I'd get to weld installing turn signals. Here's the finished result.
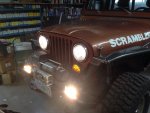
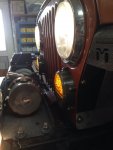
The OD green housings look out of place on the copper paint, but the end plan is a powder coated grille cover matching the flares. Same with the rear corners. Once they are mounted against the Powdercoating they should look fine.
And a short video showing how the previously installed strobes mentioned in one of the prior posts look. The flash is considerably brighter than the video shows.
https://vimeo.com/110435388
OK, crazy stuff. you can clearly see the flash on my iPhone/iPad, but not on my laptop. Crazy.
I'm going to try installing the rears tomorrow.
I had to rework some of the wiring, initially I had the marker lights flash with the turn signals. The new LED's allowed current to back feed and not flash at all. Easy fix, isolate the circuit. I used weatherpack connectors, they rock. I also ran a lead for future hookup of the blackout lights.
Mounting the Milspec turn signals was the easiest part, just drill 5 holes and secure with stainless screws. They cover the old hole completely.
However, the new signals are considerably thicker than the originals. Thick enough that my winch wouldn't clear the housings. I ended up having to move the winch mount forward about 2 inches. Didn't think I'd get to weld installing turn signals. Here's the finished result.
The OD green housings look out of place on the copper paint, but the end plan is a powder coated grille cover matching the flares. Same with the rear corners. Once they are mounted against the Powdercoating they should look fine.
And a short video showing how the previously installed strobes mentioned in one of the prior posts look. The flash is considerably brighter than the video shows.
https://vimeo.com/110435388
OK, crazy stuff. you can clearly see the flash on my iPhone/iPad, but not on my laptop. Crazy.
I'm going to try installing the rears tomorrow.
Last edited:
Very nice. I had a set of rears on my YJ a few years ago and loved them. May have to revisit this idea with the Scrambler once I get some miles on it. Been reading your build the last couple days and really like where you have taken yours.
Eric
Eric