• Notice for iPhone users: DO NOT use the image size reduction option when uploading photos to the forum. This causes portrait images to post as landscape. We have added a warning to the image insert pop-up as well.

Spankrjs' 1984 Long Term Project

"Sand Blast 8" is rapidly approaching my friend. :wave:

I know,.......

Put the engine back together, for now, so it is drive able. Was going to order an engine, but now my LJ is acting up :evil:
 
Fixed the LJ, new PCM required at a cost of about $900, that could have bought half my new long block:banghead:

My buddy has a 70,000 mile TBI 350 that came out of a 91 GMC truck sitting in his shop. I might try to run some compression/leak down tests on it. If it checks out good, I can get I for a bit south of $500:headbang:

But, I am still leaning toward a new long block, with a warranty, no dried out seals or problems. More money, but more peace of mind, and nothing like just doing it once:shrug: Time is something I am short on right now:shrug:

Need to get all this rain out of here, then make something happen in a week or two:popcorn::popcorn:
 
Is this a common problem? Seems unusual to have to replace a PCM.

Not super common, less so then OPDA problem on 05-06 models. Seems more common on the Grands.

I started having random/sporadic transmission issues a week ago - no upshifts without letting off the gas/not upshifting until high RPM/no over drive/ shifting into neutral by itself while going 60mph/going into "limp home mode", i.e. 2nd gear and reverse only/random torque convertor unlocking for no reason. All random, it would do it sometimes, sometimes not. If it did act up, you could restart and clear it up. Different symptoms at different times.

Mechanically, the transmission was fine, so :cool: But, it is tough to diagnose. I would get a MIL lit up only sometimes. when it would light up, the codes were coming from the TCM (Transmission Control Module) side of the PCM (Powertrain Control Module). Prior to 05 on the Wranglers, the TCM was separate from the PCM. In 05, it became one big computer. All the senors on the engine are fine, wire harness checks out fine. The problem was inside the PCM. The engine sensors would communicate fine with the PCM, but when the PCM would send the signals/commands to the TCM side, it was getting corrupt data. The transmission sensors signals were also being corrupted inside the TCM. For example, it would give a "High Trans Temp Fluid" code with the fluid operating at 150 degrees. On the engine side, the TCM was getting TPS codes that were wacky, causing the shifting problems.

The dealer changed the PCM yesterday, had to let them do it since they have to program the new one. About $40 labor, the rest was for a new Mopar PCM, not remanufactured, 2 year unlimited mile warranty. So far, no problems, only been two days.

You can get remanufactured PCM's off the internet for around $200, but you still have to take them to the dealer to program them if your vehicle has the SIM security keys. I didn't feel like trusting a cheaper source for a PCM. Cost more, but peace of mind, and if it craps out again, no finger pointing.

I really miss my 6 speed Rubicon:rolleyes:

In the end, it is a computer, located under the hood of a vehicle. They wont last forever, but for one to crap out after 52.000 miles kind of sucks. But, how many lap tops are still working fine with no repairs/battery changes after 10 years:rolleyes:

Looking for another low mile TJ/LJ Rubicon now, with a 5/6 speed. Nice 2003 black TJ Rubicon on eBay now, 11,000 miles and bone stock, $27,500:drool:

Anybody looking for a 52,000 mile bone stock LJ Rubicon, red, auto, soft top:rolleyes::thumbsup::wave:
 
Been a long while for any real updates on this one, I have been busy clearing the yard. But, here is a quick update on some work I did awhile back to seal up the ACME full hard top.

I had used some generic weather stripping I purchased at Lowes, and it worked OK. But, the top rattled against the body, and the rear hatch did not seal very good at all. I finally decided to fix it, this is what I used.

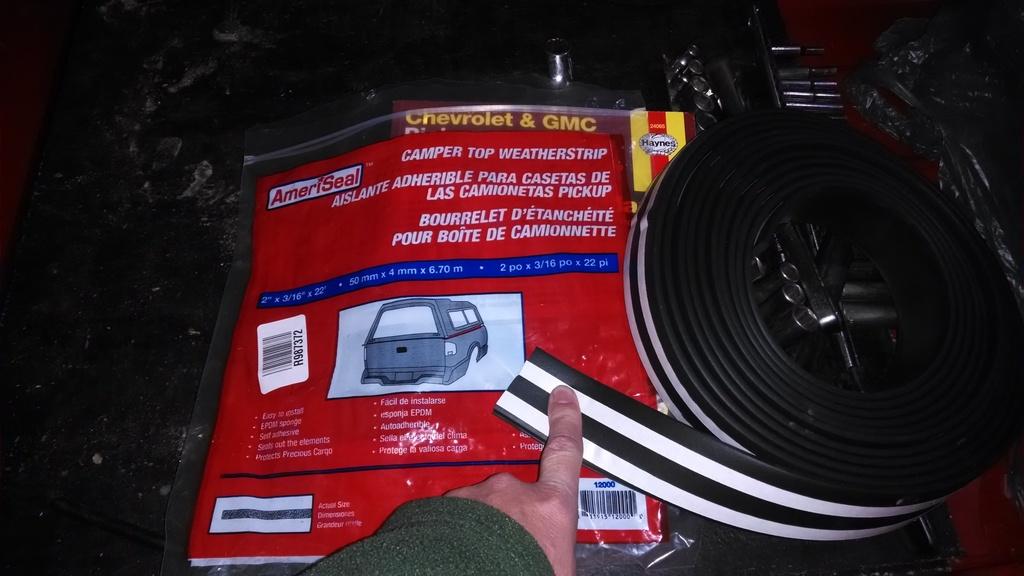
I used this weather stripping, purchased at NAPA, to seal the top to the body. I stuck the weather stripping to the bottom of the top. It is fairly dense, so it does not "smush" out ike the other stuff.

050_zpsidofcayh-1.jpg


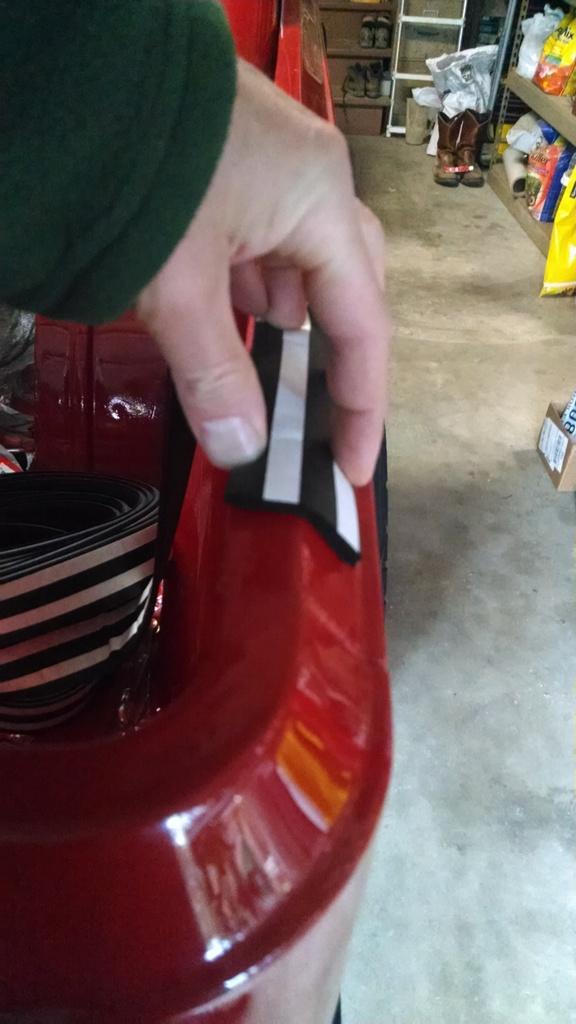
This stuff is fairly wide, so it wraps down the sides of the bottom of the top, too. Almost like it was made for this purpose.

051_zpsgnpmjiln-1.jpg


This new sealing material has been working great. The top sits securely on the sides, no rattles. So far, no leaks at the top to body joint.


For the rear hatch, I purchased the following two packs of weather stripping from AutoZone. I never could find something to exactly match the ACME rear hard top hatch seal. Not saying something doesn't exist, I just got tired of looking.

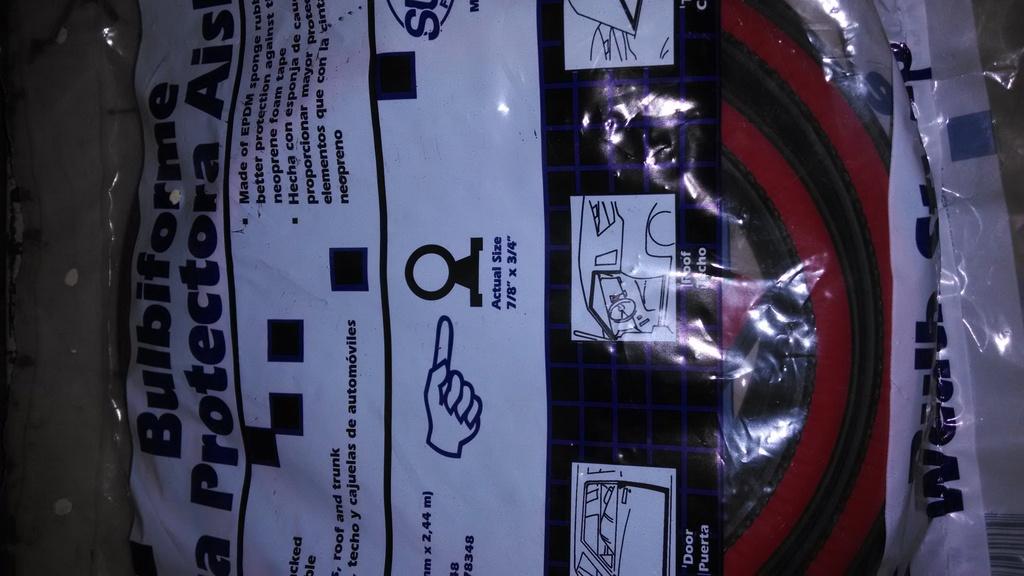
For the rear hatch, I used this:

069_zpsweowaicr-1.jpg


This weather stripping is pretty good. But, it is not quite thick enough to do the job on its own. The problem with the ACME full top rear hatch is that it is not perfectly flat, it has an outward bow to it. So, the weather stripping seals tight at the top and side bottoms, but it does not fit as tight in the middle of the two sides.

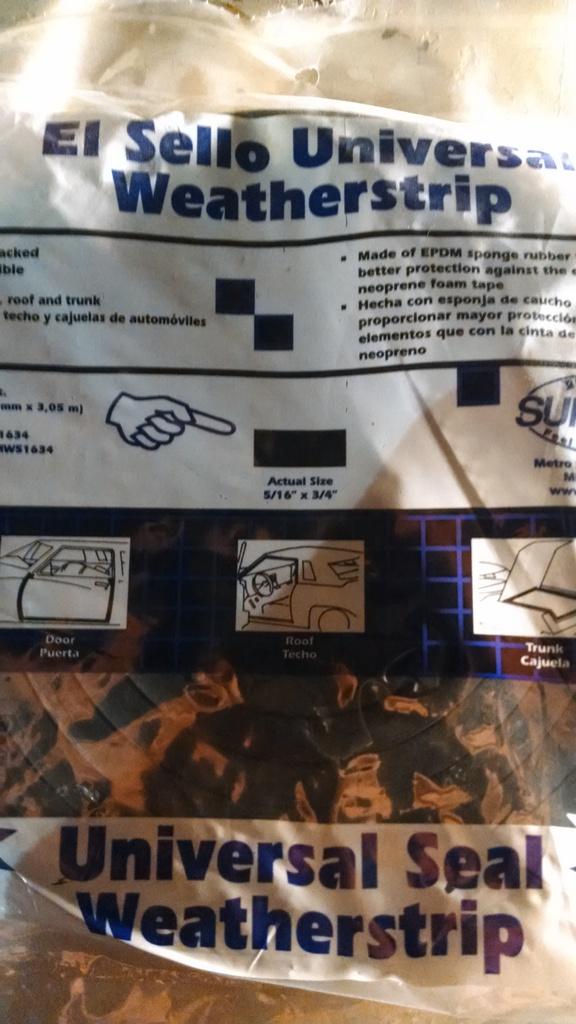
So, I purchased this from AutoZone, too:

067_zpsdokbkeeh-1.jpg


I adhered this weather stripping to the full top.

068_zpsthfuvfyo-1.jpg


These two pieces of weather stripping, combined, do an excellent job of sealing the rear hatch. After 6 months, I no longer have leaks from the rear hatch, or from the top to body joint.


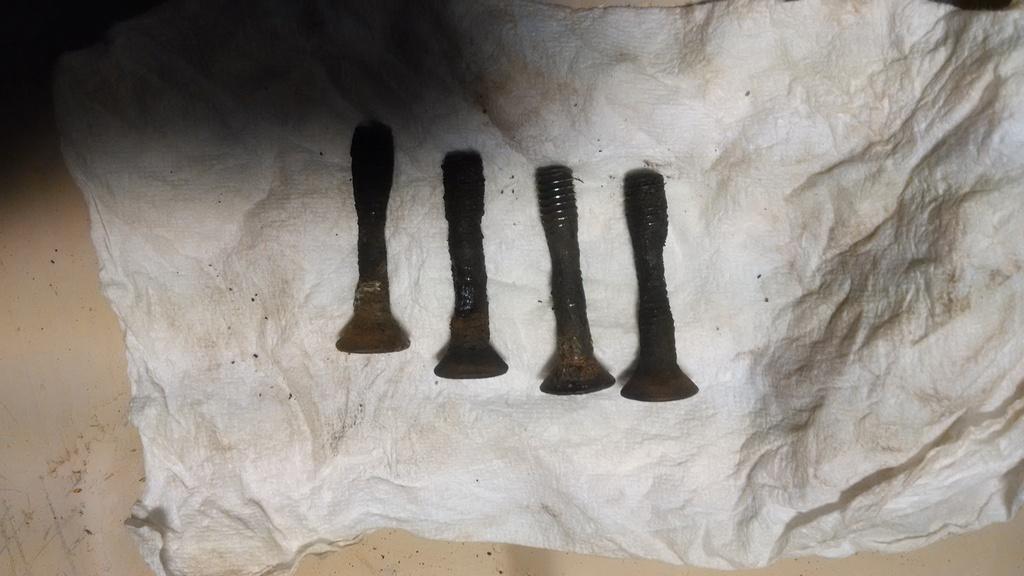
I also swapped out the rusty, original lift gate screws. I love me some CA Scrambler, these nasty screws came right out with just a bit of penetrating oil!!!!!!

065_zpsuaolgpdk-1.jpg


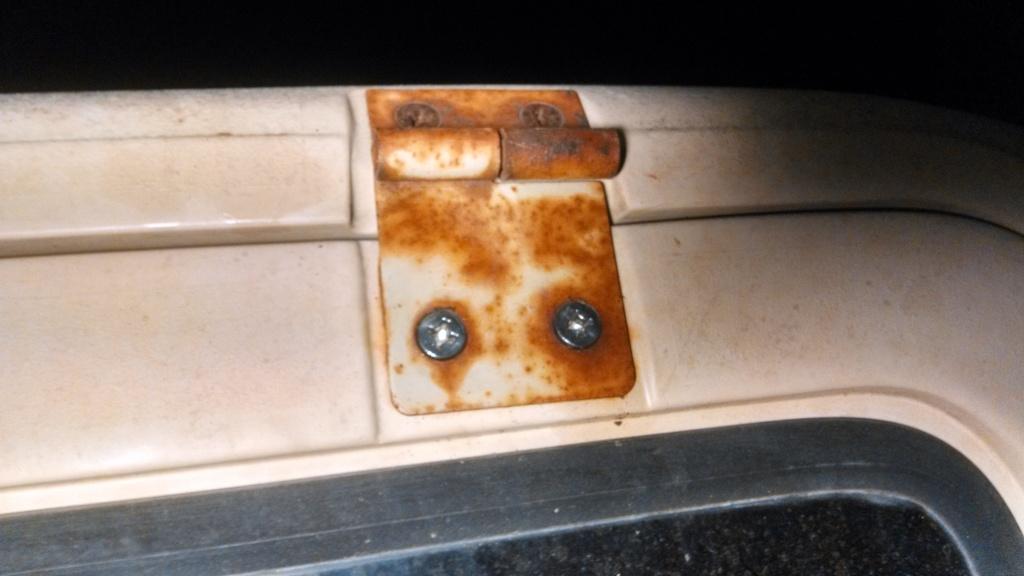
I installed some new stainless screws, no big deal. Now, if I would have just repainted the hinges...................

066_zps6yzrkgsf-1.jpg


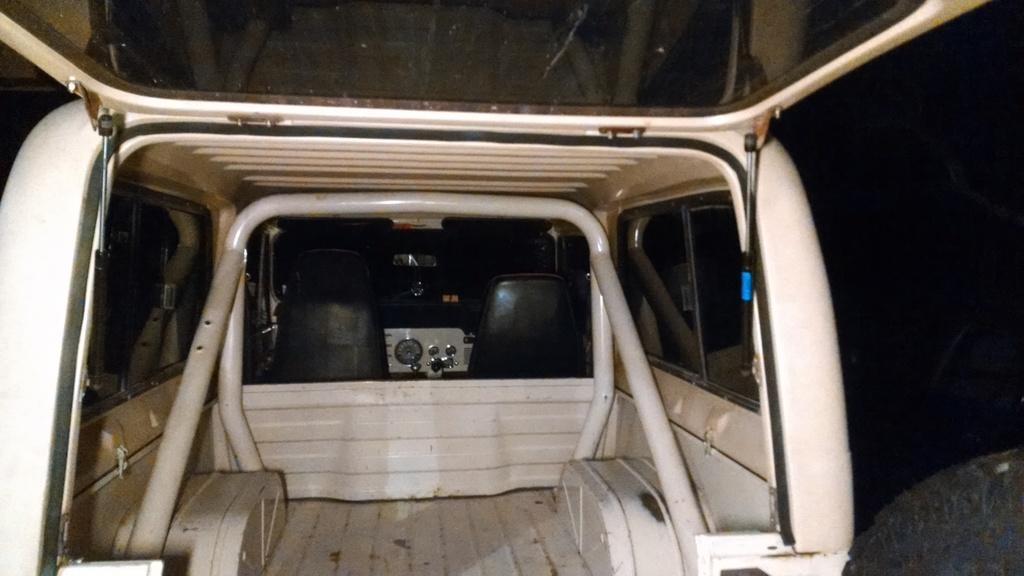
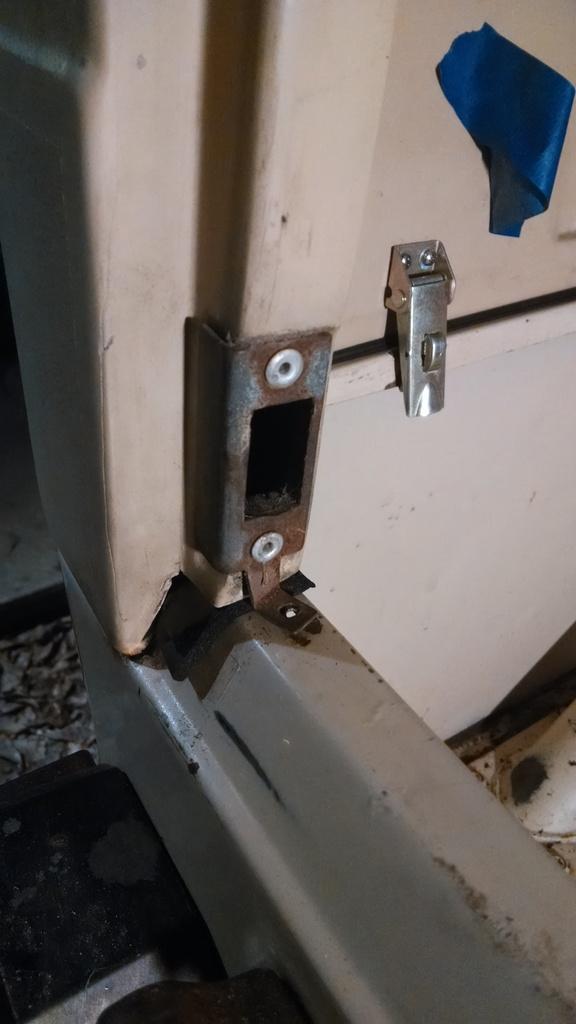
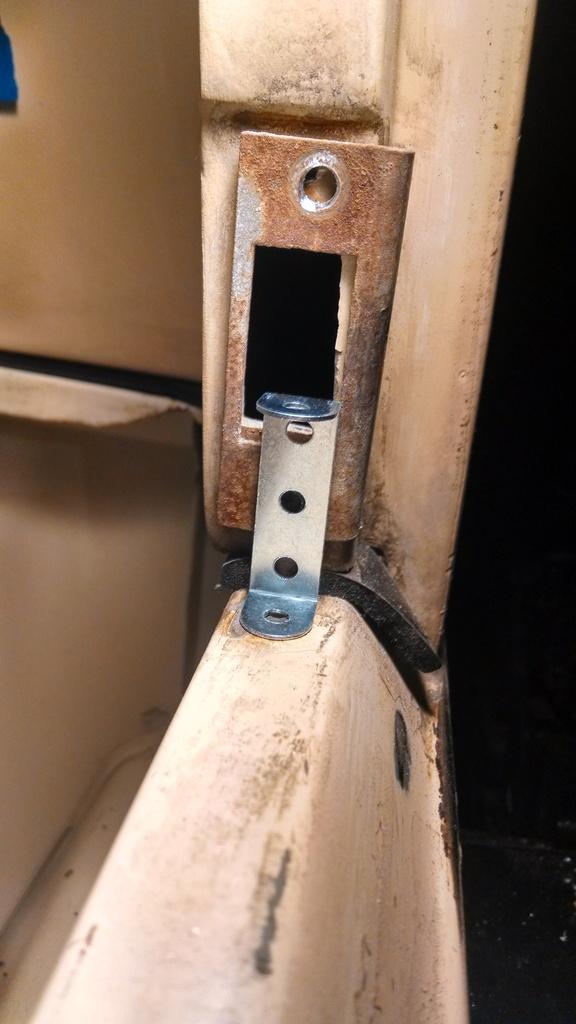
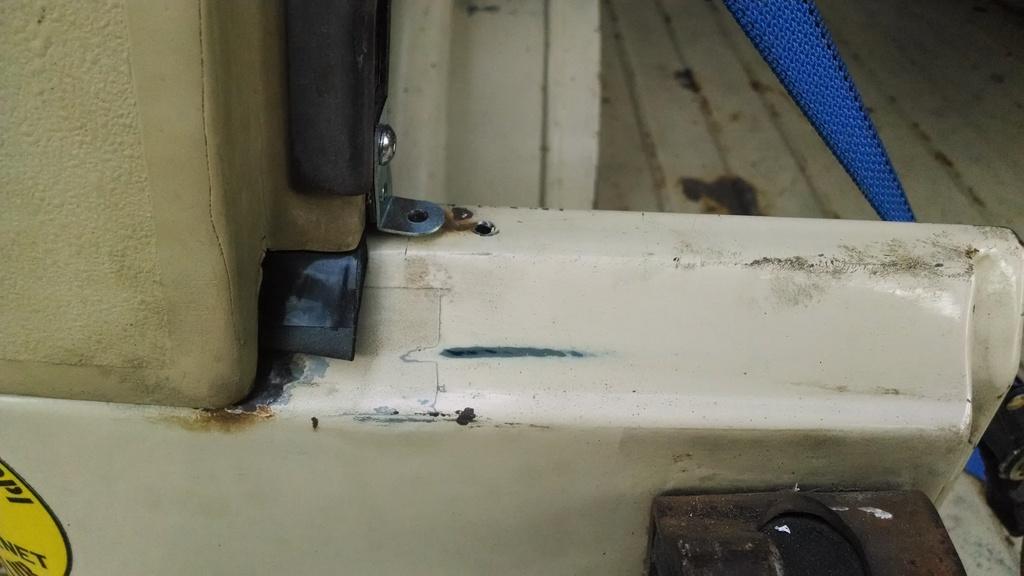
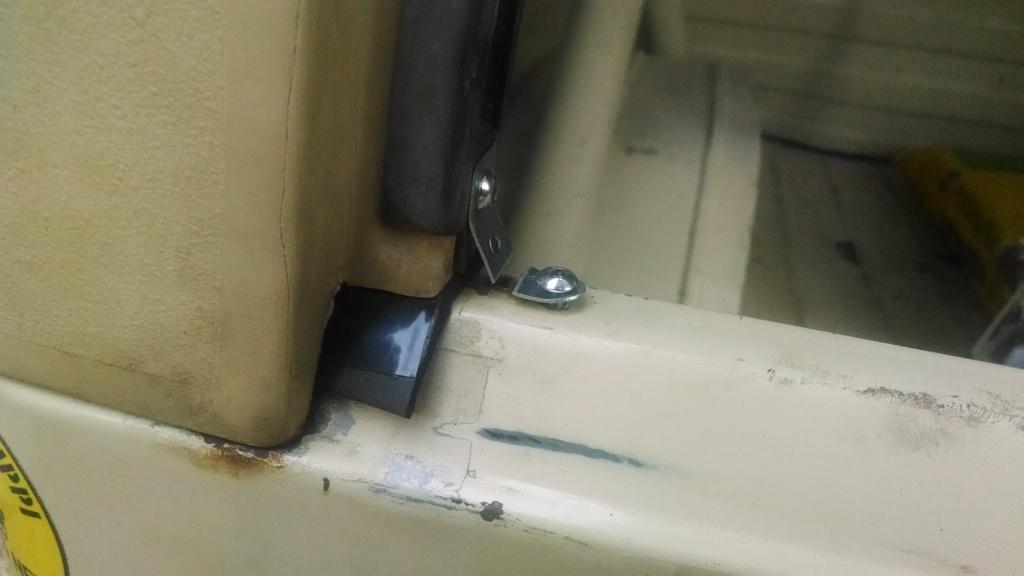
Another issue I had with my ACME top was how it fit at the rear. The sides would kind of bulge outward, so the lift gate never sealed correctly. My ACME top came with this piece on the driver side, the passenger side was broken. These little angles help hold the rear of the top securely in place, they prevent the top from wanting to spread.

052_zpsimdtioum-1.jpg


Since one side was broken. I decided to make some new angle brackets.
 
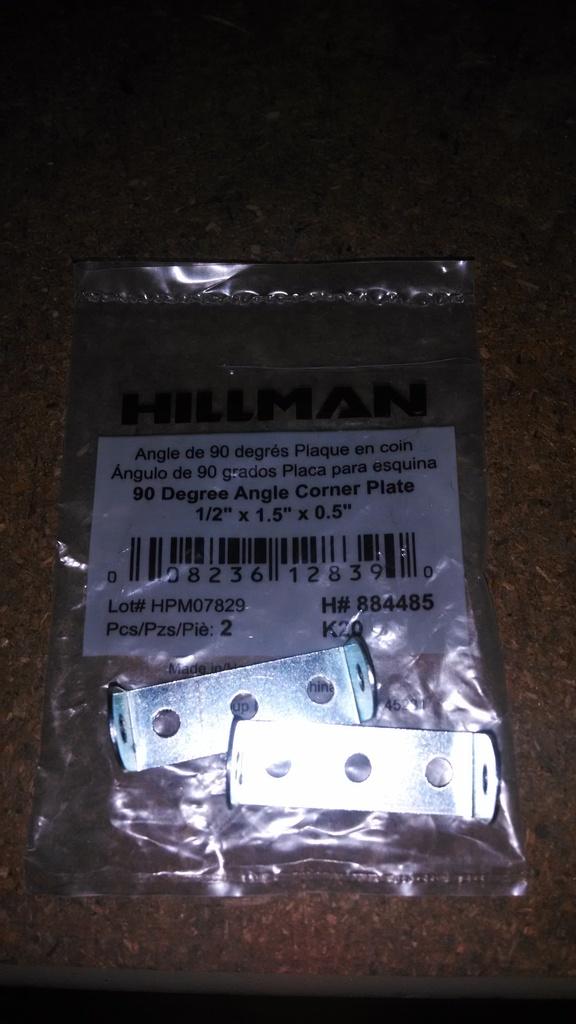
To fix the angle pieces, I tried these parts I bought at Lowes. They ended up not being strong enough.

054_zps6n13dadw-1.jpg


Mocking up the angle pieces, simple matter of cutting them down. The more difficult problem is reattaching the metal bucket to the hard top once you drill out the pop rivets!!!

056_zpspsthmyn8-1.jpg


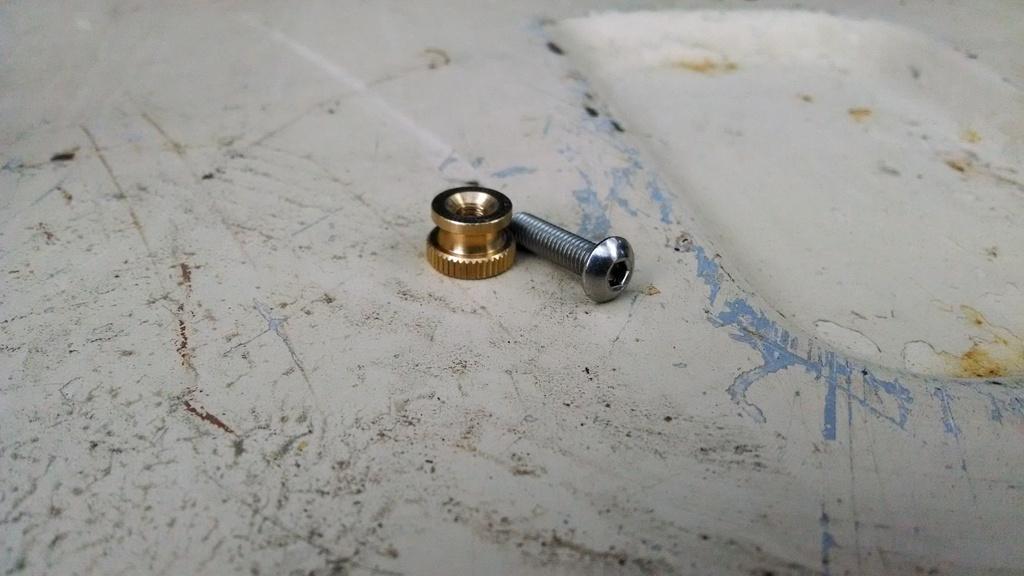
To reattach the previously mentioned metal hard top buckets, I used some stainless screws and some of these:

057_zpslssmznpb-1.jpg


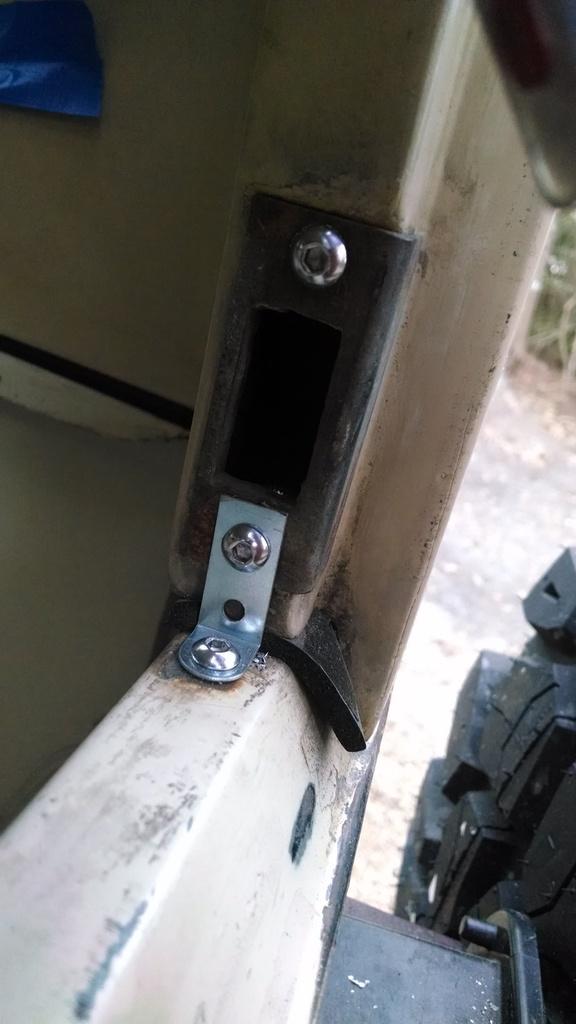
And installed. It was a bit of a PIA to hold the thumb knurl things, but I got it in the end. Little fingers help out here!!

058_zpstcaptdmo-1.jpg


059_zpszu8d6fxk-1.jpg


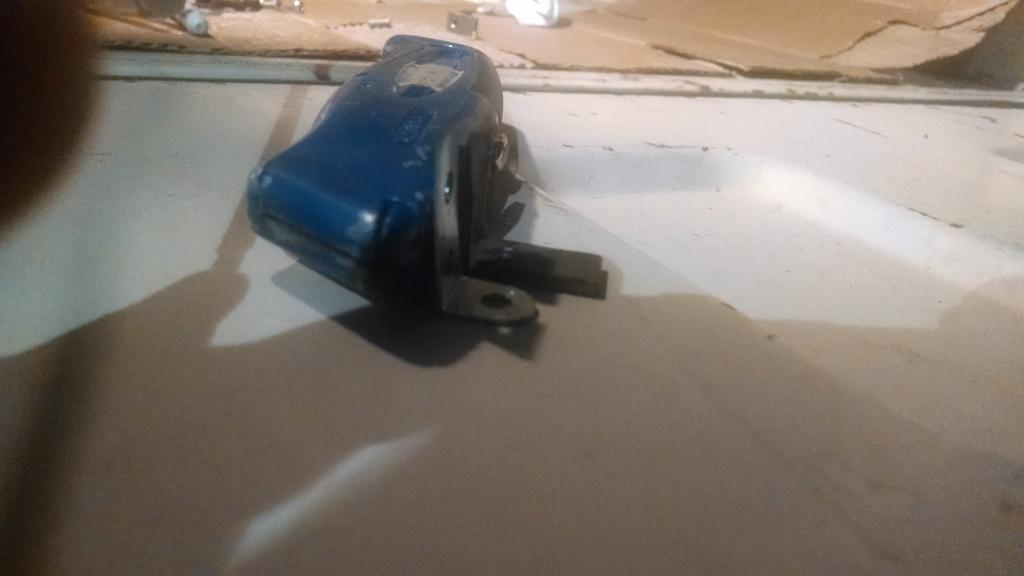
But, these pieces are not strong enough, and one broke after one day.

061_zpsuxjopwsb-1.jpg


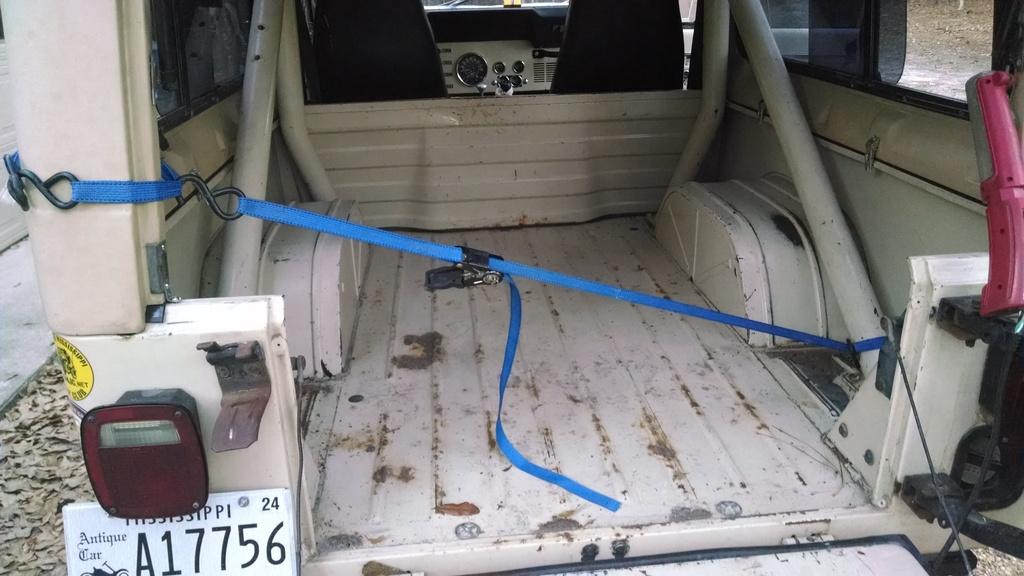
I think the little bracket broke, in part, due to my hard top. I think that my hard top actually got used to being spread out, and did not want to fit right. In order to install the angle to body bolts, I had to use a ratchet strap to put a little tension on top to get everything to line up:

060_zpsqbvqfvwf-1.jpg


I replaced the thin angle brackets with some beefier units I made from some scrap angle steel.

062_zps2lbliqhs-1.jpg


The new angle brackets are working perfect.

The new weather stripping, coupled with the new angle brackets at the rear corners, has made the full top fit much better, seal much better, and the rear hatch works/seals perfectly.

A big improvement for just a little bit of time and money:thumbsup:
 
  • Like
Reactions: SKT
Well, I had to spend some money today:shrug:

After confirming that I have one bad intake valve, and bad rings on another cylinder, I knew I needed either to rebuild my current engine or swap in another engine.

I did not want to just swap in another used engine. I could very well end up being in the same situation again in a year or two.

I could rebuild my current engine, but the time and cost involved did not make sense to me:shrug:


So, I purchased one of these today:thumbsup:

http://www.summitracing.com/parts/nal-12568758


Nothing real fancy, just a new (not rebuilt) GM 350 long bock for TBI equipped trucks. It is a complete engine, valve covers/oil pan/timing cover/harmonic balancer already installed. I only need to add/do the following to swap this engine in:

1) Add my intake/new intake gaskets
2) Add my exhaust manifolds/new exhaust manifold gaskets
3) Add my distributor
4) Add my TBI assembly
5) Swap on my new water pump, with new gaskets

Pulling and swapping the engine shouldn't be too hard. But, while the engine is out, I plan on doing some additional work:

1) Swap out the leaking master cylinder. This is the 3rd one from NAPA, they keep leaking out of the lid:banghead:
2) Repaint inner driver side fender (SEE #1)
3) Repaint the Borgeson steering shaft (SEE #1)
4) Run new, metal auto transmission cooler lines down the frame rail (currently all rubber and hack, my fault)

Probably some other stuff, too. I plan on pulling the grill and both fenders off to make everything easier.

I would like to update the thread with some pictures, but I just hit 100% Photobucket capacity:banghead::shrug:

That's it for now:wave:
 
Good writeup on the ACME top. That will come in handy when I put mine on.

Can you post some better pics of the weather stripping packaging you used on the gate? Do I understand correctly that you stuck the first type on the gate, and the 2nd type on the top, so the two smush together when you shut the gate?
 
Good writeup on the ACME top. That will come in handy when I put mine on.

Can you post some better pics of the weather stripping packaging you used on the gate? Do I understand correctly that you stuck the first type on the gate, and the 2nd type on the top, so the two smush together when you shut the gate?

Yes:thumbsup: I put the bulb weather stripping on the lift gate and the flat piece of weather stripping on the hard top, where the lift gate shuts. The two seals smush together and seal tight.


Seal for the bottom of the top came from NAPA, Part #12000:

http://www.napaonline.com/Catalog/C...ubber-Camper-Top-Seal/_/R-BK_12000_0006391416


"Bulb" shaped seal came from AutoZone, Part # MW 78348:

https://www.metrommp.com/?f=type_detail&ModelNumber=LP 78348&Type=Adhesive Backed Weatherstripping


"Flat" seal came from AutoZone, Part # MW 51634

https://www.metrommp.com/?f=type_detail&ModelNumber=LP 51634&Type=Adhesive Backed Weatherstripping
 
Yes:thumbsup: I put the bulb weather stripping on the lift gate and the flat piece of weather stripping on the hard top, where the lift gate shuts. The two seals smush together and seal tight.


Seal for the bottom of the top came from NAPA, Part #12000:

http://www.napaonline.com/Catalog/C...ubber-Camper-Top-Seal/_/R-BK_12000_0006391416


"Bulb" shaped seal came from AutoZone, Part # MW 78348:

https://www.metrommp.com/?f=type_detail&ModelNumber=LP 78348&Type=Adhesive Backed Weatherstripping


"Flat" seal came from AutoZone, Part # MW 51634

https://www.metrommp.com/?f=type_detail&ModelNumber=LP 51634&Type=Adhesive Backed Weatherstripping

Thank you! I like letting yall figure out all the stuff that works and doesn't work, and then I just use your successful info!
 
I ordered my engine on Monday. Summit called Tuesday to confirm it was me who ordered the engine, I guess because I shipped it to my work address. It showed up today, Wednesday, pretty fast:headbang::headbang:

I was supposed to start working on pulling the old engine on Monday night, but I am still cleaning up the garage in preparation for the engine swap. I need to get in gear:smokin::smokin::wave:
 
Not super common, less so then OPDA problem on 05-06 models. Seems more common on the Grands.

I started having random/sporadic transmission issues a week ago - no upshifts without letting off the gas/not upshifting until high RPM/no over drive/ shifting into neutral by itself while going 60mph/going into "limp home mode", i.e. 2nd gear and reverse only/random torque convertor unlocking for no reason. All random, it would do it sometimes, sometimes not. If it did act up, you could restart and clear it up. Different symptoms at different times.

Mechanically, the transmission was fine, so :cool: But, it is tough to diagnose. I would get a MIL lit up only sometimes. when it would light up, the codes were coming from the TCM (Transmission Control Module) side of the PCM (Powertrain Control Module). Prior to 05 on the Wranglers, the TCM was separate from the PCM. In 05, it became one big computer. All the senors on the engine are fine, wire harness checks out fine. The problem was inside the PCM. The engine sensors would communicate fine with the PCM, but when the PCM would send the signals/commands to the TCM side, it was getting corrupt data. The transmission sensors signals were also being corrupted inside the TCM. For example, it would give a "High Trans Temp Fluid" code with the fluid operating at 150 degrees. On the engine side, the TCM was getting TPS codes that were wacky, causing the shifting problems.

The dealer changed the PCM yesterday, had to let them do it since they have to program the new one. About $40 labor, the rest was for a new Mopar PCM, not remanufactured, 2 year unlimited mile warranty. So far, no problems, only been two days.

You can get remanufactured PCM's off the internet for around $200, but you still have to take them to the dealer to program them if your vehicle has the SIM security keys. I didn't feel like trusting a cheaper source for a PCM. Cost more, but peace of mind, and if it craps out again, no finger pointing.

I really miss my 6 speed Rubicon:rolleyes:

In the end, it is a computer, located under the hood of a vehicle. They wont last forever, but for one to crap out after 52.000 miles kind of sucks. But, how many lap tops are still working fine with no repairs/battery changes after 10 years:rolleyes:

Looking for another low mile TJ/LJ Rubicon now, with a 5/6 speed. Nice 2003 black TJ Rubicon on eBay now, 11,000 miles and bone stock, $27,500:drool:

Anybody looking for a 52,000 mile bone stock LJ Rubicon, red, auto, soft top:rolleyes::thumbsup::wave:

Shock and temp are the two main culprits that take out most electronics. The other being moisture in whatever form. If you can install better (softer) isolators and somehow vent cooling air to the PCM it could only help. If it were me I would totally remove the pcm from under the hood and relocate it inside the cabin where it should have been from concept.
 
Shock and temp are the two main culprits that take out most electronics. The other being moisture in whatever form. If you can install better (softer) isolators and somehow vent cooling air to the PCM it could only help. If it were me I would totally remove the pcm from under the hood and relocate it inside the cabin where it should have been from concept.

This jeep is more of a DD, so no "deep water". I am pretty sure the PCM has never got wet. Under hood heat is definitely an issue. This LJ came from the factory with some sort of under hood insulation, which I am sure really helps trap the heat!!

I wish I could easily relocate the PCM, but it has (x4) 30 pin connectors!!!!!!!!! It would be a nightmare trying to lengthen all of those wires:crazy:

The new PCM has fixed all of my problems. Hopefully, this PCM lasts longer then the first one:thumbsup:
 
I took off work this past Friday, got to work on the engine swap. Still a long way to go............

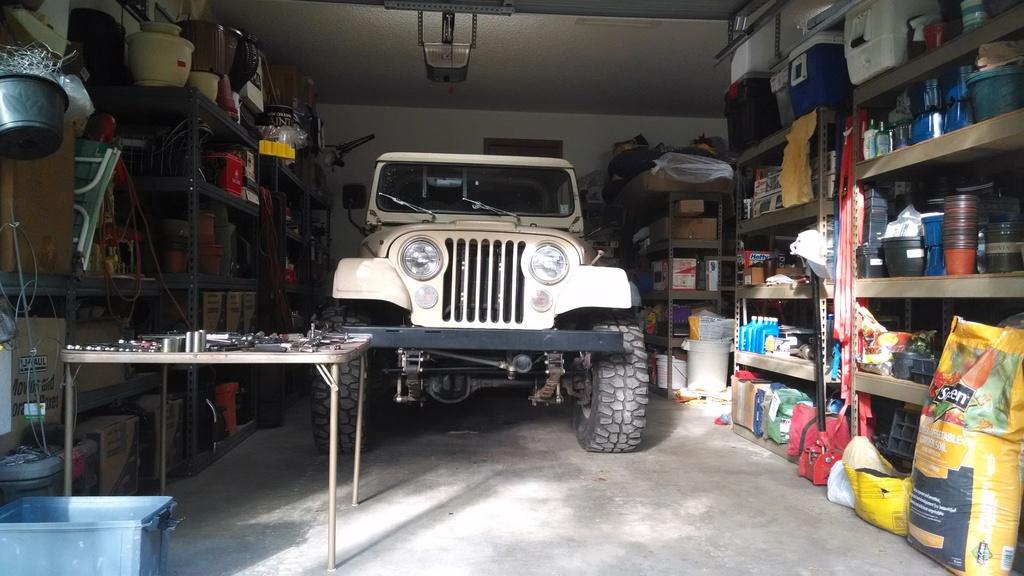
I started off with a reasonably clean garage, tan Scrambler backed in.

IMG_20150508_074606283_zpsfvnxzwgc-1.jpg


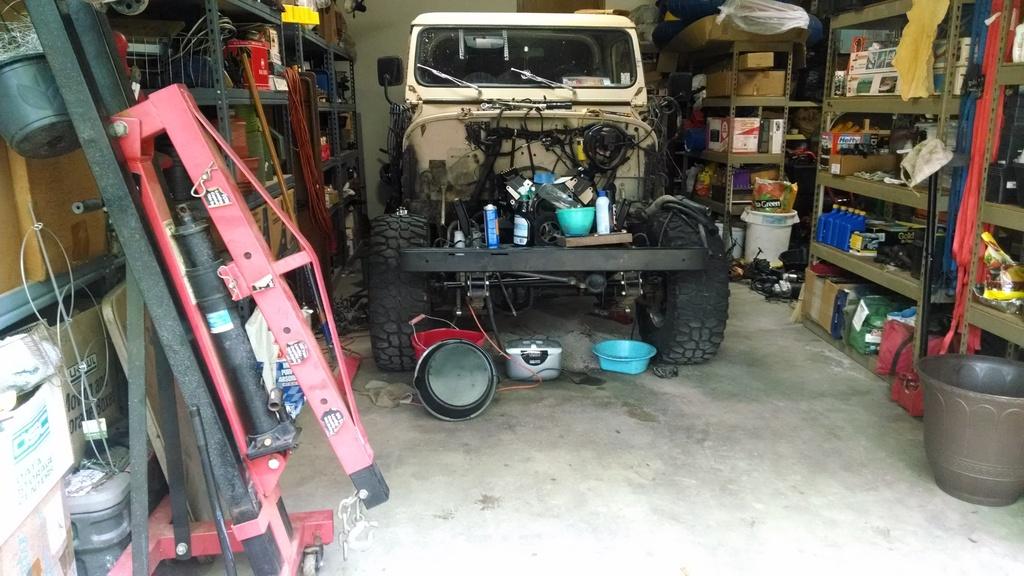
9 hours later, I had the Scrambler looking like this:

IMG_20150508_163656629_zpsu5imbfrx-1.jpg


I removed a bunch of stuff. Maybe not all of it needed to come off, but beside the engine swap, I also want to work on/clean up some other things. Items removed:

1.) Hood/fenders/grill
2.) Battery tray and brackets
3.) Radiator/Auto trans cooler
4.) PS lines (need to get a new pressure line made)
5.) steering shaft
6.) exhaust manifolds
7.) Intake manifold/stripped intake down bare
8.) Throttle body/intake and block mounted sensors
9.) Headlight harness/TBI harness/charging and starting wiring
10.) all the inner fender mounted doo-dads
11.) distributor and spark plug wires

Etc. Etc. Most of this stuff has been off before, so everything came apart without any drama. No broke bolts, stripped threads, or broke parts. The worst "damage": the oil pressure switch had been removed by a previous owner with channel locks, so I wasn't able to use a wrench/socket to remove it. I should be able to file off the damage and re-install it with a wrench. Other then that, no problems!!


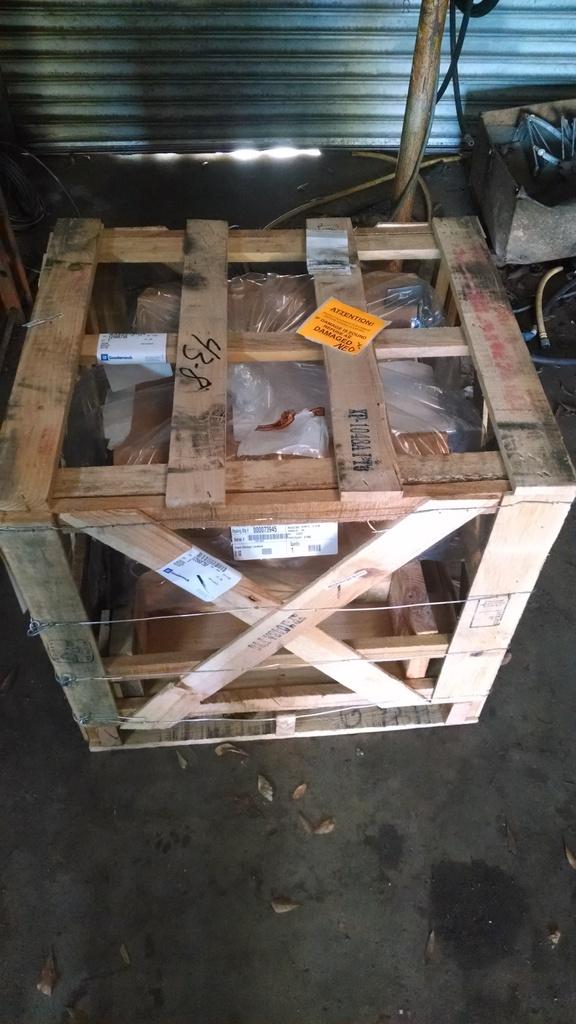
New "crate engine", in a crate LOL:

IMG_20150509_081027976_zpsscx7czbt-1.jpg


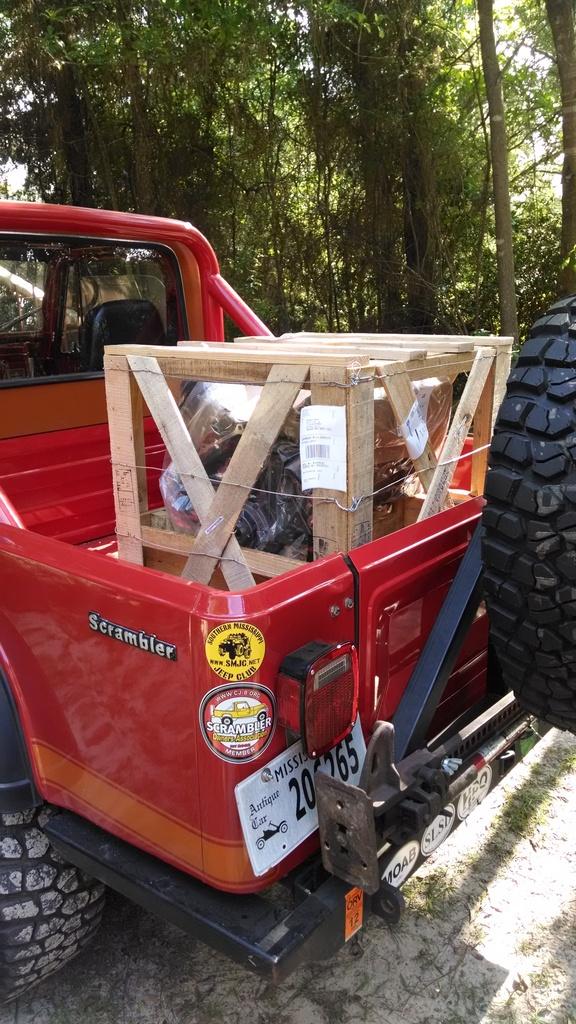
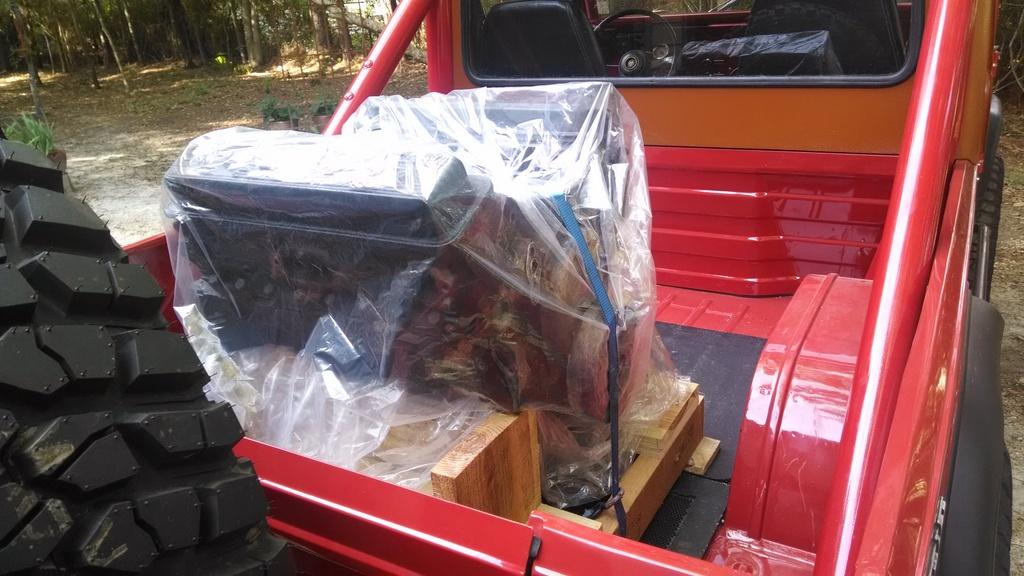
Red Scrambler having to earn its keep. Luckily, the crate fit in the rear bed:

IMG_20150509_085759358_zpsj4mtrygj-1.jpg


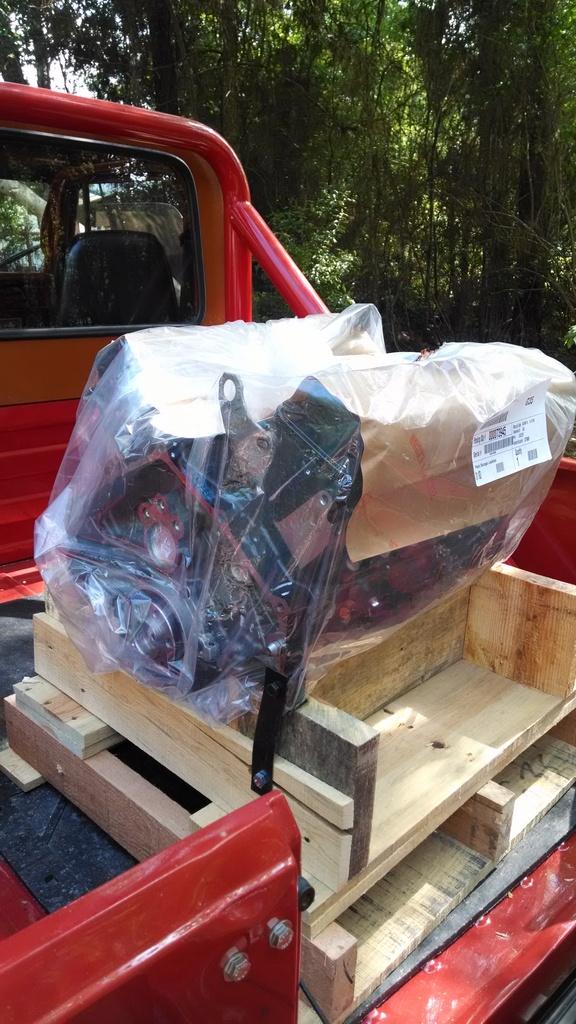
Un-crating the new engine:

IMG_20150509_091223155_zpstjbqtaxw-1.jpg


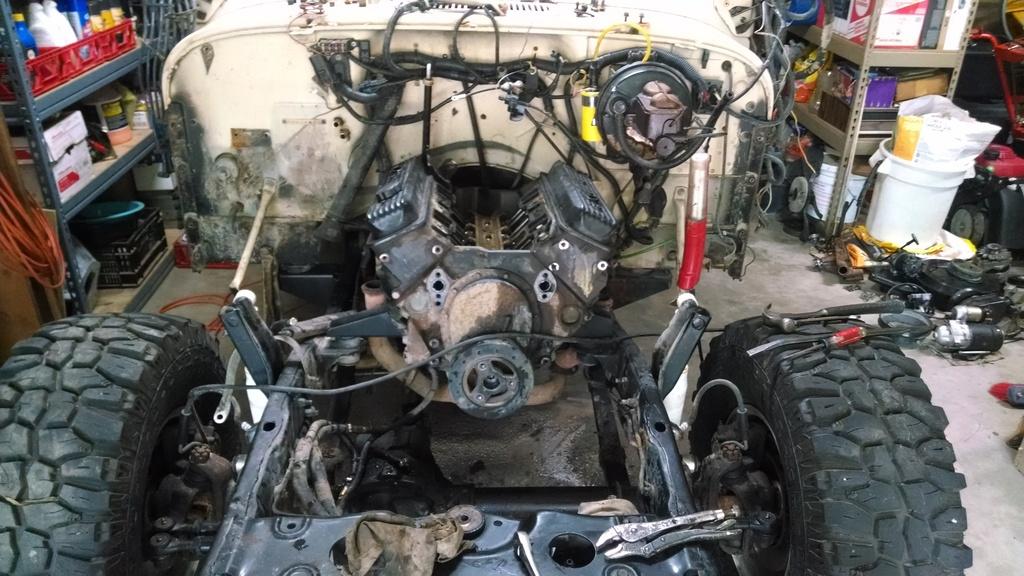
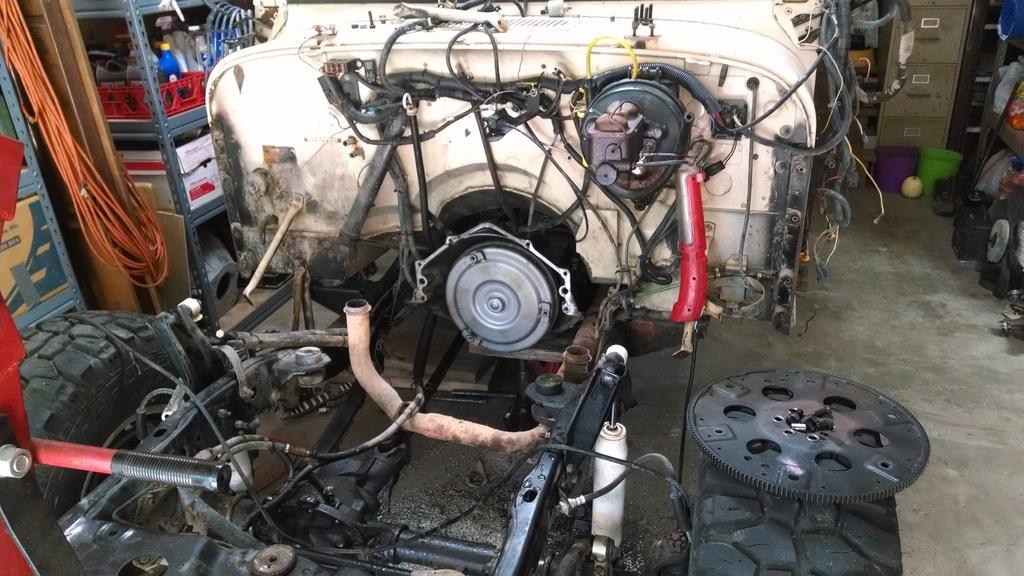
9 hours of "prep" work, 5 minutes to actually liberate the old engine from the frame rails:

IMG_20150509_125952902_zps9bafezw9-1.jpg


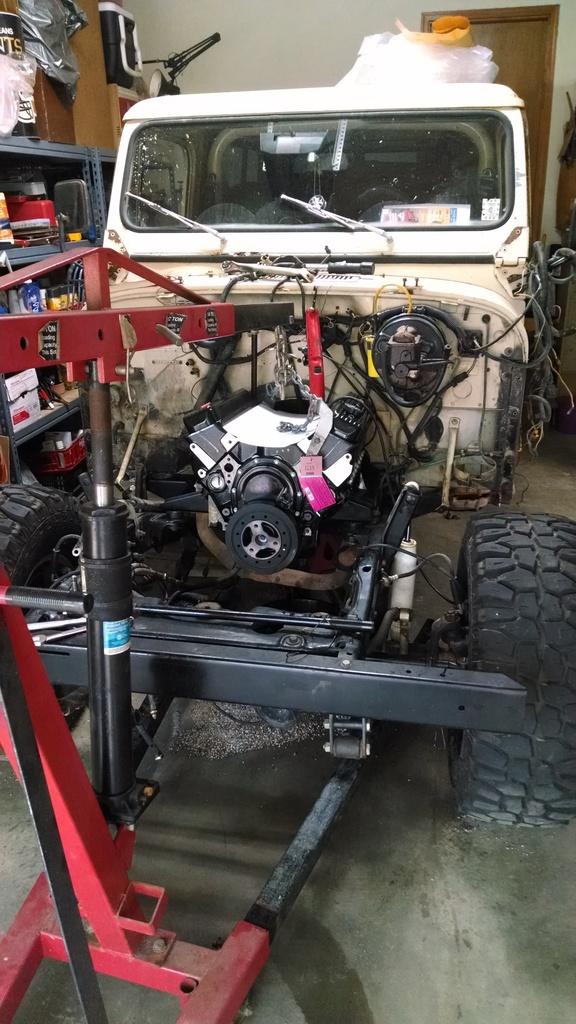
It took about 25 minutes to get the new engine bolted in:

IMG_20150509_163724482_zpss4dj6lzn-1.jpg


I put the old engine in the new engines shipping crate and hauled it back to the shop at work. I don't really have room for a spare engine in the garage. I am pretty sure I got everything I needed off of the old engine.

IMG_20150510_165725763_zpsng7suofh-1.jpg


After getting the new engine bolted in, I took a few minutes to half way clean up the huge mess I made:

IMG_20150510_165732055_zpsc0ezwei1-1.jpg


I still have a bunch of work to do before I fire this new engine up. I "cheated" and installed a long block, BUT, I still need/want to do the following:

1.) Clean up/re-paint (maybe) the intake manifold.
2.) Clean up/repaint the exhaust manifolds (paint will probably come right off though)
3.) Clean up all the hoses, radiator, heater, vacuum (they are all less then 2 years old)
4.) Clean up all the front accessories and brackets
5.) Re-paint driver side fender (leaking MC ruined it)
6.) Re-paint battery tray
7.) Remove rust/paint Borgeson steering shaft (leaking MC ruined it)
8.) Completely rework my auto-trans cooler lines (its all rubber lines now, not the best set up)
9.) And about a million other little doo-dads that need to be cleaned up/repainted before bolting up to the new engine
10.) New/different MAP sensor/EGR solenoid brackets (so I can mount the stock air cleaner without a 1" spacer)
11.) Replace/repair leaking master cylinder (it leaks from the lid, 3rd MC I have installed, they all leak from lid!!)
12.) Clean all the caked on mud off the exhaust pipes/muffler, replace exhaust gaskets/studs
13.) Repair dented skid plate/replace individual 1" transfer case drop spacer blocks with continuous pieces
14.) General under hood/chassis clean up

Yep, about 10 hours to pull/install new engine, about 2-3 weeks of "other" work before I can fire it up!!!!

That's it for now:wave:
 
Back
Top