

You are using an out of date browser. It may not display this or other websites correctly.
You should upgrade or use an alternative browser.
You should upgrade or use an alternative browser.
My "new" dream Scrambler
- Thread starter AK-RWC
- Start date


AK-RWC
Legacy Registered User
- City
- south central
- State
- AK
You could do a clutch fan which will free up power and not put more stress on your charging system when winching.
I have a clutch fan now, but I also have dual red-tops and a 95-amp alternator.
AK-RWC
Legacy Registered User
- City
- south central
- State
- AK
I'd be leary about 15 hp then. If it was a fixed flex fan I might agree.
That's roughly what the 5.9L ZJ gets by using the e-fan versus a clutch fan.
AK-RWC
Legacy Registered User
- City
- south central
- State
- AK
Last week I cleaned up and painted a used Scout hub I picked up on eBay, and got to work a couple hours on Saturday and another couple hours on Sunday. Unfortunately, one of the holes for a stud had been worn enough that the stud essentially stripped in the hub. After getting frustrated and taking a break, I ended up tack-welding a new stud in place (to the rotor). With that, it was able to take the torque from a lug nut.
I also picked up a new set of WARN Premium Hubs, p/n 9062. Apparently the ones I'd been running (purchased on eBay circa 2001) are an older design. Much to my surprise, rather than using a useless paper gasket to seal them to the hub, the base now has a rubber o-ring. The actual lock-out also uses a leaf-spring rather than the series of coil springs to move the gear and and out. They're nice upgrades over my older ones.
I also picked up a new set of WARN Premium Hubs, p/n 9062. Apparently the ones I'd been running (purchased on eBay circa 2001) are an older design. Much to my surprise, rather than using a useless paper gasket to seal them to the hub, the base now has a rubber o-ring. The actual lock-out also uses a leaf-spring rather than the series of coil springs to move the gear and and out. They're nice upgrades over my older ones.
AK-RWC
Legacy Registered User
- City
- south central
- State
- AK
No major updates, other than I've been driving it! Swapping to the 39.5"s definitely had an impact on how the engine responded to the fuel map though: my tuner intentionally leaned out the map at light throttle cruising conditions for fuel mileage. While that might have worked fine with the smaller tires, it wasn't able to maintain highway speeds with the Boggers. 0-80 mph wasn't a problem since I was more on the throttle. Similarly, I could downshift to third and scream it above 3000 RPM to stay at speed as well. But that simply wasn't going to cut it for long term use. I drove it out to the Alaska 4x4 Meet & Greet, and ended up keeping it around 50-60 mph the whole way, with difficulty, and the engine was getting up to 220 for the trip. On the way back, I just dumped a TON of fuel into the map in the general vicinity of 2000 RPM and moderate throttle, and that made a HUGE difference. I took a step back and then just smoothed out the "divot" he made for my fuel mileage (rather than maxing it), and increased my timing in that area as well, and suddenly it's working great at highway speeds: 65-70, stays at 193 degrees, and has no pinging.
For no particular reason other than it's awesome, here's a pic that a friend of mine took at the M&G, and another friend edited:

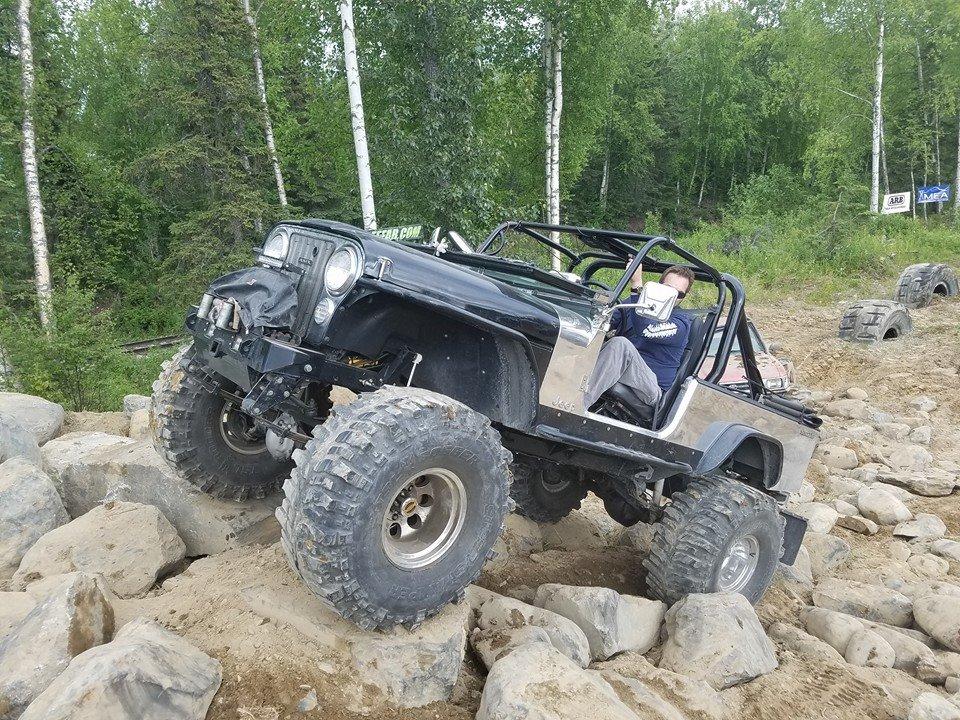
A couple more from that event:
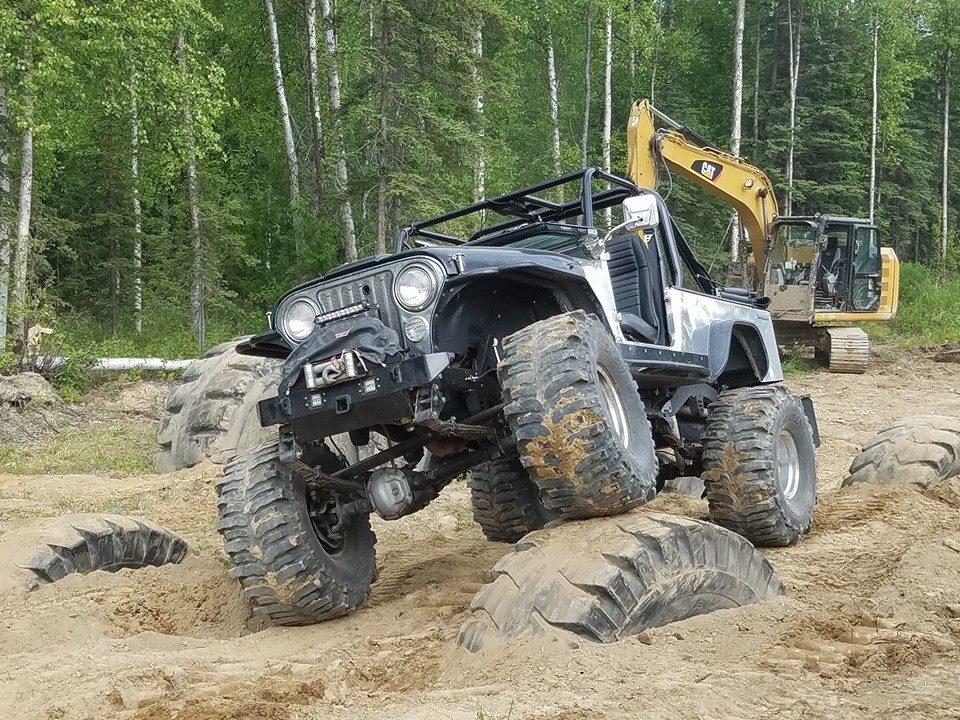
For no particular reason other than it's awesome, here's a pic that a friend of mine took at the M&G, and another friend edited:
A couple more from that event:

AK-RWC
Legacy Registered User
- City
- south central
- State
- AK
I've done a little more work on the fuel map and came to the conclusion that I need a wide-band oxygen sensor with an air/fuel gauge. I'm debating on which one to buy. I think I'm heading toward the newer Bosch LSU4.9, but I prefer a controller with narrow-band simulation so I'm not having to run two sensors. I also want the look of a traditional analog gauge, but prefer the accuracy of a digital readout. And I prefer a black face with a silver bezel.
AEM makes this one:

Innovate makes the MTX-L:
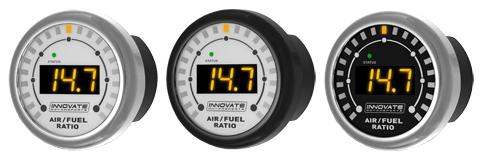
And they also have a purely analog gauge option:

APSX has a really inexpensive package, but it uses the older LSU4.2 sensor:
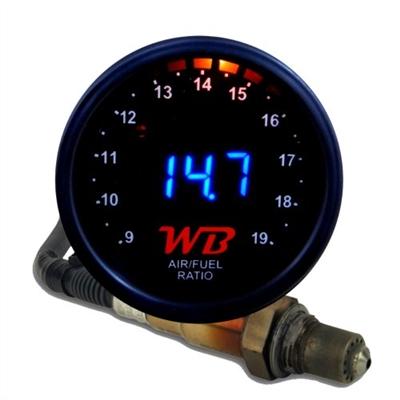
I'll come to a decision eventually.
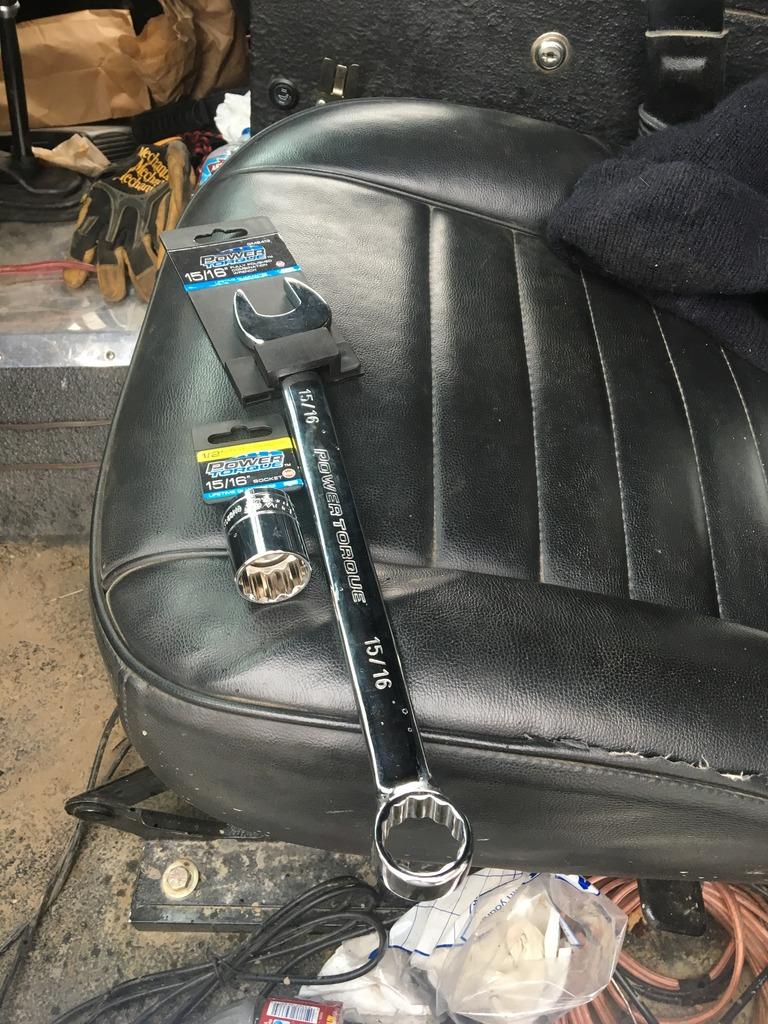
In the meantime, I've also been tracking down some death wobble. It turns out that PartsMike sent me a TJ pitman arm that had been reamed too deeply for effective use of the 1-ton TRE. I eventually added some washers to space out the castle-nut, but now the ball joint itself is turning inside the housing end. It's also caused the cotter-pin to shear on me. Twice. Thankfully I caught it in time and was able to safely get home, but I'm still going to need a new pitman arm which I plan on reaming myself this time. In attempting to tighten it, I also learned that the nut uses a 15/16" socket. I have a 7/8" and a 1" in my trail tools, but not the 15/16". As soon as I got home from this last trip, I ran out and made a purchase:
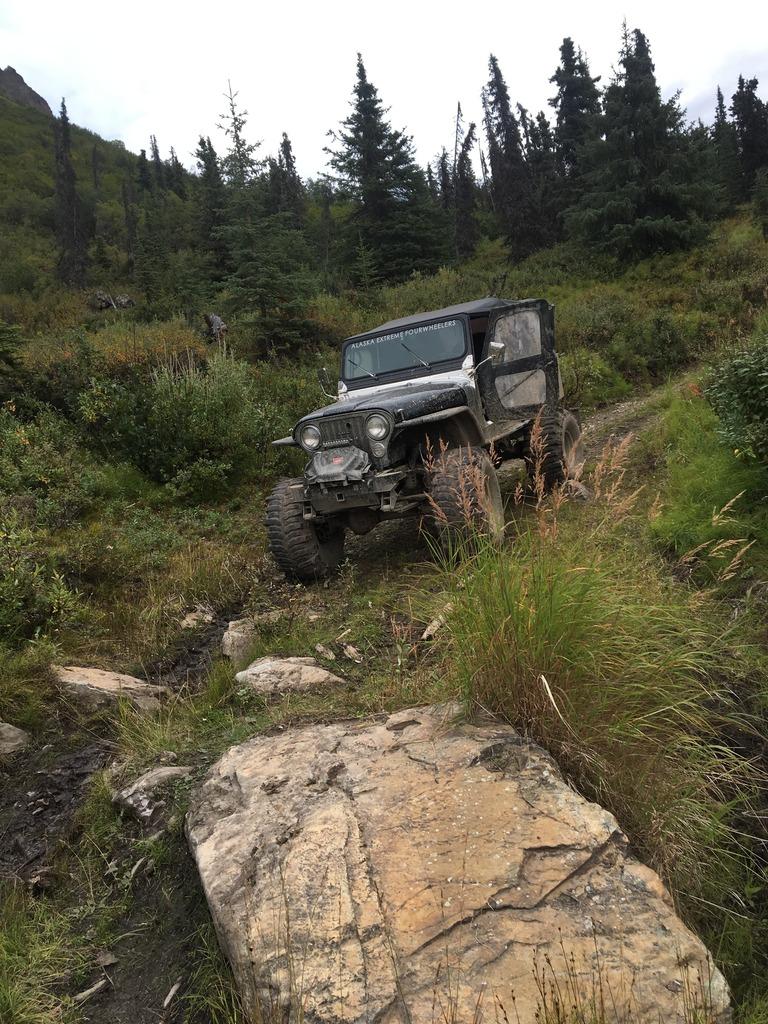
Otherwise, gratuitous pics:


AEM makes this one:
Innovate makes the MTX-L:
And they also have a purely analog gauge option:
APSX has a really inexpensive package, but it uses the older LSU4.2 sensor:
I'll come to a decision eventually.
In the meantime, I've also been tracking down some death wobble. It turns out that PartsMike sent me a TJ pitman arm that had been reamed too deeply for effective use of the 1-ton TRE. I eventually added some washers to space out the castle-nut, but now the ball joint itself is turning inside the housing end. It's also caused the cotter-pin to shear on me. Twice. Thankfully I caught it in time and was able to safely get home, but I'm still going to need a new pitman arm which I plan on reaming myself this time. In attempting to tighten it, I also learned that the nut uses a 15/16" socket. I have a 7/8" and a 1" in my trail tools, but not the 15/16". As soon as I got home from this last trip, I ran out and made a purchase:
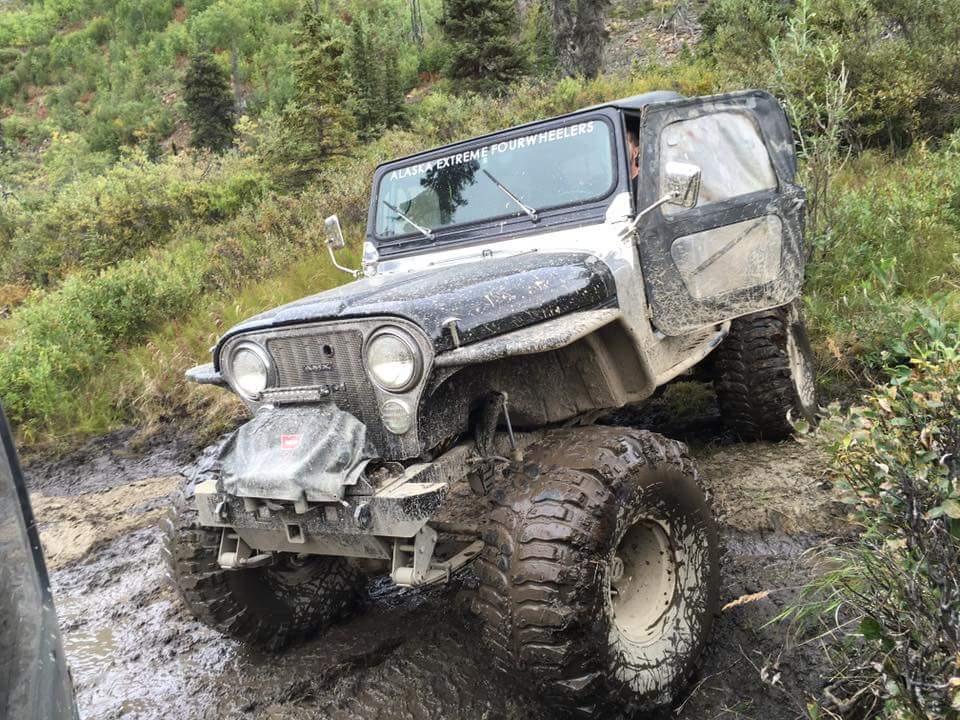
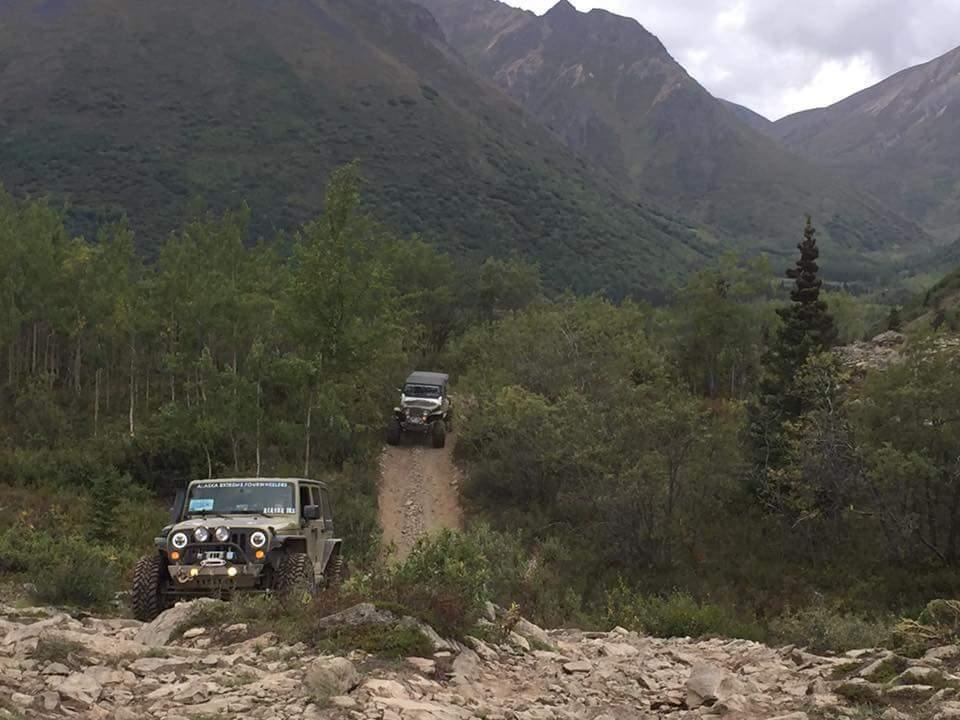
Otherwise, gratuitous pics:

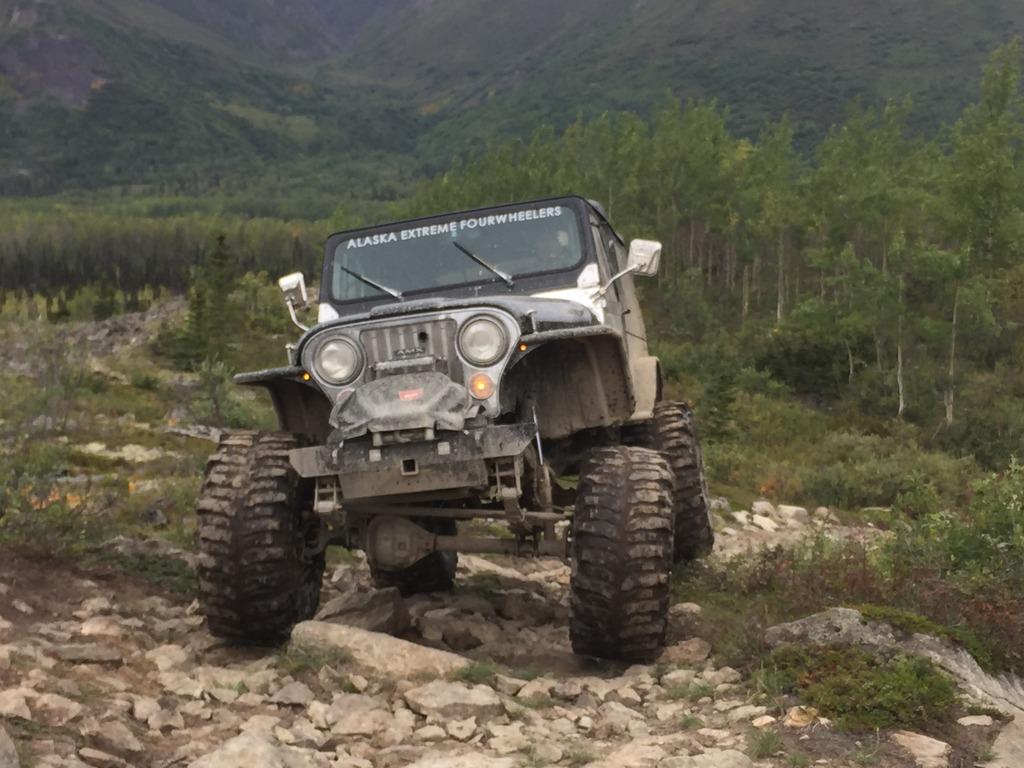
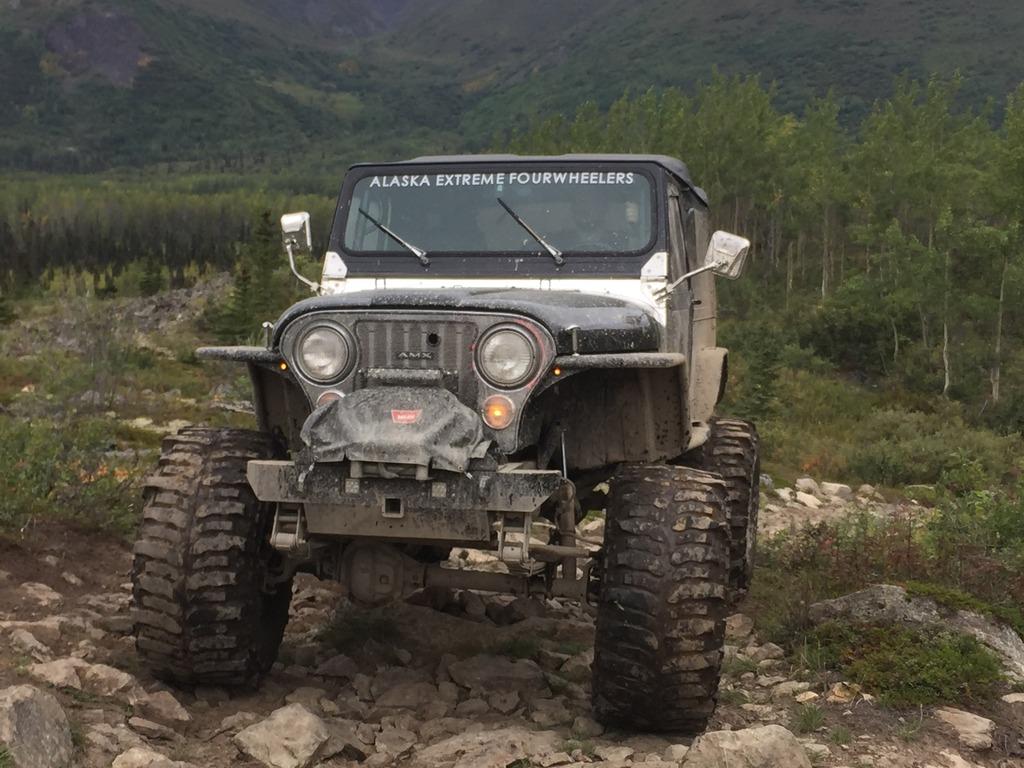
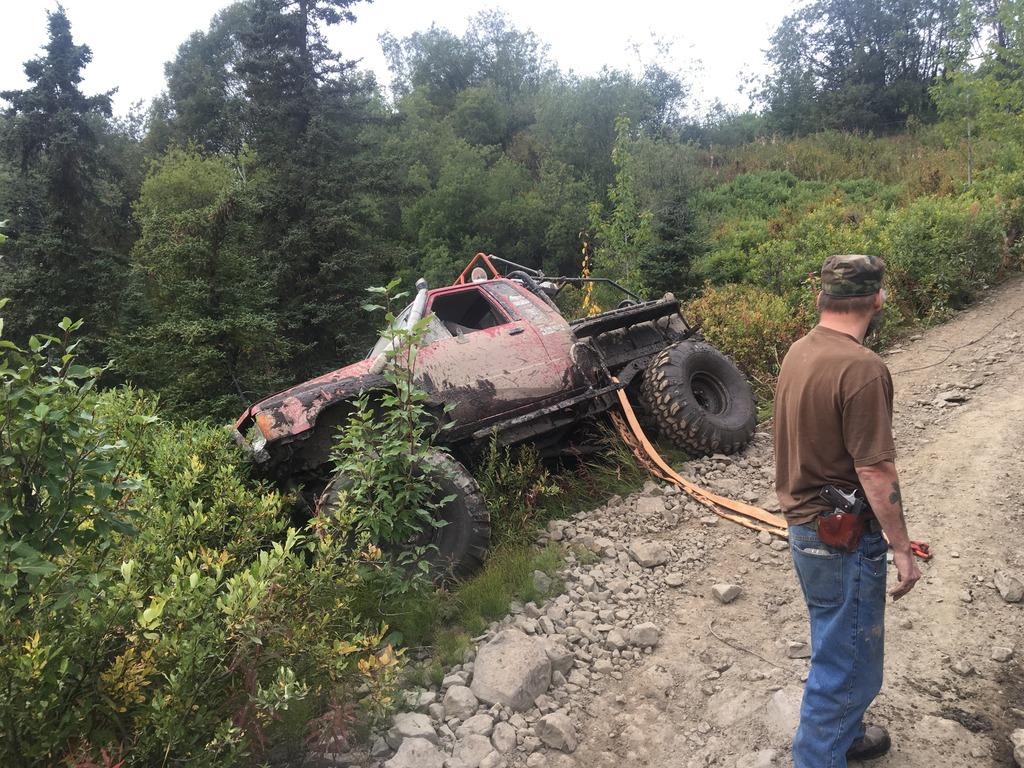
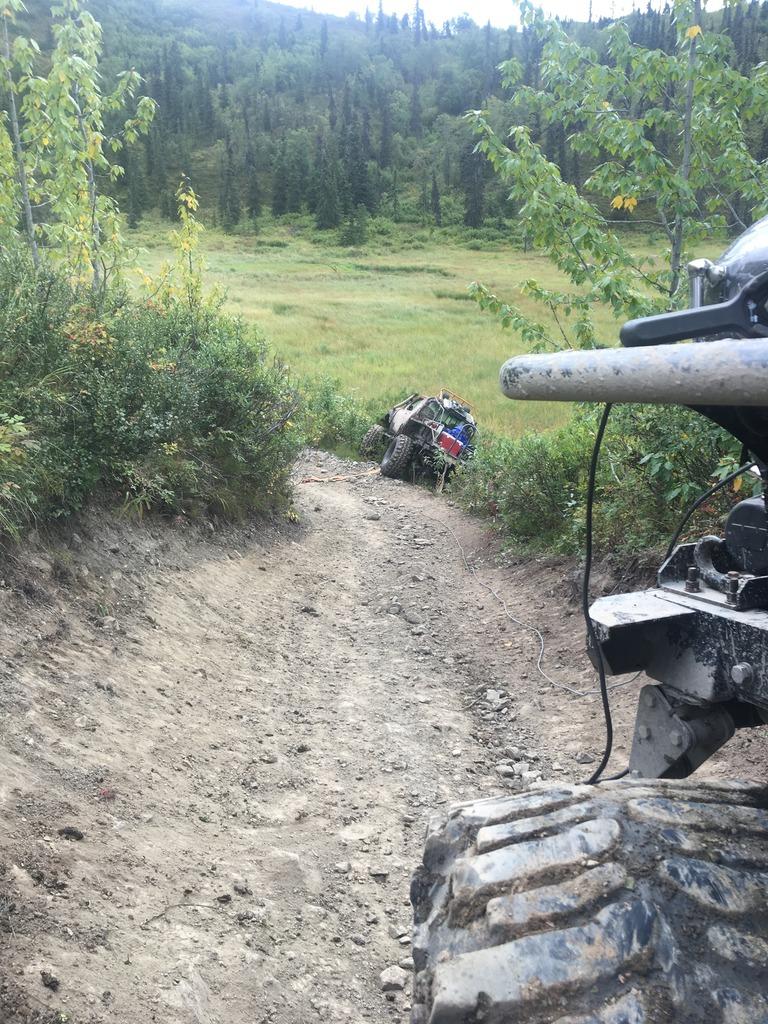

mysunnshine
Legacy Registered User
- City
- Phoenix
- State
- AZ
Put the wide band O2 sensor money towards an updated EFI controller that includes one- 😉
Sent from my SM-G920V
Sent from my SM-G920V
AK-RWC
Legacy Registered User
- City
- south central
- State
- AK

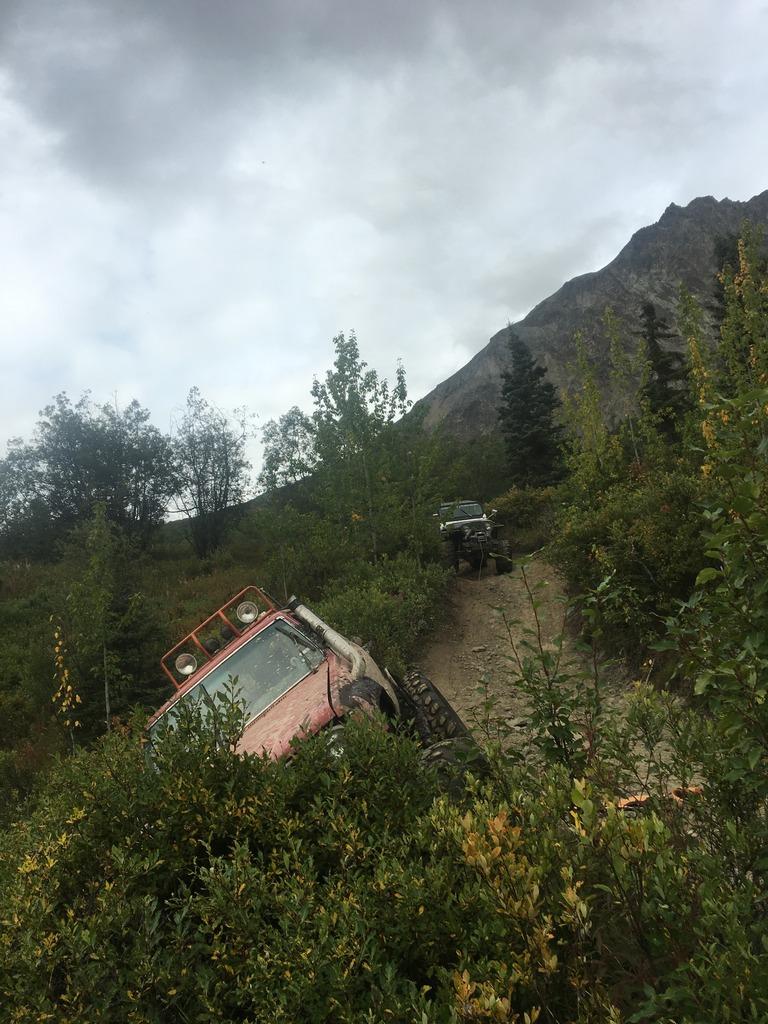
Used a second winch with a snatch-block to keep him upright while I winched him back:


And then the next day to the car wash:


I should probably just invest in a Hotsy.
I did drop down hard on a rock on the driver's side, giving me the first real test of the Ricochet Rockers. It left a small impression in the tubing, but I'm impressed!
AK-RWC
Legacy Registered User
- City
- south central
- State
- AK
Put the wide band O2 sensor money towards an updated EFI controller that includes one- 😉
Sent from my SM-G920V
I wish! The ProJection 4Di is ancient technology and is no longer supported. But it uses off-the-shelf sensors, and it still works, so I have no reason to ditch it.
AK-RWC
Legacy Registered User
- City
- south central
- State
- AK
With the HP30 project finished for my wife's ZJ (see the non-CJ builds section for that thread), the next plan is to rebuild the bank account to address rebuilding my steering gear box and adding hydro assist. And then a deal came along that I couldn't pass up: I picked up a Body Armor rear bumper and tire carrier from a TJ that a guy was ditching.
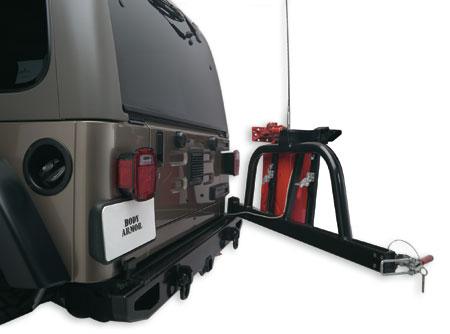
(Not a picture of the actual bumper.)
The hinge is wasted and the powder coating has allowed some spots to rust, but it was a good enough deal and will work as an interim solution until I build my own bumper. First thing will be to determine what mods it needs to work with a CJ. At a minimum, it'll need some plate welded (and drilled and tapped) for the inner set of rear crossmember slat/holes since apparently the TJ only used the equivalent of the outer set. (I already have a set of the frame supports that I need to paint and install.) The hinge will either need to be rebuilt or replaced with a spindle-style hinge, and possibly moved if the hinge interferes with the gas filler. And obviously I need to change the bolt-pattern to 5x5.5".
It'll be a couple weeks before I can get to this, but hopefully the CJ will see at least a little progress this winter.
AK-RWC
Legacy Registered User
- City
- south central
- State
- AK
I snuck away for a couple hours yesterday afternoon to deal work on the tire carrier a little bit. Not surprisingly, the set screw was COMPLETELY rusted into place. I think the TJ it come up on was probably military-owned, and probably spent some time in the rust belt. Vice grips just crushed the exposed part of the screw, so I went to an easy-out, which didn't do anything either. At that point I just stepped up with drills until I started seeing threads. I figured the pin would slide out easy. NOPE! The whole carrier would go up-and-down 1/16", showing me that the set screw was definitely gone, but the pin refused to free itself from the bushings. Next step: I trimmed a couple notches into an old castle nut I had to weld it to the pin so I could get a slide hammer on it. That accomplished nothing as well. Next step: Now that a massive 1-5/16" nut was welded on, I figured I could put a wrench on it and simply jump on the wrench until the pin freed itself:
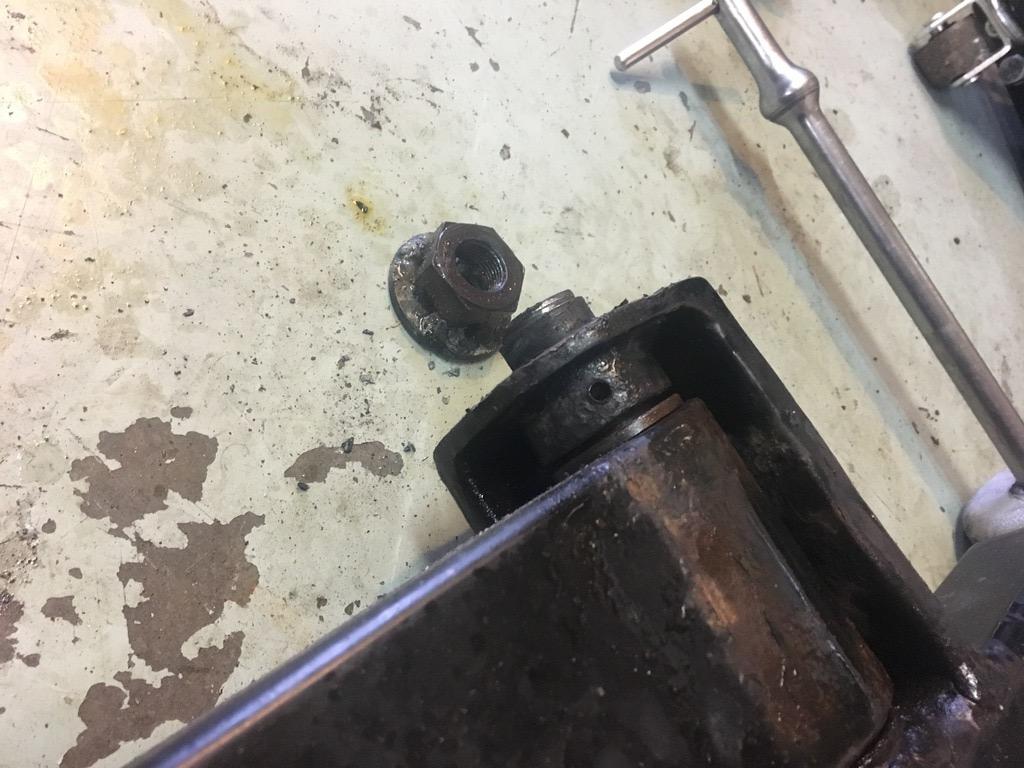
Ugh. At that point, I gave up and just cut the double-shear tower off to free it from the bumper. I figured this was the only way to get the carrier off. If I was lucky, I'd still be able to salvage it and re-weld it with some plate. Or, I'd be stuck going to an aftermarket spindle anyway. Looks like the latter is what's going to happen:

Faulty installation. The pin hadn't been installed deep enough, nor was the hole for the set-screw aligned on the pin. So, rather than the bushings turning around the pin and the pin staying stable with respect to the bumper, the pin itself was turning steel-against-steel. This caused the carrier to eventually loosen up and rattle. I BEAT on the pin with a hammer to force it out of the carrier and bushing assembly, but all I did was deform the pin. So, I'll definitely be cutting this all off anyway and replacing it with a spindle assembly.
Next project--check to see if the outer bolt holes from a TJ line up with the CJ:
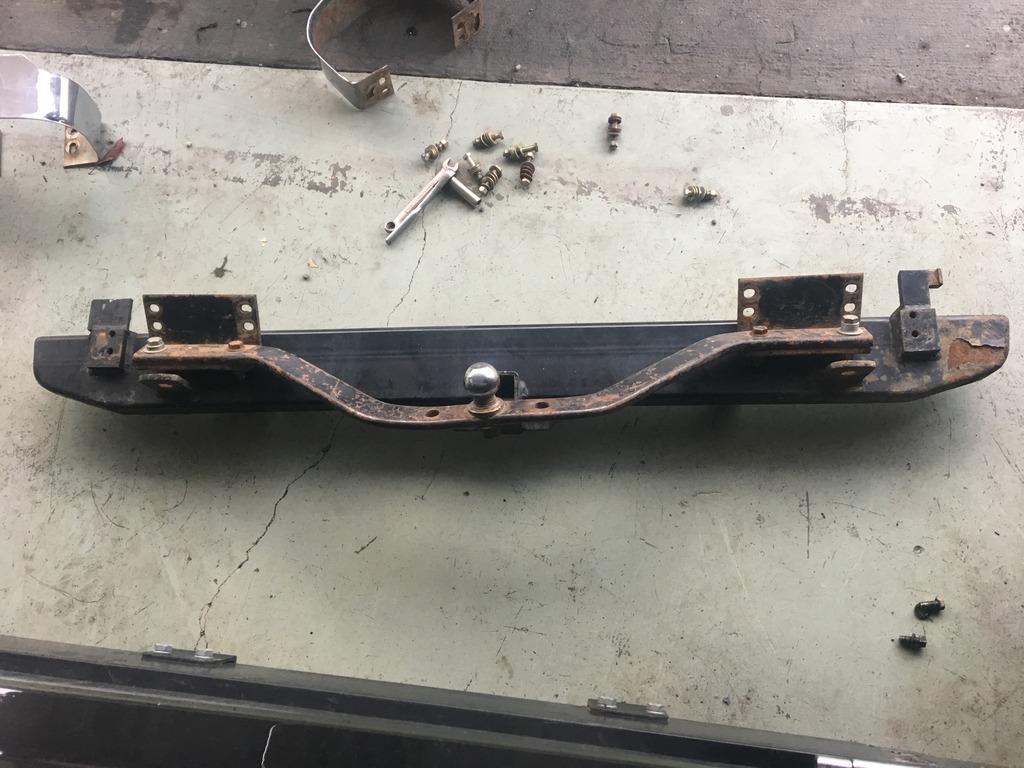
Not even close. So I'll need to get some 3/4" or 1" plate to drill, tap, and weld on the back. I don't like trusting welds for recovery purposes from non-professionally-trained welders, so another option would be to simply run bolts all the way through the bumper. But that loses some of the "clean" look of this bumper . . . which I'm already going to destroy when I weld the spindle in. (sigh)
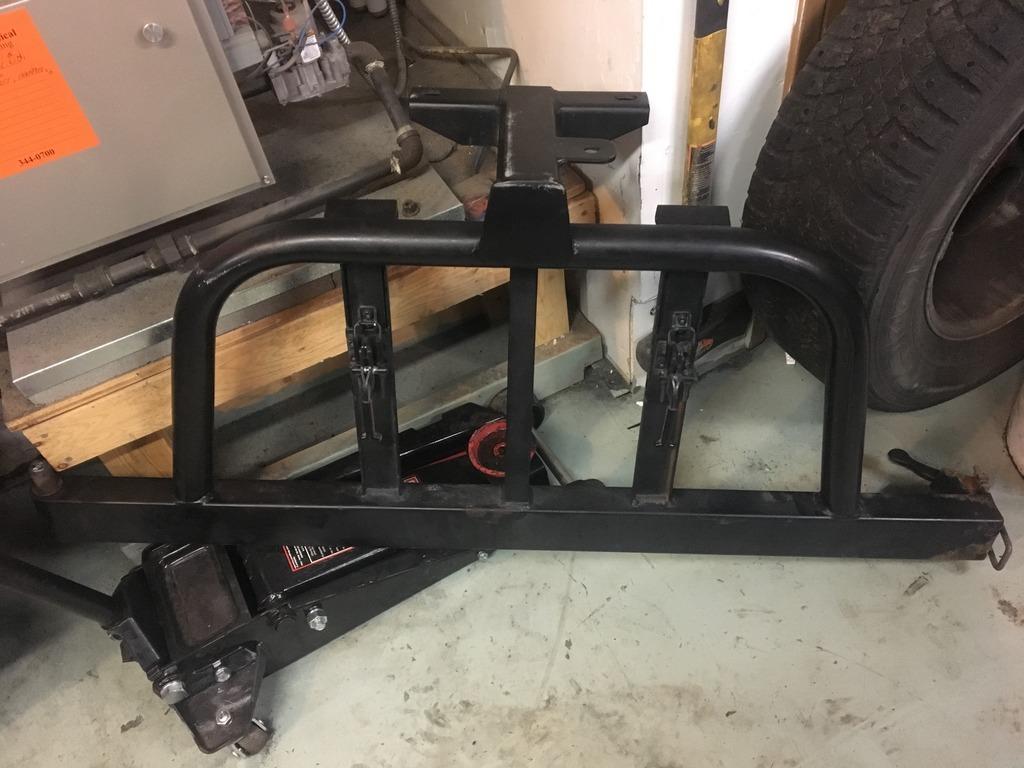
It was still worth it just to get the tire carrier though. It holds two jerry cans, a Hi-Lift, and has a spot for an antenna. That's saving me a TON of fab work even if I just build my own bumper.
But that begs the question: rather than using this as a Band-aid for now, maybe I need to bite-the-bullet and just build the bumper the way I want. Ugh. I'm in a quandry.
Ugh. At that point, I gave up and just cut the double-shear tower off to free it from the bumper. I figured this was the only way to get the carrier off. If I was lucky, I'd still be able to salvage it and re-weld it with some plate. Or, I'd be stuck going to an aftermarket spindle anyway. Looks like the latter is what's going to happen:
Faulty installation. The pin hadn't been installed deep enough, nor was the hole for the set-screw aligned on the pin. So, rather than the bushings turning around the pin and the pin staying stable with respect to the bumper, the pin itself was turning steel-against-steel. This caused the carrier to eventually loosen up and rattle. I BEAT on the pin with a hammer to force it out of the carrier and bushing assembly, but all I did was deform the pin. So, I'll definitely be cutting this all off anyway and replacing it with a spindle assembly.
Next project--check to see if the outer bolt holes from a TJ line up with the CJ:
Not even close. So I'll need to get some 3/4" or 1" plate to drill, tap, and weld on the back. I don't like trusting welds for recovery purposes from non-professionally-trained welders, so another option would be to simply run bolts all the way through the bumper. But that loses some of the "clean" look of this bumper . . . which I'm already going to destroy when I weld the spindle in. (sigh)
It was still worth it just to get the tire carrier though. It holds two jerry cans, a Hi-Lift, and has a spot for an antenna. That's saving me a TON of fab work even if I just build my own bumper.
But that begs the question: rather than using this as a Band-aid for now, maybe I need to bite-the-bullet and just build the bumper the way I want. Ugh. I'm in a quandry.
AK-RWC
Legacy Registered User
- City
- south central
- State
- AK
I just realized that I did lose at least one post update, and possibly two, from the data crash. So, here's a re-update, and a minor addition.
First, although I've posted it in the main thread related to the Photobucket debacle, here's a reminder for the plug-in: Per Pirate, here are some extensions that work for Firefox and Chrome. I can personally vouch that the Chrome extension.
https://chrome.google.com/webstore/detail/photobucket-embedded-imag/ogipgokcopooepeipngiikdkpmcpkaon
https://addons.mozilla.org/en-US/firefox/addon/photobucket-fixer/?src=cb-dl-recentlyadded
http://www.pirate4x4.com/forum/gene...refox-google-chrome-see-photobucket-pics.html
On to the re-update:
Last spring I finally decided to pull off my shackle hangers and figure out what was going on with my hangers always loosening up. I expected that I'd drill out the existing nut and tap it to a larger size, but I was surprised to discover cracks on the rearmost bolt on both sides:
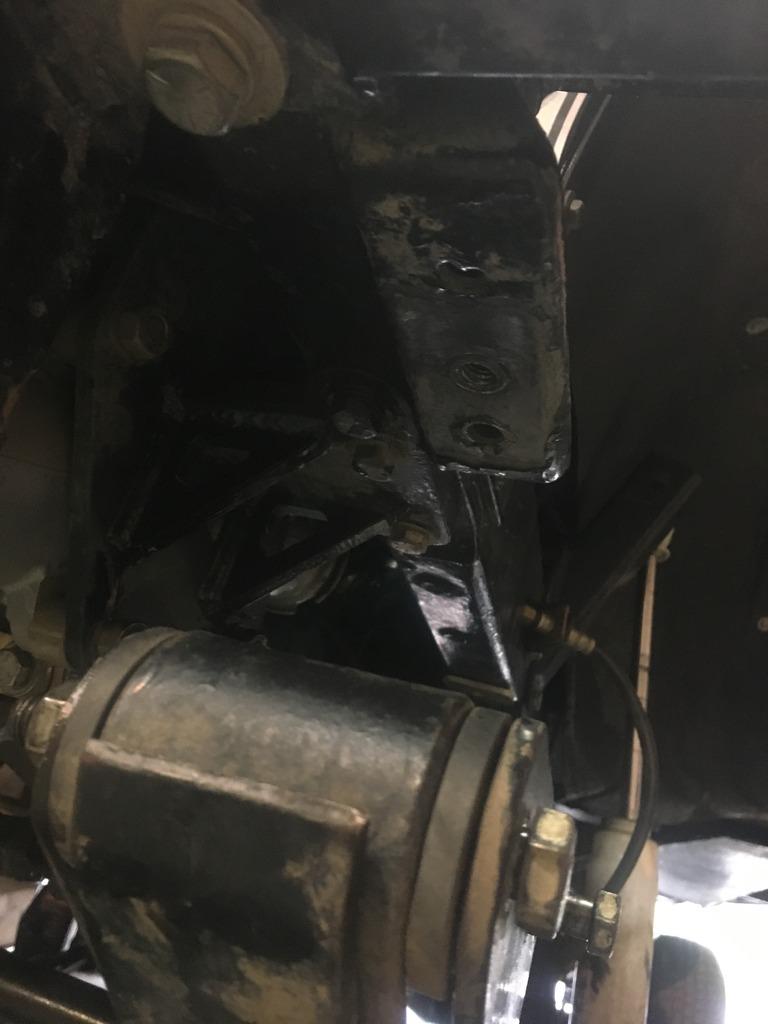
The nutsert had cracked the welds just enough that it was loose. It wasn't spinning, nor had it pulled through. But torquing the bolt was ineffective since it just brought the loose nut into contact with the hanger, and still allowed the hanger to vibrate. I decided the solution was to re-weld the nuts, and then weld the hanger in place. This made me die a little inside because I had to grind off the galvanizing. I also enlisted a friend who is a certified welder since this involved welding upside down and in awkward angles.

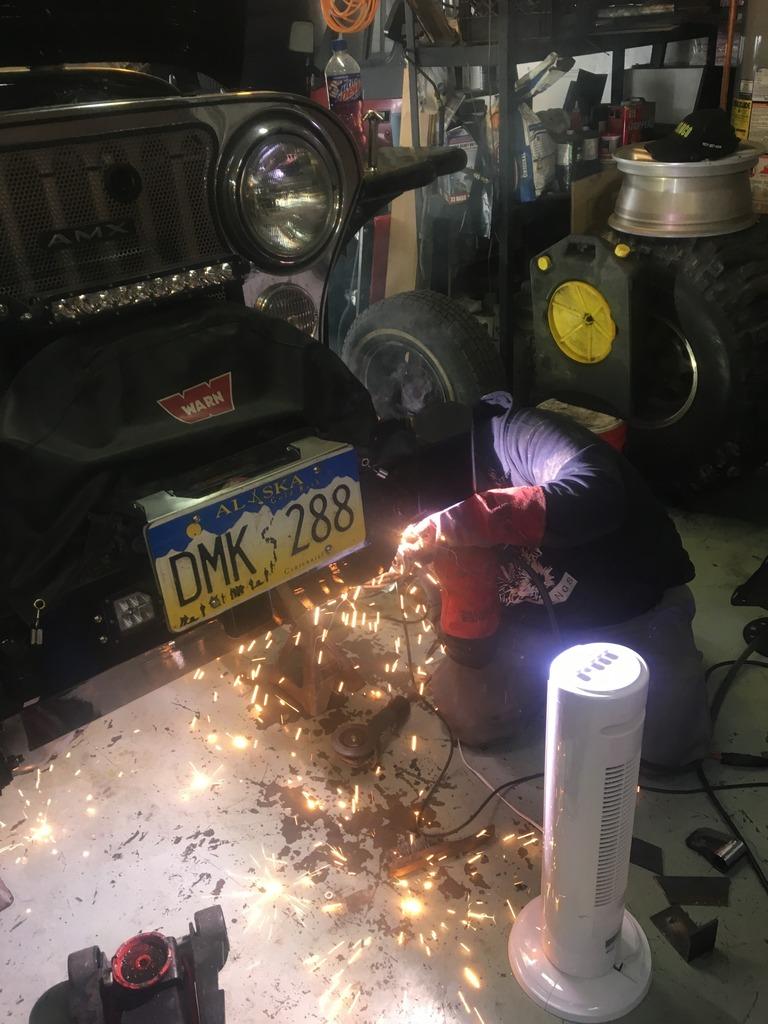
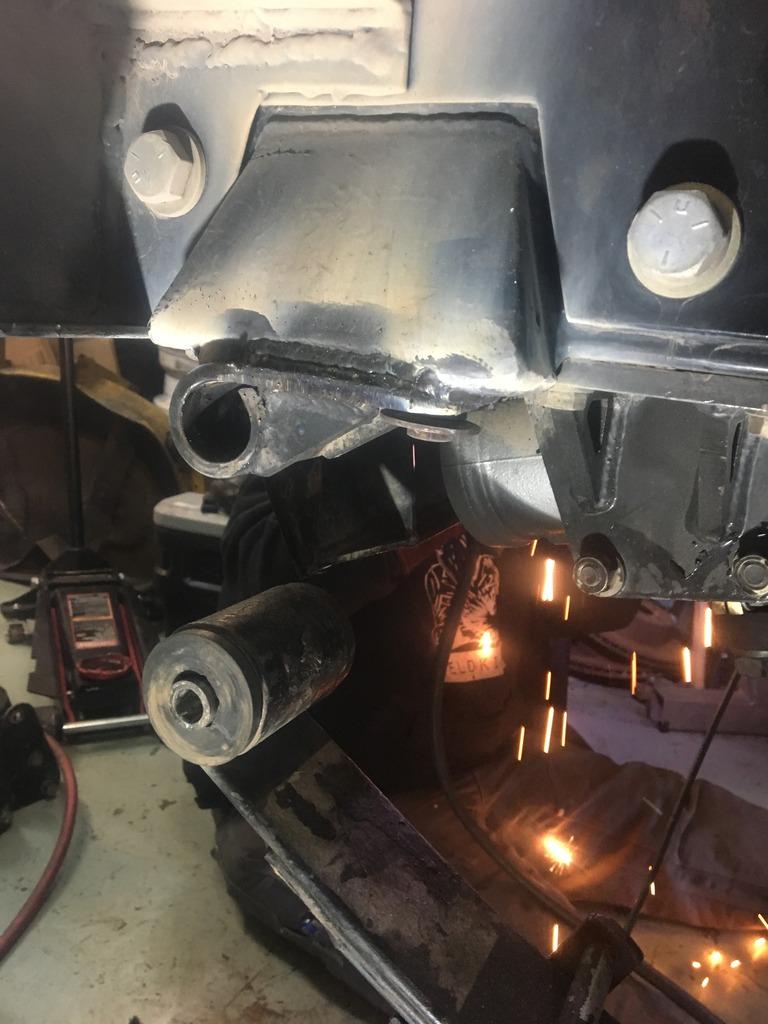
So with that, the hangers are both welded and bolted.
First, although I've posted it in the main thread related to the Photobucket debacle, here's a reminder for the plug-in: Per Pirate, here are some extensions that work for Firefox and Chrome. I can personally vouch that the Chrome extension.
https://chrome.google.com/webstore/detail/photobucket-embedded-imag/ogipgokcopooepeipngiikdkpmcpkaon
https://addons.mozilla.org/en-US/firefox/addon/photobucket-fixer/?src=cb-dl-recentlyadded
http://www.pirate4x4.com/forum/gene...refox-google-chrome-see-photobucket-pics.html
On to the re-update:
Last spring I finally decided to pull off my shackle hangers and figure out what was going on with my hangers always loosening up. I expected that I'd drill out the existing nut and tap it to a larger size, but I was surprised to discover cracks on the rearmost bolt on both sides:
The nutsert had cracked the welds just enough that it was loose. It wasn't spinning, nor had it pulled through. But torquing the bolt was ineffective since it just brought the loose nut into contact with the hanger, and still allowed the hanger to vibrate. I decided the solution was to re-weld the nuts, and then weld the hanger in place. This made me die a little inside because I had to grind off the galvanizing. I also enlisted a friend who is a certified welder since this involved welding upside down and in awkward angles.
So with that, the hangers are both welded and bolted.
AK-RWC
Legacy Registered User
- City
- south central
- State
- AK
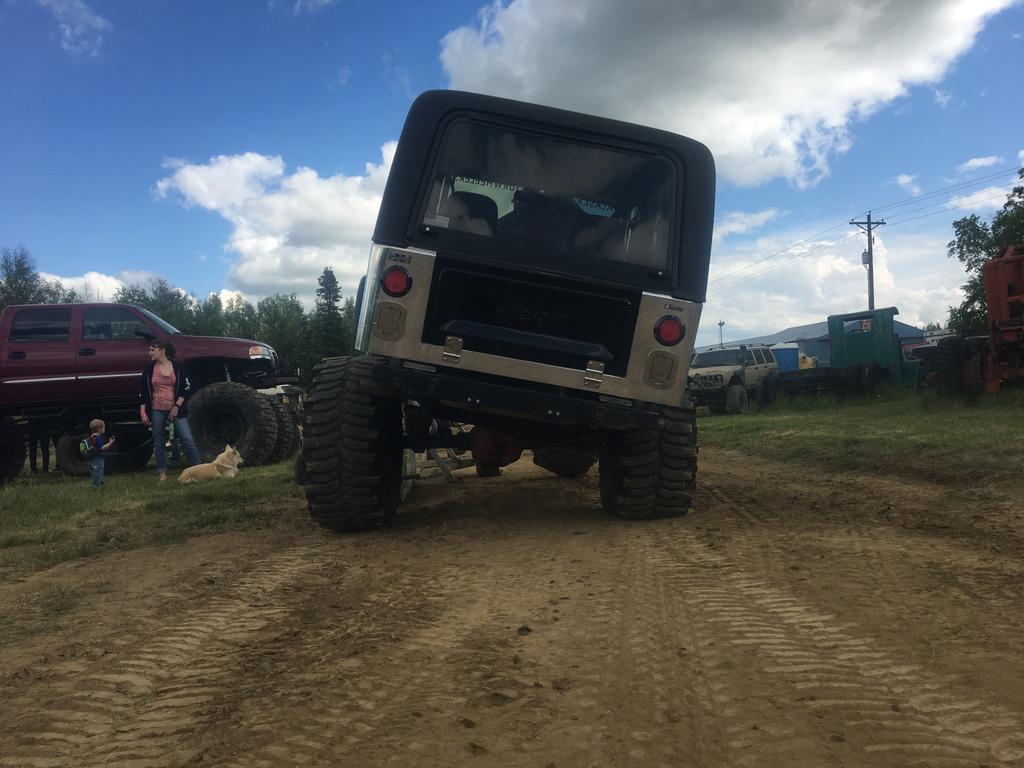
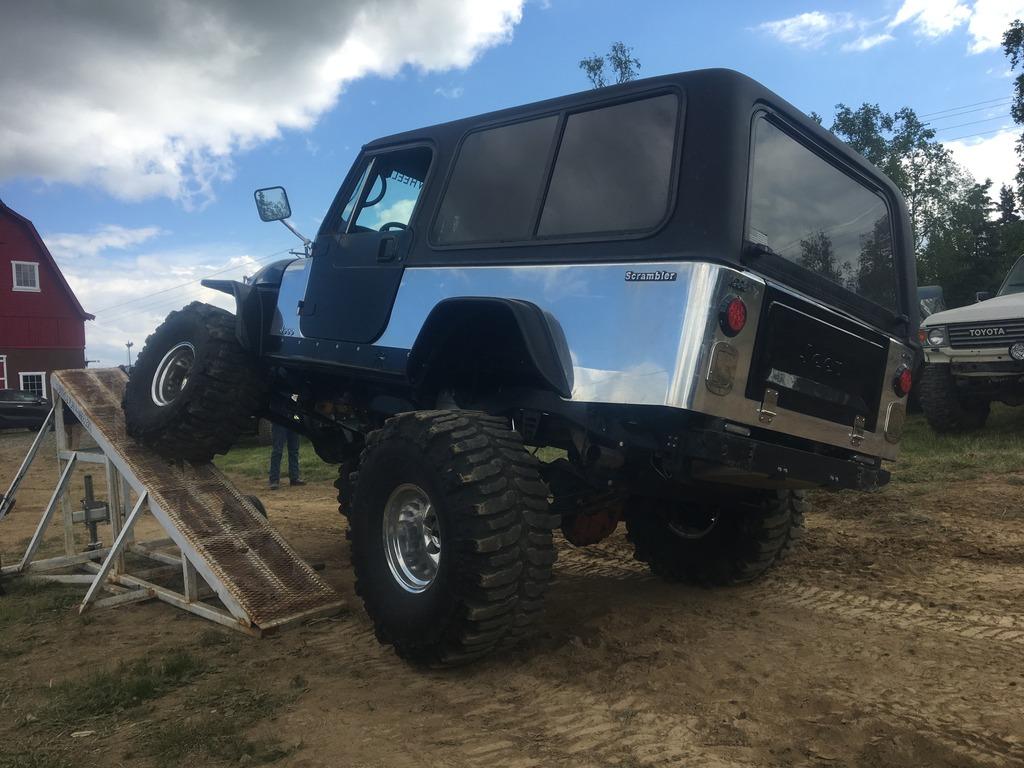
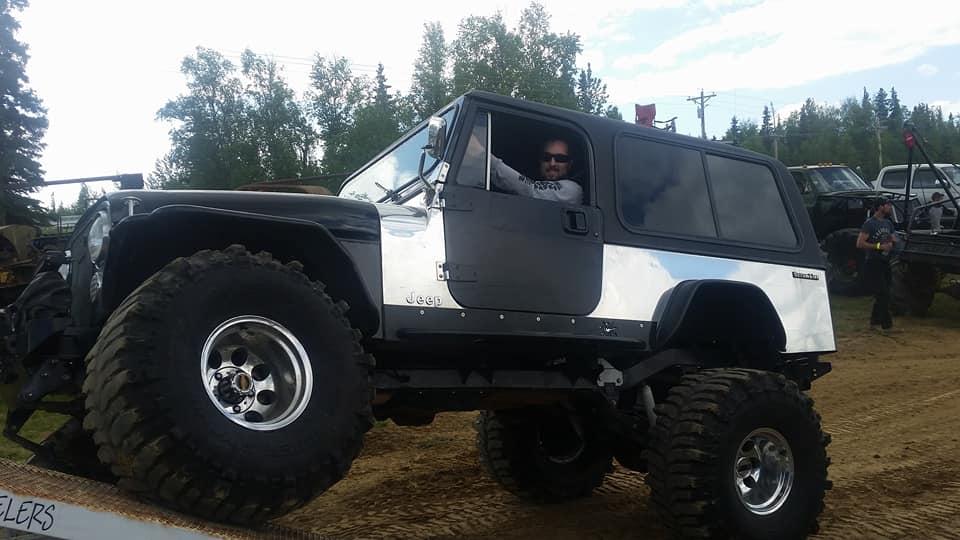
With death-wobble apparently solved, it allowed me to take it out to the annual Meet & Greet. I ran the course twice with zero problems, but don't have any pictures of that; just a few glamour shots on the RTI ramp. I did a second round where I got measured, and somehow scored a 1050! This strikes me as impossible, but that ramp isn't a standard angle or length.



AK-RWC
Legacy Registered User
- City
- south central
- State
- AK
On the way back from M&G, my engine started randomly cutting out at 2000 RPM. I could be cruising along just fine, and then it was like the ignition just shut off. So I was leery of driving it much this summer until I had that fixed. I did order an MTX-AL wide-band O2 sensor and gauge by Innovate Motorsports after finding an open-box deal on Amazon for like $100 off.
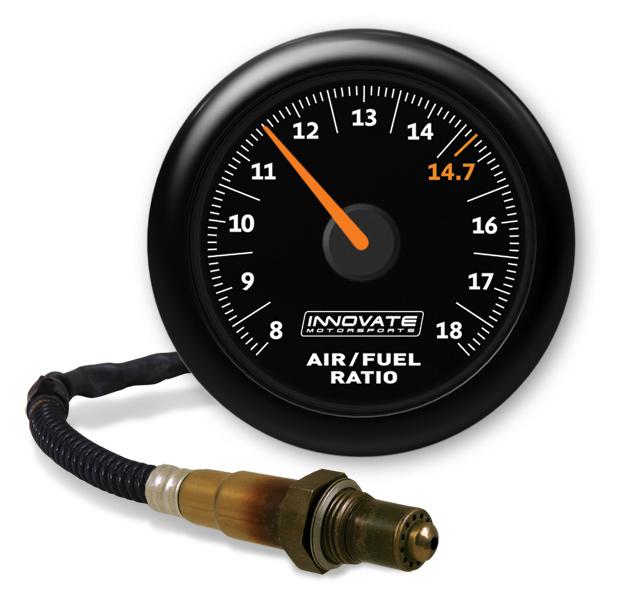
But I still haven't installed it yet.
The only other thing I did was take it to a Jeep event at a dealership just down the street, just for a few more glamour shots.
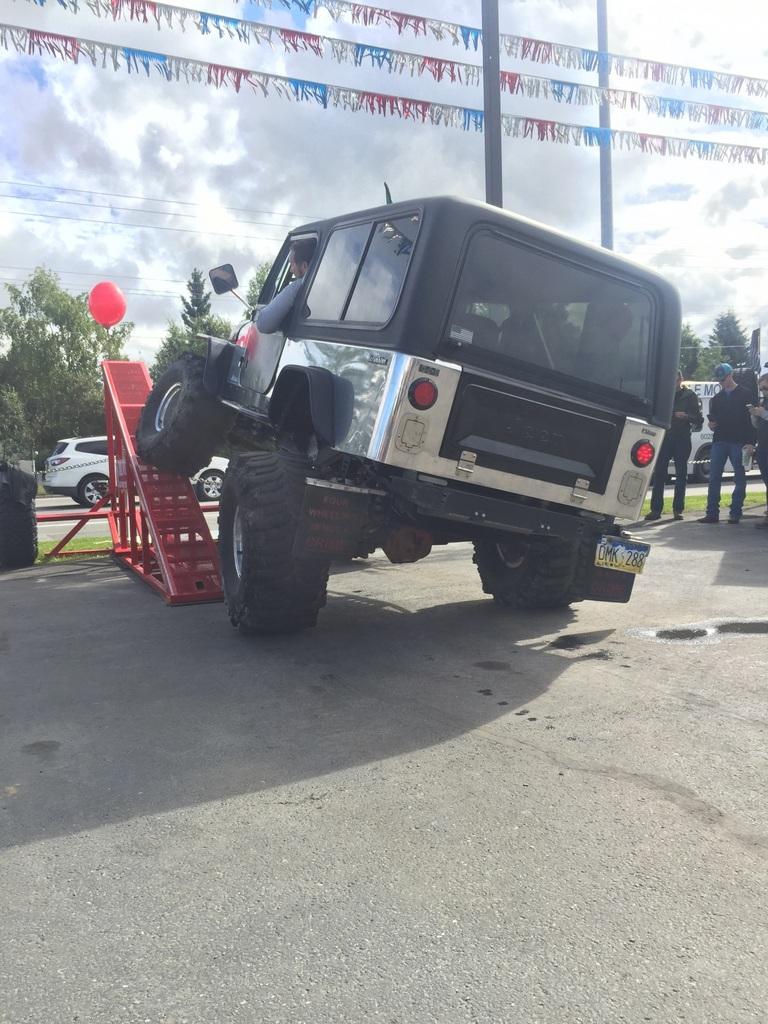

The engine was still cutting out on me though.
In spite of that, I did want to take it wheeling, but I'd removed my OEM hitch in anticipation of making that Body Armor bumper fit. That obviously didn't happen. Rather than put the OEM hitch back on, I wanted to at least slam a receiver to give me some practical usage, and I figured I could fab something pretty easily using a random receiver. Lucky me, I found a guy with a tow company that scrapped a truck that was loaded with hitches. He'd been selling them off for $20 per hitch for a couple years. I decided I could bend the frame horns out, and drill it to bolt to the CJ cross member, and have something to work with. Granted, this isn't necessarily the ideal solution, and there's a chance that the center bolts would just pull through in the event of a hard pull, but I'm confident that the 1/4" plate on the sides would prevent any catastrophe, and this is still just a temporary measure. Oh, I also finally got my frame reinforcements installed too:


With the paint dry in the morning, I bolted it on and went wheeling. We already had some freezing temps and the puddles were frozen. The one at the trailhead was shockingly deep; at least 33". For a heartbeat I was afraid I was going to need to get out and lock my hubs, but the Boggers just chugged through and I crawled out. As I was catching up to the group though (I was late since I was putting the hitch on), much to my dismay, I got effectively high centered on an ice pile! The Boggers just couldn't get enough traction to go forward, and when I tried to back up to go again, my front tires couldn't get back over the ice either! I was sitting here, not even really stuck, but having to winch.

And a couple more shots from the day:


The engine didn't cut out at all on the drive there, but when I was breaking trail for the group and needed a little more power to chunk the ice, it was cutting out--usually at incredibly inconvenient times. Even with that, I still put it into the deepest holes and it crawled out. Except for two times when JUST the rear axle fell through the ice (apparently I'm heavier in the back with the extra fuel tank and a load of gear) and the Boggers couldn't get the traction to get the rear back on top, so I still got strapped twice.
I'm going to order a new EPROM for my ECU to see if that solves the problem. In watching it with the laptop, when it cuts out, the idle-set speed jumps from my setting of 700 to 1500, all on its own. But when the engine's actual speed drops back to 1500, the ECU will drop the setting back to 700 (without cutting the ignition). None of this makes any sense to me, and the Holley techs weren't any help ("check all your wires to make sure nothing is frayed"). But either way I think it's a hardware problem in the ECU. I just hope I don't need a new ECU since they've been out of production for 15 years.
But I still haven't installed it yet.
The only other thing I did was take it to a Jeep event at a dealership just down the street, just for a few more glamour shots.
The engine was still cutting out on me though.
In spite of that, I did want to take it wheeling, but I'd removed my OEM hitch in anticipation of making that Body Armor bumper fit. That obviously didn't happen. Rather than put the OEM hitch back on, I wanted to at least slam a receiver to give me some practical usage, and I figured I could fab something pretty easily using a random receiver. Lucky me, I found a guy with a tow company that scrapped a truck that was loaded with hitches. He'd been selling them off for $20 per hitch for a couple years. I decided I could bend the frame horns out, and drill it to bolt to the CJ cross member, and have something to work with. Granted, this isn't necessarily the ideal solution, and there's a chance that the center bolts would just pull through in the event of a hard pull, but I'm confident that the 1/4" plate on the sides would prevent any catastrophe, and this is still just a temporary measure. Oh, I also finally got my frame reinforcements installed too:
With the paint dry in the morning, I bolted it on and went wheeling. We already had some freezing temps and the puddles were frozen. The one at the trailhead was shockingly deep; at least 33". For a heartbeat I was afraid I was going to need to get out and lock my hubs, but the Boggers just chugged through and I crawled out. As I was catching up to the group though (I was late since I was putting the hitch on), much to my dismay, I got effectively high centered on an ice pile! The Boggers just couldn't get enough traction to go forward, and when I tried to back up to go again, my front tires couldn't get back over the ice either! I was sitting here, not even really stuck, but having to winch.
And a couple more shots from the day:
The engine didn't cut out at all on the drive there, but when I was breaking trail for the group and needed a little more power to chunk the ice, it was cutting out--usually at incredibly inconvenient times. Even with that, I still put it into the deepest holes and it crawled out. Except for two times when JUST the rear axle fell through the ice (apparently I'm heavier in the back with the extra fuel tank and a load of gear) and the Boggers couldn't get the traction to get the rear back on top, so I still got strapped twice.
I'm going to order a new EPROM for my ECU to see if that solves the problem. In watching it with the laptop, when it cuts out, the idle-set speed jumps from my setting of 700 to 1500, all on its own. But when the engine's actual speed drops back to 1500, the ECU will drop the setting back to 700 (without cutting the ignition). None of this makes any sense to me, and the Holley techs weren't any help ("check all your wires to make sure nothing is frayed"). But either way I think it's a hardware problem in the ECU. I just hope I don't need a new ECU since they've been out of production for 15 years.

AK-RWC
Legacy Registered User
- City
- south central
- State
- AK
Nice looking ride. Last 8 pictures have that blasyed photobucket 3rd party hosting thing instead of pictures.
You need to download the plug-in for either Firefox or Chrome. I provided the links in post #316.