• Notice for iPhone users: DO NOT use the image size reduction option when uploading photos to the forum. This causes portrait images to post as landscape. We have added a warning to the image insert pop-up as well.

spankrjs's Biloxi, MS '83 Scrambler

I am going to include these pictures/discussion of blown up T5's here, even though they refer to my red Scrambler, which blew up 3 T5's in short order. For some reason, I am hoping a T5 can live in a stock Scrambler with fuel injection :fingerscrossed:

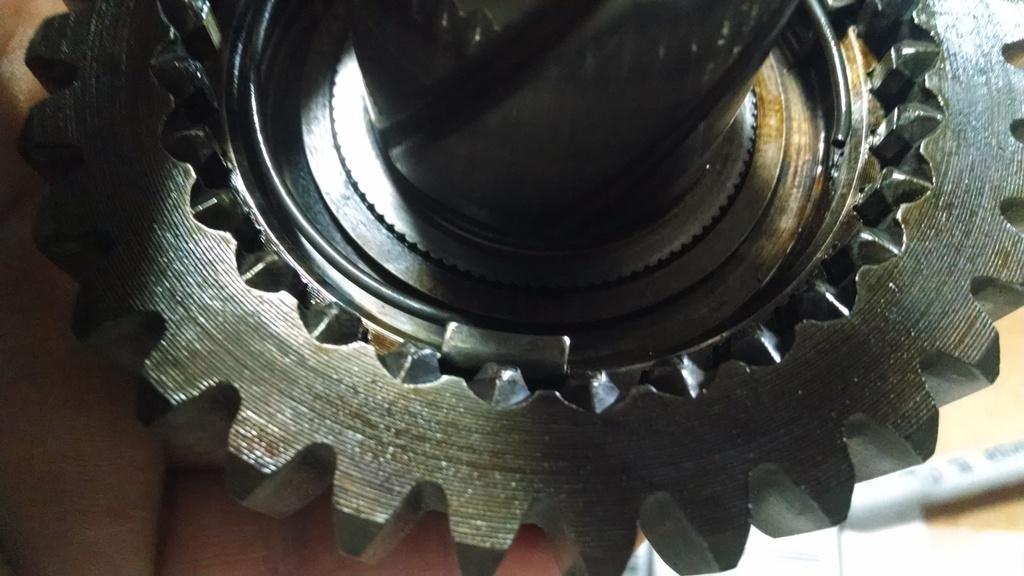
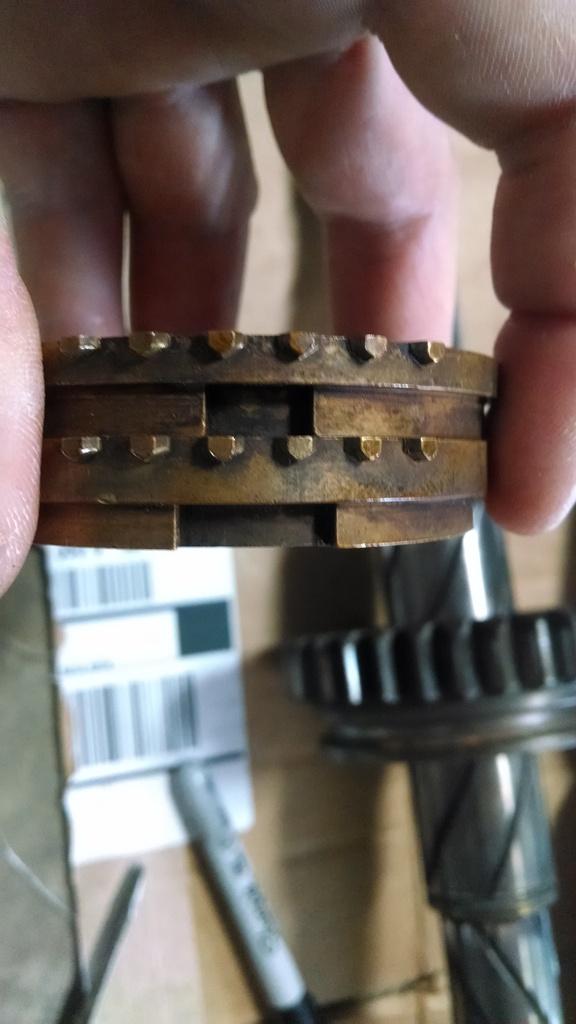
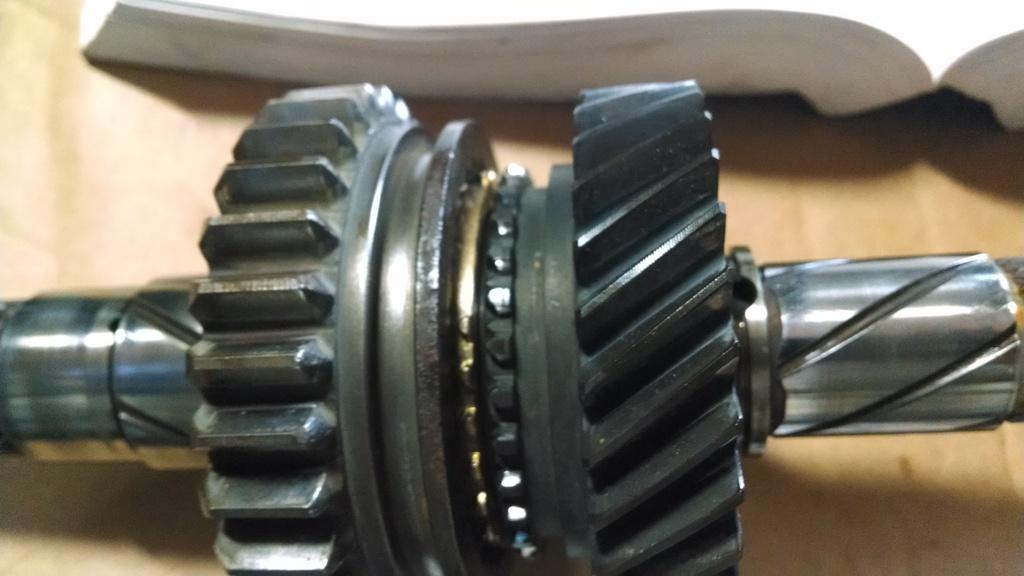
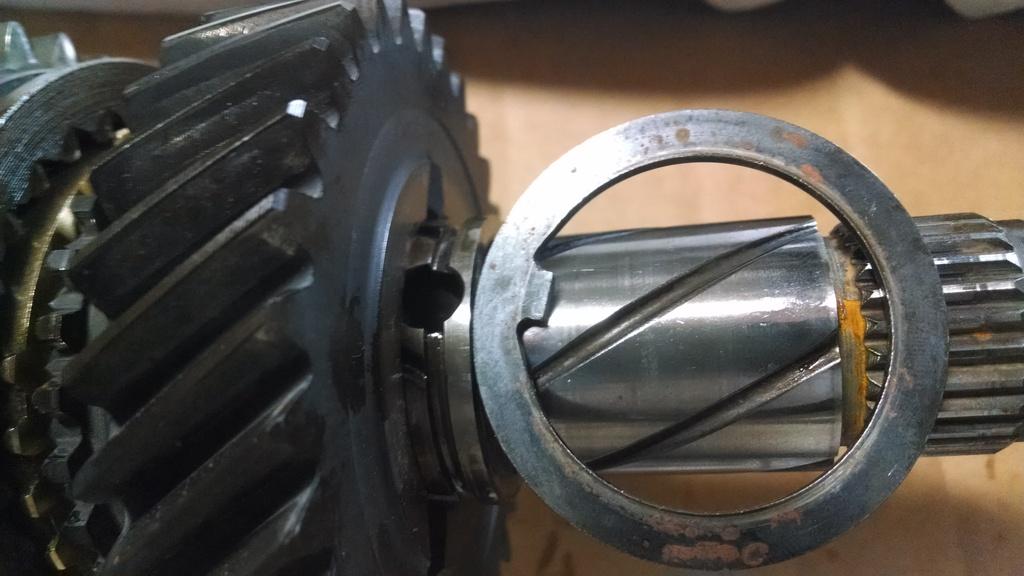
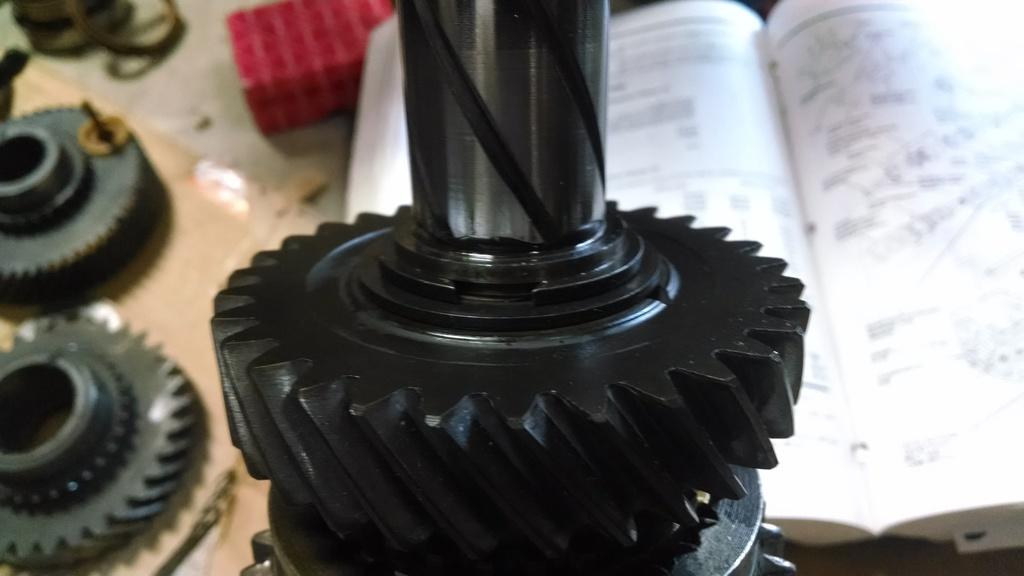
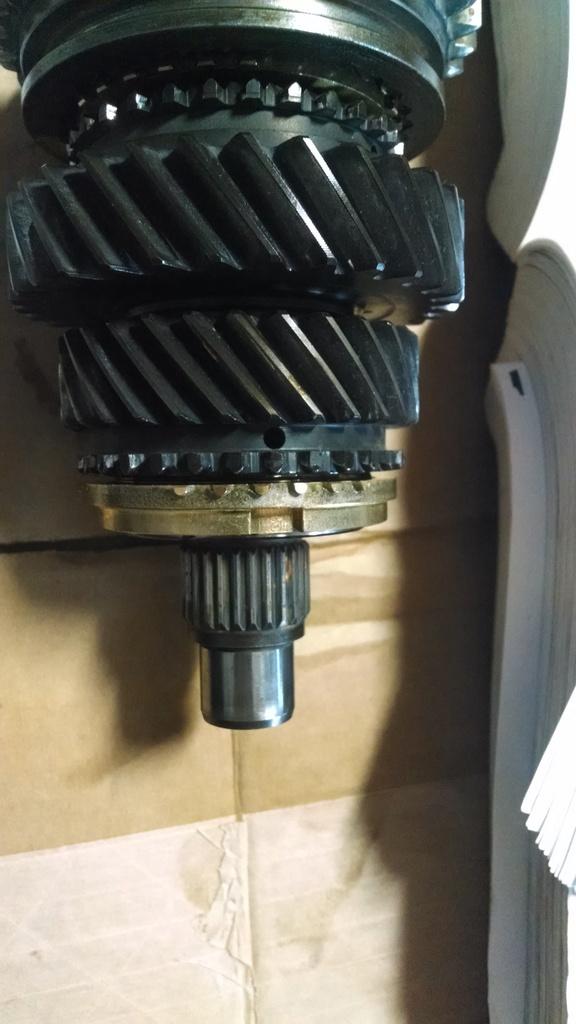
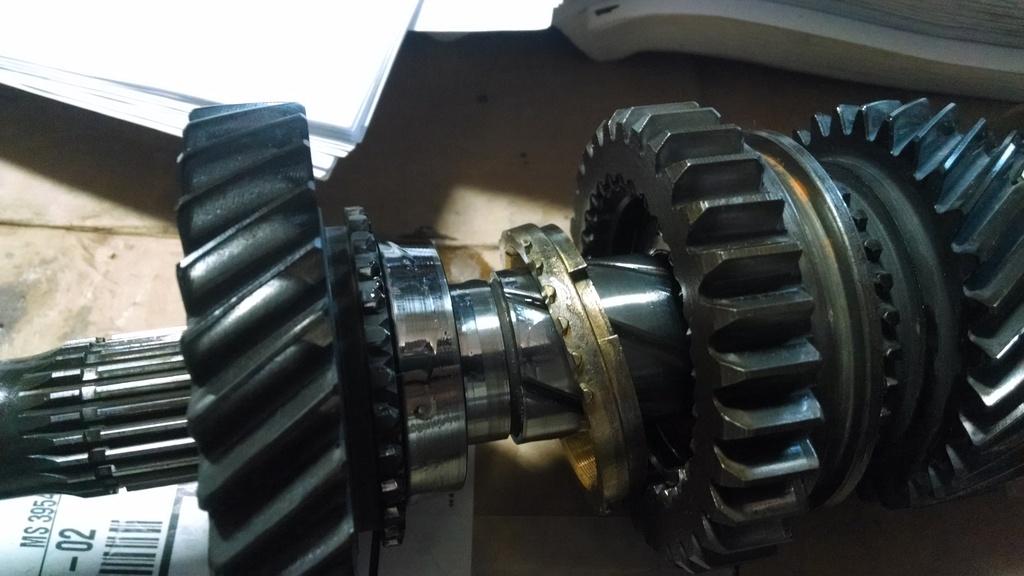
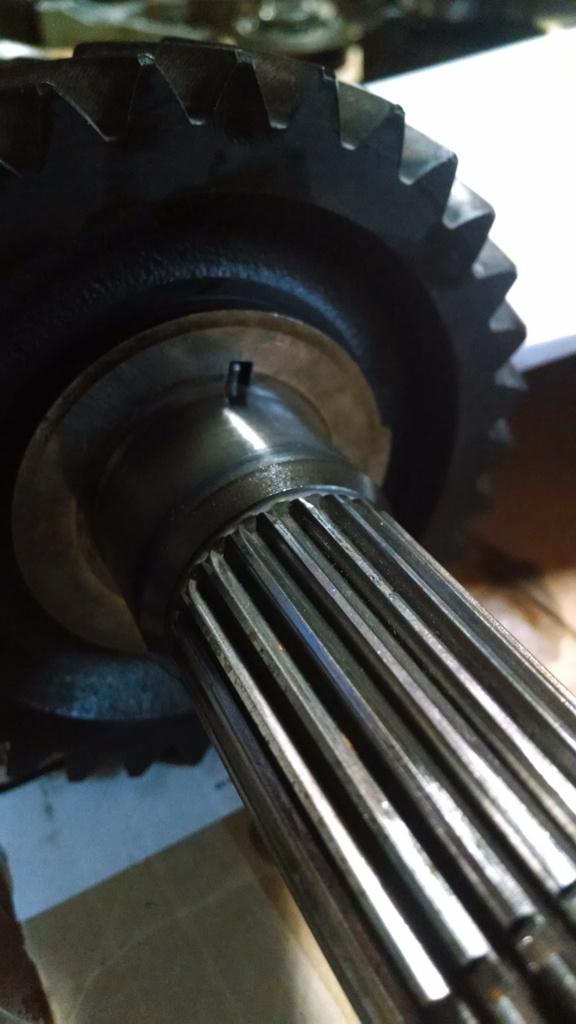
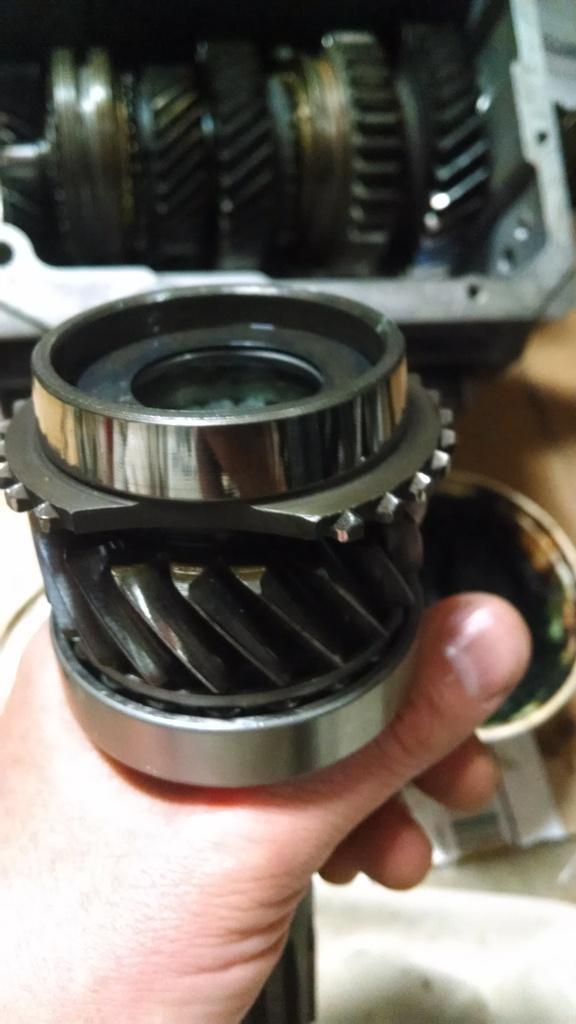
Anyway, delayed gratification. I blew up T5 #3 in my red Scrambler in August of 2013, on the way to Sand Blast. When I got home, I pulled it out and swapped in a T176, then a new AX15. I am just now pulling it apart to see what happened to it. Anyway, here is what happened to T5 #3, same as T5 #2, input shaft/cluster carnage:
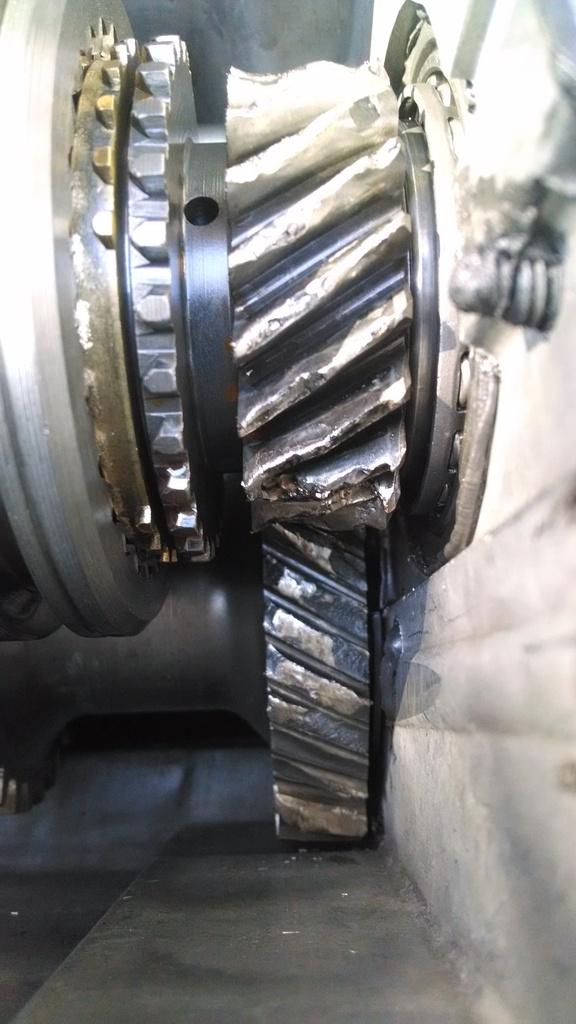
IMG_20170129_103153765_zps3geojt7z-1.jpg


Yep, I don't think the teeth belong on the magnet, but maybe that is why Borg Warner stuck it under the input shaft?!?!?!

IMG_20170129_110536550_HDR_zpsyb4cvyqx-1.jpg


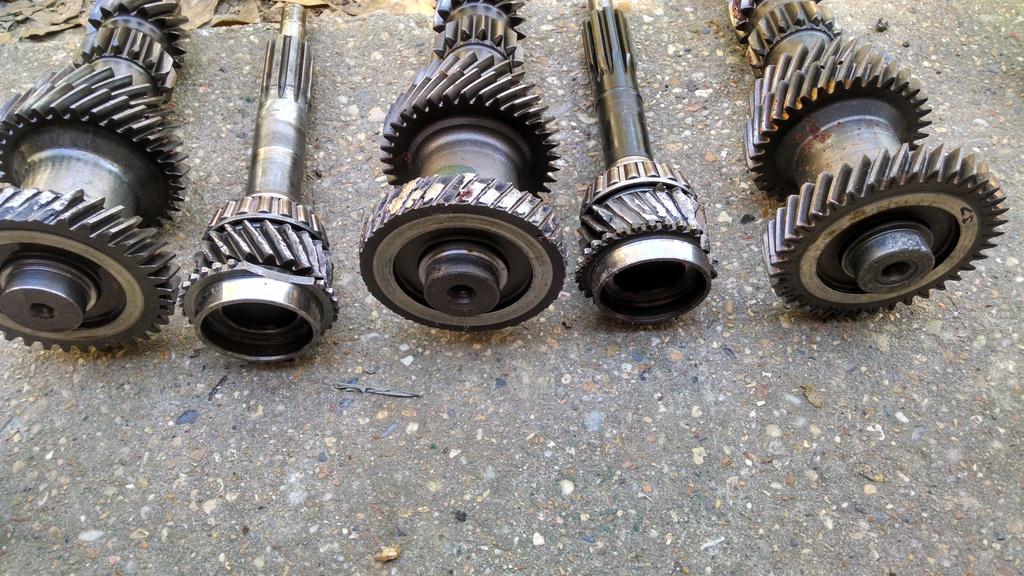
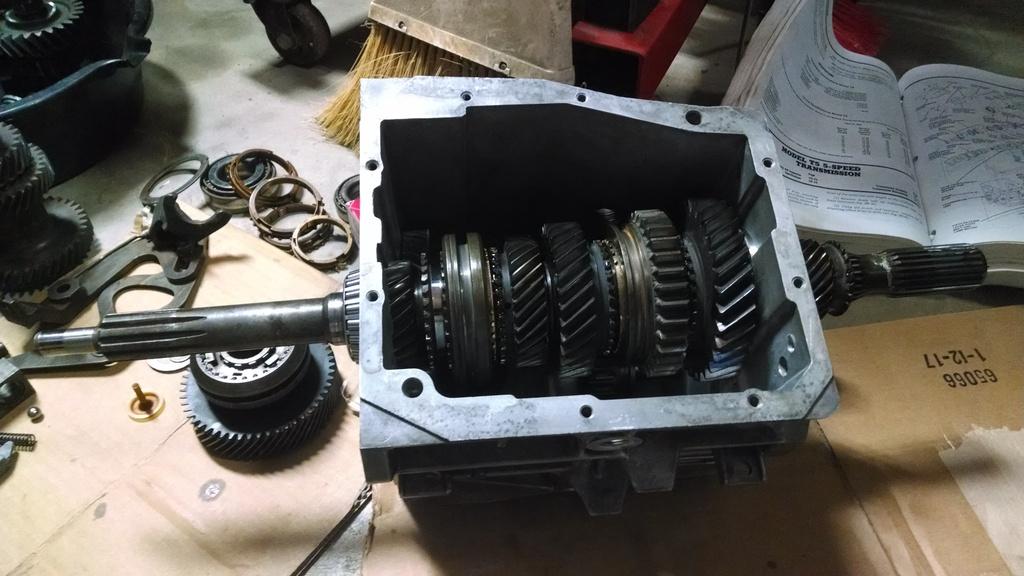
Here they all are lined up:

IMG_20170129_110638720_HDR_zpsa5mvqoh1-1.jpg


From right to left:

T5 #1 - lasted over 12,000 miles in the red Scrambler. It still worked fine, it just started whining coming back from Michigan. Upon autopsy, the front of the cluster gear, where the front bearing rides, was missing some of the surface. Besides the whining, it worked perfect. I almost wonder if the cluster gear bearing surface would have held up, would this T5 still be alive in my red Scrambler. T5 #1 was the best case/gear combination.

T5#2 - lasted maybe 5,000 miles in the red Scrambler. It was made up of a bunch of misc T5 parts, including T5 #1's input shaft. It blew up while cruising down the highway at 75mph. No shifting, no lugging, no abuse, just blew up.

T5#3 - lasted maybe 5,000 miles in the red Scrambler. It was made up of a bunch of misc T5 parts, including T5 #1's case. It blew up while cruising down the highway at 75mph. No shifting, no lugging, no abuse, just blew up.


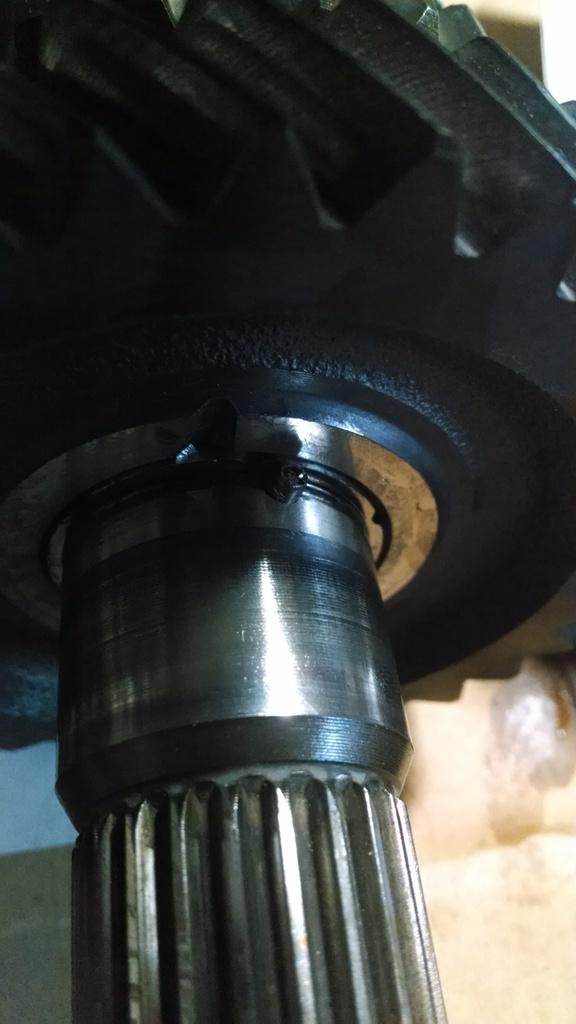
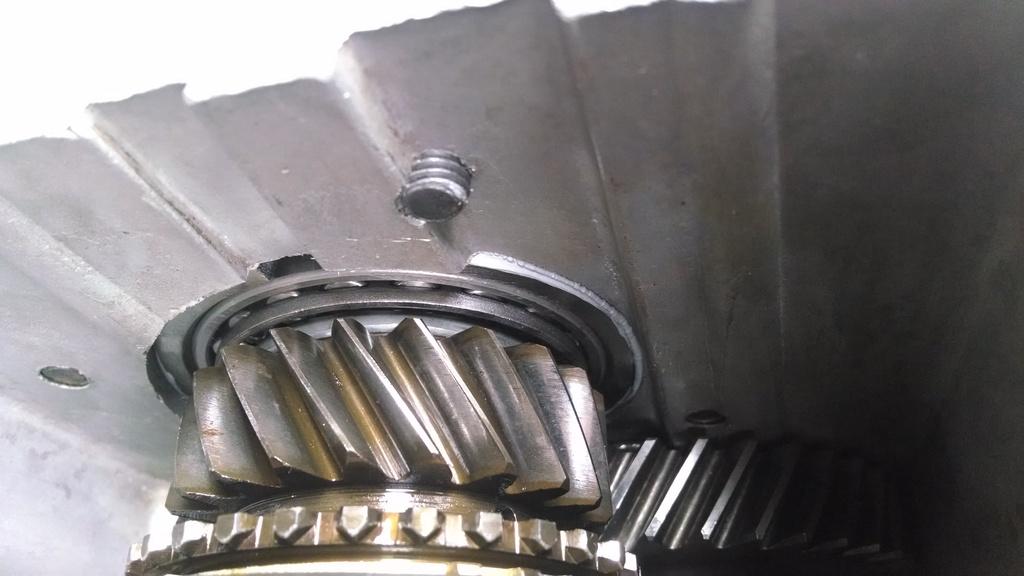
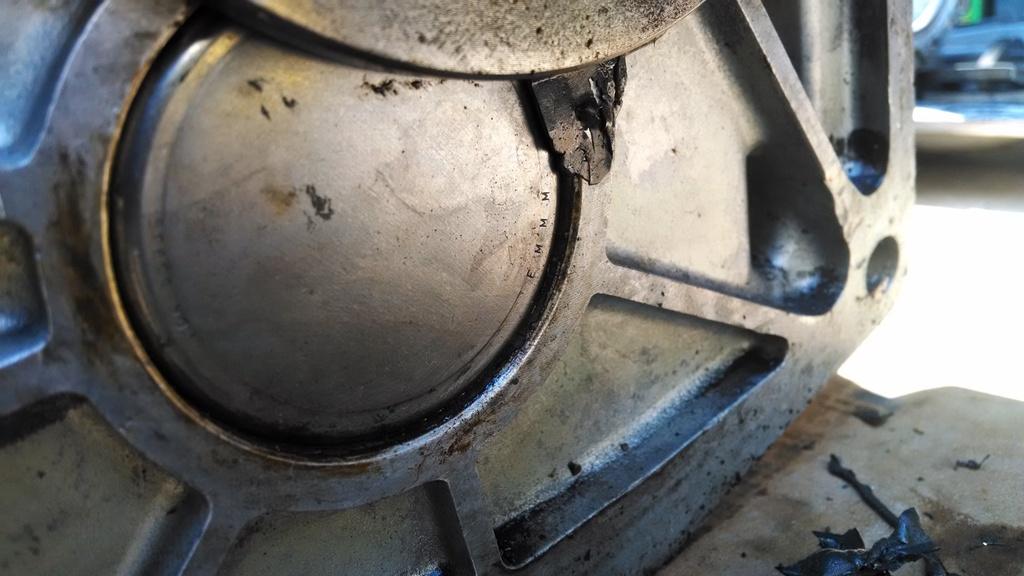
My one concern, and I can not figure it out. On T5#3, before I pulled it apart, I noticed this:
IMG_20170129_104731718_zpso7sxy58m-1.jpg


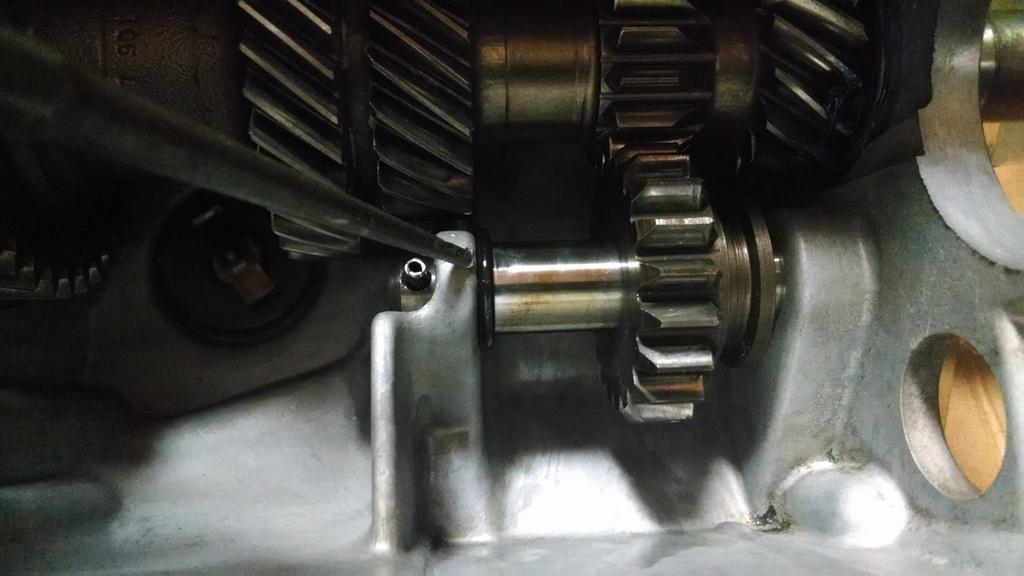
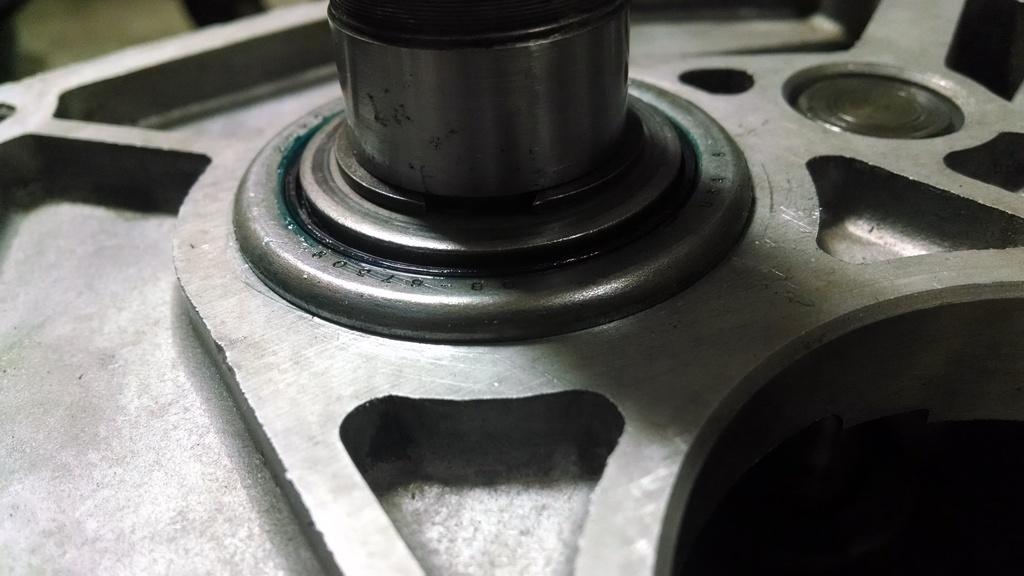
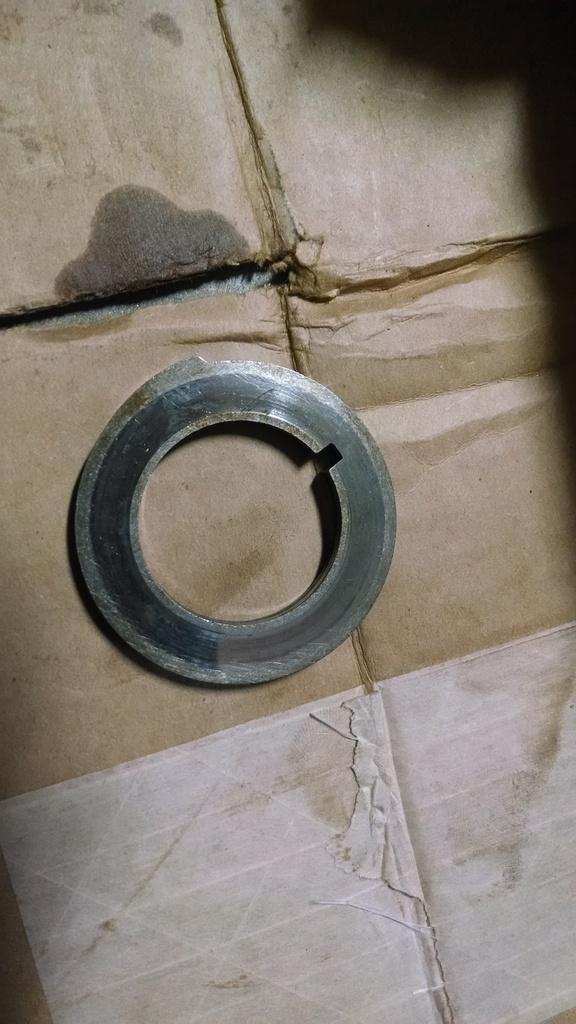
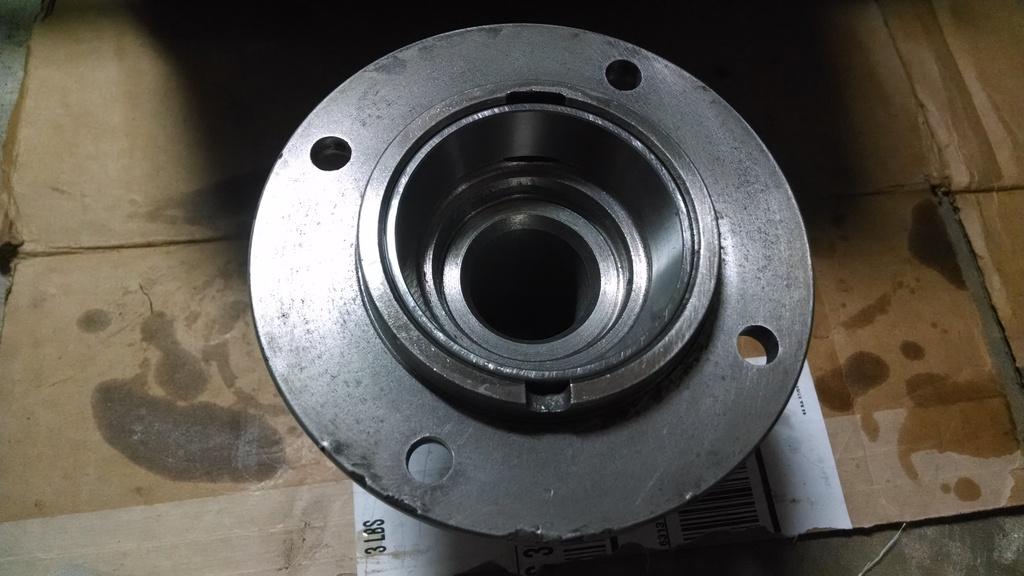
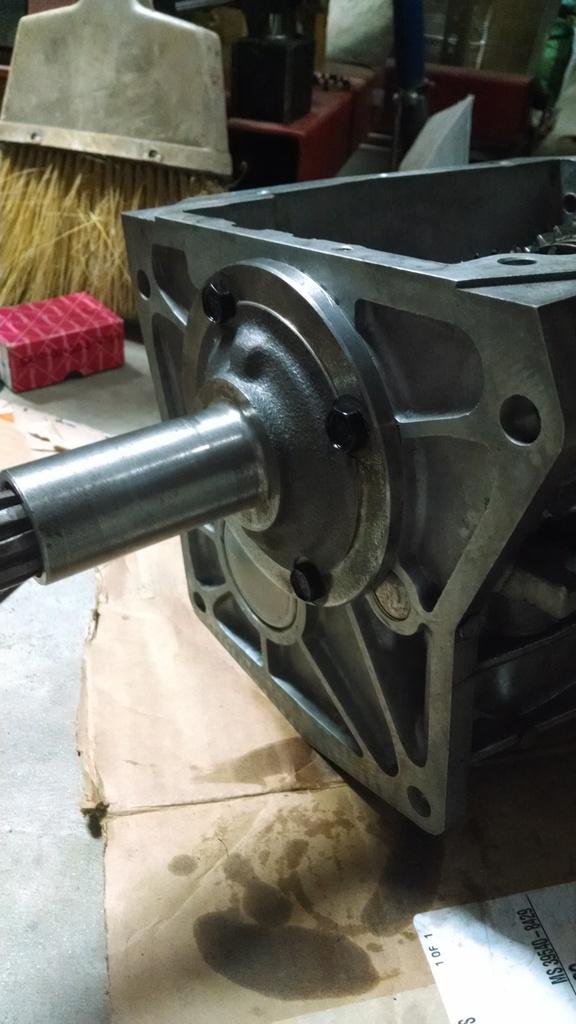
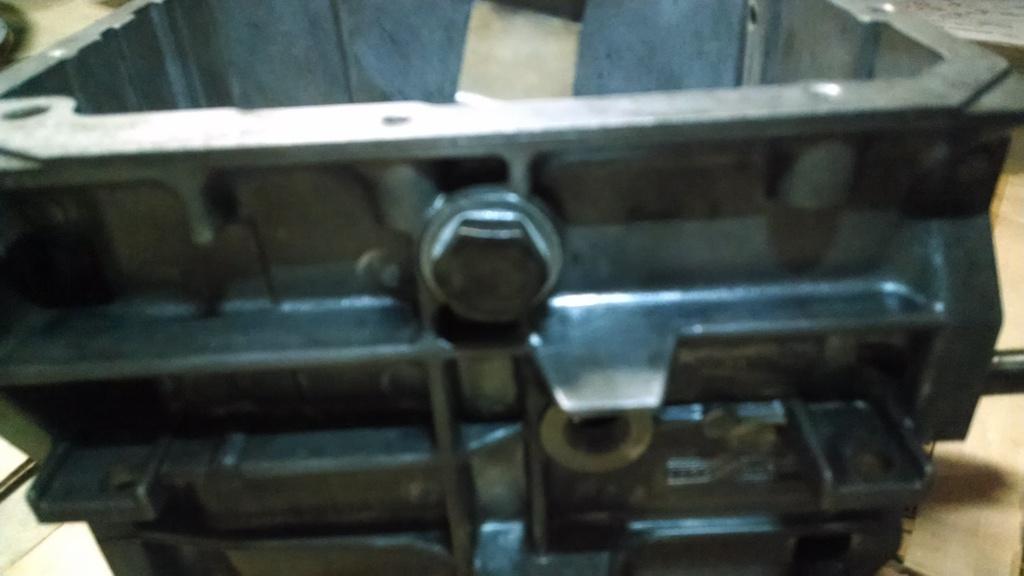
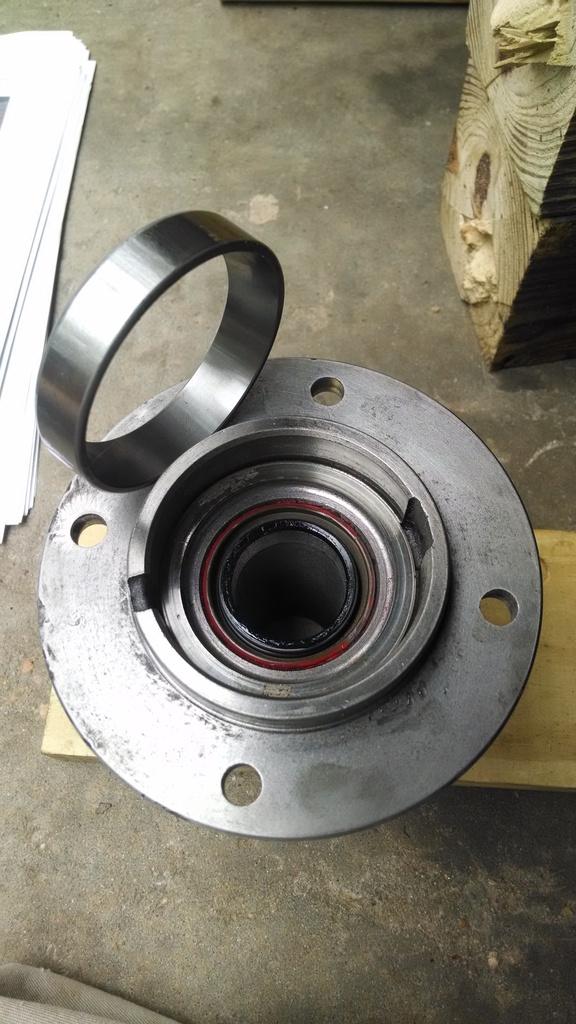
This is the front counter gear bearing. It is supposed to be installed flush with the face of the case. I installed it that way. How did it end up like this? There is no way the counter gear can slide backwards, the rear case holds it in place. But, this front bearing walked back some how? The thrust washer was actually pressed around the bearing, that's how far it came back!!!!!!!!! This also explains why there was fluid all over the garage floor. I thought the case cracked, it did not. With the bearing sunk back inside, the fluid leaked out around it.

A few notes:

1) The three previously assembled T5's all shared one thing in common: The front and rear counter gear bearings were NOT a press fit. I was able to tap them in with a hammer. On my green Scrambler's all original/never monkeyed with T5, I had to press the counter gear bearings out of the case. I am wondering if the used T5 cases I had used before had too much clearance in the bearing bores? I will have to get the caliper out and measure.

2) My green Scrambler's T5 is all original gears and shafts, including the input shaft. I am wondering if maybe the T5's I built previously, with made in China $hit for gears and shafts, was part of the problem? If the teeth break off on the input shaft, there goes the cluster shaft. All three of the red Scrambler's T5s had no other damage except for input shafts/front teeth on the counter shaft.

3) Red Scrambler's T5#1 counter gears front bearing surface became galled/spalled/damaged where the bearing rides. Green Scrambler's original T5 counter gear has the same damage where the rear bearing rides. I assume that this occurs because the bearings rollers ride directly on the shaft. I wish there was a way to swap in a WC counter shaft, since they ride on more conventional bearings.

4) The handy dandy AMC T5 video I posted up earlier had something in it that neither the FSM nor the AMC T5 rebuilding manual mention - USE LOCTITE 601 (bearing retainer) to secure the front counter shaft bearing to the transmission case. The bell housing will keep the front bearing from coming outward, and I assume the case/thrust washer will keep the bearing from walking backwards, so the only thing the 601 would do is seal the bearing to the case? Maybe, but I did not use bearing retainer previously, and on T5#3, the bearing walked inward????????? The mechanic a work who rebuilt the S10 T5 Loctited the front bearing in place. When I went to press out this bearing, it would not come out. So, I cranked down hard on the press and broke the case. I assume heat would have released the Loctite's grip?


This weekend was a bust on T5 rebuilding. The S10 counter shaft would not work, and the guy on eBay sent me the wrong shaft. The eBay guy is supposed to send me the correct shaft this week.

For reference, here are the three counter shafts and their tooth counts:

Jeep - 37-34-23-15-14
S10 - 37-32-23-15-14
eBay - 37-31-25-15-15

I could use the S10 shaft IF I use its corresponding third gear on the Jeep main shaft. I would have to see what the ratio difference would be. For now, I am going to wait on the correct counter gear.

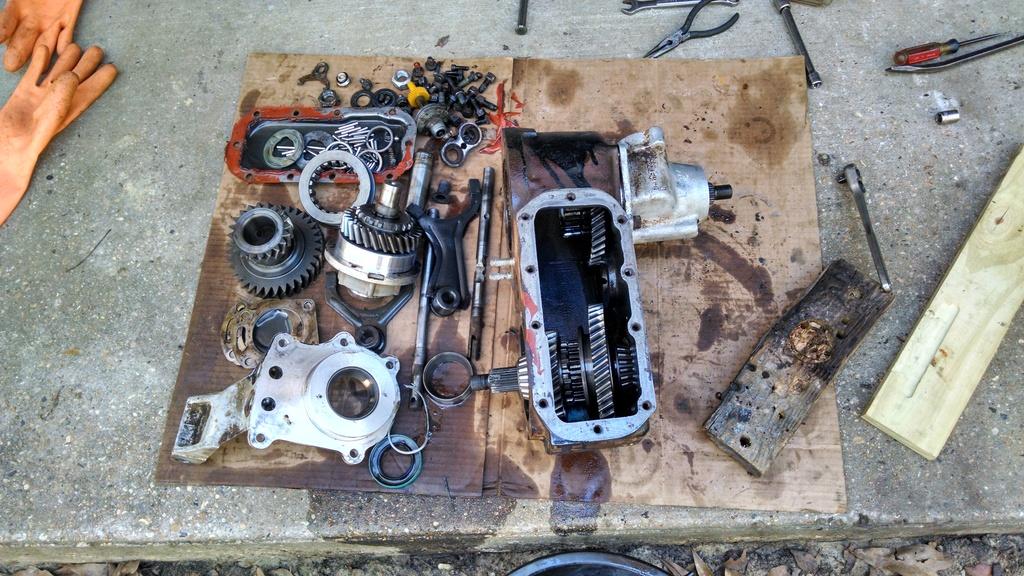
Since I stalled on the T5, I disassembled the Dana 300:
IMG_20170129_140129477_HDR_zpswted2v6g-1.jpg


I took the remainder of the carcass to the shop at work and used the press to finish disassembly. Now, the fun part begins, cleaning everything, blah.

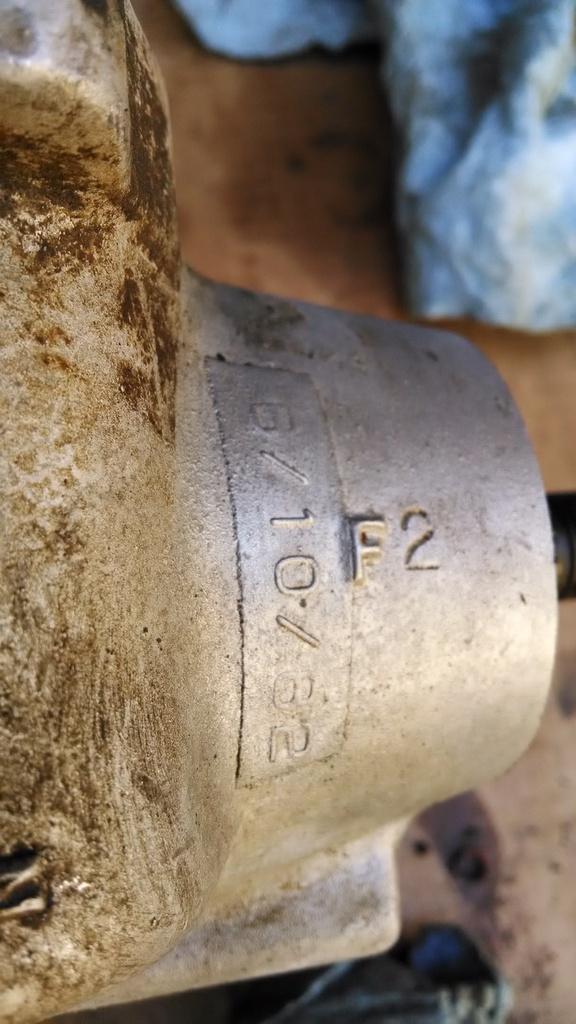
One last interesting picture, never noticed this before, the rear output shaft housing has a casting date on it:
IMG_20170129_125446569_zpsuavfijqf-1.jpg


6/10/82, for my '83 Scrambler, bought new in October of '82. That transfer case was hot and fresh off the assembly line !!

That's it for now :wave:
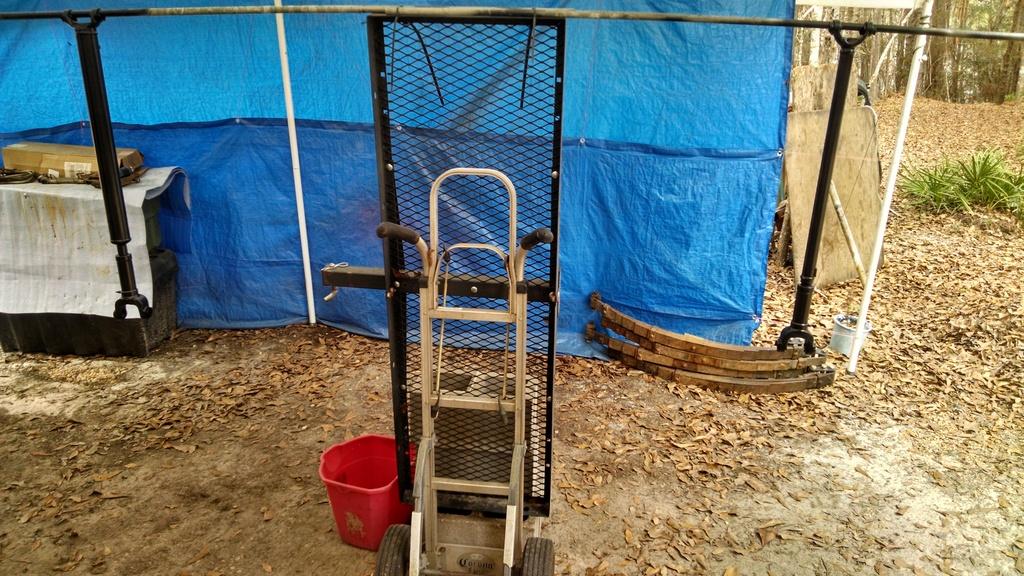
 
I have been plugging away on this project, busy with the exciting task of cleaning parts and prepping some for paint. A few interesting pictures.

Since it was very warm here yesterday, close to 70 degrees, I painted all of my previously prepped parts.

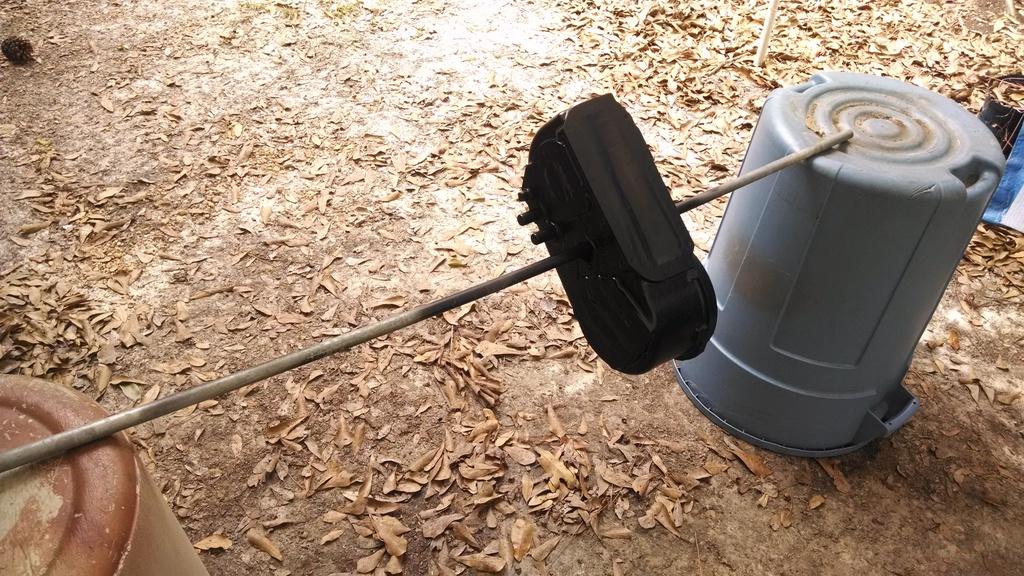
"Redneck Ray" driveshaft painting stand:

IMG_20170205_111009212_HDR_zps6h6ng691-1.jpg


"Redneck Ray" Dana 300 painting stand:

IMG_20170205_111044546_zpsxvqnqokx-1.jpg


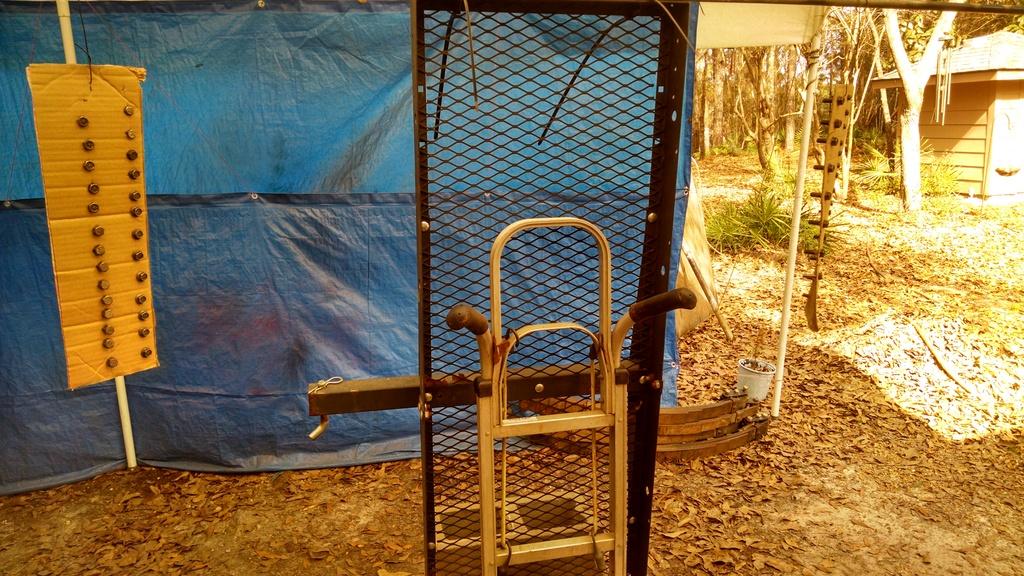
"Redneck Ray" bolt head painting cardboard rig:

IMG_20170205_111644698_HDR_zpsiruedny7-1.jpg


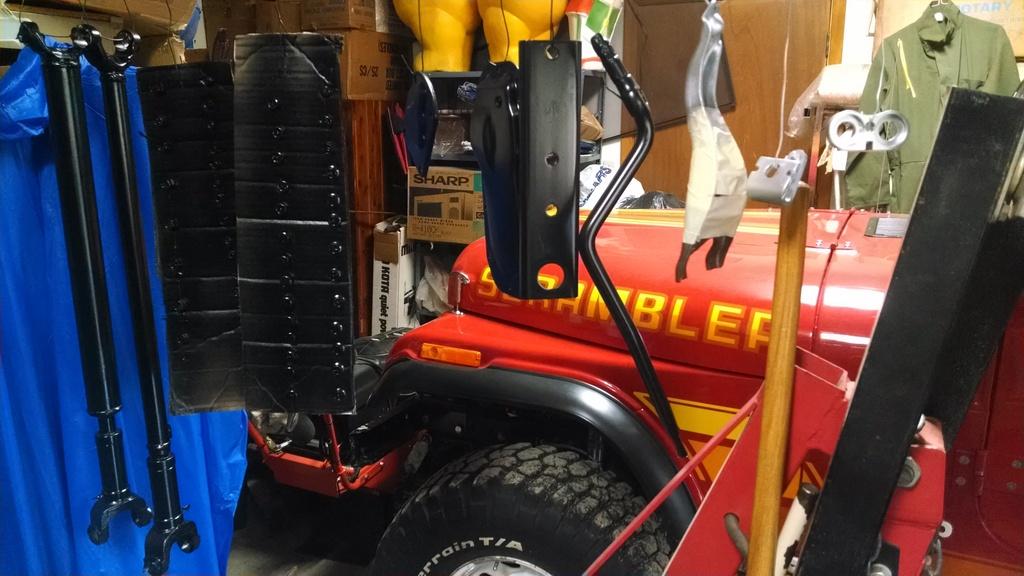
Most of the painted parts "hanging around", LOL, I crack myself up:

IMG_20170205_163620970_zpslapilj1o-1.jpg


And, all the cleaned parts/cases/bell housing on the floor, ready to go:

IMG_20170205_163635822_zpsojyzwqg2-1.jpg


I received the correct/used/original Borg Warner cluster gear from eBay the other day, and I have both the T5 and Dana 300 rebuild kits ready to go. Now that I am finally finished cleaning/painting everything, I was going to start reassembly. Well, the daily driver LJ Rubicon's water pump got jealous and started leaking, so I need to fix that first. I was going to let the dealer swap out water pumps with the next oil change, but they wanted $470 :eek::eek: So, LJ wrenching first, then back to CJ's.

That's it for now :wave:
 
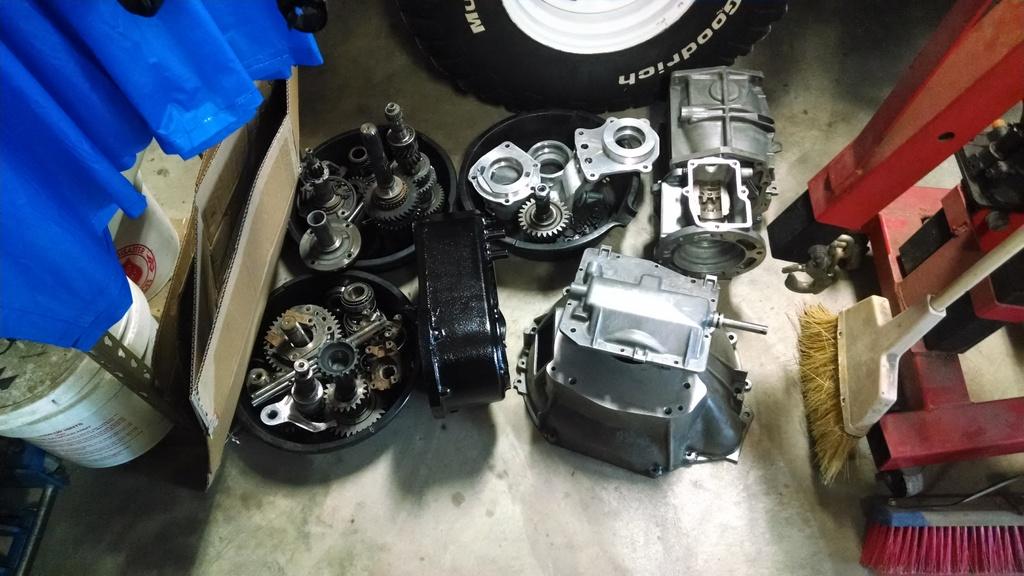
Started with the T5 reassembly yesterday. I am not going to post a step by step rebuild, but will post up some interesting stuff.

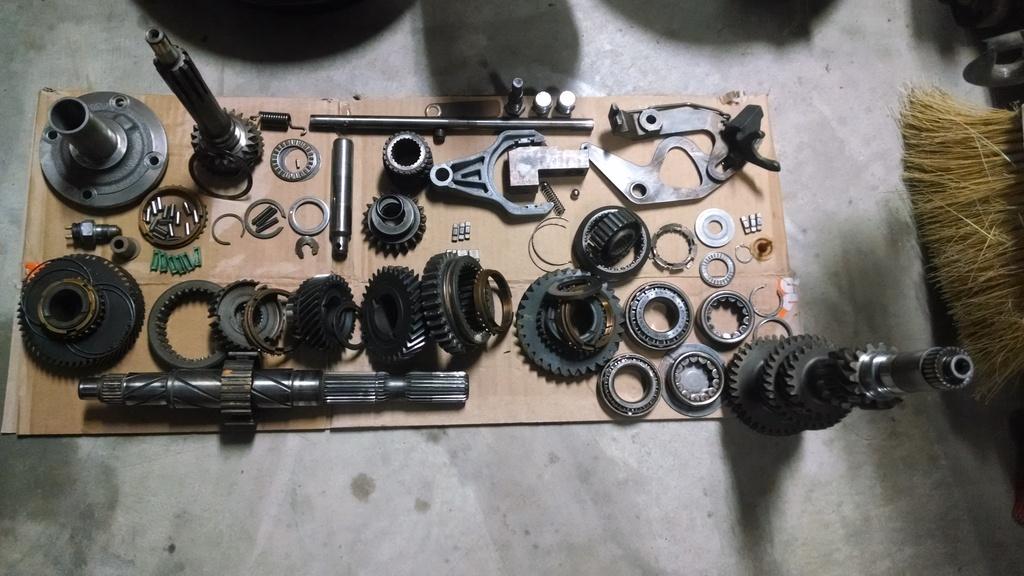
Picture showing all of a T5's guts:

IMG_20170208_205617396_zpsdiankrjz-1.jpg


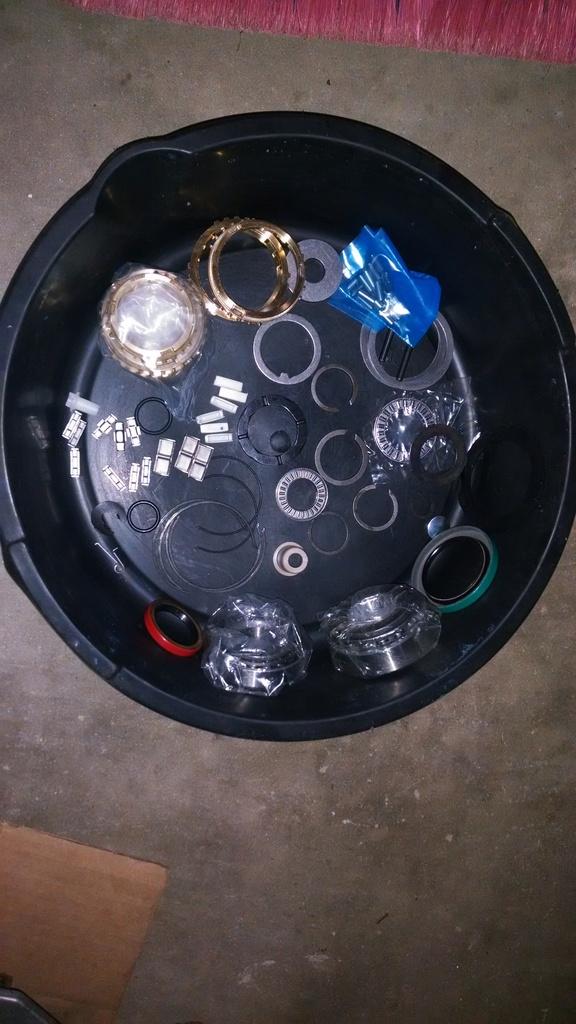
Rebuild kit components, minus the two counter shaft bearings, front counter shaft thrust washer, and rear counter shaft bearing spacer. They are not pictured because I installed them at work during lunch before I took this picture. Anyway, not a lot of parts in a rebuild kit.

IMG_20170208_205626079_zpskbqmyirr-1.jpg


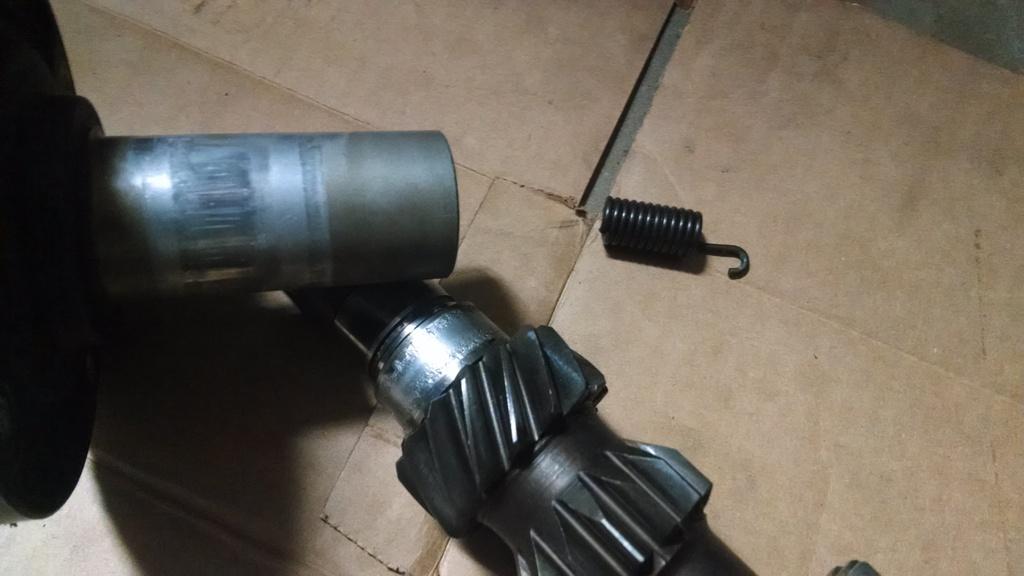
The only major pieces I am not reusing: (1) The existing counter shaft due to pitting (2) the reverse spring thingy, I broke this one taking it apart, had lots of spares!!!! (3) the front bearing retainer is OK, looks damaged but its not, but I am going to use a steel front bearing retainer

IMG_20170208_205720551_zpsfcemm8ug-1.jpg


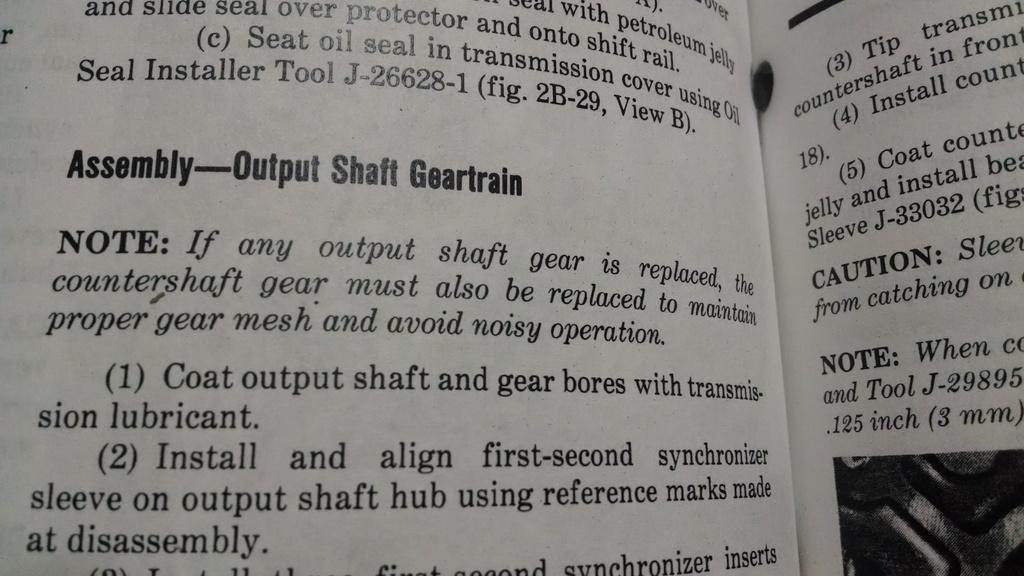
Interesting note about gears from the FSM:

IMG_20170208_210646874_zpsrakcjsix-1.jpg


Well, I am not changing any "output shaft gears", but I am changing the counter shaft, so I should be good to go LOL :rolleyes: This is correct, sort of :twocents: The first T5 I rebuilt was the "Best"/quietest because it used a complete matched set of gears. The next two I built were a bit noisy at first, because they were just all sorts of mismatched gears from three different transmissions. BUT, after a couple thousand miles, they became almost as quiet as the first T5. I "guess" the gears kind of took awhile to get acquainted. If you really read into this, even if you change the input shaft, which spins the counter shaft, which meshes with all the other gears, you have to change out ALL the gears, since they are a matched set. Well, if that's the case, if one gear is bad, the whole transmission needs all new gears, according to the FSM!!!!!!! Well, I'm not doing that.
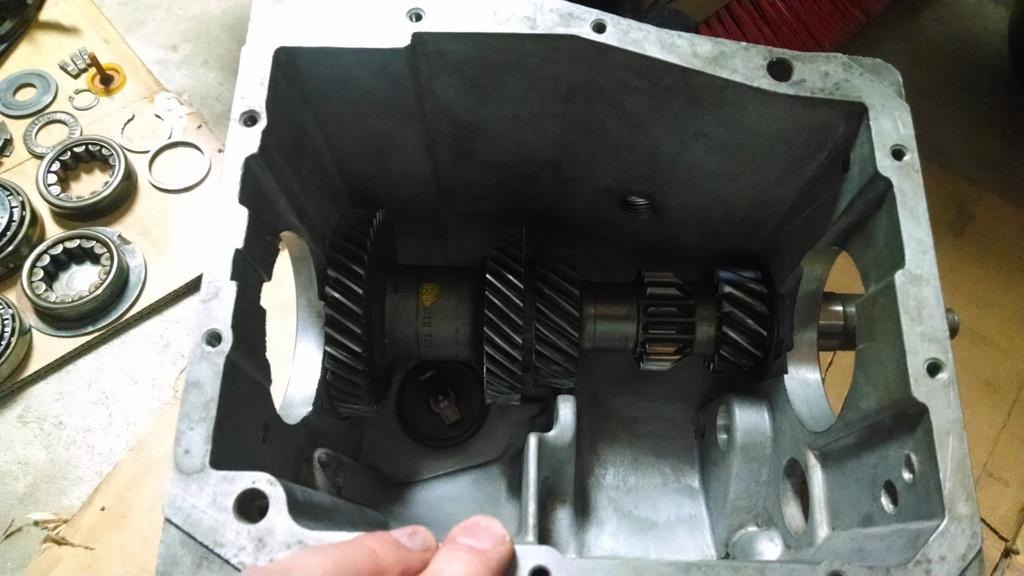
 
Like I said, this is not a step by step guide. If you read the FSM/AMC T5 Rebuilder book/Tremec T5 rebuild info, I think they tell you to start with the output shaft. Well, I started with the counter gear install.
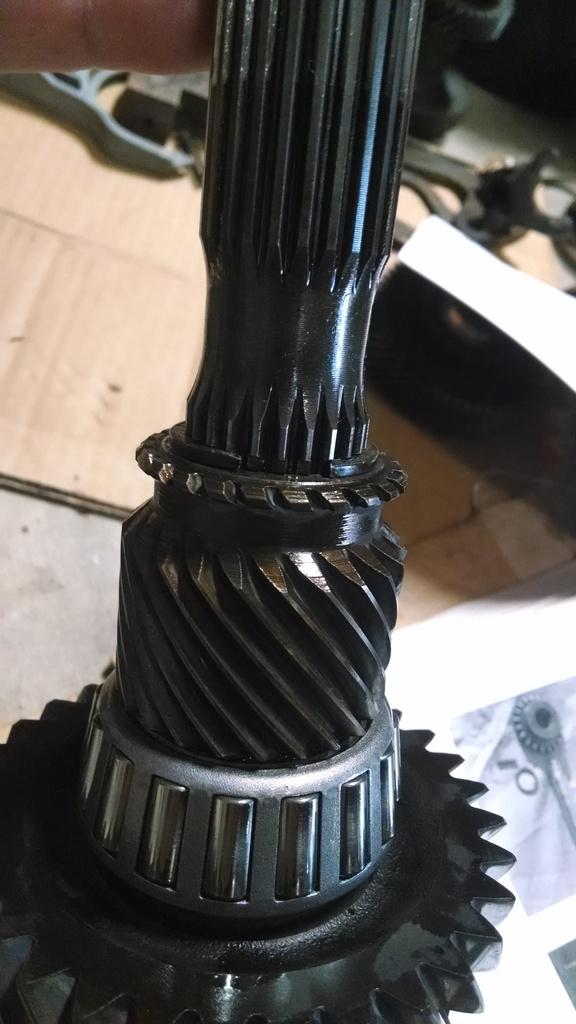
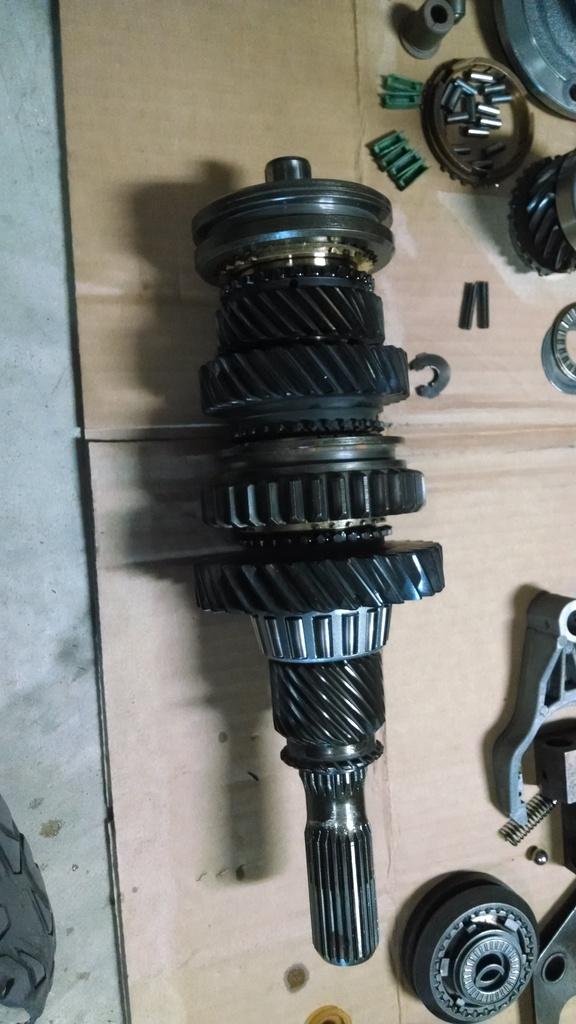
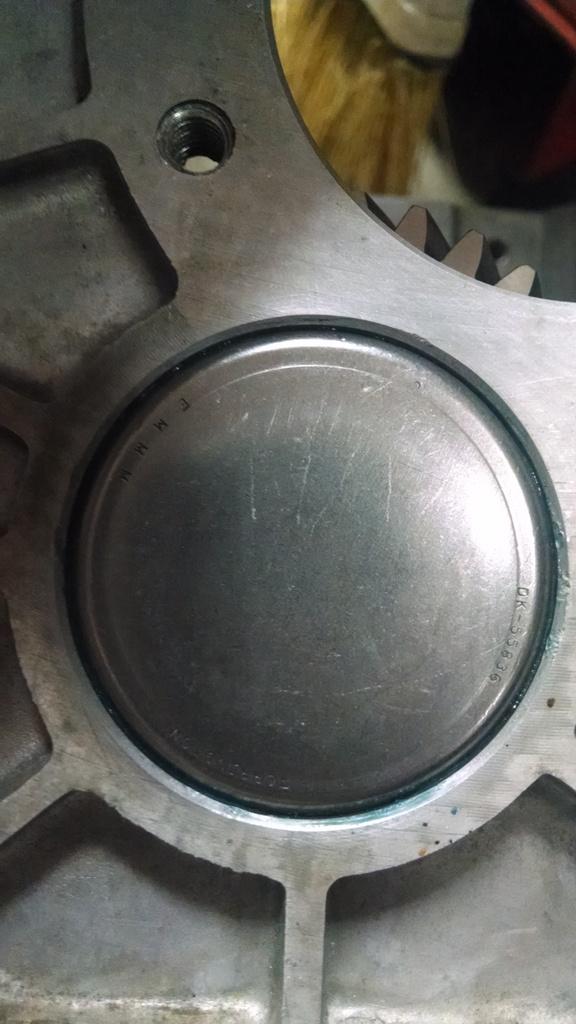
Basically, press the front bearing into the case until it is flush with the outside of the case. Install thrust washer at front of case. Insert counter shaft. Slide on rear bearing spacer. Then, press in rear bearing.

IMG_20170208_210112209_zpspip7gvkk-1.jpg


Picture showing the front bearing installed, flush with outside of the case. The FSM/other guides tell you to use Loctite 601 around the outside surface of this front bearing. I am pretty sure this is to prevent leaks, but it will also keep the bearing from moving rearward in the case. I did not have any 601, its hard to find. I do have Sleave Retainer and Red Loctite. BUT, if you use those, it will take a bunch of heat to remove the bearing in the future. So, I used BLUE Loctite. This is what the mechanic at work used on the S10's T5. If you remember, I cracked that case trying to press out this bearing without heating it first. So, I am going to gamble that BLUE Loctite will be up to the task. This T5 case still has very tight counter shaft bearing bores, both front and rear. I had to actually press in both bearings. My previous T5 cases were a bit looser. IF you have a loose case, the heavier duty Bearing Retaining compounds might be useful.

IMG_20170208_210129066_zpszq16fvui-1.jpg


I also skipped around and installed the reverse gear, shaft, O-ring, and retaining pin. Make sure you put this O-ring on the shaft. IIRC, the exploded parts diagrams in all three T5 rebuild books I have show this O-ring, but they never mention installing it in the text. On a previous T5 rebuild, I finished assembling the whole transmission, including sealing it all up. I then saw this O-ring in the left over parts pile. Yep, had to take it all back apart. Sucked.

IMG_20170208_212018424_zpsbg7nxdal-1.jpg


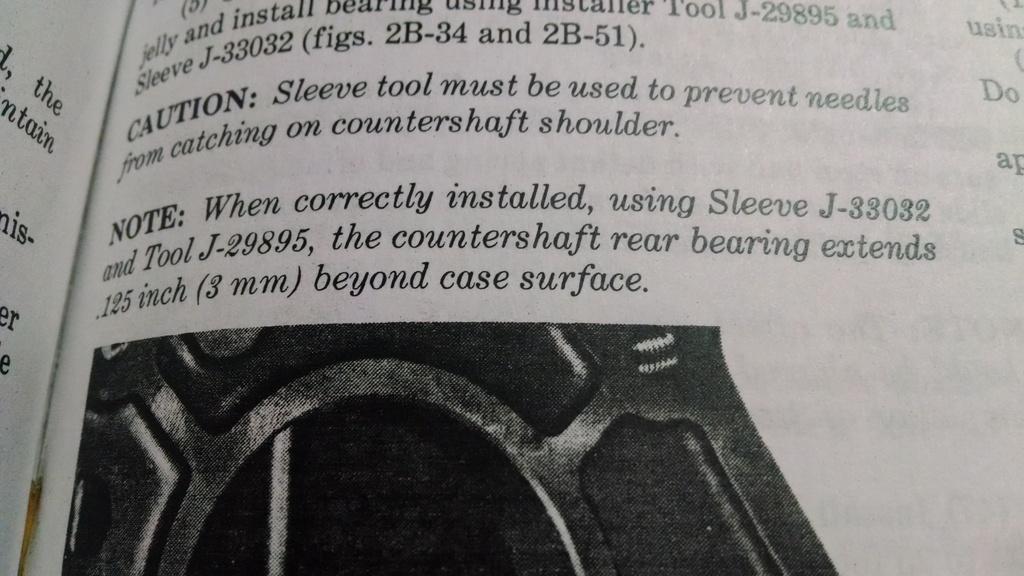
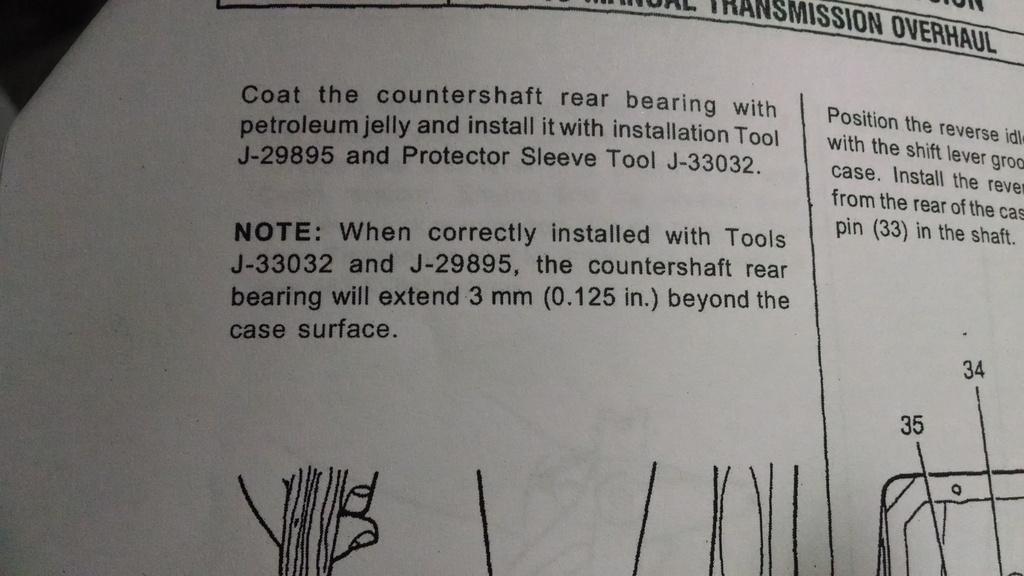
This is some information on the counter shaft rear bearing. The FSM/AMC T5 Rebuild guide say one thing, Tremec manual is non-descript.

Ok, FSM:

IMG_20170208_210716755_zpseqbdrihx-1.jpg


AMC T5 Rebuild manual:

IMG_20170208_210506678_zpsv8irm65l-1.jpg


They both tell you to leave this rear bearing sticking out the back of the case 3mm or .125". 3mm is actually closer to .118", but whatever. They tell you something.

Tremec, who bought the rights for the T5 from Borg Warner, says this, Note "d":

IMG_20170208_210516581_zpsuozapnjk-1.jpg


Well, isn't that special. They don't tell you crap.

My point is, this rear bearing "stick out" controls the "end play" of the entire counter gear. I kind of played around with this, and am going to mess around with it some more, just out of curiosity. Anyway, even though both the front and rear bearings are straight rollers, NOT tapered, if you press in the rear bearing until it contacts the spacer, you will lock up the counter shaft, i.e. it will not turn. Now, as you start driving this bearing back out, you can begin to turn the counter shaft. As you get closer to this 3mm stick out, the shaft becomes easier to spin, until you reach a "sweet spot", where the counter shaft spins freely with no binding, and no excessive lateral movement. BUT, when you install the rear bearing to 3mm stick out, you get excessive lateral movement in the counter shaft, i.e. that sucker can move forward and backwards a bunch, like enough to cause gear misalignment!!!!!!!!!!!!

OK, so the front bearing is prevented from moving outward by the front bearing retainer. This keeps the entire counter shaft from sliding out the front of the transmission case. But, what keeps the rear bearing in place? I am "assuming" that the remainder of the parts that go on the back of the counter shaft, including the cute little thrust bearing, lock the counter shaft in place, preventing excessive rear movement?? I am going to temporarily install the remaining counter shaft components, and bolt on the rear half of the case, to see if this locks it all in place. That 3mm stick out causes way too much forward/backward counter shaft movement. I am just wondering when the other components are installed, and the rear case is bolted up, does it push this bearing inward a bit back to that "sweet spot", i.e. spins free with no excessive lateral movement?????

I really wish I knew what the specified end play of the installed counter shaft is supposed to be?????

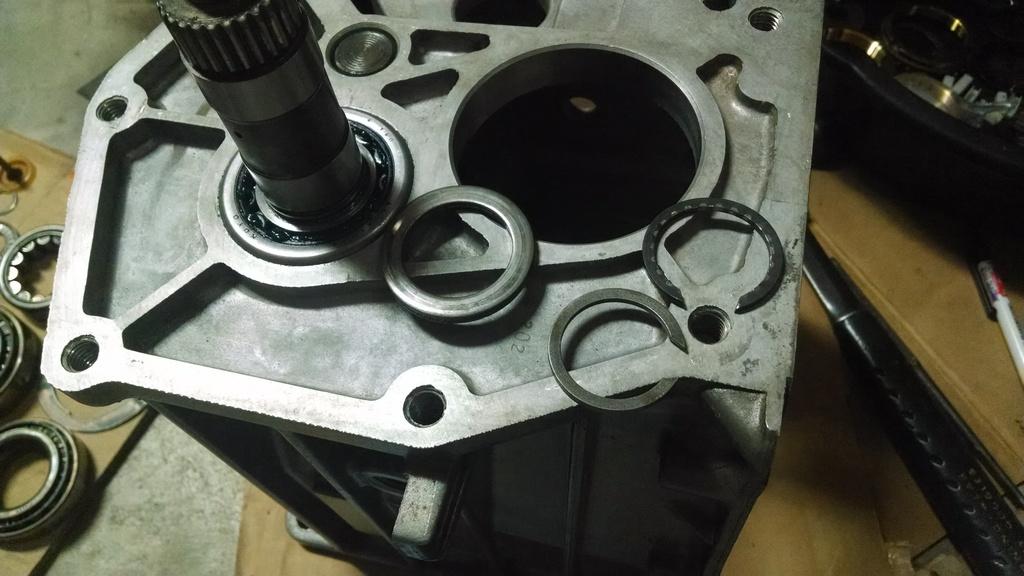
Anyway, rear counter shaft bearing installed, thrust washer, and THIN snap ring. The rebuild kits DO NOT INCLUDE this thrust washer. Inspect your old one and make sure it is good to go.

IMG_20170208_212937864_zpsbwfbji2b-1.jpg


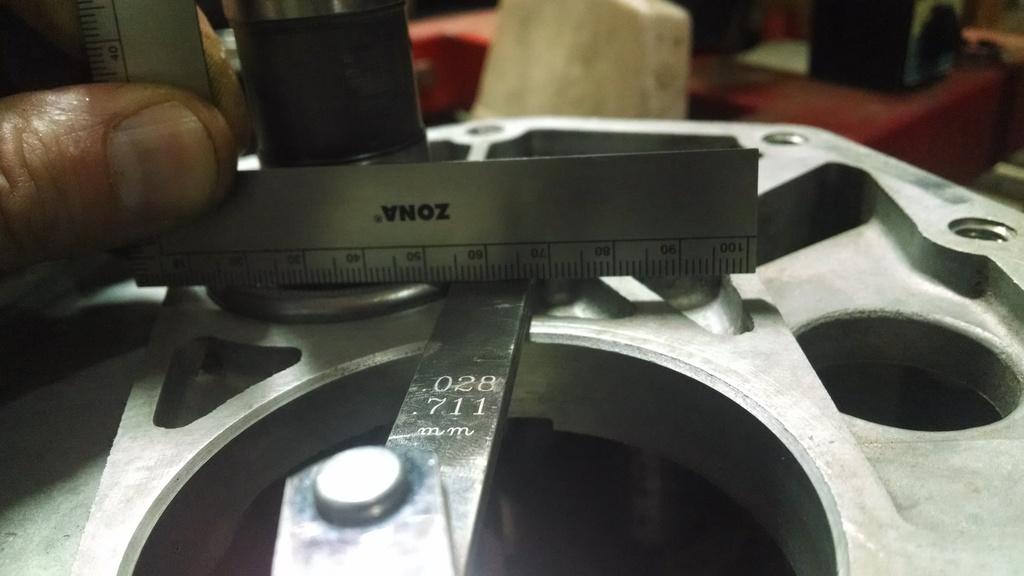
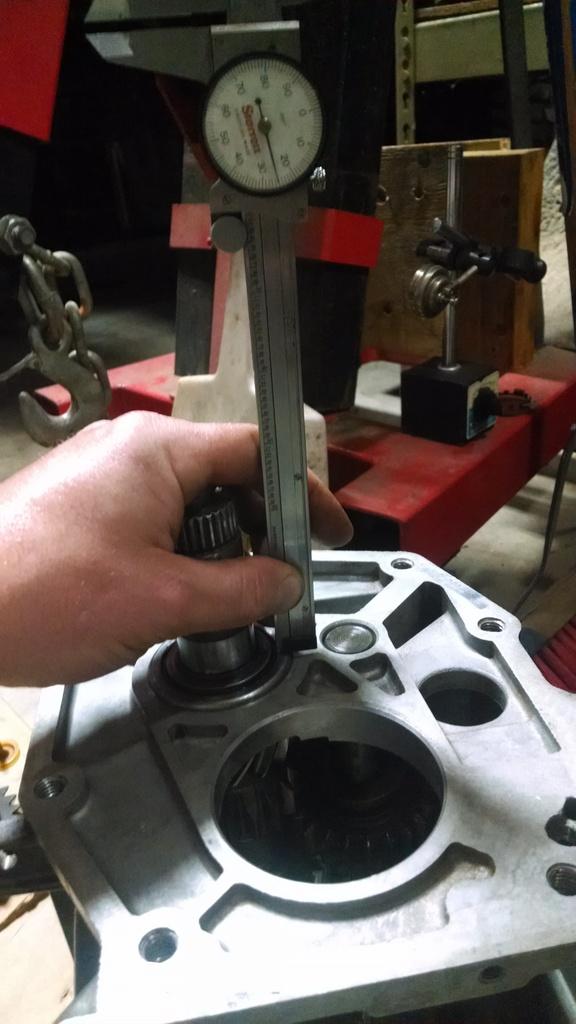
Two ways to verify the 3mm/.125" stick out.

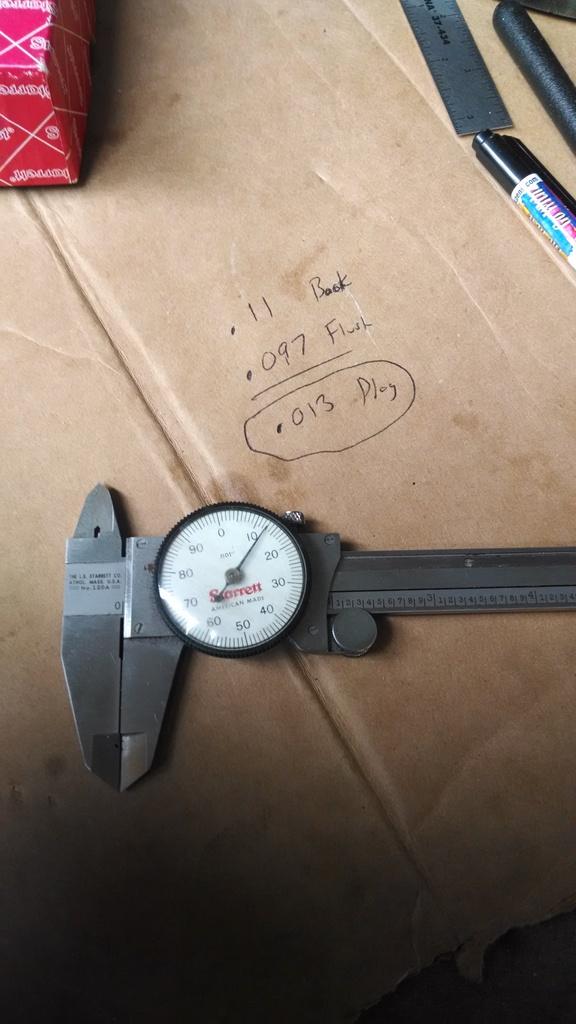
1) Straight edge and feeler gauges:

IMG_20170208_223305087_zpsa9x3hv1r-1.jpg


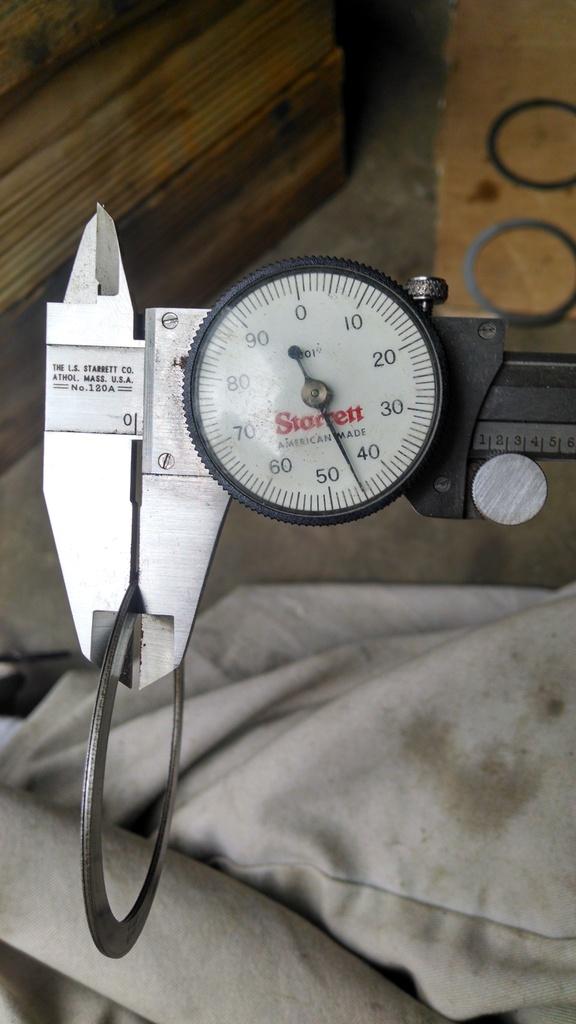
2) Use the caliper, note the dial reading, hard to see:

IMG_20170208_223555293_zpsvfpwf8ly-1.jpg


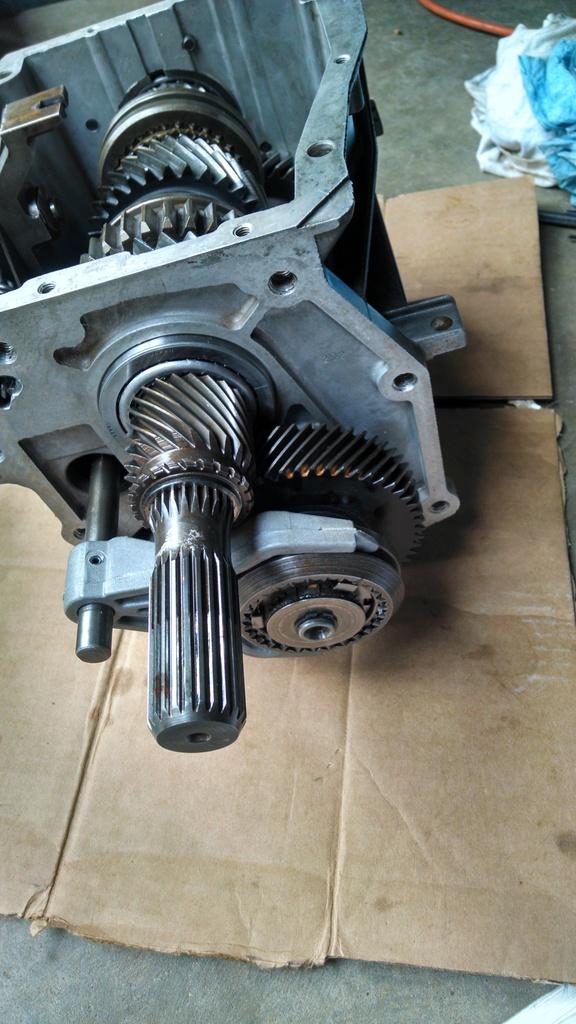
Installed, with the specified 3mm stick out:

IMG_20170208_223729803_zpsypfsuavo-1.jpg


One other note - The big gear that slide on this back part of the counter shaft is machined to slide over/not contact the clip, but it does have a recess machined into it that rides on the thrust washer.

I really do not like this counter shaft bearing set up. At all. Pretty crappy. On a T176, the counter gear has a thrust washer at each , and the transmission case keeps the counter shaft in place. A Dana 300 is similar.

On a NWC T5, as far as I can tell, you have the front bearing retainer to keep the front bearing from sliding outward, but nothing really keeps this bearing from sliding inward.

The rear bearing has a spacer ring, which rides against the back of some gear teeth, that keeps the bearing from sliding too far inward, unless the whole counter shaft slides forward, then nothing keeps this bearing in place except for the interference fit of the outer bearing shell to the case.

The counter shaft really can not slide forward, since it has a thrust washer at the front, which rides directly against the case.

I am "assuming" the counter shaft can't really move backwards, the rear case/thrust bearing keep the counter shaft locked in place. Still need to look into this.

But nothing, as far as I can tell, except for the "tightness" of the case bore around this rear bearing, keep it in place. If this rear bearing moves, then the end play of the counter shaft can/could change, not good.

That's it for now, my head hurts LOL!!!
 
I've rebuilt a few of these but it's been a few years. I remember thinking the same thing about the rear countershaft bearing but when either the rear gear stack went on or the rear case, it made sense and worked out. I want to say that when under forward load, the shaft is pressed forward into the larger thrust washer anyway. I may be wrong.

I've been preaching for years that the t5 can be a good unit if the axle gears match the tire size. Reducing the load is key for these to survive. In my 86 CJ7, I got about 80 to 95k out of each one before a bearing made noise. Pitting, not from rust, but like bad metal in the race or bearing. I even used one t5 in a small rock crawler. Only 33s and 4:10s but I was constantly spinning and slamming that jeep. ( ironically you spoke to some of our club members at Morris one time. I was further up the trail) but it wasn't till about a year later I swapped that t5 into my Scrambler and a week later blew 3rd gear on the street ( yes wrong axle gears).
Well like you I threw one together from 3 bad / free ones and it's been 6 years now in my Scrambler and no problems. It's a strong 258 with 3.31s and 29s. I am anything but easy on this jeep and it was held up fine. I will say that I used all OEM parts and no aftermarket gears or bearings. Reading about your 5k mile failures, I would bet that is the case.
 
No, on second thought, it wasn't Morris Mountain. It was the park that all the trails have Top Gun names like Maverick and Viper........Hawk Pride off road
 
I've rebuilt a few of these but it's been a few years. I remember thinking the same thing about the rear countershaft bearing but when either the rear gear stack went on or the rear case, it made sense and worked out. I want to say that when under forward load, the shaft is pressed forward into the larger thrust washer anyway. I may be wrong.

I've been preaching for years that the t5 can be a good unit if the axle gears match the tire size. Reducing the load is key for these to survive. In my 86 CJ7, I got about 80 to 95k out of each one before a bearing made noise. Pitting, not from rust, but like bad metal in the race or bearing. I even used one t5 in a small rock crawler. Only 33s and 4:10s but I was constantly spinning and slamming that jeep. ( ironically you spoke to some of our club members at Morris one time. I was further up the trail) but it wasn't till about a year later I swapped that t5 into my Scrambler and a week later blew 3rd gear on the street ( yes wrong axle gears).
Well like you I threw one together from 3 bad / free ones and it's been 6 years now in my Scrambler and no problems. It's a strong 258 with 3.31s and 29s. I am anything but easy on this jeep and it was held up fine. I will say that I used all OEM parts and no aftermarket gears or bearings. Reading about your 5k mile failures, I would bet that is the case.

No, on second thought, it wasn't Morris Mountain. It was the park that all the trails have Top Gun names like Maverick and Viper........Hawk Pride off road

Yep, Hawk Pride, been a few years :thumbsup::wave:

My "first" Red Scrambler T5 was the "best", it survived countless southeast trips/highway drives, even made it to Moab, wheeled a week there, and made it back home fine. That Scrambler has MPI 258, 4.10's, 33" tires, 4:1 low range, Ox Lockers. I thought it would survive................

But, it got "the pits" on the front bearing machined surface of the counter gear, started whining. It still worked fine when I pulled it. This T5, out of my green Scrambler, with 128k miles on it, suffered the same "pitting" on the rear bearing machined surface of the cluster gear :eek:

I am hoping I can get this T5 to survive in my green Scrambler. It will have MPI 258, 3.31 gears, 30" tires. I "might" swap to 3.54 gears, not sure yet. My green Scrambler should be a bit lighter, no winch, rock guards, heavy rear bumper/tire carrier, or roll cage.

If it blows, then I can either stick in the T-176 I have on the shelf, or swap in another AX15, NV3500, or NSG 6 speed. I hope not :fingerscrossed:

I am thinking weight, tire size, and engine power output all work against the T5. Hopefully the increased power from a new engine/MPI wont blow this T5 to pieces :popcorn:

I thought it was strange that I kept blowing these things up cruising down the highway at 75mph. Just steady cruising at around 2,500 RPM. Not while shifting, drag racing, bouncing off rocks, mud bogging, etc. :shrug:

That low mile original '82 Jamboree I drove back from Colorado had a T5, worked perfect. Stock power, stock tires, stock weight - perhaps that is the key to T5 survival :twocents: :fingerscrossed: :shrug:
 
Appreciate your detail and photos...

No problem, glad someone reads/looks at all this stuff :cheers::thumbsup::wave:

I ended up taking a bunch of T5 rebuilding pictures, I can post them up when I get time, if anyone is interested :shrug:
 
Some more information about my T5 counter gear end play.

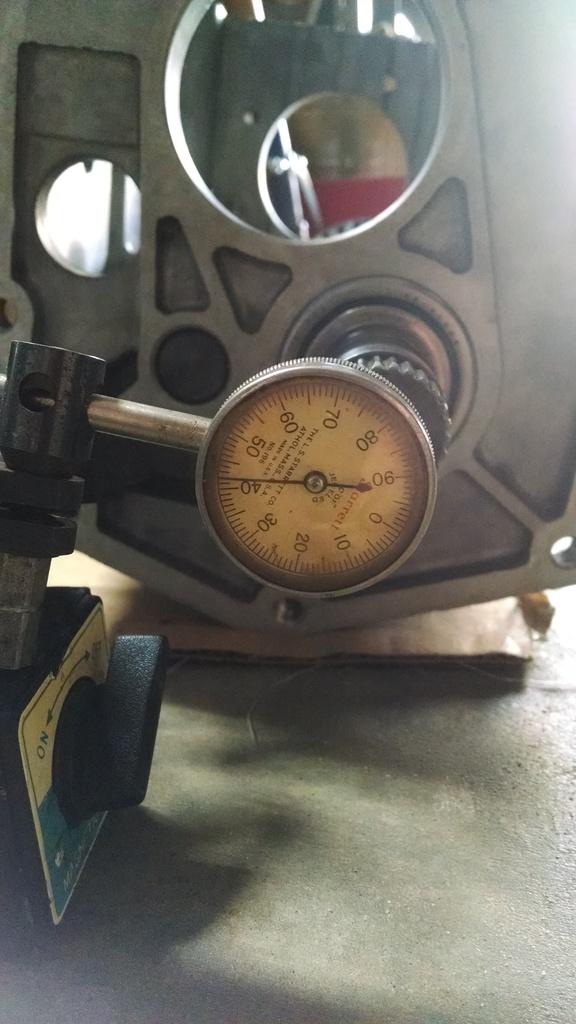
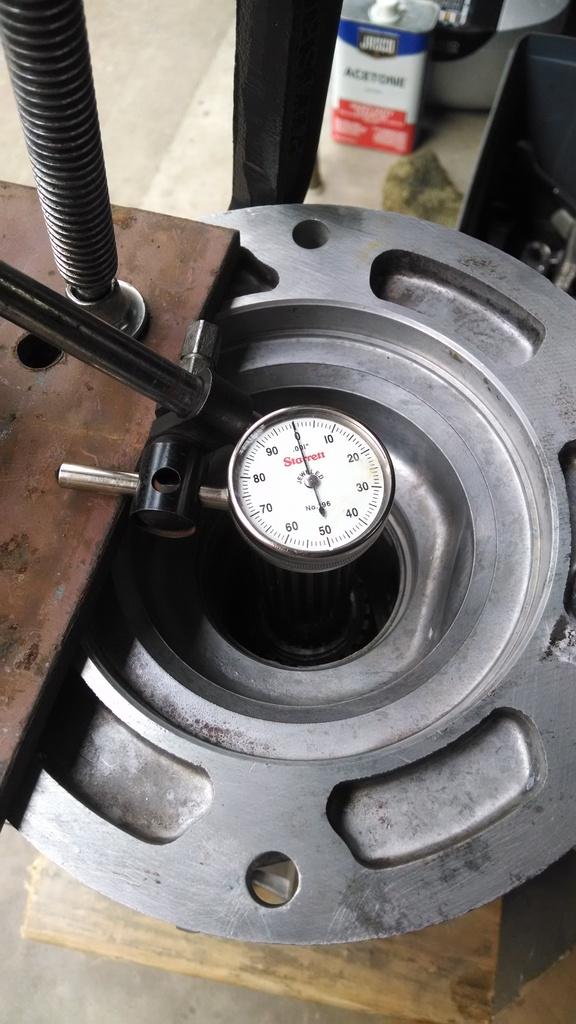
With the counter gear installed, rear bearing installed with the specified .125 inch or 3mm "stick out", front bearing installed flush with the outside of the transmission case, and NO rear housing installed, .042 end play, which is a lot:

IMG_20170210_153953153_zpsb2pn58yf-1.jpg


With the rear case installed, plus all of the other transmission parts, I again checked the end play. With the rear case installed, you can not use the dial indicator. So, I pushed the shaft all the way forward, and measured the clearance between the front face of the counter gear and the inside face of the transmission case with feeler gauges, and recorded the dimension. Next, I pushed the counter gear as far back as it would go, and again, recorded the dimension.

IMG_20170211_092732661_zpsjfdxq0cd-1.jpg


I came up with .013, which is way less then the original .042. So, the rear case/thrust bearing/washer DO take up most of the end play. And, the counter gear rotates smoothly, no binding. What I still do not know, and can not find anywhere, is what SHOULD the counter gear end play be on a NON World Class T5??

I am no transmission expert, but I would expect that a little end play on the counter gear is OK, but how much?? I imagine that if you tried to eliminate all the end play out of the counter gear that the little thrust bearing in the tail housing would not last long :twocents: So, maybe a little play is desired, maybe it helps with gear meshing. The World Class T5's call for .0005-.004 end play on the counter gear, which is pretty tight, BUT they are a totally different design, with two opposing tapered bearings supporting the counter gear. And, World Class T5 main shaft gears ride on needle bearings, so maybe the gear mesh play is developed on the main shaft gears on a World Class T5, the counter gear on a Non World Class T5 :shrug:


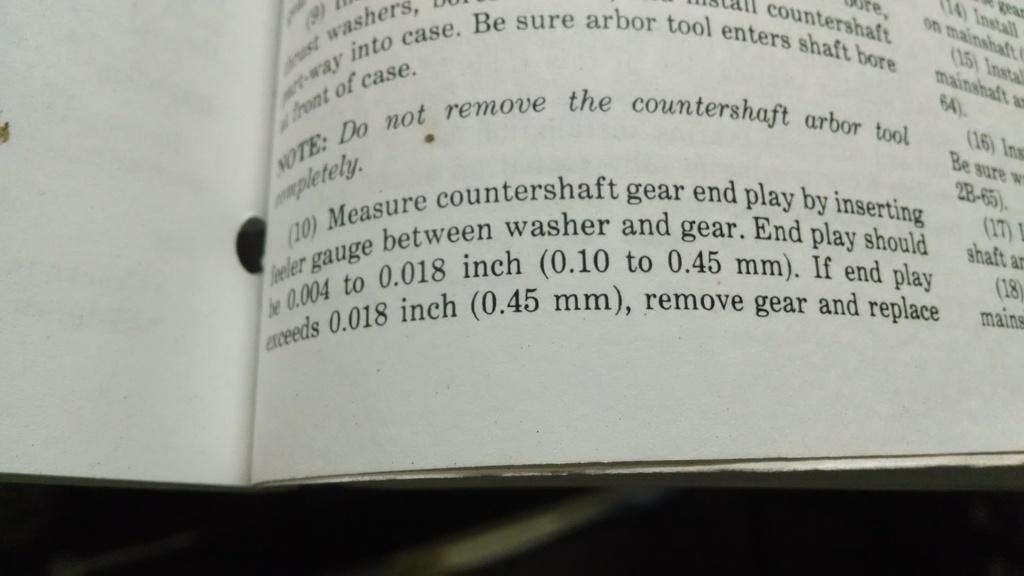
Counter gear end play information from FSM with regards to the T176, NOT the T5:

IMG_20170213_071455804_zps3hagbiq6-1.jpg


If my T5 was a T176, the end play would be within the specified range, more toward the high end of the scale.

Any experts/engineers want to weigh in on this???

I wish I would have recorded the counter gear end play on the transmission before I disassembled it, just so I had some base line value. IIRC, it had more play on the counter gear, but the bearings also had 128,000 miles on them!!!!!

Just a little gun shy, considering I have blown 2 T5's apart, and now have had 2 with counter shaft gear bearing journal wear/failure.

On the two blown up T5's, no apparent wear to the counter gear thrust washers, or the little tiny thrust bearing in the rear of the case, or any other components, except for missing teeth off the input shaft/corresponding gear teeth on the counter gear.

This 128,000 mile T5 had wear in all 4 bearings, not excessive, but very evident when compared to the new bearings. The T5 that lasted longest in my red Scrambler only had bearing journal damage to the front of the counter gear, no other issues.

:shrug:
 
I have a NOS T5 tell me how/what to measure without obviously taking it apart.

Also hard to find correct oil for the T5.
 
I have a NOS T5 tell me how/what to measure without obviously taking it apart.

Also hard to find correct oil for the T5.

Unfortunately, you would have to remove the top cover to measure. To remove the top cover, you have to take off back half of case. So, no way for you to measure without disassembly :(

But, thank you for the offer :thumbsup: :cheers:
 
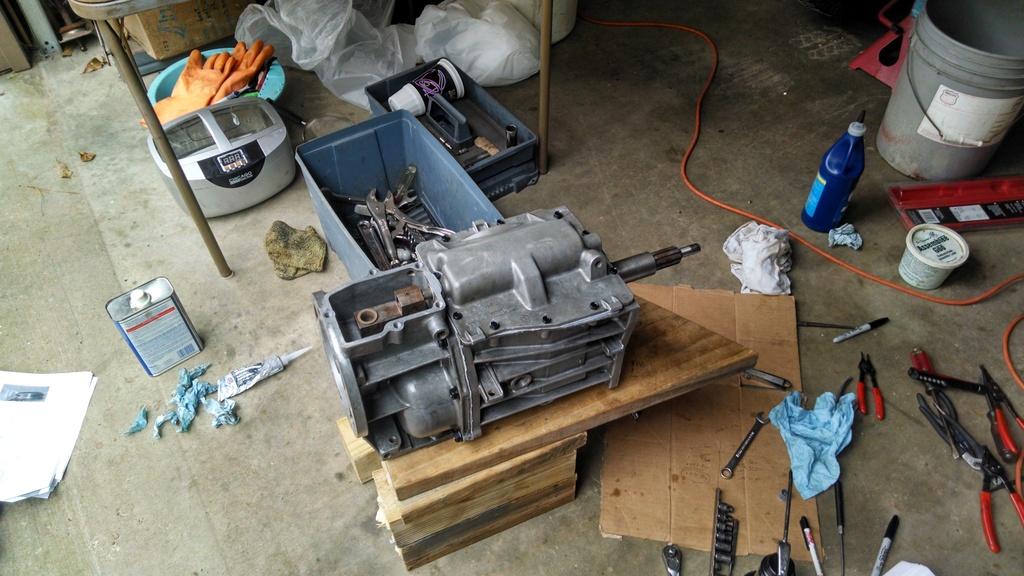
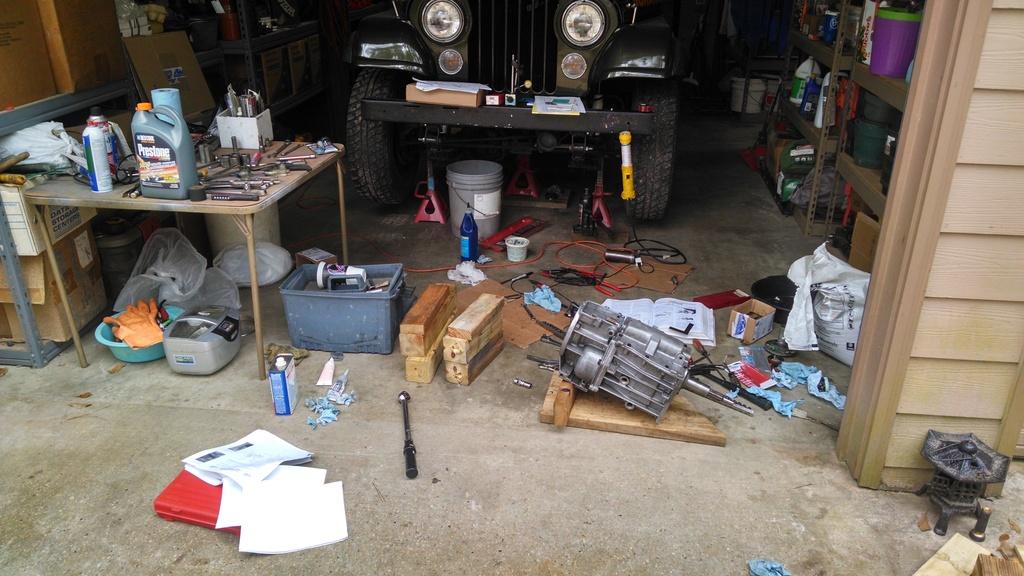
This won't be a step by step rebuild, but I took a bunch of pictures when I rebuilt this last T5. Figured I would post them up, might be helpful to someone else.


The Factory Service Manual is pretty clear, and this guy's site is really good too:

http://lugnutz65chevystepside.weebly.com/t5-transmission-rebuild.html

He is using a NWC Camaro T5 with an S10 rear housing, but most stuff is identical to the Jeep T5.


Like I said, this is not a "step by step", but could be useful reference material.


Input shaft bearing pressed on:

IMG_20170210_153456428_zpsdb3albbq-1.jpg


New on bottom, Old syncro parts on top:

IMG_20170210_160744525_zps84fwhhhw-1.jpg


New stuff is thinner, I reused my old parts, they were still fine:

IMG_20170210_160815932_zpscppxrv8e-1.jpg


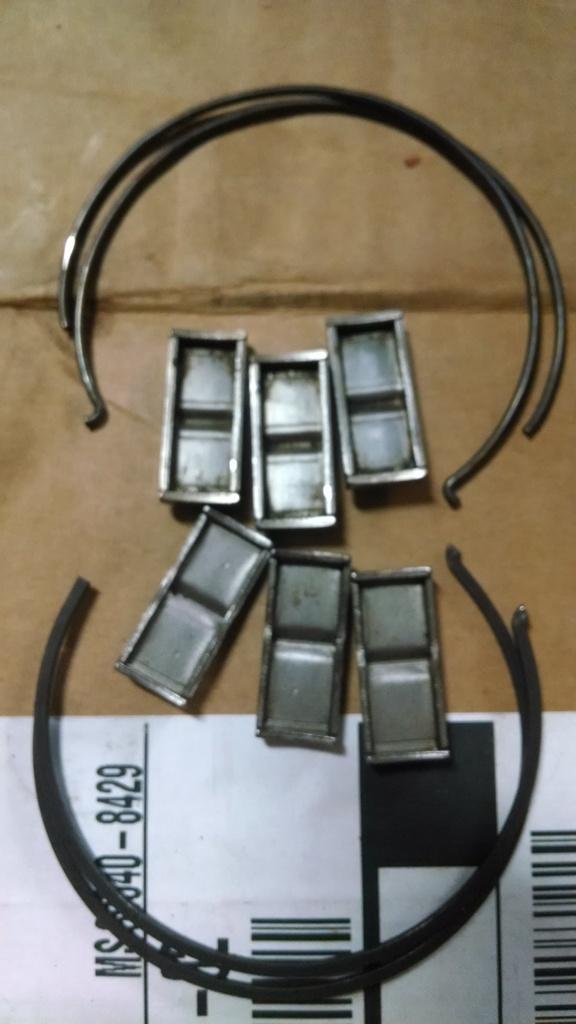
No need to mark where these three fingers go, wear marks are evident. Not really sure why these have to go exactly back where they were?

IMG_20170210_160933510_zpsq1t6dqgp-1.jpg


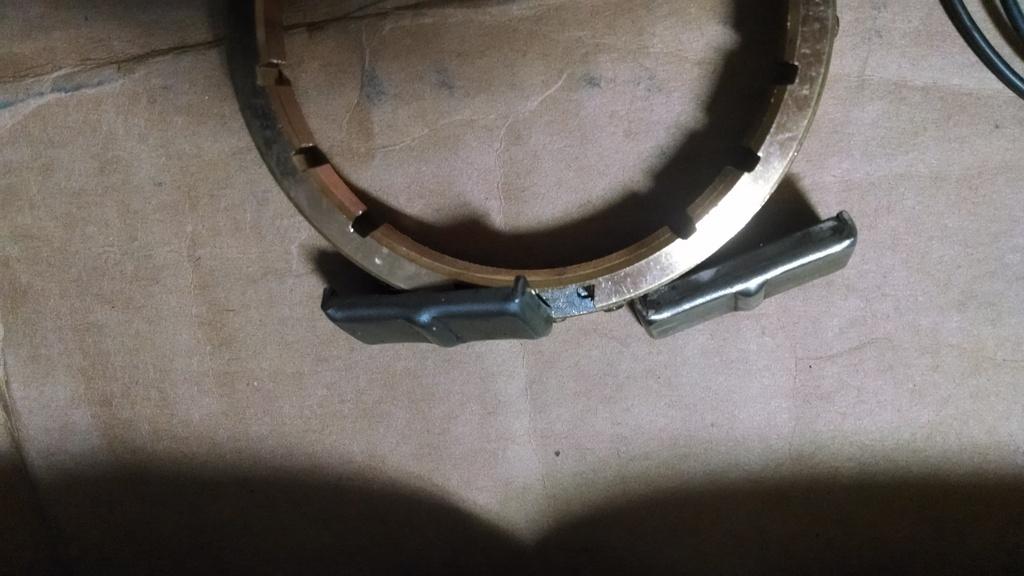
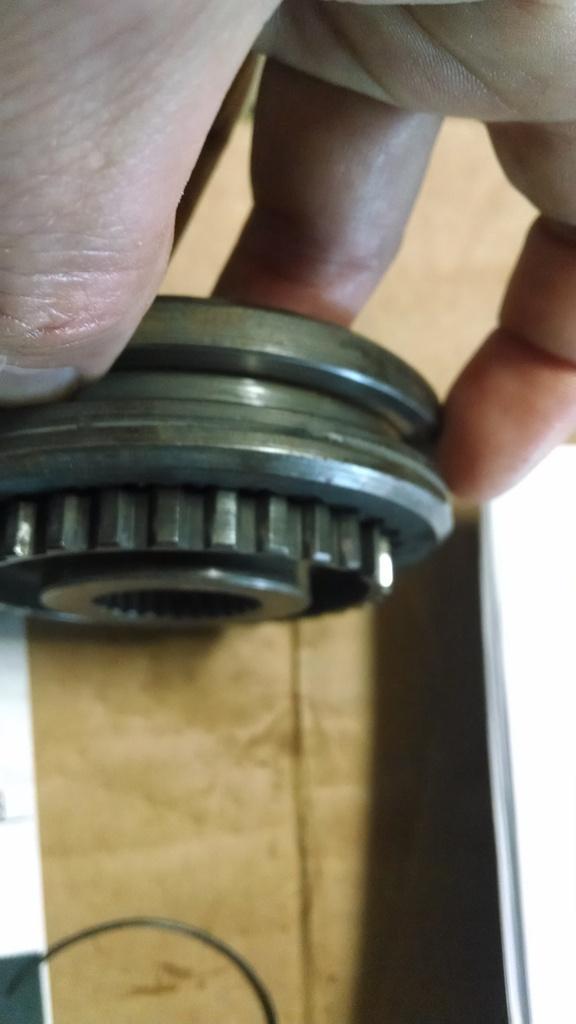
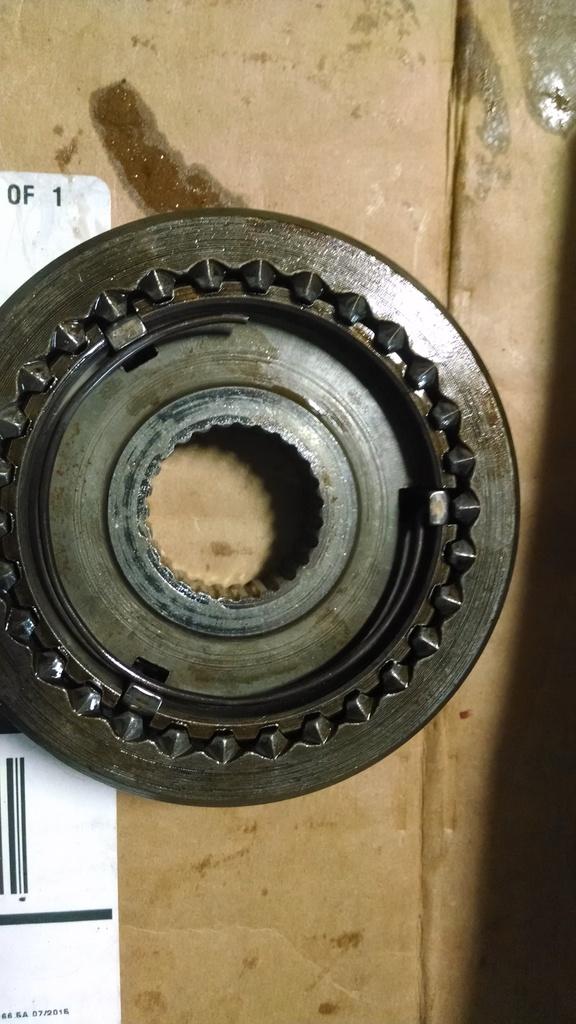
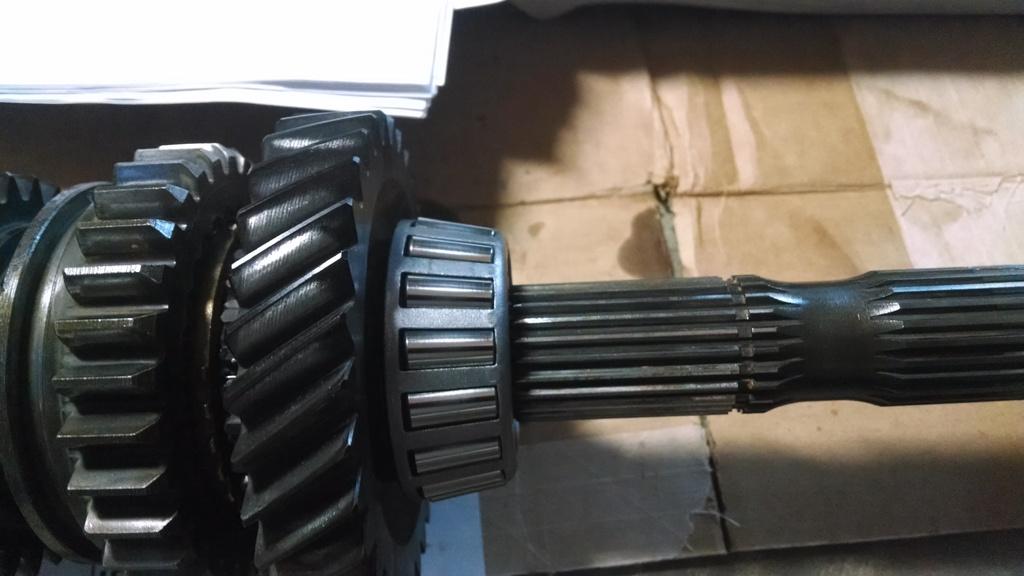
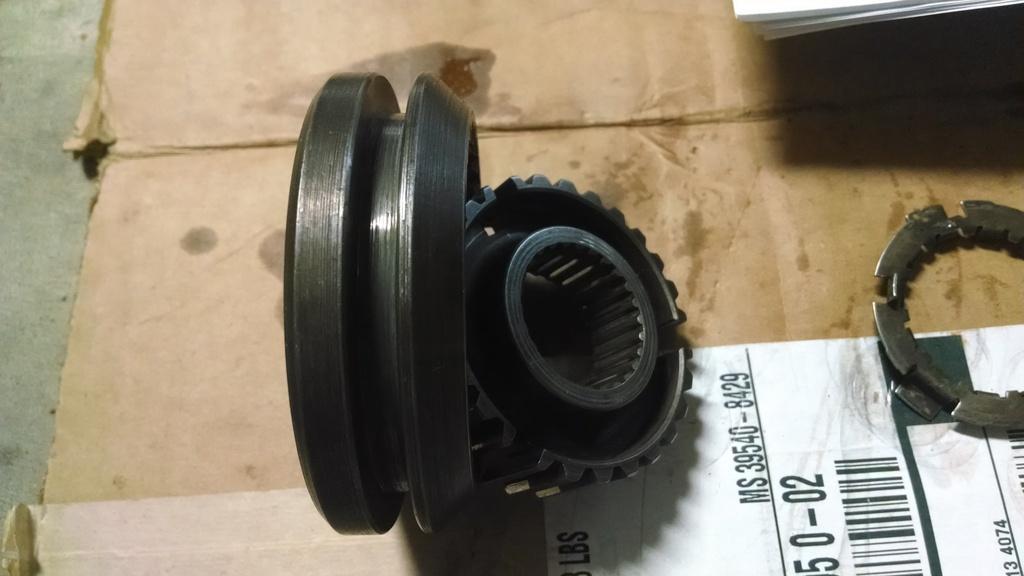
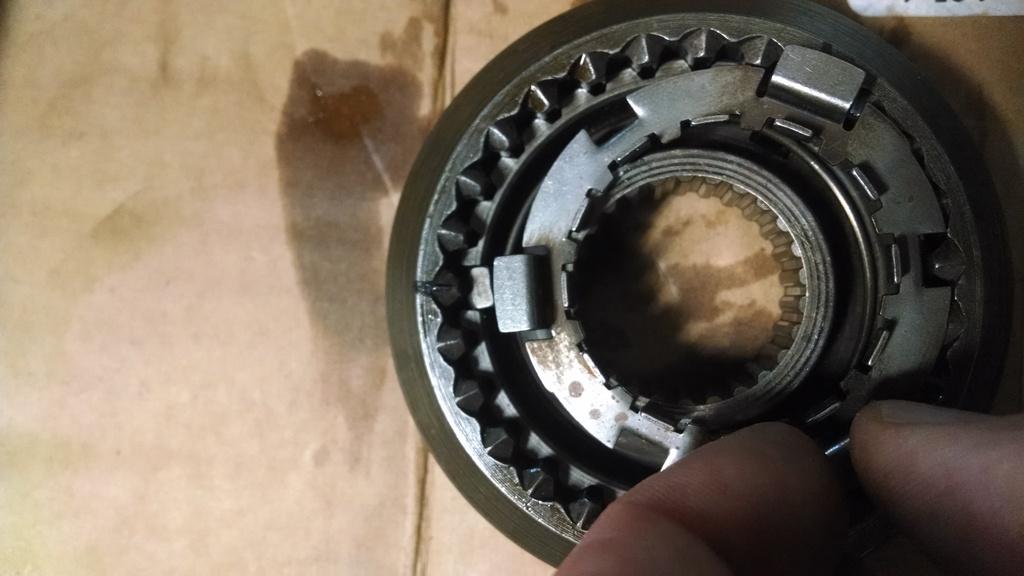
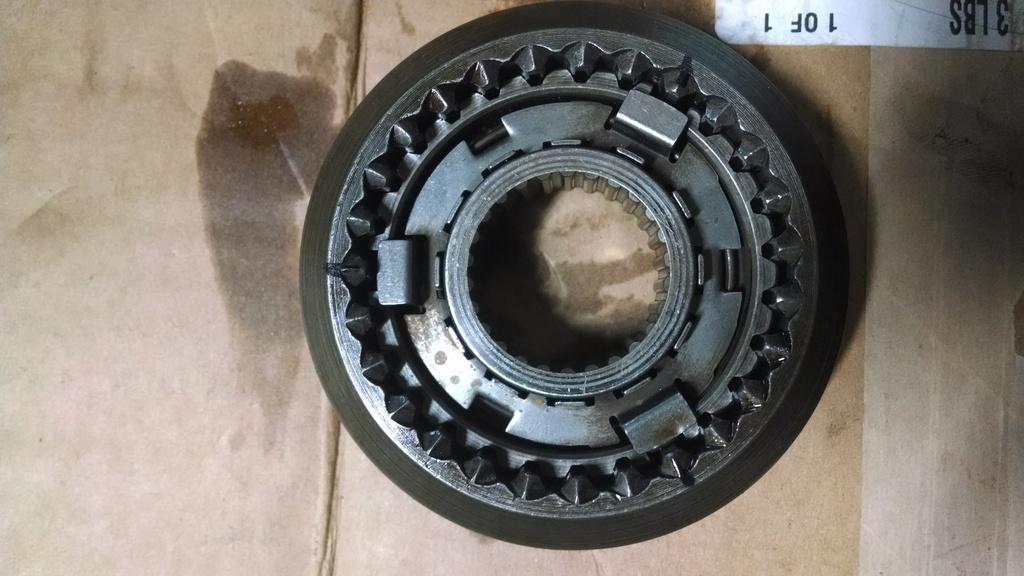
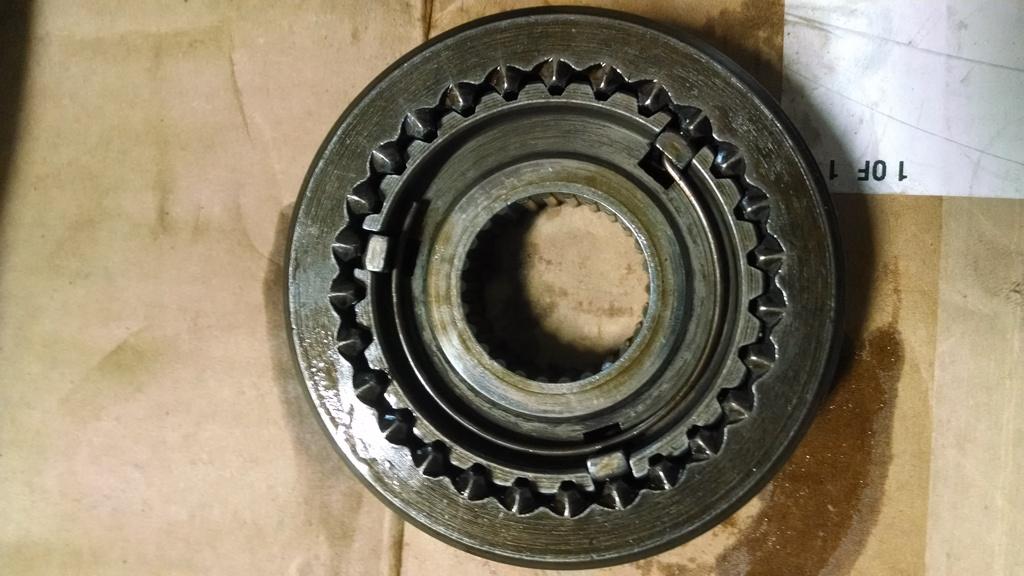
Syncronizer assembly. The three fingers go in place, the hub slides over. You start the snap ring on the same finger, but run the wire loops in opposite directions top and bottom. So, start with a finger at 12 o'clock, hook end of wire there, run it clockwise. Flip the assembly over, start at the same finger, run clockwise. Hard to explain.

Close up of snap ring/syncronizer installed:

IMG_20170210_161726253_zpslyopotpl-1.jpg


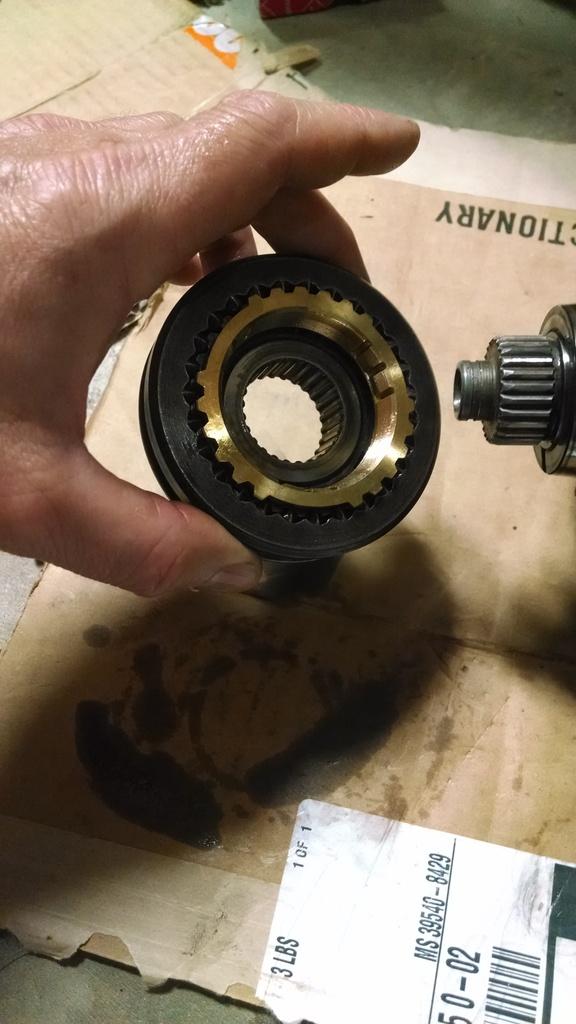
Big vs. small notch blocking rings, they big ones will only fit on a certain hub:

IMG_20170210_161826287_zpsh4ihrm59-1.jpg


Blocking ring goes on (IIRC a BIG NOTCH), then a gear slides on, then Tab thrust washer installed:

IMG_20170210_162415337_zpslcevezgu-1.jpg


IMG_20170210_162423906_zpsjf6djpju-1.jpg


Then a big Snap ring installs:

IMG_20170210_163629360_zpsntrsciia-1.jpg


Then, another gear installs with a SMALL NOTCH blocking ring:

IMG_20170210_163824866_zpsdb0emclx-1.jpg
 
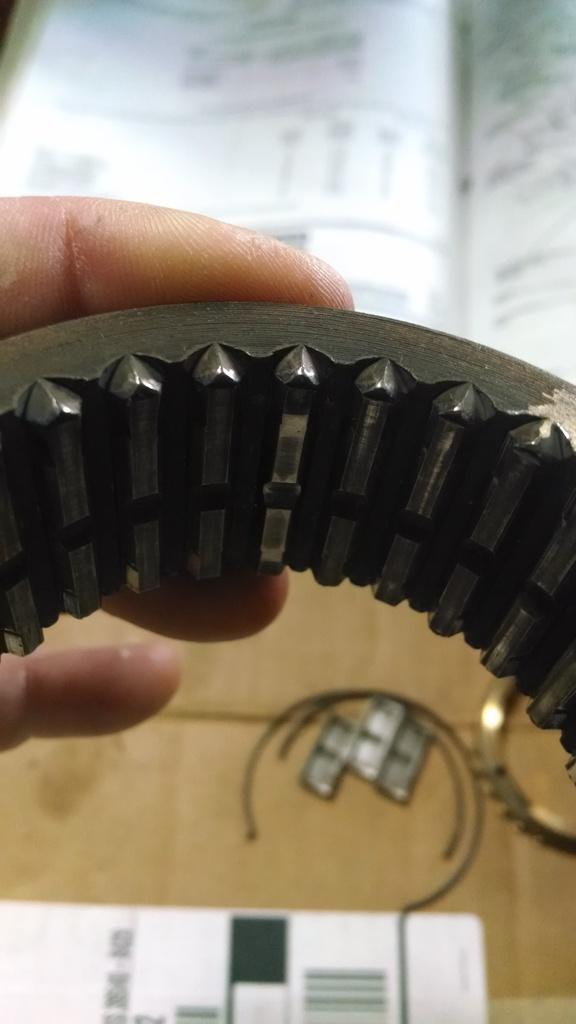
Note how this synchronizer goes together. The machined line end of the larger part goes on facing the central hub "stick out" on the other part

IMG_20170210_164053765_zpsecsjqhwd-1.jpg


More fingers and snap rings, same as the other one:

IMG_20170210_164447931_zpsfvcqkop2-1.jpg


Then, install it on the main shaft. Note the direction that it faces:

IMG_20170210_165018018_zpsyxltvks1-1.jpg


Then, go to work on the other end of the main shaft. BIG NOTCH blocking ring slides on, then another gear:

IMG_20170210_165636712_zpsfqtdfpoe-1.jpg


Install this pin in the main shaft:

IMG_20170210_170017649_zpsxpri0p1k-1.jpg


Note special thrust washer that works with this pin:

IMG_20170210_170026022_zpss8bxisfa-1.jpg


Thrust washer installed:

IMG_20170210_170043726_zps8pb3xd94-1.jpg


And then the rear bearing:

IMG_20170210_170203946_zps7ck9pjio-1.jpg


Then, this last gear is installed, followed by a snap ring. You will probably have to tap it on with a hammer and punch, or press it on:

IMG_20170210_171358586_zps5638s1nh-1.jpg


Ta-Da, finished with the main shaft:

IMG_20170210_171655527_zpsv9ucthkg-1.jpg
 
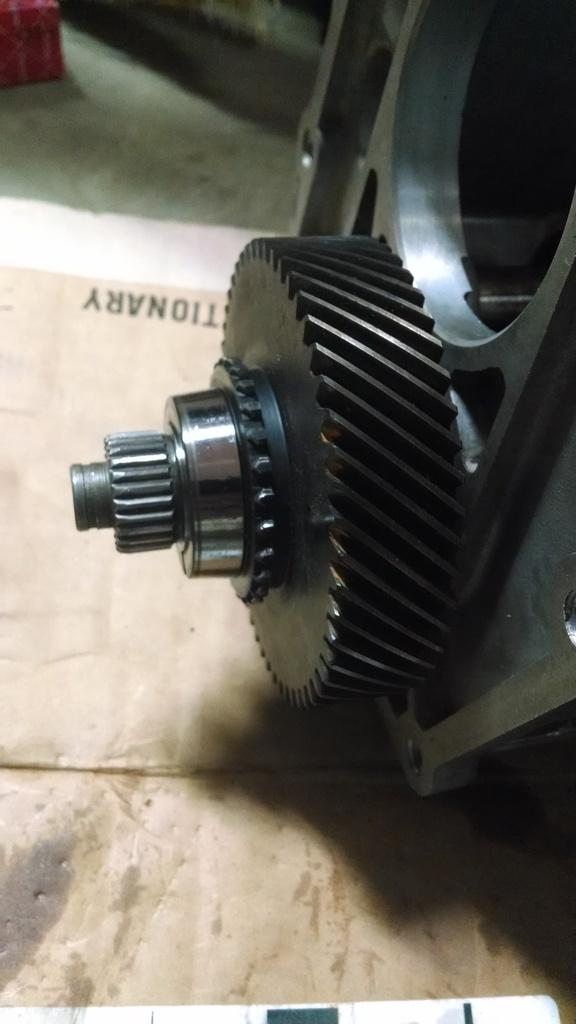
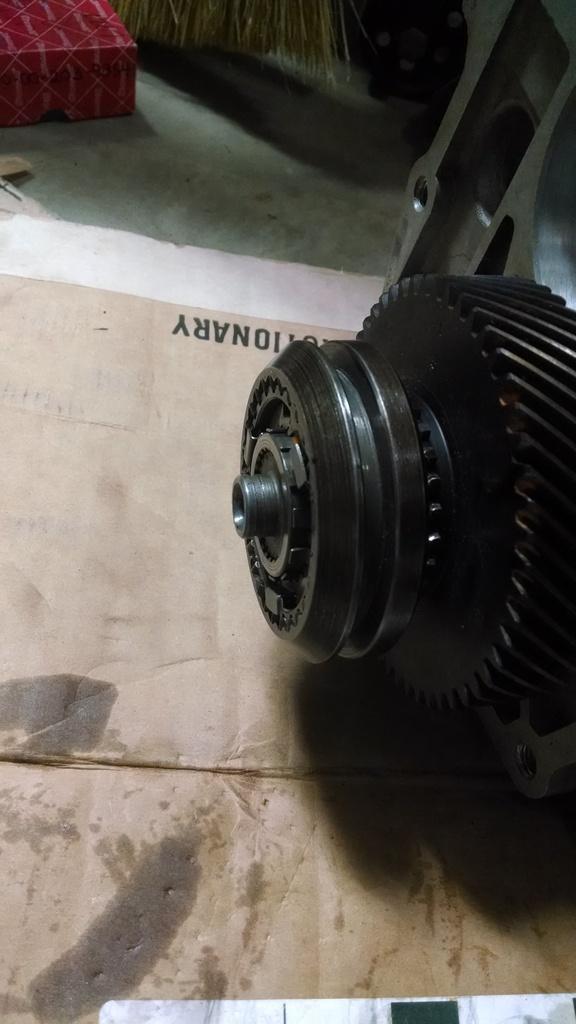
Now, the Overdrive Syncronizer assembly. It assembles the same as the other two with regards to "fingers and rings". Note orientation of parts, i.e. "hub stick out" and "angled end":

IMG_20170210_172425195_zpsrk1xseak-1.jpg


"Fingers and Rings" installed:

IMG_20170210_172859722_zpsgfhkak3a-1.jpg


This retainer piece is installed next, note orientation:

IMG_20170210_172913881_zpsqufgqd0j-1.jpg


Retainer installed:

IMG_20170210_173008909_zps2w77q9b0-1.jpg


Back side, showing the ring:

IMG_20170210_173141378_zpsckyvyx79-1.jpg


This big gear slides on the already installed counter shaft:

IMG_20170210_173704973_zpsxbsnqo3o-1.jpg


Then, the small blocking ring/synchronizer assembly slides on:

IMG_20170210_173710804_zpslqo2g3ww-1.jpg


Installed on counter shaft:

IMG_20170210_173749372_zpsezwum3ix-1.jpg


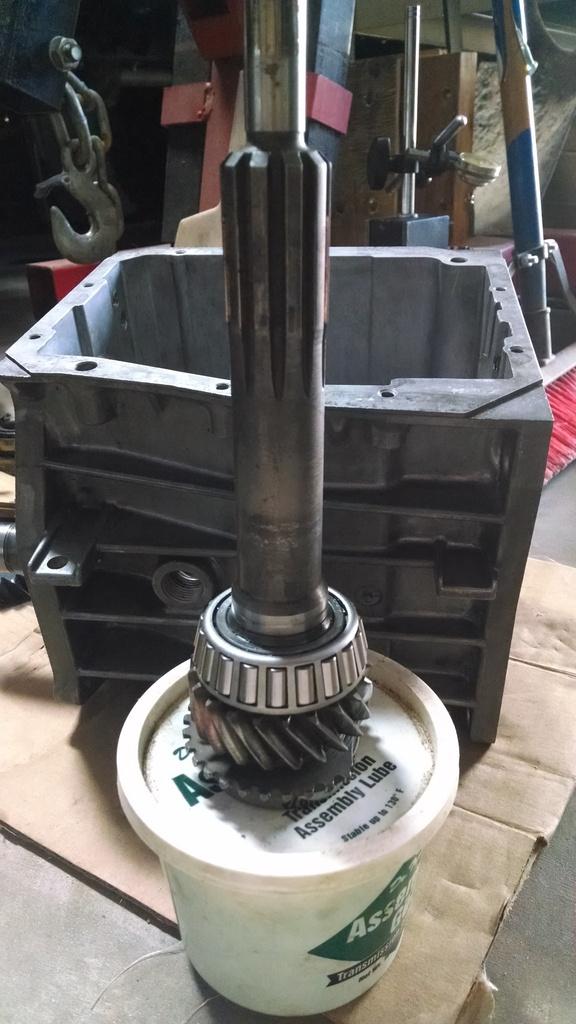
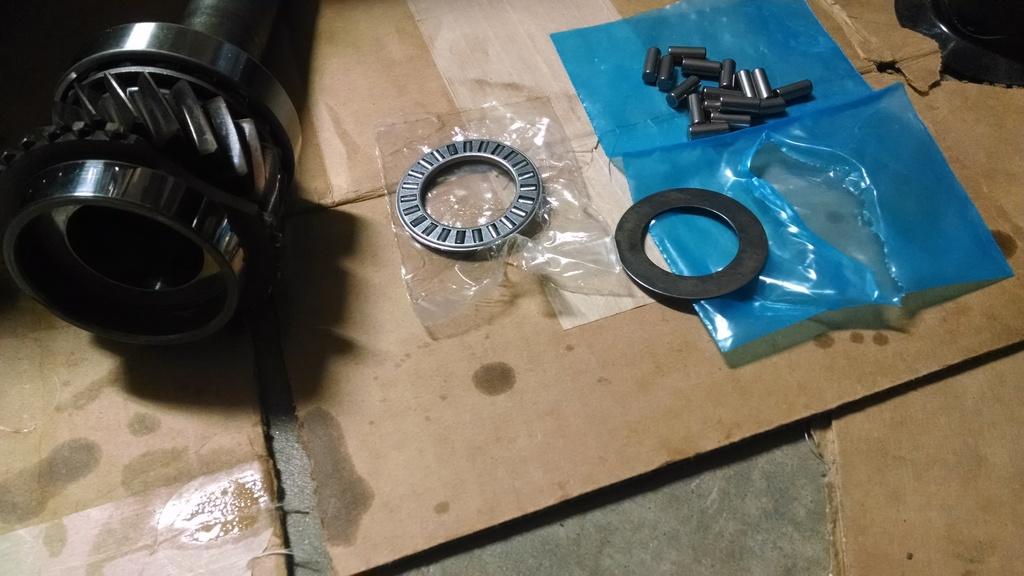
Now, we go back to the input shaft. Input shaft, roller bearings, thrust bearing, and thrust washer:

IMG_20170210_174510901_zps3lcdtl3f-1.jpg


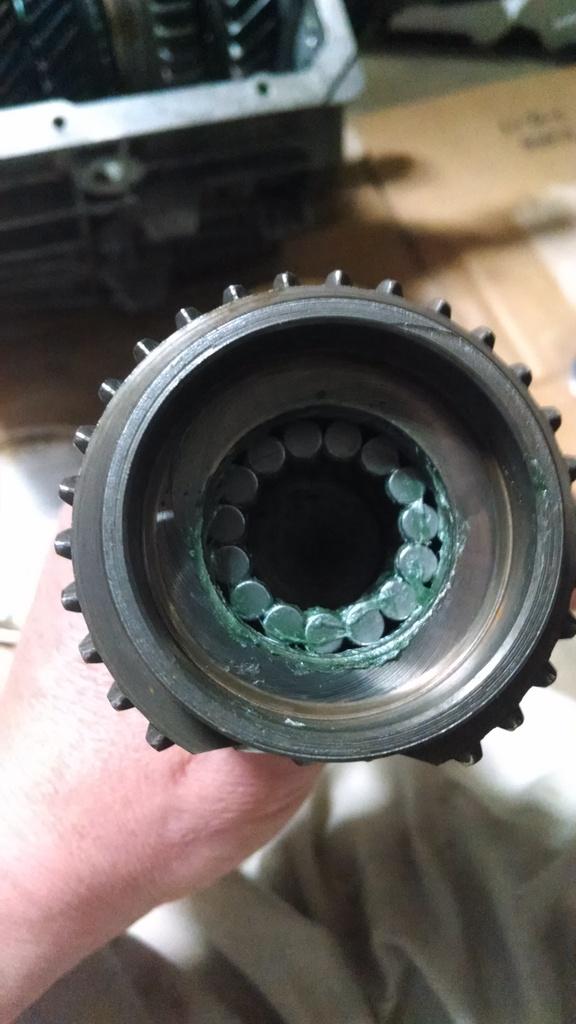
Rollers installed inside the input shaft:

IMG_20170210_174749194_zpsxh2m9shm-1.jpg
 
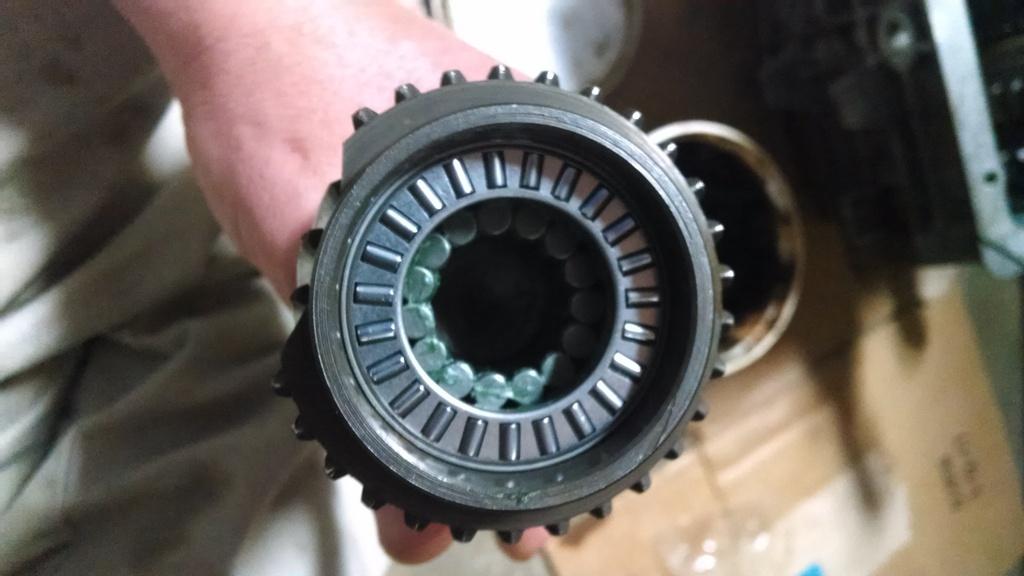
Thrust bearing installed:

IMG_20170210_174822031_zps0qldjwwf-1.jpg


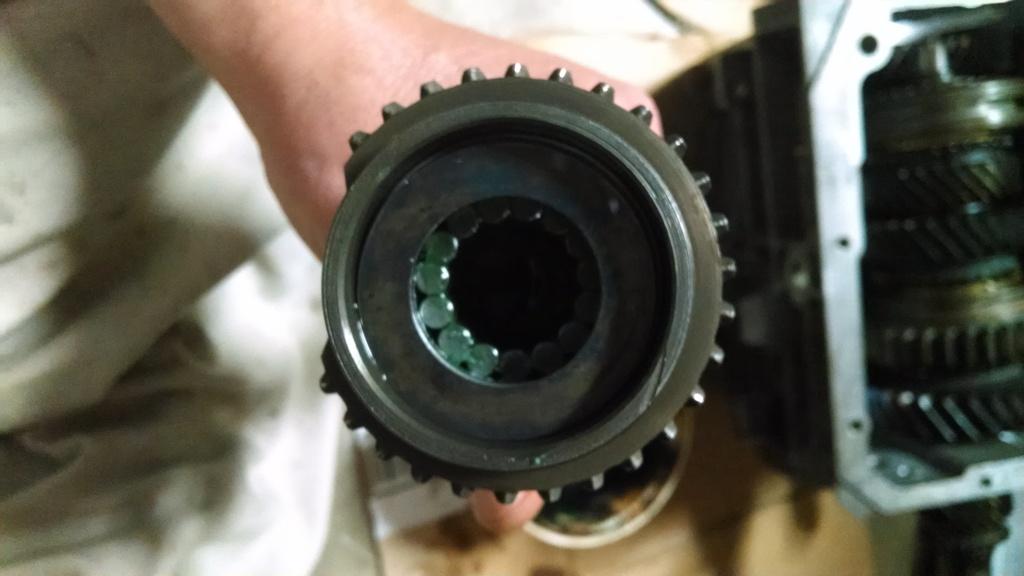
Then the thrust washer:

IMG_20170210_174924151_zpsssq7so8r-1.jpg


Note the notch built into the input shaft. This is so it will clear the counter shaft when you go to install it:

IMG_20170210_174929946_zps0fkenmk8-1.jpg


Next, install the main shaft into the case, followed by the input shaft:

IMG_20170210_175043177_zpsxizwfhoj-1.jpg


Install front bearing race into the bearing retainer:

IMG_20170210_180615841_zps1di81fon-1.jpg


And the bearing retainer installed. I am using an aftermarket steel retainer:

IMG_20170210_181927799_zpsej3v9v1p-1.jpg


And, you installed all that stuff, realized you left the reverse/5th gear shifter thingy out. So, pull input shaft and main shaft back out and install this stuff:

IMG_20170210_190006372_zpst0erq37r-1.jpg


Note sealant on bolt:

IMG_20170210_190023545_zpsj5tjjqwz-1.jpg


After those shifter parts were installed, the main shaft/input shaft/bearing retainer were re-installed.


OD shift fork and synchronizer installed (shift fork secured with pin), then a washer and snap ring installed, followed by the plastic funnel (which was not pictured, but it was installed):

IMG_20170211_085714225_HDR_zpsgjgeat6w-1.jpg


I then installed the rear case. I have not used any sealant at this time. You have to check main shaft end play.

Rear case bolted up, steel plate clamped to housing, transmission standing with the rear output shaft facing up, checking end play:

IMG_20170211_110606943_zpsplwlzrcf-1.jpg
 
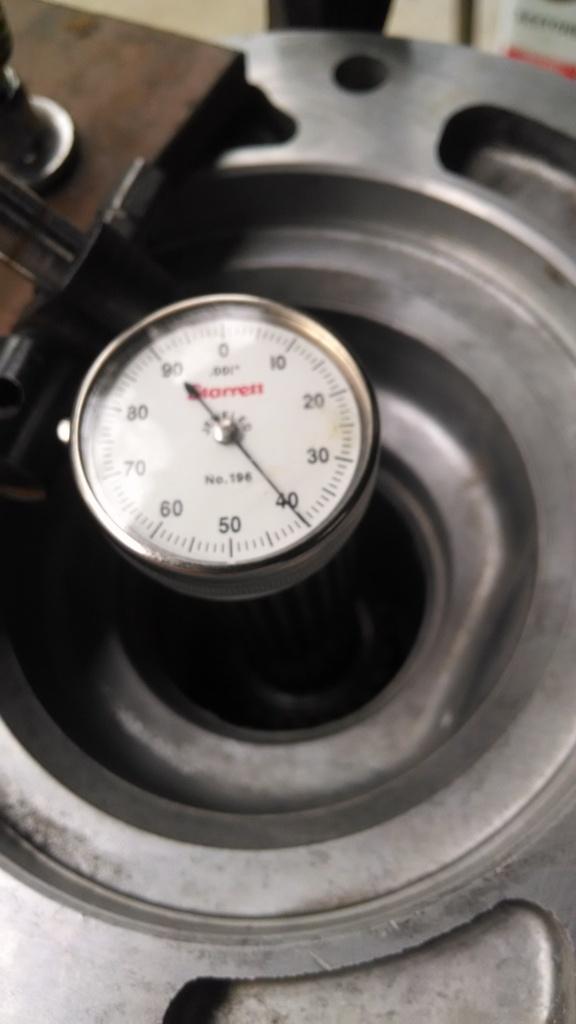
End play is 40 thousand:

IMG_20170211_110616201_zpszuh283sw-1.jpg


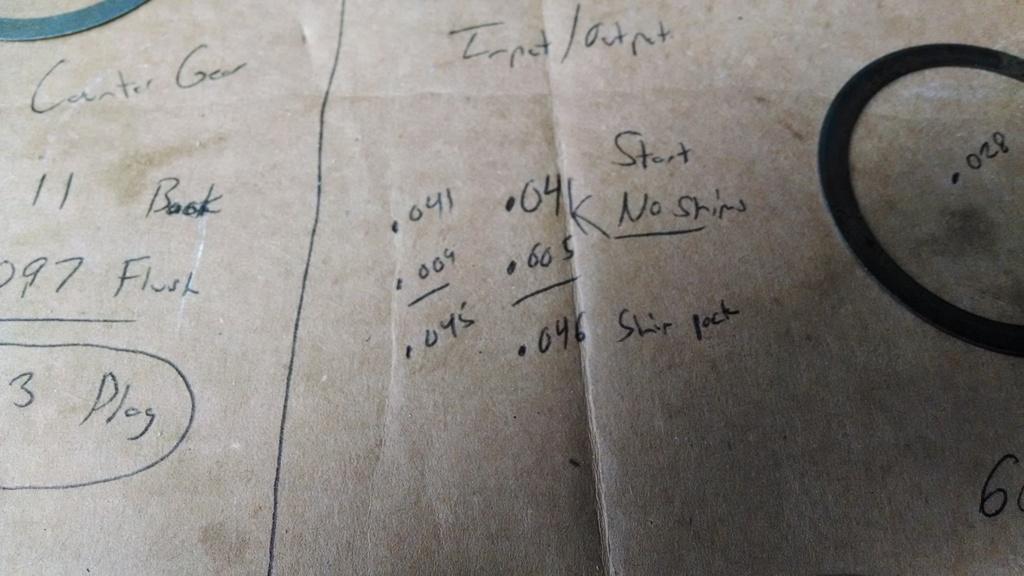
So, I gather up 40 thousands worth of shims, then ADD 5 thousands for "pre-load", end up shimming the front bearing race 45 thousand:

IMG_20170211_112627533_HDR_zpscfdgqxhq-1.jpg


Some of my notes. .005 thousands is the max pre-load. I went with that, everything still turns fine.

IMG_20170211_112639325_zpsadm71qbi-1.jpg


I then installed the bearing retainer seal, shims, then bearing race:

IMG_20170211_114123181_zpsidcv348j-1.jpg


And reinstalled:

IMG_20170211_120422607_zps4idakigi-1.jpg


I used RTV around the bearing retainer, thread sealant on the bolts, since they thread into the case:

IMG_20170211_120430434_zpsucvwen7z-1.jpg


Mid progress mess:

IMG_20170211_120438950_zpsbrx2jvlf-1.jpg


Rear seal installed:

IMG_20170211_121046794_zpszykxvkuj-1.jpg


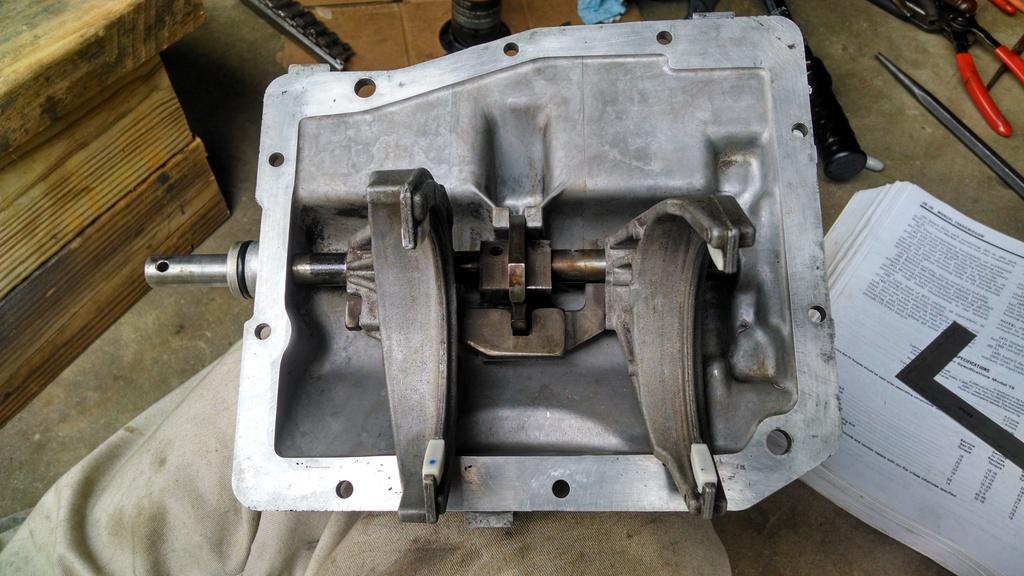
Shifter fork assembly, new plastic pads installed:

IMG_20170211_121923452_HDR_zps8rldudk8-1.jpg


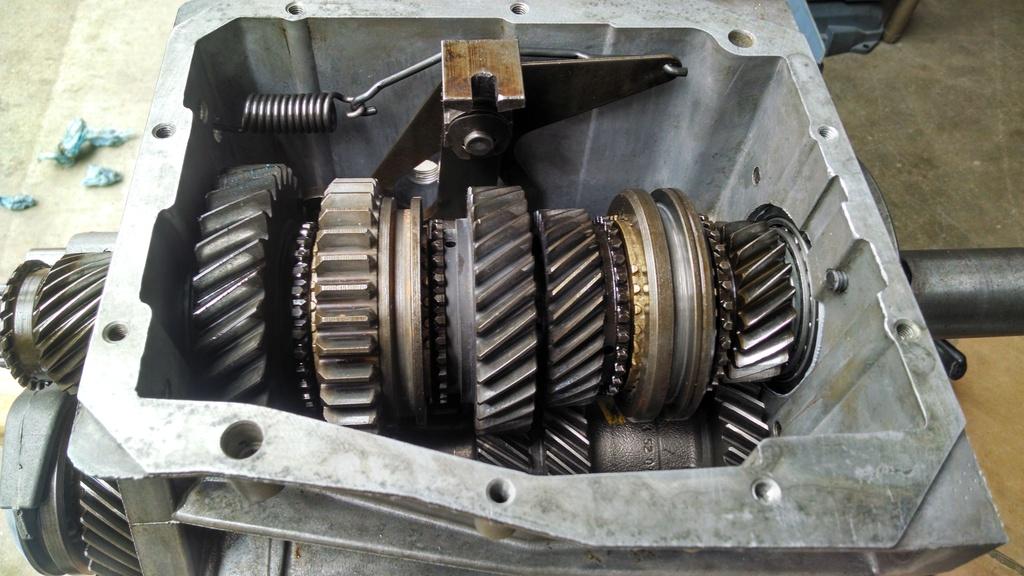
Transmission internals all in neutral:

IMG_20170211_122015530_HDR_zpsyyqumyi9-1.jpg
 
Last edited:
With the top piece AND internals in neutral, the top cover bolts on easily.


Now, apply sealant to the back of the transmission case, install rear housing AND shifter thingy at the same time. It is really fun, that's why there are no "in progress" shots.

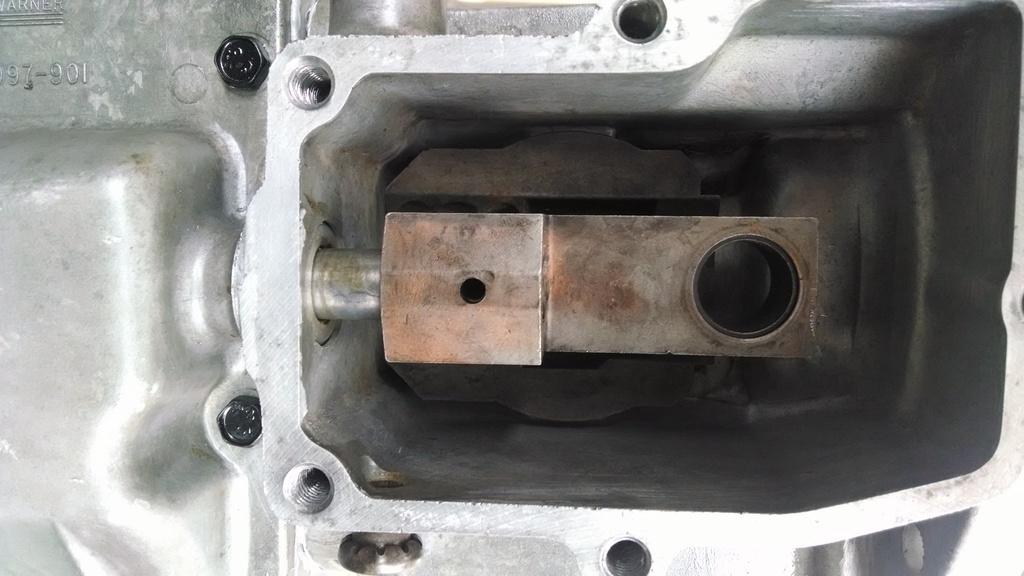
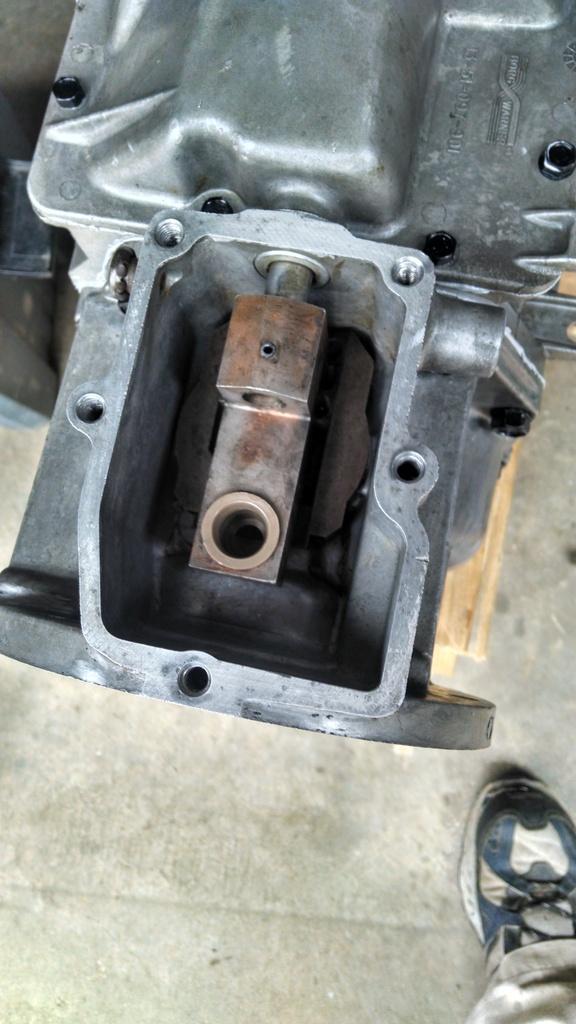
The above mentioned "shifter thingy", lined up with hole in shift rod. There is a spring and ball underneath this piece. Like I said, a few sealant free trial runs is recommended if you have never attempted this before.

IMG_20170211_130815571_zpspmo4niie-1.jpg


Two cases assembled, note grey RTV, figured it matches the aluminum best:

IMG_20170211_130820312_zps7gaj7tsz-1.jpg


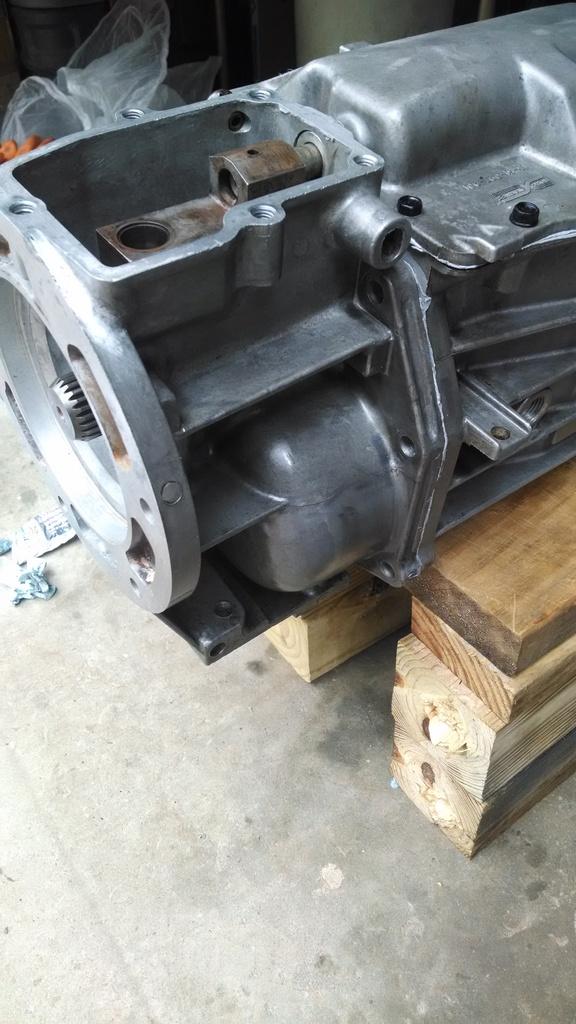
Bolted together, "Shifter thingy" pin installed, and new plastic bushing:

IMG_20170211_132404558_HDR_zpsiuqnrpac-1.jpg


The "staged" finished picture:

IMG_20170211_132410441_HDR_zpsohnjltwa-1.jpg


The "actual" finished picture:

IMG_20170211_133933226_HDR_zpsbnb27z5s-1.jpg


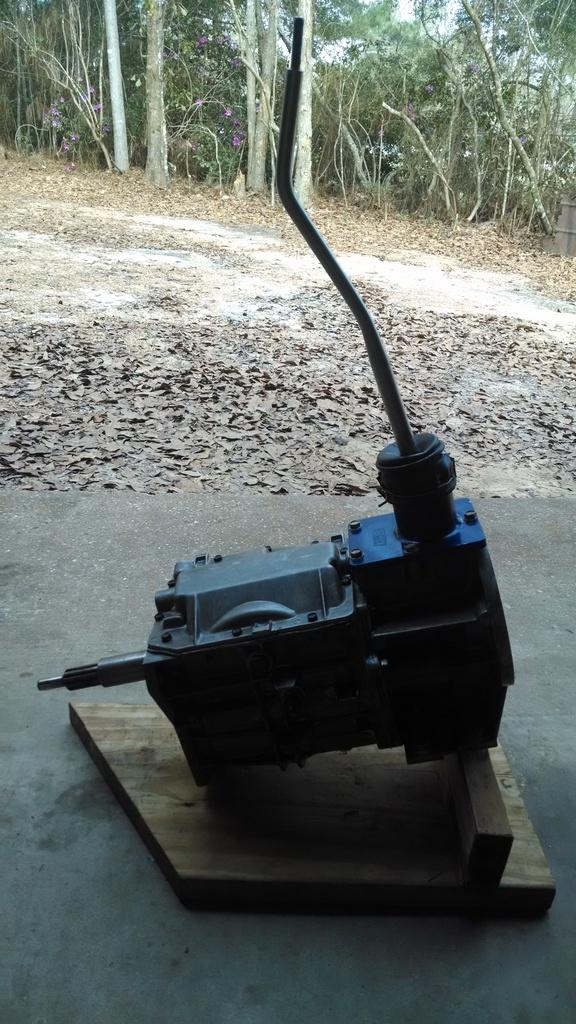
Shifter temporarily installed, and it works!!!!!!!!!!!!!!!!!!!!!!!!!!!!

IMG_20170211_144342473_zpsljzgsexk-1.jpg


I wonder how long this T5 will last :shrug:

That was last Saturday's work, the Dana 300 was finished this weekend, will post some pictures soon.

That's it for now :wave:
 
Nice. I have a pile of parts that was onece a t5 i have neen meaning to rebuild as a back up. Will be using you pictures for sure. Turns out my t5 issues were usser error they dont like to be run empty.
 
Nice. I have a pile of parts that was onece a t5 i have neen meaning to rebuild as a back up. Will be using you pictures for sure. Turns out my t5 issues were usser error they dont like to be run empty.

I locked up a T150 3 speed like that once, it was not pretty :crazy:

One of the gears friction welded itself on to the main shaft, blew the seals out of a press trying to disassemble it :evil:
 
Back
Top