• Notice for iPhone users: DO NOT use the image size reduction option when uploading photos to the forum. This causes portrait images to post as landscape. We have added a warning to the image insert pop-up as well.

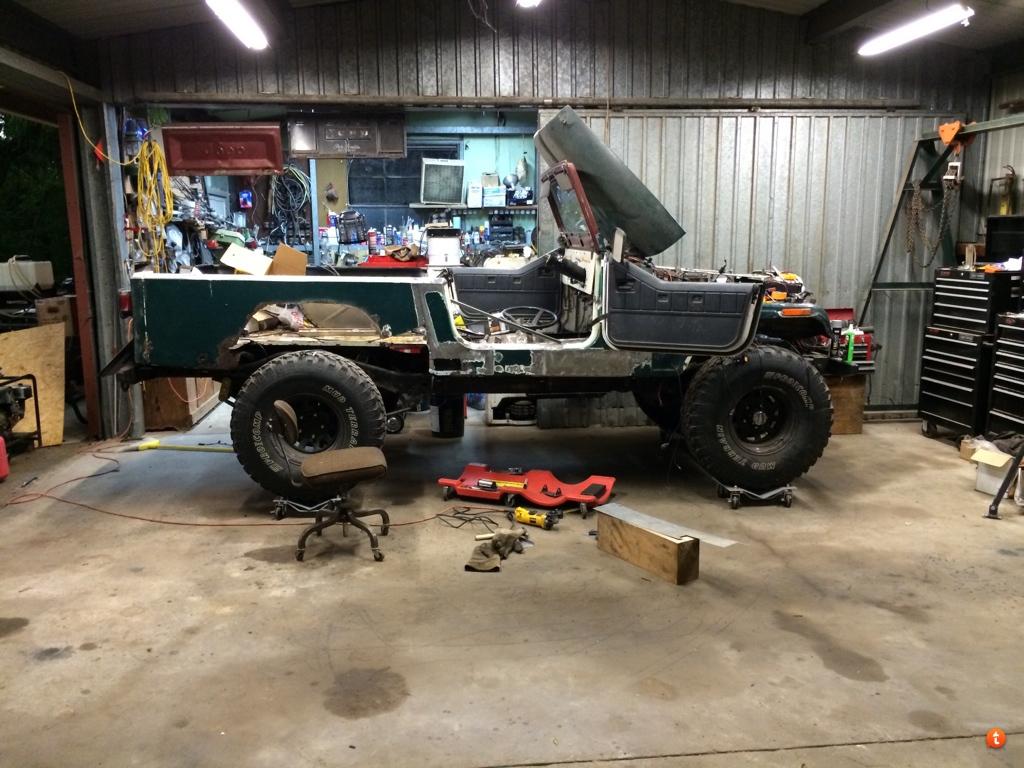
1984 Alaskan Postal Scrambler Build

I upgraded the post above to include the source for the ceramic headlight plugs. I cannot take credit for the dual circuit headlights. I got the idea from DirtyB's headlight upgrade thread. It seems I always get a bunch of work done but never post on a daily or at least weekly basis like I should. Instead I let the info and pictures build and then finally get time to post it all but do so in a much more condensed version!


Sent via signal flare

Thanks for the link.
The lighting upgrade has been on my todo list, but options for the connections to the headlights never seemed adequate.
 
Dana 300 to AW4 clocking ring/spacer, AW4 output shaft seal

Next step is to install the dana 300 onto the AW4 with the 7/8" clocking/spacer ring. One thing I noticed that hasn't been brought up in many of the dana 300 to AW4 configurations that I also originally overlooked is with the rear seal on the output shaft adapter housing on the rear of the AW4. I measured and this input shaft of the dana 300 will reach the seal on the transmission. Now knowing this I had a slight dilema with a couple of options:

A) Run both the double sided seal on the input of the dana 300 and the output shaft seal on the AW4; thus allowing the clocking ring to create a dry cavity and I would not have to plug the weep hole in the AW4 output adapter housing. The weep hole would then still be used to indicate if one of the seals ever failed. My concern with this is that the double sided seal on the dana 300 would not be adequately lubricated and could lead to premature failure.
B) Run only the double sided seal on the input shaft of the dana 300 and remove the output shaft seal on the AW4 so there is a wet cavity created between the clocking ring and the transmission. But then I would have to plug off the weep hole in the bottom of the AW4 rear output adapter housing.
C) Replace the double sided seal in the dana 300 for the original style seal and also use the seal on the AW4. The cavity created by the clocking ring should stay dry at this point unless one of the seals failed.

I also contacted Novak-Adapters about this and here is the response I got back:

"I love good questions like this. This isn't your first mechanical rodeo, is it.

Because our 153 kit is workable on a handful of transmissions, including those where the Dana 300 input shaft does not reach the transmission's native seal - thereby creating a wet cavity vs. a dry one- we include the double seal. Since 2003, when this kit came out, we have not had any reports of anyone burning up a seal in a dry cavity application. We've alerted customers in our instructions to pack the seal cavity with grease in the event that they have a shallow depth / dry cavity version.

I hope that will answer your question. Ask any others that arise and I'll address them."

Eric at Novak has been extremely helpful! Being that I didn't want to remove the already installed double sided seal and also the fact that I liked the weep hole in the AW4 adapter housing would indicate to me if one of the seals failed (and I could tell from the fluid right away which seal it is), I've decided to run the double sided seal along with the seal in the AW4 output shaft adapter housing. The part number for this AW4 output shaft adapter housing seal is: 225005. I will also follow Novak's advice and put some grease in the housing. My main worry was the seal would burn up but considering the number of these kits that have been installed with this seal, and they haven't had a reported failure is good enough to put my mind at ease! I am not positive as I've never messed with an AX15 but I would imagine this would be the same case for those running a dana 300 with the AX15 as well.

Will get some updated pictures up shortly once I get the dana 300 installed. Then onto getting a Barnes 2" drop flat bottom skid installed (would go totally flat but do not think the transfer case will clear the floor board with only a 1" body lift. Next will be getting the JB Custom Fab twin sticks installed and bent into the right position.

On a side note, does anyone know of an alternate transmission mount for the AW4 that will bolt to the transmission, then have studs that can be removed from the bottom side of the mount that bolt it to the skid plate/cross member (similar to the mount used on our original CJ style transmissions)? I'm wanting to replace the stock AW4 mount with something that I can change out the studs on the bottom of the mount for allen head bolts that can be counter sunk from the bottom side of the side plate so it will remain perfectly smooth; does that make sense? I believe the spacing for the two bolts that bolt the transmission mount to the transmission is approx. 6.25" (will double check this to be sure).
 
Congrats on expecting your second baby! That is an awesome pic!

The build is coming along well!
 
Thanks Polarfire! Definitely excited but know I really need to get moving on this project as my little free time I have now will soon disappear completely! Luckily I already have my first one completely addicted to Jeeps; she is constantly wanting to go on Jeep rides so I'm hoping she will have the same enthusiasm to help me work on them!

New AW4 output shaft seal installed:
ehuva3et-1.jpg


Here is the part number that was on the old seal, looks like #BH3228E
tage3a7e-1.jpg


Transfer case installed, clocked at approximately 9 degrees. I'm running an old steel two piece clocking ring/ spacer I had laying around that totals 7/8" thick. I did pack some grease in the cavity around the input shaft like Novak suggested.
e8u3usum-1.jpg


Here is the stock AW4 mount. As you can see it has 4 permanently fixed studs that protrude down (two of the studs are hidden behind the board). With this set up I am worried I will snap, bend, or possibly break them off if they get hit. So like I said in my previous post, I'm looking for a different mount that will bolt to the AW4 but only use two or four studs that bolt the mount to the skid plate/crossmember. This will allow me to remove the studs and replace them with allen head bolts that would be counter sunk into the skid plate so it could re mainly perfectly flat and smooth on the bottom. Anyone have any thoughts on a mount that will fit this description?


Sent via signal flare
 
Last edited:
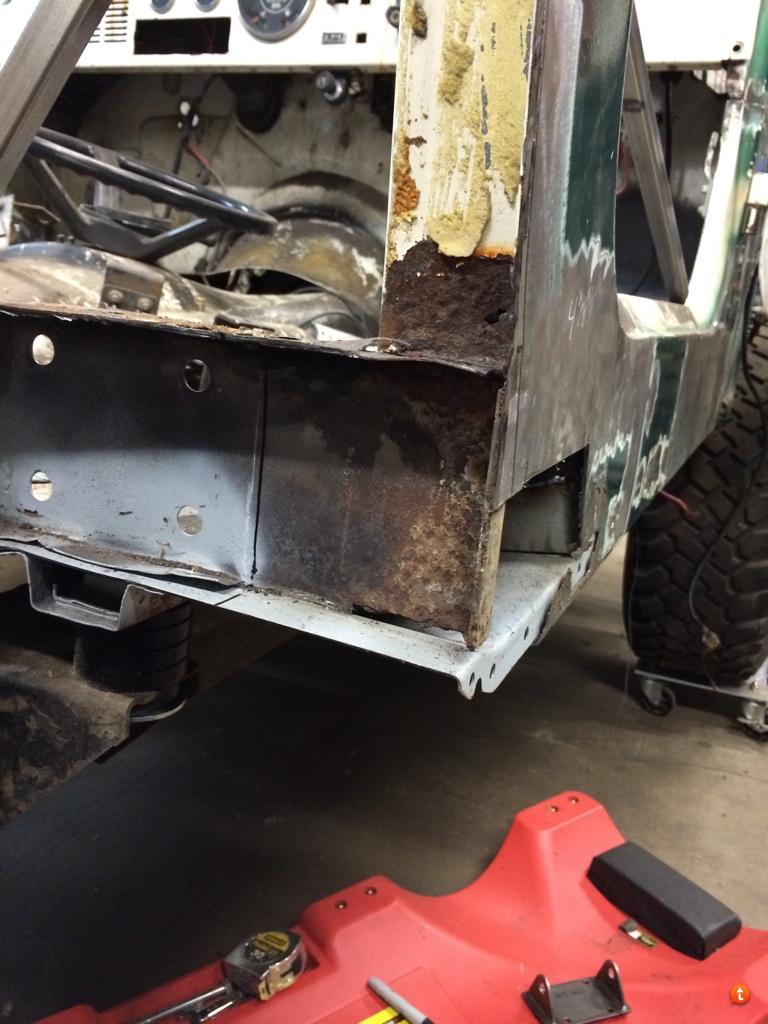
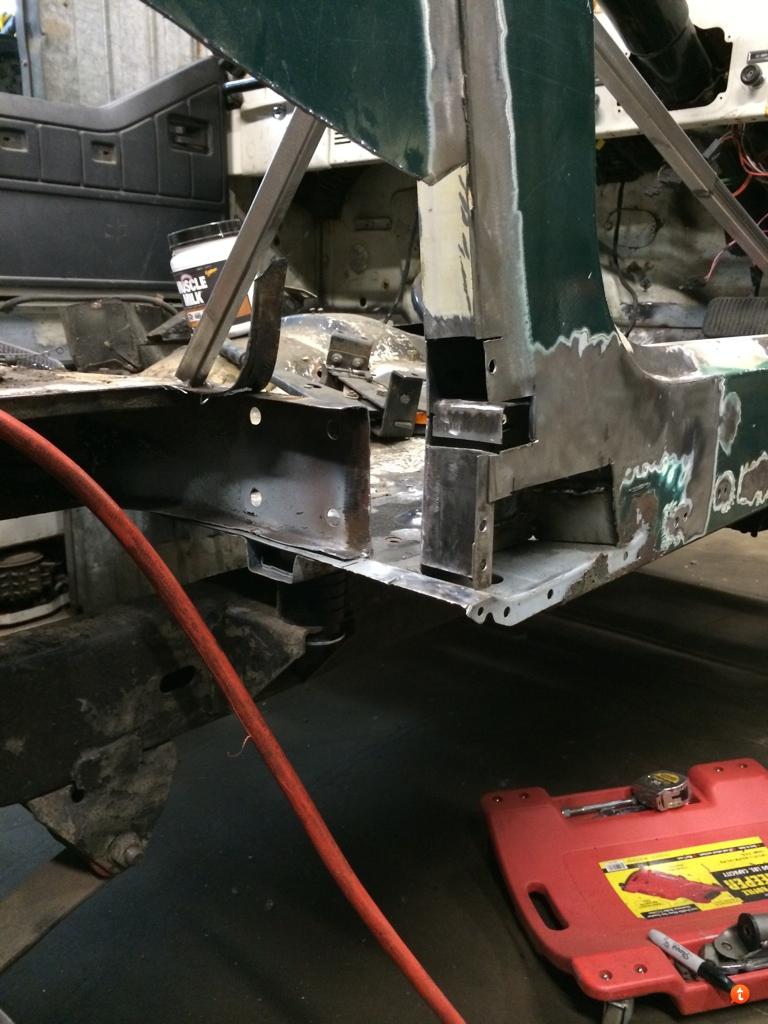
I think I finally have a solution for the transmission mount and skid plate/cross member, but I will post that later once I get the skid plate totally done. For now, back to body work. B-pillar repair underway with the rear right side wheel well removed:
aju7uza6-1.jpg

zarahyba-1.jpg
ju5ape3u-1.jpg

Step up panel end fabbed and bent:
heduvage-1.jpg

Took a while to get all the old metal removed around the back of the B-pillar. For some reason AMC put the metal together in layers.
eqa3a2e3-1.jpg


Sent via signal flare
 
You've put some serious time, effort, and love into that body.. Its looking great. press onward...
 
Howdy! Been a while since I have had any updates on the thread. I am still slowly working through all the rust repair but have had a few other projects get ahead of it. One major project has been the landscaping and insane amount of stone work we are putting around my house.

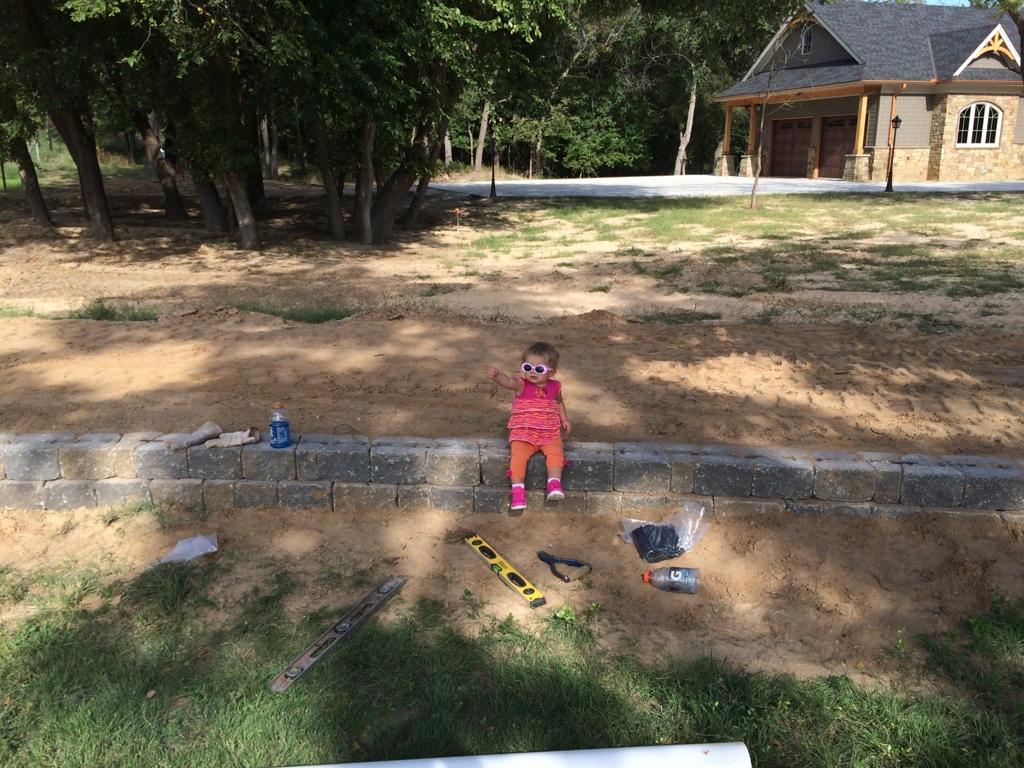
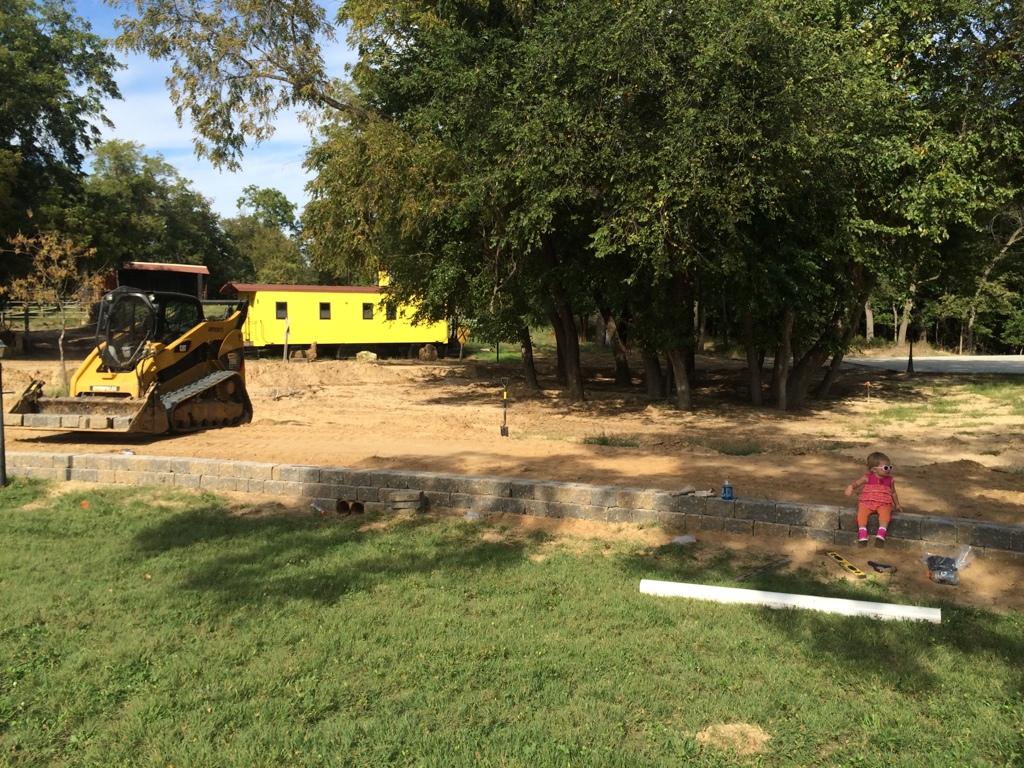
Start of the stone retaining wall for part Of the driveway, my daughter Ava supervising:
8de1eadd7f7c2691f4eaded23ed1d939-1.jpg

aae7439945aa599f5c15ab210af0f228-1.jpg


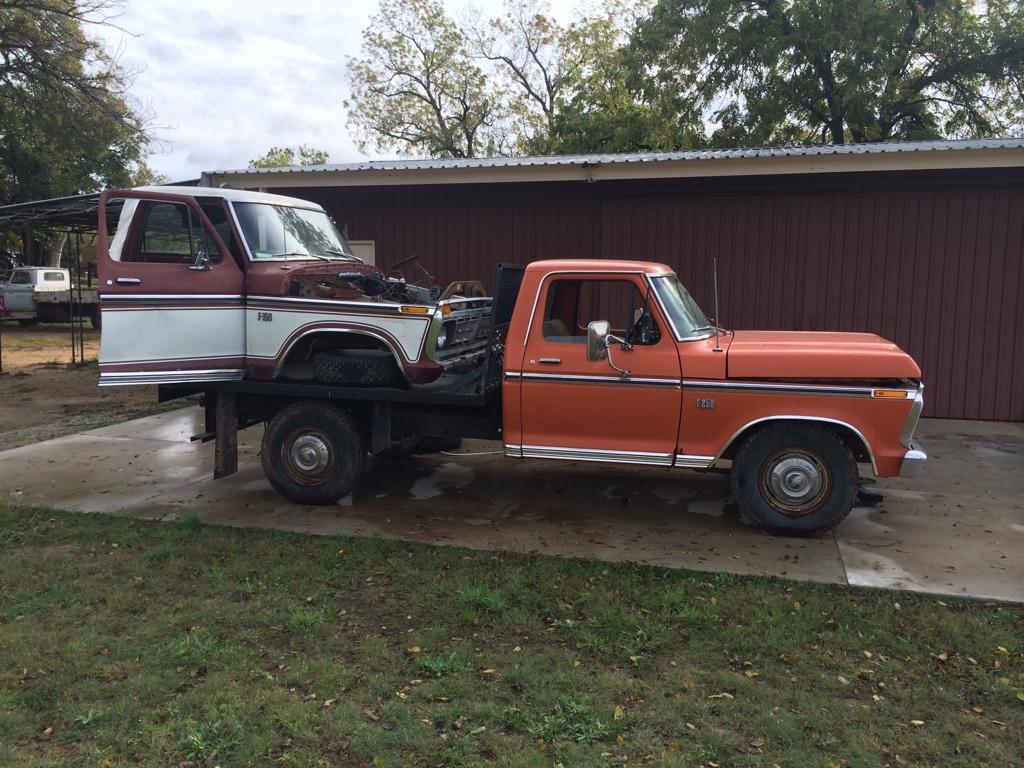
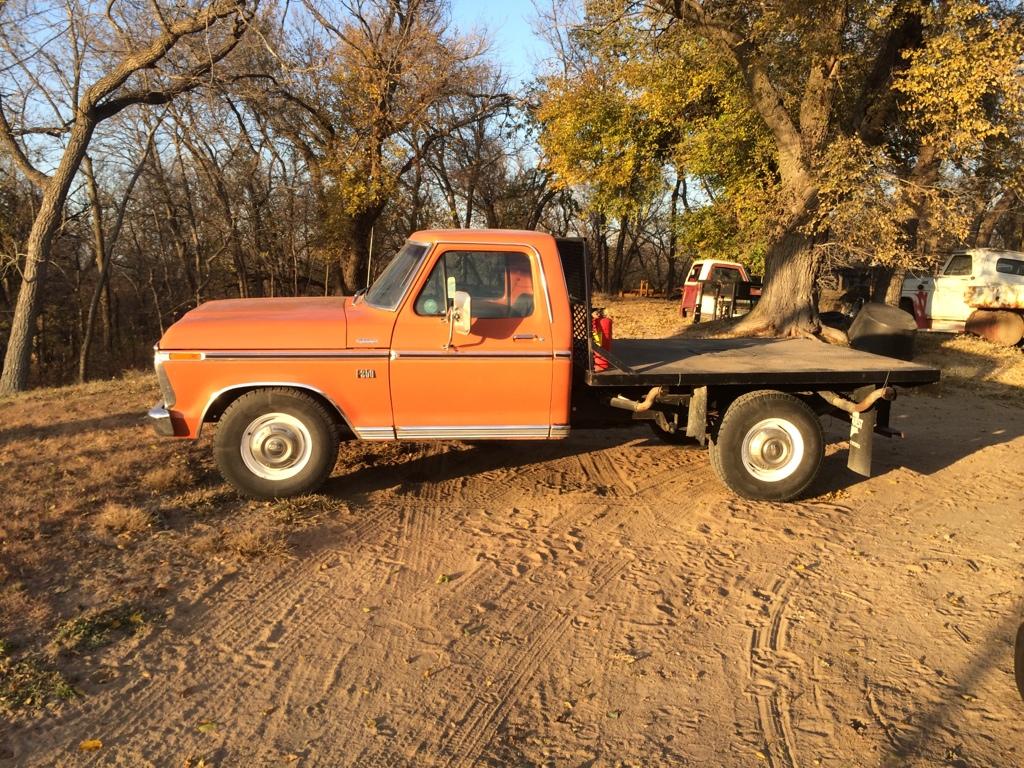
Another project that got bumped in front of the postal has been my old '74 Ford F250. Long story short is I got the truck for free from one of my old bosses right out of high school. While away at college one week the truck got pack rats in it about 10 years ago which ate all the wiring. The truck hasn't ran since until two weeks ago. Got a cab from a buddy with the '76 wiring which allowed me to run the upgraded electronic ignition instead of the points style. New wiring, finding some different 16" rims to eliminate the stock split rims but still allow me to run the stock hub caps, and a bunch of other work, the truck is now back on the road!
Truck midway through repairs:
a725b8ac18815a9615e98c61ed1adc1a-1.jpg

Back on the road:
78b91d9184d9601f2d9383457c7ed227-1.jpg


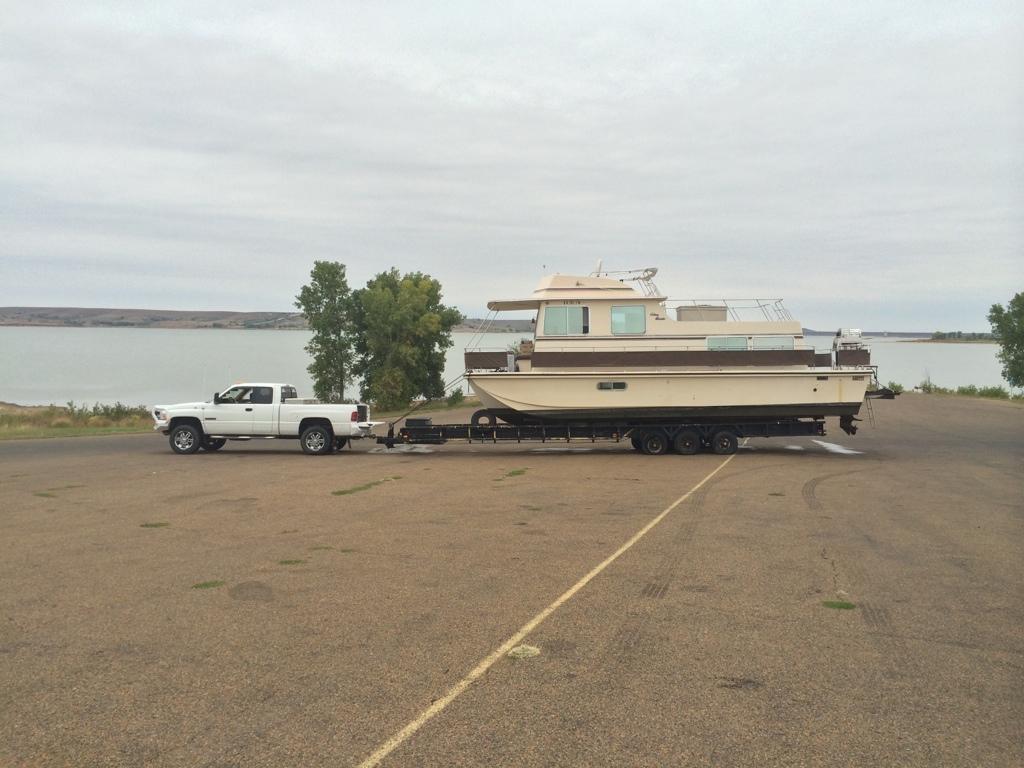
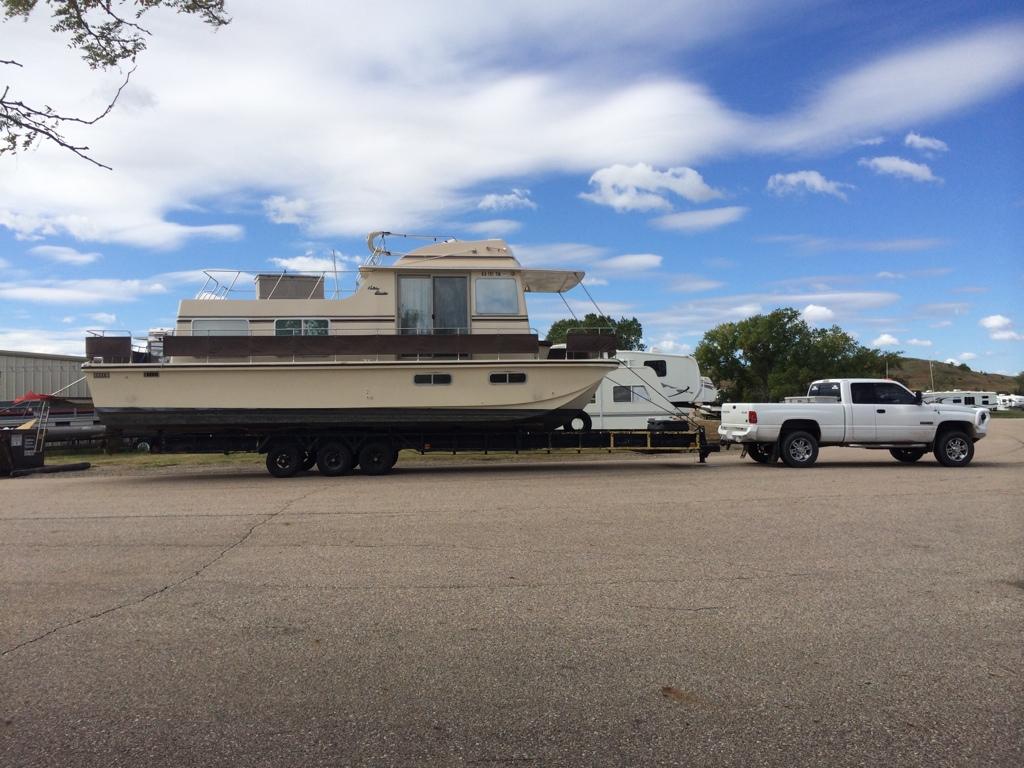
We also bought a houseboat this summer (my family is a big time lake family). Just a starter houseboat for my wife and I but as expected there had been a lot of projects with this thing.

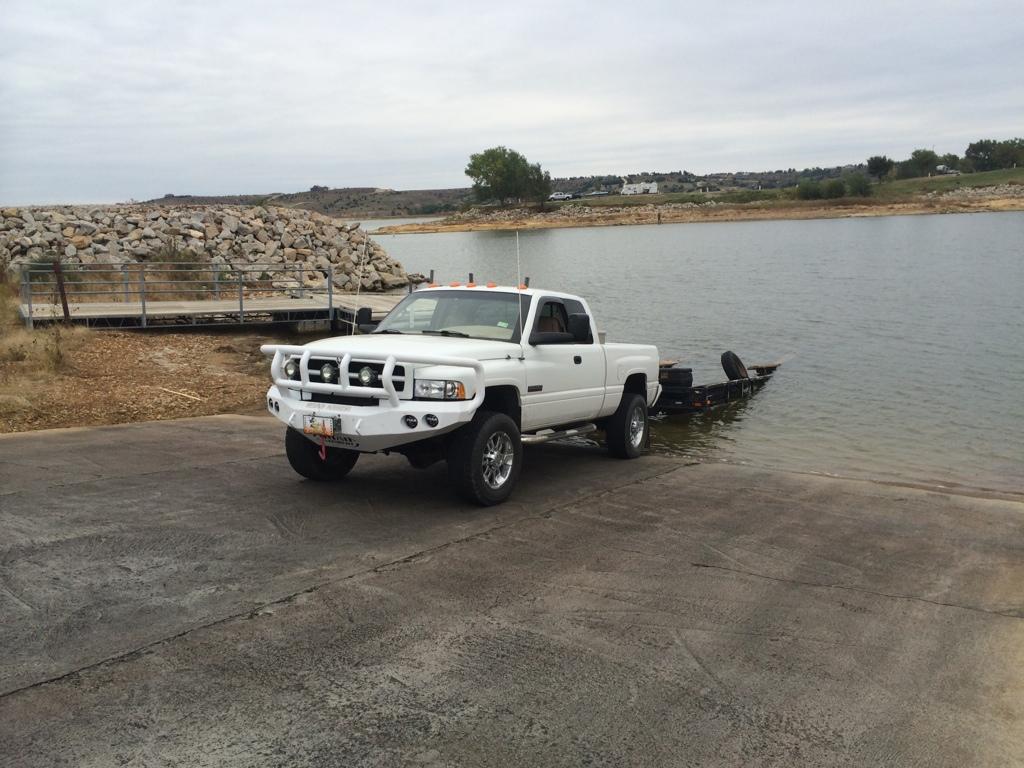
Pulling the boat out for the winter with my dodge (the dodge was only used to pull the boat out of the water a few miles to the marina, I used a much bigger truck to get it the 35 miles home)

33d9309370c1338035f7a9dd20250679-1.jpg

2ce72f76bd431cadd7f2f9eba7b73687-1.jpg

85204028925a88f3bdf7768710abcbfd-1.jpg


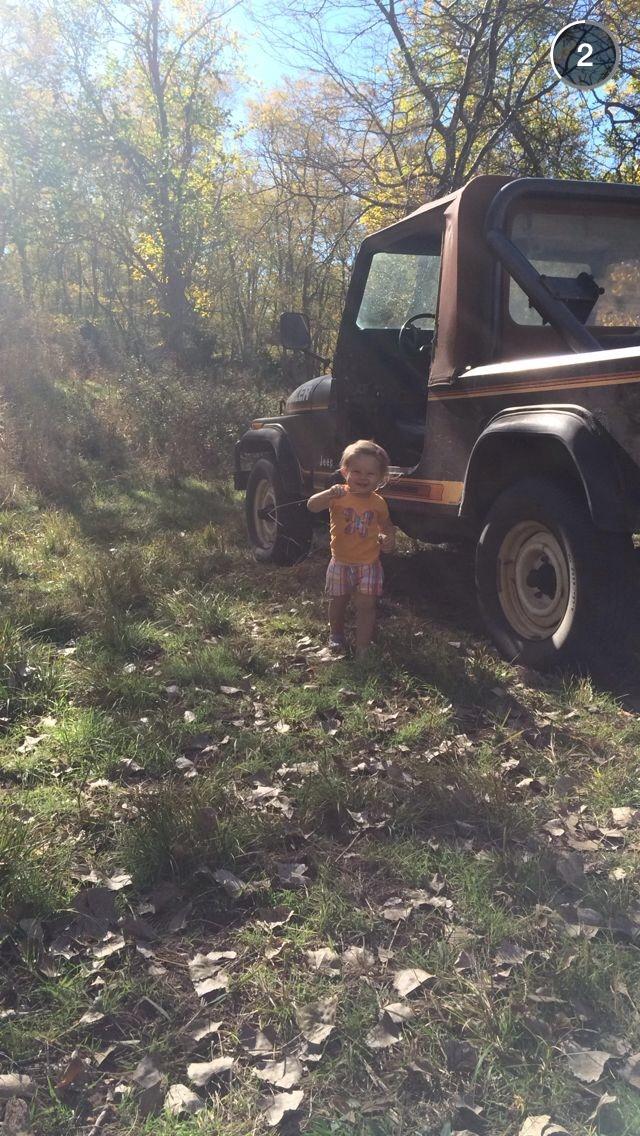
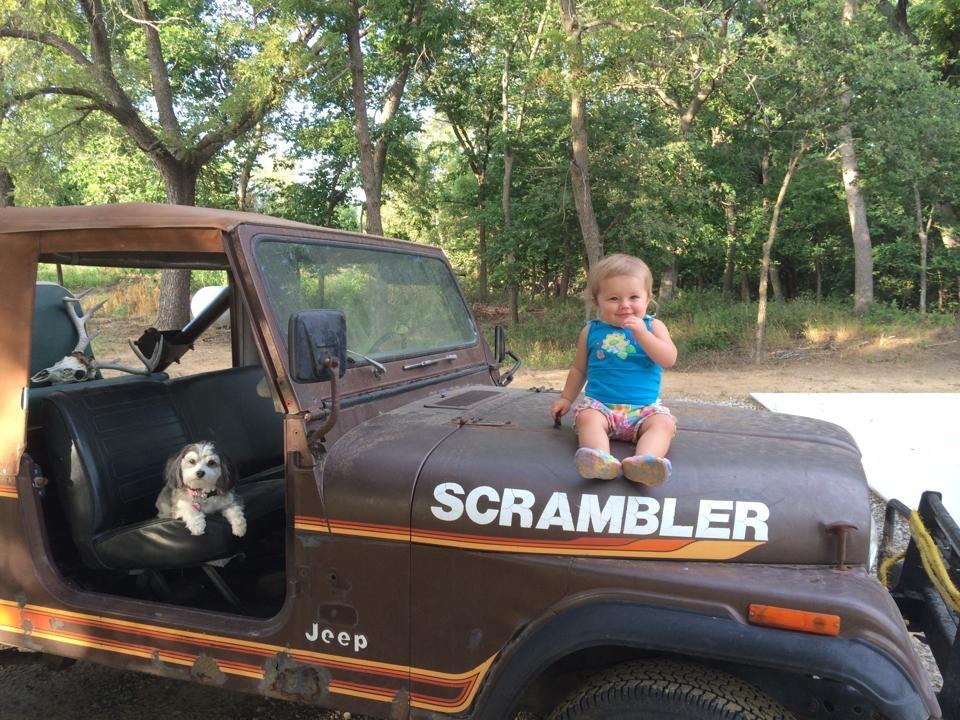
And of course, I'm lucky enough to have my daughter who keeps me plenty busy away from my postal!

[
4be6bca7fca1c98be2d85e318dcdd3f3-1.jpg

2fb5d14533bb144ecad73af37e8b80b2-1.jpg


Sent via signal flare
 
Last edited:
Which leads me to my next excuse as to why the project isn't moving along any faster. On October 29th my wife and I had our second daughter; Ardyn June! She was born watching the Kansas City Royals so she will for sure be a fan like the rest of her family!
d8e81cdc369deb7d6ad91a1628f04b64-1.jpg
586ec45a746d6e5367d651c612cda454-1.jpg
b3e222bcbfe60fc2c41369674701f06f-1.jpg


Now that the ground is almost frozen, the landscaping work should come to a halt. Free time now, when the kids are asleep, will be devoted to the Jeep and bow hunting! Should get some more pictures posted soon of the progress on postal!


Sent via signal flare
 
Last edited:
All that is good news, the postal will still be there when you get around to it.
I went through what you are going through about 3 years ago... kids are now 5.5 and 3.5 so I am finally able to devote larger chunks of time to things!!!

cb
 
Very cool glad to see all the progress. I was there with the jamboree less than 2 years ago and wow you HAVE been BUSY :wave: And I had lunch on that hood glad to see its still around... Who woulda thought a beautiful living thing would wind up there next :thumbsup:

ImageUploadedByTapatalk1415972867.512205.jpg
 
Your story sounds very familiar! Jeep projects always seem to get pushed back due to other things taking priority (as they should!). Congrats on the birth of your second!
 
Congrats again on the birth! If you are up late at night I'm sure I will be too!
 
Been a while since I posted in this thread. No major updates with the Postal as I'm still little by little tackling the rust repair. Nothing picture worthy to post on it.

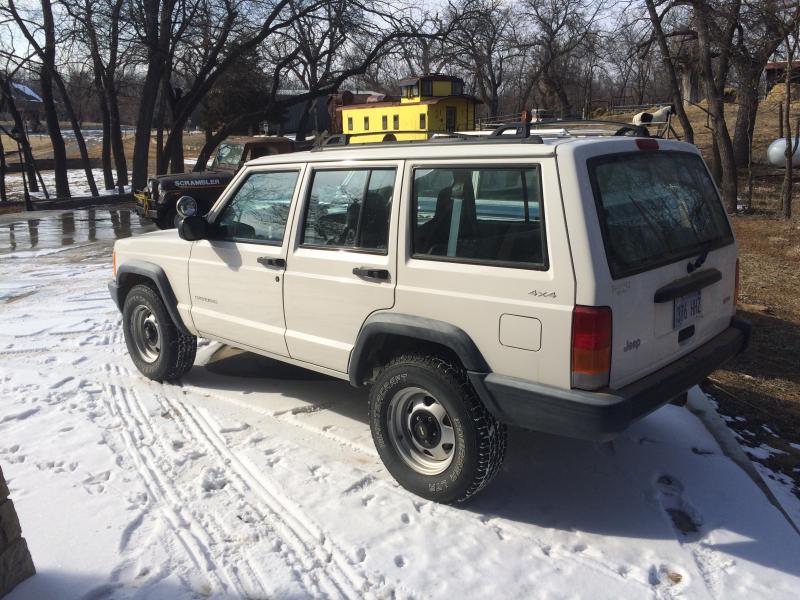
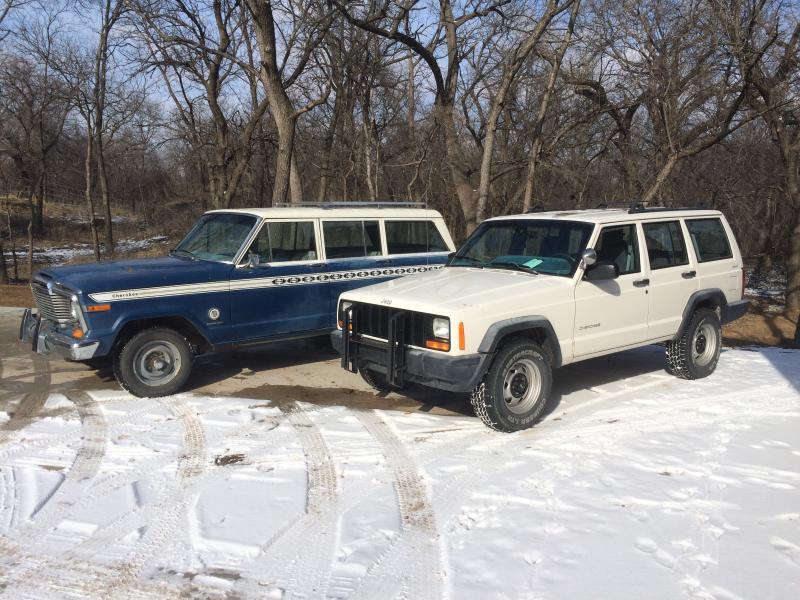
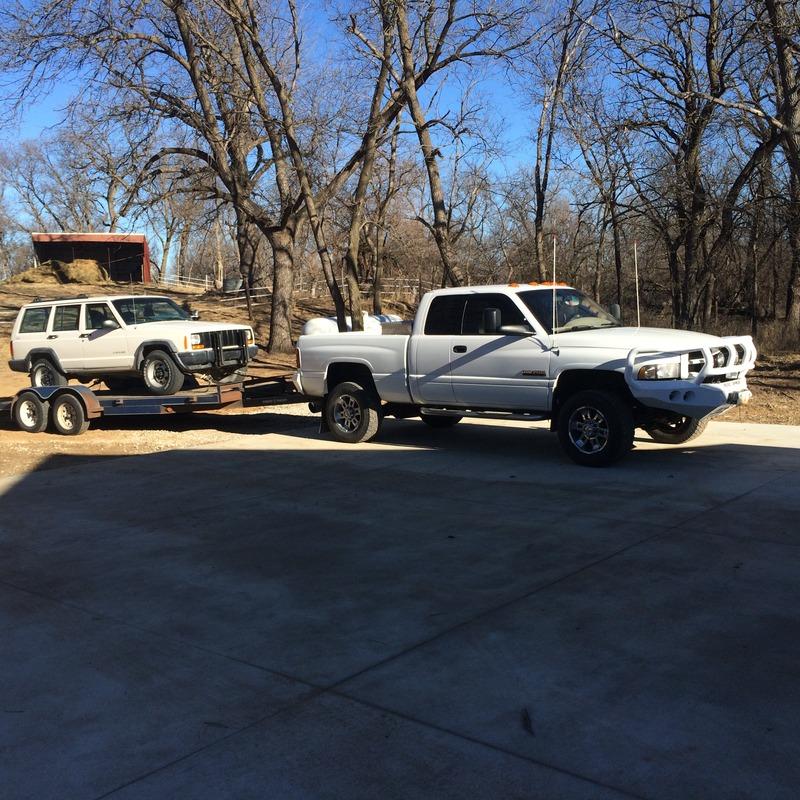
I have however added two more Jeeps to the fleet since my last post. First one is a 2000 Jeep Cherokee. It has 140k miles and runs great! Was told by the PO it is an ex-Colorado highway patrol Jeep and judging from the spot light, extra screw holes drilled for lights/radios in the dash and other various interior pieces, and the pit maneuver front bumper, it appears to be true.

The Jeep came with a weird combination of options. With it being a base type model (SE I believe) it has the black grill insert, which I really like. But then it had the steel rims, dummy light gauges, cruise control, and leather wrapped steering wheel (instead of the plastic type material the base models normally had). Some of the options this thing had together is almost as bad as how AMC did it.

First thing I did was installed a new cluster with full gauges and had it programmed to match my original mileage. I then have been replacing all of the various plastic interior pieces that have screw holes in it, that stuff drives me crazy. I need to re-spray the roof on it too as some of the paint has peeled away.

The Jeep will be getting a 3" lift of some sort and a set of Rubicon Moab rims with the old 245-75-r16s tires off my '05 LJ. I'm open to lift suggestions for the XJ if anyone has any experience. Jeep now serves as a part time daily driver/kid hauler. This is my first XJ and if you don't or haven't owned one, get one; they are awesome.

Day it came home:


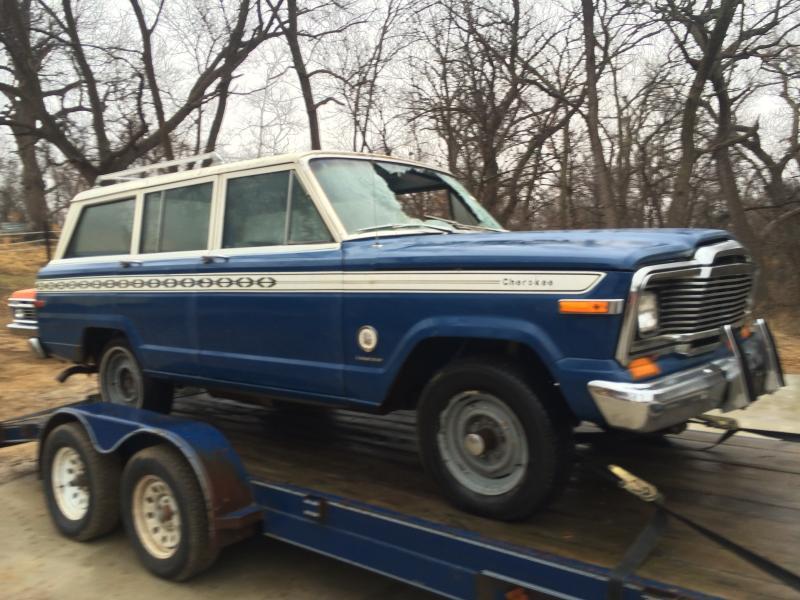
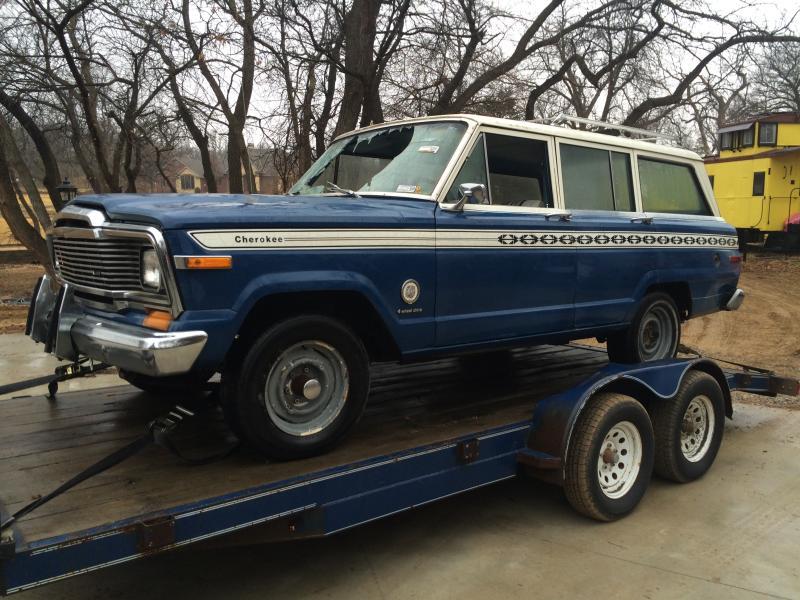
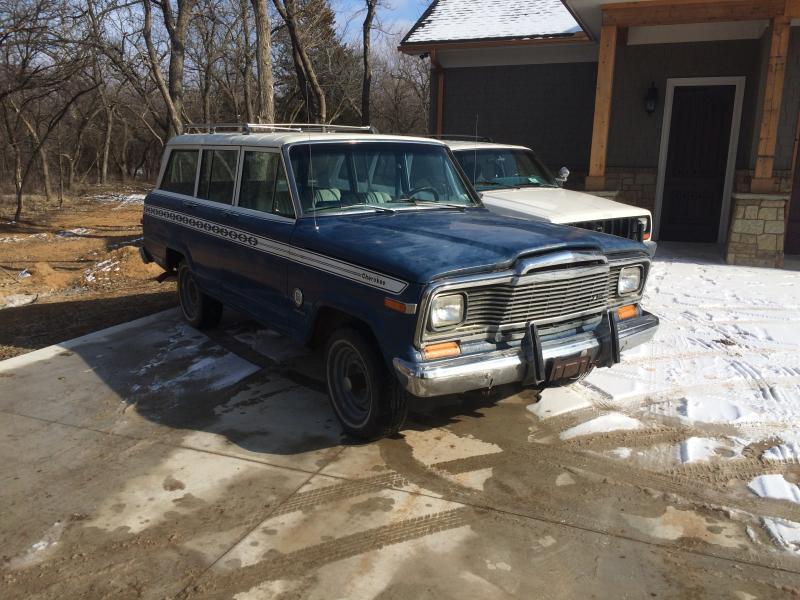
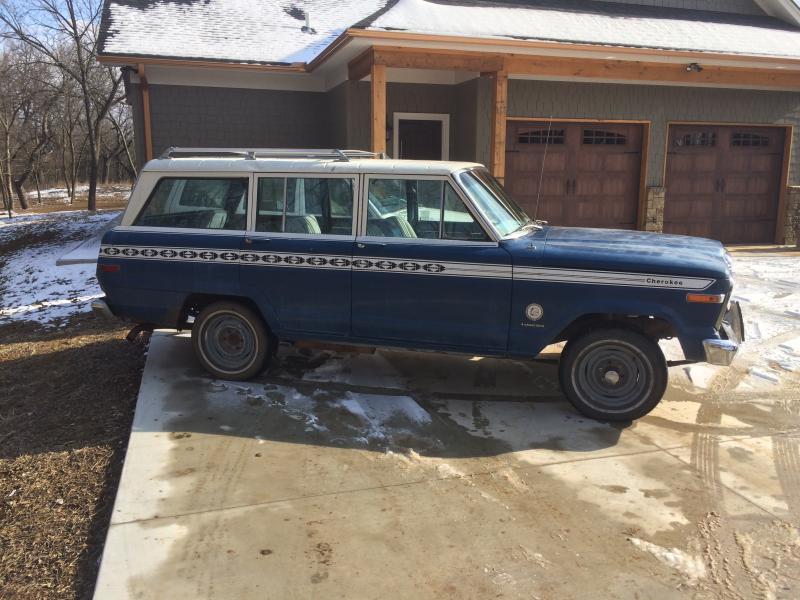
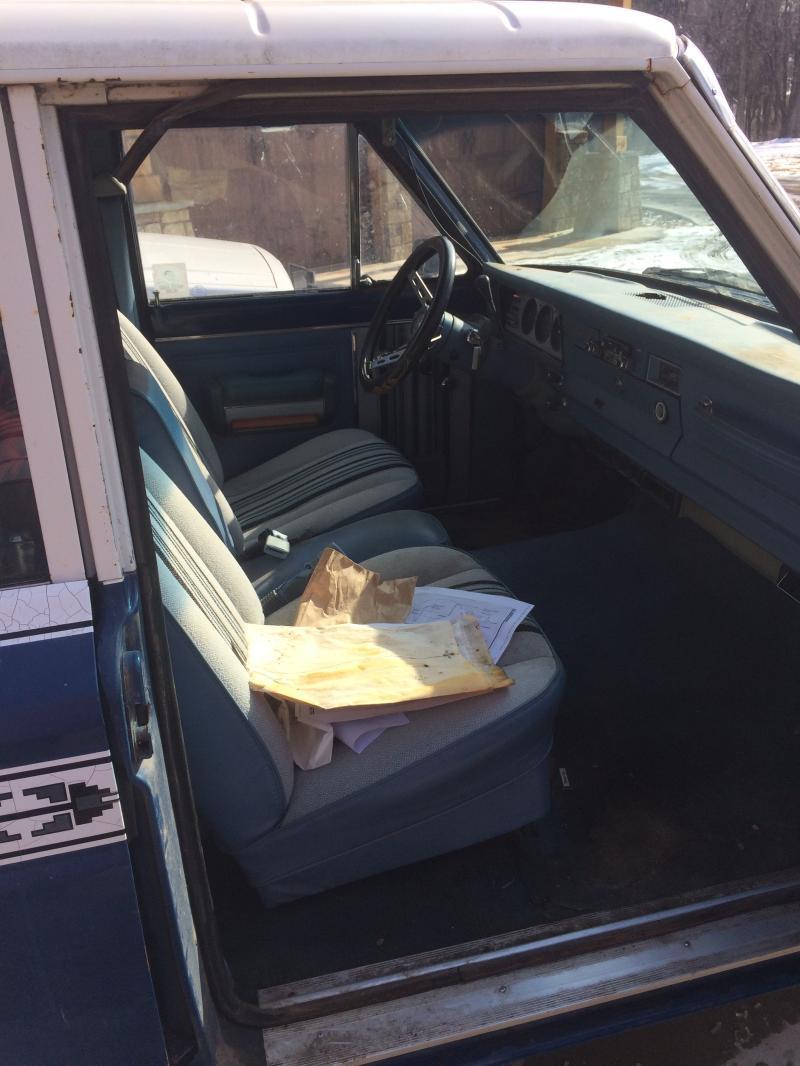
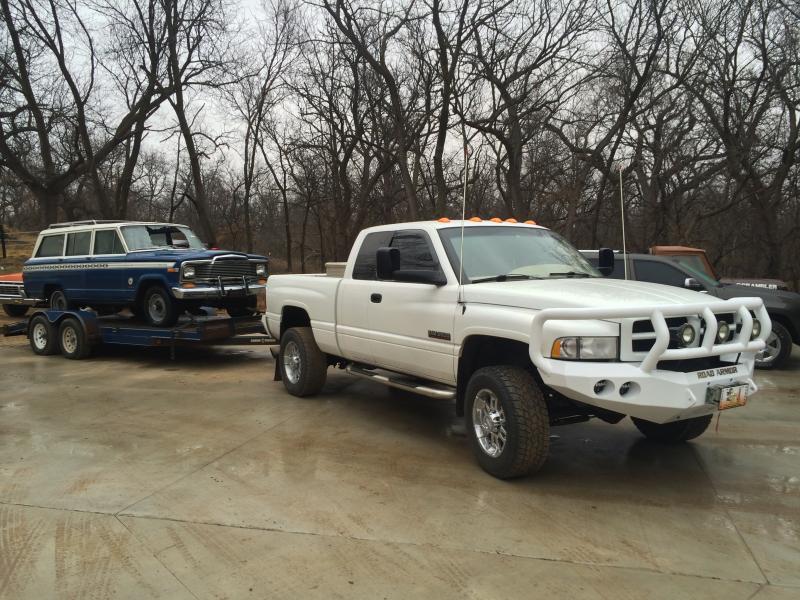
The other addition is a 1979 Jeep Cherokee "S". The guy I picked it up from knew nothing about it and just wanted it out of his storage lot. It was last tagged in 2010 and had a broken front window from some kids recently throwing a cinder block through it. The passenger side wheel was locked up(come to find out the rim was installed slightly crooked was all), and it has a little rust and a few dings, but the engine appeared to be recently rebuilt, the blue western weave interior is in pretty good shape, and underneath the oxidation the original paint looked like it would clean up well.

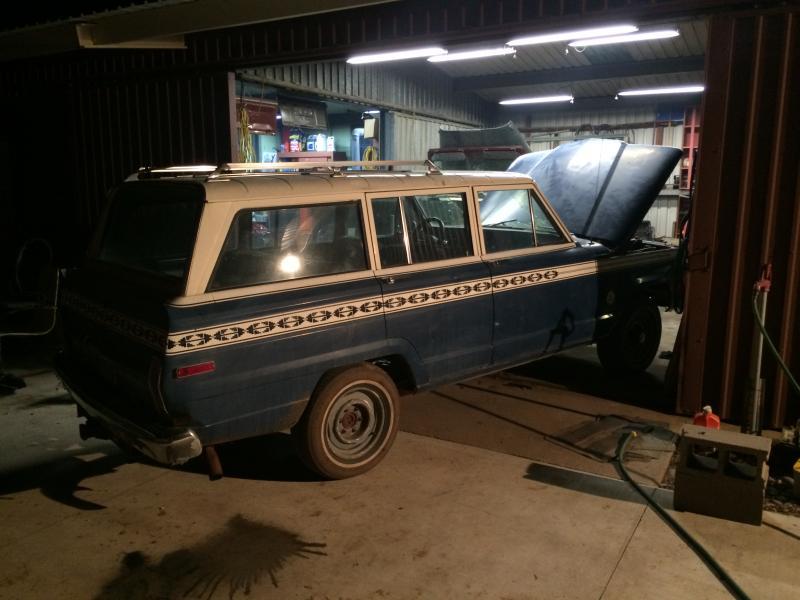
After several late nights of work on the kids were in bed I had it running great! Also had the windshield replaced.

Day it came home:


Cold late night wrenching!


Sent via signal flare

 
Last edited:


Took the Cherokee out a few weeks ago to check on a few tree piles we had burning:


Haven't had time to really clean it up yet but you can see where I have been people have been rubbing up against it on the front 1/3 how decent the paint looks underneath!

No major plans for this one yet, still need to fix the rear glass as it only goes half way down then hits something and stops. And it definitely needs a new exhaust system, among other things. For now I'm just glad it running and driving good under its own power!


Sent via signal flare
 
Great updates. :). I rubbed up against it a few weeks ago and it's awesome. I also got to wheel in the XJ. Thanks again for the hospitality :cheers:
 
Two great Jeeps! That old Cherokee needs some classic slot wheels! I love that old Caboose on your property too! I've always wanted one of those!
 
Two great Jeeps! That old Cherokee needs some classic slot wheels! I love that old Caboose on your property too! I've always wanted one of those!

I jujst happen to have a set of those slots in the shop. :thumbsup: :wave:
 
Back
Top