• Notice for iPhone users: DO NOT use the image size reduction option when uploading photos to the forum. This causes portrait images to post as landscape. We have added a warning to the image insert pop-up as well.

1984 Alaskan Postal Scrambler Build

Before I began cutting on the step up piece I figured it would be a good idea to take a few measurements on the tub to makes sure everything remains straight and true (or at least as straight and true as an AMC produced Jeep could be!). I took my measurement from the the small lip just below the door striker bolt to the same on the B-pillar on the other side.

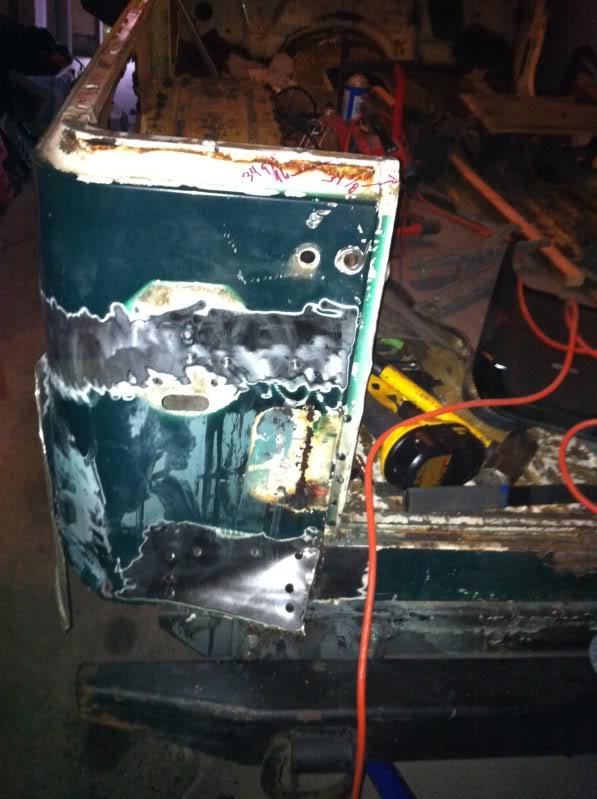
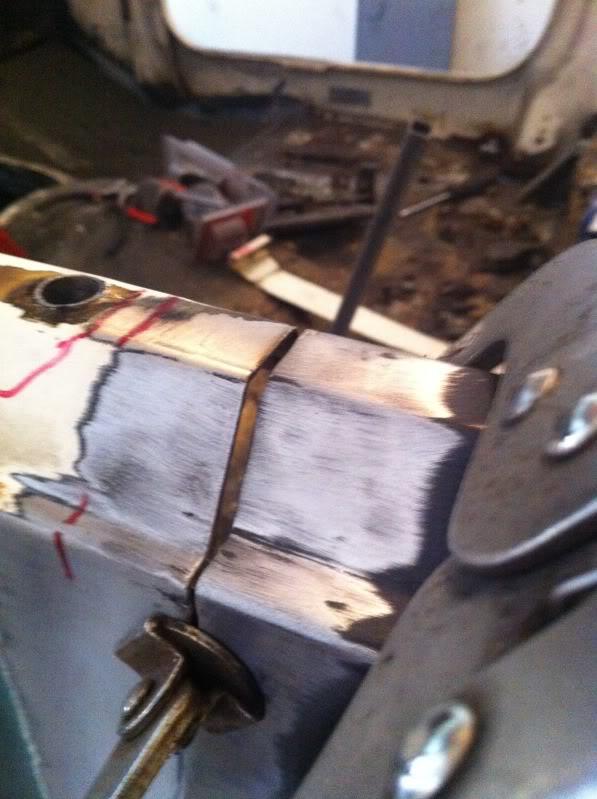
Here is where I hooked one end of my take measure to; it looks like it is on the door striker but it is actually hooked on the little lip of the tub:
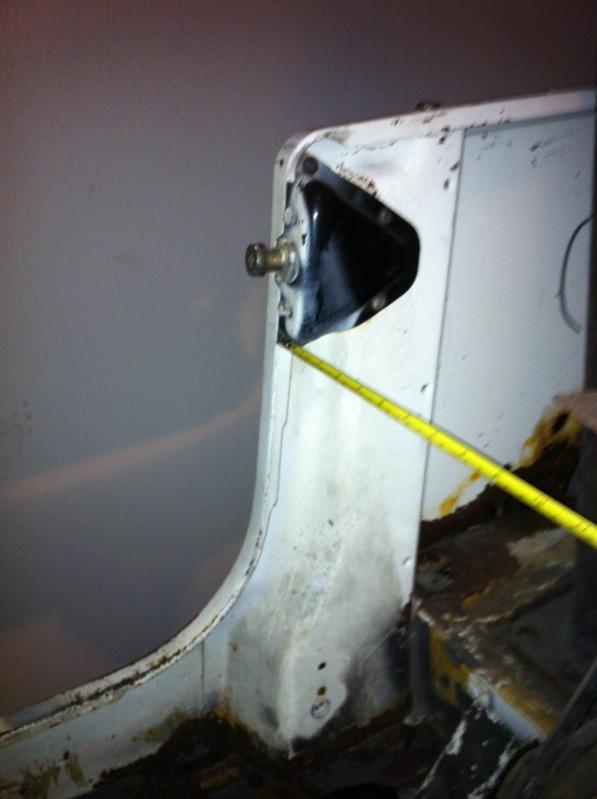
photo1869-1.jpg


You can see the area I measured to indicated by the crappy read area pointing up to it! I got 55 7/16". Can anyone with an original, straight, significant rust/accident free tub verify what your tub measures? I don't have any of my other CJ's in Houston to measure from! I measured several locations along the upper quarter panel lip and only have about 1/4" of variation from front to back which I thought was pretty good considering the amount of rust the Jeep has in the quarter panels and the wheel wells.
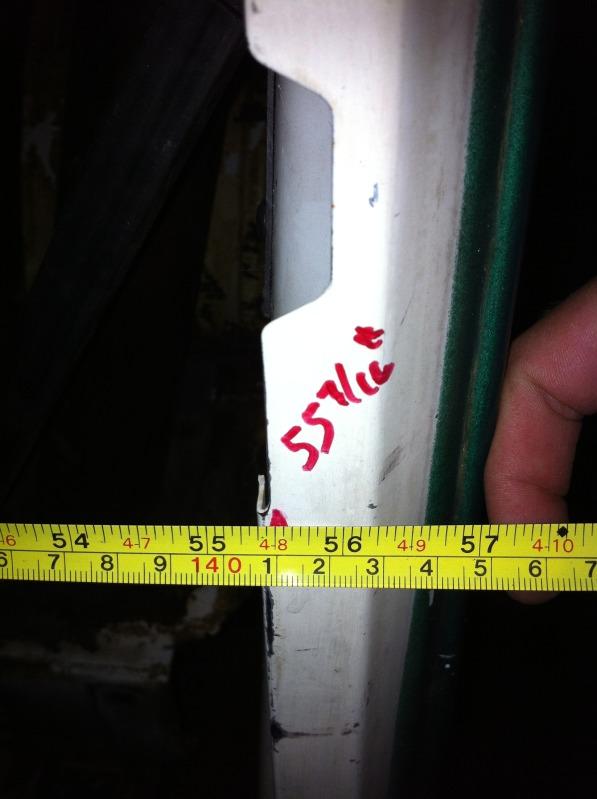
photo1883-1.jpg

In the photo above you can see the little lip where I hooked the take measure to on the other side near the door striker.

The new quarters and other back panels to replace the rusted ones are awaiting install. Anyone have the measurement I took above? Also, what are some of y'all getting for the measurements across the bed from once quarter panel ledge to the other?
 
Last edited:
Mike_bfdr, The postal/overlander top is really what drew me to the postal scramblers; that along the right hand drive! Somehow I have three of these tops now!

Bobbysjeep, thanks for the compliment! I am actually using the pictures you posted of the floor of your Scrambler showing the B-pillar so I can get an idea on how I need to shape the repair pieces I am making to replace the rusted sections of my B-pillars where they are spot welded to the floor board. The pictures are exactly what I was needing for a reference so thank you for posting them!

Mssld, I appreciate you taking the measurement for me. I was able to take a few more measurements on my tub and now have gotten the panels all within 1/16 of an inch from the front of the tub to the rear, which I'm sure is more precise than when they were put together by AMC!

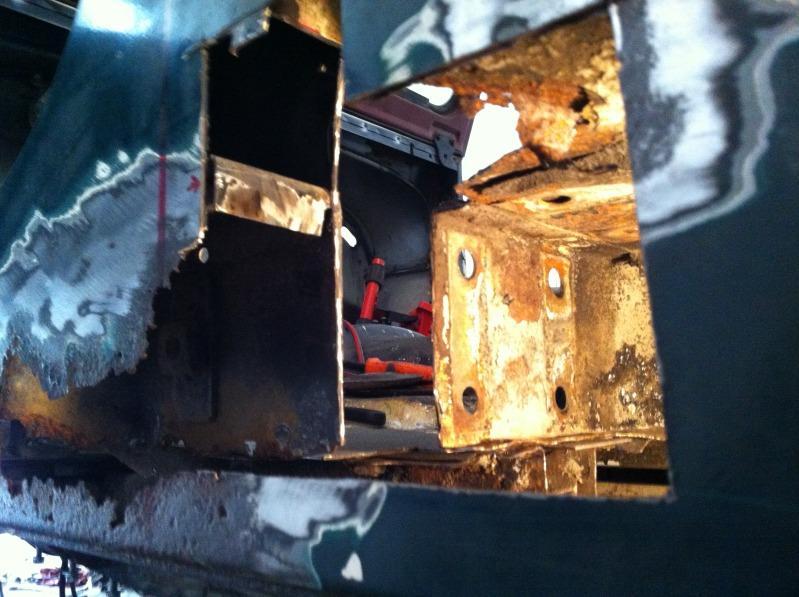
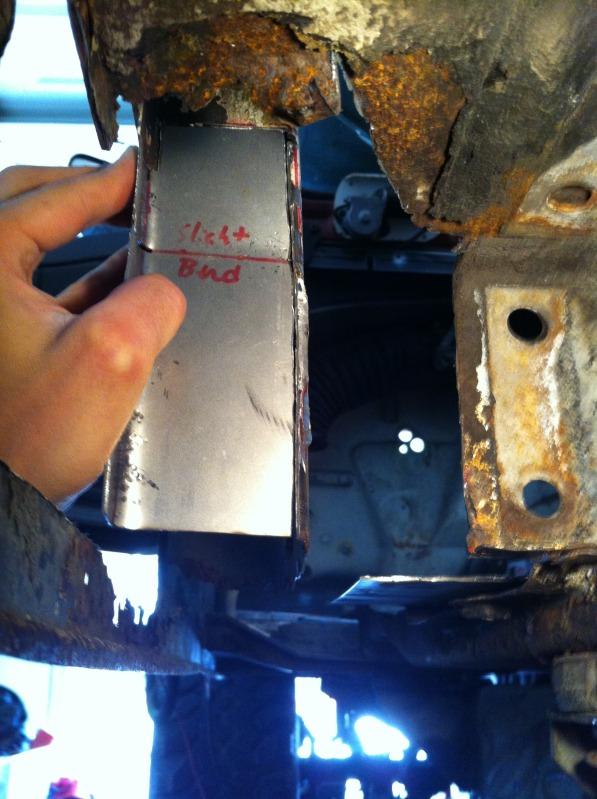
Got a little more work done on the Jeep tonight. I was able to get the rear portion of the B-pillar repaired as well as the last 4.5" of the floor step up piece. I don't have any of my anvils or vices so forming the replacement pieces took some time and was somewhat of a PITA but I managed to get it done and they actually turned out pretty good!

Rusted rear section of the B-pillar removed:
photo1982-1.jpg


New piece cut for test fitting:
photo1972-1.jpg


B-pillar repaired, before welding the piece in, I continually checked my work with a straight edge along the side of the tub to ensure the new replacement quarter panel will fit perfectly once installed. Using the straight edge with a piece of correct thickness sheet metal between it and the B-pillar flange with the holes drilled in it for the spot welds allowed me to make sure the quarter panel can be installed without compressing the panel in to clamp it against the repair piece or cause bulging of the quarter panel out due to the repair piece protruding to far.
photo1952-1.jpg


Welds cleaned up. I ended up having to use a dremel for a few small areas that were impossible to reach with any of my other finishing tools. These areas won't even be seen one the new panels are installed but my OCD kicked in as usual!
photo1962-1.jpg


Piece installed and cleaned up with weld through primer applied:
photo1943-1.jpg


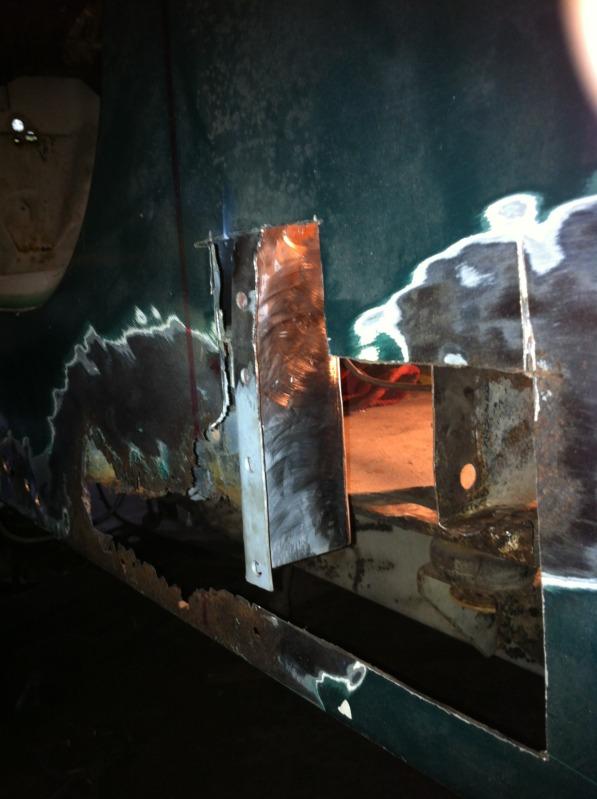
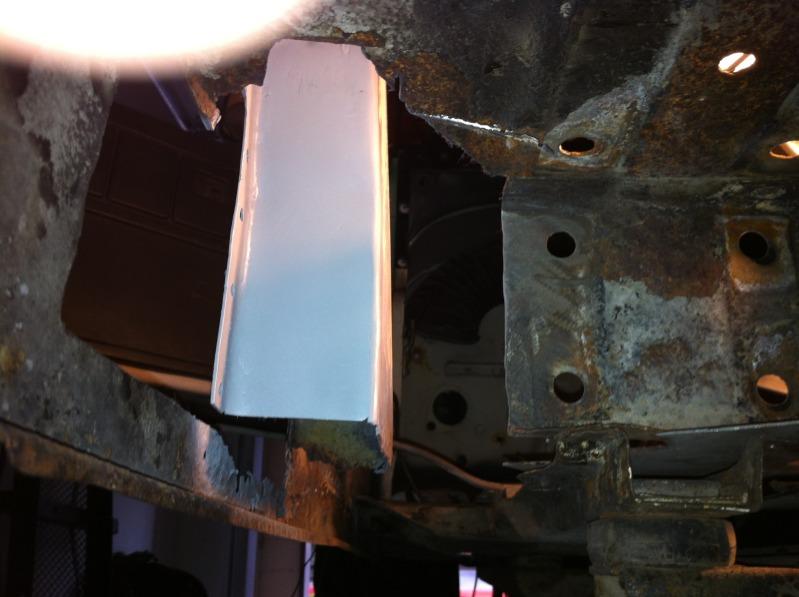
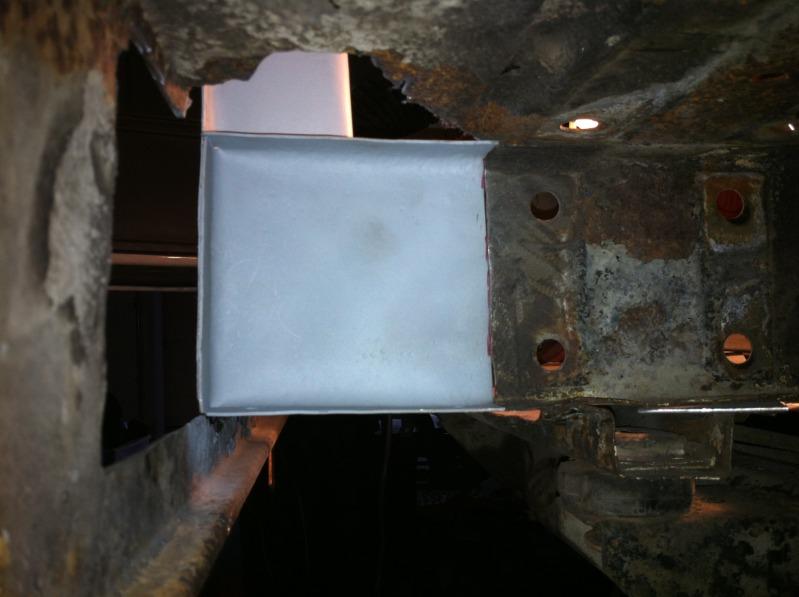
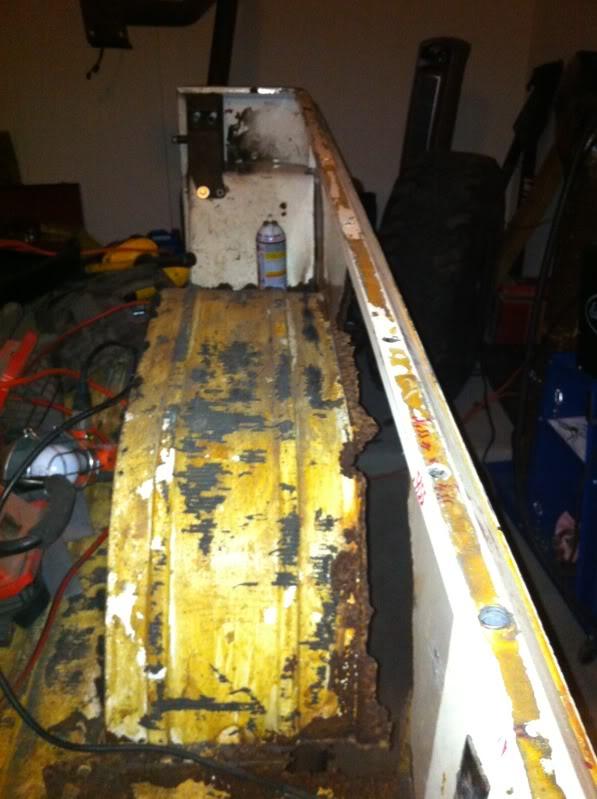
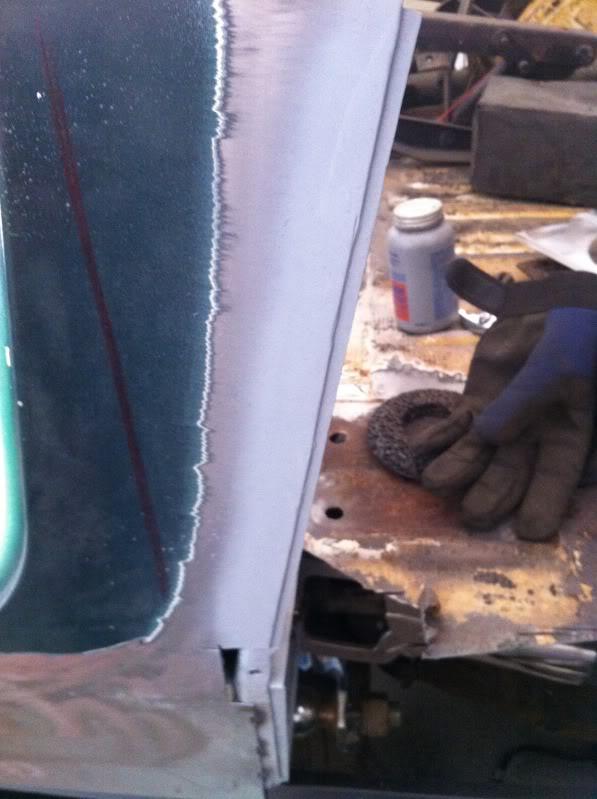
Test fitting of the newly fabbed step up repair piece. As before, I continued to use the straight edge to ensure future proper fitment of the outer quarter panel.
photo1902-1.jpg


photo1913-1.jpg


As always, before I welded the piece in I made sure to clean the surrounding areas of the old metal (note: in this picture I haven't cleaned up the step up area I will be welding against!):
photo1892-1.jpg


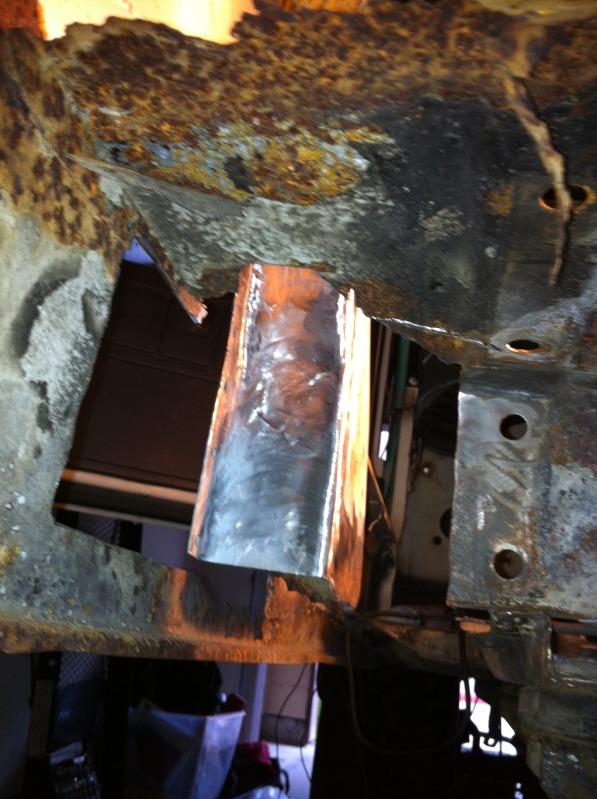
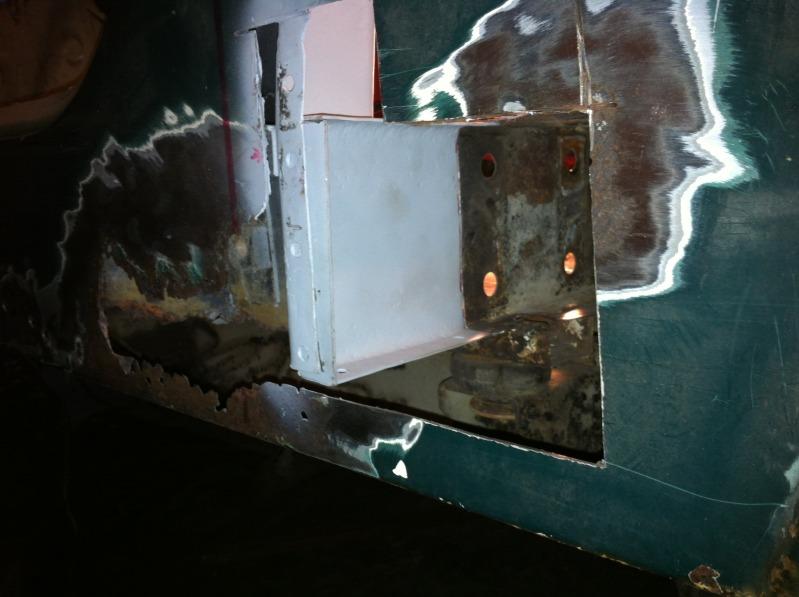
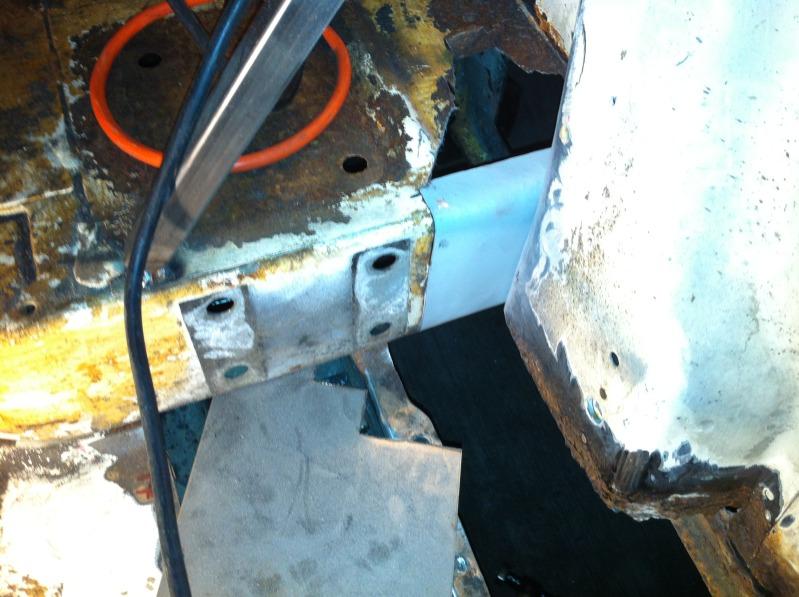
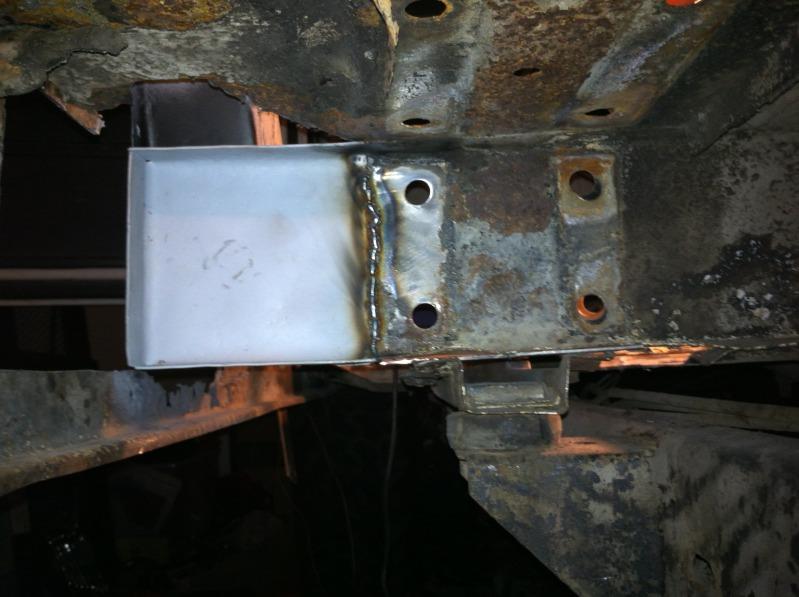
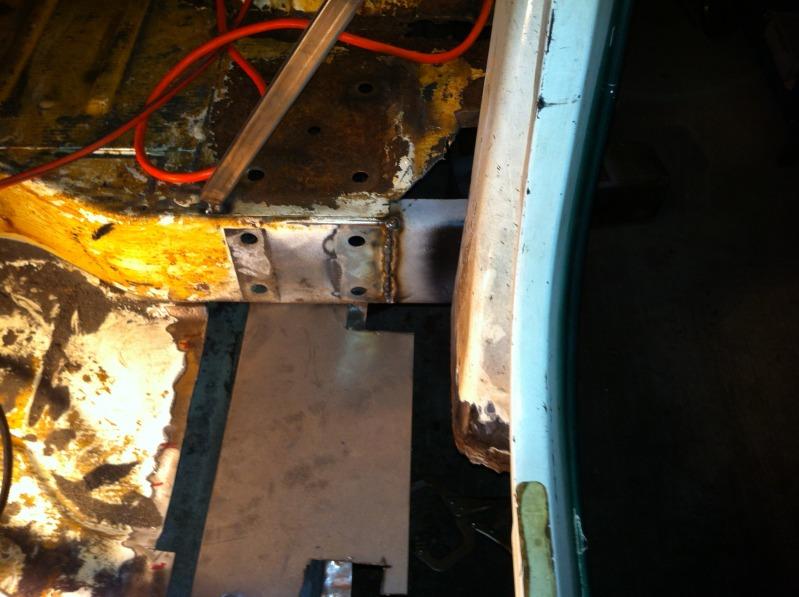
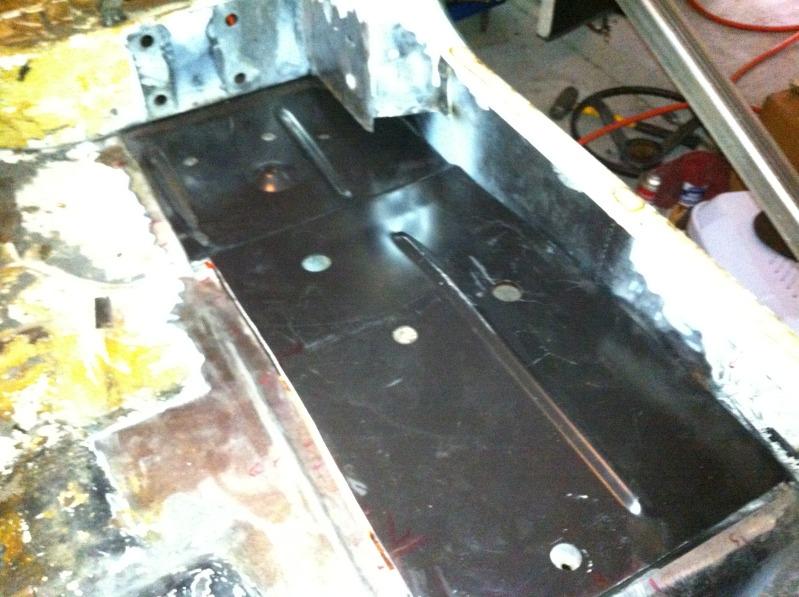
Got the step up piece installed but still need to clean up the welds. I still need to weld the step up piece directly to the B-pillar like the factory did on the interior side of the of the tub but it was getting late tonight and I figured my neighbors were getting tired of me making noise all evening in my garage so I called it quite for the night.
photo1884-1.jpg


The piece of sheet metal between the floor support and the step up piece is just temporary. I was using it to simulate the new floor being installed to unsure correct fitment and alignment of the repair pieces.
photo1992-1.jpg
 
Last edited:
GREAT WORK !!!!!
That's one lucky jeep !!!!

Thank you sir! Its amazing how much more rust you find and how much more work it is once you start really tearing into 'em. Being that I know the Jeep will be repaired and rebuilt correctly will make it all worth it in the in though!

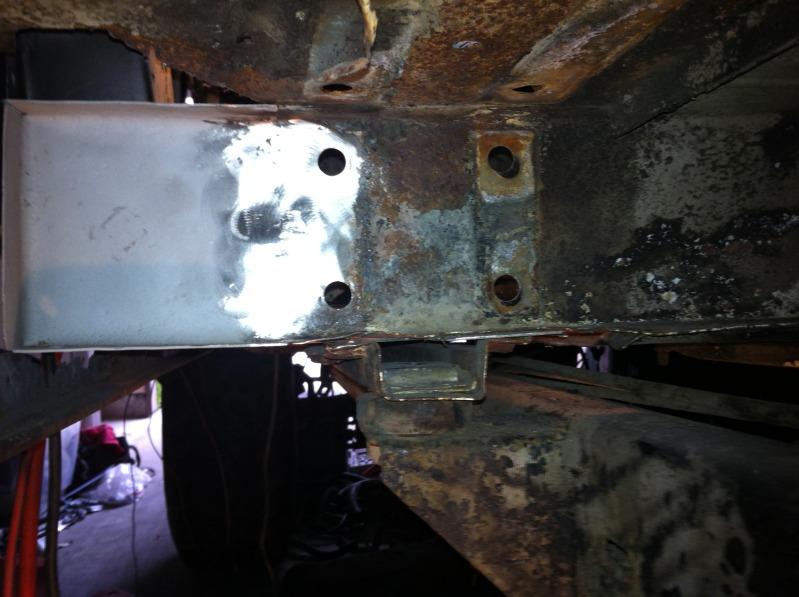
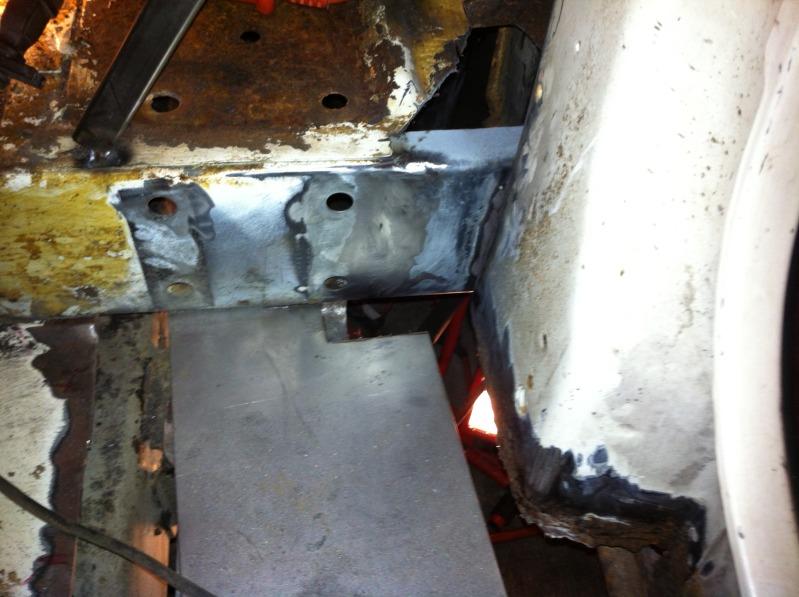
Went to work again today by starting with cleaning up the welds from last night on the step up piece:
photo2122-1.jpg


photo2132-1.jpg


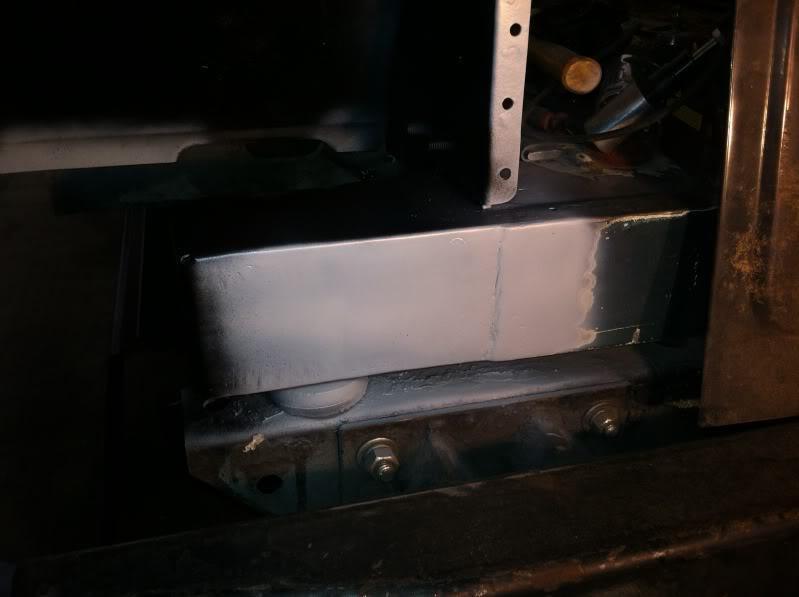
Also got the step up piece welded to the B-pillar just how it was originally. You can see the discoloration on the backside of the step up piece from the weld. Also got the spot welds for the B-pillar to the step up piece done and cleaned up with more weld through primer applied over the top where the quarter panel will eventually be against it:
photo2112-1.jpg


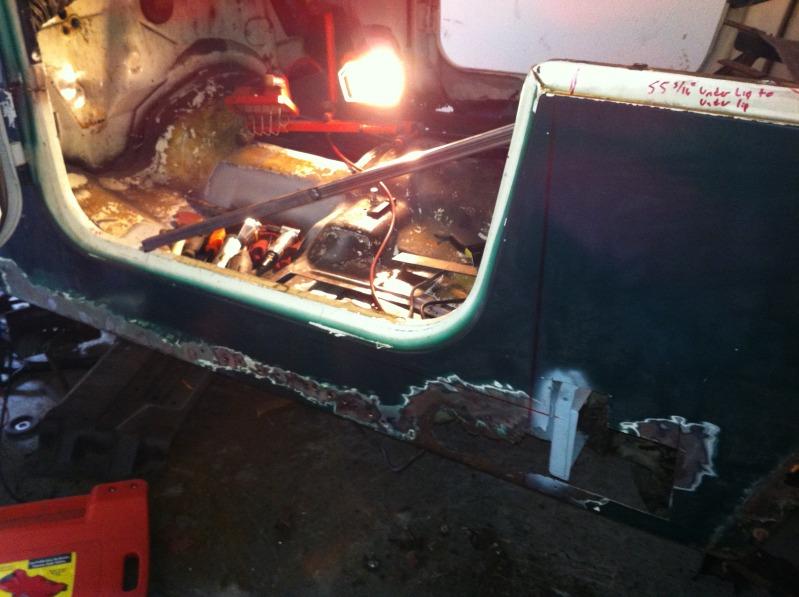
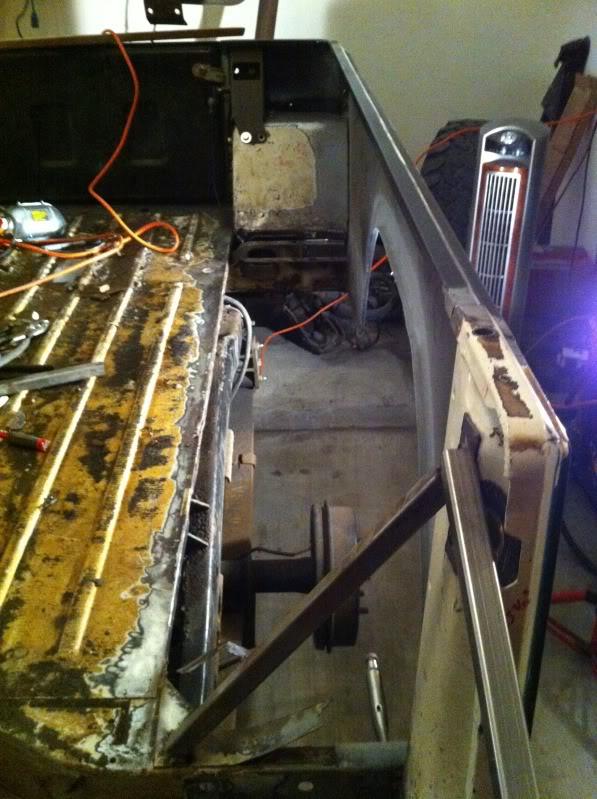
Before I continued on with the floor repair I figured it would be a good time to replace the rusted section of the rocker panel. I wanted to get the rocker panel piece installed before the floor so I could access the panel from both sides. But before I cut out the rusted area of the rocker I went ahead and added another brace from the B-pillar to the front top ledge of the rocker to prevent the chance of the door panel collapsing in any bit at all. Again as before, I took measurements before any cutting was done to ensure the panels didn't move once the rusted areas were removed. This probably wasn't necessary but I don't want to take any chances with misalignment:
photo2102-1.jpg


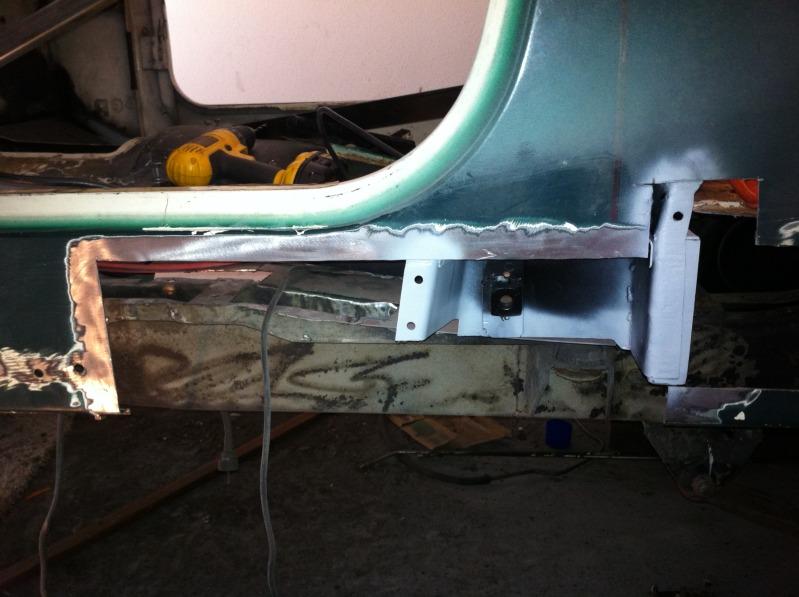
Damaged rocker section removed. I also cut away the remaining rust for the B-pillar while it was easy to access for the future repair. The inside of the B-pillar was cleaned up and treated to either eastwood's rust encapsolator or weld through primer:
photo2182-1.jpg


The piece I used came from classic enterprises; I cut this section from a larger piece of rocker repair I will be using on the right side of the Jeep. This panel from classic ent. has the correct bend in the bottom. I did not extend the rocker repair any further since my new quarter panels will handle the rest. I want to run the front repair weld seam for the quarter panel just on the back side of the B-pillar along the flange where all the tack welds run down the back of the B-pillar. I want to leave the original B-pillar to quarter panel tack welds and have the seam just to the back of the tack welds. This way I have the flange for strength and to back up the welds. The added thickness will also help with distortion; plus I won't have to drill out all the dang tack welds! Trial fit for the repair piece:
photo2092-1.jpg


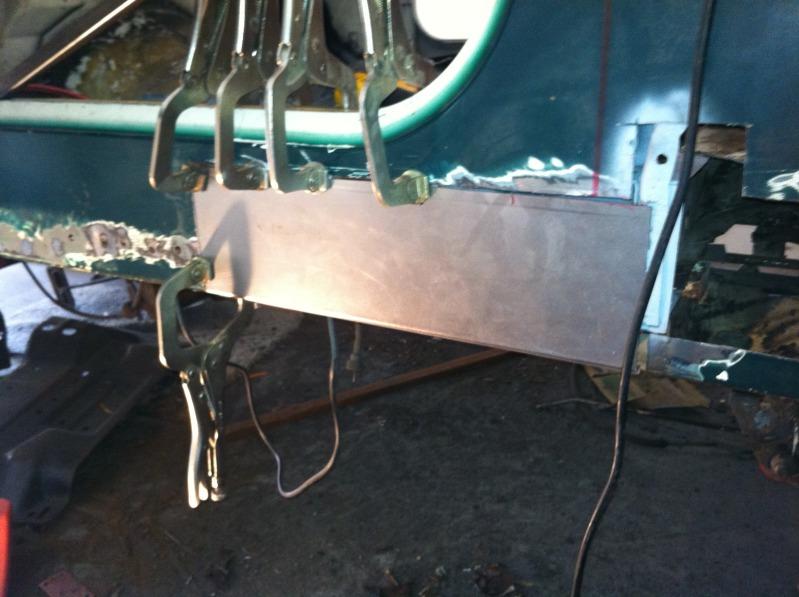
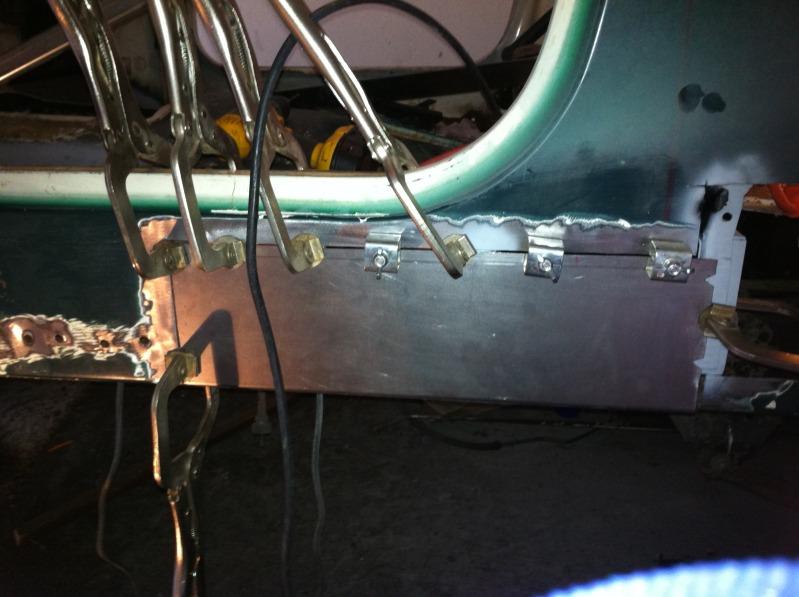
Panel fitted and areas to be welded cleaned up. I go a little overboard with clamps but I don't want any movement or distortion in my panels; if a little does a little good, a lot will do a lot of good!:
photo2082-1.jpg


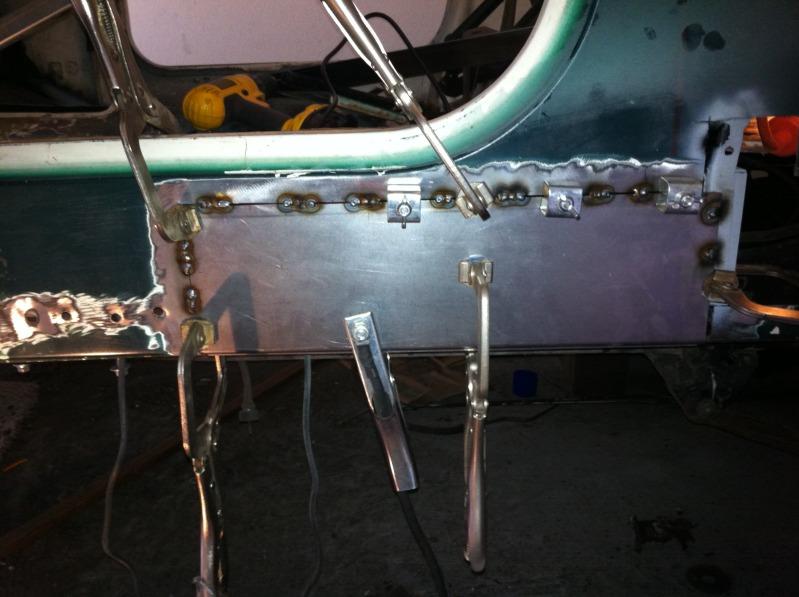
First set of tack welds:
photo2072-1.jpg


After I get enough tacks in place to where the panel is solid, I remove most of the clamps to clean up some of the welds. To prep my welds I rust use a 3" cuff off tool and hold it perpendicular to the welds. I grind down about a half inch long section at a time and make sure to keep the cut off tool moving in a way that I don't cut more than I need to or create a "bowl" where the weld is. The smaller cut off tool keeps heat to a minimum and has much more control than a flapper wheel or grinder.
 
Last edited:
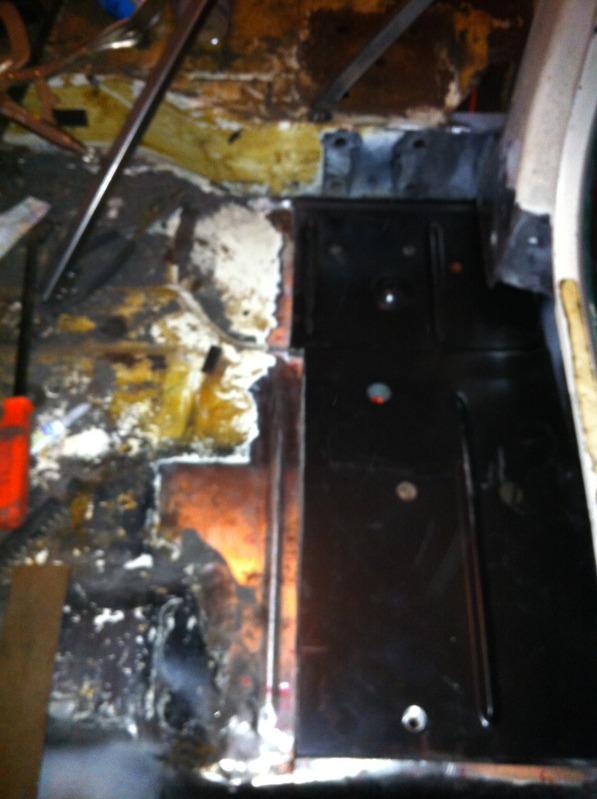
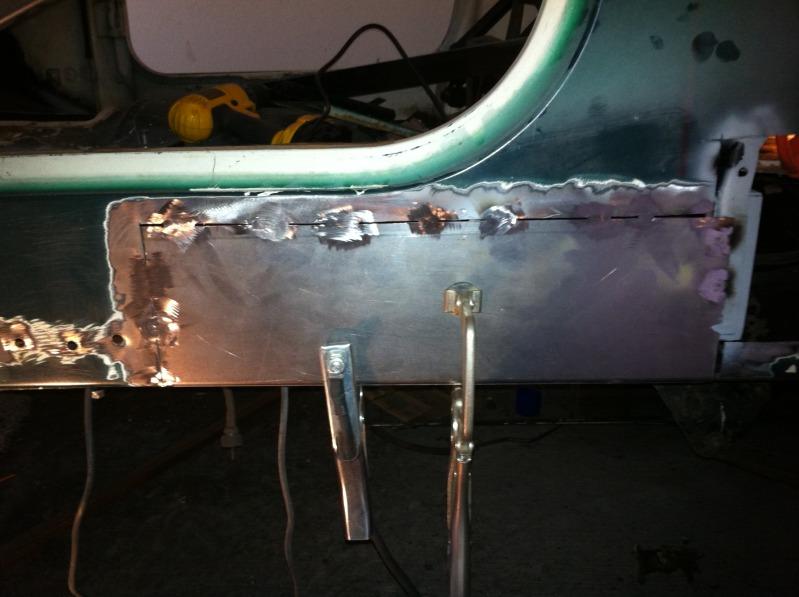
First couple rounds of welds cleaned up. At this point I check the welded areas for any slight distortion and correct any high or low spots with my body hammers and dollies. Since butt welding tends to great a "V" away from you, now is the time to keep correcting this after the welds have been cleaned up:
photo2062-1.jpg


An another:
photo2052-1.jpg


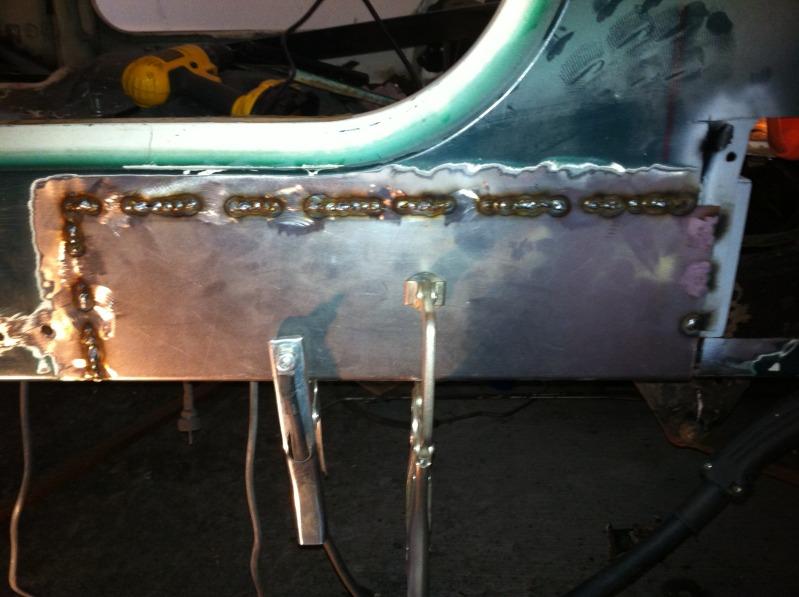
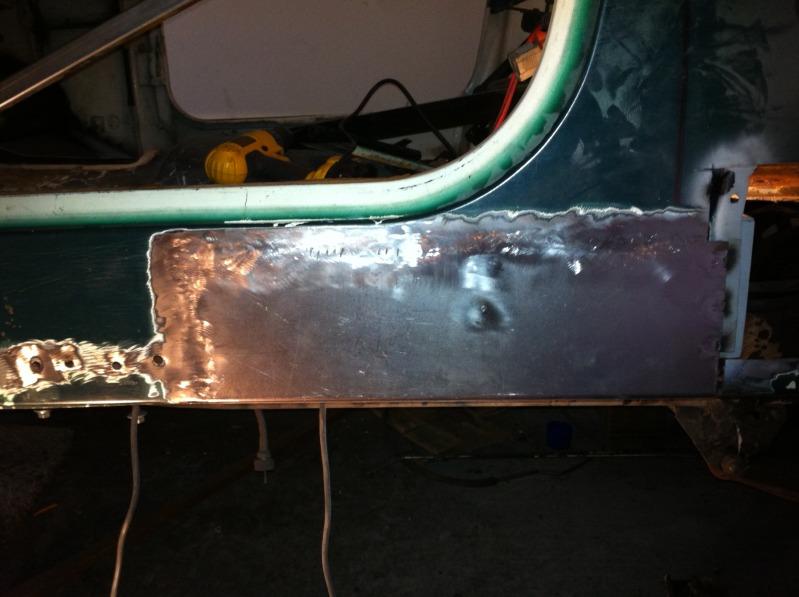
Panel installed! You can actually see a few of the marks left from the cut off tool and got a little deep when I got in a hurry. These little cuts look a lot worse in the pictures and will easily be filled by primer. The spot in the middle that looks like a dent is rust discoloration form where one of the tack weld is located for the B-pillar to rocker:
photo2162-1.jpg


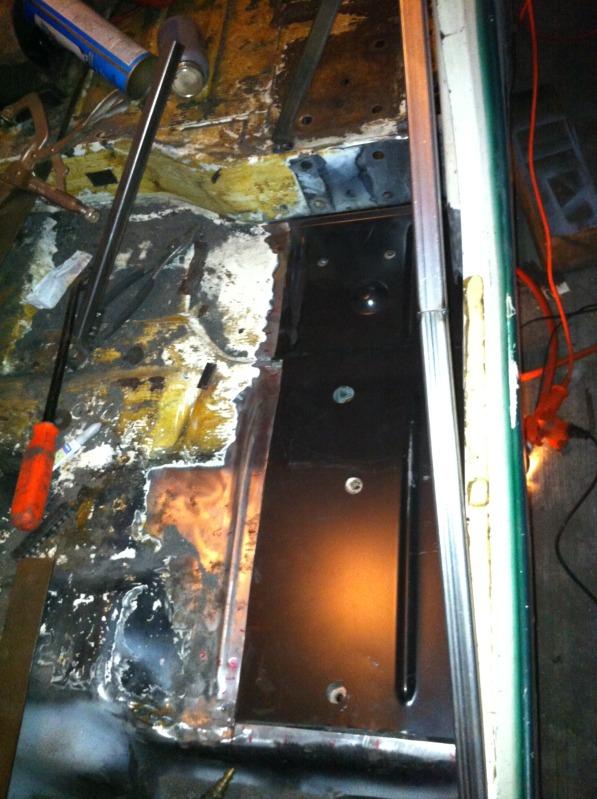
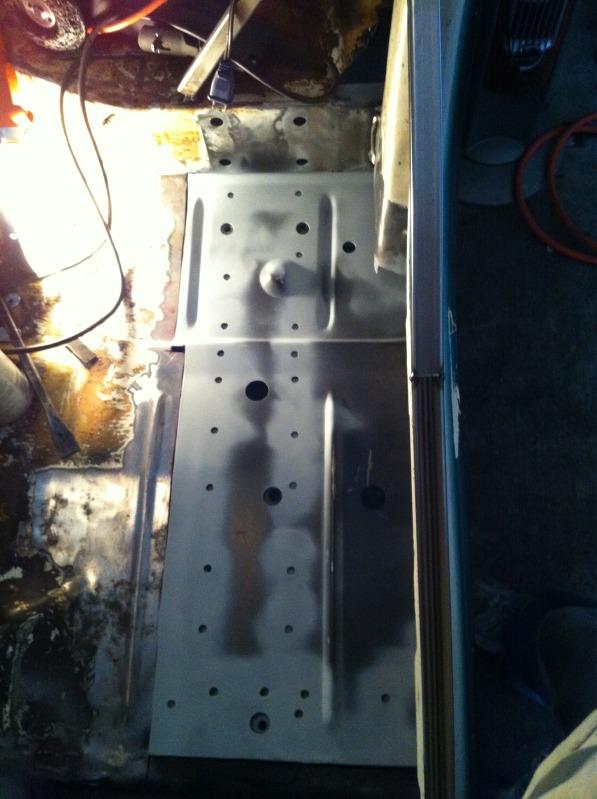
Next up, back to the floor repair. I cut down the larger panel to slightly larger than the approximate size I needed. After numerous time of removing the panel for some slight metal remove it is starting to fit pretty good:
photo2002-1.jpg

photo2012-1.jpg

photo2032-1.jpg


And that is where I quite for the evening with the floor piece cut to the correct size and the edges prepped for welding. I still need to clean up the inside of the rocker panels and under floor channel before I can weld everything in. The floor piece still needs to have the holes drilled in it for the numerous spot welds that hold it in.
 
I need to do all of this and there's just no way on earth it will end up looking anything close to your work :banghead: Probably why I haven't done it yet, I need to convince myself to just dig in and do it.

Great step by step and great work! :bow:
 
Bigwalton, the body work fixing the rust isn't bad, especially now that it has cooled down somewhat here in Houston. My advice when you do start your rust repair, take however long you are thinking a rusted section will take to correctly replace/repair and quadruple the time. I swear every time I get to a new rusted section, more rust or other problems arise making all the repairs take much longer than expected! Welding in the new panels actually takes only a fraction of the time compared to all the prep, fab, and other unexpected work. It reminds me of painting a vehicle, laying the paint down is probably the easiest, lease time consuming part of the job compared to the prep and finish work; much like actually welding in the panels.

I did manage to get some more work done on the tub since my last post. The front passenger side floor pans are completed.

Here after fitting the panel I prepped it for welding:
photo2073-1.jpg


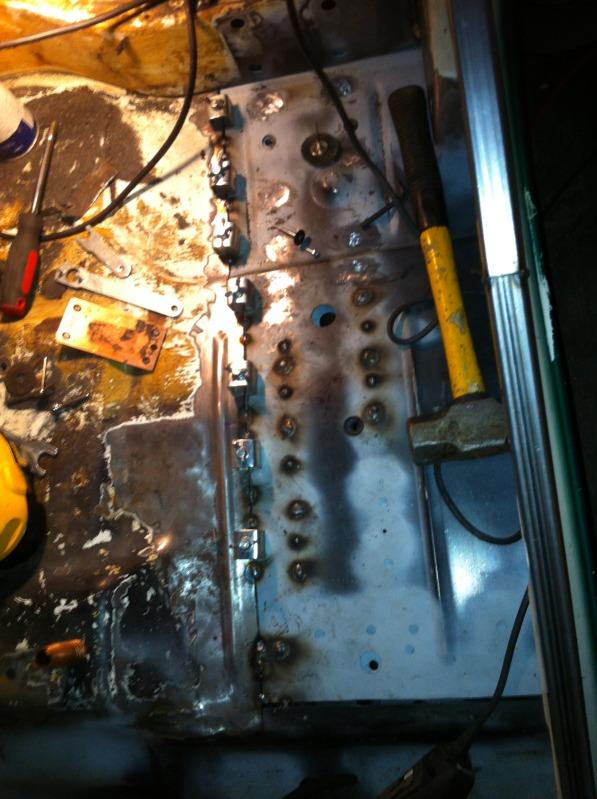
Floor piece being welded in (don't have any pictures of the floor panel install completed, I will take one tomorrow and add it to this post):
photo20621-1.jpg


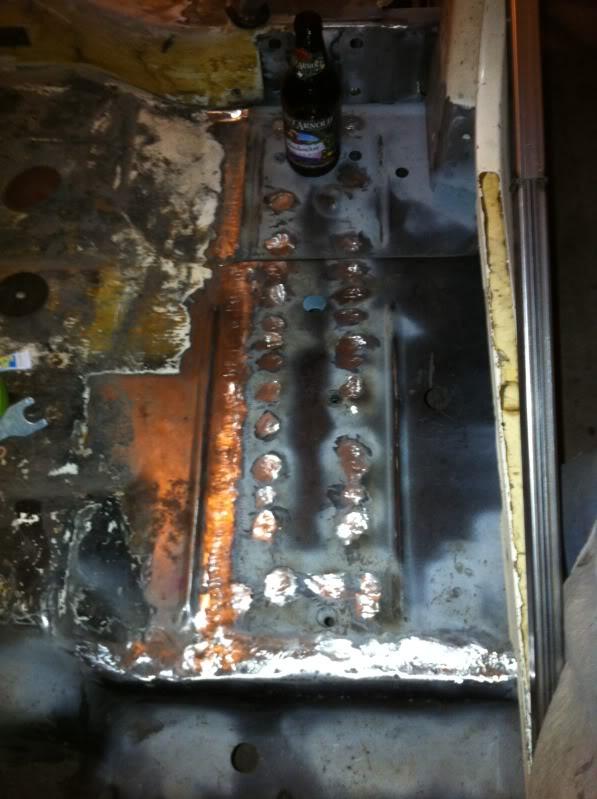
Floor finished:
photo239-1.jpg


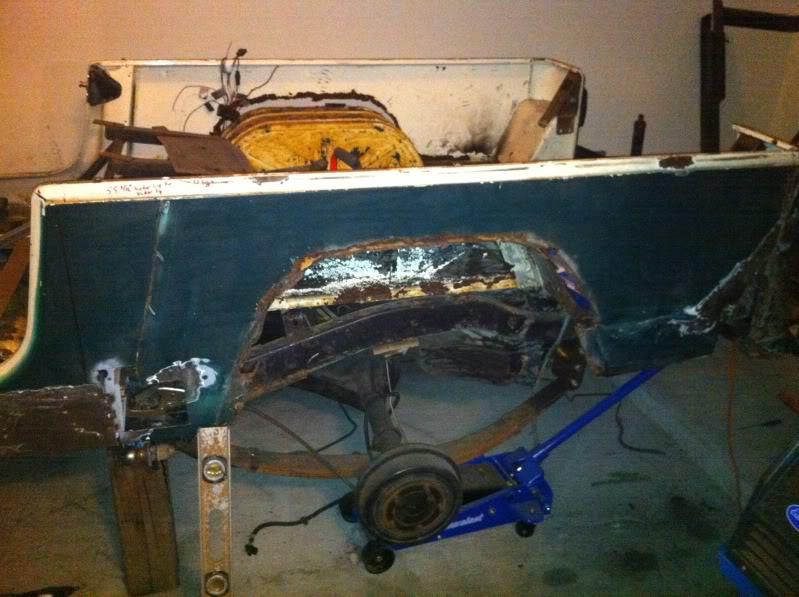
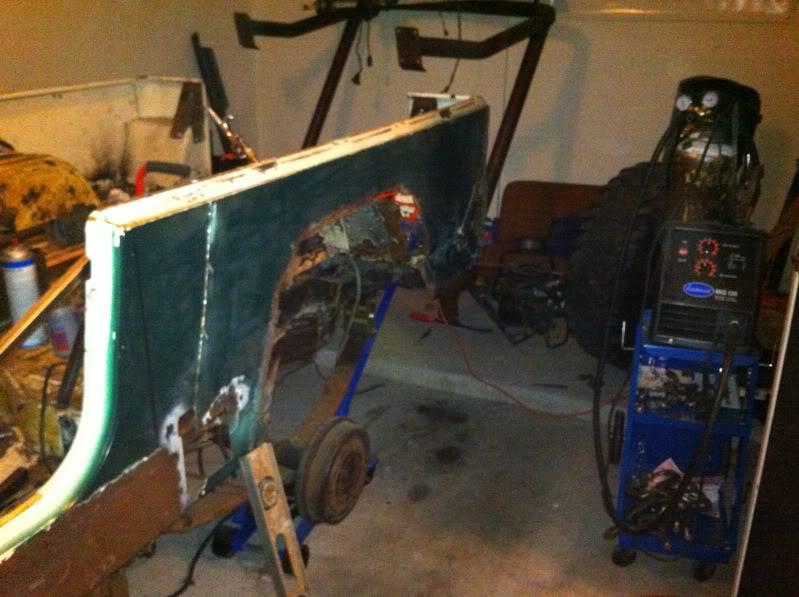
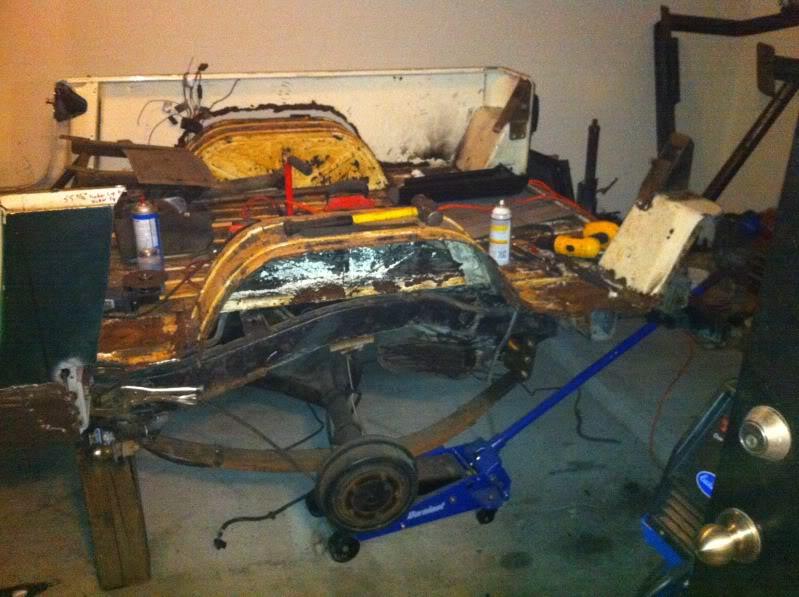
After the front passenger side floors were done I got started on the passenger side rear quarter panel and rear corner panel. Here you can see how bad the side panel and wheel well are rusted from its time spent in Alaska:
photo224-1.jpg


photo219-1.jpg


photo225-1.jpg


Started to drill out the spot welds holding the rear corner panel, only had to drill out four spot welds for the side panel due to rust on the areas where the spot welds should have been!
photo223-1.jpg


No turning back now! I probably took two dozen different measurements before removing the rusted panels so I have somewhat of an idea on the correct placement of the new panels. I cut the the front of the side panel on the flange where the B-pillar is spot welded to the side panel. The spot welds holding the back of the B-pillar to the side panel were left, I made my cut on the side panel so that 1/4" of the B-pillar spot weld flange is exposed. Doing this should allow me to have a good solid base to clamp and weld the new panel to.
photo220-1.jpg


photo221-1.jpg


You can see the flange I left to clamp the new panel to:
photo234-1.jpg
 
Last edited:
Not too much left of the original body when your done.:crazy:

I need to learn how to weld better. I don't get enough practice.
 
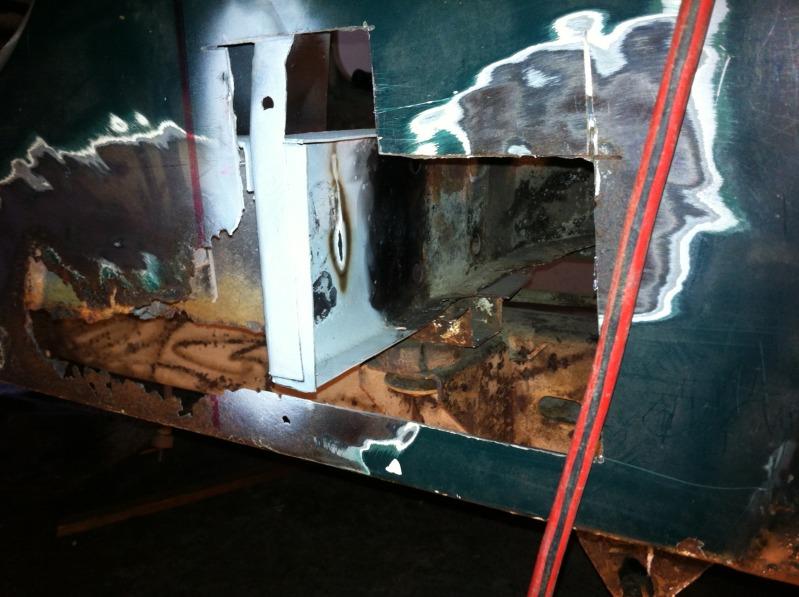
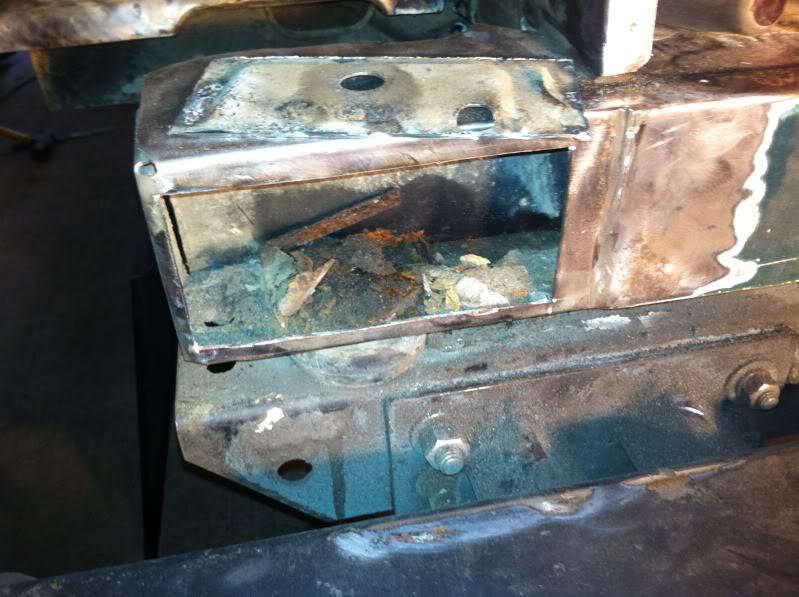
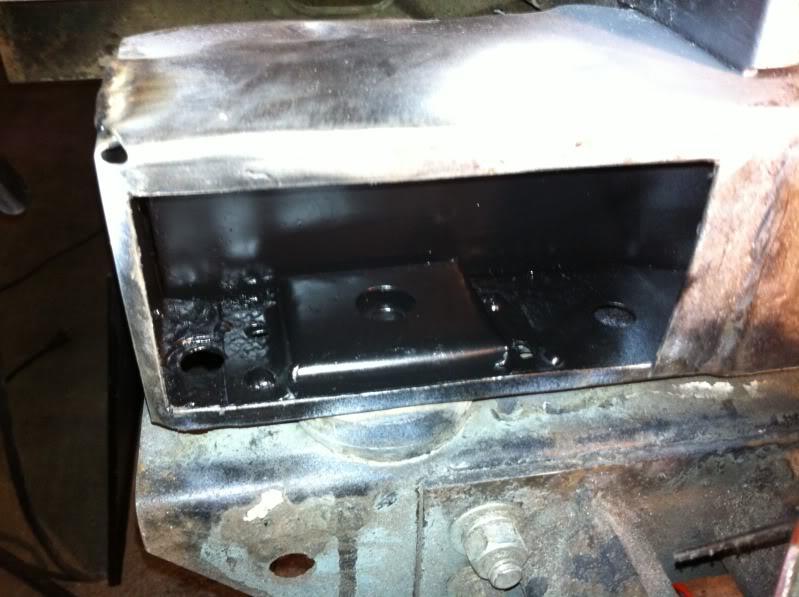
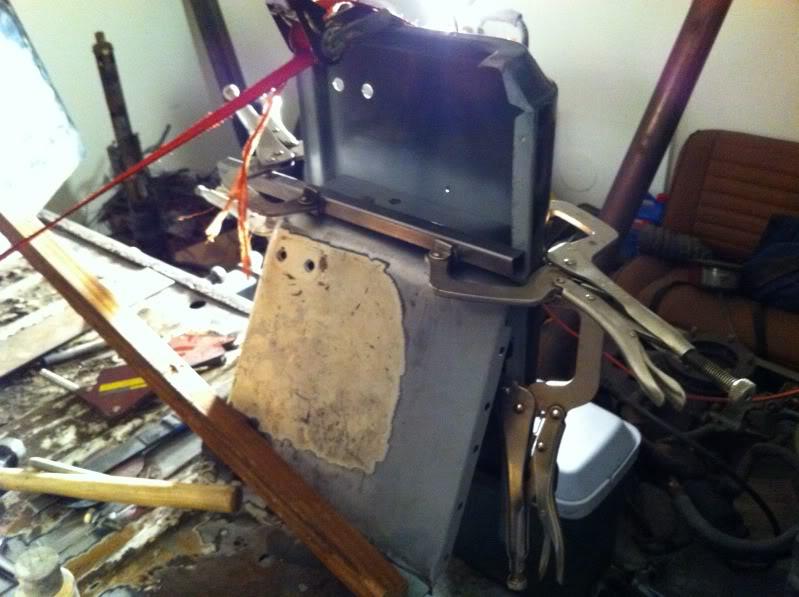
After getting the side and rear corner panel removed, I turned my attention to the tailgate/body mount support. The boxed end of the support near the body mount had some pin holes in it so I went ahead and cut out the rusted section. As with all the other rust repair I've done, this turned into a whole new project. Once I got the rust cut out of the support it revealed the capture nut enclosure for the body mount was totally rusted out. So this was added to the list of problems to take care of.

photo226-1.jpg


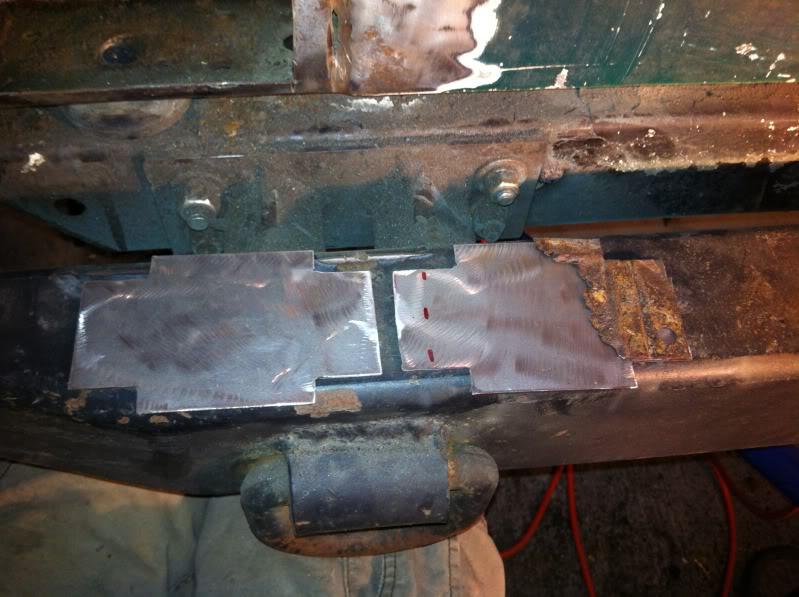
I thought about just cutting an access hole into the support panel so I could easily get to the inside and just use a nut and washer for the body mounting bolt to attach. After thinking it through I decided to go ahead and make a new capture nut enclosure so the repair would be correct. I decided to go ahead and make two of the capture nut enclosure pieces since I will most likely encounter the same problem when I get into repairing the other side of the Jeep. Here are the pieces I cut from 16 gauge metal prior to bending; on the right piece you can see what is left of the old capture nut enclosure:

photo227-1.jpg


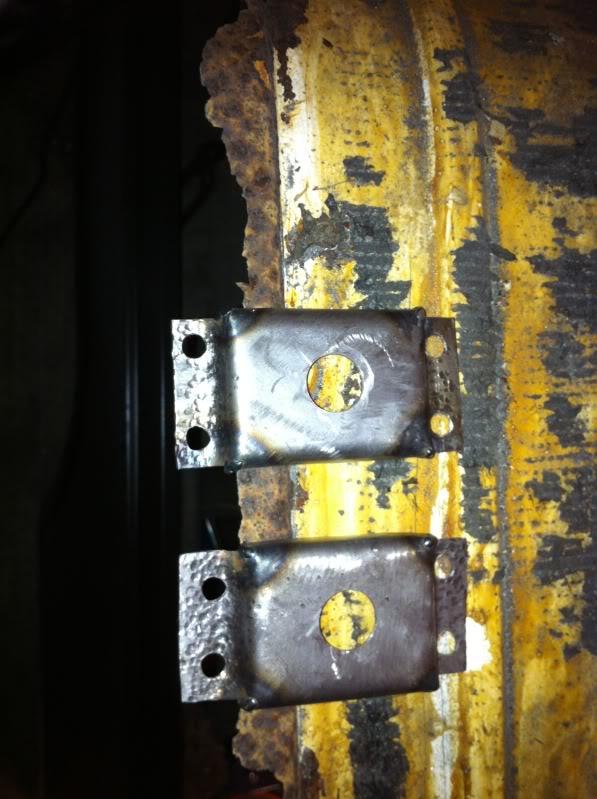
Capture nut enclosures bent with center hole and spot weld holes drilled. Considering I don't have my vise or even a work bench to form the correct bends the pieces actually came out really good. On the flanged portions where the spot welds will be you can see all the hammer marks I made shaping these things. To bend them I used a combination of the pointed end of an old body hammer, wide/flat vise grip, and the flat top portion of my rear bumper to hammer/bend against. Each corner of the enclosure has been welded for added strength:
photo228-1.jpg


Got the end of the support piece cleaned out, prepped , and rust encapsolator or weld through primer applied:

photo229-1.jpg


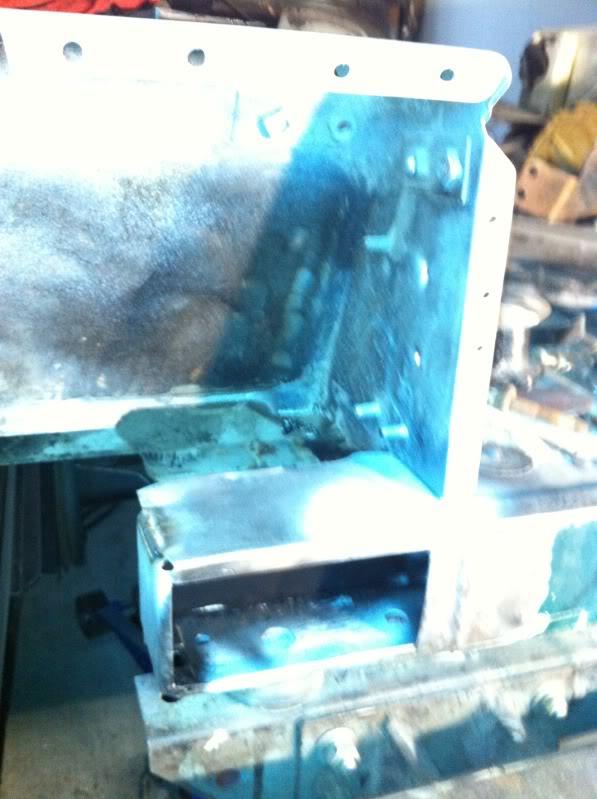
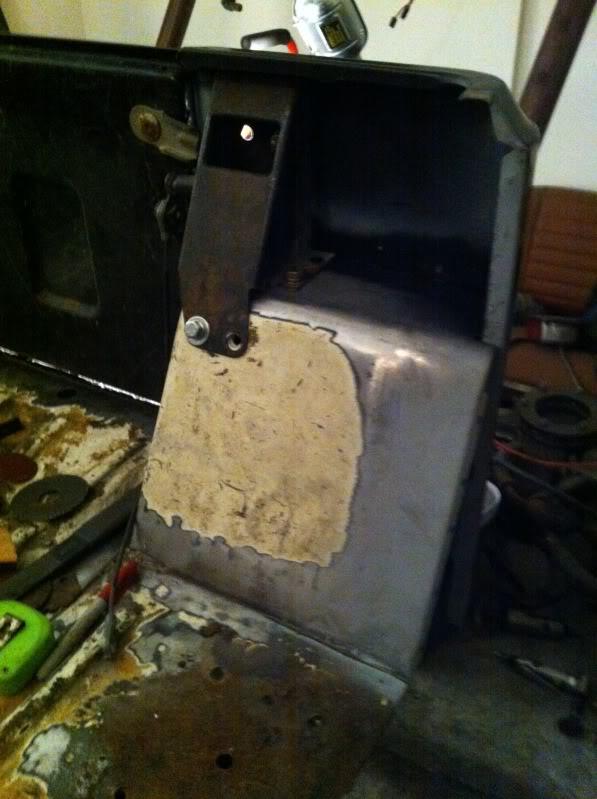
New capture nut enclosure installed with more rust encapsolator applied:

photo230-1.jpg


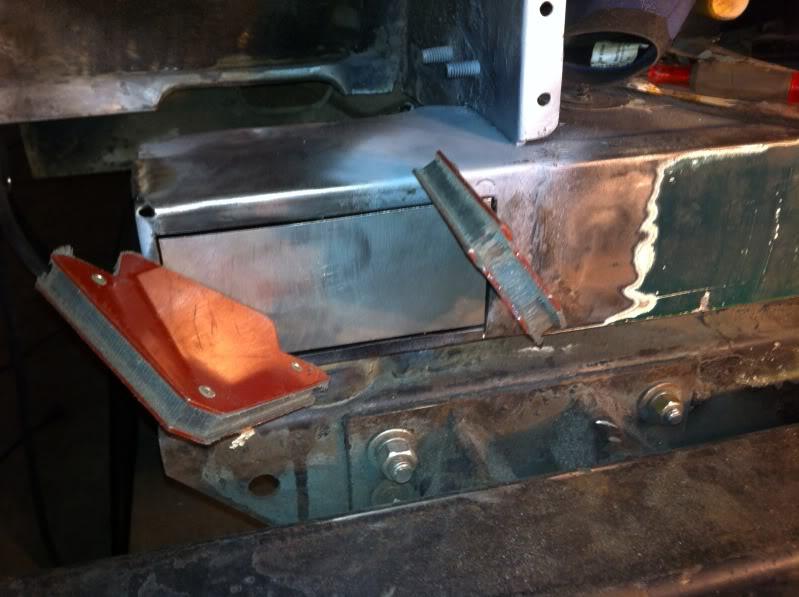
Patch for the end support fitted:

photo231-1.jpg


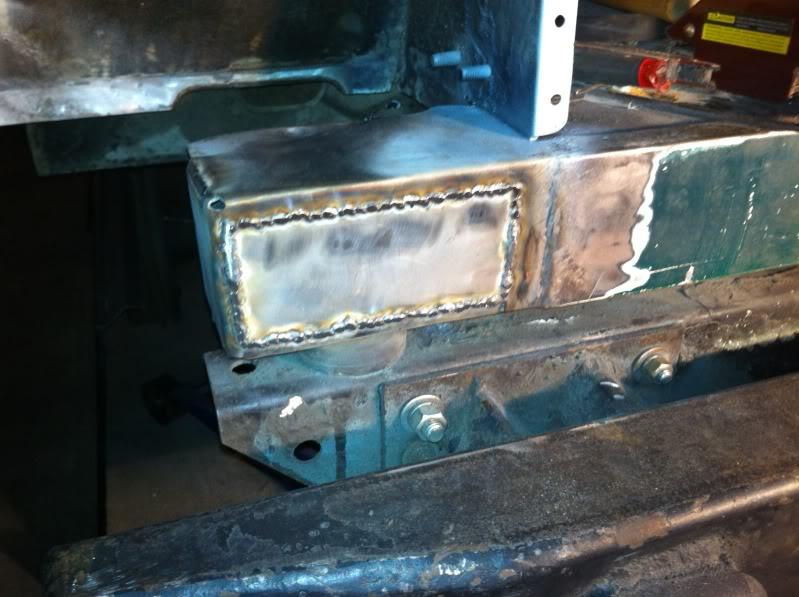
And welded in. I didn't get a chance to finish the welds since it was getting late and I didn't want my air tools and compressor running and run the risk of upsetting my neighbors:
photo232-1.jpg


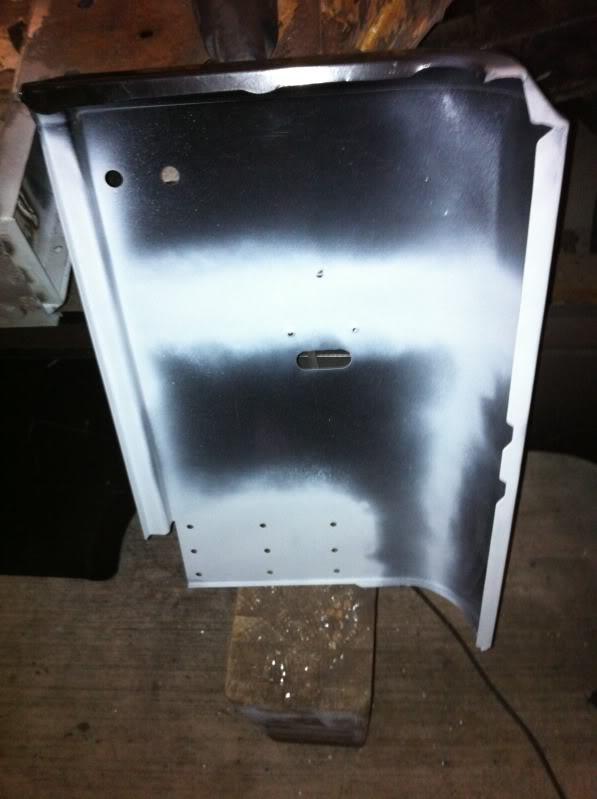
Also got the rear corner panel drilled for spot welds, prepped, and weld though primer installed where needed:
photo233-1.jpg


That's it for tonight, should get some more accomplished tomorrow night and Saturday.
 
Not too much left of the original body when your done.:crazy:

I need to learn how to weld better. I don't get enough practice.

You are right, After I am though with this Jeep I don't think there is a single panel or area on the Jeep that hasn't had some rust repair done! A new tub and swapping the firewall would have been easier (and probably close in price once I factor in all of the repair panels) but this is a good experience to really practice my rust repair and body work. Plus, I can guarantee this Jeep will be more square and straight once I'm done with it than when it came off of the AMC line! Its easy to build a rust free Jeep, but it takes real patience to build a rusty one!
 
Last edited:
Watching this is making me NOT regret my decision to swap firewalls!

Nice work!
 
Your repairs are looking great!

I appreciate it!

Watching this is making me NOT regret my decision to swap firewalls!

Nice work!

Thank you! A new tub and swapping the firewall would have been MUCH easier but repairing the rust has been a pretty enjoyable process so far. Plus, I can guarantee when I'm through with the tub it will be straighter and more square than any of the reproduction tubs; sure is time consuming though.

Tonight I managed to finish installing the rear corner. First I finished cleaning up the welds on the tailgate/body mount support and got some weld through primer applied:
photo235-1.jpg


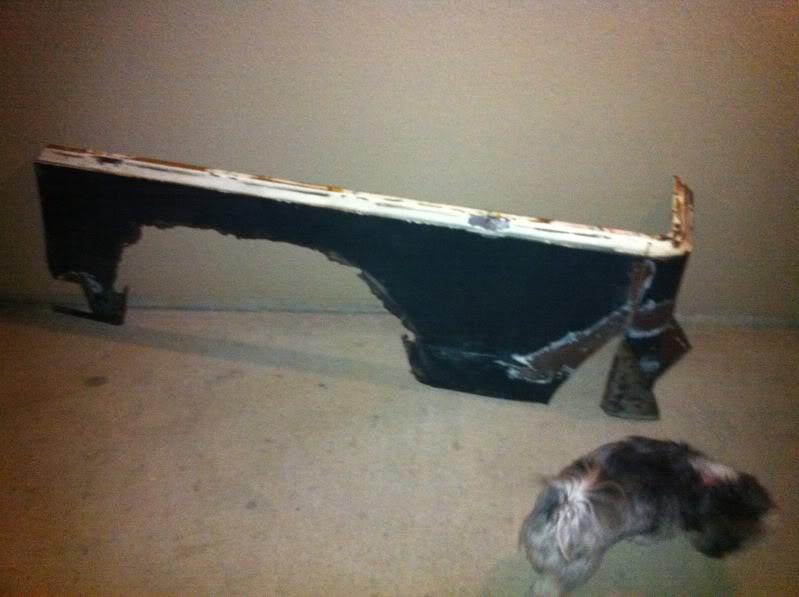
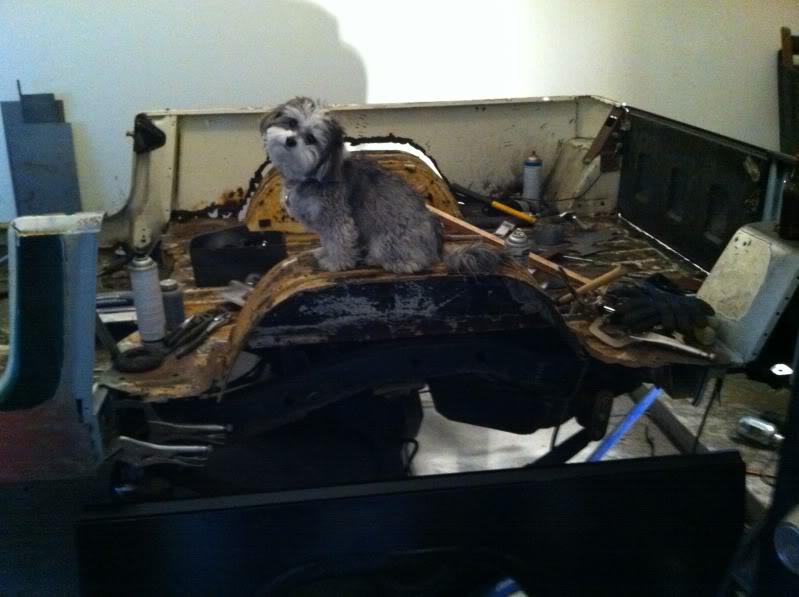
Mine and my wife's dog named Josie checking out the work. She helps me out on the Jeep whenever I am in the garage working on it. She loves riding in the Jeeps and wants me to hurry up and finish it so she can go on a Jeep ride; she already called shotgun:
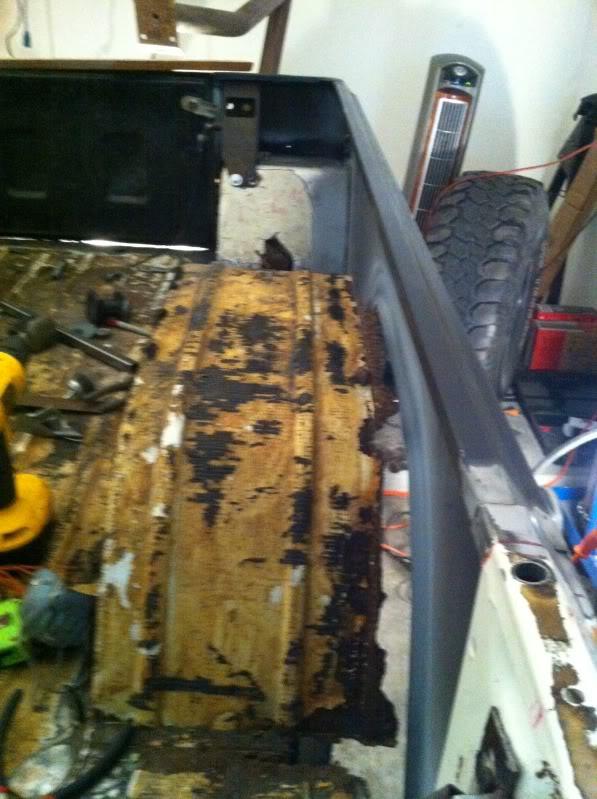
photo236-1.jpg


I had to get creative with the clamps to keep everything flush so I could hold the pieces together to make the spot welds. Getting then panel positioned correctly took me well over an hour. All the measurements came out exactly as I wanted and match the other perfectly:
photo237-1.jpg


Tailgate cable support piece temporarily mounted to add some more support to the rear corner piece and prevent any movement while I begin to fit the large side panel:
photo238-1.jpg


You see the penetration of some of the spot welds on the panel where the paint is burnt off. I am making as many of the spot welds as I can from the backside of the panels:
photo242-1.jpg


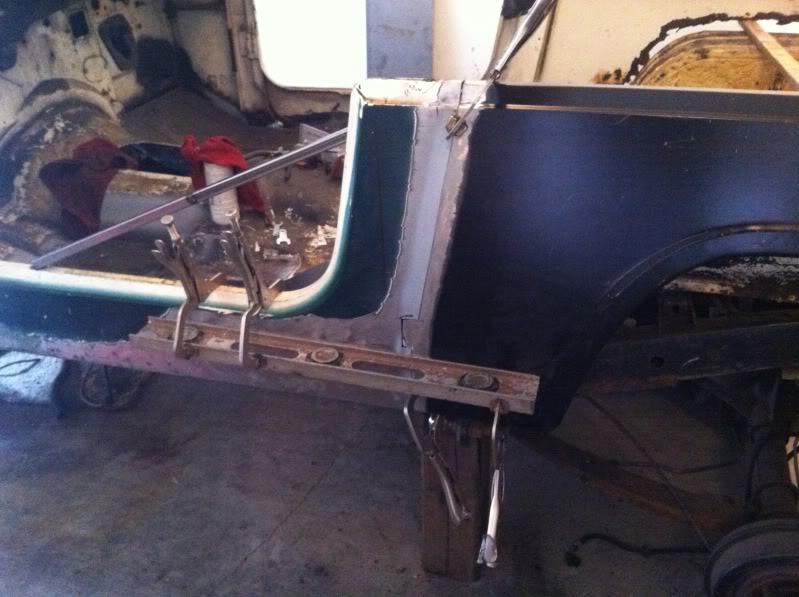
Finally, I am getting to fitting the large side panels! The panel is just clamped in place, I need to get the panel prepped and fitted yet. That is all the progress for tonight; hopefully I can get more done tomorrow.
photo241-1.jpg
 
Last edited:
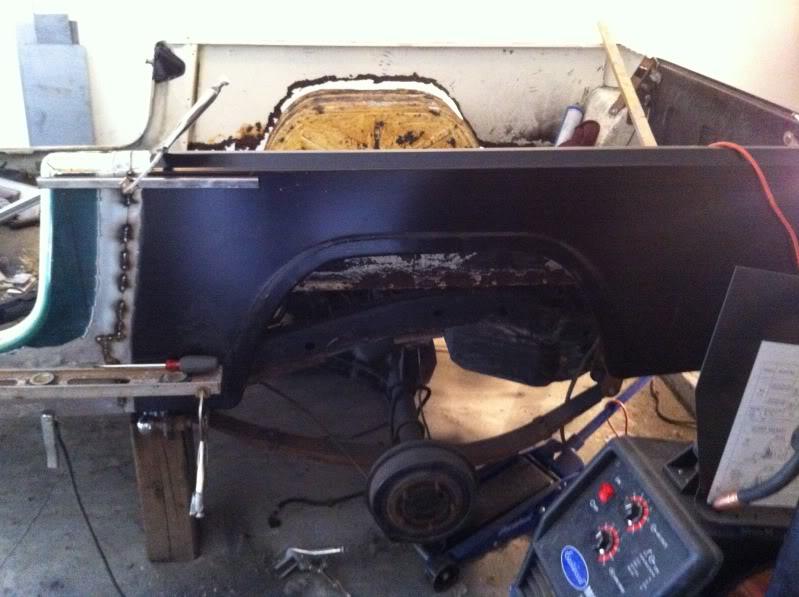
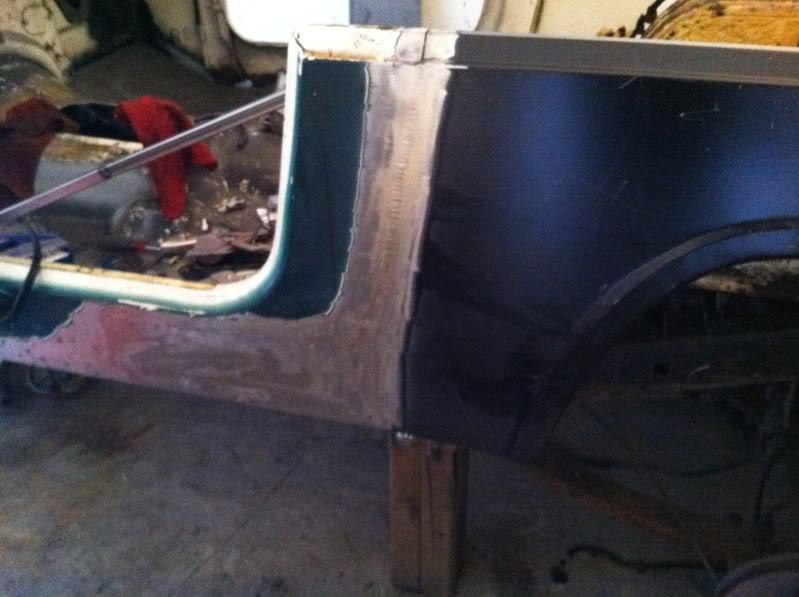
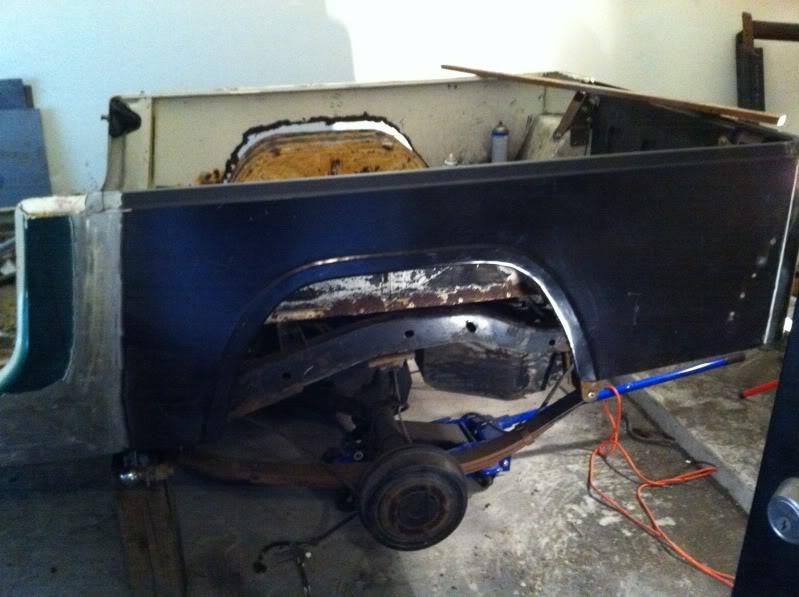
Yesterday I finished installing the left rear side panel. Paint removed and weld through primer applied:
photo243-1.jpg


Took some time but I was able to get the panel fitted really well. I used the level clamped to the panels to keep everything straight while I welded the panels together:
photo244-1.jpg


The only real major fitment issue I have had with any of the replacement panels is the top lip doesn't quite match that of the original panel. I am planing on removing the original lip and replacing it with some more the lip piece from the section of the new panel that was cut off while I was fitting the panel. Hopefully I can shape the metal enough to not even notice:
photo245-1.jpg


Mid way through welding the panel in place:
photo246-1.jpg


Butt welds cleaned up:
photo247-1.jpg


Spot welds done on the rear, you can see the penetration where the paint has burnt off. I am doing as much of the spot welding as I can from the backside of the panels:
photo248-1.jpg


Next up, the wheel wells and corner pieces need to come out:
photo249-1.jpg


Removed! Of course there is some rust through to the very edge of the bed floor and flange where the wheel well is welded to it so that will have to be repaired before any of the new pieces can go in. All the supports will stay in place until all the new panels are installed on the left side:
photo250-1.jpg
 
Wow, this is some really great restoration work you are doing:cheers::bow:

By the time you are finished, you will almost have a "new" tub, but built to your exacting standards:thumbsup: This should turn out great:drool:
 
Lots of work, you will be expert body man & welder after finished.

Be sure and get shots updated.
 
Back
Top