

You are using an out of date browser. It may not display this or other websites correctly.
You should upgrade or use an alternative browser.
You should upgrade or use an alternative browser.
1984 Alaskan Postal Scrambler Build
- Thread starter JeepScrambler
- Start date


- City
- Claflin
- State
- KS
I appreciate it, sure is time consuming but the body work is getting there, slowly!
Thank you! It is a lot of extra work but I'm trying everything I can to replace the rusted sections while still giving the tub the appearance it hasn't had any work done to it, including finishing the welds on both sides fabricating panels with correct contours, using spot welds where appropriate, etc. The only thing not original I am doing is placing spot welds centered on flanges with measured, equal distances between them where I can. I hate seeing replacement panels installed where you can clearly tell metal has been replaced, welds not cleaned up, panels lap welded where a butt welded would have been more appropriate, panels placed over rust, etc. All this extra work sure had added to the time frame on when I will finish the Jeep but I think the end result should be worth it. And with all the fitment and other issues I've heard with aftermarket tubs (including the Willys-Overland repli-tubs) I felt this was the best option; It is definitely giving me good practice!Wow, this is some really great restoration work you are doing
By the time you are finished, you will almost have a "new" tub, but built to your exacting standardsThis should turn out great


The repairs are definitely getting easier the further I get into the project. Since this Scrambler is the rustiest one I ever plan on restoring/resto-moding without a tub replacement, I'm hoping after it's done the body work on my other Scrambler projects I have in the works will be much easier. Painting and its associated processes will be the next step so that will be an additional set of questions I will have for those who are knowledgeable on it. Thanks for reminding me about shots, I'm actually overdue for my tetanus! last time I got it was in April, 2001 when I was in high school helping clean up a neighboring town back in Kansas that was hit by a tornado. This is definitely a project where an updated tetanus shot is highly recommended!Lots of work, you will be expert body man & welder after finished.
Be sure and get shots updated.
very nice very nice......thats why u wanted my old wheel wells...... if u lived closer i could of made some like mine but just the wheel well with out the storage compartments
Thanks! I actually already have a set of wheel wells coming from classic enterprises. I was needing your set for another Scrambler project I have back in Kansas! Replacements are expensive and finding any rust free originals with the spot weld tabs still attached is next to impossible!
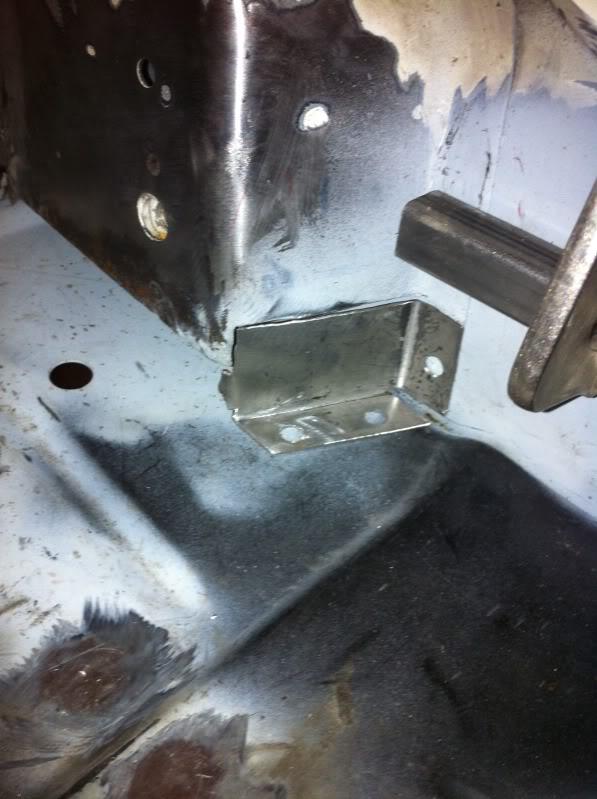
While waiting on my wheel wells to get in I went ahead last night and finished repairing the rusted lower section of the passenger side B-pillar. I cut the rusted lower section out earlier while I had access to the backside of the B-pillar so to create a new filler piece with correct tabs for spot welds I again used cardboard from a cereal box for mock up. Initially, the repair section was just one piece but I couldn't get the correct contour I was wanting so I ended up cutting it in two making it easier to shape. First piece fitting with holes drilled for spot welds:
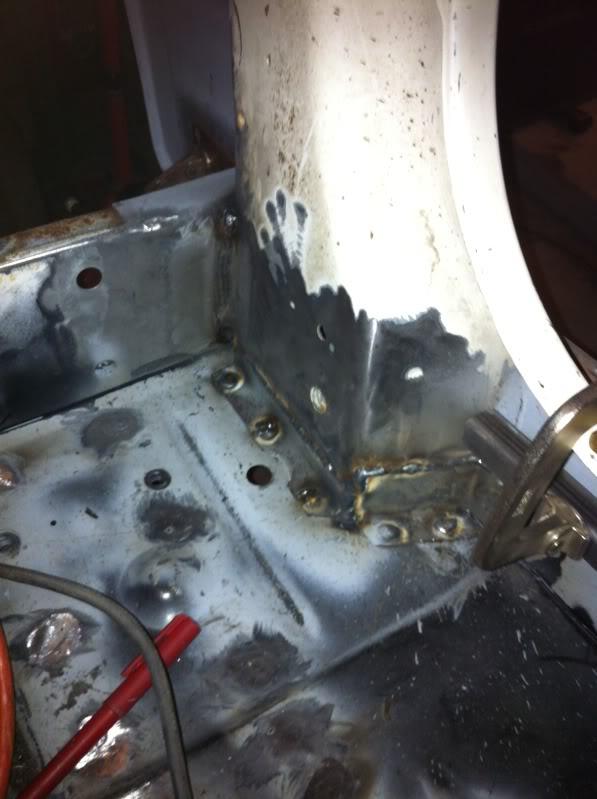
Both pieces welded in with spot welds done. You can see the clamps holding square stock and a straight edge to keep the rocker panels perfectly straight while I installed these pieces. I waited to finish spot welding the back few welds of the rear section of the front floor until I had the B-pillar repair piece ready to weld in and the panels were all in their correct positons.
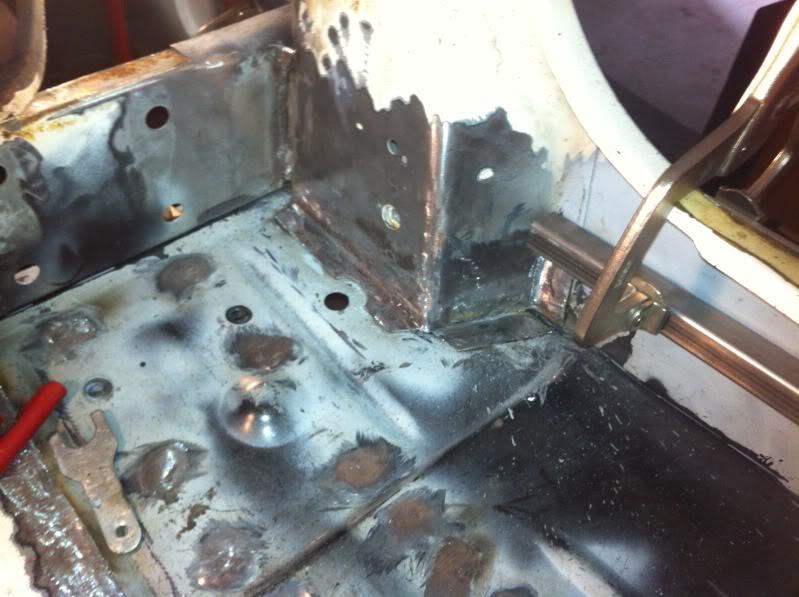
Welds initailly cleaned up. Thanks again to bobbysjeep for the great pictures he had posted of his Scrambler showing the B-pillars so I could have something to model my replacement pieces after:
Only had a little time to work on it last night so that was the only progress. I am keeping all of my cardboard templates so hopefully I can just use them to trace the needed repair pieces for the right side; should save a LITTLE time. My time in Houston is limited and will be leaving here for good at the end of December so I am trying to get a much done as I can without cutting any corners. The large panels go in pretty quick; its all the random pieces you have to fab, removing old panels then prepping the existing old surface for paint, and other little factors you don't think about that really eat up your time on a project like this.
Last edited:

- City
- Claflin
- State
- KS
Excellent work. The quality will definitely show on the finished product also.
Much appreciated! I'm really hoping all the extra time and attention to detail will pay off!
No real progress updates but I was needing to get a few more door opening dimensions. Here is the thread showing what I am needing:
https://www.cj-8.com/forum/showthread.php?36917-Scramblre-tub-dimensions-measurements
I would have just taken the measurements from the right side door opening but I have to do a little straightening on the front edge where the limiting strap bent the metal a little from the door being swung open to hard; preventing me from getting an accurate measurement. If anyone can get me these measurements I would appreciate it!
- City
- Claflin
- State
- KS
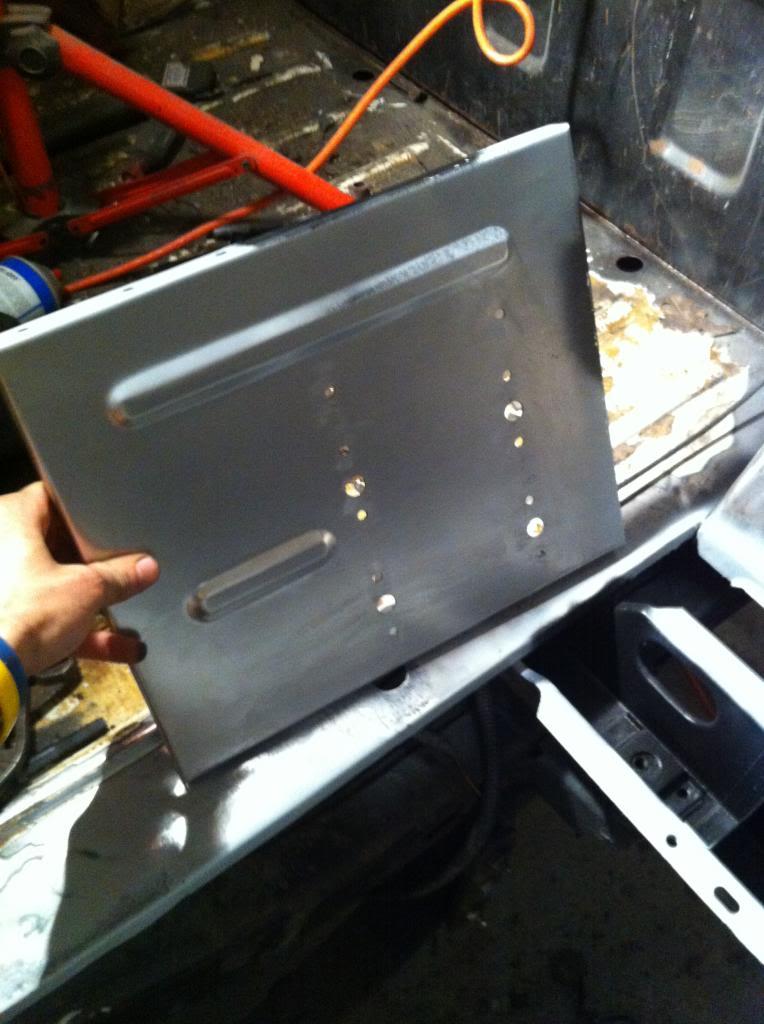
Finally got some more work done on the passenger side. First, got the rear bed corner piece drilled for the spot welds and the roll bar bolts:
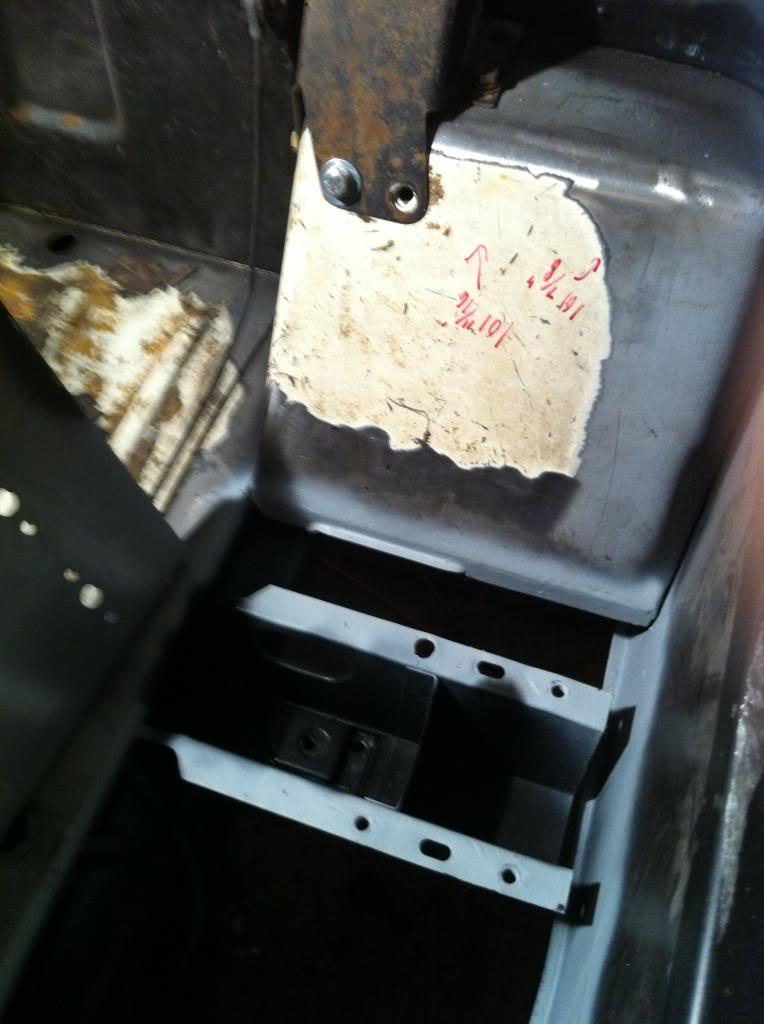
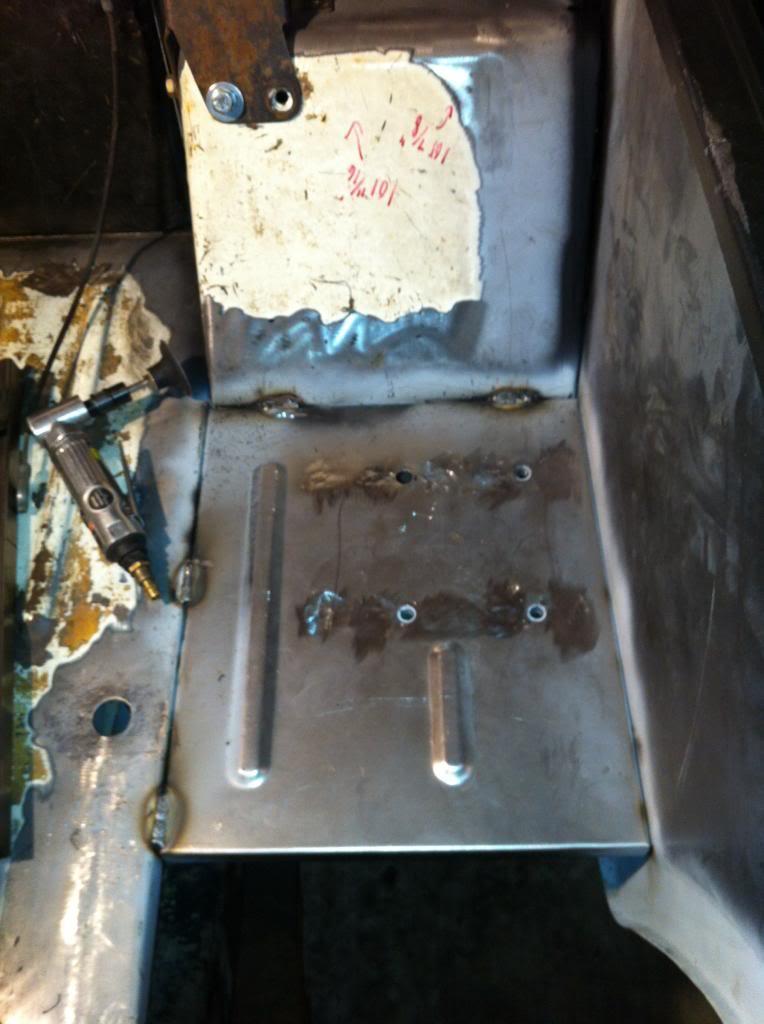
Cleaned up the body mount area and inner channel, then laid down several coats of rust encapsolator and weld through primer:
Before spot welding the panel in place, I used a level as a straight edge with clamps to get the panel perfectly straight. As with most aftermarket panels; especially a large piece that goes through shipping, there was a slight bow but clamping the level to the panel took it out:
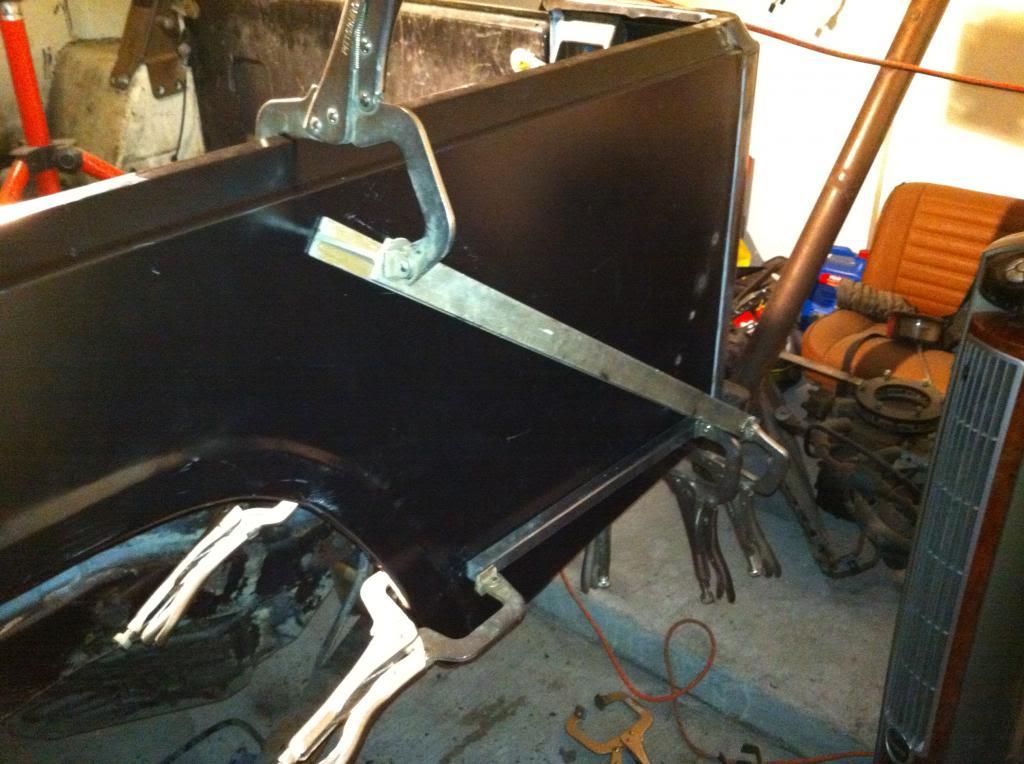
Panel spot welded from the backside:
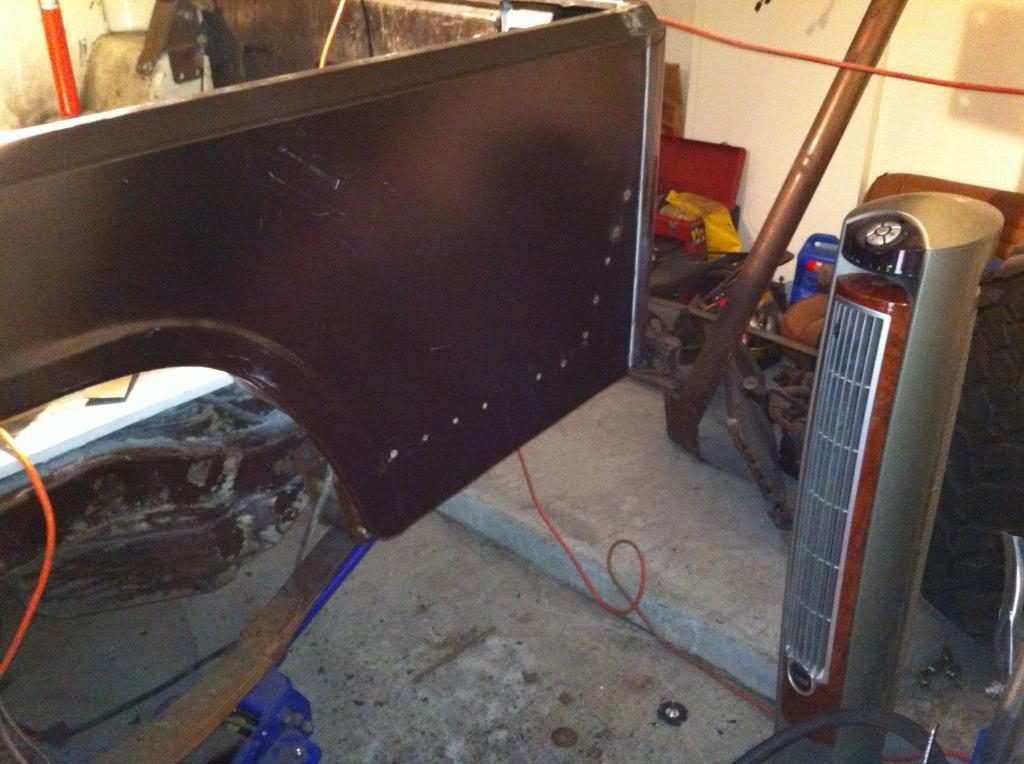
Panel installed. I used to right hand side as a reference and placed the approx. 1" long beads in the correct locations:
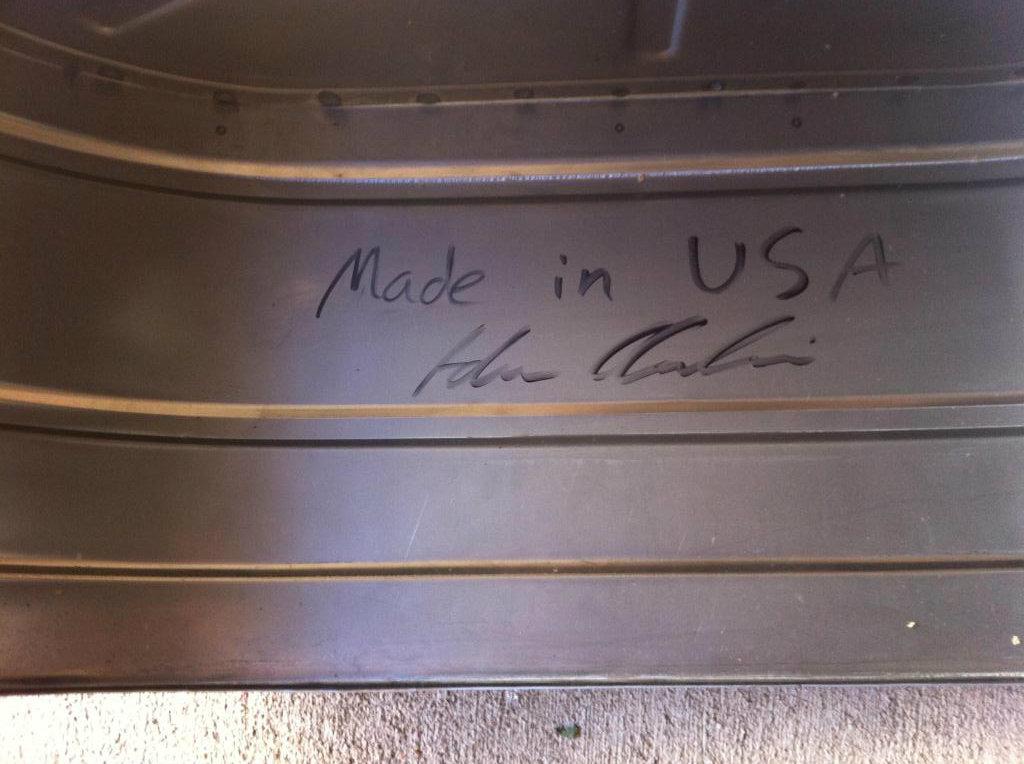
Next up, the new wheel wells from Classic Enterprises. All of the panels I have purchased from them fit perfectly, but I think my favorite thing is every single panel is signed by the person who made them! Along with the name is "Made in the USA" which is something you NEVER see in aftermarket parts; or with any products you purchase anymore. Wish I could see this on all the stuff parts I purchase.
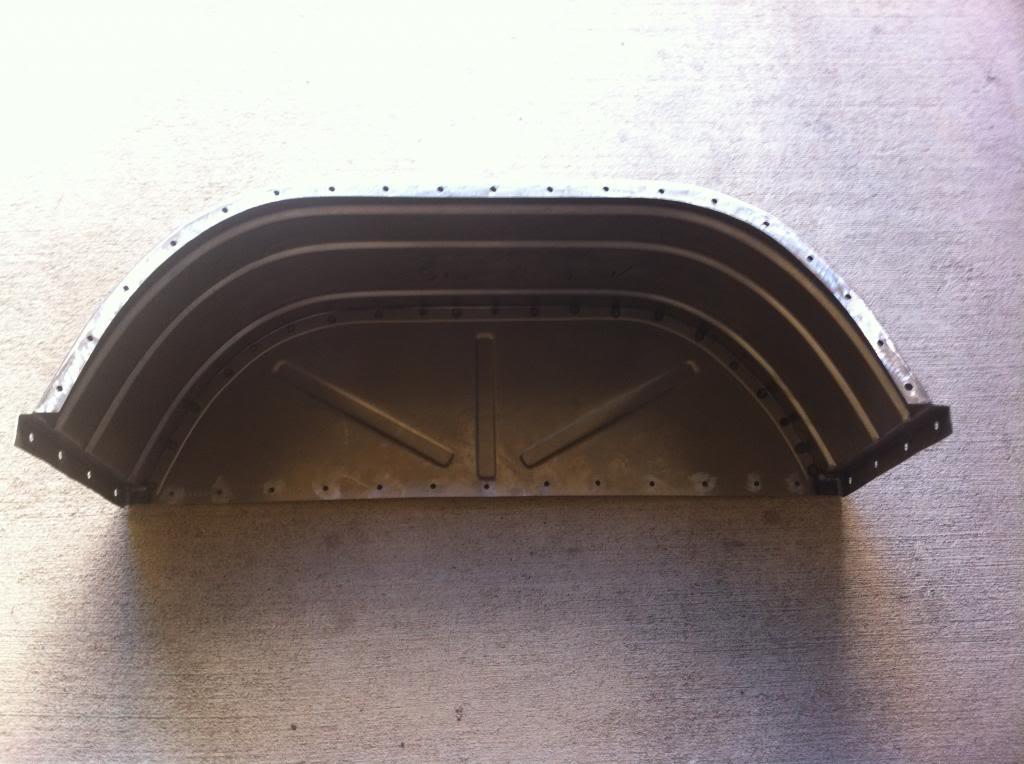
After test fitting the wheel well I drilled the needed holes for the spot welds, cleaned up the drilled areas, and cleaned the piece with eastwood's pre-paint prep before applying some weld through primer:
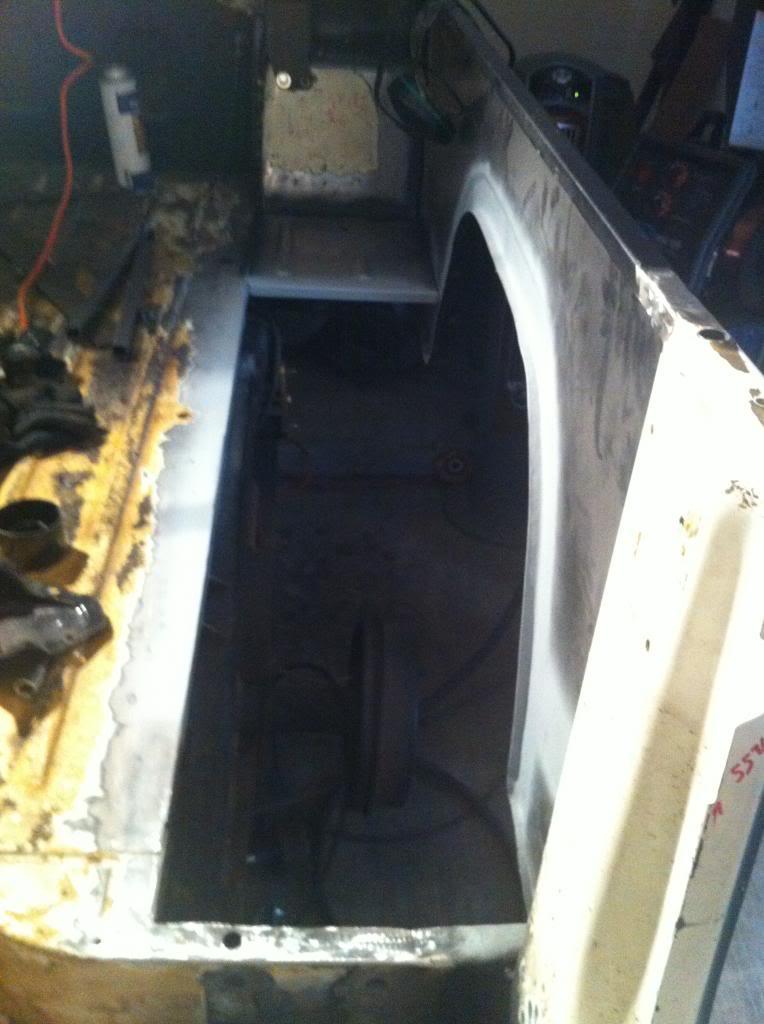
Wheel well area is cleaned up and ready for the new piece:
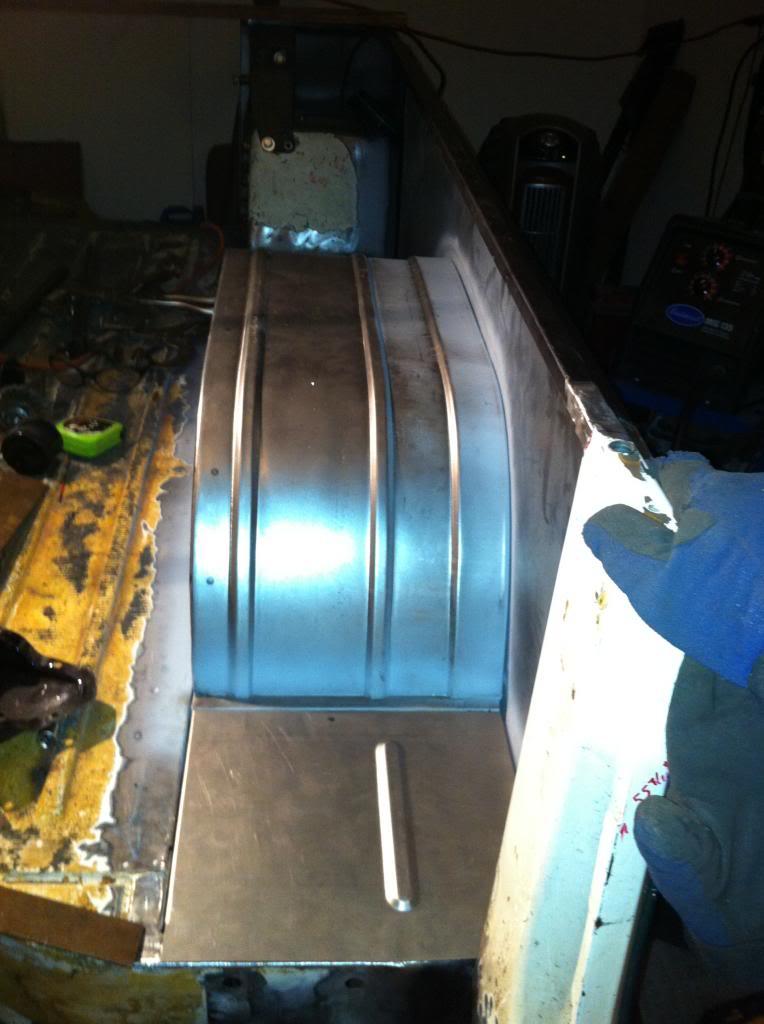
Test fitting the wheel well and front corner piece:
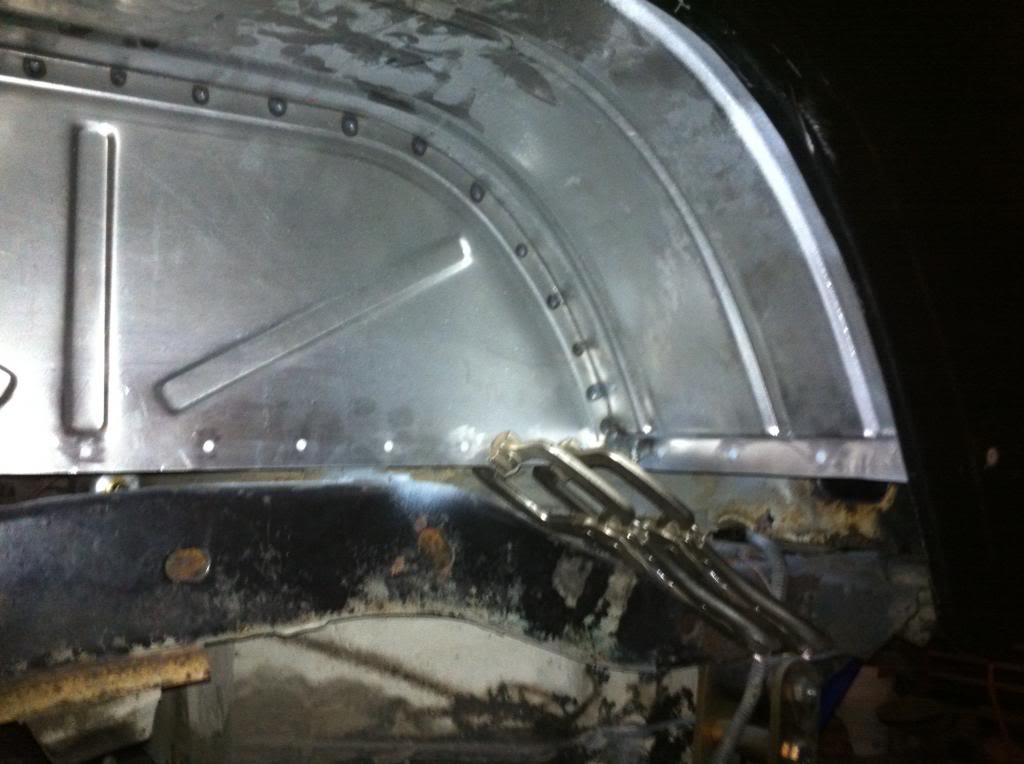
Test fitting showing the inner portion:
Cleaned up the body mount area and inner channel, then laid down several coats of rust encapsolator and weld through primer:
Before spot welding the panel in place, I used a level as a straight edge with clamps to get the panel perfectly straight. As with most aftermarket panels; especially a large piece that goes through shipping, there was a slight bow but clamping the level to the panel took it out:
Panel spot welded from the backside:
Panel installed. I used to right hand side as a reference and placed the approx. 1" long beads in the correct locations:
Next up, the new wheel wells from Classic Enterprises. All of the panels I have purchased from them fit perfectly, but I think my favorite thing is every single panel is signed by the person who made them! Along with the name is "Made in the USA" which is something you NEVER see in aftermarket parts; or with any products you purchase anymore. Wish I could see this on all the stuff parts I purchase.
After test fitting the wheel well I drilled the needed holes for the spot welds, cleaned up the drilled areas, and cleaned the piece with eastwood's pre-paint prep before applying some weld through primer:
Wheel well area is cleaned up and ready for the new piece:
Test fitting the wheel well and front corner piece:
Test fitting showing the inner portion:
Last edited:
- City
- Claflin
- State
- KS
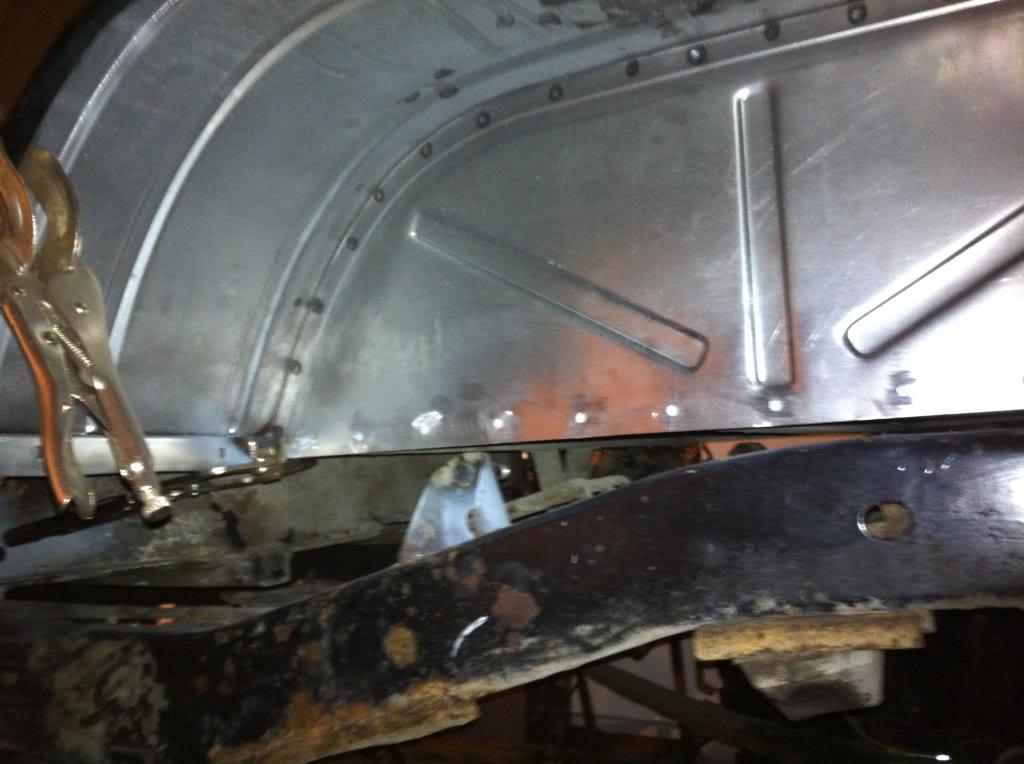
Another shot of the inner panel:
My method of measurement to get the wheel well in perfectly level. I used a straight piece of wood and a piece of square stock to continually check the distance at different spots on the panel:
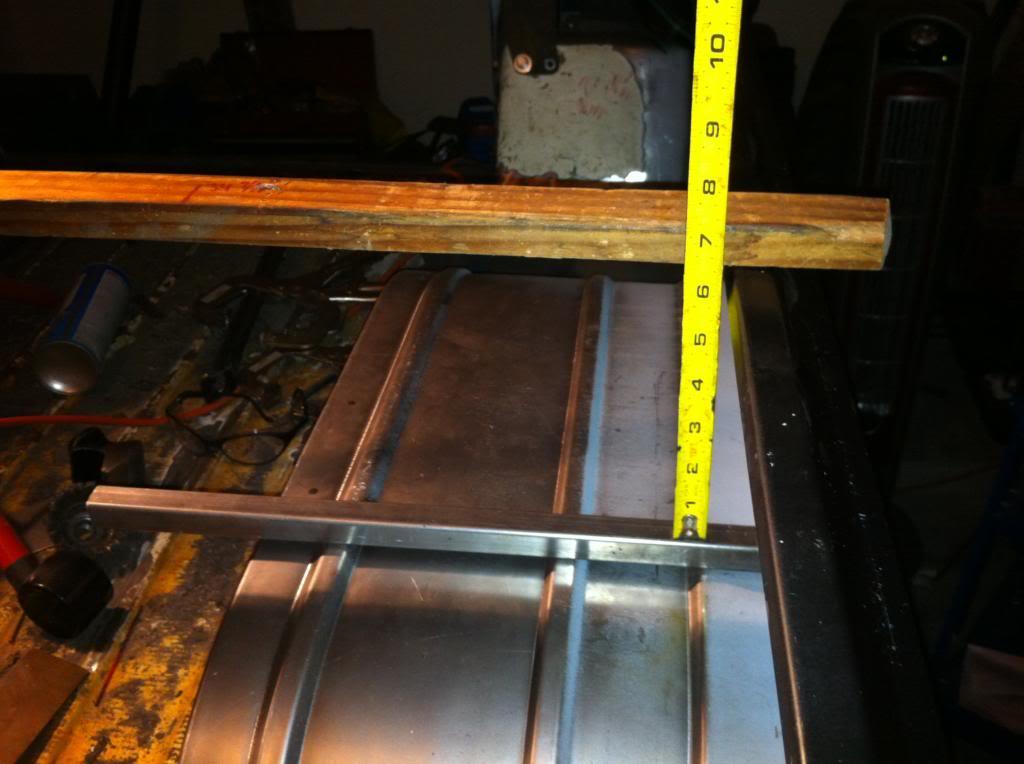
I moved all over the wheel well, from left to right, front to back, basically everywhere to ensure it is positioned correctly:
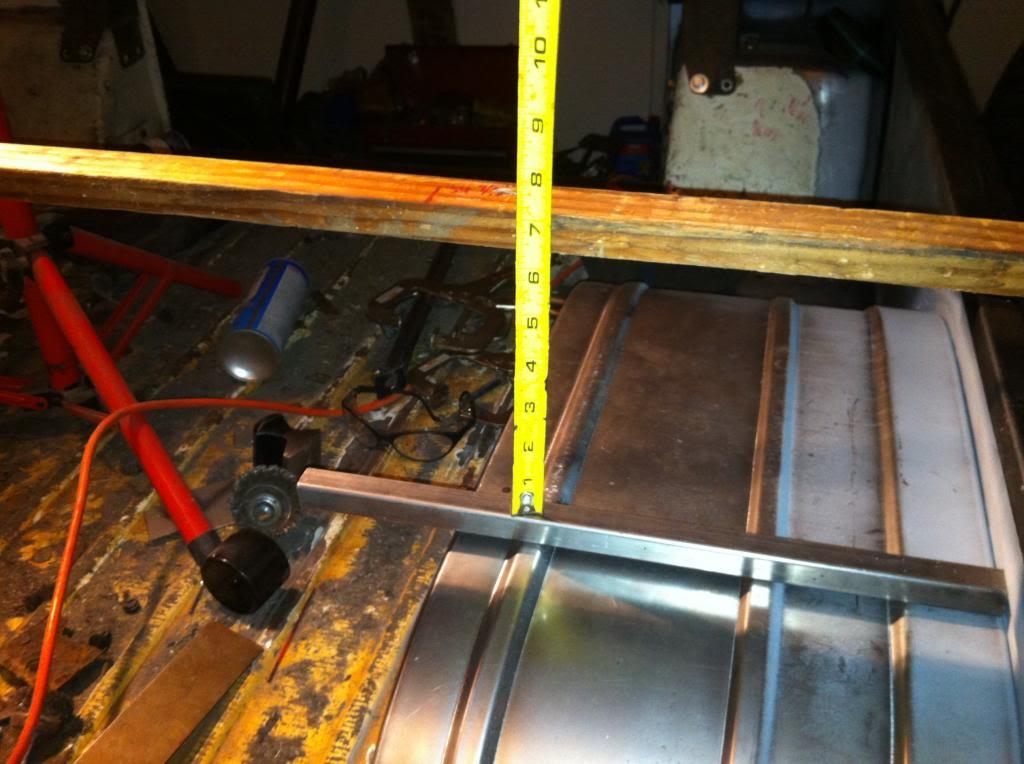
One more test fit picture:
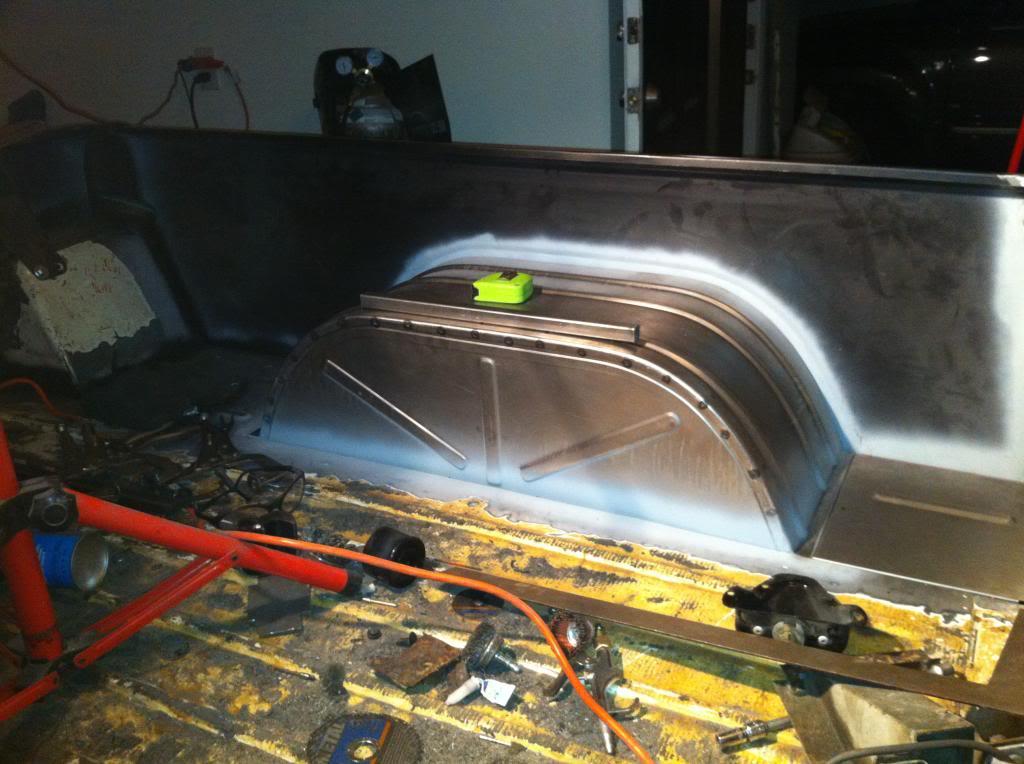
All welded in. As with the back corner piece, I used the right side for a reference on where to make the larger welds:
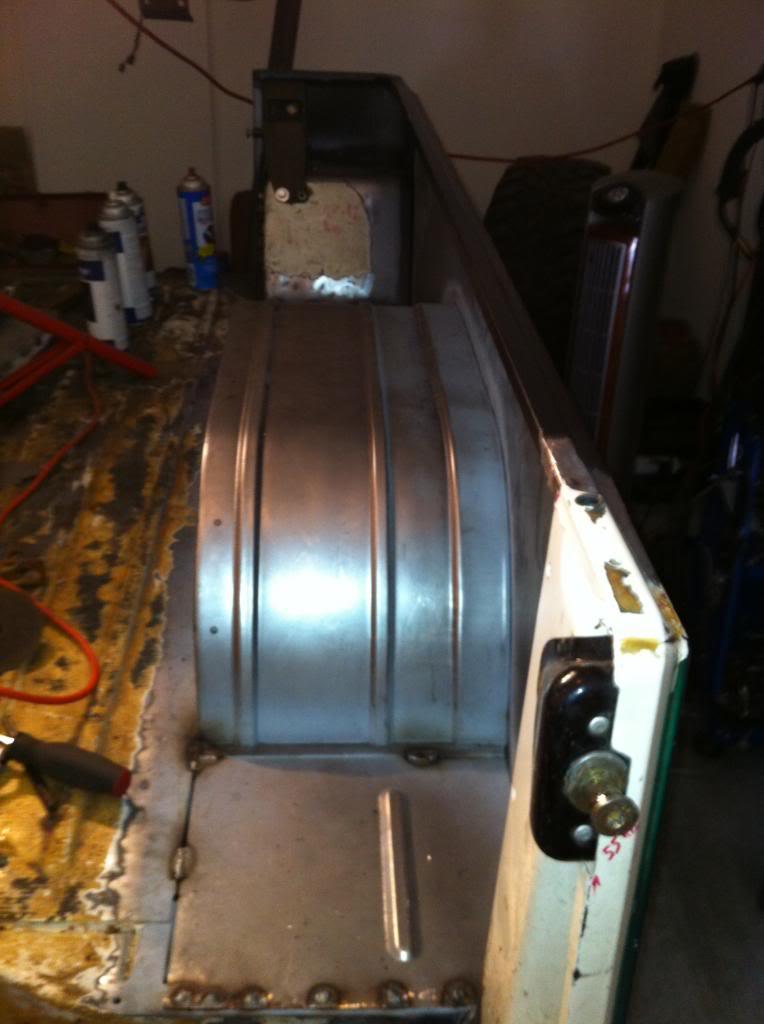
Before welding anything in I measure probably two dozen times to make sure it is all in the right spot. You can see the penetration of the spot welds I made from the back side:
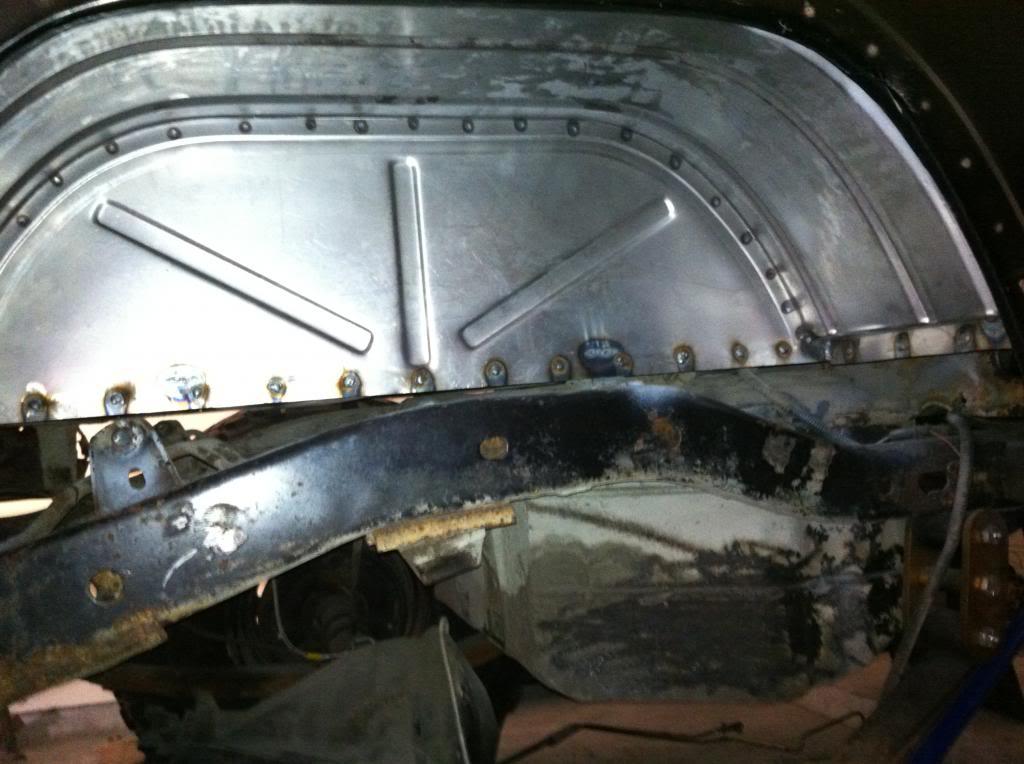
Some of the spot welds from the inner wheel well:
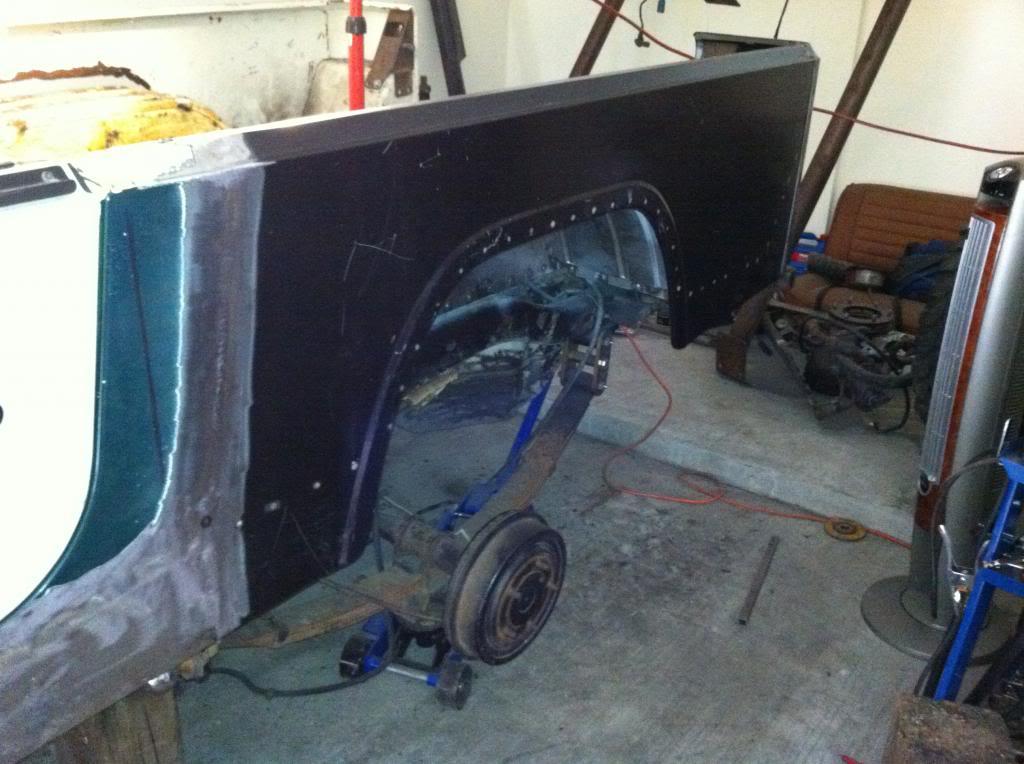
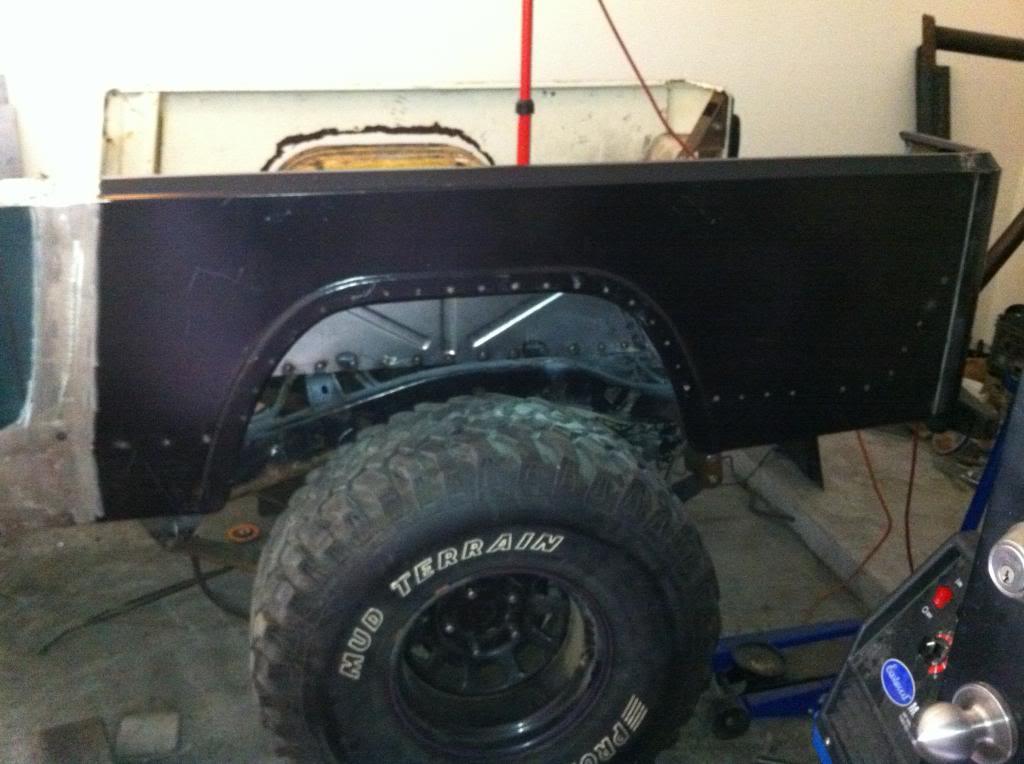
Its been a while since the Jeep was back on all four tires:
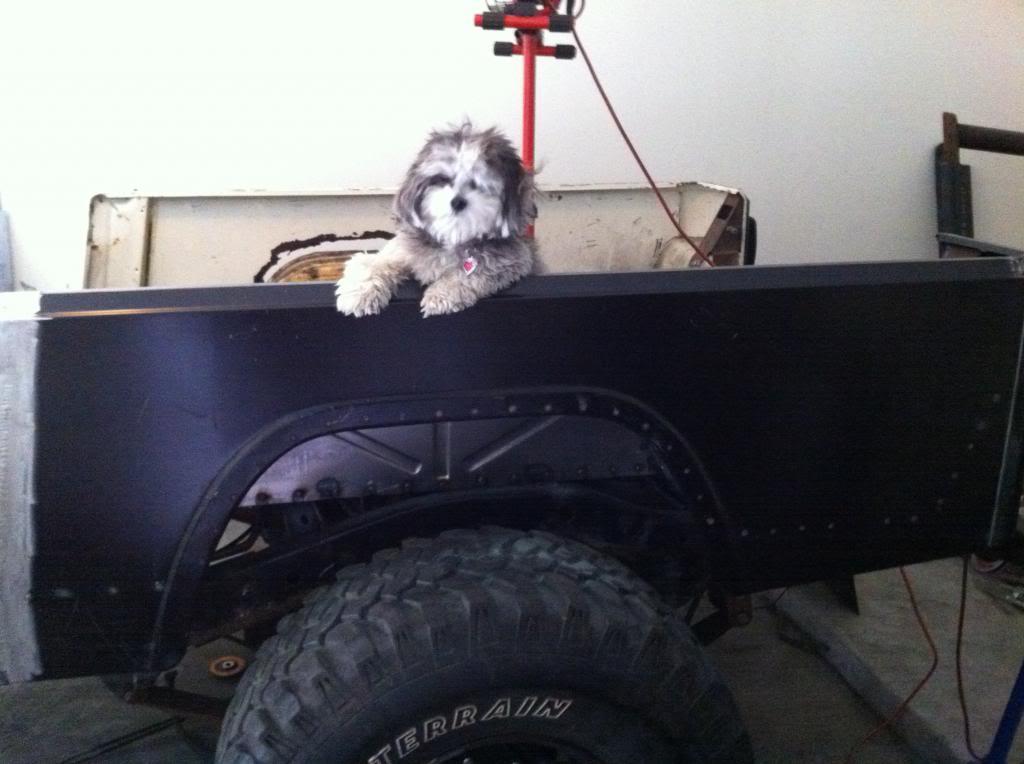
Josie approves; and yes she needs a hair cut (don't worry, she is getting one tomorrow)!
My method of measurement to get the wheel well in perfectly level. I used a straight piece of wood and a piece of square stock to continually check the distance at different spots on the panel:
I moved all over the wheel well, from left to right, front to back, basically everywhere to ensure it is positioned correctly:
One more test fit picture:
All welded in. As with the back corner piece, I used the right side for a reference on where to make the larger welds:
Before welding anything in I measure probably two dozen times to make sure it is all in the right spot. You can see the penetration of the spot welds I made from the back side:
Some of the spot welds from the inner wheel well:
Its been a while since the Jeep was back on all four tires:
Josie approves; and yes she needs a hair cut (don't worry, she is getting one tomorrow)!
Last edited:


- City
- Claflin
- State
- KS
VERY nice work!!!
good job
Thanks guys! I appreciate the positive comments, definitely helps keep me motivated!
I have to stop looking at this thread, it keeps making me ill that I haven't tried to do this to mine
Then there's the knowledge that I'll never have results that look that freaking amazing
Awesome work
Well there's an easy solution; just go ahead and order the replacement panels and get them shipped to your place. Leave them in your way so eventually you get tired of tripping over them and get to the point where you have to install the parts! If not, just road trip it down in your postal to Kansas and you are free to use my shop and tools to get the rust repair done. Plus, I keep the shop fridge stocked with beer!
This sheetmetal work is unbelievable! This is amazing build, lookin forward to it.
Very nice.
Now to twinkle your nose and make it ALL done.
Keep up the good work.
Man, I sure wish it was that easy to do rust repair, would be nice! I just hope all these pictures along with some of my experience and issues I've run into while doing this rust repair and body work will help someone else down the road.
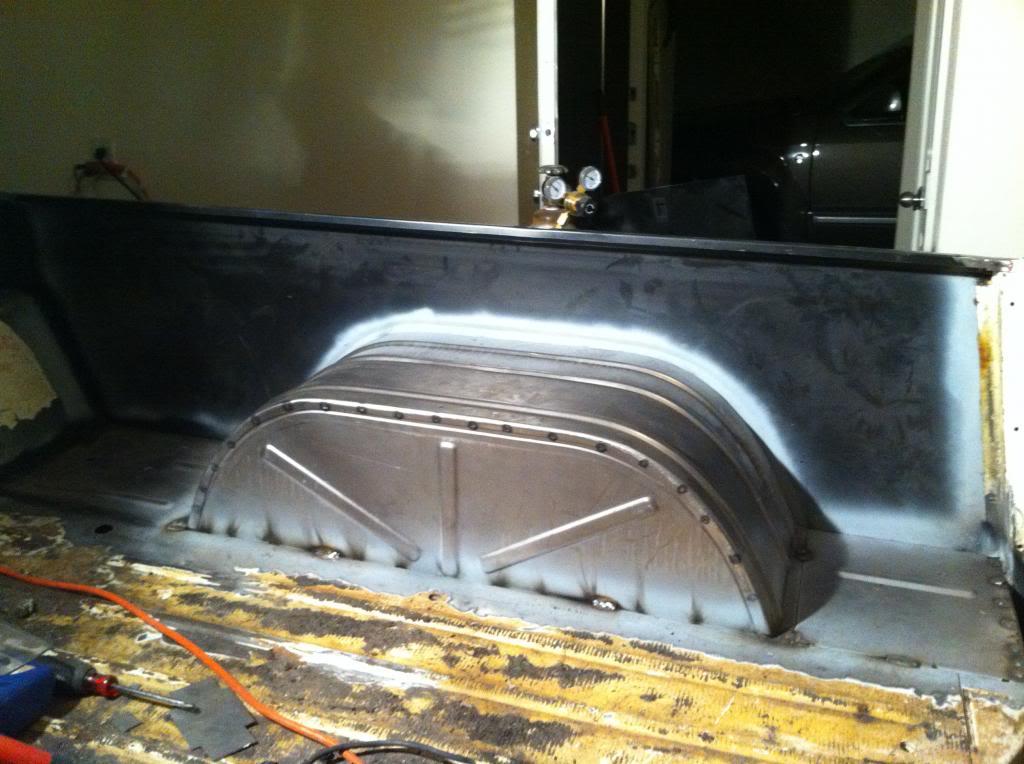
Got a few more pictures and progress updates to post. Forgot to post this picture last time of the left side rear wheel weld completely welded in shown from the bed area. I placed the larger beads in the correct positions in reference to the right hand side:
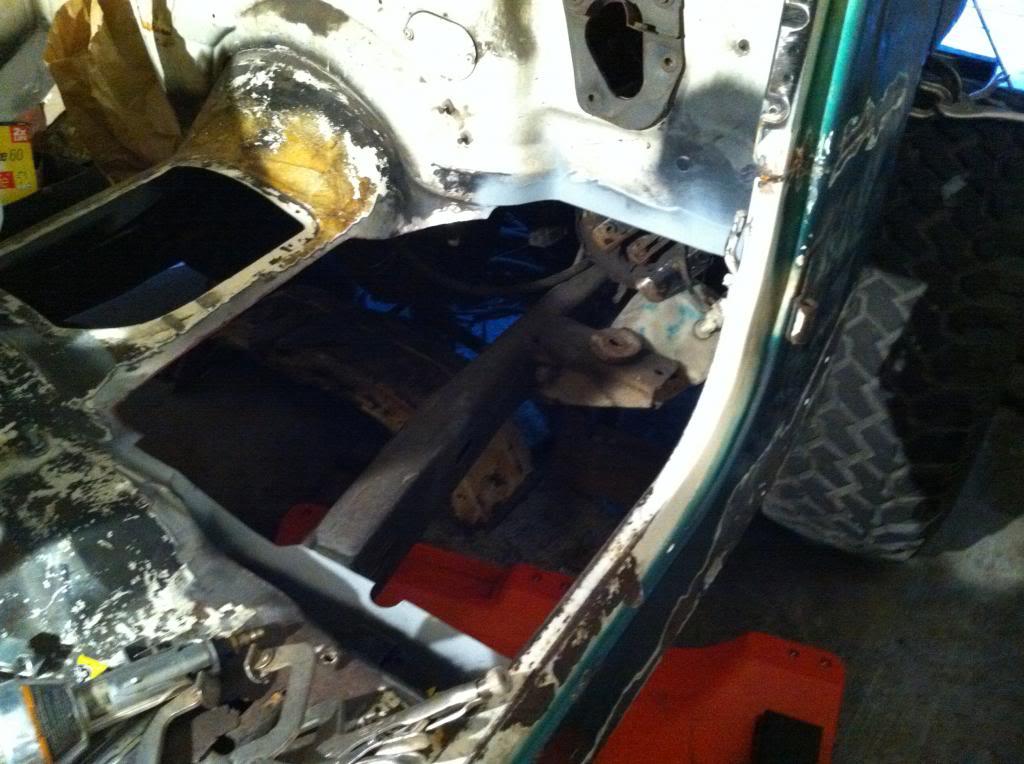
Back up to the front right hand side floor pan. Being that this was my first panel to replace on the Jeep, I ended up not being 100% happy with the repair. So the OCD kicked in and I ordered another replacement floor pan and cut my previous repair out. On my prior repair I had left about 1.5" of the front of the original floor board near the firewall to weld the new panel to. This time I drilled out the spot welds at the firewall and removed the toe board support to utilize the spot welds to mount the front of the repair panel. A note to anyone else doing this, removing the toe board support and using the spot welds to attach the front of the panels took much longer but there is less weld finishing and leaves much less of a noticeable repair:
New floor panel welded in with a series of tack welds. Make sure to overlap half of the previous tack weld to ensure proper penetration. You can see I do not yet have the toe support piece installed but it is clamped in place below the floor to ensure its correct fitment:
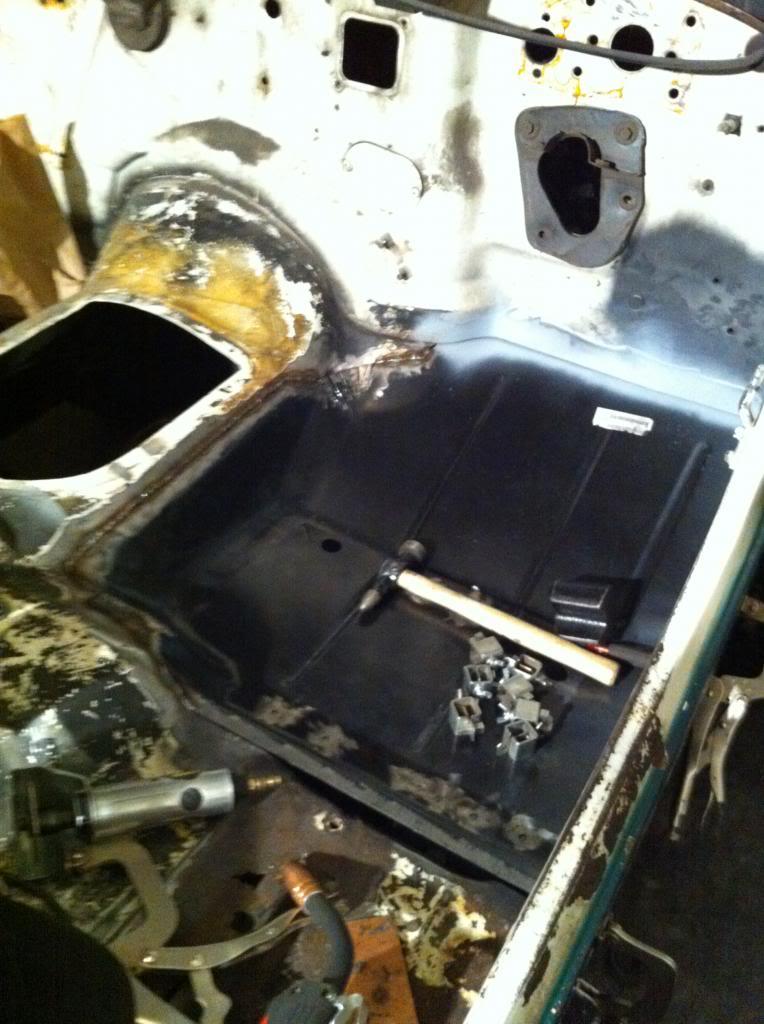
Cleaned up the tack welds, you can also see the holes for the spot welds on the rear of the floor and the rear of the toe support. The correct locations for the remaining to support spot welds to floor board have been marked, just not drilled yet:
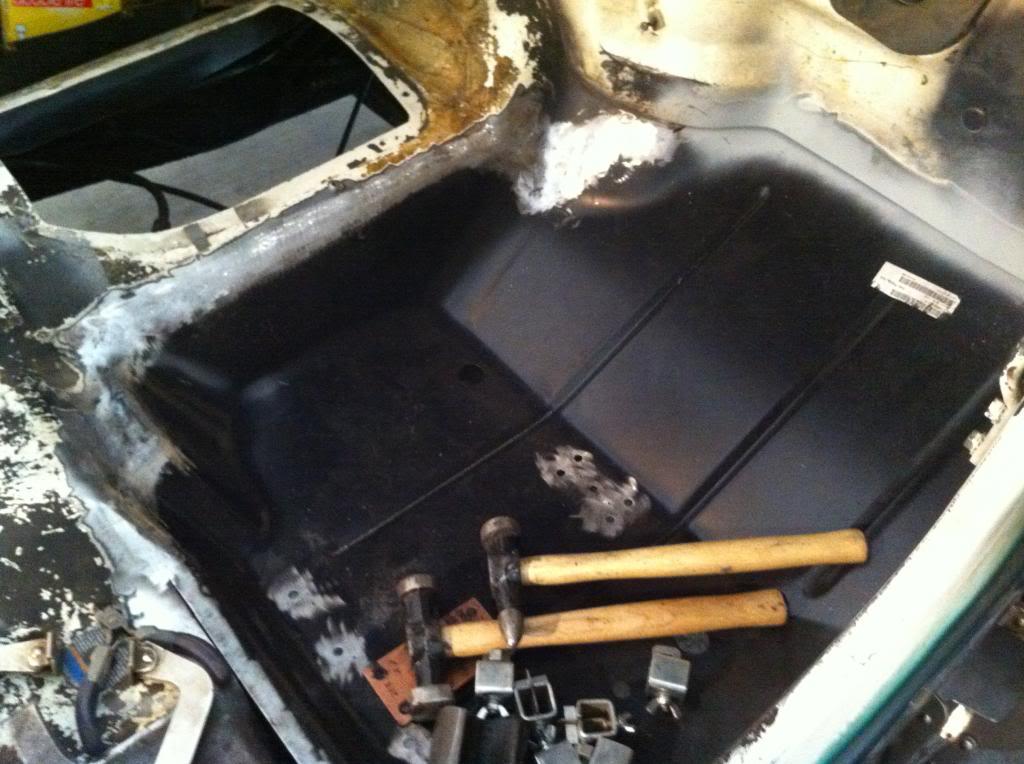
Welds done and cleaned up. As before, I used sheet metal screws to hold the two panels tight against each other prior to making the spot welds:
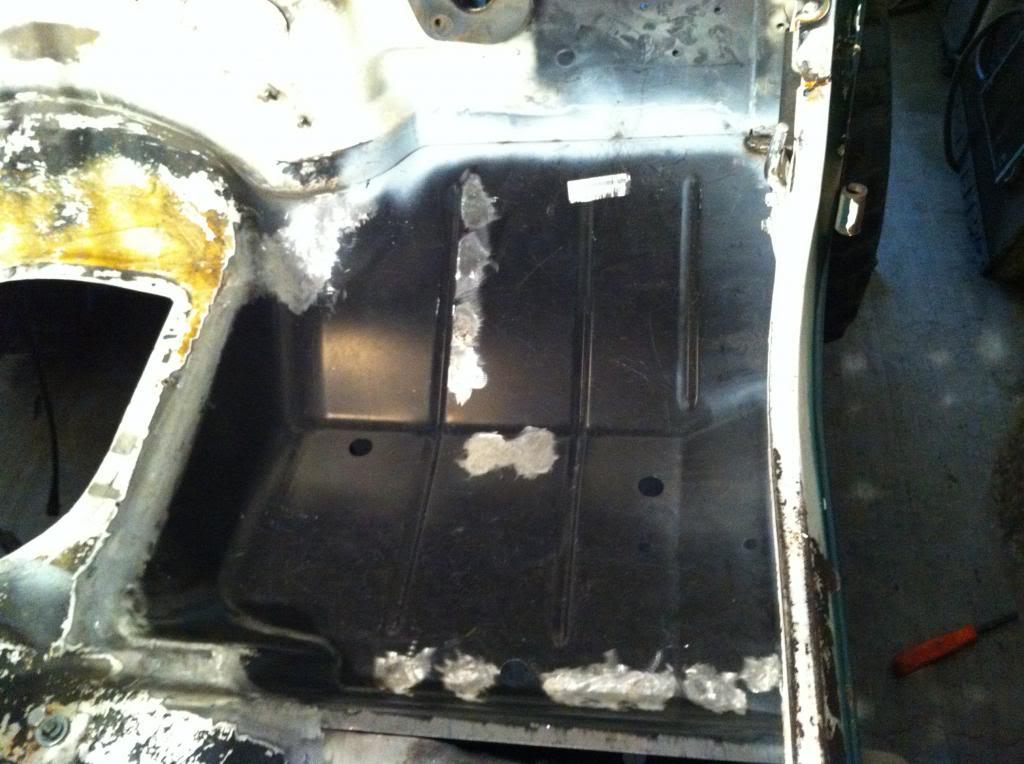
Last edited:
- City
- Claflin
- State
- KS
I'm much happier with this repair!
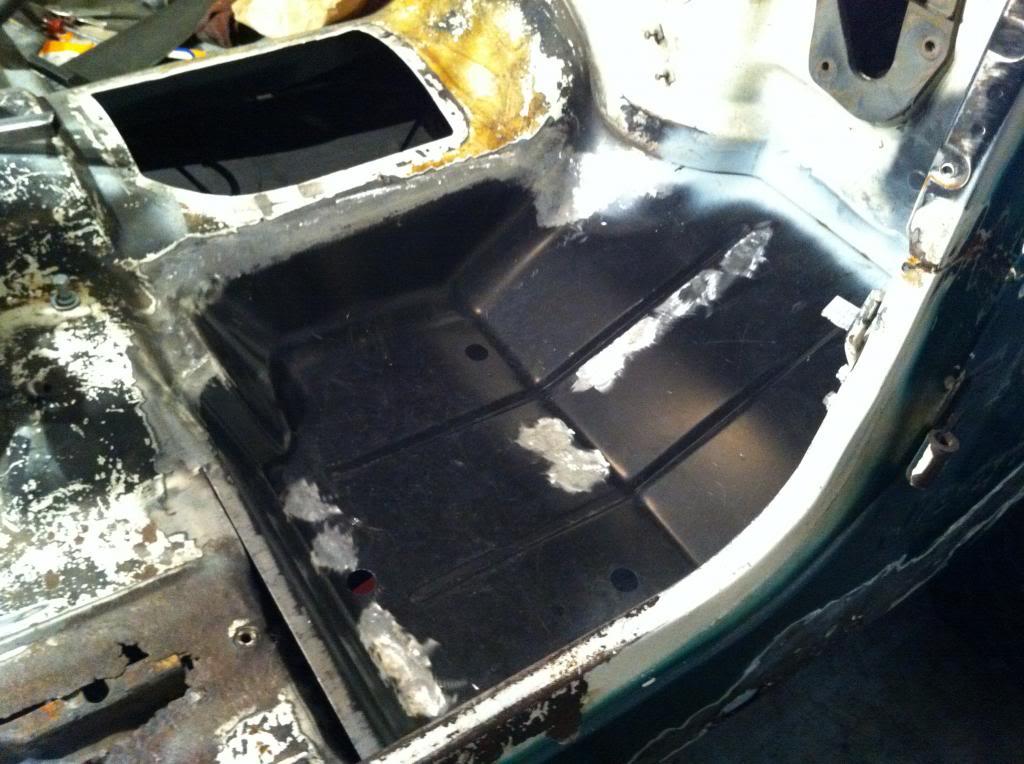
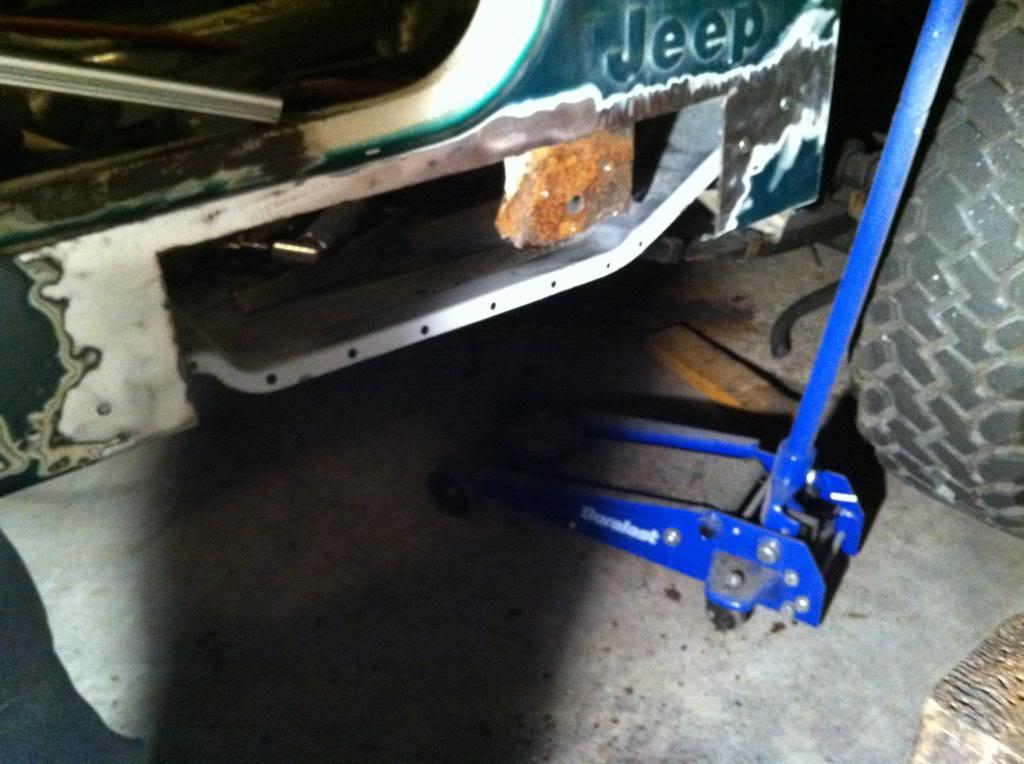
On to the front section of rocker and lower A pillar support:
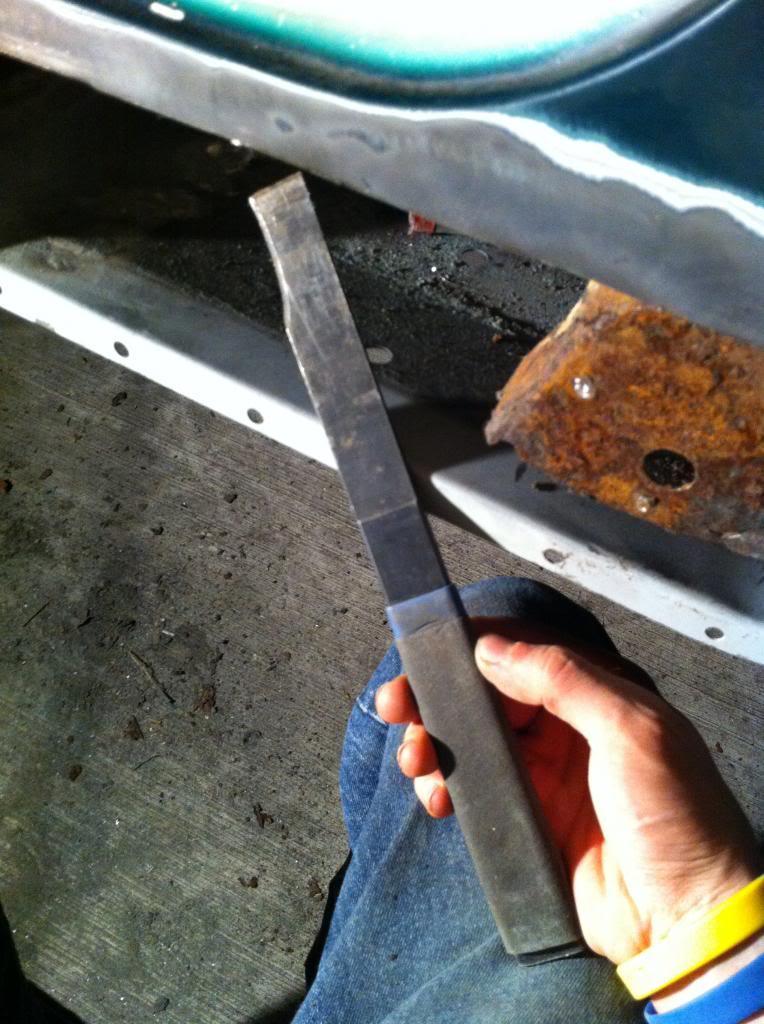
Got this tool from Eastwood a while ago to help separate spot welds when you miss drilling a section of the weld of have a stubborn portion. With the two cutting edges and its thin profile you don't get the distortion of the surrounding panels when prying apart the two panels as one would when using other tools. I highly recommend it as I have used it on almost every panel:
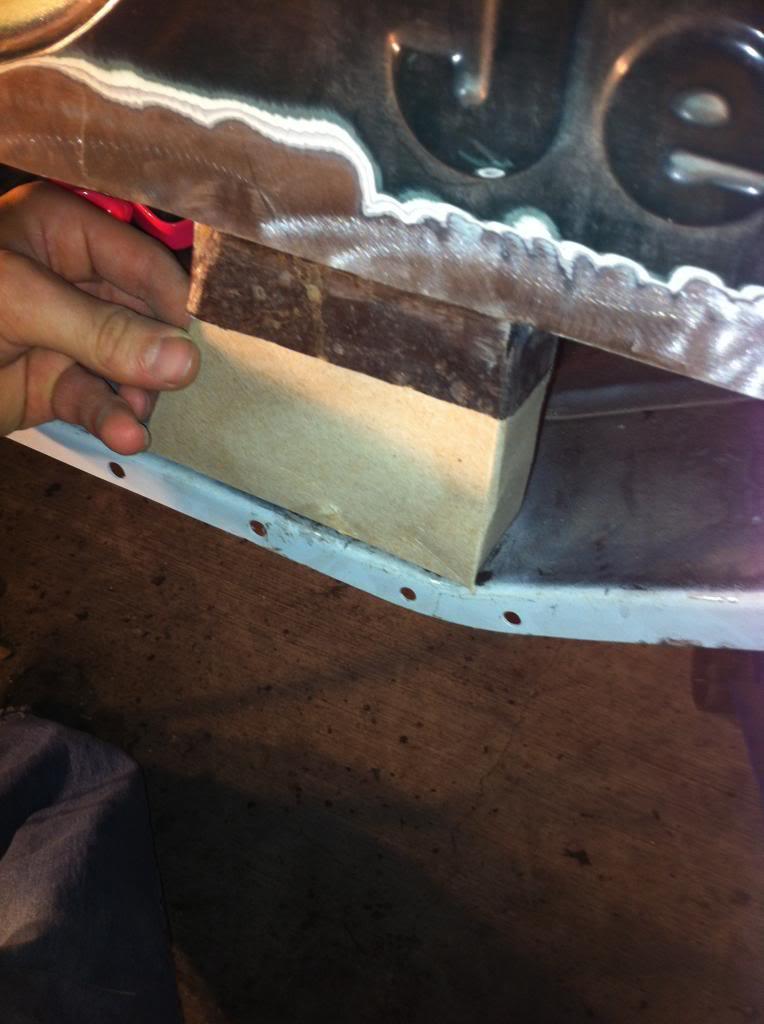
Removed the rusted section of the A-Pillar and made a cardboard template for the repair panel:
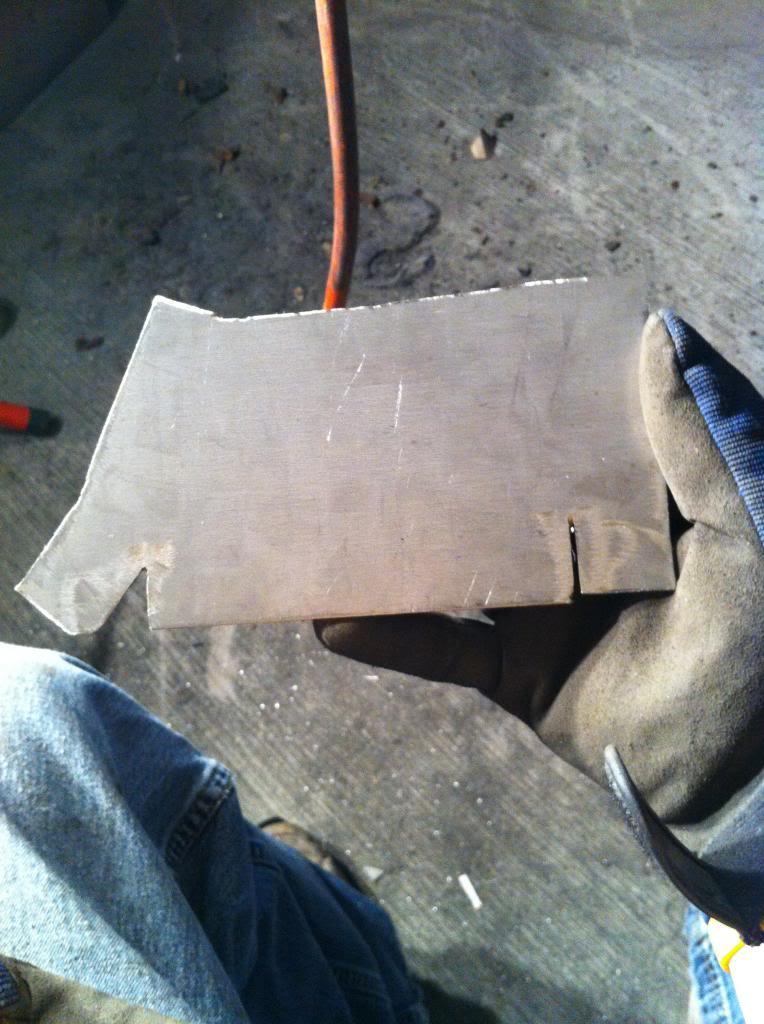
Repair panel cut out of 16 gauge metal:
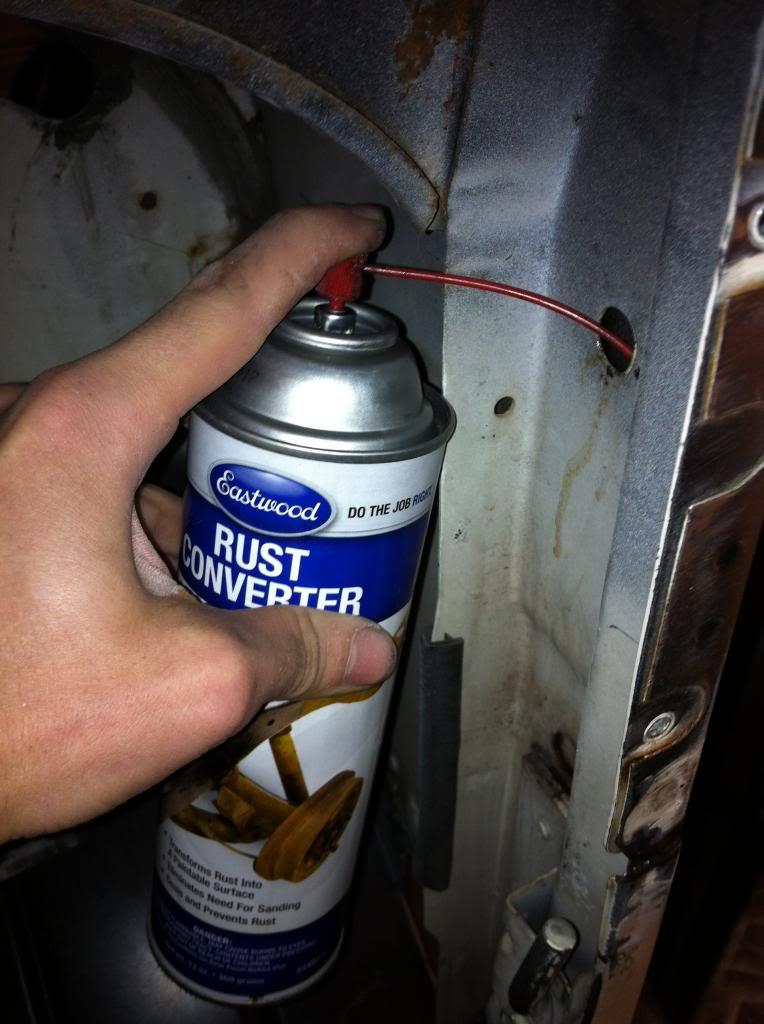
Before welding in the repair panel while I could kind of separate the A-pillar from the outer panel slightly, I sprayed two liberal coatings of eastwood's rust converter to neutralize any rust (I did spray pre paint prep in between the panels as well prior to the converter). Along with spraying in any open hole I could, I sprayed down along the vertical seams of the panels too. After it dried for two days I followed up with two coats of rust encapsolator. I plan to use this process in all of the seams of the tub after the seam sealer has been removed and the tub has been blasted. As you can tell, I hate rust and want to eliminate any chance I can of it coming back:
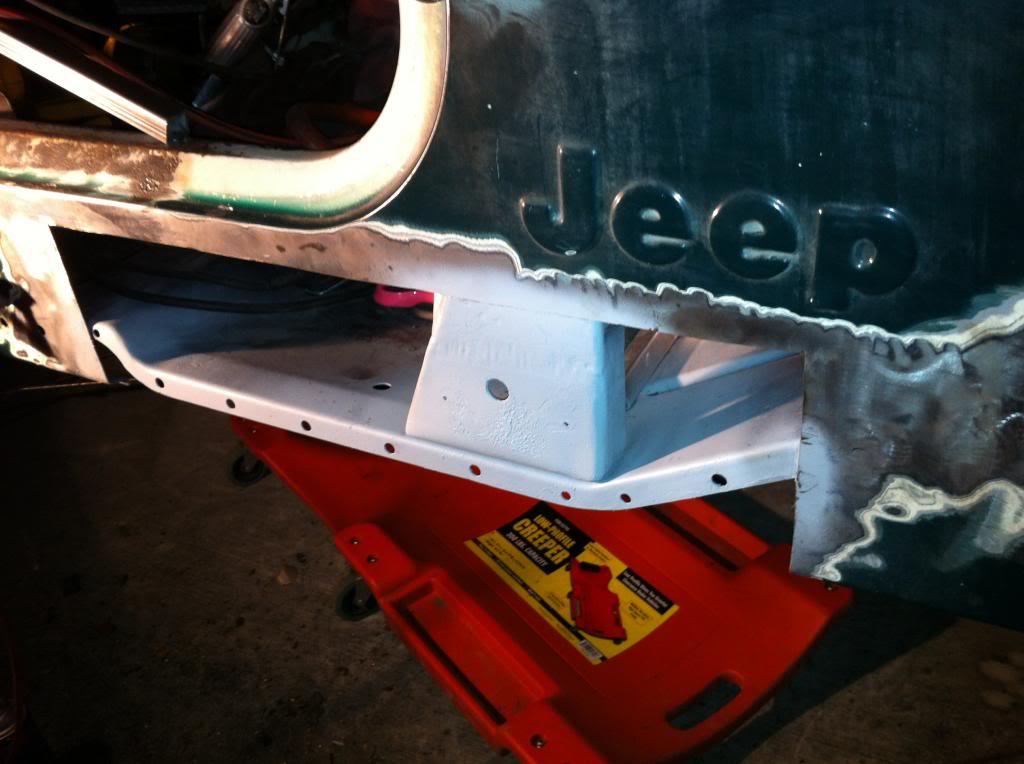
New A-pillar panel welded in w/ welds cleaned up on both sides with weld through primer applied. Also got the correct hole drilled in it:
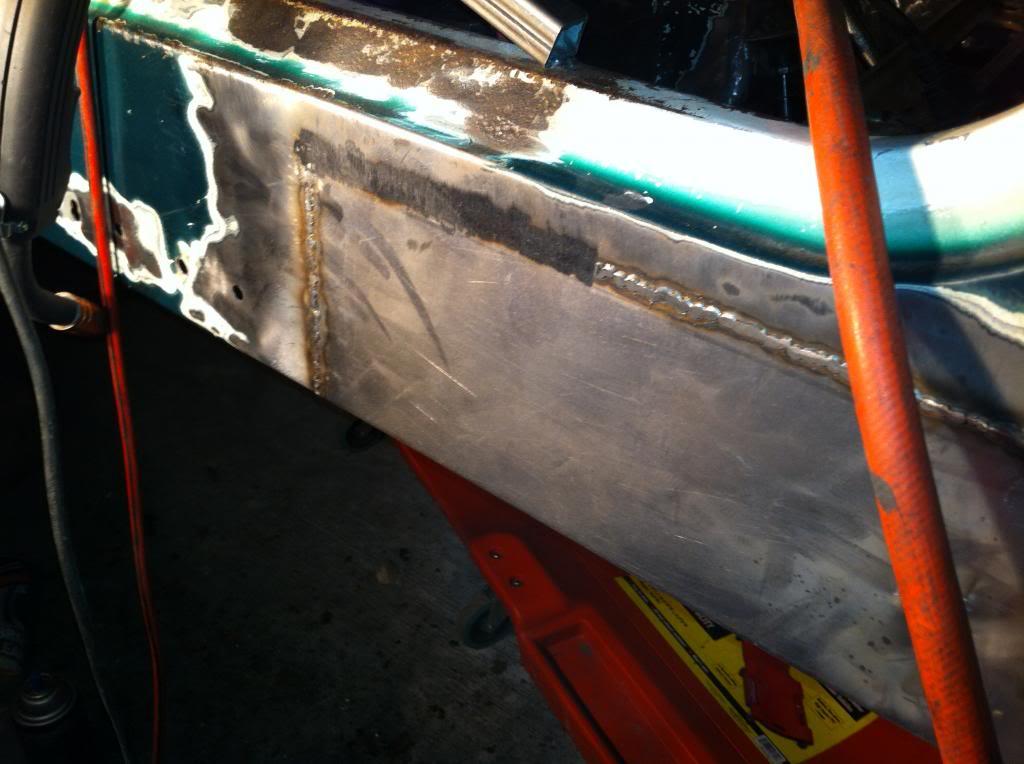
Using another section of my classic ent. rocker repair panel, I fitted and butt welded the panel in place with a series of spot welds. You can't see it in the picture but it does have the spot welds in place attaching it to the A-pillar. As before, I used sheet metal screws to hold the two panels in place along with several clamps and straight edges to keep everything straight.
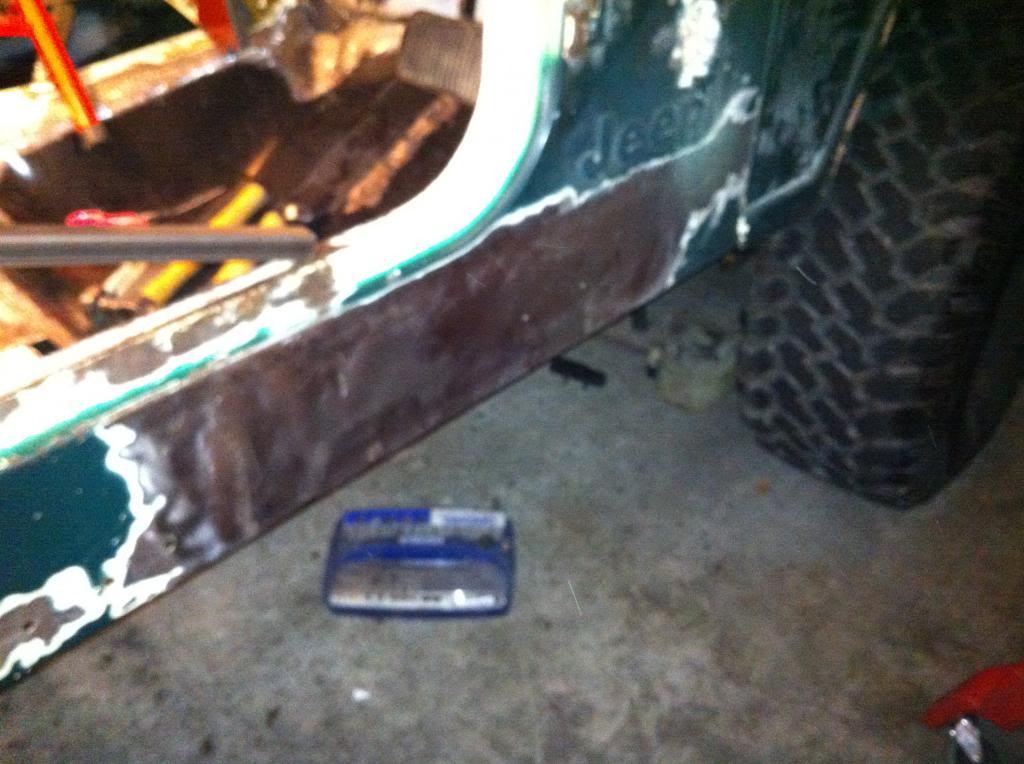
Two really bad pictures of welds cleaned up:
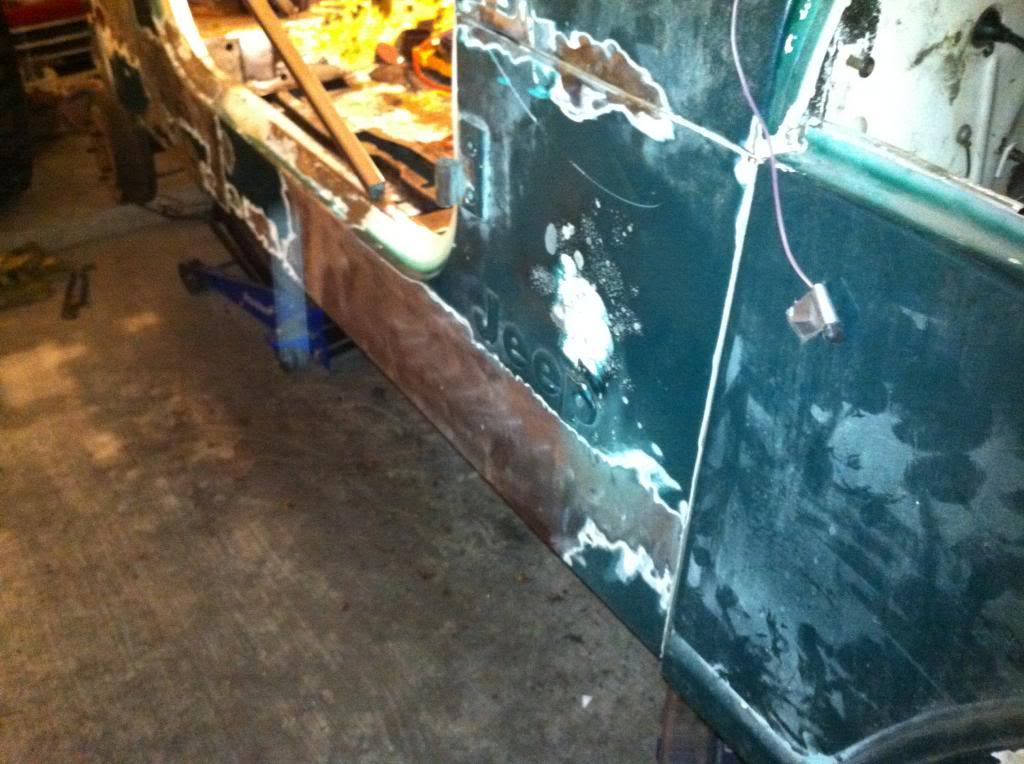
On to the front section of rocker and lower A pillar support:
Got this tool from Eastwood a while ago to help separate spot welds when you miss drilling a section of the weld of have a stubborn portion. With the two cutting edges and its thin profile you don't get the distortion of the surrounding panels when prying apart the two panels as one would when using other tools. I highly recommend it as I have used it on almost every panel:
Removed the rusted section of the A-Pillar and made a cardboard template for the repair panel:
Repair panel cut out of 16 gauge metal:
Before welding in the repair panel while I could kind of separate the A-pillar from the outer panel slightly, I sprayed two liberal coatings of eastwood's rust converter to neutralize any rust (I did spray pre paint prep in between the panels as well prior to the converter). Along with spraying in any open hole I could, I sprayed down along the vertical seams of the panels too. After it dried for two days I followed up with two coats of rust encapsolator. I plan to use this process in all of the seams of the tub after the seam sealer has been removed and the tub has been blasted. As you can tell, I hate rust and want to eliminate any chance I can of it coming back:
New A-pillar panel welded in w/ welds cleaned up on both sides with weld through primer applied. Also got the correct hole drilled in it:
Using another section of my classic ent. rocker repair panel, I fitted and butt welded the panel in place with a series of spot welds. You can't see it in the picture but it does have the spot welds in place attaching it to the A-pillar. As before, I used sheet metal screws to hold the two panels in place along with several clamps and straight edges to keep everything straight.
Two really bad pictures of welds cleaned up:
- City
- Claflin
- State
- KS
Next was on to the right rear section of the front floor. Same process as previously done on the left side. Removal of the old panel; the rear section under the step up area is the worst to get out:
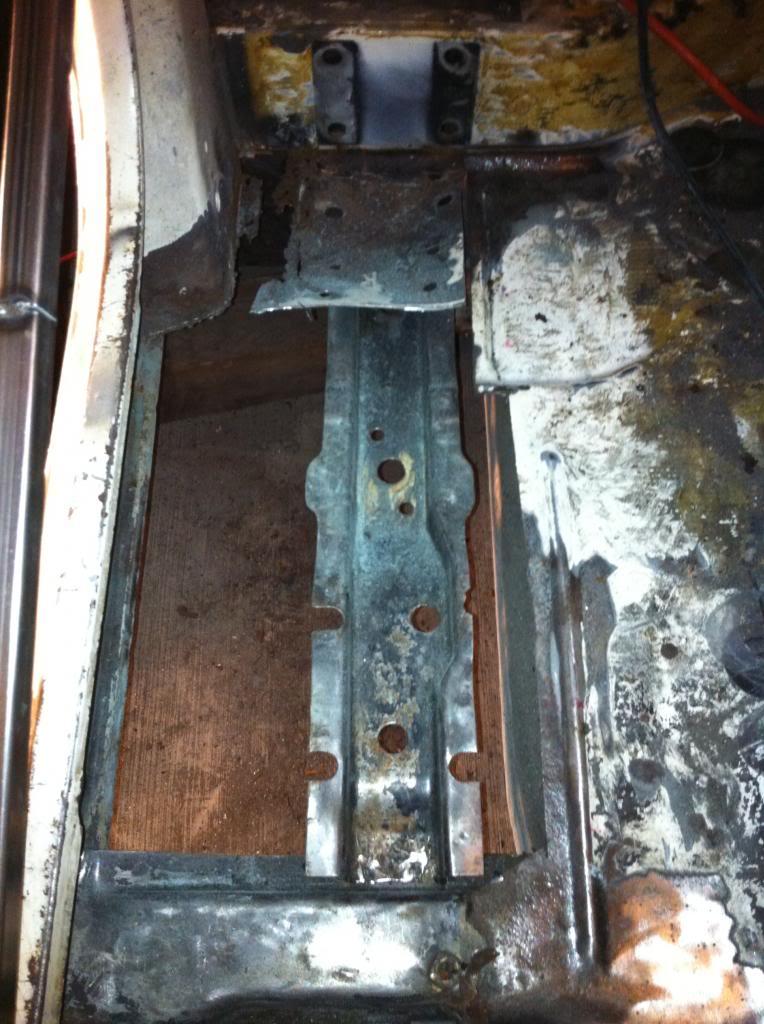
Started cleaning up the support channel:
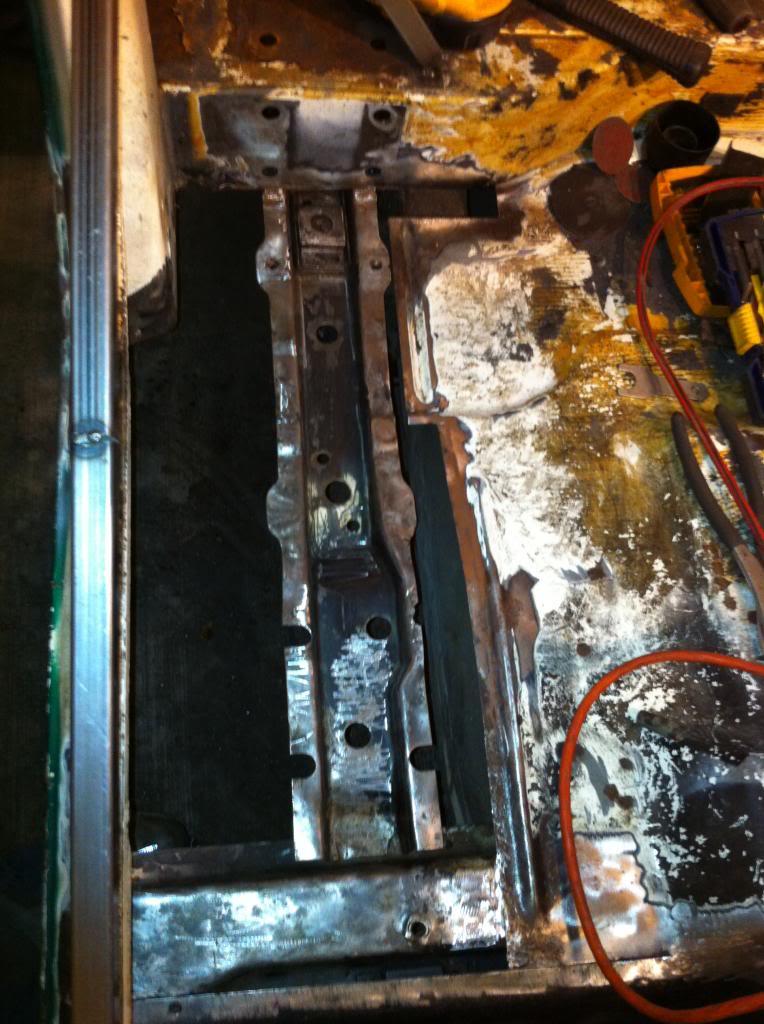
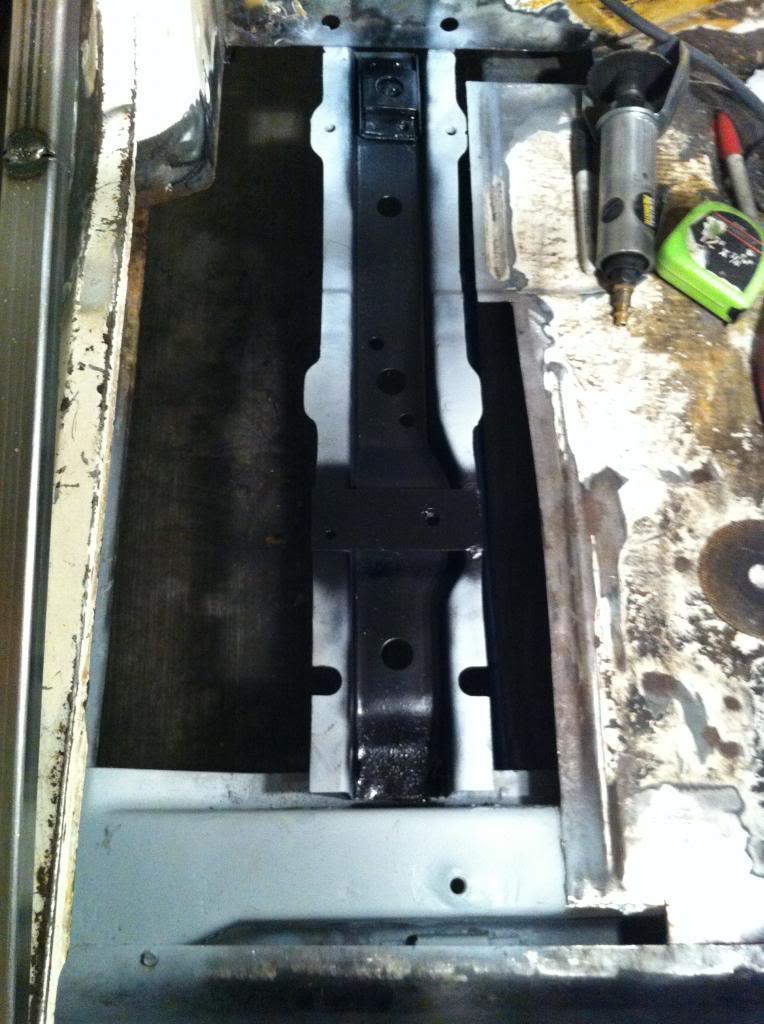
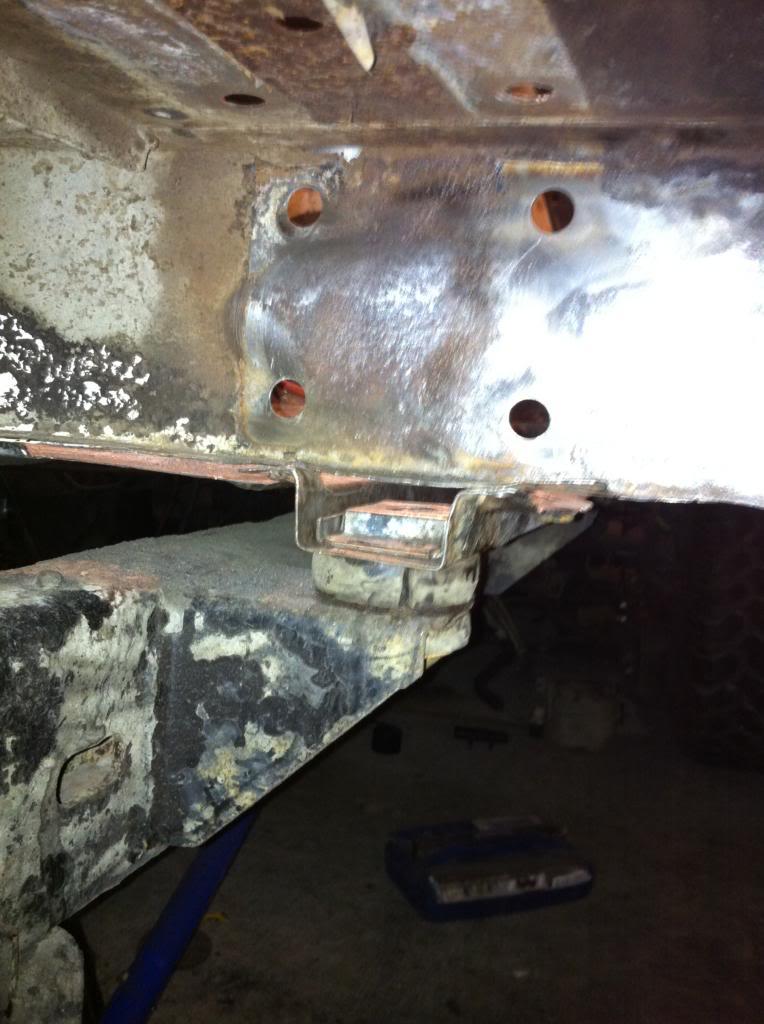
This support channel had some areas that needed repair. First, the front mounting areas near the spot welds where cracked. You can also see where there seat frame mounting nut has begun to crack. Both of these were easily fixed with some welding:
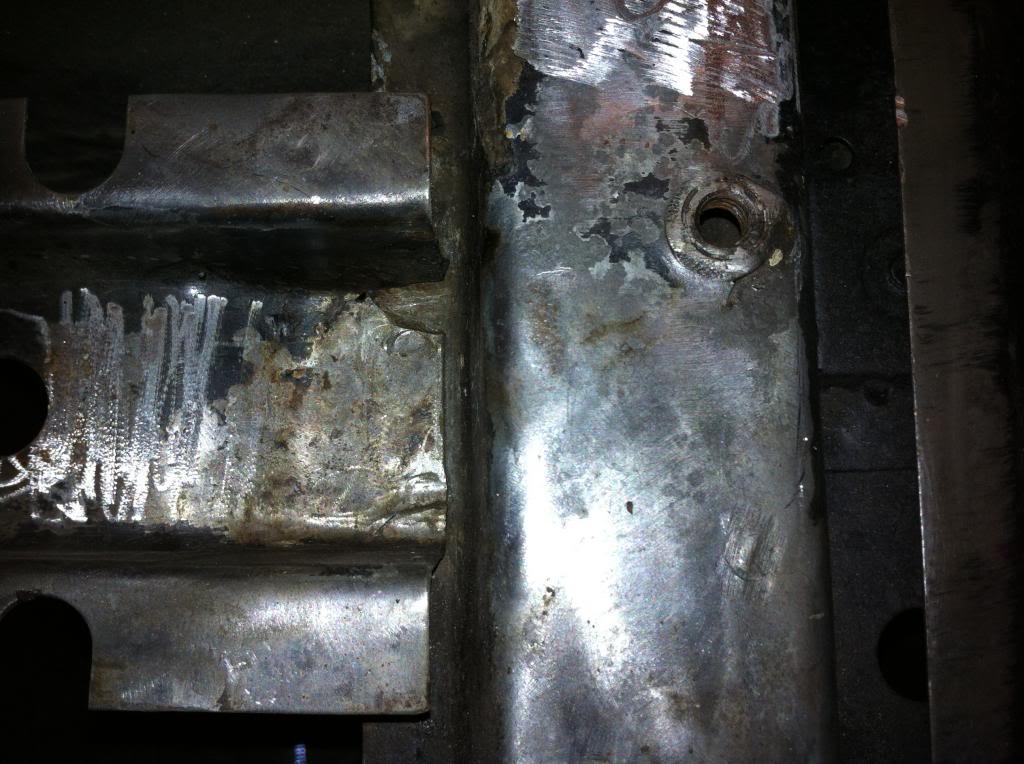
You can also see in the previous pictures that the right rear seat mounting nut plate had broken loose and was missing. I had a section of an old junk tub that I removed this piece from and installed it on this tub. The channel has been thoroughly cleaned with rust encapsolator and weld through primer installed. Rust converter and weld through primer were also applied on the underside of the lower section of the step up area where the back of the new floor panel will spot weld against:
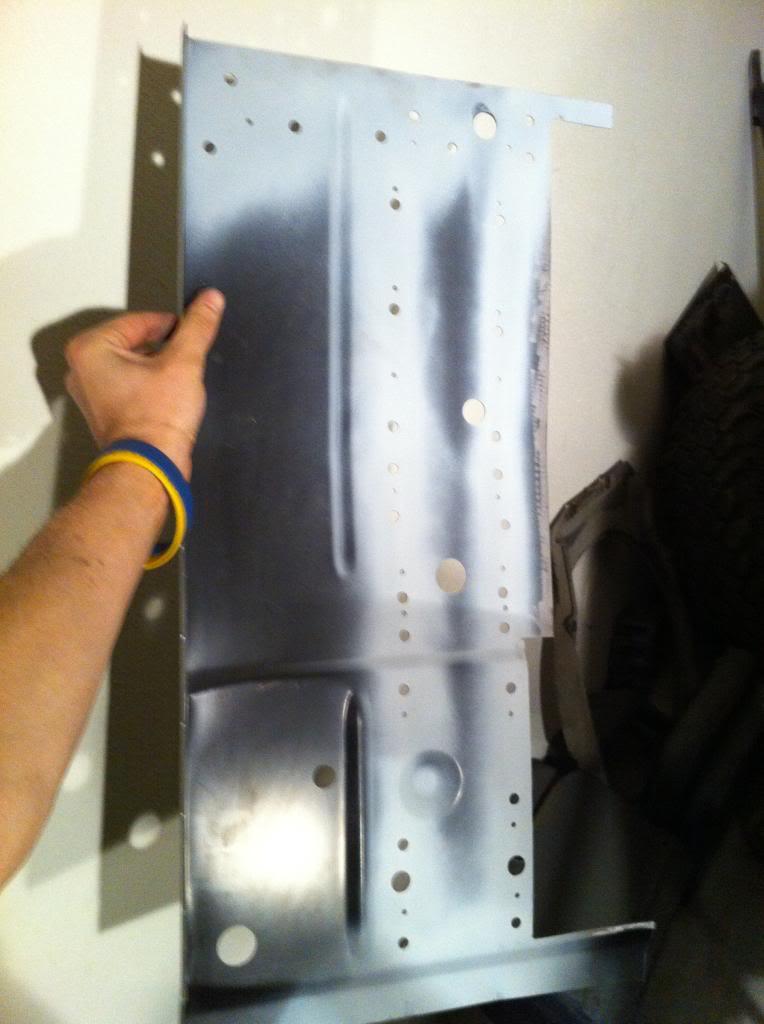
Panel prepped:
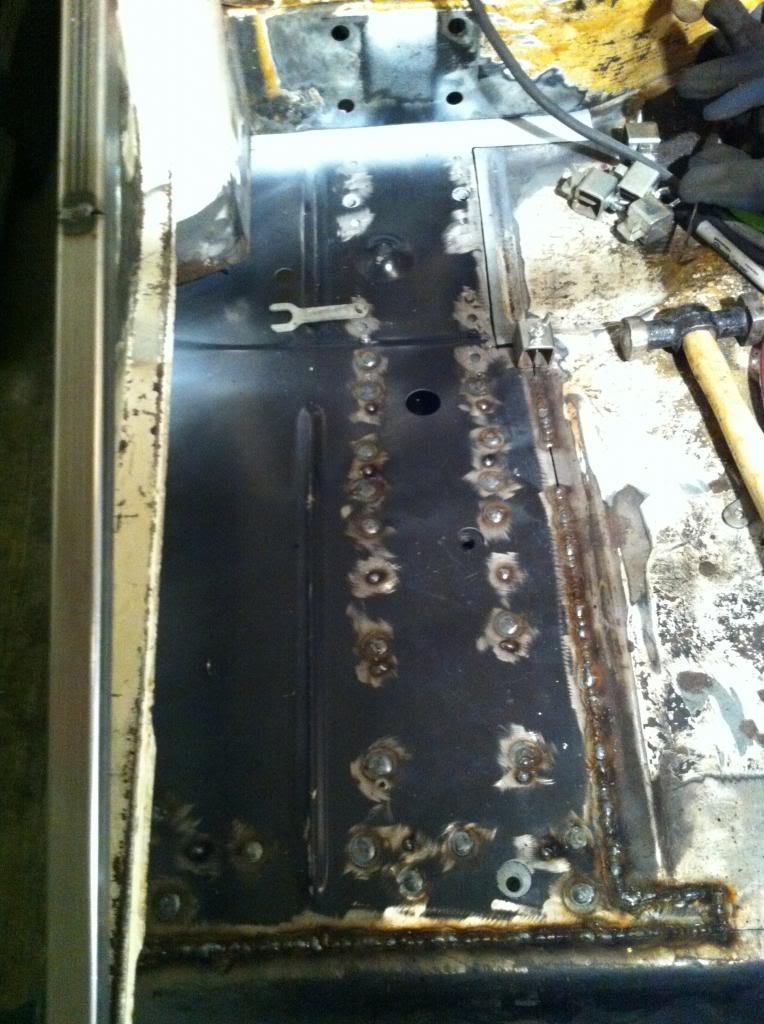
After several rounds of test fitting:
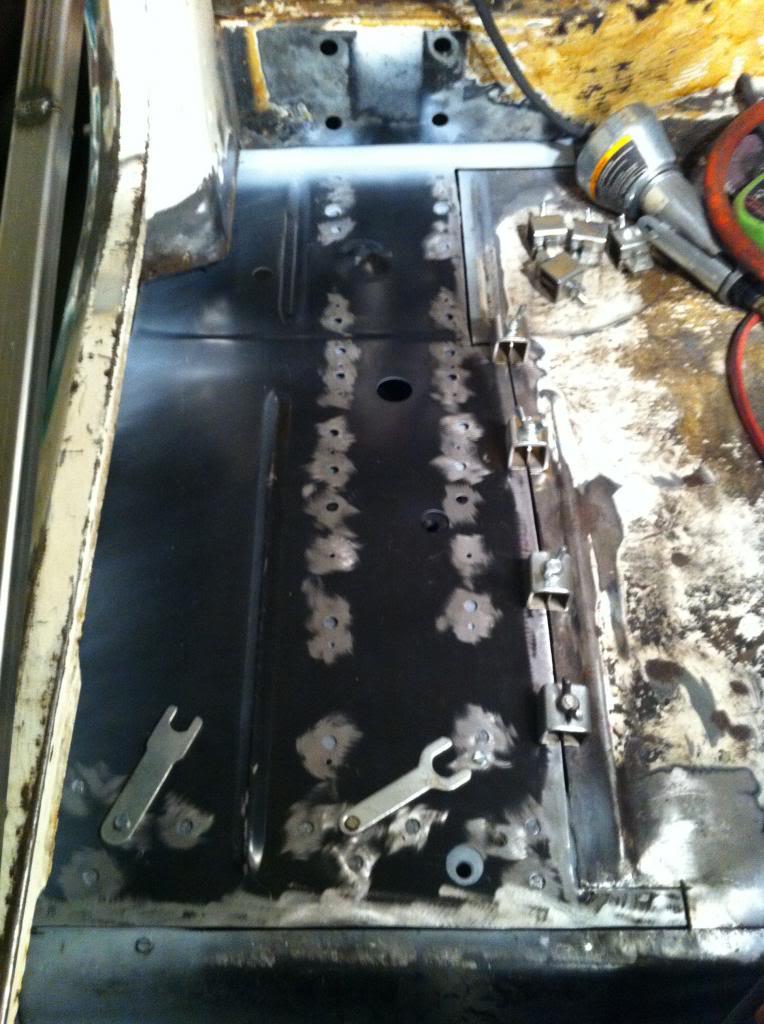
Mid way through installation. Again, using numerous clamps to keep everything in the correct place and sheet metal screws to keep support channel against the floor panel:
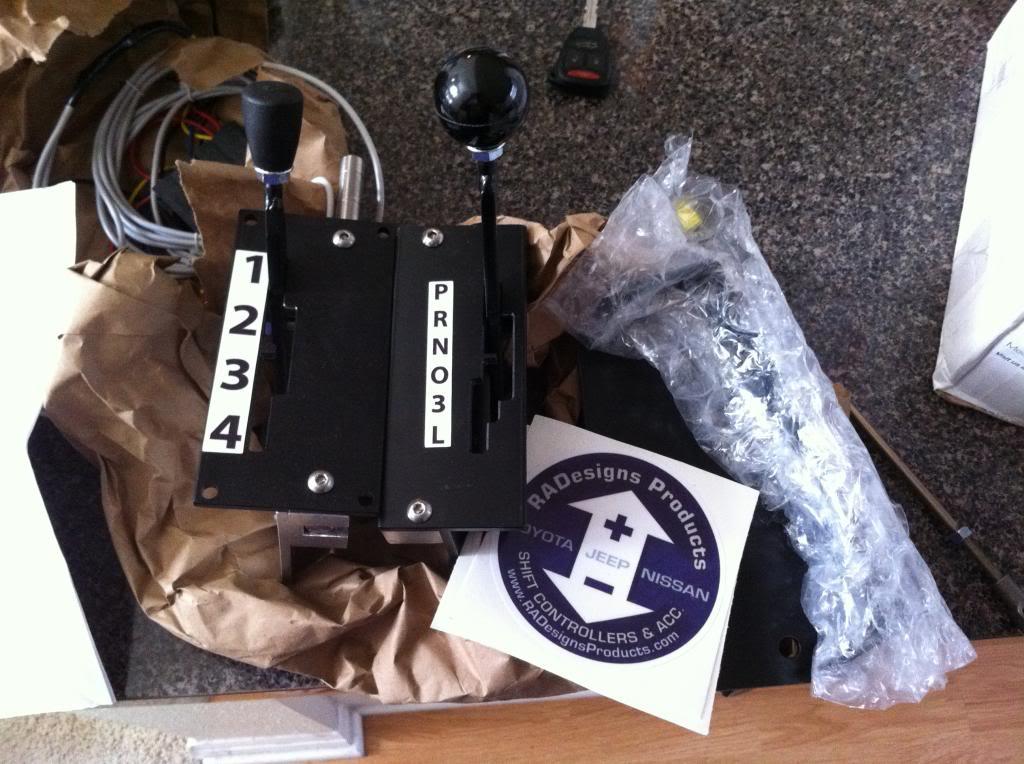
Side note, got my new shifters in to control the AW4 from RADesigns Products; can't wait to build my console and get these installed!
Started cleaning up the support channel:
This support channel had some areas that needed repair. First, the front mounting areas near the spot welds where cracked. You can also see where there seat frame mounting nut has begun to crack. Both of these were easily fixed with some welding:
You can also see in the previous pictures that the right rear seat mounting nut plate had broken loose and was missing. I had a section of an old junk tub that I removed this piece from and installed it on this tub. The channel has been thoroughly cleaned with rust encapsolator and weld through primer installed. Rust converter and weld through primer were also applied on the underside of the lower section of the step up area where the back of the new floor panel will spot weld against:
Panel prepped:
After several rounds of test fitting:
Mid way through installation. Again, using numerous clamps to keep everything in the correct place and sheet metal screws to keep support channel against the floor panel:
Side note, got my new shifters in to control the AW4 from RADesigns Products; can't wait to build my console and get these installed!
Last edited:
- City
- Claflin
- State
- KS
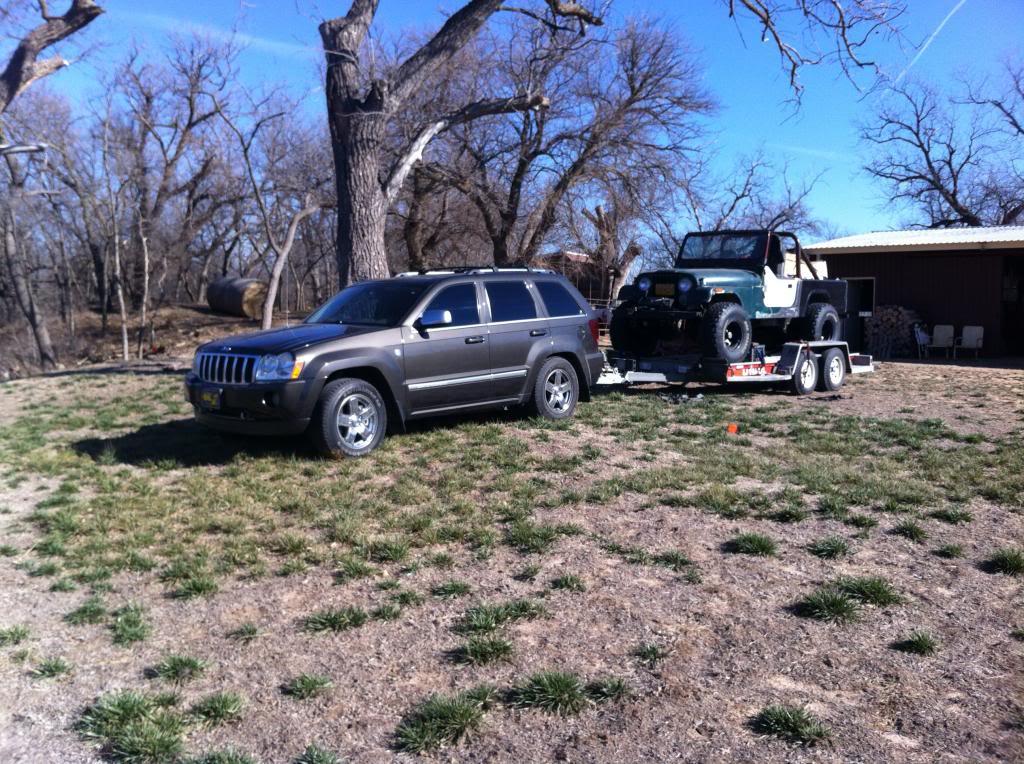
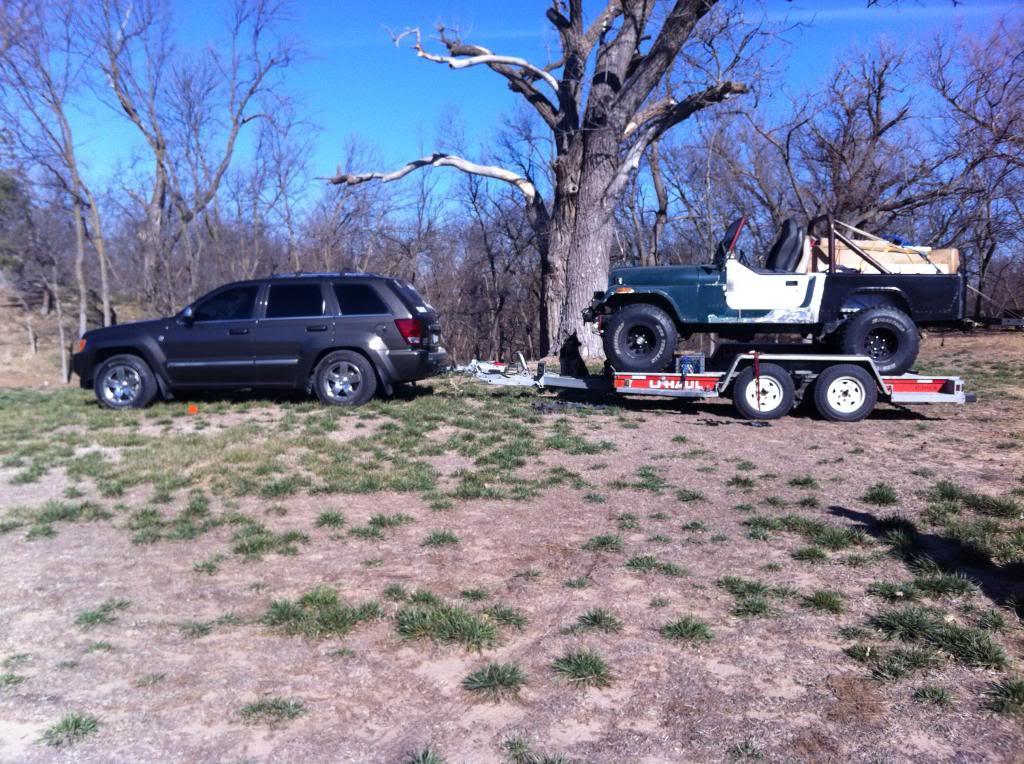
Being that my remaining time in Houston will be limited, I decided to go ahead and get the Postal and all my crap I've collected over the past months in my garage back to Kansas. So, the Tuesday before Thanksgiving I spent most of the evening and night getting the Jeep and parts all loaded up on a U-haul trailer behind my Grand Cherokee to make the trek back home to KS. 14.5 hours later, running on a couple hours of sleep and after some trailer light issues in Oklahoma I finally had the Postal back home! I am almost positive this has to be the most well traveled, non-running postal of all time (first from Homer, AK, to central KS, then to Houston, TX, now back to central KS). Didn't get a chance to work on the Postal over the holiday due to having so many Thanksgivings to attend between mine and my wife's insanely large families; plus I had to get some much needed whitetail bow hunting in.
Due to my CTD not fitting in my garage and having no space to store my trailer in Houston, I had to tow the Postal home with my GC Overland Edition. The Hemi powered GC actually does a great job towing and gets surprisingly better mileage towing than my dad's old 6.0 V8 powered '04 GMC 2500 4x4 (he now a '11 GMC Denali with the 6.2 that is a big improvement over his old truck, not that he does much towing since we use my Dodge for that sort of work).
Don't think I could get any more crap in the Postal if I tried:
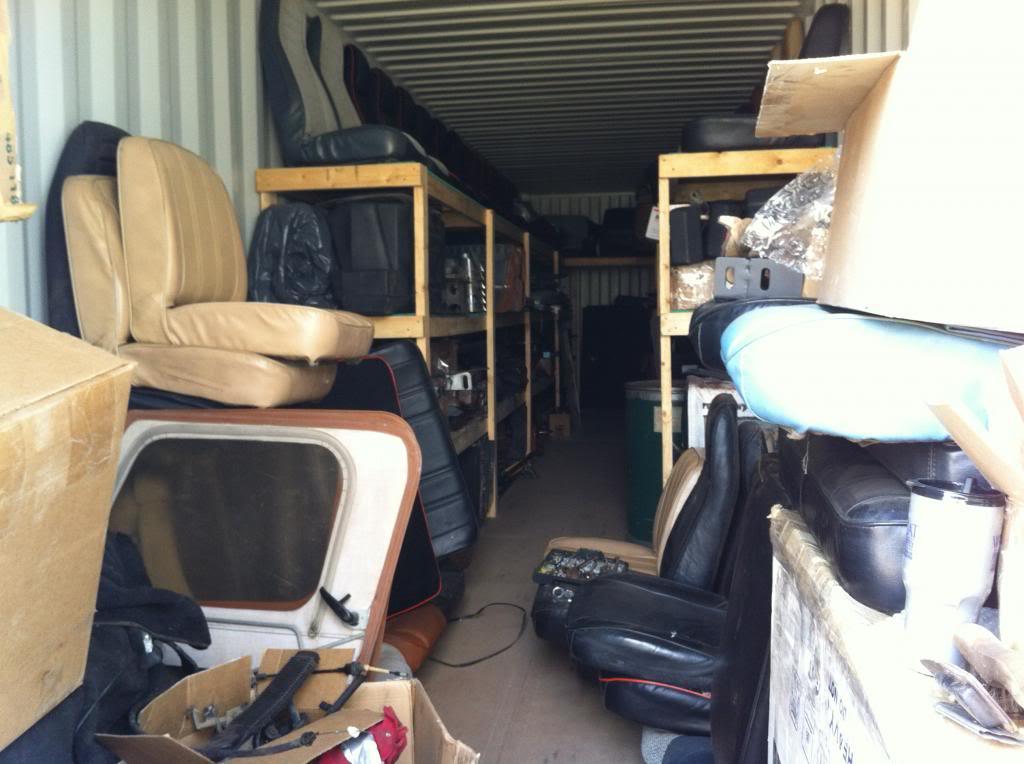
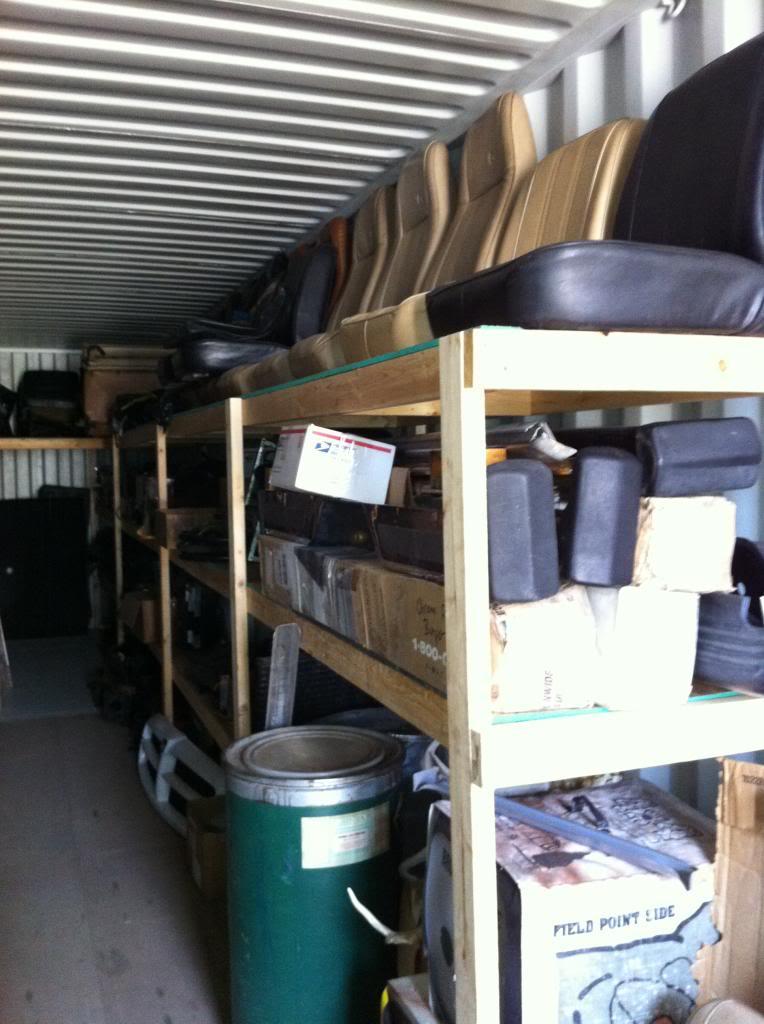
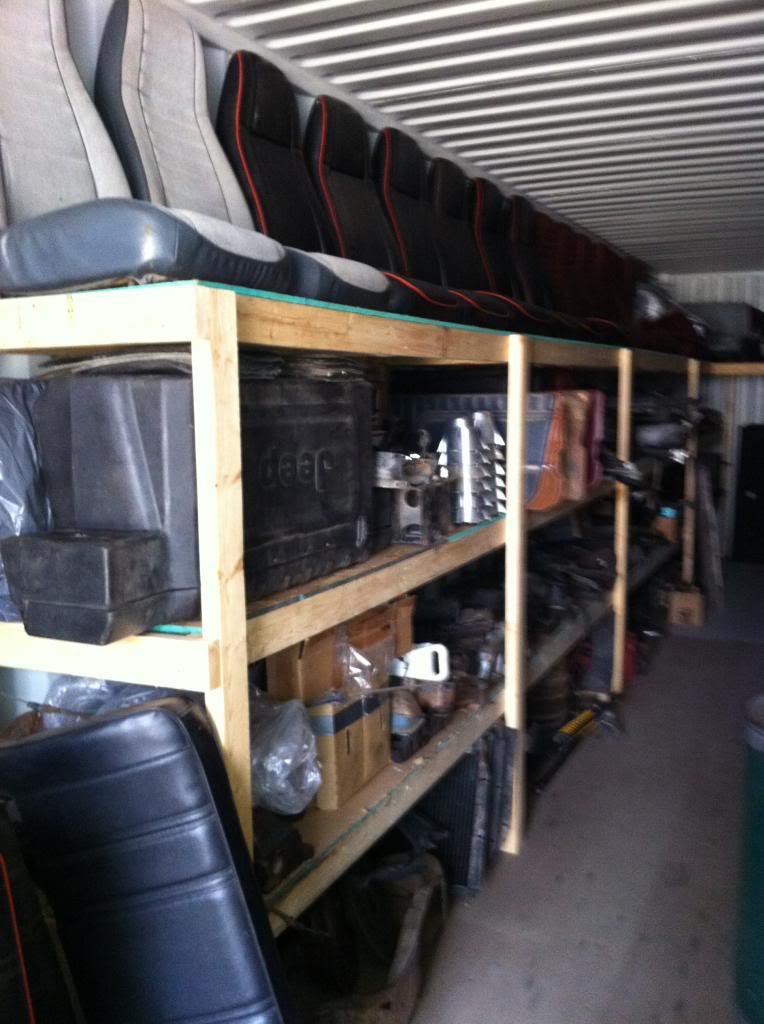
Got the parts out of the postal unloaded and semi-organized back into the mix of previously stored parts in one of my storage areas:
Postal back at home in the shop! I forgot how great it is to have space to work!
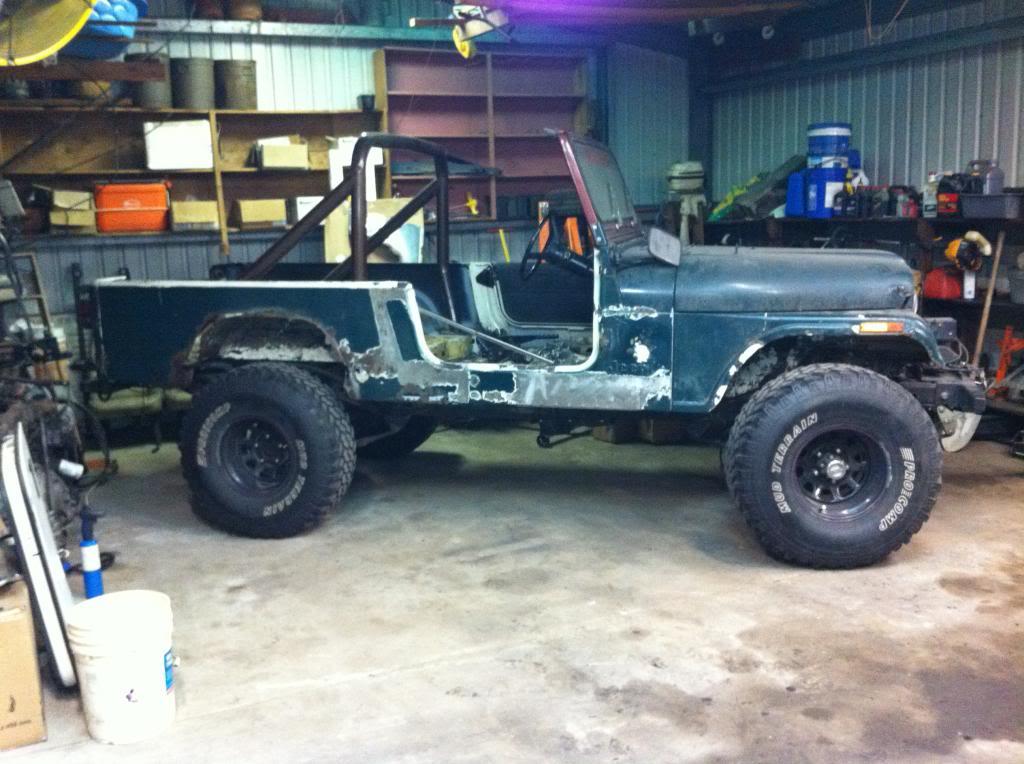
My last day in Houston is scheduled for December 21st. I will be back in Kansas for good after that; I cannot wait to get back to the country! I'm currently having a new home built back in central KS but I should have some time to get a lot of work done on the postal until the home building gets to a point where I can step in and do some work (stone/tile work, installing vacuum system, etc). My new deadline is to have the postal at least ready for paint by April 6th. I am also hoping that my house is done at this point as well but that is looking doubtful. As with a few others on this board, my wife and I are expecting our first baby girl in April! I cannot wait but definitely have a lot of work to do between now and then!
Due to my CTD not fitting in my garage and having no space to store my trailer in Houston, I had to tow the Postal home with my GC Overland Edition. The Hemi powered GC actually does a great job towing and gets surprisingly better mileage towing than my dad's old 6.0 V8 powered '04 GMC 2500 4x4 (he now a '11 GMC Denali with the 6.2 that is a big improvement over his old truck, not that he does much towing since we use my Dodge for that sort of work).
Don't think I could get any more crap in the Postal if I tried:
Got the parts out of the postal unloaded and semi-organized back into the mix of previously stored parts in one of my storage areas:
Postal back at home in the shop! I forgot how great it is to have space to work!
My last day in Houston is scheduled for December 21st. I will be back in Kansas for good after that; I cannot wait to get back to the country! I'm currently having a new home built back in central KS but I should have some time to get a lot of work done on the postal until the home building gets to a point where I can step in and do some work (stone/tile work, installing vacuum system, etc). My new deadline is to have the postal at least ready for paint by April 6th. I am also hoping that my house is done at this point as well but that is looking doubtful. As with a few others on this board, my wife and I are expecting our first baby girl in April! I cannot wait but definitely have a lot of work to do between now and then!
Last edited:

- City
- Bedford
- State
- NH
Congrats on the new baby girl coming... I rememeber the feeling well and it was about 3.5 years ago now... the only advice I can give you is keep at it... and do as much as you can... I am finally getting back to working on these things on a regular basis. We had 2 girls and the last 4 years with the pregnancies and having babies, house/yard work, etc. doesn't leave a lot of time for the toys. Good luck!
cb
cb

- City
- Dillsboro
- State
- IN
Permit me to add my "CONGRATULATIONS" on the baby girl.
Jannie and I had 3 children of our own and raised 10 others. I should say "She" raised them while I worked to support them. Wouldn't change a thing. We always tried to give the other "alone" time one evening a week. Mondays Jannie would go grocery shopping or visiting her family and Thursday evening I spent in the garage. As the kids got older it ended up with both of us shopping or in the shop.
Jannie and I had 3 children of our own and raised 10 others. I should say "She" raised them while I worked to support them. Wouldn't change a thing. We always tried to give the other "alone" time one evening a week. Mondays Jannie would go grocery shopping or visiting her family and Thursday evening I spent in the garage. As the kids got older it ended up with both of us shopping or in the shop.


bobbysjeep
Legacy Registered User
- City
- Charlotte
- State
- NC
Congratulations on the new addition!
Amazed by your rust repair, In awe of you parts stash! Keep up the good work.
Amazed by your rust repair, In awe of you parts stash! Keep up the good work.

- City
- God's Country
- State
- AR
Congrats on the new baby girl coming... I rememeber the feeling well and it was about 3.5 years ago now... the only advice I can give you is keep at it... and do as much as you can... I am finally getting back to working on these things on a regular basis. We had 2 girls and the last 4 years with the pregnancies and having babies, house/yard work, etc. doesn't leave a lot of time for the toys. Good luck!
cb
Congrats on the baby girl! I have two, and my advice is to get the Jeep done before she comes, cause you will feel guilty working on the Jeep instead of spending time with her.
I'm jealous of your parts cache. Looks like you cleaned up after a Spring Special assembly line