• Notice for iPhone users: DO NOT use the image size reduction option when uploading photos to the forum. This causes portrait images to post as landscape. We have added a warning to the image insert pop-up as well.

81 Anvil Scrambler Build

I used GenRight front stanchions the later CJs for my CJ6. The CJ6 being a 57 they were not an exact fit but I manged to make them work. They should work with a Scrambler. If you would like pictures you can find them in the link in my signature at the bottom (Warning lots of pictures to go through). Didn't want to hijack your tread with them.
 
I used GenRight front stanchions the later CJs for my CJ6. The CJ6 being a 57 they were not an exact fit but I manged to make them work. They should work with a Scrambler. If you would like pictures you can find them in the link in my signature at the bottom (Warning lots of pictures to go through). Didn't want to hijack your tread with them.

Thanks- I checked them out and grabbed a few pics. Great work. I think I'll do something similar or cut everything at the B pillar and redo it forward. I need to find a way to keep it functional and hide the new welds or clamps required.
 
Rick! So great to see you on here. And the picture story! Awesome! It was amazing to see the full build from the start. Can’t wait to see it on the road!

Love the choices on the upholstery colors!

Keep the progress pics coming!
 
Last edited:
Very nice build thread! I think you'll be OK with the springs as you get it all together and it settles in. Also the weight of 6 passengeers will make it sink. And don't forget they grow. The dash mount looks like the best alternative and structuraly is more solid than the floor mounting plate unless you mated the floor to a frame plate underneath. You could have the pipe cut and a mounting plate adapted to the dash. Your fab guy could make that easily. Maybe make the mounting plate sleeved and pinned so it could be removed in the event you need to remove the dash at some point.

Great job and keep the pics coming!
 
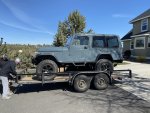
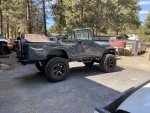
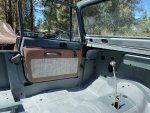
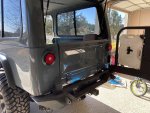
Well, she came home last Saturday, and that felt like an accomplishment. Now time for final assembly. It's first time I've seen it with the color matched full hardtop. I'm really happy with how the color came out, and mixing in the spice colored interior. The body flexed a lot just beneath the rear of the doors, so you'll notice we added some reinforcement on the interior underneath the door to stiffen if up. I think I'll drill some holes and run electrical through there too. IMG_0158.jpeg
IMG_0146.jpeg
IMG_0140.jpeg
 
Last edited:
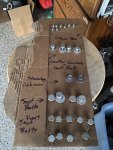
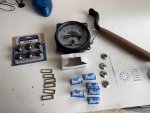
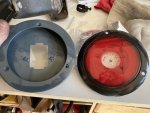
I thought I did a pretty good job labelling, bagging and storing hardware. But a few things have gotten lost in the move. So there's a whole lot of painting hardware, and hunting down screws, bolts, etc. What a pain! IMG_0149.jpeg
 
I could use some help on a couple of items:
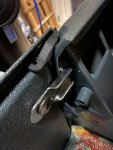
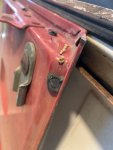
1.) What type of pin or screw holds the tailgate seal down? I never had a seal previously, so I'm not sure what to look for.
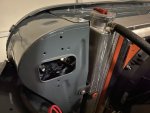
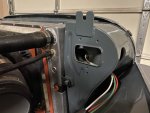
2.) Does the left hand front clip rod mount separately? I don't ever remember removing it, but it came back from paint without it. I really can't remember how it attached. But I'm missing it entirely. I know it pointed off to side rather than straight up like the right hand side. I thought it was welded on. IMG_0209.jpegIMG_0212.jpegIMG_0213.jpeg
 
I could use some help on a couple of items:
1.) What type of pin or screw holds the tailgate seal down? I never had a seal previously, so I'm not sure what to look for.
2.) Does the left hand front clip rod mount separately? I don't ever remember removing it, but it came back from paint without it. I really can't remember how it attached. But I'm missing it entirely. I know it pointed off to side rather than straight up like the right hand side. I thought it was welded on. View attachment 82320View attachment 82321View attachment 82322
You're right, it was welded on. Where it is now maybe your paint shop will know.

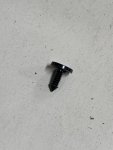
For the tailgate seal, easiest is a small button head screw of appropriate size. A rivet also works but I would not recommend it.
 
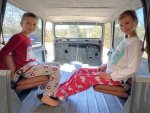
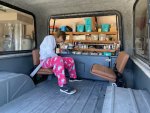
WOW! That looks amazing. And it's so cool that the kids wanted to sleep in it!

Walkerhoundvm answered your questions already. I have no idea why the painter would take that grille support off. I have an extra grille here that we could rob that piece off. It's just a wall hanger. I also have that dash applique if you still want it for a template.

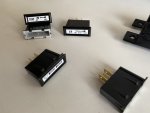
Edit: just double checked. My tailgate weatherstrip was held on by a little push pin- 355FF386-2383-425E-A9CA-134AE86CD23E.jpegFDE89CAF-D6E7-42AA-99D9-27974D40E848.jpeg

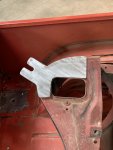
I checked the grille outside. Here’s a pic of the missing piece. I can cut that one off, but I think it would be better, especially on a nice build like this, to make one out of flat strap and give it a larger base so it can be bolted on securely. Or have the body guy weld it and reshoot the backside of the grille.
9B38C3DA-408C-4D24-AE12-6A6CC10D35E2.jpeg
 
Last edited:
Now that it is painted, I imagine you could glue it back on with automotive adhesive... just wouldn't want to hurt the paint with welding.

cb
 
Some grilles have both supports straight up, and some have the driver side tab angled. Not sure why. My ‘82 and ‘83 both have them straight up. A maroon replacement I bought from Collins Bros. has the tab at an angle.

Just some food for thought. Does not help get it reinstalled. Not sure why they needed to cut it off to paint it though.
 
Thanks Randy. I talked to the painter, he's looking around. He had another jeep in there, and I'm wondering if the grills got switched? Who knows.
 
Thanks Randy. I talked to the painter, he's looking around. He had another jeep in there, and I'm wondering if the grills got switched? Who knows.
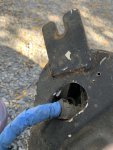
Rick, I got the replacement part built. ?
7EE9ECC8-2B86-4AA5-A246-57359ABD8736.jpeg
 
It looks great, but my only comment is are you running a stock air cleaner with the fresh air hose?
If so, the plastic piece won't bolt on as is....

Nice replacement work!

cb
 
Back
Top