• Notice for iPhone users: DO NOT use the image size reduction option when uploading photos to the forum. This causes portrait images to post as landscape. We have added a warning to the image insert pop-up as well.

82 UK Spec Laredo Scrambler Build No 2

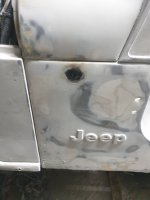
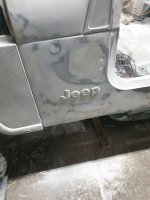
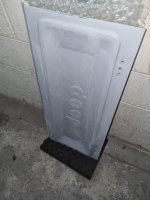
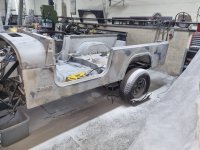
Respect to the body shop people doing this stuff every day, i had forgotten how labor intensive body work is and hence why it costs so much!.
Just removing small dents in the tailgate i must have 4 hours and 4 beers in this thing and still not quite how i want it.
The daft thing is only a professional and myself would actually notice them in the first place i reckon :banghead:
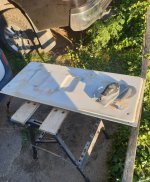
20220709_202801_resized.jpg


20220709_204419_resized.jpg
 
Last edited:
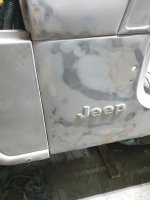
Respect to the body shop people doing this stuff every day, i had forgotten how labor intensive body work is and hence why it costs so much!.
Just removing small dents in the tailgate i must have 4 hours and 4 beers in this thing and still not quite how i want it.
The daft thing is only a professional and myself would actually notice them in the first place i reckon :banghead:
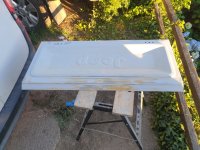
View attachment 103653


View attachment 103652
I like the new analogy... 1 hour == 1 beer.

When I was in college and we went for a road trip, we had friends that were like... how far is it? how many cigarettes?

cb
 
Body work is never ending, but got rid of the extra aerial/Winchester mount hole today.

Welded a disc in, sanded it down so it was below the level of the body and then merged it in with my new best friend Mr body filler.
So unless someone strips this back in the future you wouldn't know it was ever there.

The seemingly endless cycle of applying filler and then rubbing it all off again continues....

20220716_122959_resized.jpg
20220716_125930_resized.jpg20220716_164328_resized.jpg
 
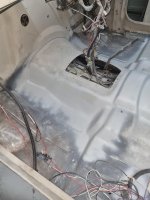
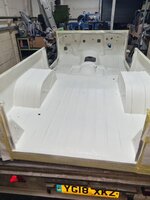
Its a holiday weekend in the UK so bit of Jeep time and what better way to spend some spare hours (More like the best part of 2 days☹️) than trying to make a floor pan look like a floor pan.
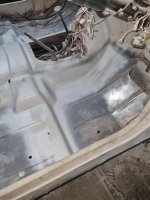
Unless you crawl underneath and look up you would never know its quite a few pieces of steel welded together to get the shapes.
Last bits of filler to sand out to catch the scratches and i am going to call it quits for this time consuming thing that in my head needed doing but will end up covered with carpet or a mat and no one will ever really see 😁

20220827_135137.jpg

20220827_135115.jpg
 
Very nice! To bad it is destined to be covered.
Yeah but i will know its there and if its not right it will annoy me covered up or not.

I really should see if the molded Rugged Ridge mats from the blue 8 actually fit snugly in the footwells after all the metalwork shenanigans or they might not be getting covered up after all...
 
I have really liked using walter flex cut grinding disk on sheet metal cut and but grind out. It grinds cooler and really removes material quickly and does a nice job feathering.
 
I highly recommend rhino line, line x or something similar for the underside (and interior for that matter). Sound deadening, rust prevention and aesthetics aside, it's brilliant at making slight imperfections look more perfect.
 
I highly recommend rhino line, line x or something similar for the underside (and interior for that matter). Sound deadening, rust prevention and aesthetics aside, it's brilliant at making slight imperfections look more perfect.
Those products are great for the exterior (Raptor is my new favorite) but I would advise against using them in the interior. The polyurea based liners offgas toxic fumes, and from my understanding it’s still toxic a year and more after applications. (This applies to closed spaces only). I highly recommend the LizardSkin products. They look like liner, lessen noise and thermal conductivity, and are paintable. They are designed for interior use. Another big advantage of LizardSkin is it sprays like paint, so by varying air pressure and feed rate you can go from a very fine-grained surface to an almost smooth/textured surface.
 
I highly recommend rhino line, line x or something similar for the underside (and interior for that matter). Sound deadening, rust prevention and aesthetics aside, it's brilliant at making slight imperfections look more perfect.
Those products are great for the exterior (Raptor is my new favorite) but I would advise against using them in the interior. The polyurea based liners offgas toxic fumes, and from my understanding it’s still toxic a year and more after applications. (This applies to closed spaces only). I highly recommend the LizardSkin products. They look like liner, lessen noise and thermal conductivity, and are paintable. They are designed for interior use. Another big advantage of LizardSkin is it sprays like paint, so by varying air pressure and feed rate you can go from a very fine-grained surface to an almost smooth/textured surface.

All interesting stuff and something to think about, you lot are a bad influence...
All i did on the previous Jeeps is primer followed by Wurth stone chip spray (which sounds like a cheaper version of the Lizard Skin) followed by the final paint color.
The stone chip has texture built in and hides a multitude of sins, call it LineX on a budget... I am still a long,long way off needing anything like that at the moment though 😀
 
I don't have a roof on my scrambler so trapping the off gas wasn't a concern for me. But I can say that I could smell the liner for probably 3 or 4 months after spraying it on. It's been about 2 years now since I sprayed the interior and I can say that there is absolutely no odour whatsoever anymore nor has there been for at least a year or maybe 18 months.

If I were going to have a hard top and doors on mine I would probably want to spray it and let it cure for at least 3 or 4 months before putting the roof on. But all things considered, I absolutely love the look of the liner and I've never put the brand new carpet set that I have in because it just looks so darn good with liner.
 
Got some stuff finished off this weekend, hopefully acceptable to my painter but they tend to be very fussy these painter people so i doubt it.
The Tailgate which was prepped ages ago got a light coat of primer to stop it going rusty, the thing is already covered in filler dust again!

20220829_151301.jpg

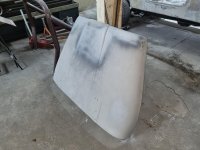
Hood Prepped and dents where it had hit the windshield removed, most of the rest of it is straight was just the odd dent here and there.
20220829_151223.jpg
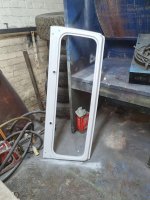
Windshield frame prepped, aftermarket so who knows how this will fit.
20220829_151344.jpg
 
Upside down again and sat on the trailer so i can wheel it around.
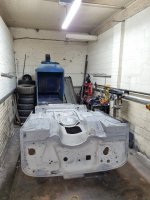
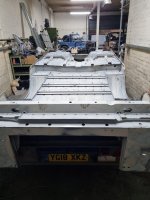
Finally on with getting the underside sanded down and ready for some sealer and paint.
Plan is to paint the inside, underneath and bulkhead myself and then leave the externals for someone who knows what they are doing and do a proper job of it...

20220918_100214.jpg
20220918_100311.jpg
 
Upside down again and sat on the trailer so i can wheel it around.
Finally on with getting the underside sanded down and ready for some sealer and paint.
Plan is to paint the inside, underneath and bulkhead myself and then leave the externals for someone who knows what they are doing and do a proper job of it...

View attachment 105389
View attachment 105390
Looking good!

cb
 
Looks great! I highly recommend a spray-on bed liner for the underside, especially given the POHM's love of road salt. Once it's a wee bit dirty it'll look just like undercoating. It will seal that underside like no doubt if seam sealer and paint ever will.
 
Stone chipped the inside ready for paint and now i quickly need to decide what colour this thing is gonna be!.
I was going to go with Anvil Grey but having seen it in the flesh i have gone off it, too dark for me needs something brighter.

20221118_172150.jpg
 
How about the Hilux grey colour Lunar Rock? Cement also nice but Lunar Rock has a nice touch of green.
 

Attachments

  • Screenshot_20221118_152914_Samsung Internet.jpg
    Screenshot_20221118_152914_Samsung Internet.jpg
    55.8 KB · Views: 7
Back
Top