• Notice for iPhone users: DO NOT use the image size reduction option when uploading photos to the forum. This causes portrait images to post as landscape. We have added a warning to the image insert pop-up as well.

84 CJ8 4 link coil over project underway

Body work Progress

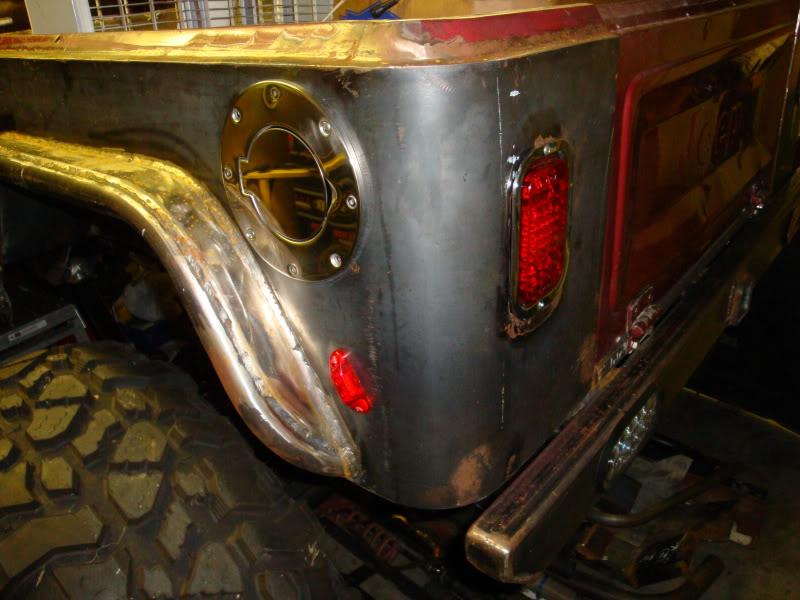
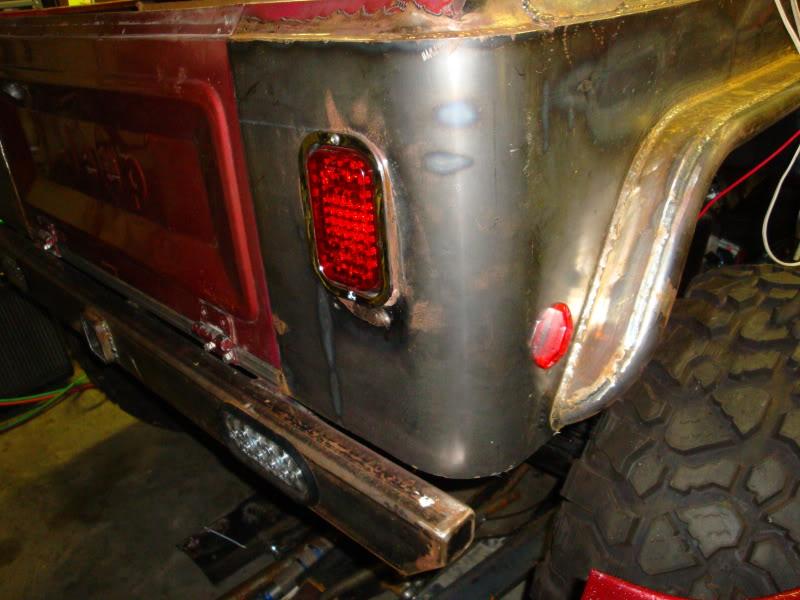
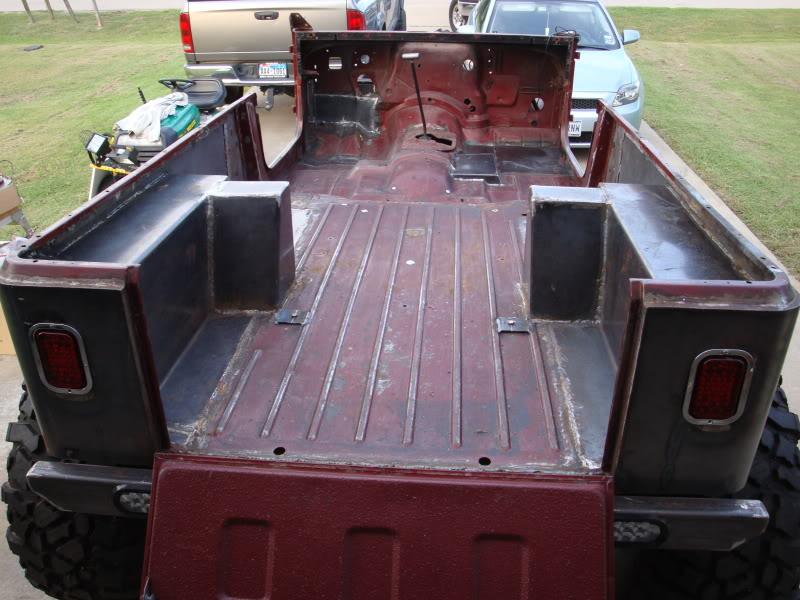
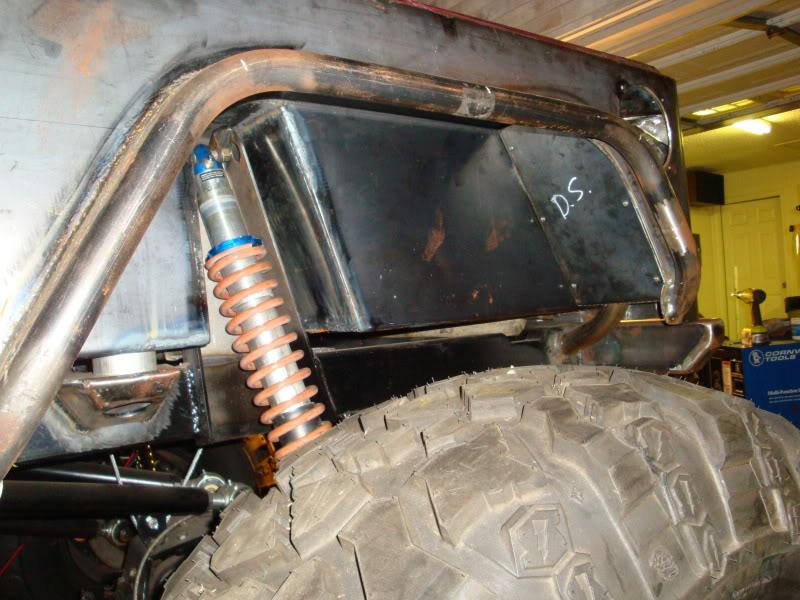
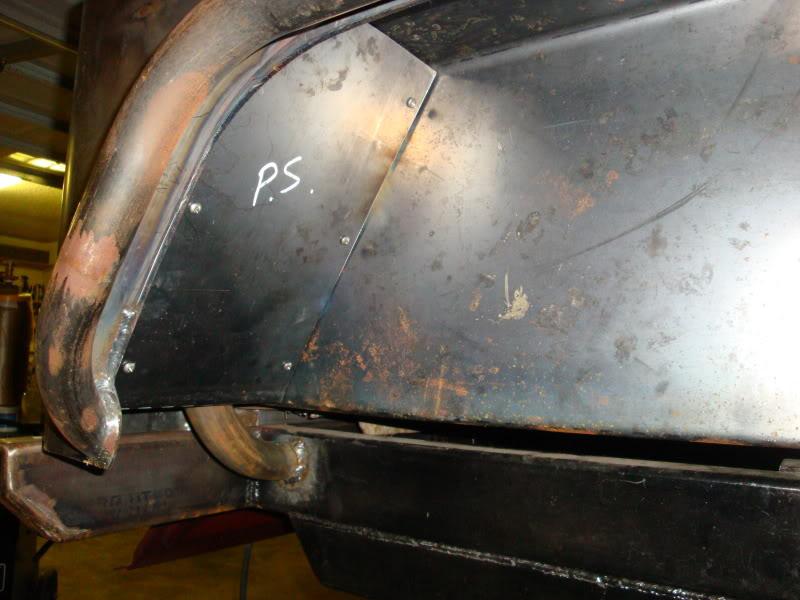
We managed to make some good progresss on the rear body tub. The Driver side inner fender is done and the passenger rear fender is about 90% done. The box break we made worked out perfectly.
DSC02420-1.jpg

DSC02422-1.jpg

We also managed to install the coils and it is now sitting on it's own again. With the rear winch I can lower the Jeep up to 7". Check out the vids below
http://s82.photobucket.com/albums/j276/ttrdiablo/Jeep%20projects/Tear%20Down/?action=view&current=MOV02453.mp4
http://s82.photobucket.com/albums/j276/ttrdiablo/Jeep%20projects/Tear%20Down/?action=view&current=MOV02450.mp4
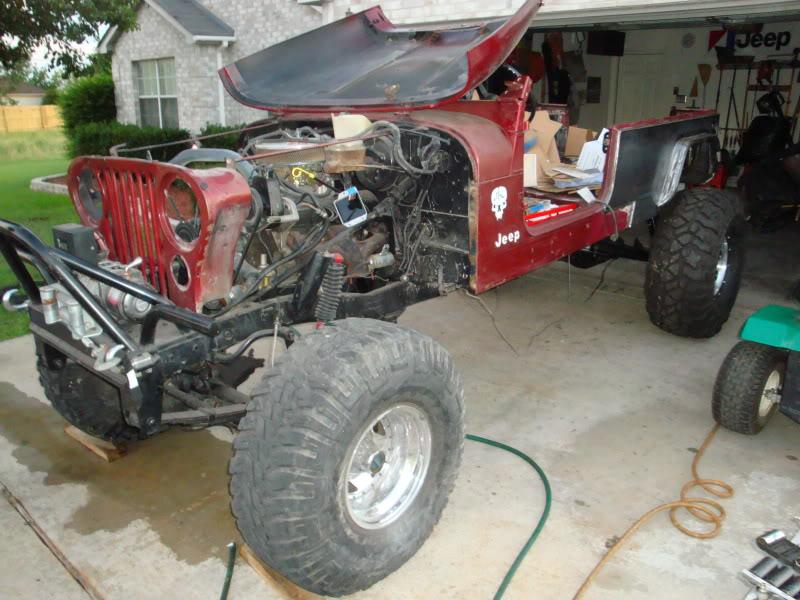
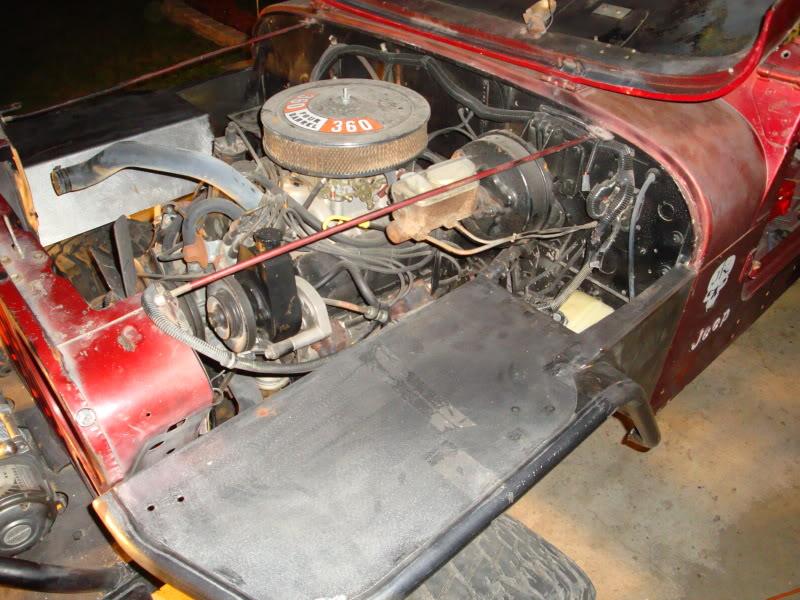
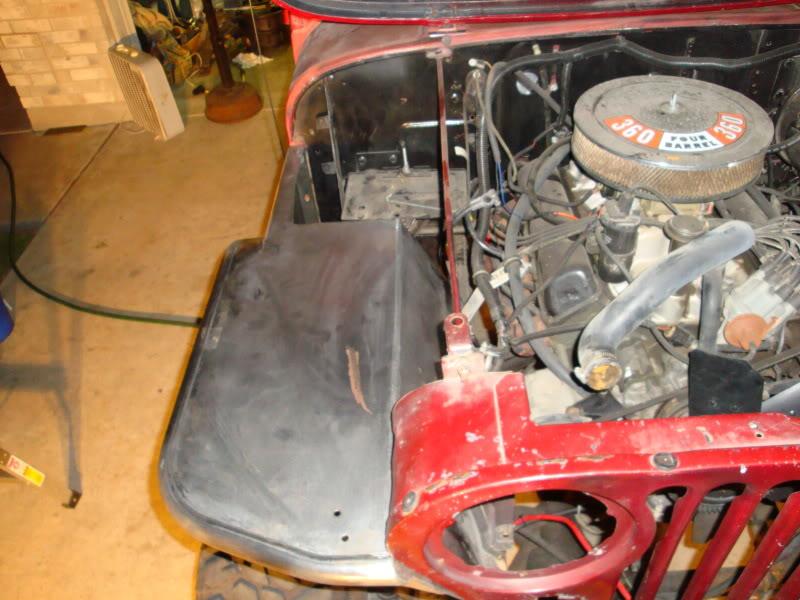
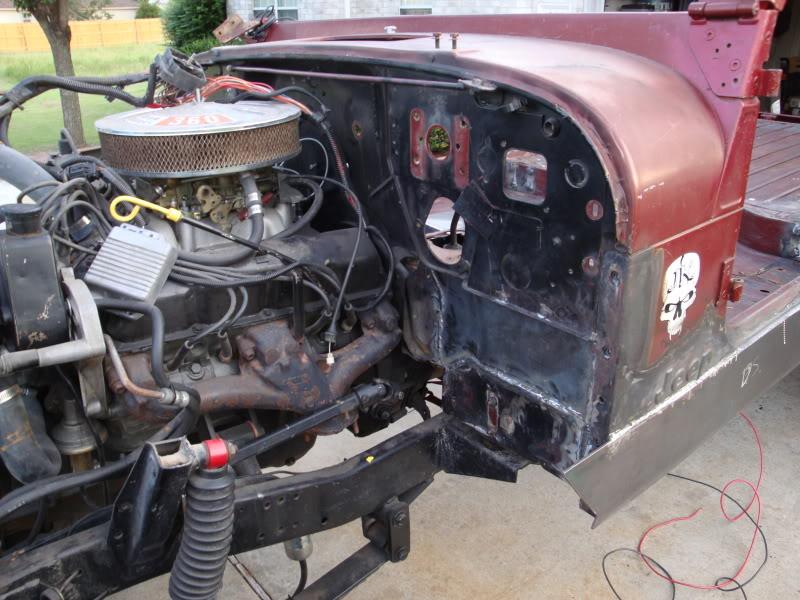
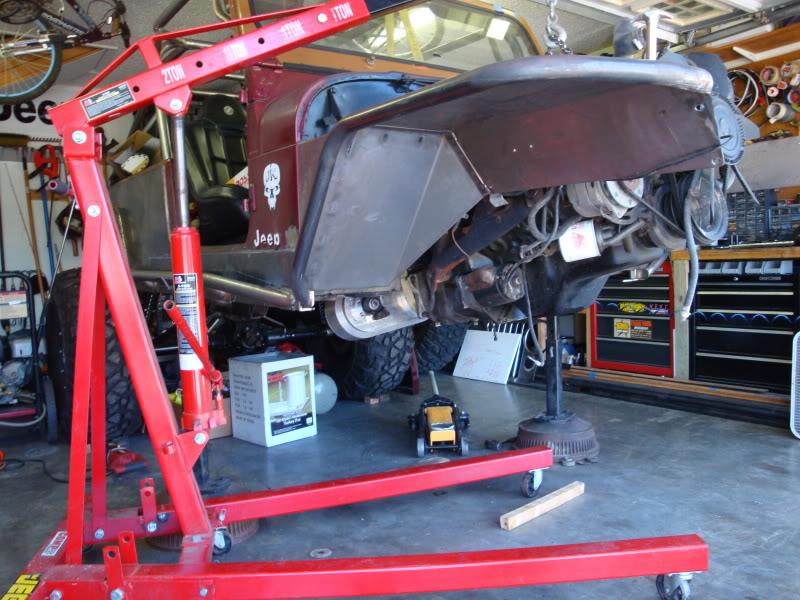
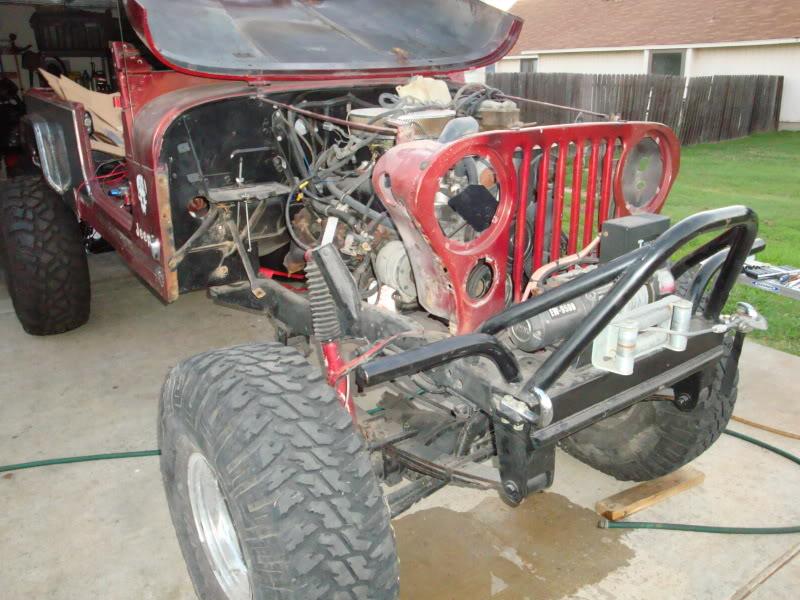
I started to work on the front end. Got the old fenders removed. (Anyone interrested in OEM CJ fenders?) Got the new fenders mocked up. Still need to mock up the stuff that mounted to the fenders. Began removing anything tied to the body as I plan on removing the body for paint and bedliner.
DSC02461-1.jpg

DSC02462-1.jpg

DSC02463-1.jpg

DSC02464-1.jpg

DSC02467-1.jpg

DSC02468-1.jpg

These bolted up pretty easy and I was able to install them on my own. There is a 3/8' gap between the lower hood line and the fender so I'll have to work that out. Next steps are to remove the front winch and brake boost in preperation of cutting off the front frame and rolling it out to make room for a new frame, 3 link, hydro assist steering, coil overs, and a Dana 60 on 39" pitbulls.
 
July is here

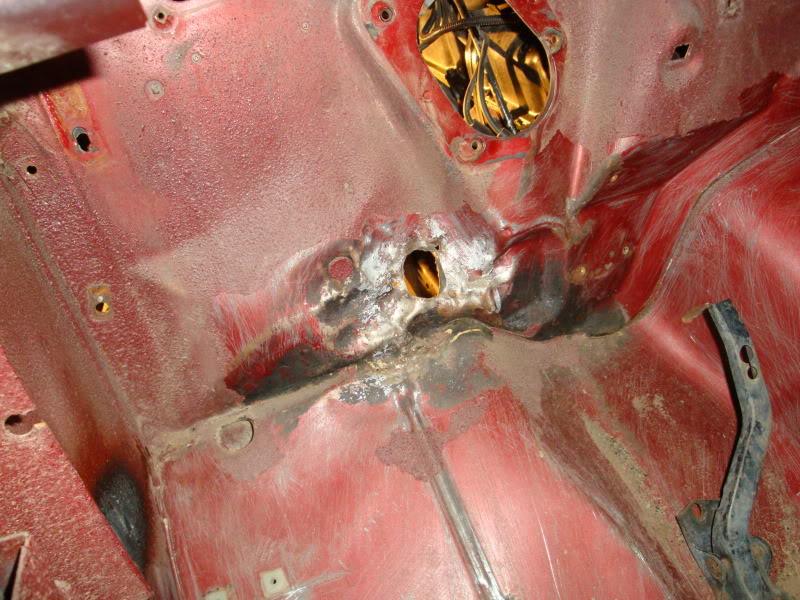
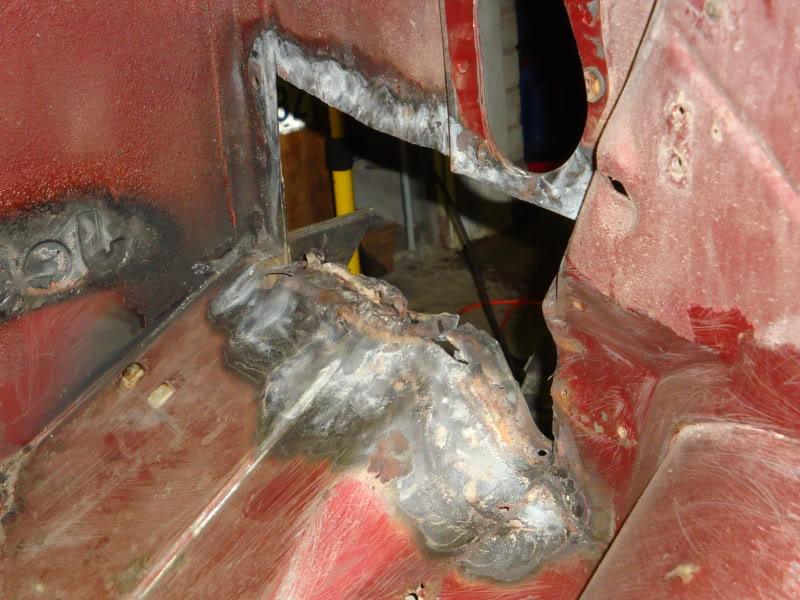
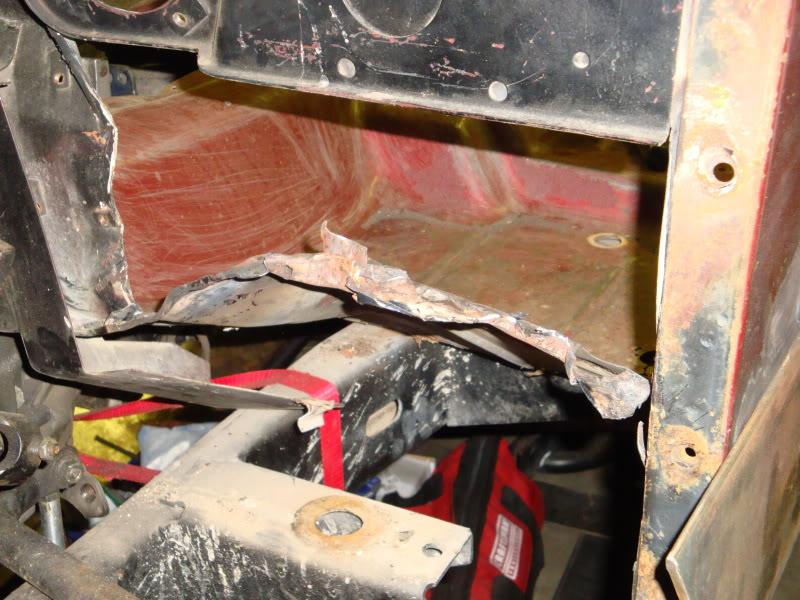
I was not happy with the way the front TNT fenders looked after further review. They seemed to be crooked and pointing outwards towards the front and they did not line up with the rear fender flares. I purchased the Scrambler totalled a few years back and tweaked it best I could to get it on the trails (phase 1). Unfortunately I had to dig into the firewall and fix the tub in order to get the fenders installed correctly. It is amazing how much bedliner will hide. With the bedliner out of the way (it looks like brains)
DSC02470-1.jpg

DSC02472-1.jpg

Got the cut off wheel after it, a little prying, and it's out.
DSC02474-1.jpg

DSC02475-1.jpg

Time for a new section - NEXT.

For now here is the rear tailgate and side marker lights installed.
DSC02478-1.jpg

DSC02477-1.jpg


Also here are my SWAG body mounts and aluminum body pucks
DSC02479-1.jpg

DSC02476-1.jpg


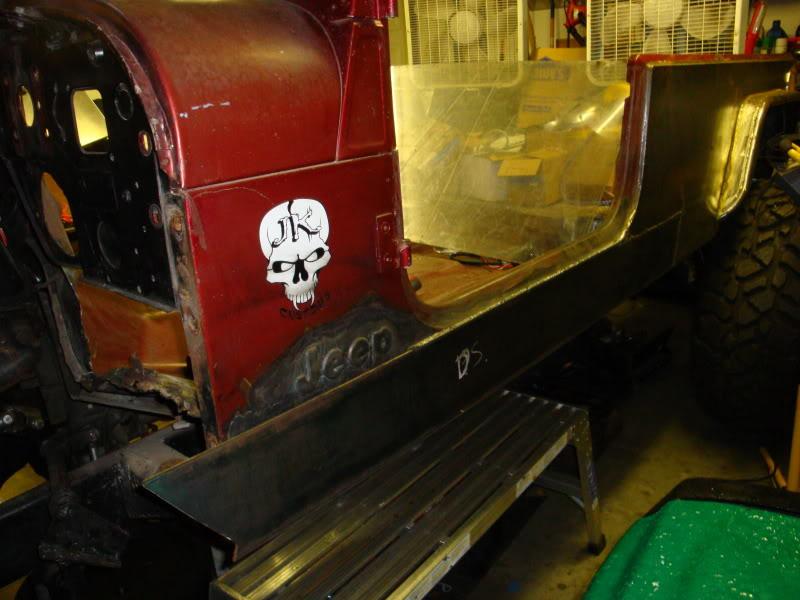
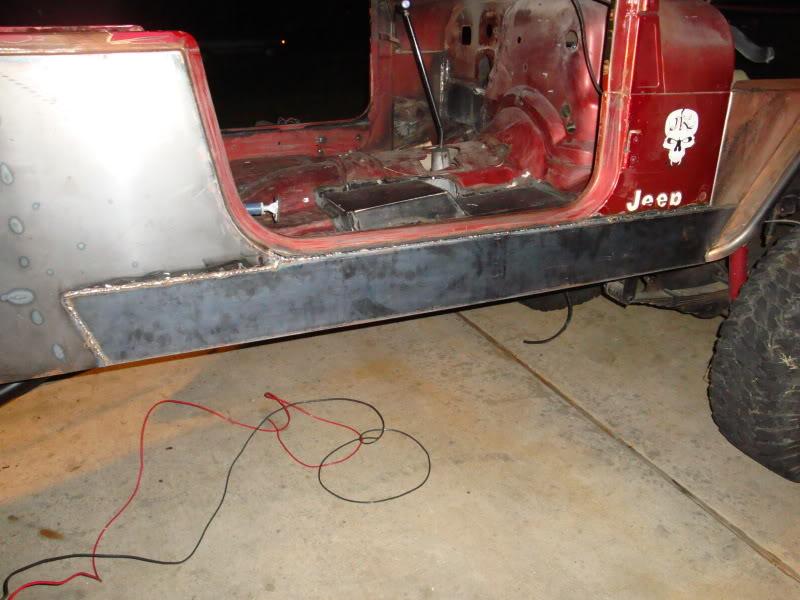
My original rocker skids (rocker knockers) were 1/4". When I went to install them again, they stuck out 1/8" over the rear 3/16" corners we installed. Being picky, I decided to extend the 3/16" plate all the way to the cowl/front fender and make a new rocker knocker that extends from fender to fender. The dang rain surprised us and forced us back into the garage (not a lot of room lol).
DSC02480-1.jpg

DSC02481-1.jpg


Making crazy progress so I'll post an update next week.
 
Rear inner fenders still ava

The inner fenders are still ava if you have not found another solution for you.

Thanks for the kudos. Spent the night ordering more stuff and tomorrow is another Jeep day. :crazy:

Mando
 
Switching gears

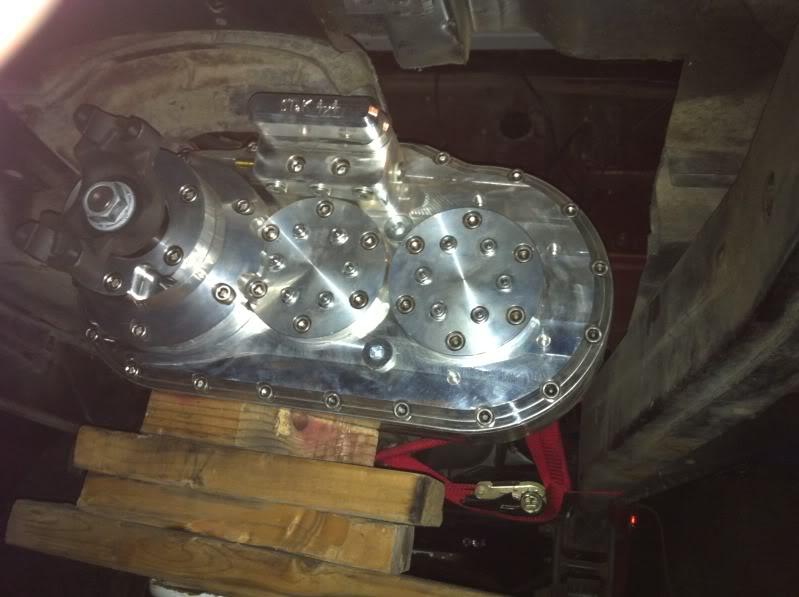
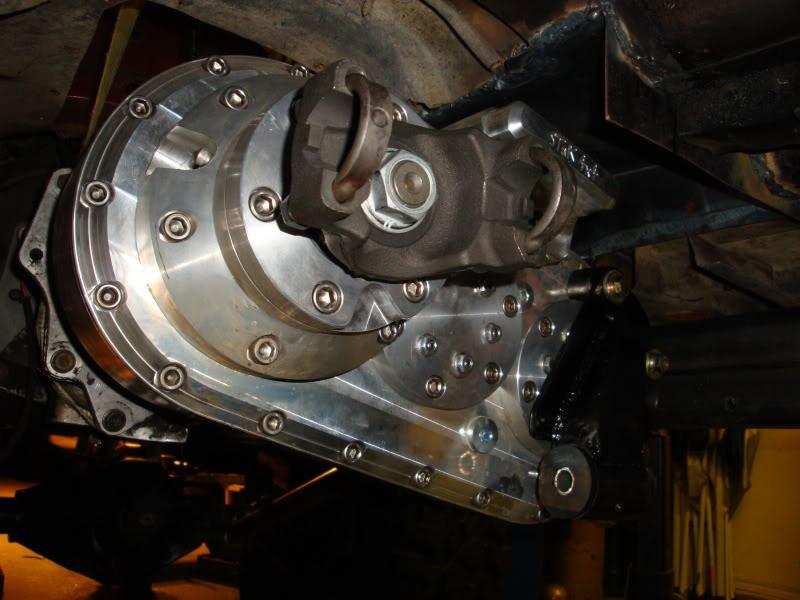
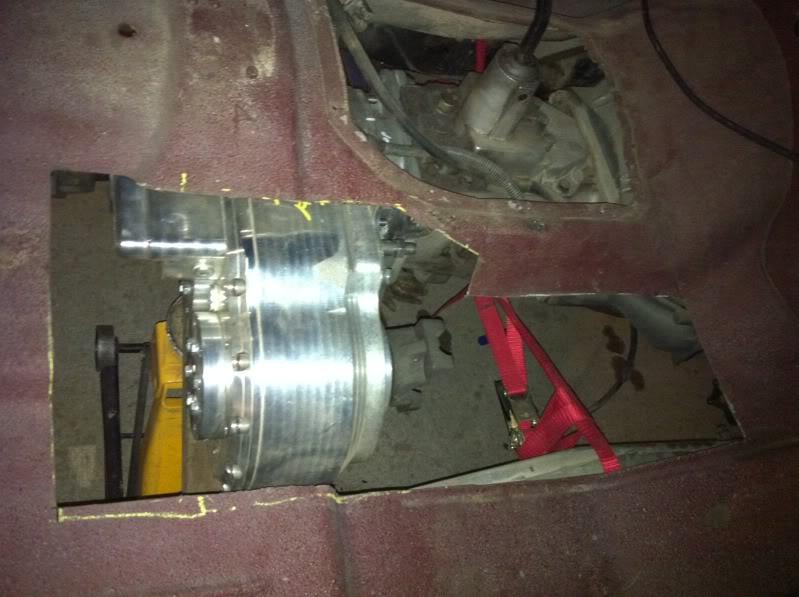
Changing the pace a little we decided to mock up the STAK transfer case, clocked in order to have a semi flat skidplate and tranni mount.

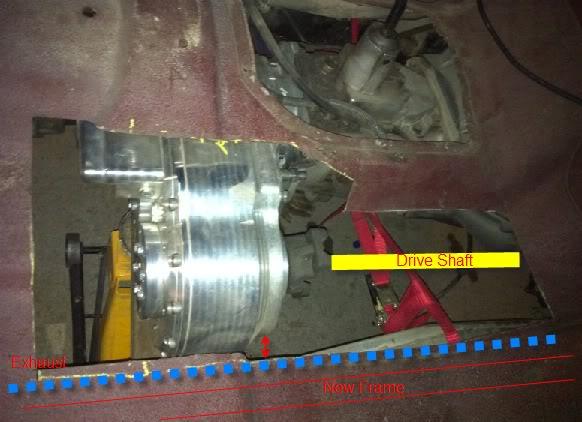
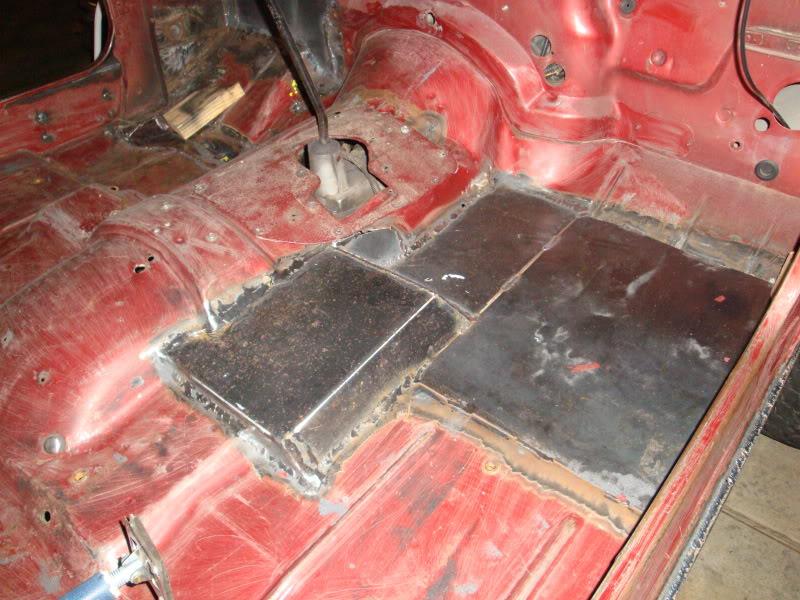
We were forced to cut the floor board to make room for the clocked Transfer Case.
image4-1.jpg

image2-1.jpg

Due to the longer width of the T-Case we opted to cut the fram further back than planned to make room for the front drive shaft and exhaust (AMC 360).
image002-1.jpg

Once we complete the tub work, we'll get started on the frame and front 3 link coil over suspension to make room for the full width Dana 60 on 39" pitbulls.
 
Forward Progress

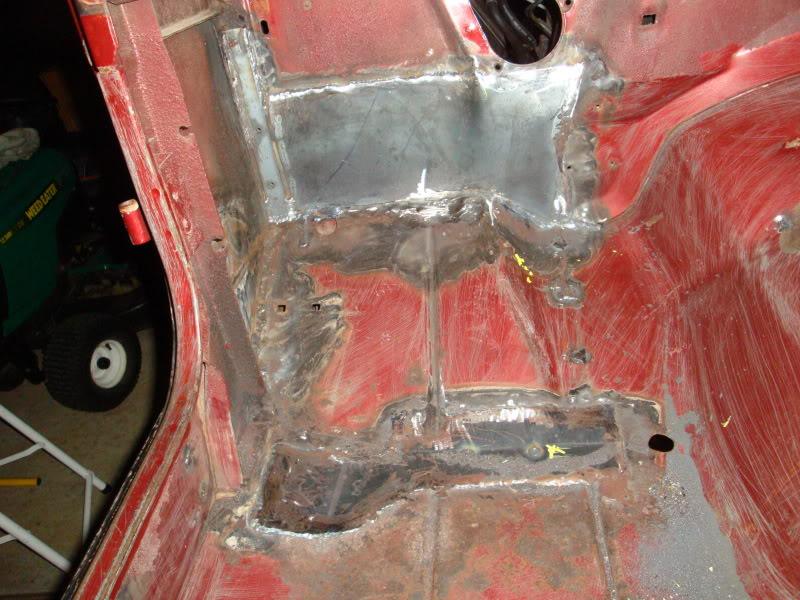
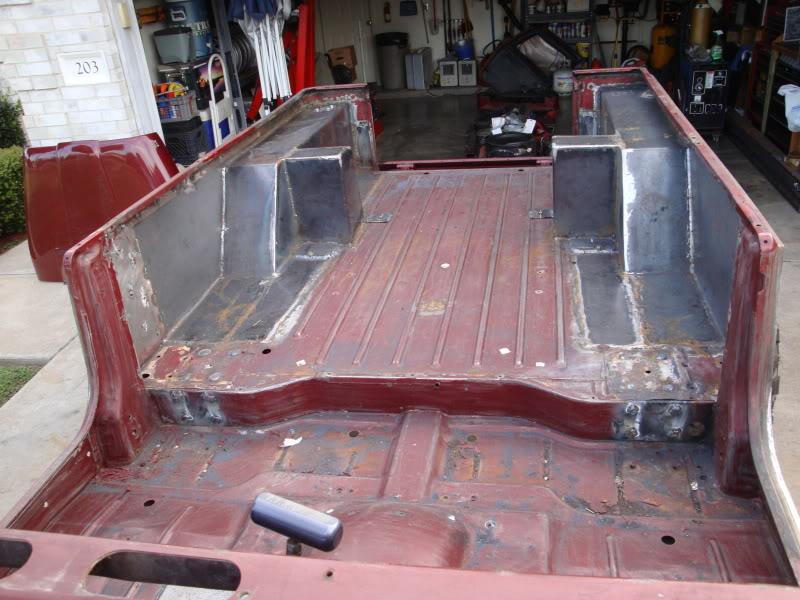
Mark and I got the driver floor board and firewall replaced. We had to push the body out. We straightened out the bottom body mount "L" support and spot welded it back in place. We removed the cheesy OEM nuts and we replaced them with 3/16 strap welded in place and we drilled and tapped it. We had to replace a small section of the floor due to some rust. We also got the passenger floor closed/welded as well. I choose to just flatten the floor after all vs. having all the odd ball curves and steps.
DSC02506-1.jpg

DSC02505-1.jpg

DSC02491-1.jpg

Here is a shot of the whole floor so far
DSC02489-1.jpg

DSC02490-1.jpg

We also got the other side of the 3/16 plate added to the body to finish up the sides of the body. Later we'll get tubing and start working on the step.
DSC02503-1.jpg

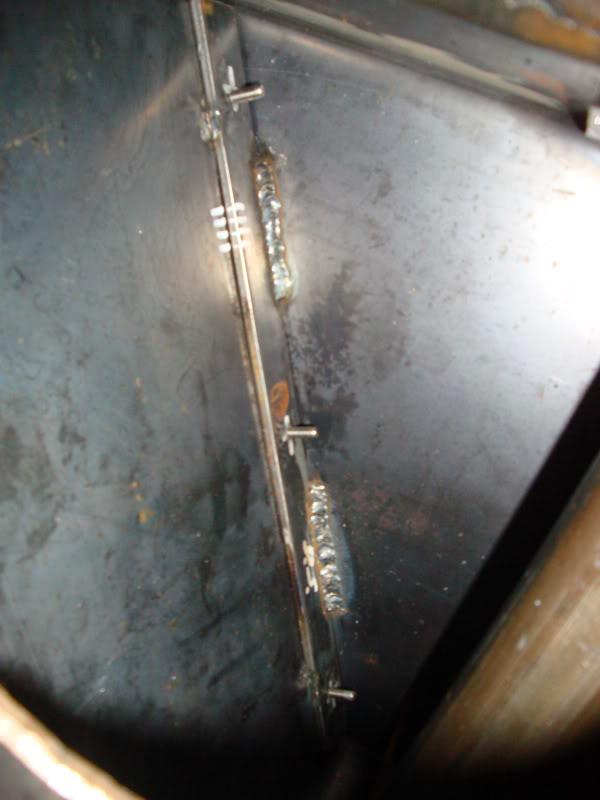
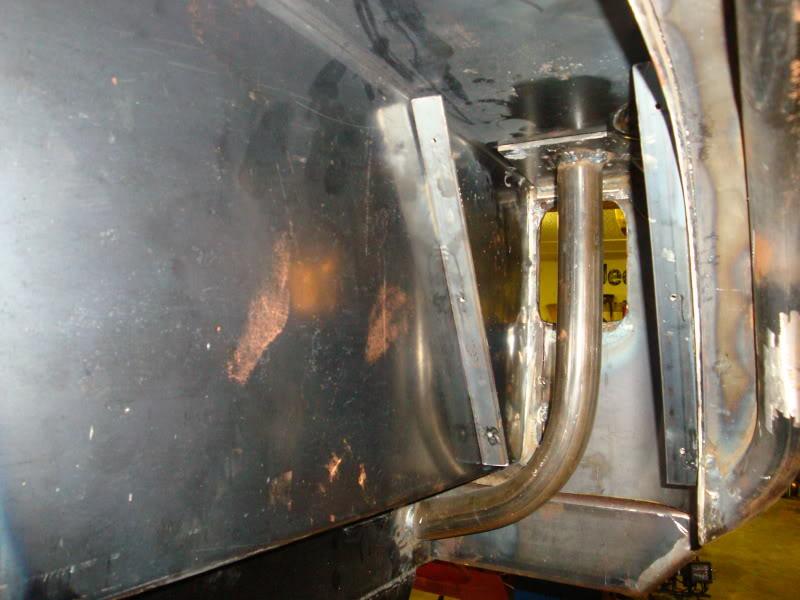
We also worked on the rear inner fender panels to hide the gas hoses, lights, cage mount, and wiring. Mark welded in some 3/16 strap and drilled and tapped it so we can easily remove the panels for access to the lights and/or wiring.
They will be covered in bedliner along with the whole inner fender as well.
DSC02499-1.jpg

DSC02502-1.jpg

DSC02508-1.jpg

DSC02512-1.jpg
 
I need a word better than awesome. Some very cool ideas!!
 
Very nice build! LOOKS GOOD! With all these upgrades I have one more for the list. LOL.
I noticed in the pic below that you are still running the oem ignition on your AMC 360.
Please throw that in the garbage. I have a mildly build amc 360 in my cj7. And I drove it for 8 years with a points distributor and I thought it ran good. Then I was on ebay and found a Pro billet msd distributor brand new for cheap. I don't know what adding a nitrous spray feels like. But that MSD distributor woke my AMC engine up big time! Anyhow just my two cents.

Good luck with your build it's looking good,
7jeeps7kings

 
Excellent

Thanks for the motivation and advice. I plan on going FI some day but I will definitely concider the upgrade for the time being as I feel I will need it once I'm done. :thumbsup:
 
Roll Cage underway

Great advice. I will look into the MSD Distrubuter.

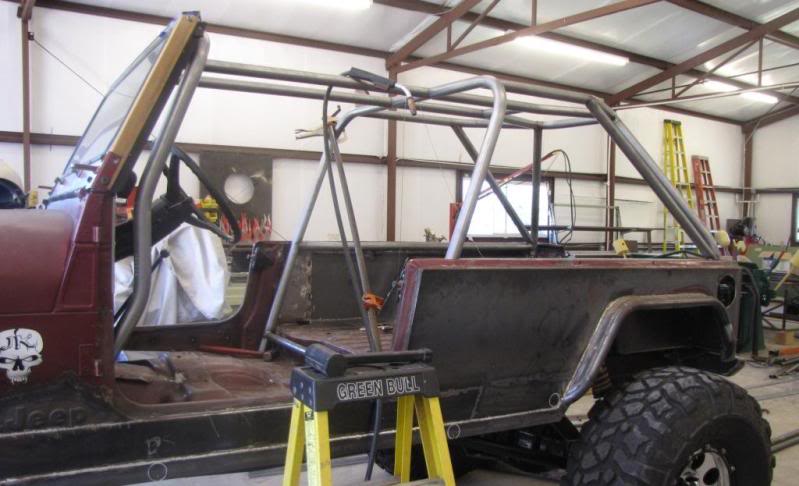
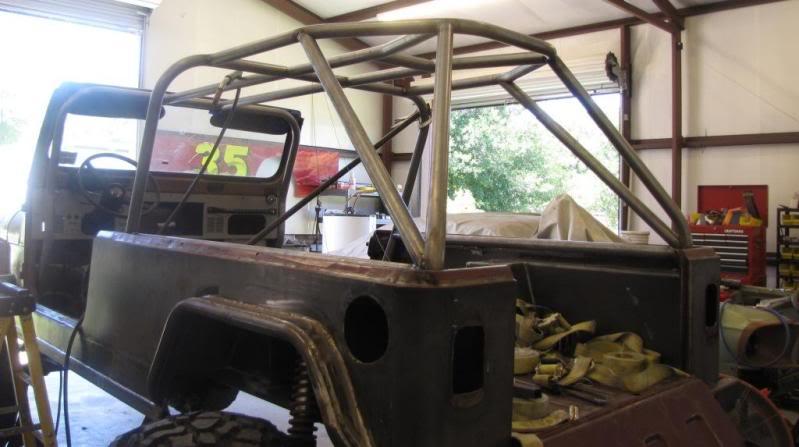
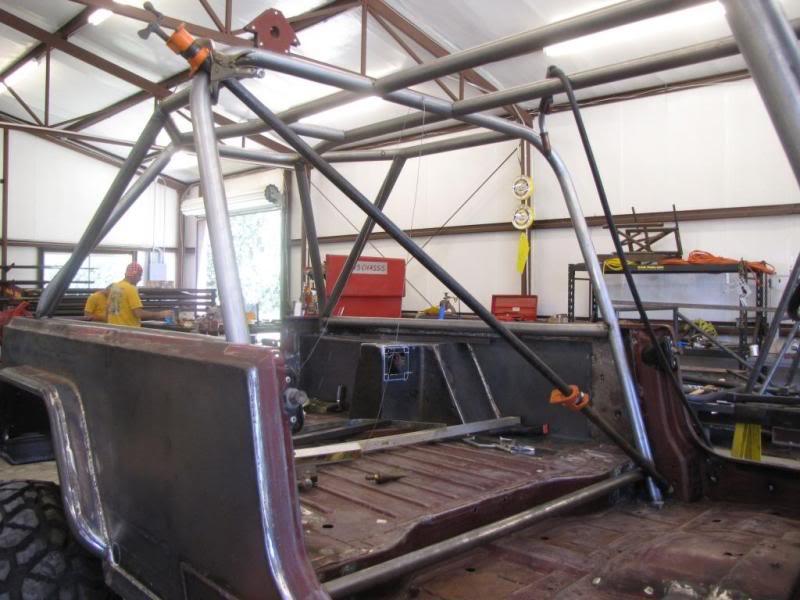
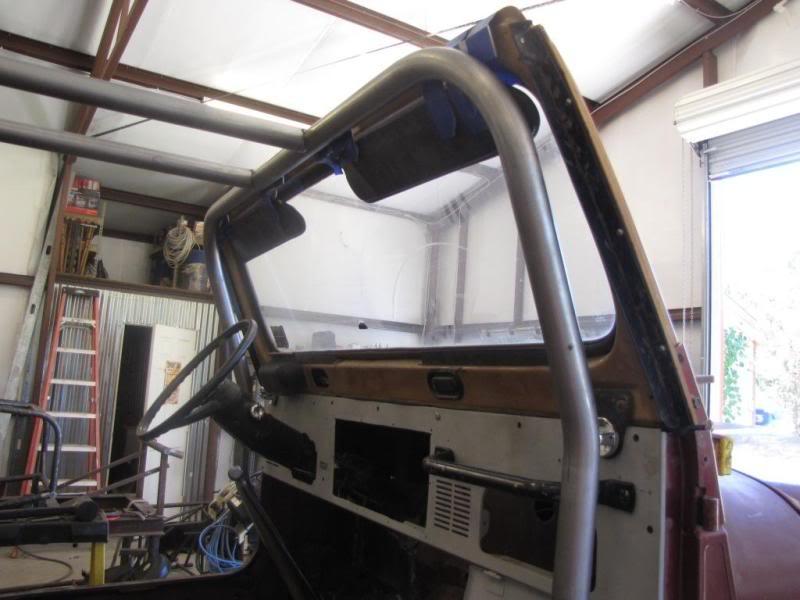
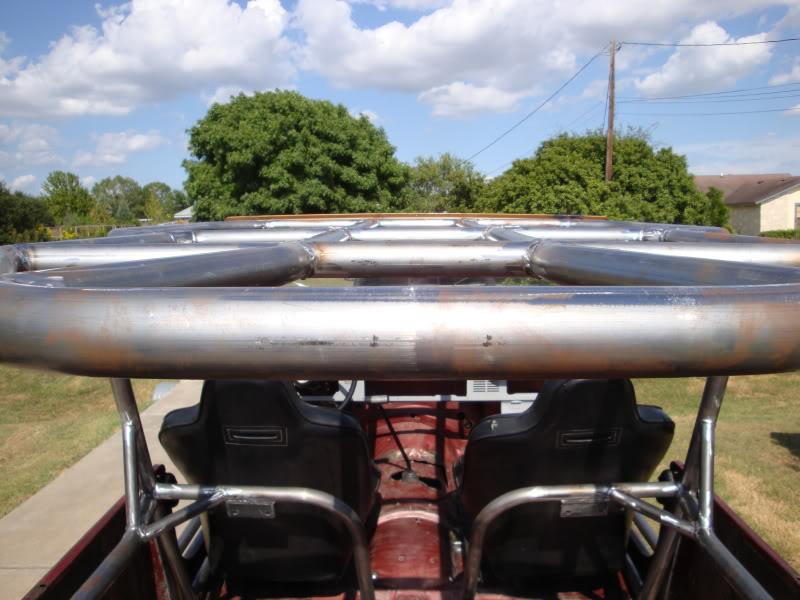
Due to scheduling conflicts, :crazy:I decided to push the roll cage build ahead of the front 3-link suspension build for the moment. The cage is being built by Cactus Custom Metals and here is the progress so far. Overall it is great progress. The cage will be powdercoated black and I am going to add a 1/8" aluminum top.

IMG_0154.jpg

IMG_0156-1.jpg

IMG_0155-1.jpg

IMG_0157-1.jpg

IMG_0158-1.jpg

:popcorn:
Still left to do:
Dash bar, complete main halo, seat/dash mounts (tied into roll cage), main hoop x and seat belt harness tabs, braces, handles, etc...
 
Scrambler and cage are home

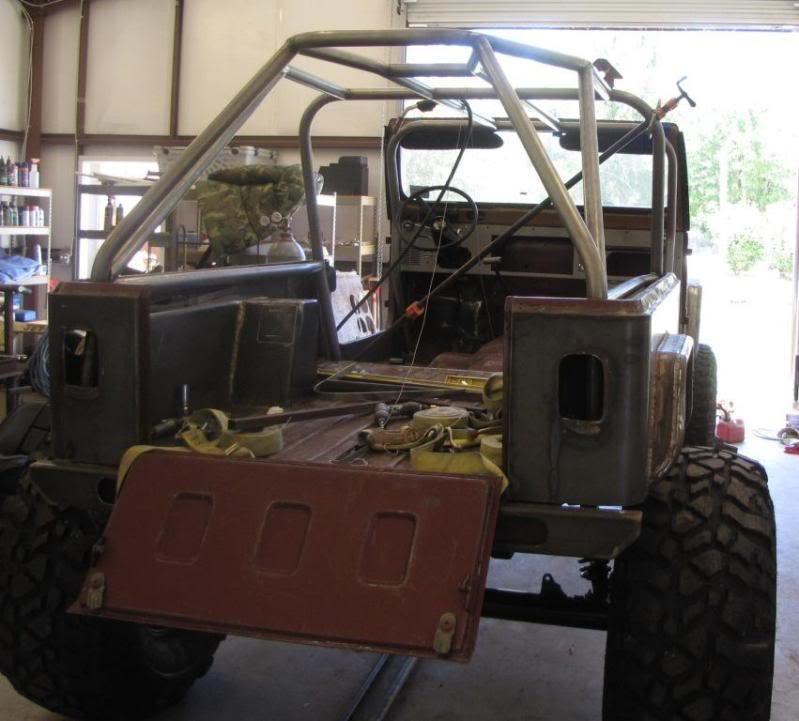
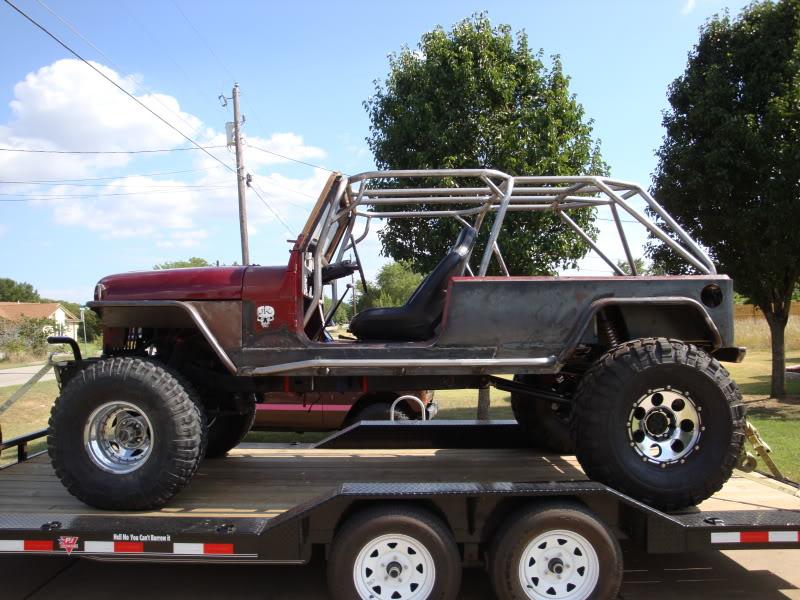
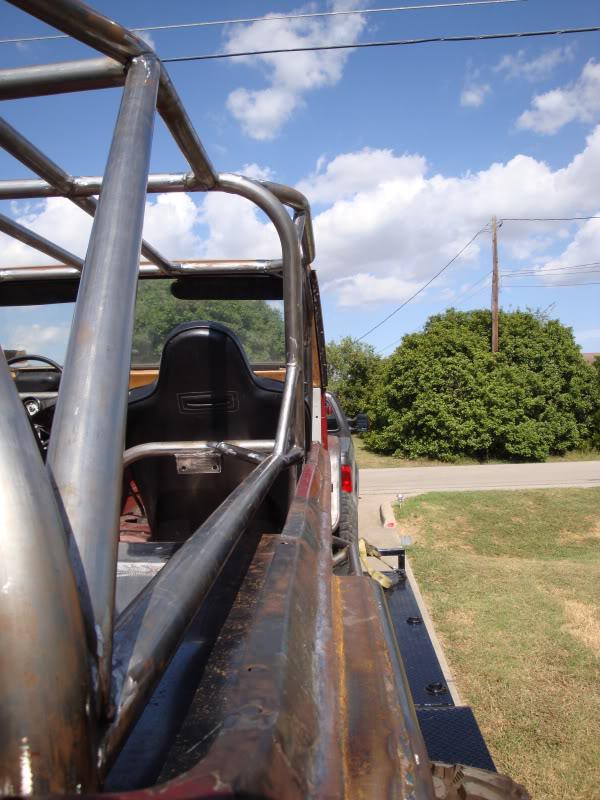
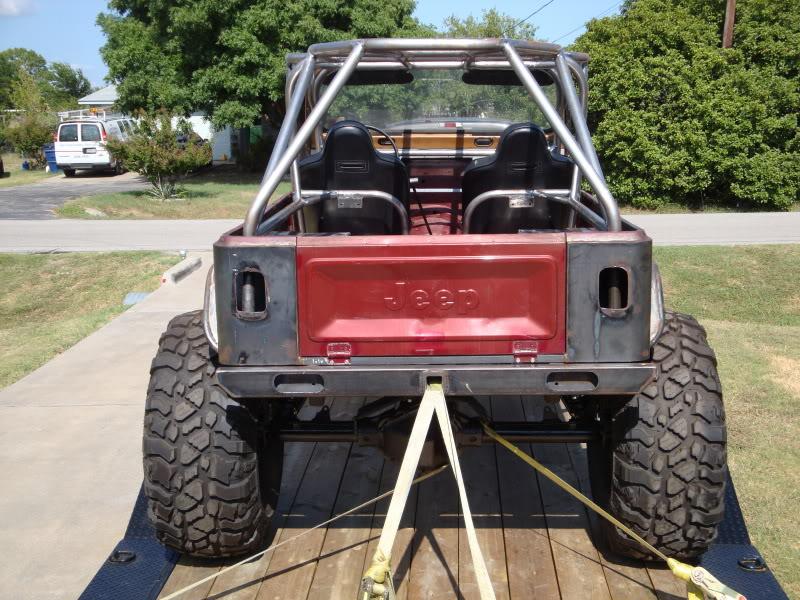
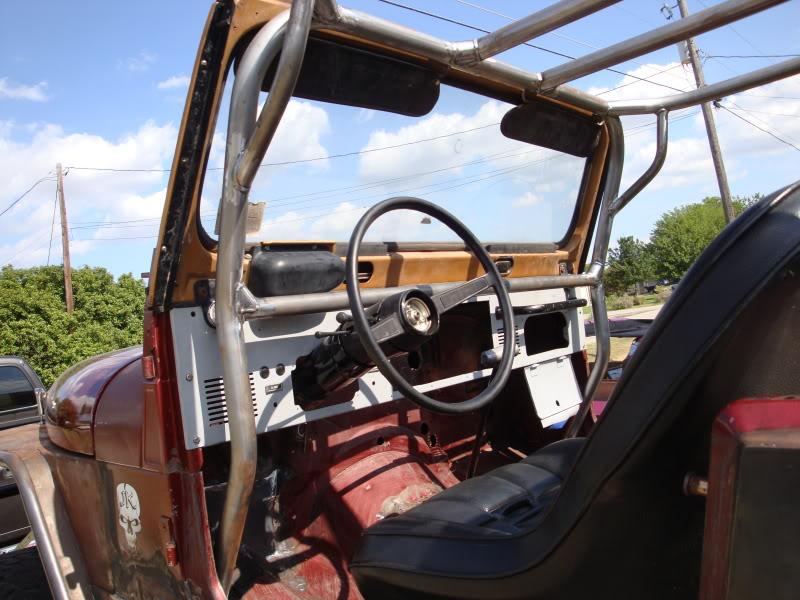
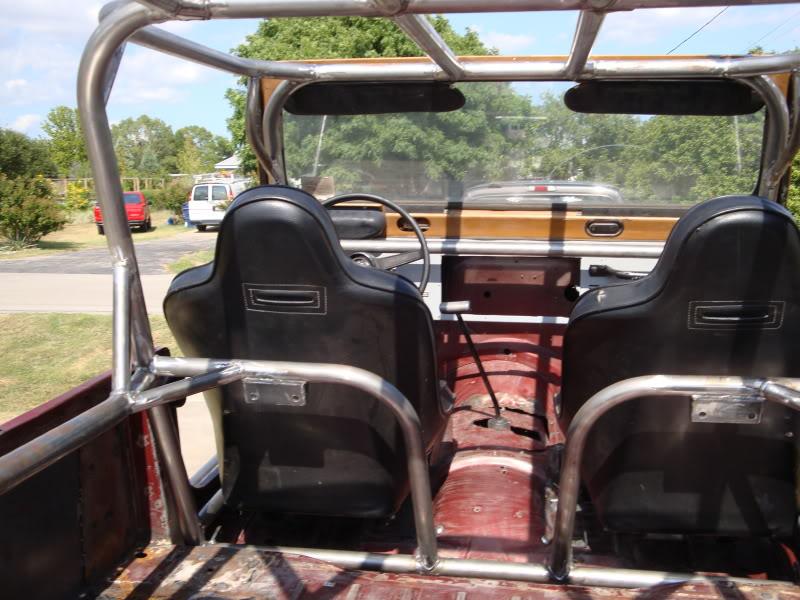
Wayne and Eric from Catus Custom Metals worked really hard to wrap up the Roll cage. Brought the cage home to add speaker enclosures and finalize seats and center console before sending it off for powder coating. I wanted to go with black for ease of upkeep, but I feel it requires something other than black??? Now I can get back to the front suspension/axle stuff!!!

Here are pics of the cage
DSC02558-1.jpg

DSC02547-1.jpg

DSC02549-1.jpg

DSC02552-1.jpg

DSC02554-1.jpg

DSC02555-1.jpg

DSC02559-1.jpg

DSC02556-1.jpg

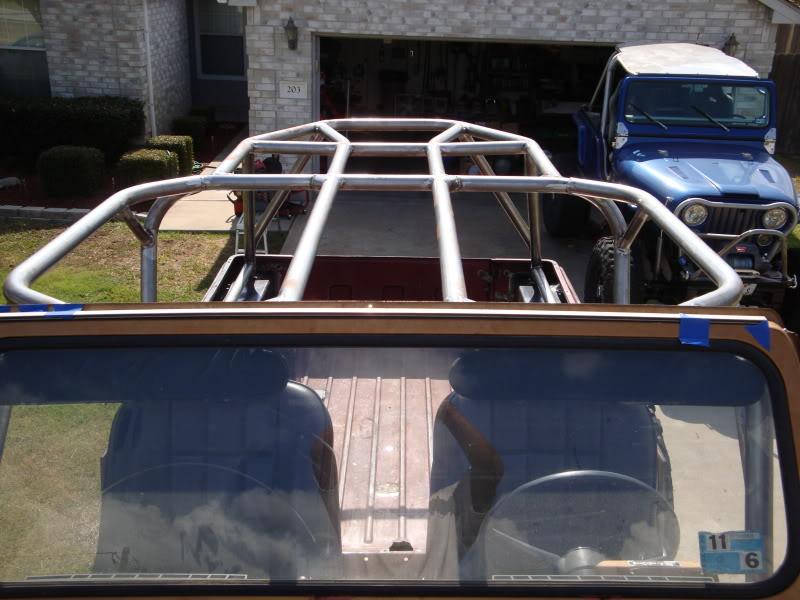
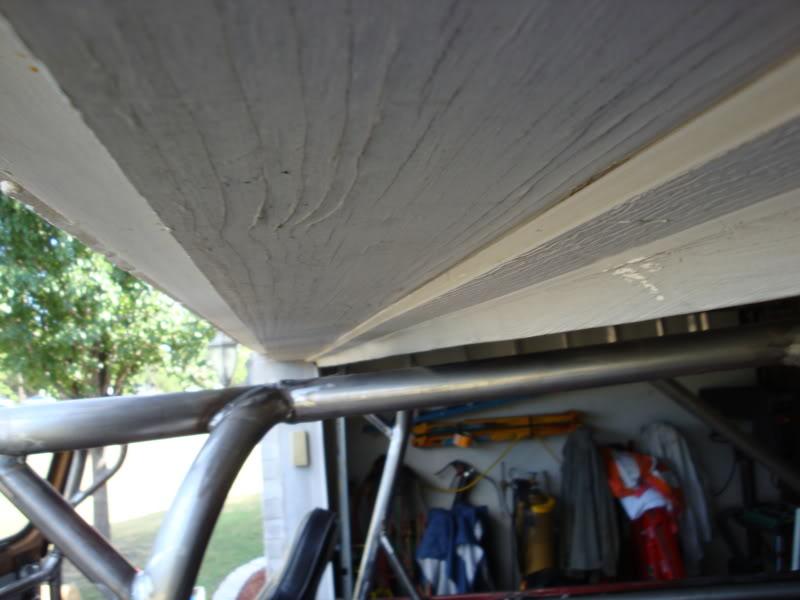
Cactus Custom Metals nailed it right on the cage build and cleared the garage door!
DSC02562-1.jpg
 
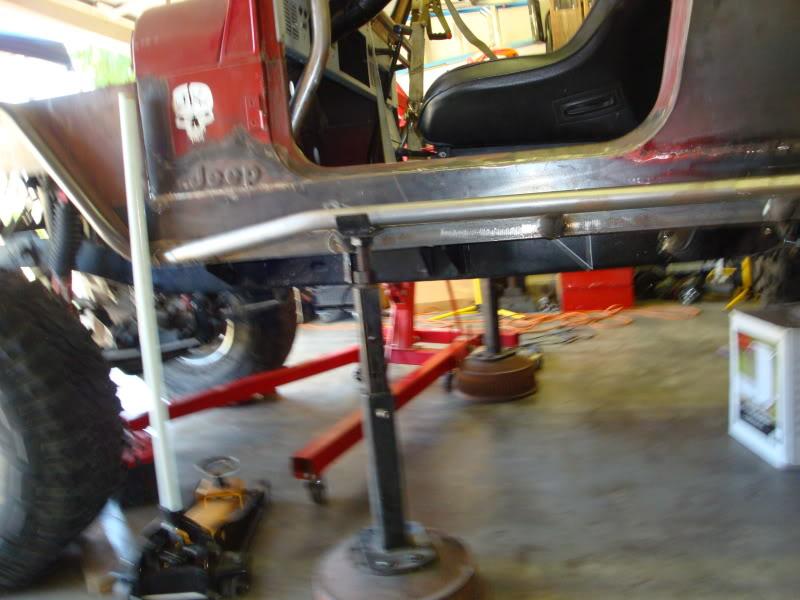
Rock Sliders

I like the rock guards on the side of your 8. You must have made them your self. I was wanting to put some on my 8.

Could you go into more detail on how the rock guards were made?
I was going to use 3/16 steel by bolting two four inch high plates the length of the tub. One on the inside one on the outside. But this will not let the 8 slide off rocks and the tubes on yours keep the rocks away.

How thick are the tubes you used? Did you have someone bend the tubes?

Thanks chambers

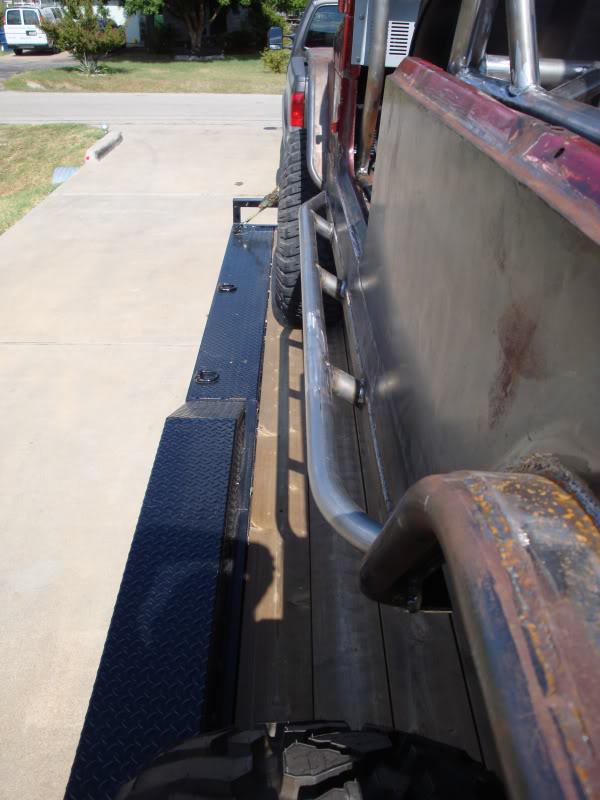
The Rock sliders were custom made. I had sold my previous custom sliders to another Scrambler member due to the extension of my wheel base. The tubes are 1 3/4" tubing (same as roll cage). The tubes were custom bent to my provided design by Wayne from Cactus Custom Metals. They are 4 1/2" from the body. Note the front angle is not the same as rear angle. The front was designed to allow rocks to slide and the rear was designed for a flat step for rear passengers to use and lines up with my start of my rear fender flares. The sliders are 2"x3" 3/16 angle iron sitting on top of 3/16" metal body.
Cactus Custom Metals is located Elgin, Tx or you can visit his website at http://www.cactuscustommetals.com/
If you are interrested in the same design you can contact Wayne and upgrade the material strength for yoru application and talk price. It was incorrporated into my jeep build so not sure what the seperate cost was.

Mando
 
Last edited by a moderator:
update on front frame work

Now that the jeep is back from getting a new cage, Mark and I got back to it.

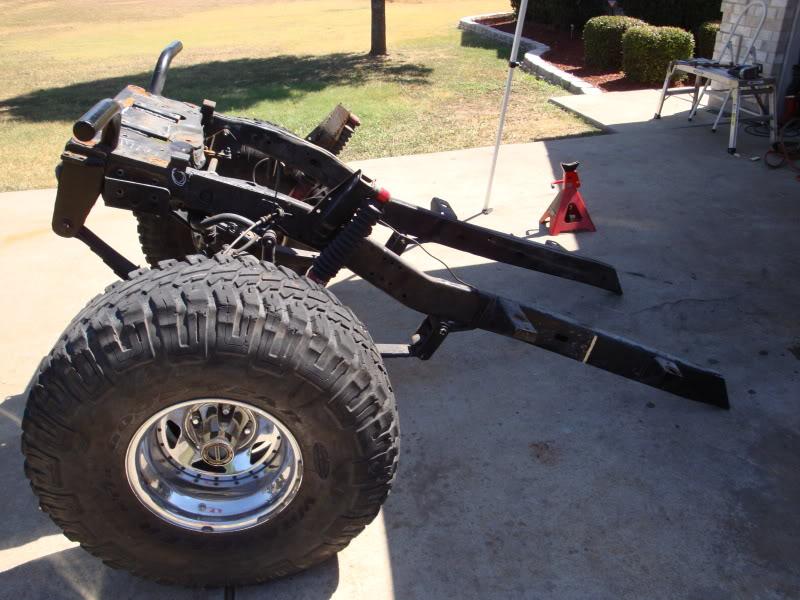
Due to significant frame dabe it was decided to cut the frame off further back then originally planned.
DSC02564-1.jpg

Oops where did it all go?
DSC02565-1.jpg

Here it is. Anyone looking for a wide track dana 30 with a spring over with YJ lift springs with Rancho shocks, and a custom disconnect sway bar? The frame is going to a scrap yard.
DSC02570-1.jpg

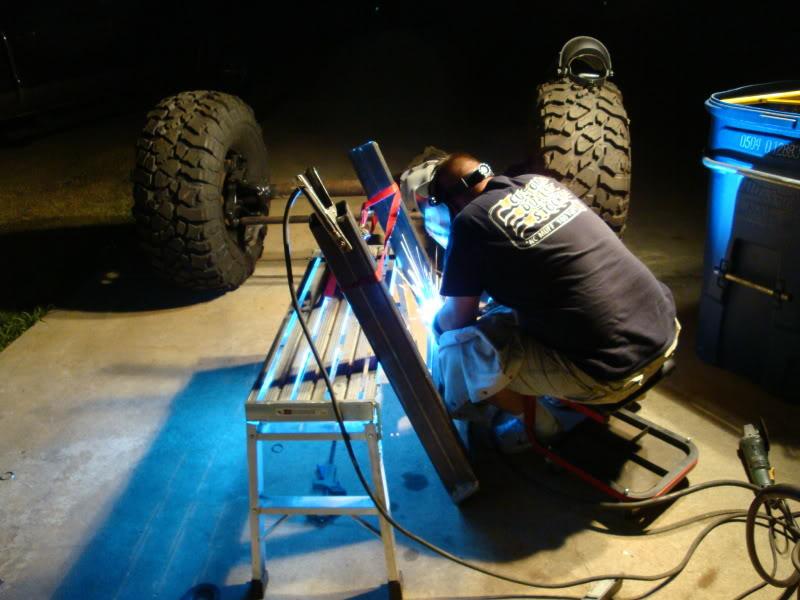
Mark welding away
DSC02589-1.jpg

Building the front frame and bumper
DSC02594-1.jpg


We hope to have the frame completed by the end of next week to begin the 3-link suspension. I'll provide an update early next week.
 
I like the rear cage work. Looks like you've got quite a bit of work ahead of you on the front. Can't wait to see progress on the front.
 
Progress continues

Mark and I have been steadily working on the build. Here is our progress...

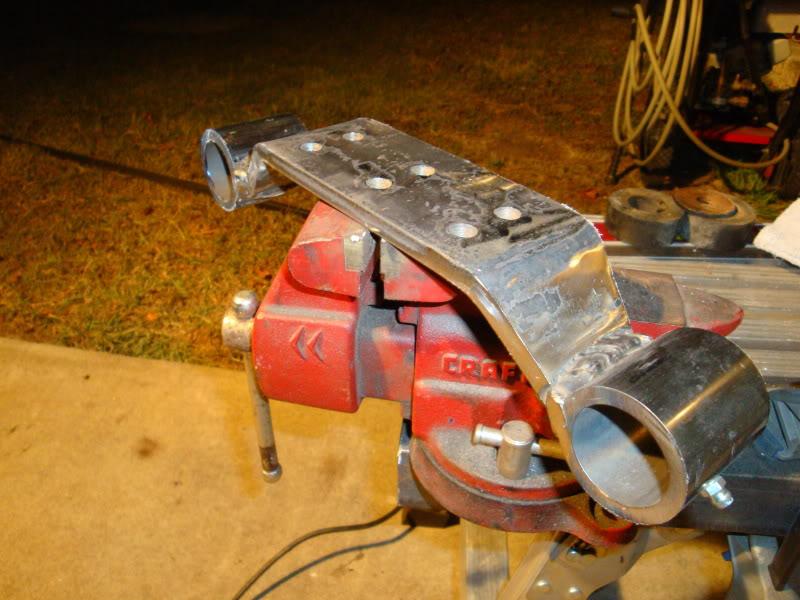
We built our own Steering box bracket. We took our friends Big Daddy steering bracket as a template and then made it the only way we know how... "overkill".
DSC02606-1.jpg

DSC02605-1.jpg

Here is a shot of my plate to protect the steering box
DSC02660-1.jpg


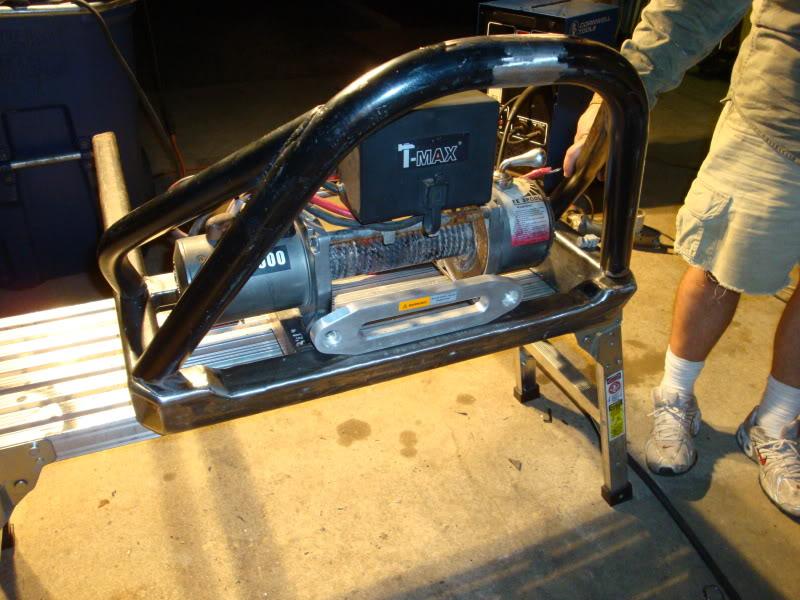
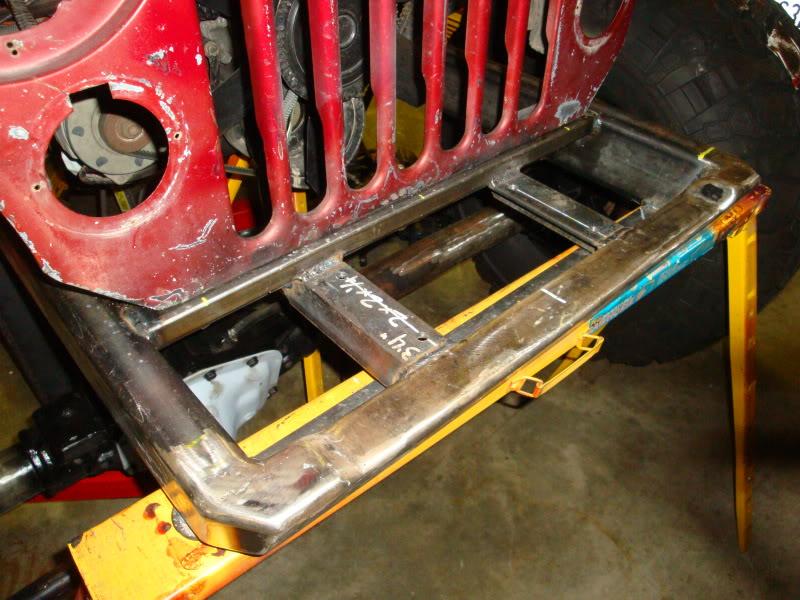
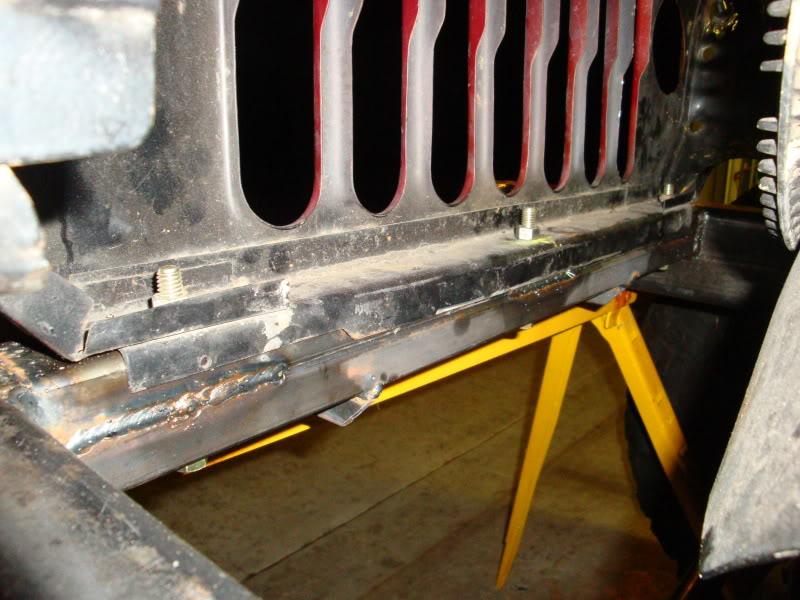
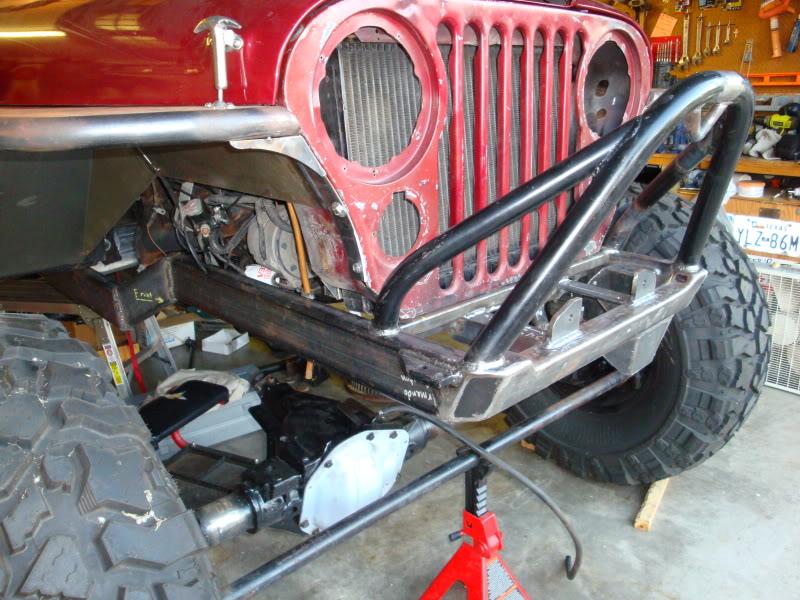
We also did away with the crappy stock grill mount (chopped it off to make it flat) and built a cross member for the winch mount as well. See the four bolts that are screwed into the cross member. I also cut off the lower corners in order to make room for the boner bar on my bumper in order to keep with up with the theme of a short no nonsense bumper.
DSC02607-1.jpg

DSC02608-1.jpg


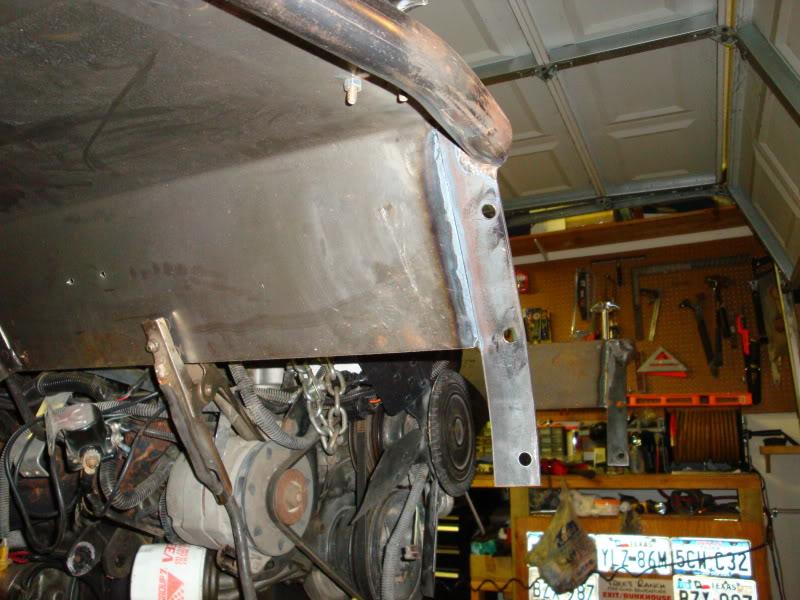
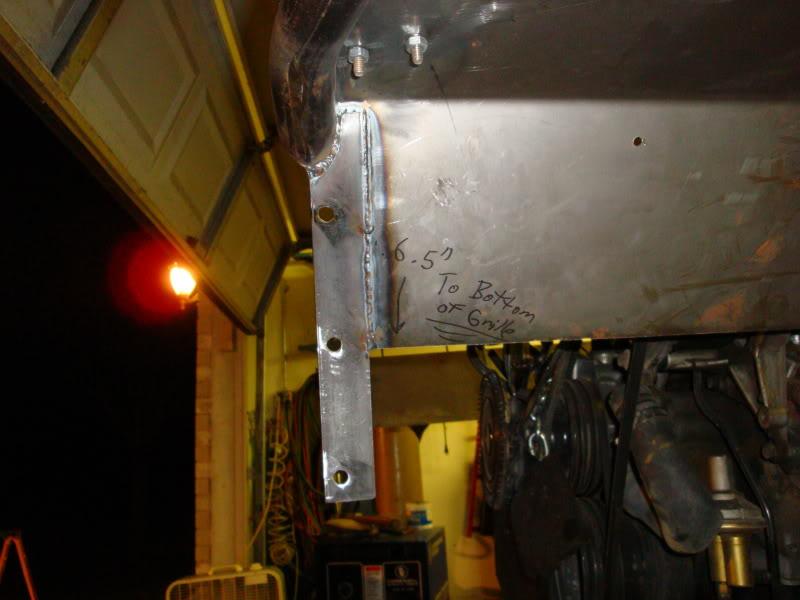
Not being content with the flimsy mount, we had to modify the front tube fenders from T&T. Additionally, this plate covers all the jacked up holes my grill has!
DSC02651-1.jpg

DSC02649-1.jpg


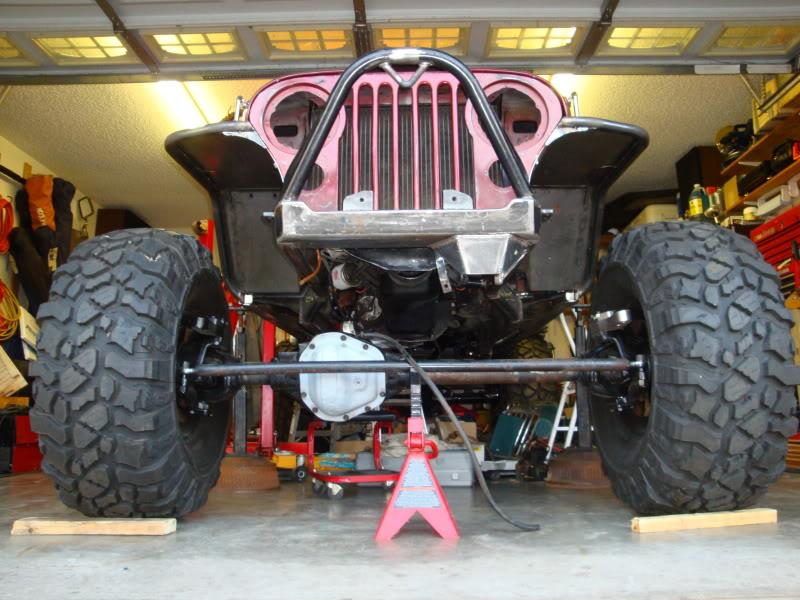
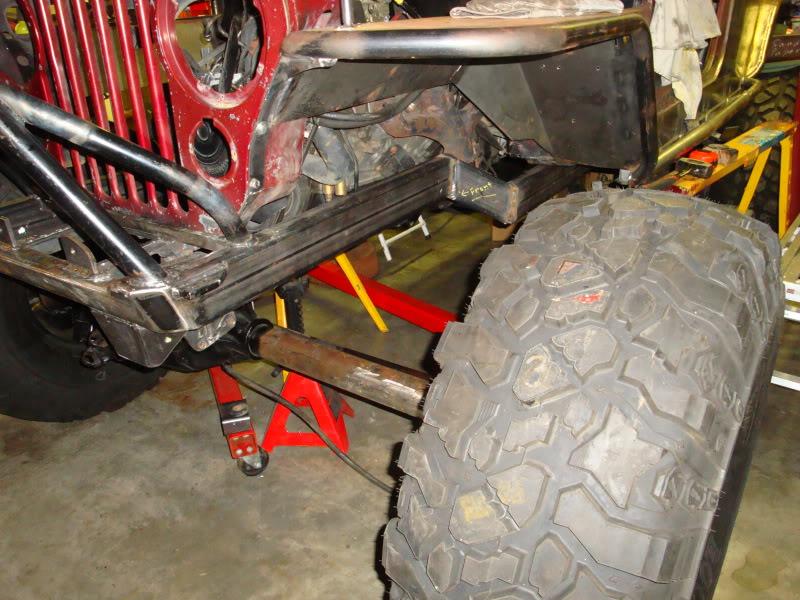
Got the frame welded back in place. You can see the boner bar in place as well as the custom farelead mounts. Additionally, we got the tow hook brackets mounted in place.
DSC02661-1.jpg

DSC02655-1.jpg
 
Last edited:
Cont...

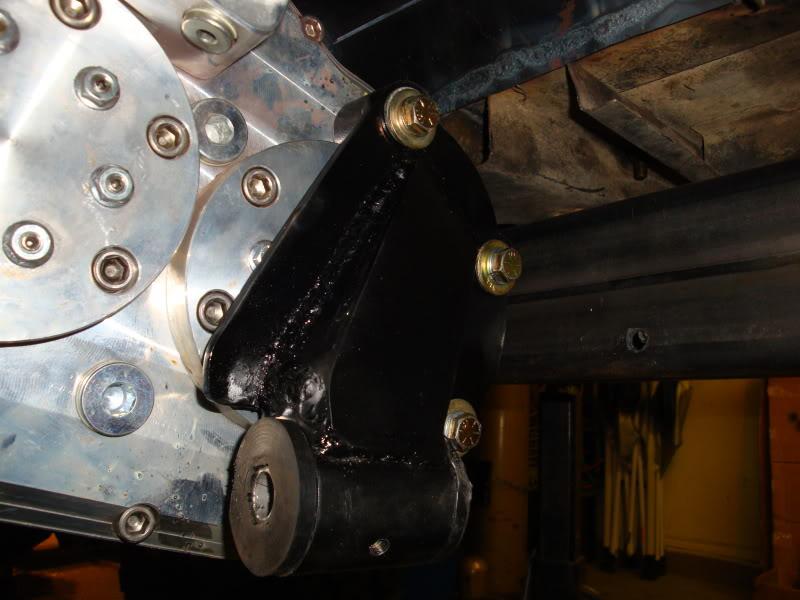
We also got the motor mounted to the frame (bracing to frame and motor mounts to come)
DSC02675-1.jpg


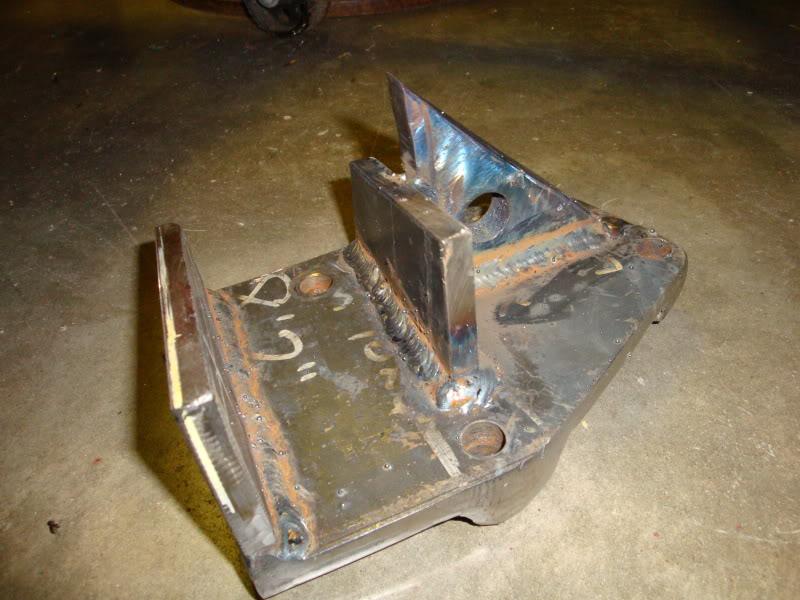
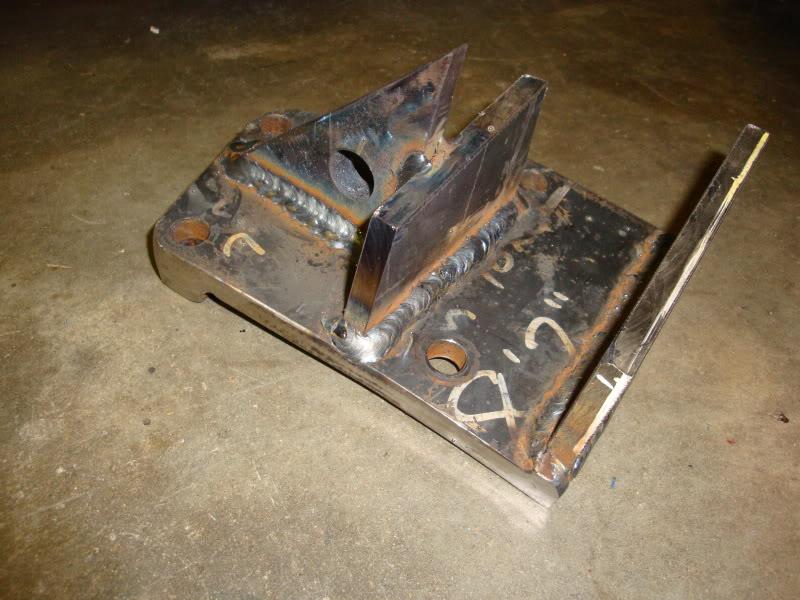
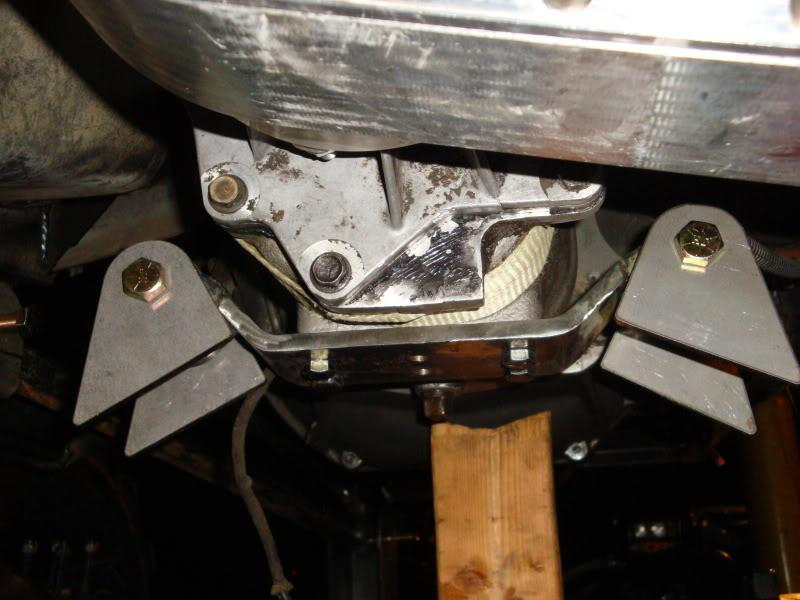
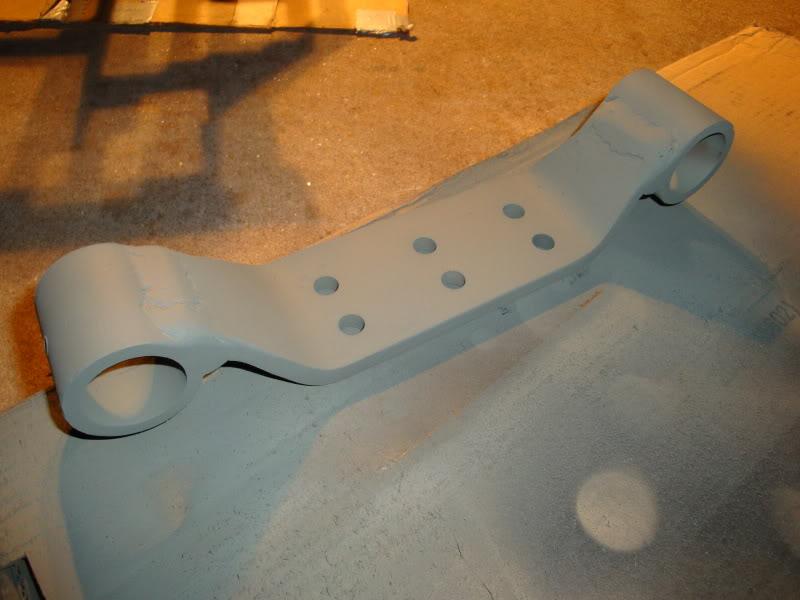
We built a custom transmission mount that will later be incorporated into the skid plate
DSC02669-1.jpg

DSC02672-1.jpg

DSC02684-1.jpg


I purchased a STAK T-case heavy duty mount but due to my low clearance skid plate it was not going to work so keeping with our overkill theme (we would hate to dissapoint) we built our own.
DSC02690-1.jpg


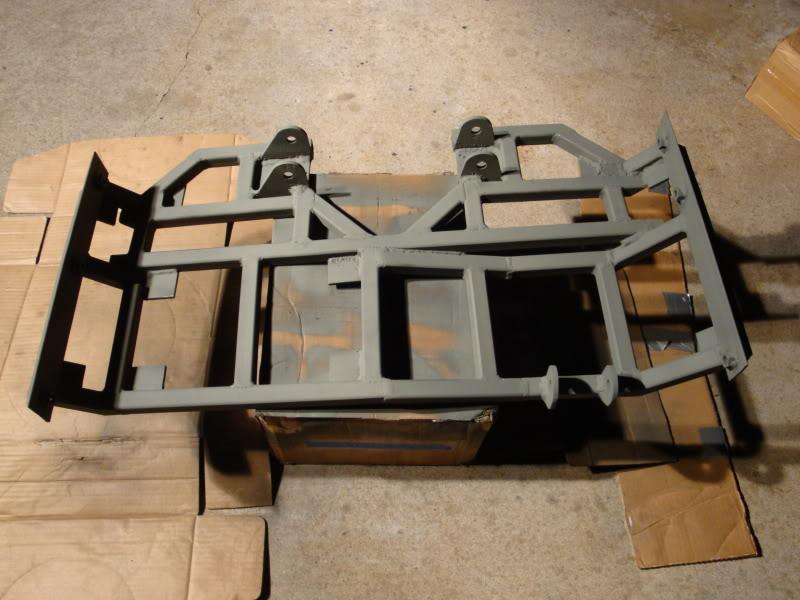
Here is the framework for the skip plate. This will allow me to remove the skid plate and service the t-case or tranni without removing them.
DSC02682-1.jpg


For some reason Stak sent me this t-case with straps for the Yokes (***). Everyone knows that anyone upgarding to a STAK is going to be putting it through some tough stuff. I had the yokes sent to a machine shop to accept u-bolt style setup.
DSC02688-1.jpg


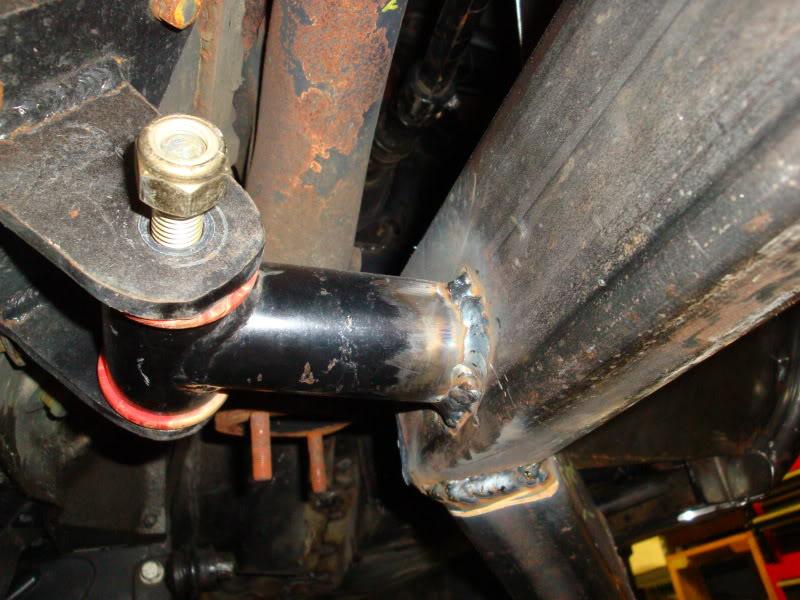
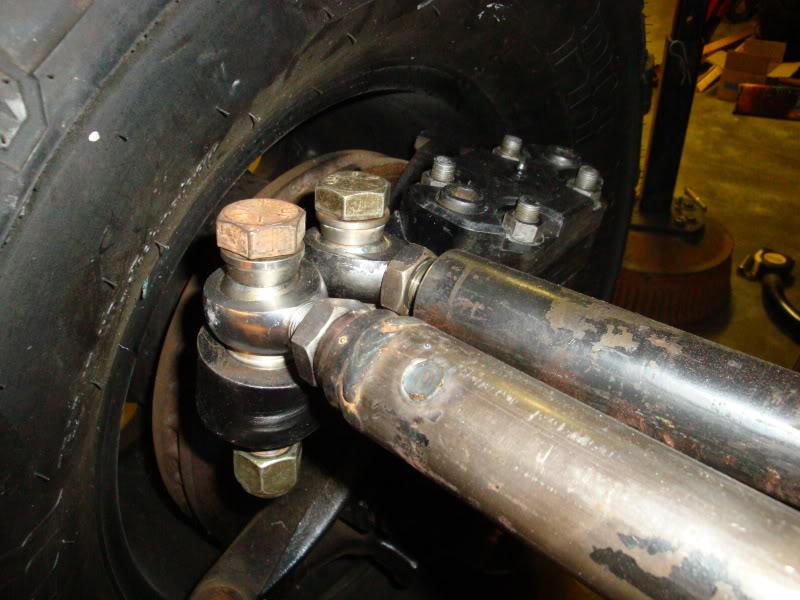
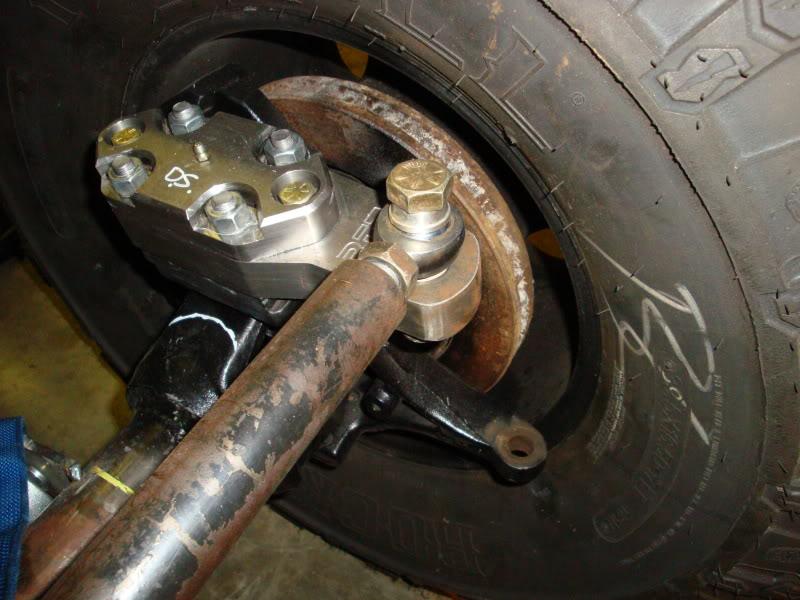
Got the BTF arms installed after having them machined to accept larger bolts and had the drag link and tie rod setup. (Waiting on wagoneer pitman arm to replace my drop pitman arm)
DSC02686-1.jpg

DSC02685-1.jpg


I'll update you guys again after the weekend.
 
Last edited:
Back
Top