• Notice for iPhone users: DO NOT use the image size reduction option when uploading photos to the forum. This causes portrait images to post as landscape. We have added a warning to the image insert pop-up as well.

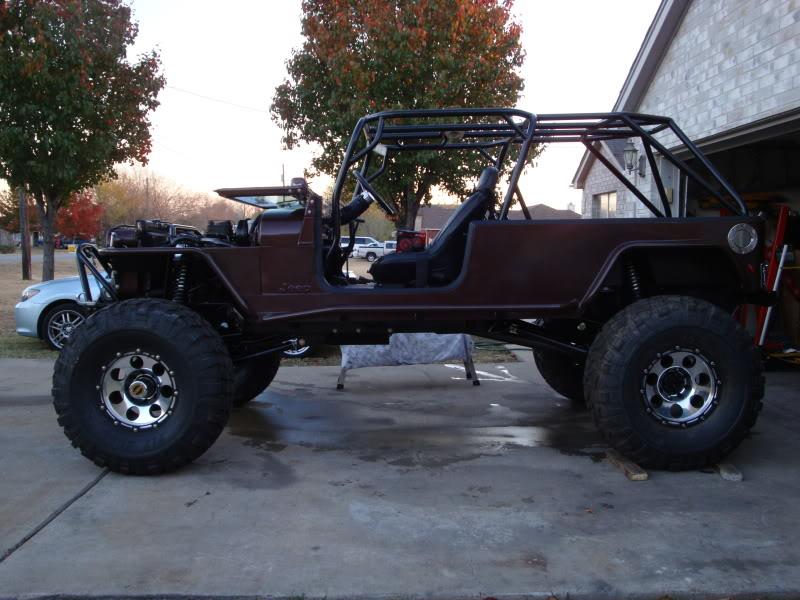
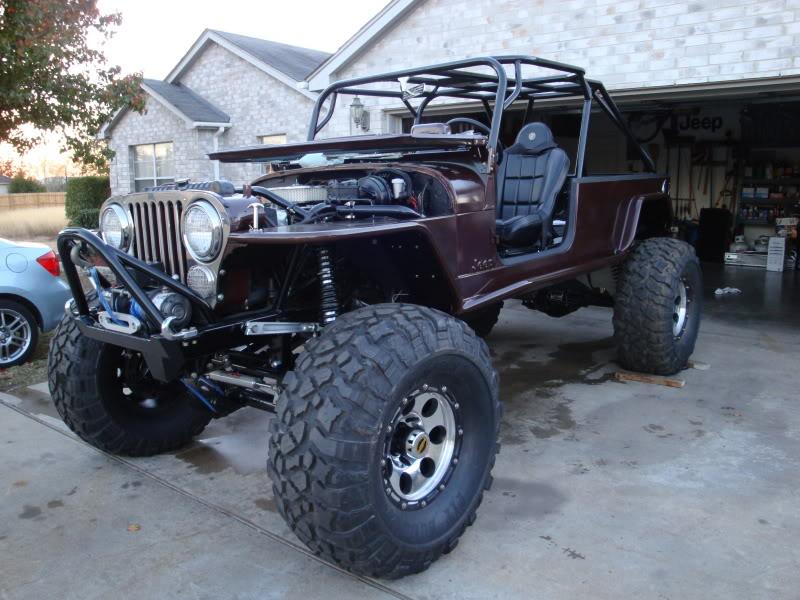
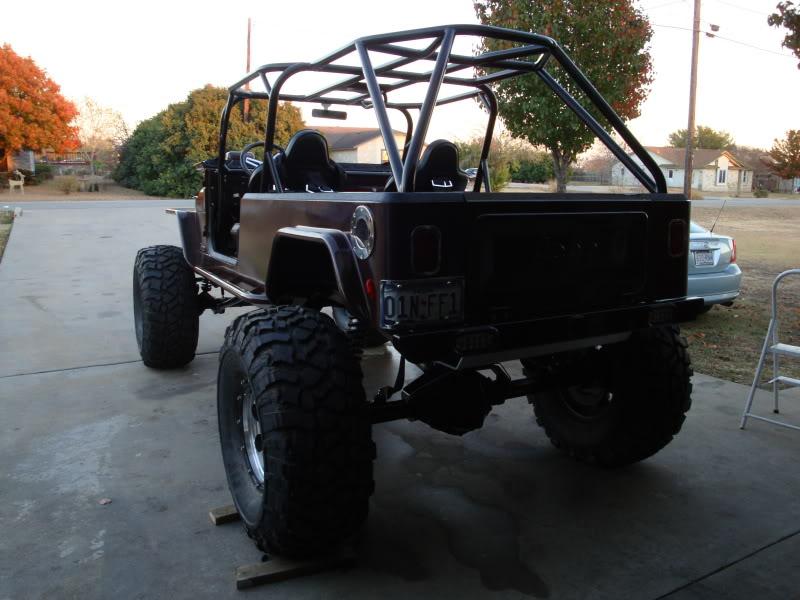
84 CJ8 4 link coil over project underway

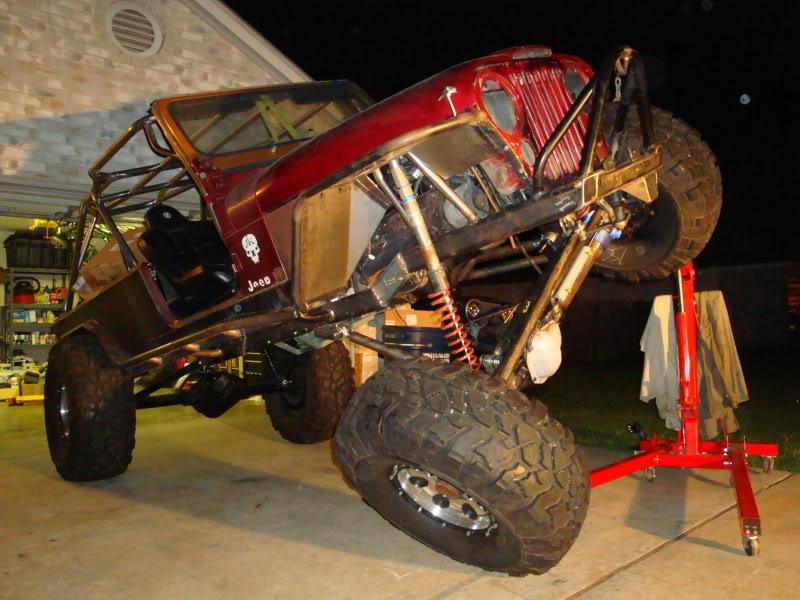
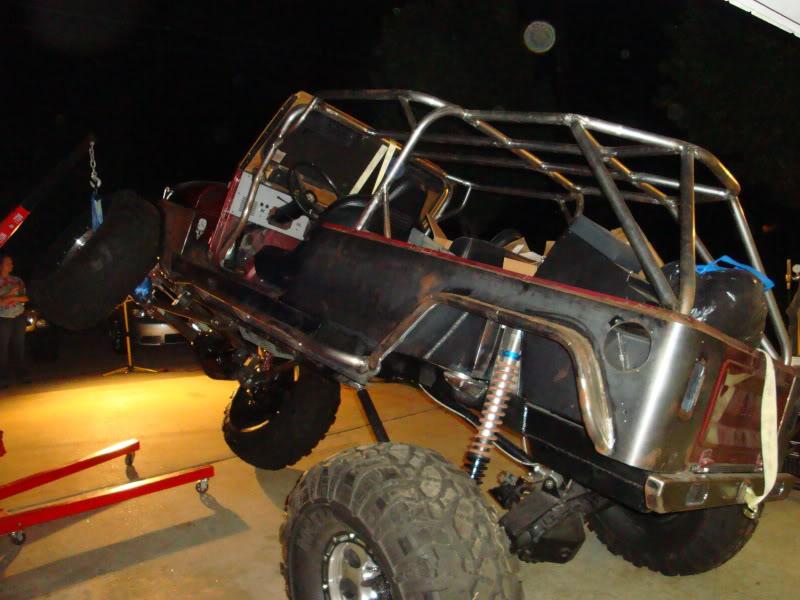
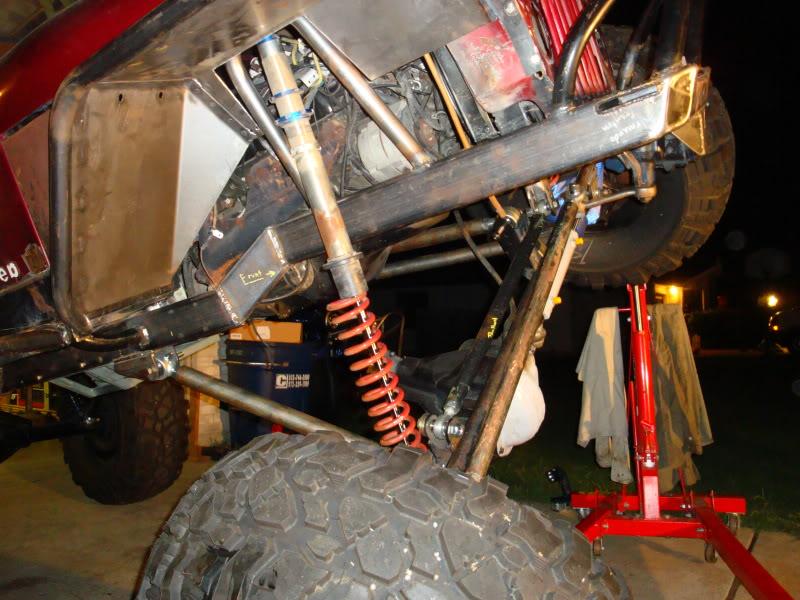
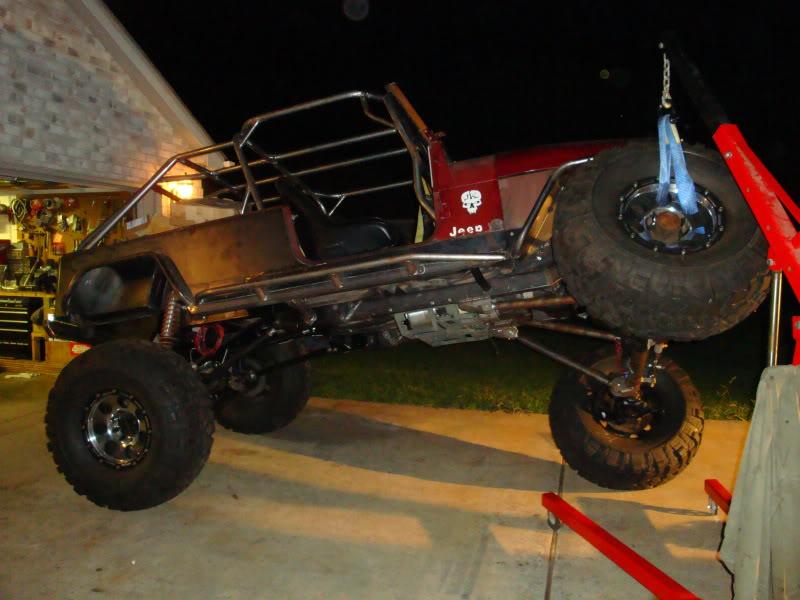
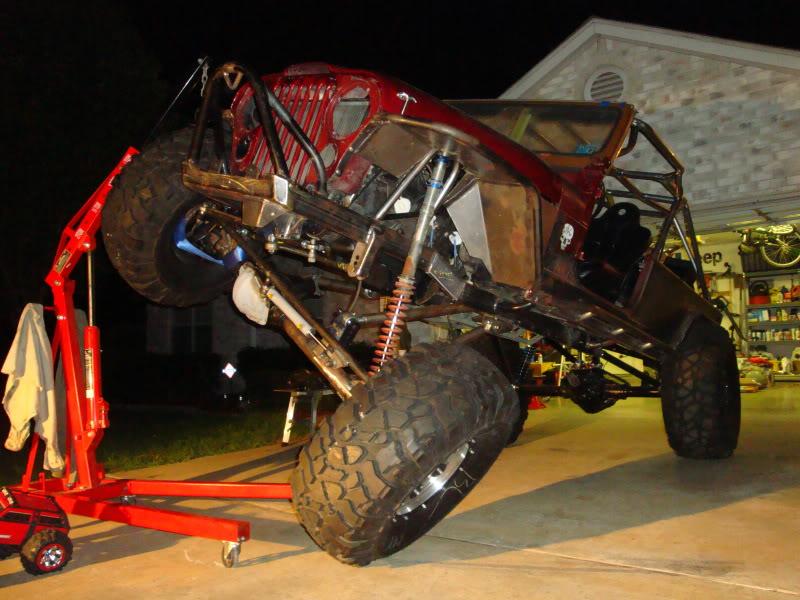
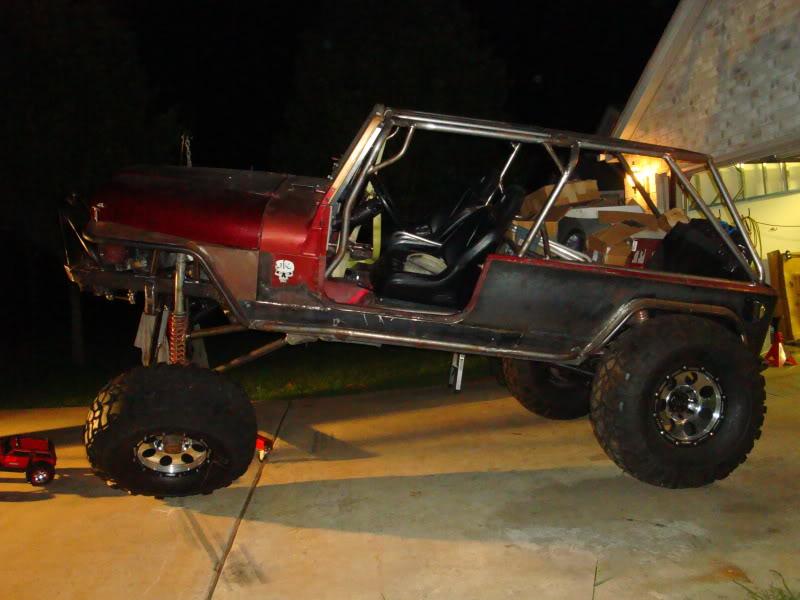
Testing our progress

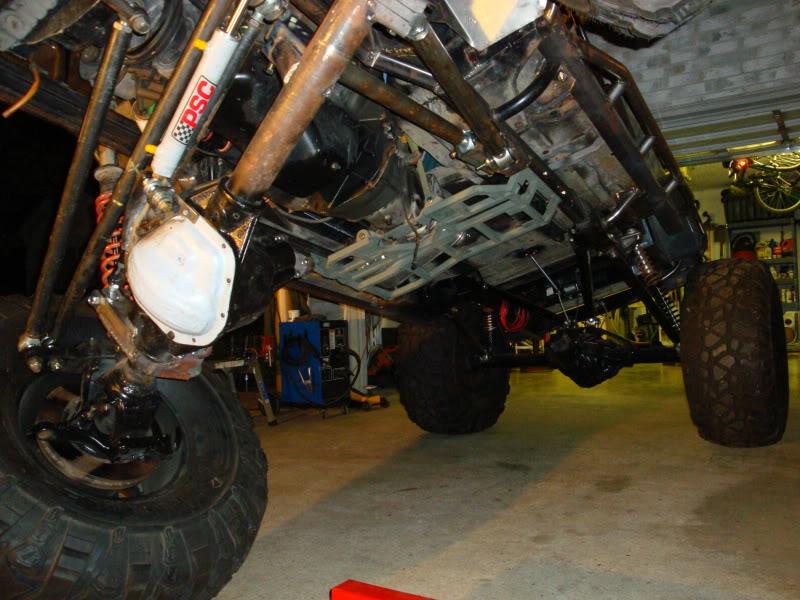
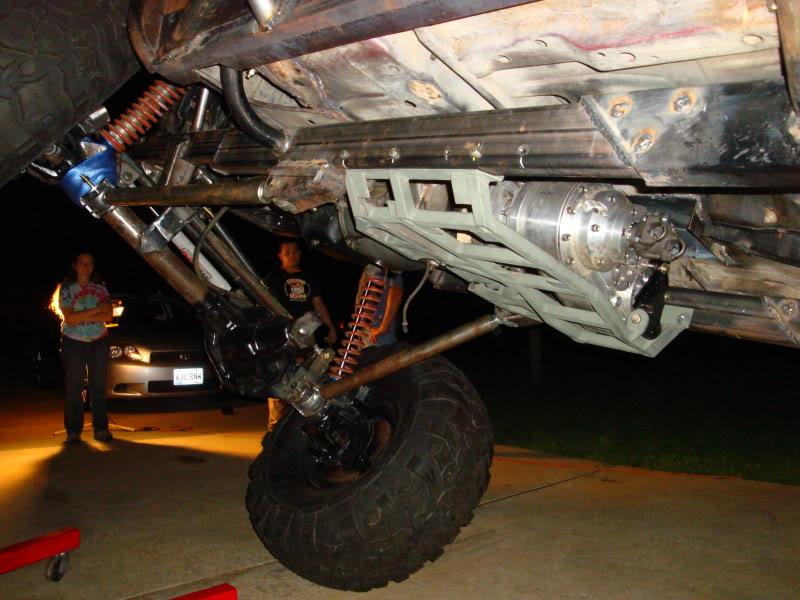
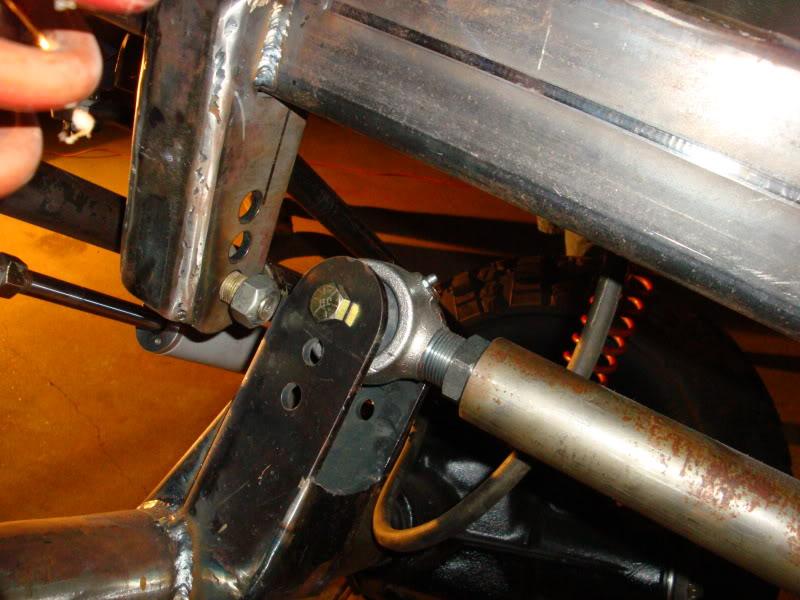
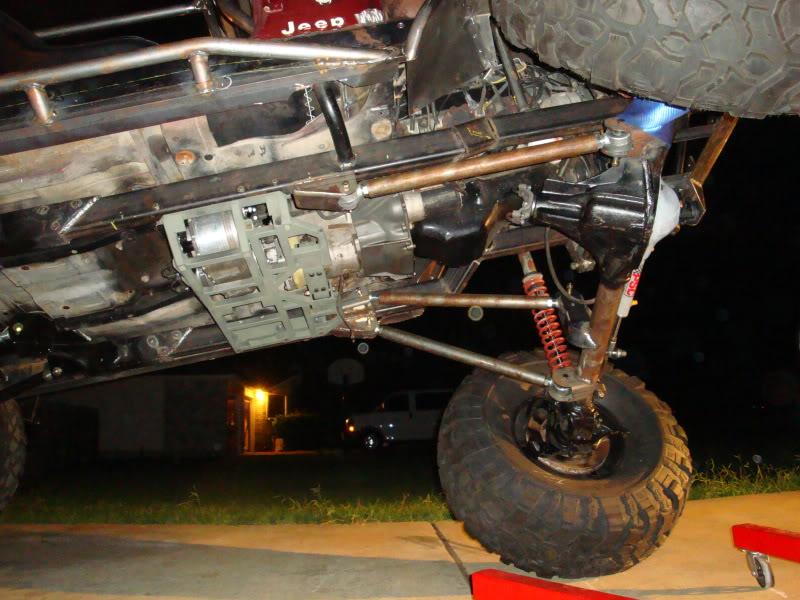
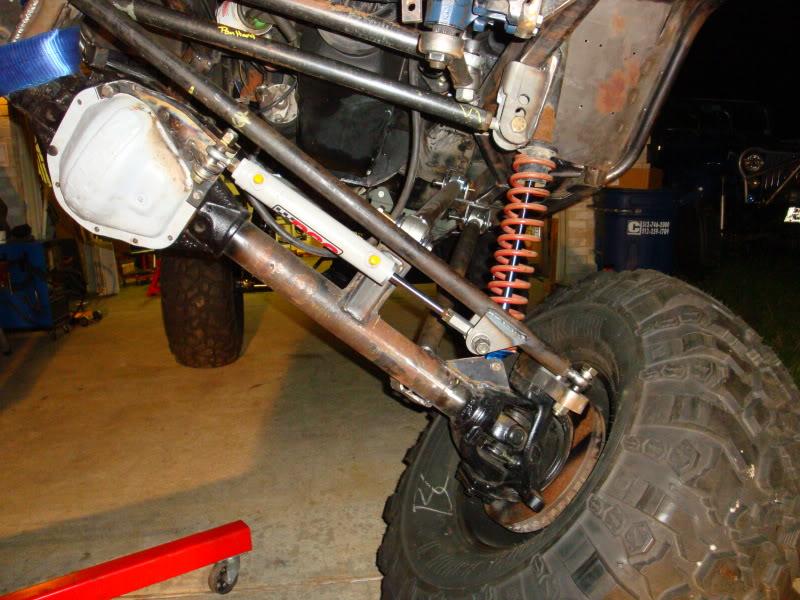
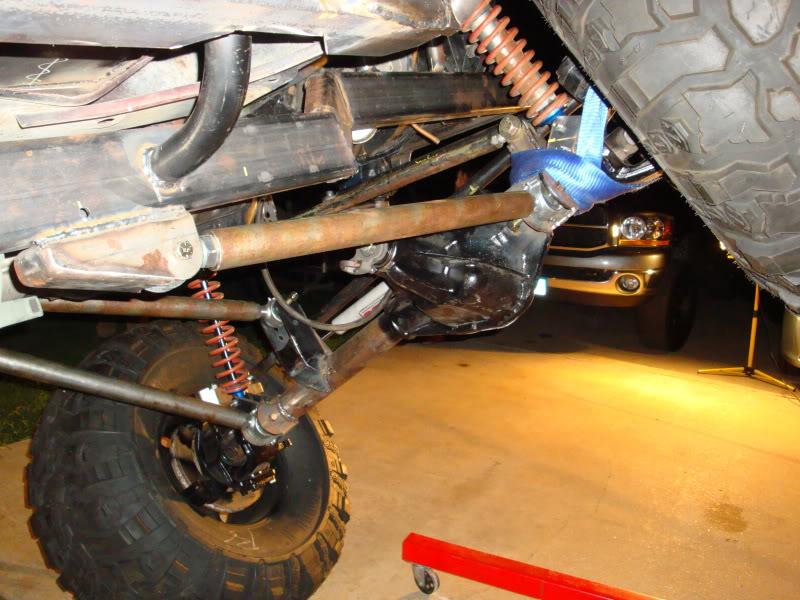
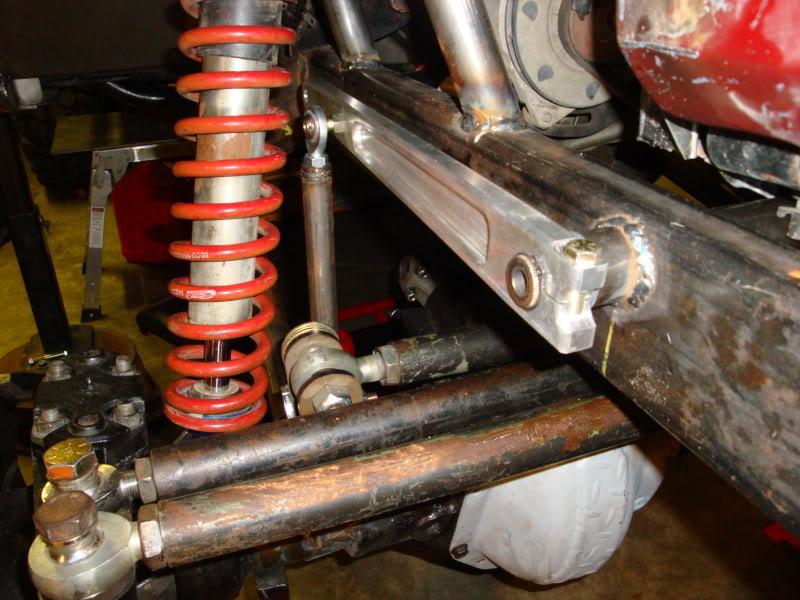
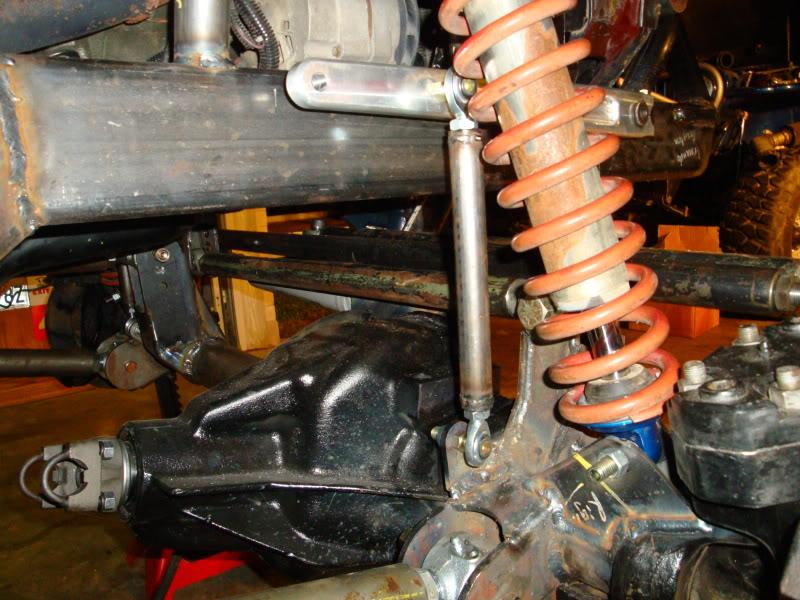
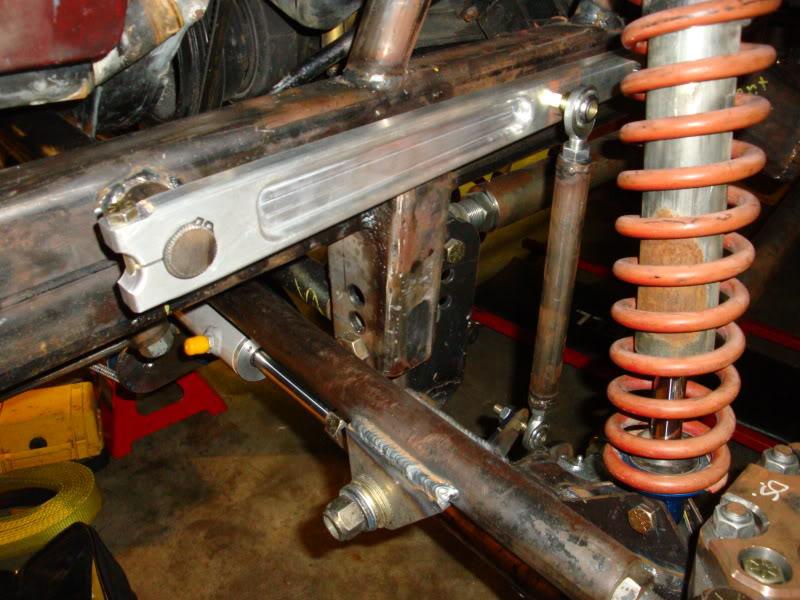
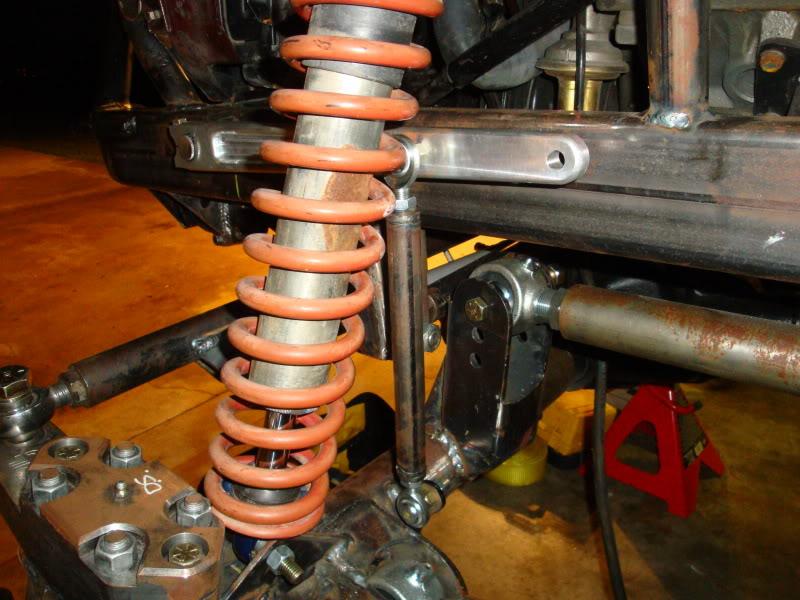
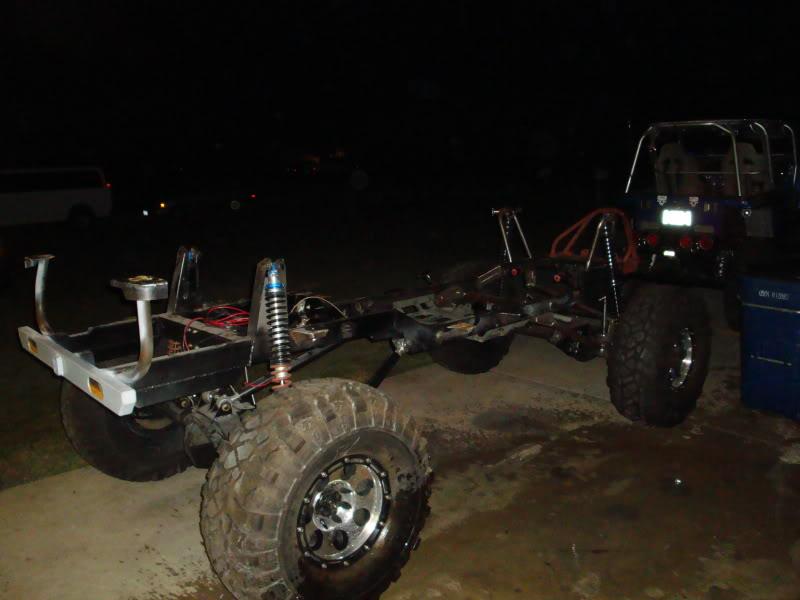
So Mark and I have been making a lot of progress. We got the 3-link all setup, Panhard bar, Hydro assist, Steering, coil overs, and shock hoops in place. Still to come is the sway bar, bump stops, and limiting straps. With the Jeep resting on the shocks and one of two progressive coils on each side we decided to roll the Jeep out and test for any clearances.

Trust me this testing procedure is Osha approved. I think I read it in the manual somewhere (LOL).
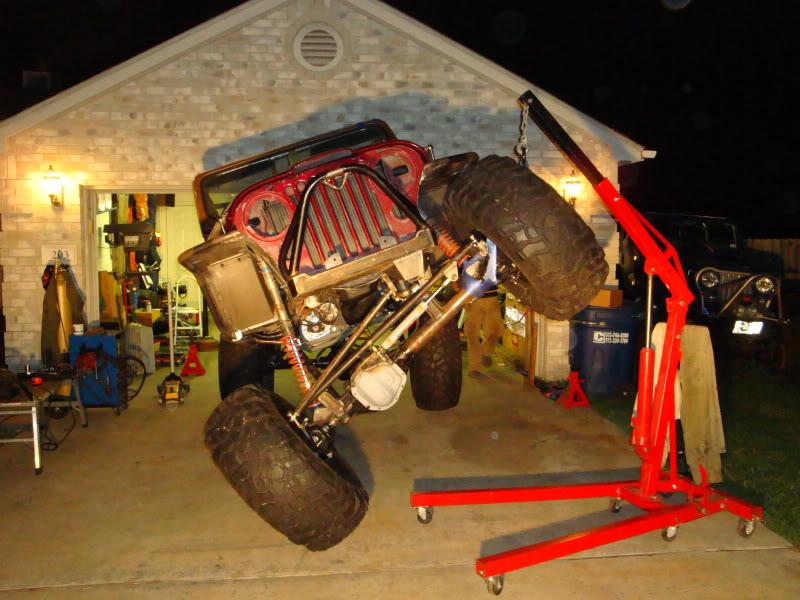
DSC02695-1.jpg

DSC02697-1.jpg

DSC02699-1.jpg

DSC02701-1.jpg

DSC02703-1.jpg

DSC02705-1.jpg

DSC02704-1.jpg
 
Testing continues

Once we wiped all the sweat off and were satisfied eveything cleared as originally designed, we moved to test the other side.

DSC02707-1.jpg

DSC02711-1.jpg

DSC02708-1.jpg

DSC02713-1.jpg

DSC02714-1.jpg

DSC02716-1.jpg


I originally purchased 16" FOX Emulsion coil over shocks but they are too long. So, I am searching for 14" FOX Emulsion coil over shocks in blue but all new shocks from FOX are no black. A dealer from pirate said he can find them in blue (no biggie if they are black but the rear are blue and just would look wierd). Next on the list are the lower coils (325lbs or 250 lbs x 10"). Anyone need 16"? Plans to tie to upper shock hoops through the firewall and back to the roll cage. Tie the upper shock hoops to each other over the motor. I purchased the sway bar but still need to mock up and install. Also have the limiting straps. I still need to mock up, purchase, and install bump stops. Blah blah blah....more to come soon!
 
This is JEEP PORN!!! at it's best

Love this thing. You have done what I will end up doing to my CJ-7 one day
 
Thank you

Thanks for the support guys. This has been one heck of a build and taking a toll on me, my friend, my wallet, our wives (who are both pregnant). I found out yesterday mine is going to be a girl. She is due in Jan so the clock is ticking! Mark's baby is due in April.

The RC truck in the pics belongs to Mark's neighbor who thought it would be fun to compare flex LOL

The Jeep Porn comment was pretty funny, had me roilling.

So we tackled the sway bar and the only location we found was under the radiator. We were forced to move the radiator up by 7/8" to clear the drain plug. There is so much stuff and activity crammed in the fron, it not even funny. As we make more progress I will be sure to share some more pics.

Mando
 
Sway Bar progress

As I mentioned we tackled the sway bar next. We had to drill a new hole in the arm. It was a tight fit and here is the end result
DSC02717-1.jpg

DSC02718-1.jpg

DSC02719-1.jpg

DSC02720-1.jpg


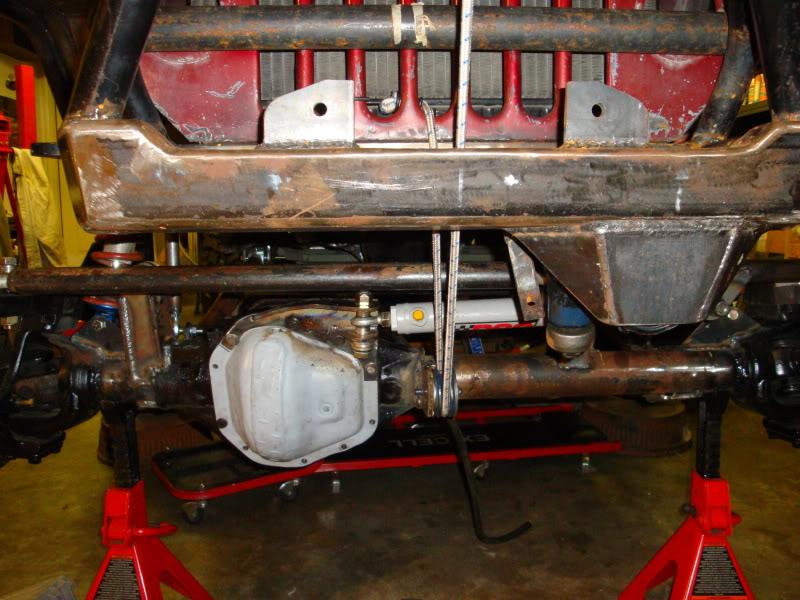
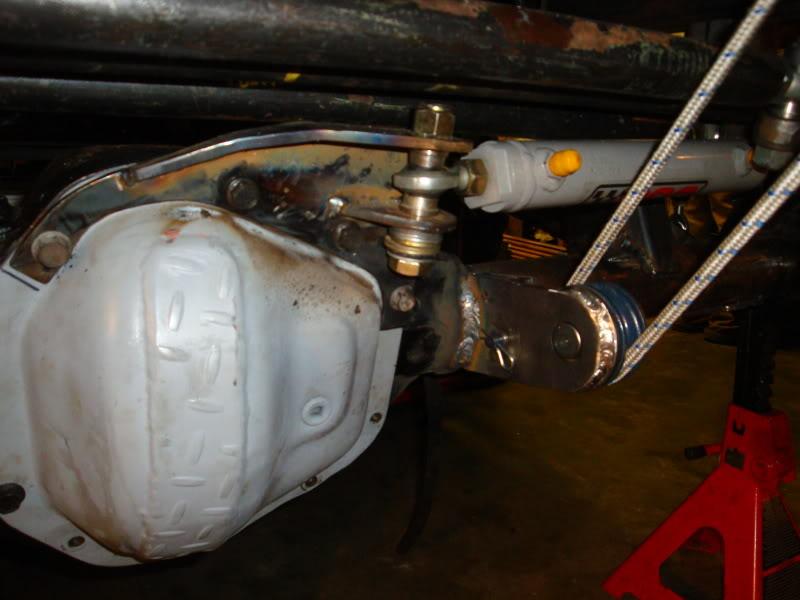
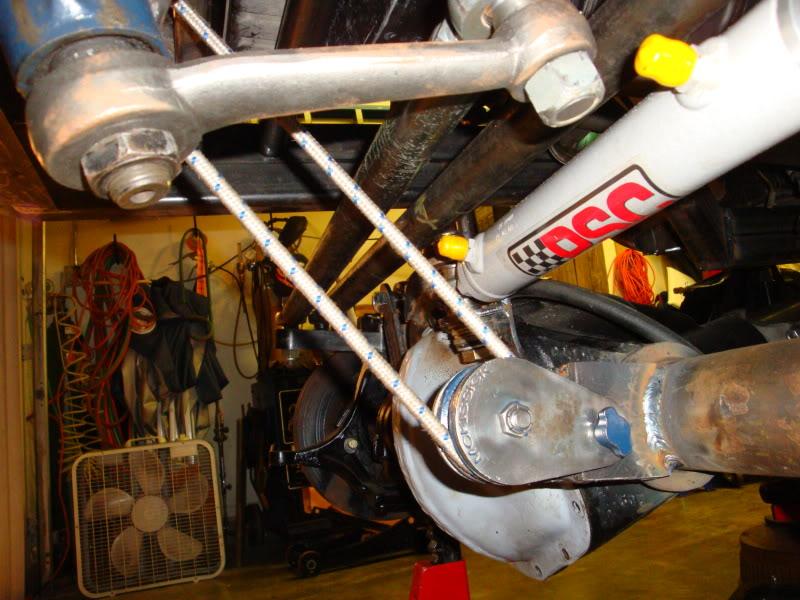
We also continued on the Winch/Front axle sinch setup. Below is the result but we will continue to share details as the build continues.

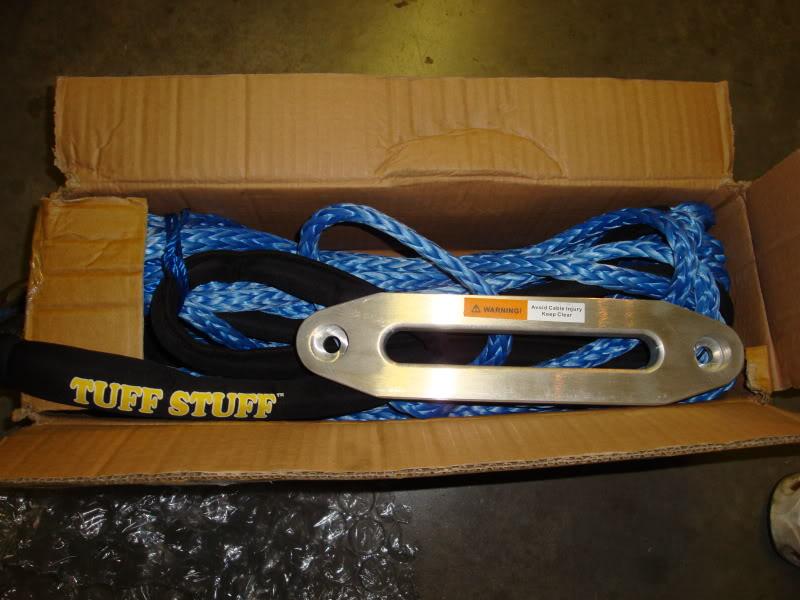
The bungee chord we used for our mock up is rated for 5k lbs (J/K). I ordered the following rope rated at 16500lbs to replace the metal cable. Also for my Best man gift, Mark bought me the 4 ton McKissick snatch block and we modified it to meet our needs. It is a super easy setup now to go from winch only to winch/axle sinch setup.
DSC02592-1.jpg

DSC02724-1.jpg

The winch cable clears the hydro assist ram as well as the steering. In this pic you can look more closely to the custom hydro assist mount.
DSC02725-1.jpg

DSC02726-1.jpg


Ordered 14" Fox Racking 2.0 Coilover Emulsion shocks, Coils, and Tender/Helper Springs. Just arrived Exhaust manifold from 401 to clear the 3rd link. Also the Parts Mike Hydro clutch (converting to it due to the clutch linkage being in the way of the exhaust (can't win on this one).

As always, more to come soon.
 
Last edited:
Looking great! With those new holes in the swaybar arm, is there any other adjustment you can make to decrease the rate on the bar? That's a lot less leverage that the axle's going to have on the bar with that new position, I'd think it would have to make a considerable difference in the action. Just curious.

I like the pulley idea on the axle, haven't seen that before. I bet it's a lot easier to position than going straight to the axle with a single pull. :thumbsup:
 
Sway Bar

Looking great! With those new holes in the swaybar arm, is there any other adjustment you can make to decrease the rate on the bar? That's a lot less leverage that the axle's going to have on the bar with that new position, I'd think it would have to make a considerable difference in the action. Just curious.

I like the pulley idea on the axle, haven't seen that before. I bet it's a lot easier to position than going straight to the axle with a single pull. :thumbsup:

Thanks bud. Mark's Jeep runs the same sway bar with the same arms (cut off) and it has worked great. However, the reason why I did not cut off the end yet, is because I am going to just have to wait and see how it perfoms. With all that stuff in there I am pretty limited to placement but should have wiggle room for adjustment. I can make more holes or I can increase or decrease the links to it too. The pulley/snatch block is pretty neat and am curious to see how it performs.

Mando
 
Build update

Mark and I have been working non stop and we finally see the light at the end of the tunnel.

I purchased the Parts Mike Hydro clutch kit and installed it. This was a result of my front upper thrid link being in the way of my exhaust. I also swapped out my 360 driver side exhaust manifold with a 304 due to the drop location to clear my upper link and hydro clutch.

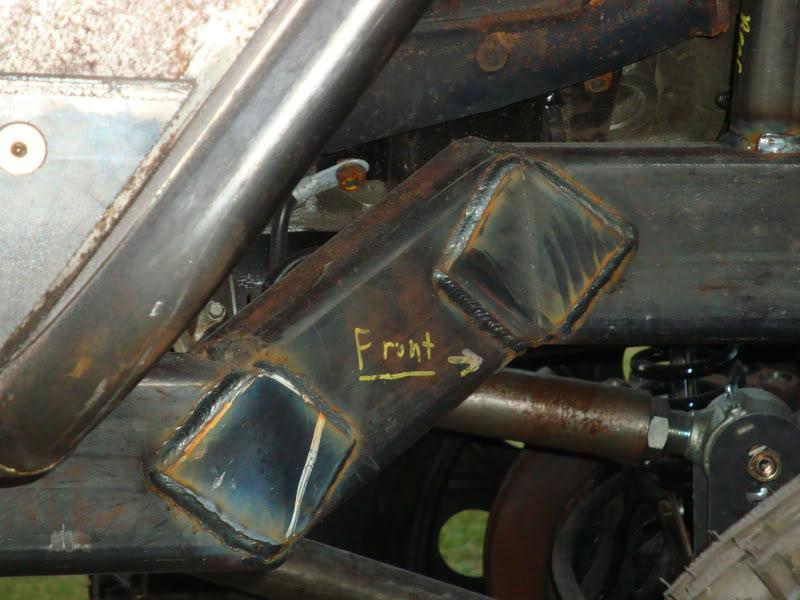
We went back to the front frame and welded in some braces.
DSC02800-1.jpg


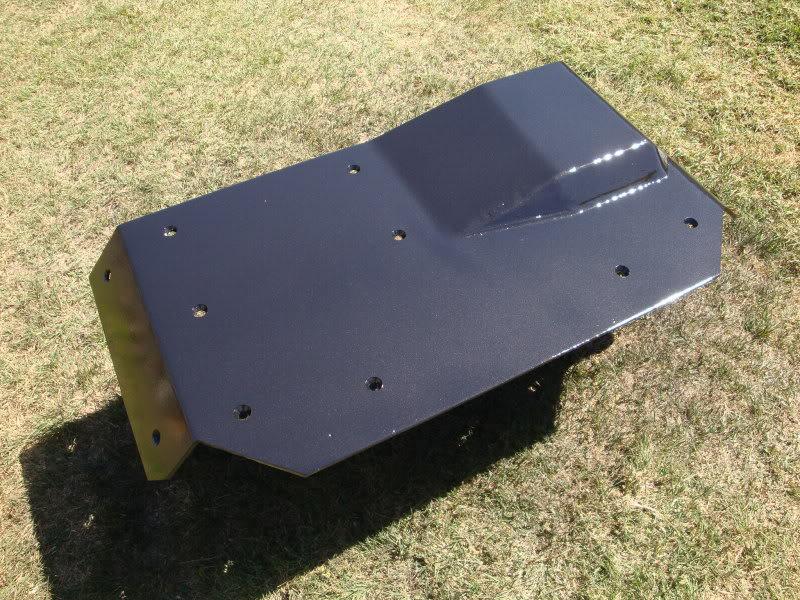
We continued to work on the skid plate/transmission/T-case mount. We got it bent, drilled mounting holes, and got it painted.
DSC02819-1.jpg


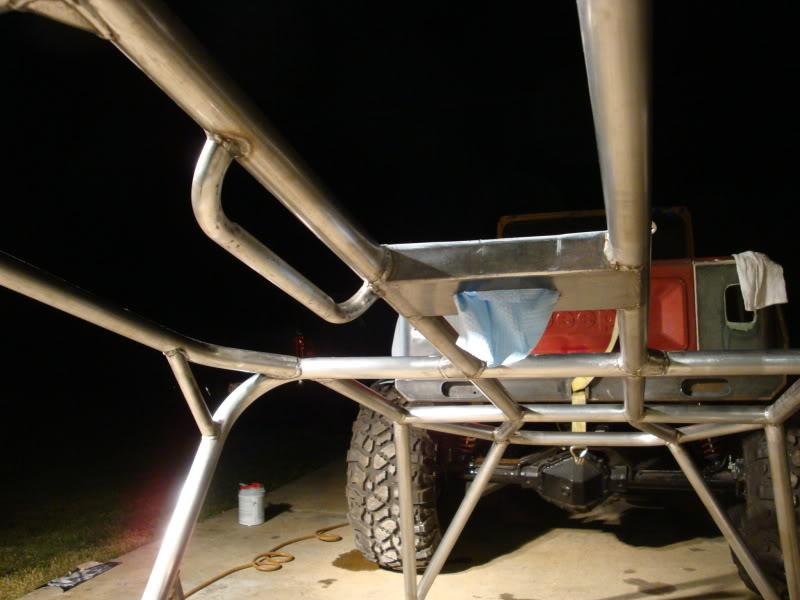
We also got back on the roll cage. We added a shop towl dispenser for those days when you need quick access to a shop towel. We also added a grab bar for my wife.
DSC02802-1.jpg

J/K on the shop towl dispenser. It is actually my dome light w/ a switch.
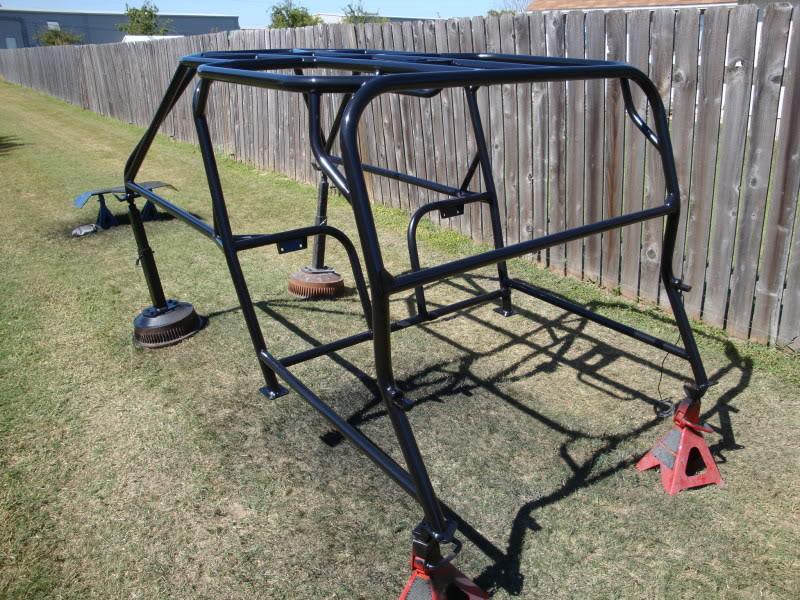
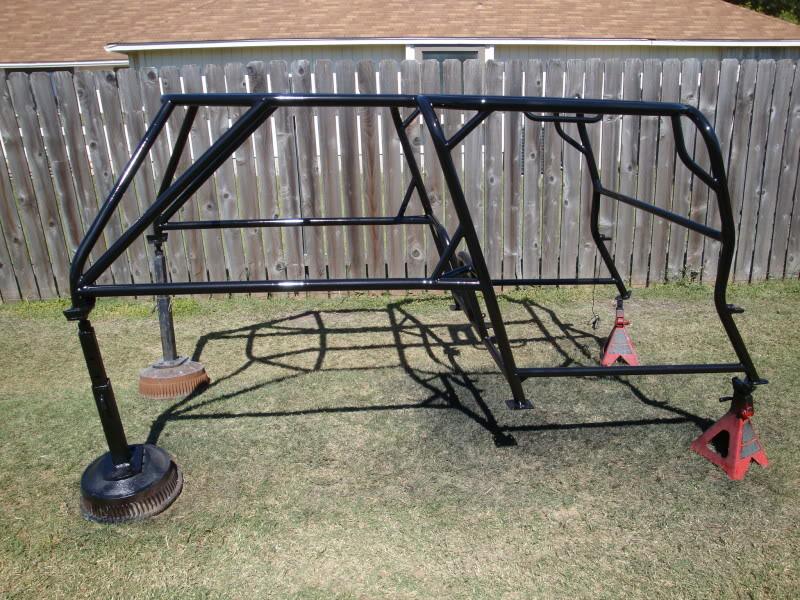
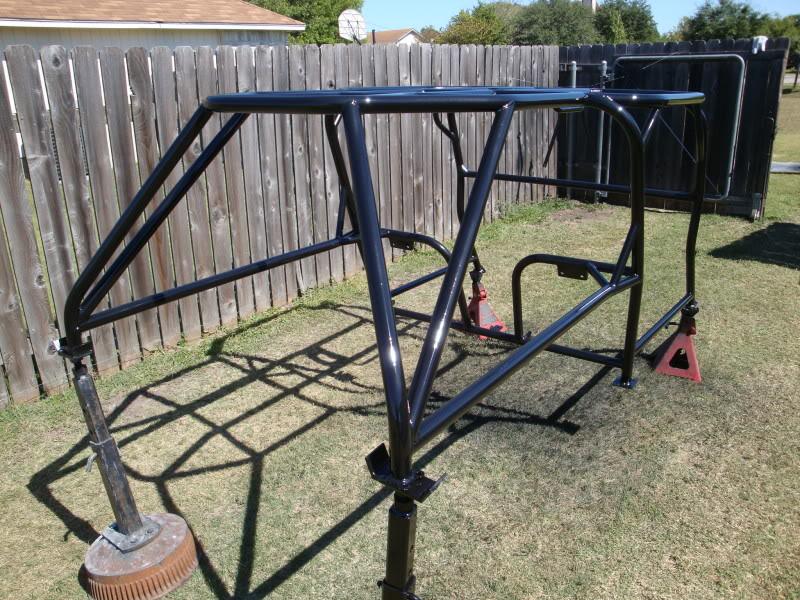
Here is the cage painted (Black metallic)
DSC02822-1.jpg

DSC02821-1.jpg

DSC02820-1.jpg

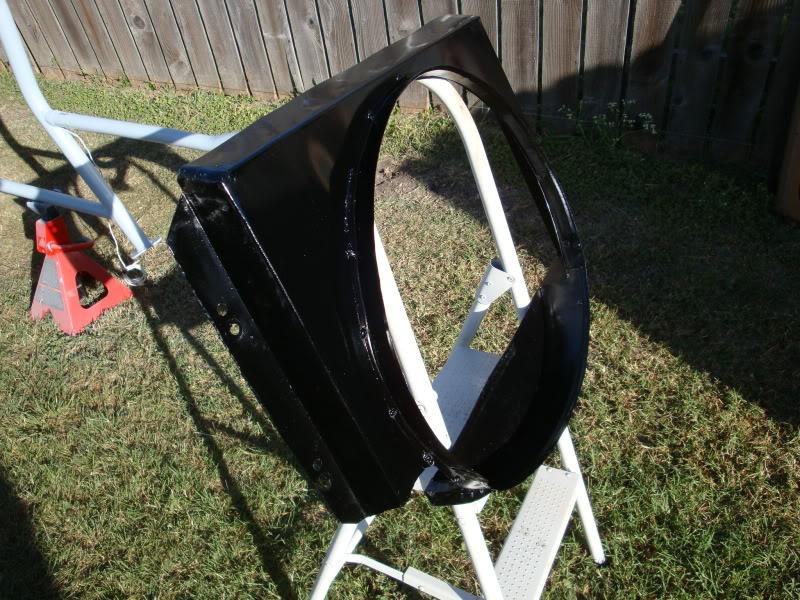
Also shot the fan shroud
DSC02816-1.jpg


Mark, Keith, and I are almost done preparing inside the body for bedliner. The grill, hood, front fenders, tailgate, brackets, and outside the body are just about ready for paint. We added the final body mounts up front. Next step is to remove the body and start working on the bottom and firewall in preperation for bedliner after paint. I'll add more pics as soon as I can.
 
army of ten

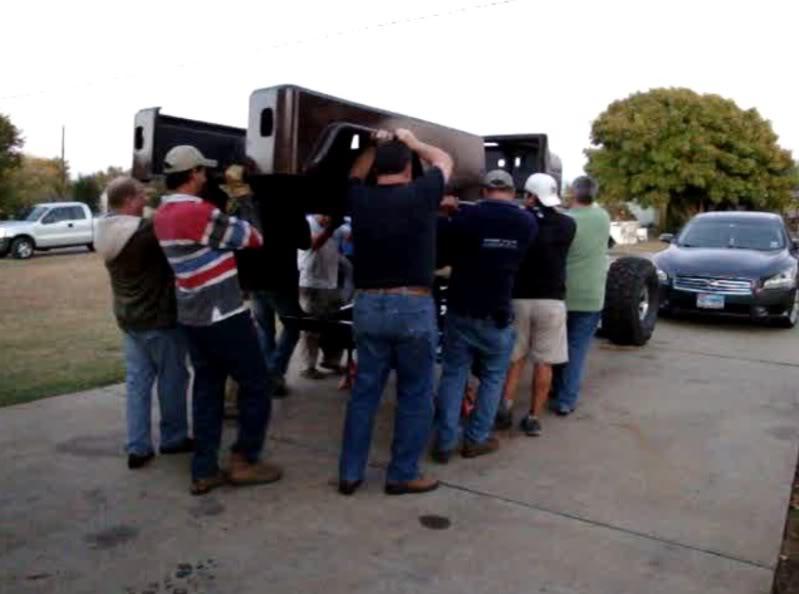
I got some huge help to remove the body tub. Thanks to Barry, Dan, Scott, Tommy, Gordon, Mike, Keith, Max, and Mark.
Check out the video of us trying to remove the body, flip it, and shive it in the garage. We removed the wheels in order to make the jeep as low as possible to clear the rear cage mounts and rear shock towers.


We also removed the motor/tranni/t-case in order to get into all the welding completed where the body was in the way. Here is the jeep with the wheels back on sitting pretty high with no weight.
DSC02831-1.jpg


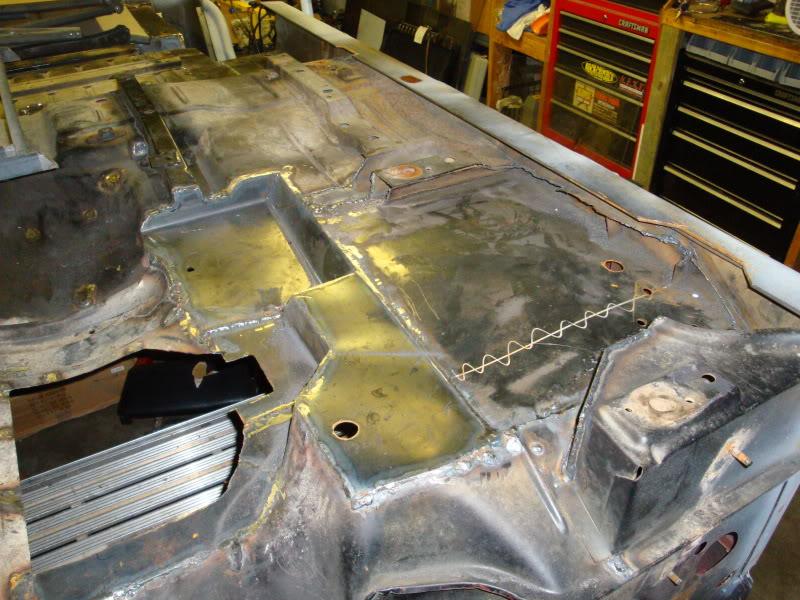
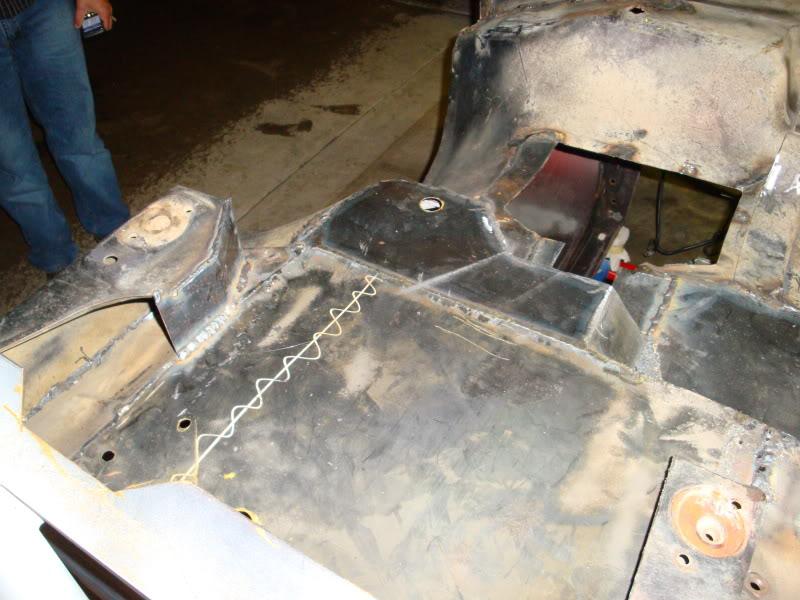
We got started on the bottom of the body (grinding, welding, cutting, etc..)
DSC02829-1.jpg

DSC02830-1.jpg


Next steps are to warp the bottom up and call up my buds again to move it into the paint booth to paint so we can get it out to get bedlined.
 
Progress continues

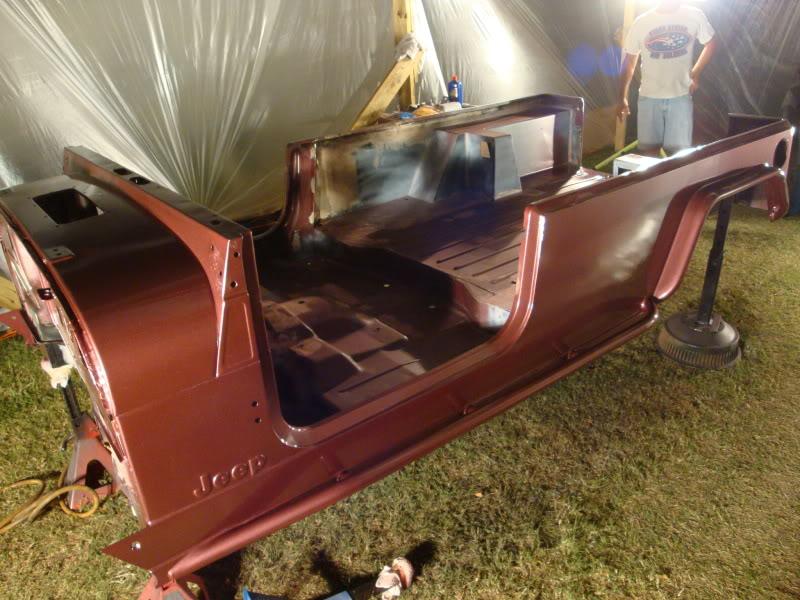
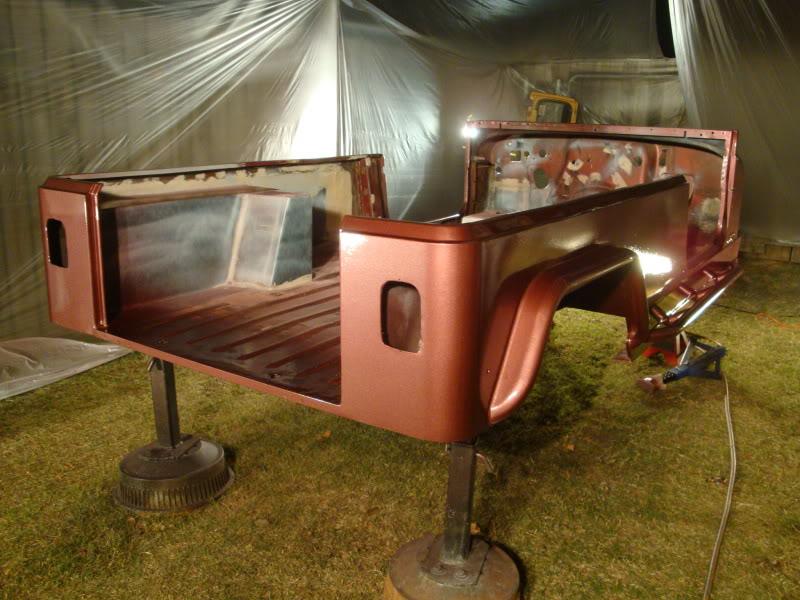
After some body work and prep, the Jeep is finally painted! My friend Keith (Mark's neighbor) painted the Jeep. Check out the home made paint booth. I chose "Metallic Merlot" from Infiniti 1945but during the sun light the reflection in the metalic makes it look UPS Brown. Mark is already starting the jokes "What can brown do for you?" if you catch my drift.
DSC02845-1.jpg

DSC02843-1.jpg


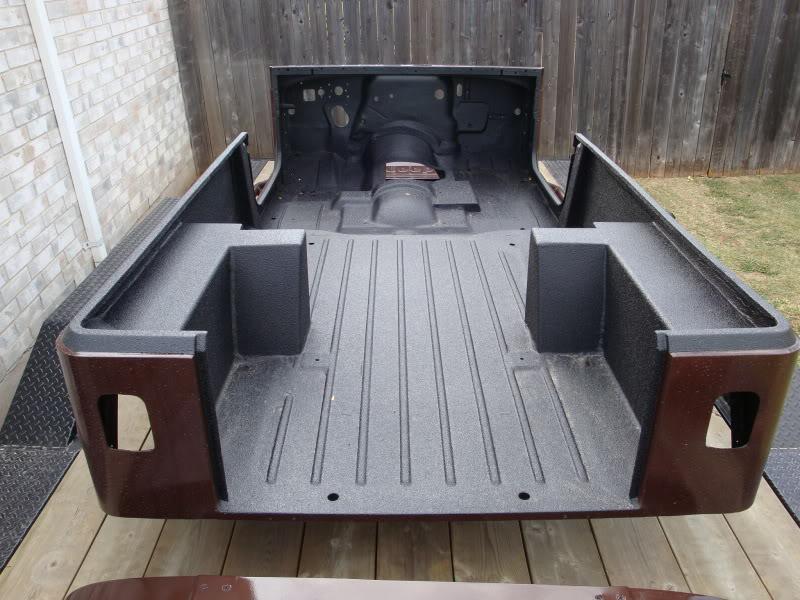
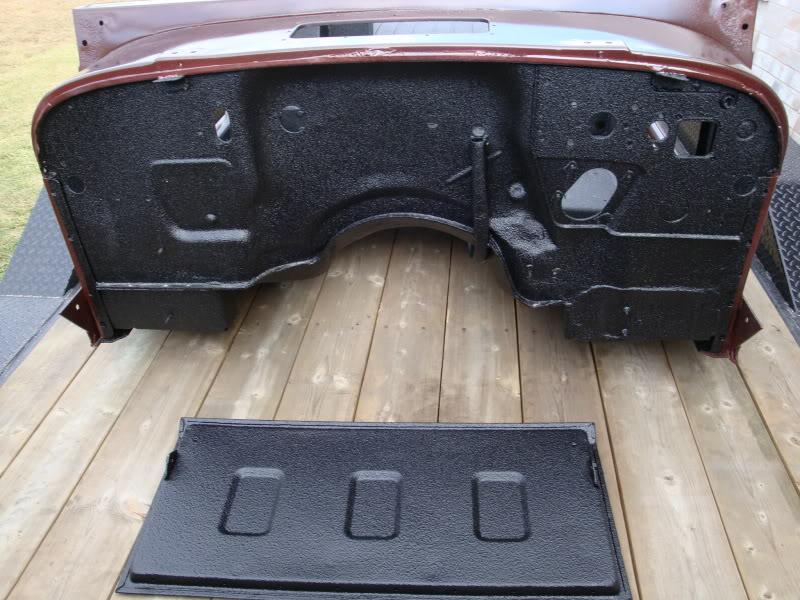
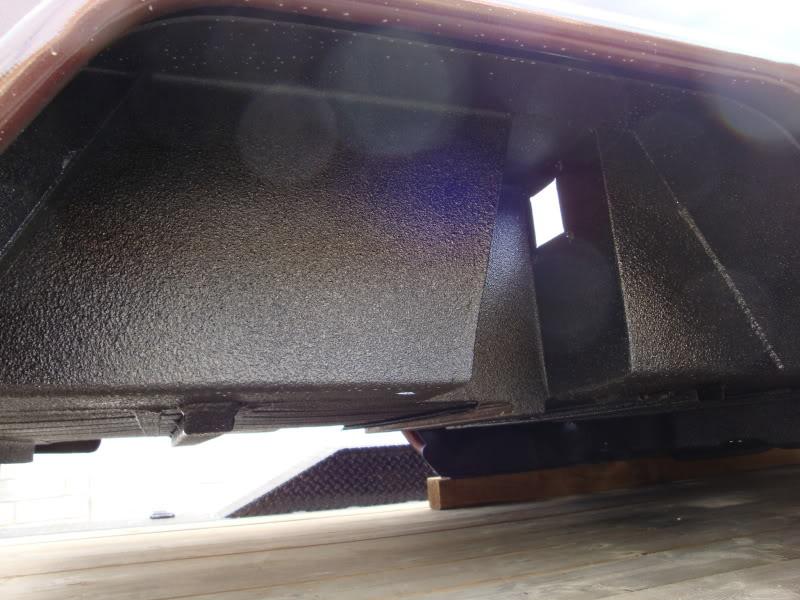
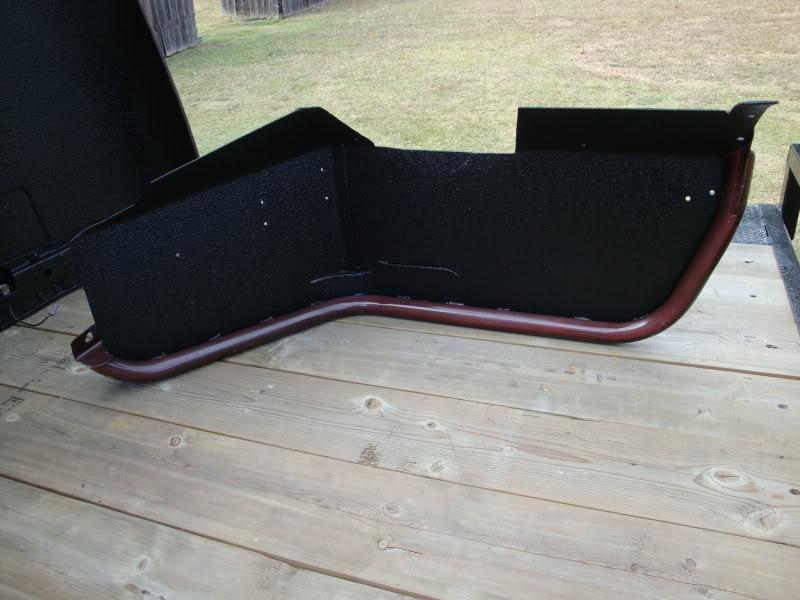
After a few days of letting the paint cure, Dave and I brought it to Infiniti Customs to have speedliner applied. I had interior, firewall, under neath, inner fenders, inside tailgate and inside of hood.
DSC02918-1.jpg

DSC02917-1.jpg

DSC02919-1.jpg

DSC02921-1.jpg

DSC02920-1.jpg


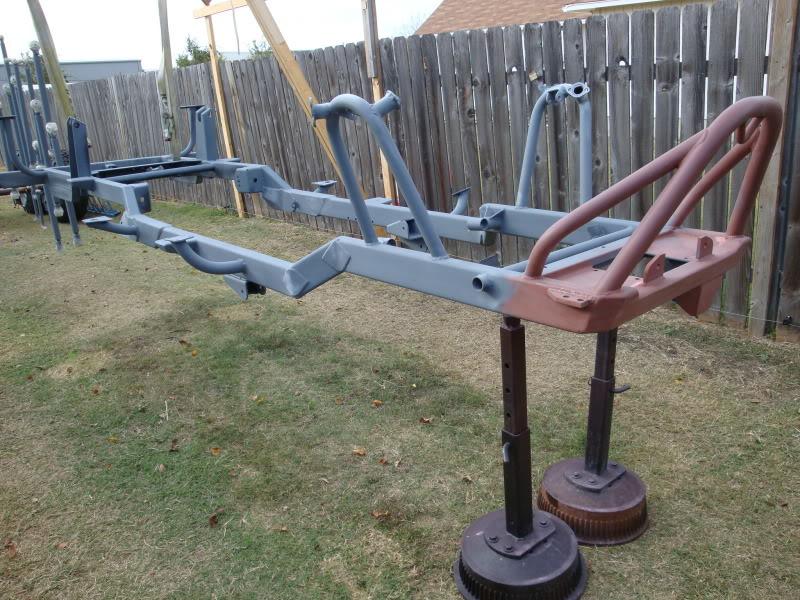
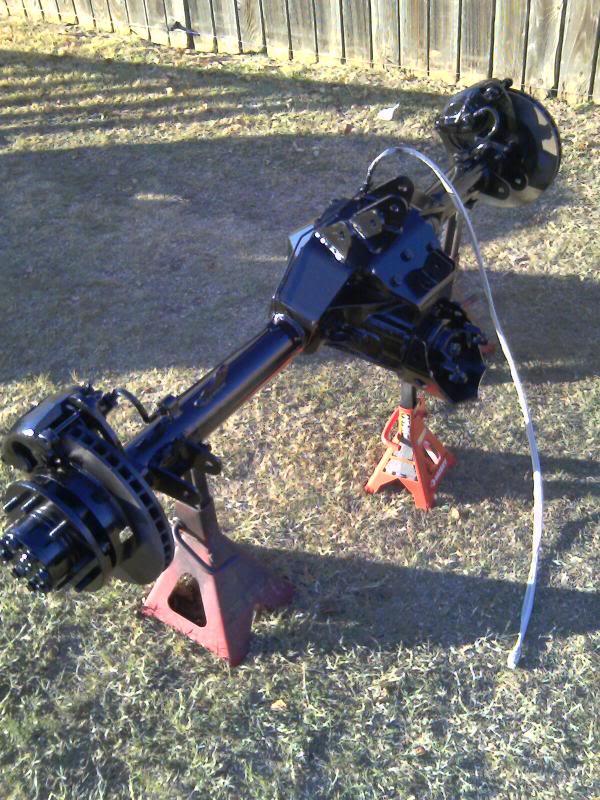
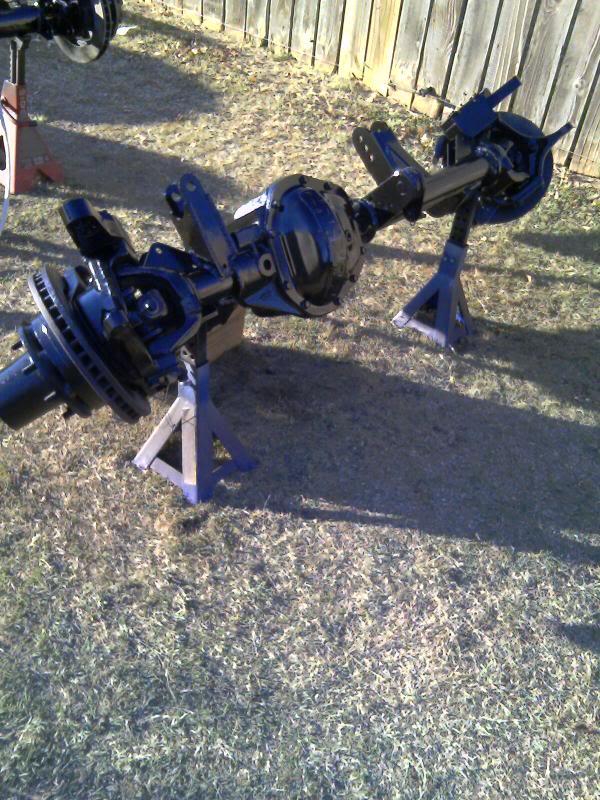
While the Jeep body was out, Mark and I continued on the frame and links. We prepared the frame, axles, and links for paint by taking it all apart, sanded and primed.
DSC02923-1.jpg

DSC02922-1.jpg


Last night we were able to paint the axle, links, and frame black metallic same as the cage before getting cold. However, I will wait for sunlight to take pics. I hope to get the axles back under the frame early this week. The end is near Buah ha ha ha haaaawww:evil:
 
Looks KILLER! Love the color! So jealous of folks that have made it to this stage :bow:
 
Body is back on the frame

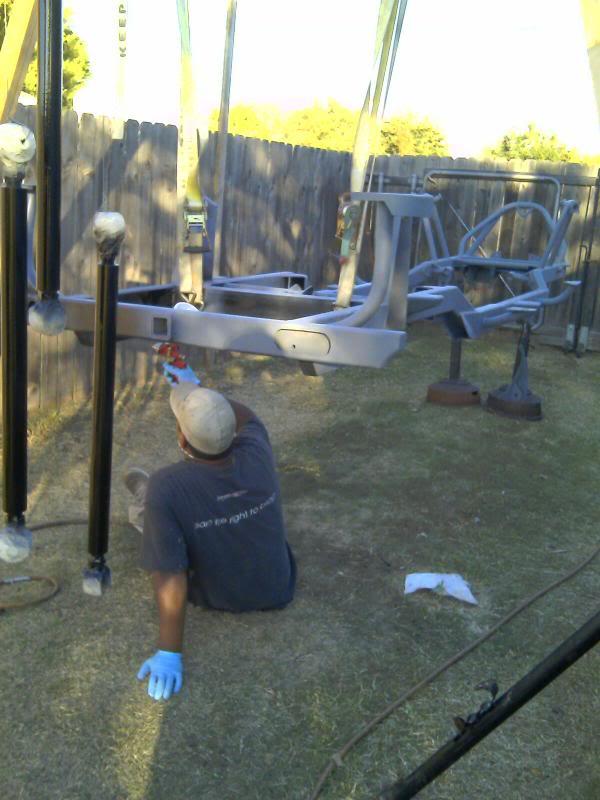
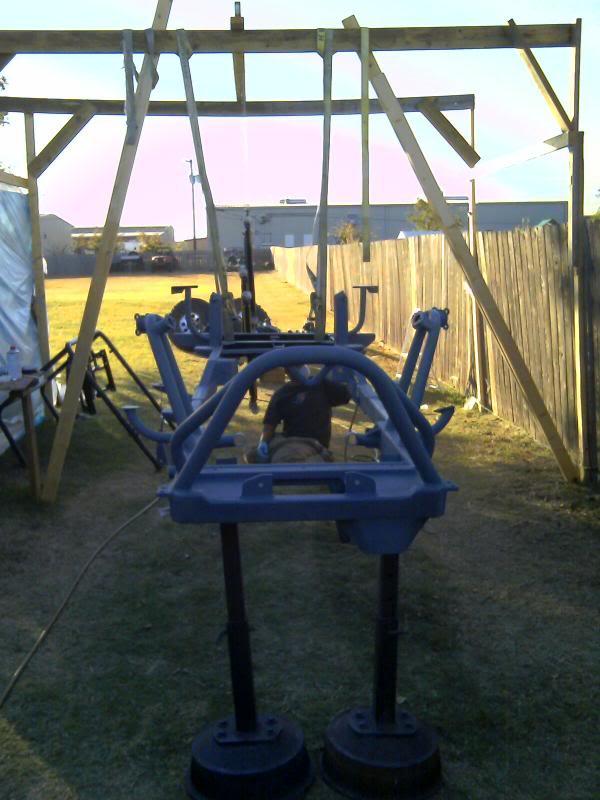
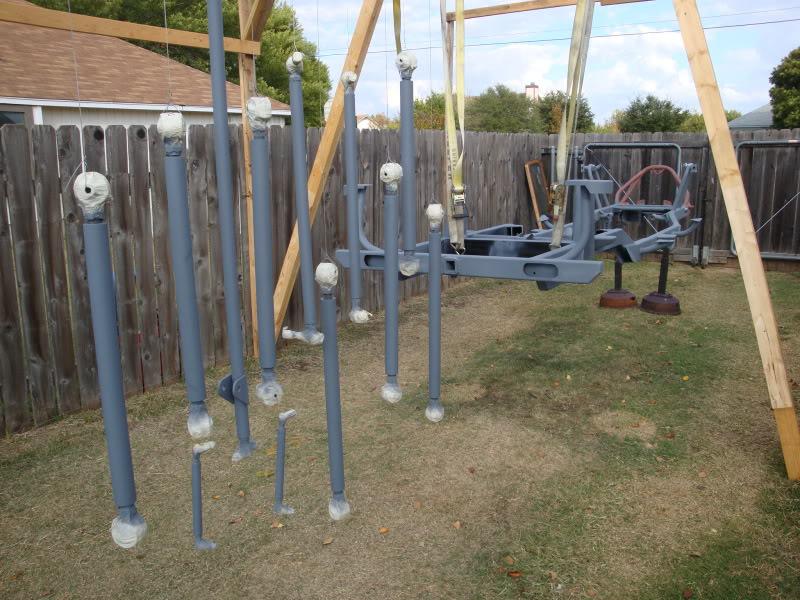
Mark and I got the frame, axles, and links painted.
moto_0002-1.jpg

moto_0008-1.jpg

moto_0006-1.jpg

moto_0005-1.jpg


Got a group of friends (Kyle, Scott, Gordon, Keith, Richard, Joey, Chris, Greg, and Todd) to help put the body back onto the frame. Got the body mounts done. Started the wiring, steering column, eng wireing, etc..
bodyandframemerge1-1.jpg


Next steps: Continue working on wiring, gauges, dash, etc. before moving onto the front fenders/hood/grill.
 
Light at the end of the tunnel

The current Jeep project is coming to an end. Been busting butt and spending every moment possible to wrap this project up since the Baby girl is due in approx 8 weeks!

Got almost everything back on.
Got all fluids topped off.
We even got the motor started, thnx to Scott for taking the time to come over and help us out. Check out the vid below. It is on the way to get the exhaust done tomorrow (today) morning.


DSC02961-1.jpg

DSC02960-1.jpg

DSC02959-1.jpg


Next steps:
I have bad performance on my brakes, so that is next to be tackled before possibly making a quick test run at Hidden Falls on Saturday.
When I return I still have to obtain an electronic speedo gauge (Turns out the STAK t-case is not compatible with a mechanical setup) SO need to convert - never even checked LOL. :banghead:
Still need to install Stereo/speakers.
Need to add limiting straps up front.
Wet sand the cage/body
CB radio

Now I need to clear out my garage and clean up Mark's garage so I can take it home!

Still need to purchase the rear seat and aluminum bikini top blah blah blah.:woot:
 
Have to admit, I'm not the biggest fan of the huge rock crawling things, but that is some beautiful work you've got done to that thing. NICE!
 
Back
Top