• Notice for iPhone users: DO NOT use the image size reduction option when uploading photos to the forum. This causes portrait images to post as landscape. We have added a warning to the image insert pop-up as well.

Carpet Replacement...More One Thing Leads To Another...

Getting closer...

Here is the repaired floor with some of the closest off the shelf paint I could find.....not even close, other than it's blue. I've drilled the rock rail holes (2 of them) that I lost in the repair and one drain hole (there were 3).
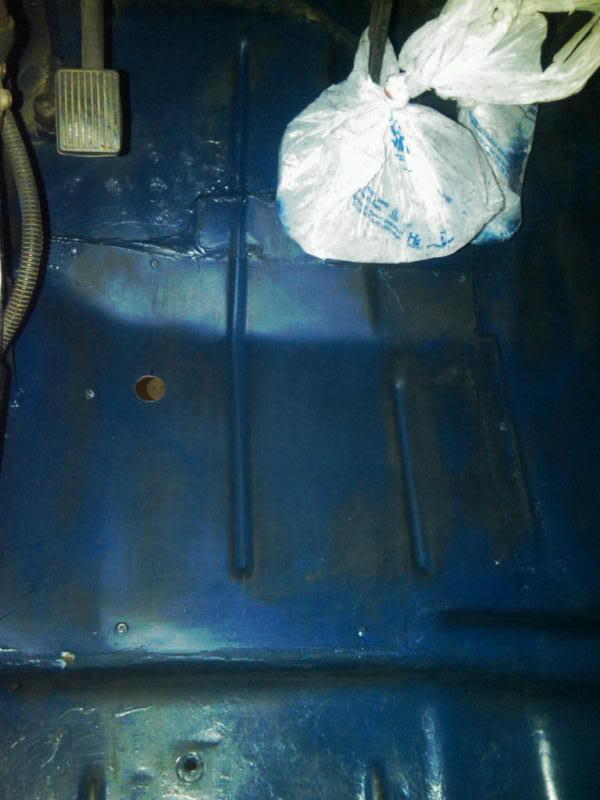
Floorpaint-1.jpg


Here's the paint test. I did some digging in the shop and found a can of Rustolium navy blue paint, it must be 10-15 years old, but was still sealed. You can't buy this color any more around here. It still looked too light/bright. So here's a test; straight out of the can, 10% black added and 20% black added. The 20% is looking closest (on the right), but I'll let it dry before deciding. I can adjust a little more, as I need to, but this will get me close.
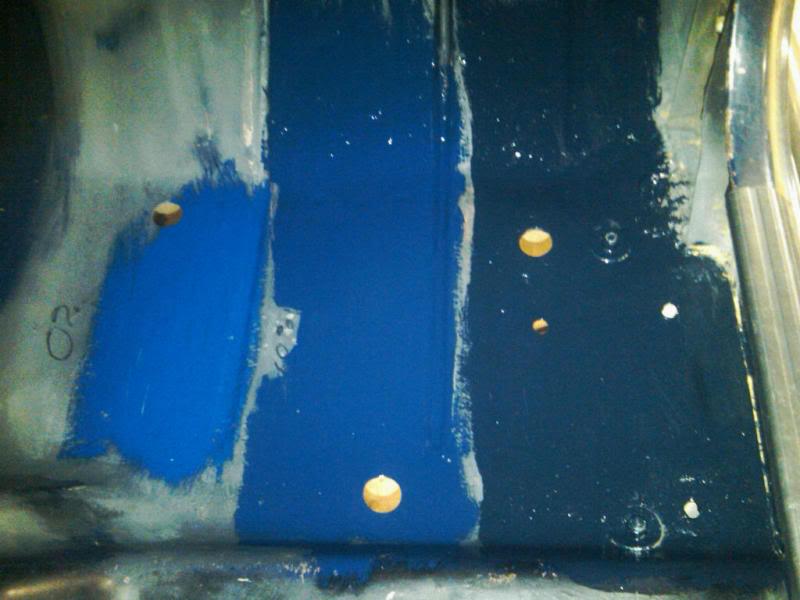
Painttest-1.jpg
 
Add some spotches of white and black and you'll look similar to JC's old urban camo!

thanks for the reminders on the drain holes for the floor pan...I need to add that to my (long) list!
 
Moving on.....

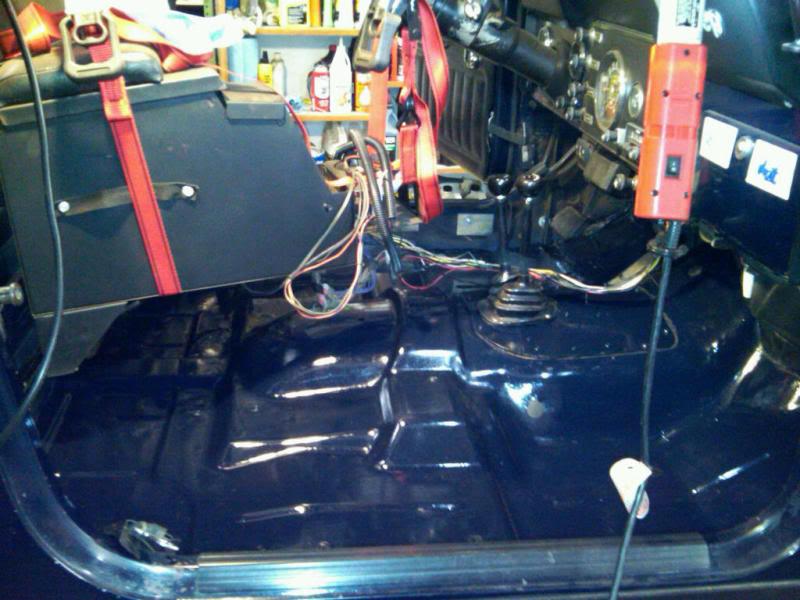
The floor is painted and all of the unneeded holes are plugged. One hole looked like the trans tunnel had been shot with a .50 caliber from inside....I ended up using a 1" hole saw on it and putting in a plastic plug. Now to move on to cleaning up the console wiring and actually putting the new carpet in there. So, what's the best way to put clean holes in carpet to run the bolts through? I'm thinking a hole punch might work; I've got a set from Harbor Freight.
ScramblerFloorPainted-1.jpg
 
Last edited:
When I've done things through carpet, I don't try to do a hole, I put an X in the carpet with a sharp box cuter and push the bolt through.
 
Between the console, seats, seat belts, and wiring there are 14 holes. Then there's the big one for the transfer case shifters. There might be one for the high beam switch, that depends on how high the carpet goes up the floor.
 
If you still have the old carpet and it is made of the same material and have no plans for it. Maybe you could try cutting holes to play with and heating something to fuse the fibers together on the edge and the holes to prevent any fraying.
 
The old carpet is a two piece thing and is distorted, it just doesn't match up.

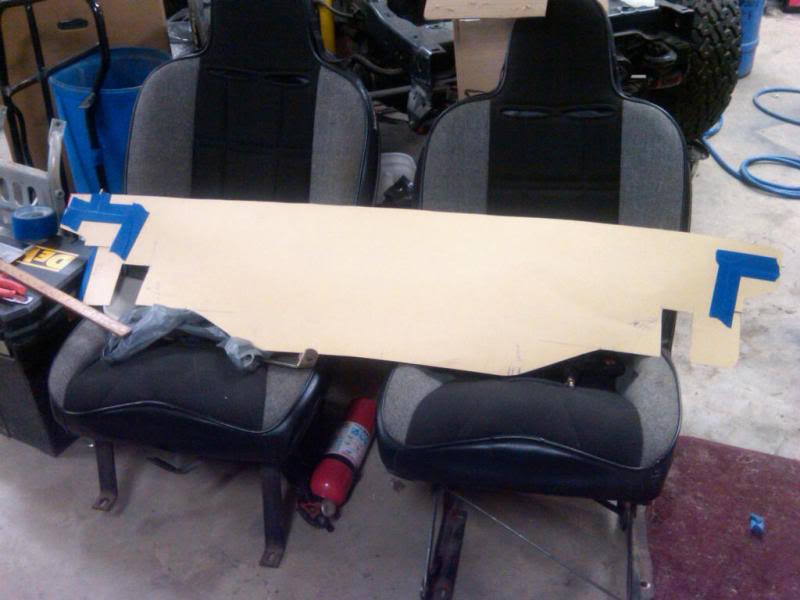
The back end of the new carpet was just extra long, I guess they want you to cut it to fit that part yourself. After staring at it for a day, trying to figure out how to get a good fit and building up the nerve to start cutting it up, I made a template of the rear of the cab.....
Scramblerfloortemplate-1.jpg


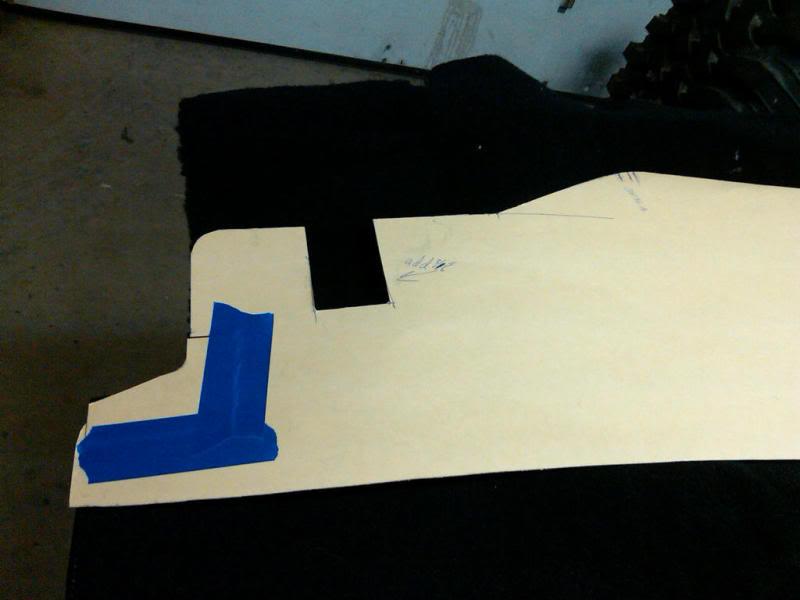
With the template, I was able to match it up to some points on the carpet and start cutting.....
ScramblerTemplateCarpet-1.jpg


So, now the back edge is cut and fitted. It came out pretty decent. Next, on to cutting an opening for the transfer case shifters. I cut out an aluminum trim ring for the shifters today, too. I wanted stainless, but it's just too hard to cut.
 
On to the original Objective....

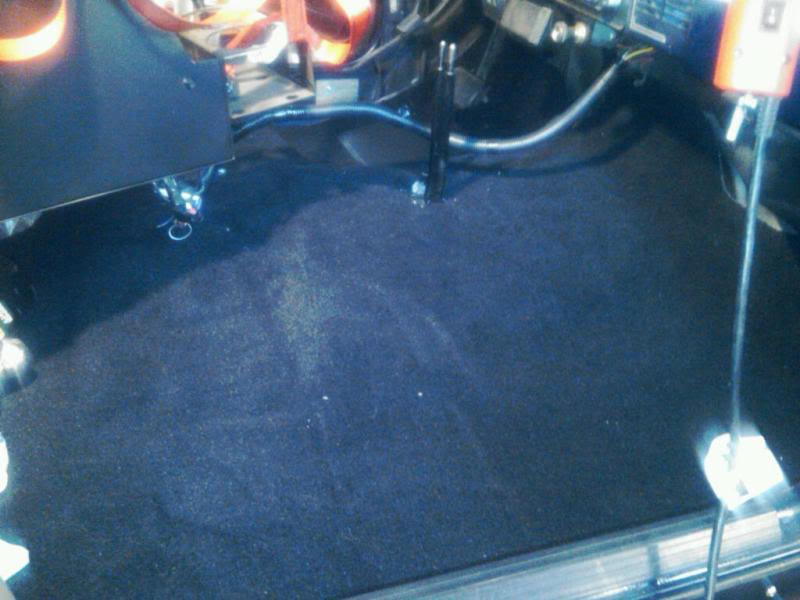
Actually working on laying the carpet today. It's in and most of the holes are punched to put the console, seatbelts and seats back in the Jeep. Also cut the hole for the shifters.
ScramblerCarpet-1.jpg


Maybe I can start putting it back together tomorrow.
 
Getting Closer...

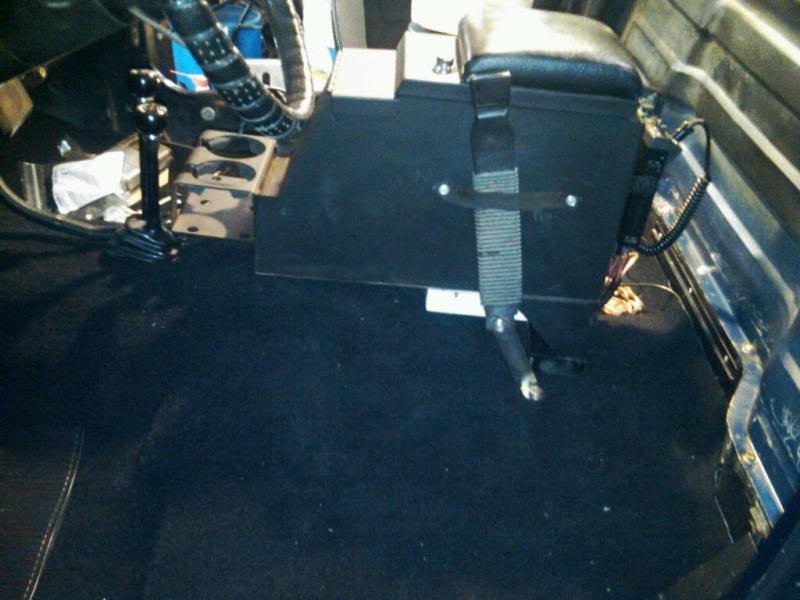
Finally going back together after a 2 day delay for food poisoning. I complicated issues a little by relocating the amp for the stereo. It's just set on the floor, under the driver's seat for years, but I just can't leave well enough, alone. I mounted it on the bottom side of the Tuffy console....then the console wouldn't clear the floorboard:angry:....so I had to space it up by 1.5". It came out fine and gave me more space to hide the wiring :cheers:.
ScramblerCarpetConsole-1.jpg


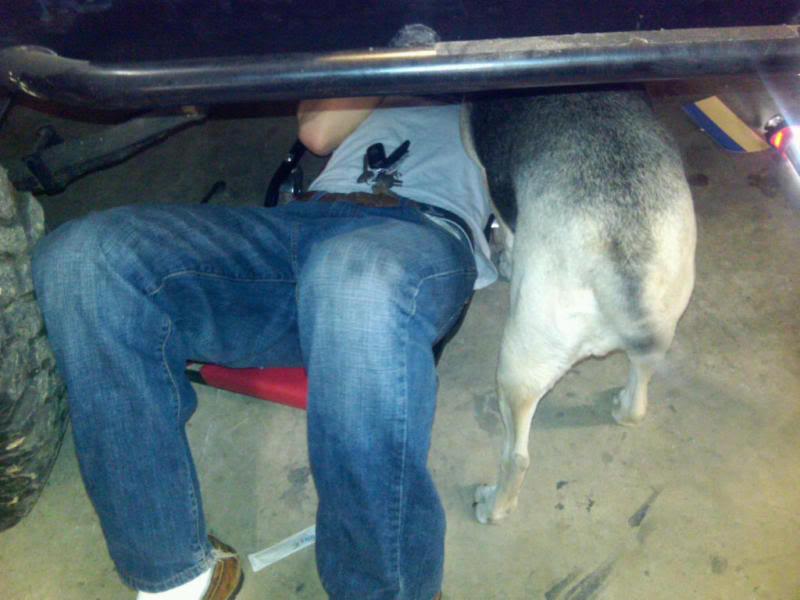
I needed a little help to get the console in place, between the long bolts, carpet and finding the holes. I'm not sure which one actually was helping, between my son and the dog, but we got it done.....
ScramblerWilmaGreg-1.jpg


I'd have gotten the seats back in, but decided this was the time to clean them up and put some fresh paint on the seat mount brackets. Some now I'm waiting for the paint to dry.
 
Done...Finally...

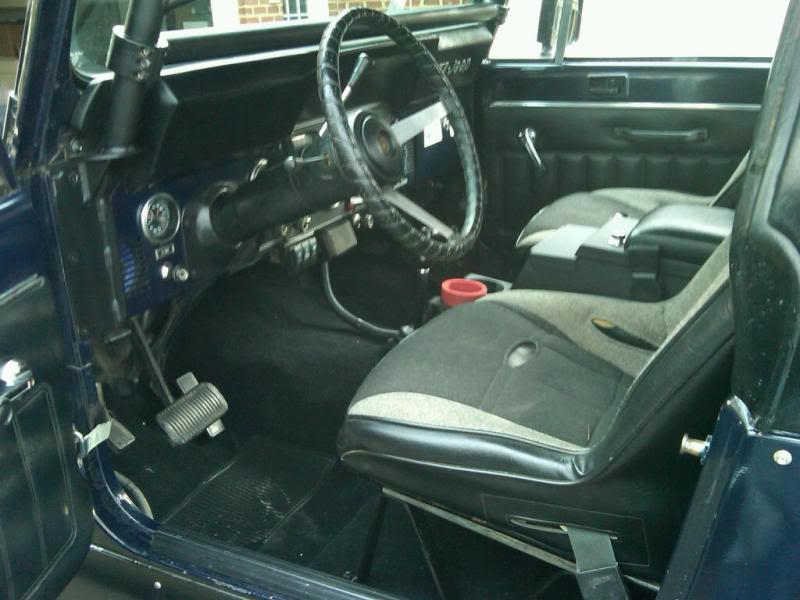
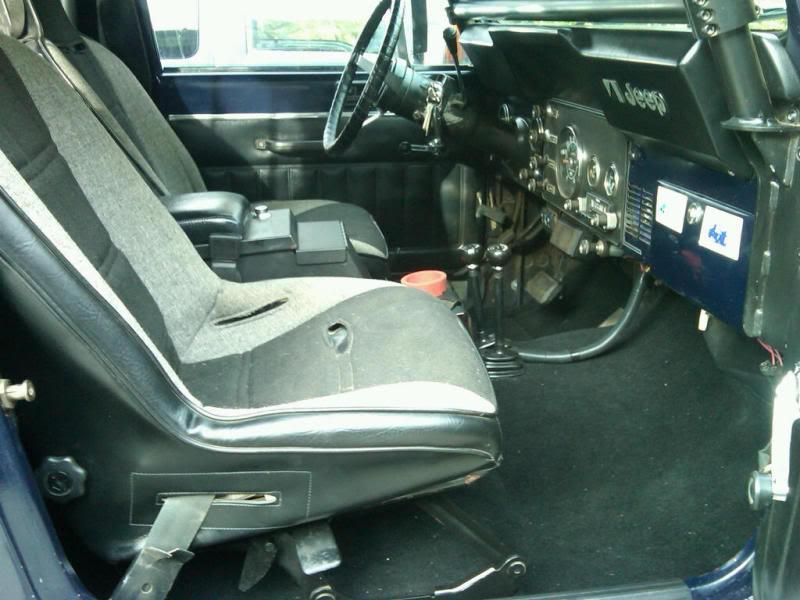
The seats are bolted back in and it's done.....well, almost. I ordered replacement seatbelts. Those should come in and be installed this week.
ScramblerInteriorReduxD-1.jpg


ScramblerInteriorReduxP-1.jpg
 
Finally going back together after a 2 day delay for food poisoning. I complicated issues a little by relocating the amp for the stereo. It's just set on the floor, under the driver's seat for years, but I just can't leave well enough, alone. I mounted it on the bottom side of the Tuffy console....then the console wouldn't clear the floorboard:angry:....so I had to space it up by 1.5". It came out fine and gave me more space to hide the wiring :cheers:.
ScramblerCarpetConsole-1.jpg


I needed a little help to get the console in place, between the long bolts, carpet and finding the holes. I'm not sure which one actually was helping, between my son and the dog, but we got it done.....
ScramblerWilmaGreg-1.jpg


I'd have gotten the seats back in, but decided this was the time to clean them up and put some fresh paint on the seat mount brackets. Some now I'm waiting for the paint to dry.

what did you use to space up your tuffy? I've got a newer one in one Jeep and an older one in another Jeep. The newer one sits higher (better spot for armrest) and I think I"m gonna space up the older one.
 
John just threw some used/broken parts under it and zip-tied/duct taped it all together/in place.

:rotfl:
 
what did you use to space up your tuffy? I've got a newer one in one Jeep and an older one in another Jeep. The newer one sits higher (better spot for armrest) and I think I"m gonna space up the older one.

Actually, it's just a piece of 2x4. The piece at the front was just a small 2.5" block (1.5" thick). The piece at the rear I had to cut out to bridge the shape of the floor and I made the 2 holes 3/4" to give wobble room for the rear bolts to line up; then painted them black. It worked well and probably does sit better. The only way I could get bolts for the rear after I spaced it up, was to use threaded rod and lock-nuts; I needed 7" long bolts and couldn't find them...didn't want to deal with getting 8", extending the treads and then cutting them down.
 
Back
Top