

You are using an out of date browser. It may not display this or other websites correctly.
You should upgrade or use an alternative browser.
You should upgrade or use an alternative browser.
IAFFCJ 81 Scrambler
- Thread starter IAFFCJ
- Start date

- City
- Manassas
- State
- VA
Spent the day in the Garage again today. Defiantly not the 70 Degrees it was yesterday closer to 30 all day but still got some work done.
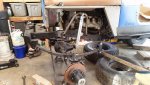
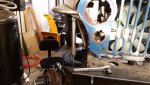
Rear Shock hoops are in.
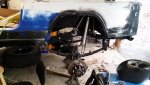
Added some welds and plating to the spring hangers like Jason suggested. I feel much more comfortable now.
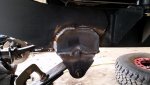
I also positioned the pinion angle as it would need to be for a CV drive shaft. I like how high and out of harms way it will be up there. My engine and transmission are mounted at 2 degrees down so a regular drive shaft would put the U-Joint pretty straight into the rocks it seems.
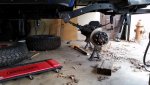
Rear Shock hoops are in.
Added some welds and plating to the spring hangers like Jason suggested. I feel much more comfortable now.
I also positioned the pinion angle as it would need to be for a CV drive shaft. I like how high and out of harms way it will be up there. My engine and transmission are mounted at 2 degrees down so a regular drive shaft would put the U-Joint pretty straight into the rocks it seems.

- City
- Manassas
- State
- VA
Well things seemed to be going so well i should have know i would run into an issue. So i had all the shock towers on and all looked good but i wanted to check that math did infact workout. Well not so much. I have plenty of room for compression but run out of drop in shocks about 2 inches from when the springs start to lift the tire.
So after some mesurements and figuring turns out im cutting all the shock towers off and adjusting. I picked 14in shocks for a reason no point in shorting them from the beginning.
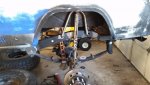
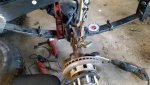
Got one tower cut off and repositioned. Didnt take too long hopefully i can get them squared away tommarow.
So after some mesurements and figuring turns out im cutting all the shock towers off and adjusting. I picked 14in shocks for a reason no point in shorting them from the beginning.
Got one tower cut off and repositioned. Didnt take too long hopefully i can get them squared away tommarow.
- City
- Manassas
- State
- VA
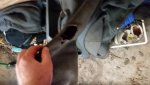
I did get a few odds and ends welded up before the shock tower issues were discovered. It always amazes me how long it can take me to figure out it is me that is on fire when i smell something burning. One hoodie down and just a small 2nd degree burn this time. Think im going to order some leather sleaves.
- City
- Manassas
- State
- VA
While trying to meke sure the shocks were set up correctly i was getting frustrated trying to cycle the suspension. So i pulled the spring packs apart made a spacer and ran the rear with just main leafs. Made it much easier to figure out shock mount and even figured out the bumpstop situation. Rear axle shocks officially done. Bumpstops will be here tommarow so i can build a mount for them on Thursday after work.
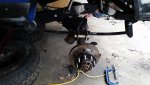
Ride hight with only main leafs. I kind of like this hight.
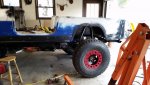
All buttoned back up and back to actually ride hight.
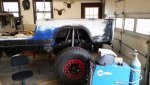
Ride hight with only main leafs. I kind of like this hight.
All buttoned back up and back to actually ride hight.


- City
- Manassas
- State
- VA
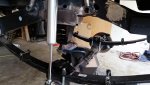
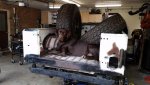
Setting up bumpstops today. I wanted a nice flat spot for them to hit so i built this.
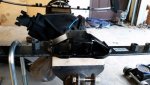
Also built a box to attach to the frame for the bumpstop to bolt to. Still need a few adjustments i hope to have the rear bumpstops finished tommarow. It took a little longer today than i expected.
Also built a box to attach to the frame for the bumpstop to bolt to. Still need a few adjustments i hope to have the rear bumpstops finished tommarow. It took a little longer today than i expected.
- City
- Manassas
- State
- VA
Looks like he's saying, "hurry up and get this thing done so we can go hunting".
With out a doubt. There are many things he would rather we were doing than me working on the Jeep and him laying in the driveway wishing some one would throw the darn ball.
- City
- Manassas
- State
- VA
Spent some time this afternoon in the garage. Front bumpstops figured out. Drivers side all welded up and pas tacked together just need to burn it all in tomorrow. Then i can re set the shock towers on the front and put the spring packs back together.
Other than making some alterations to a PO frame repair so the rear most body mounts fit correctly the frame is getting very close to ready for internal frame coating and paint. I am looking forward to asembling parts without the expectations that they will be coming back apart soon.
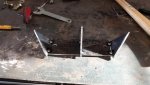
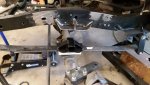
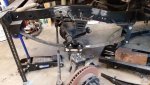
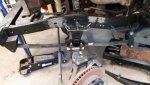
Other than making some alterations to a PO frame repair so the rear most body mounts fit correctly the frame is getting very close to ready for internal frame coating and paint. I am looking forward to asembling parts without the expectations that they will be coming back apart soon.
- City
- Manassas
- State
- VA
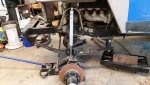
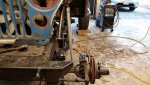
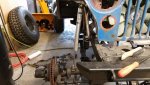
Finished up the bumpstops for the front today. While doing the bumpstops i cut the first shock setup off and set them with 2.5 in of up travel when the bumpstops start to engage. Also got the angles more to where i wanted shocks now are verticle at full bump with a few degrees back at ride hight and about 7 degrees tipped in at the top. Goal was 5 degrees but they are both the same and nothing seems to be interfering so i call that good.
Body mount project to go then time to strip everything back off and start laying some paint.
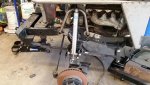
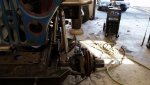
Body mount project to go then time to strip everything back off and start laying some paint.

- City
- Manassas
- State
- VA
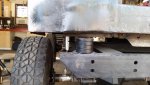
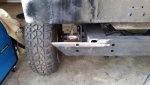
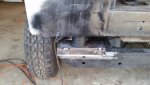
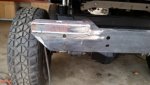
For those who have read through this entire build so far you may remember i had to cut a good portion of the frame out and replace with good steel. There was also a repair to the rear section that had already been completed. With all thus frame repair and the fact i dont really know what i am doing i was pretty surprised i hadn't runinto a fitment issue as it pertains to the frame. We i did find an issue the other day. With the tub bolted down the rear most body mounts are about 3/4if an inch too low. After a bunch of different ideas i decided to breack out the welder and rebuild the rear mounts. Came out pretty well. Hope to get some of the neighbors together this weekend to pull the tub for what i hope is the last time.
- City
- Manassas
- State
- VA
Spent a few hours in the garage today. A few folks came by this morning and helped me get the tub off. I need to figure out how i am going to put the traction bar in and then the fram will get painted.
I am working of how to mount the frame end of the traction bar so any pictures suggestions will be appreciated.
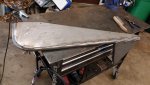
I did get my fenders all welded up and they are ready for body work. Little seam sealer and paint.
I am working of how to mount the frame end of the traction bar so any pictures suggestions will be appreciated.
I did get my fenders all welded up and they are ready for body work. Little seam sealer and paint.

- City
- Gonzales
- State
- La
I'm trying to figure out how to put a traction bar in my Stump Jumper. With the dual exhaust there just isn't any room. I may have to go back to a single exhaust. The traction bar is almost a must have for my truck, spring wrap is terrible.