• Notice for iPhone users: DO NOT use the image size reduction option when uploading photos to the forum. This causes portrait images to post as landscape. We have added a warning to the image insert pop-up as well.

It's a wreck

Ok, So for today

Started by removing the dash the rest of the way. Instead of starting to remove wires, I just pulled the interior side of the fuse box and left all wiring intact.

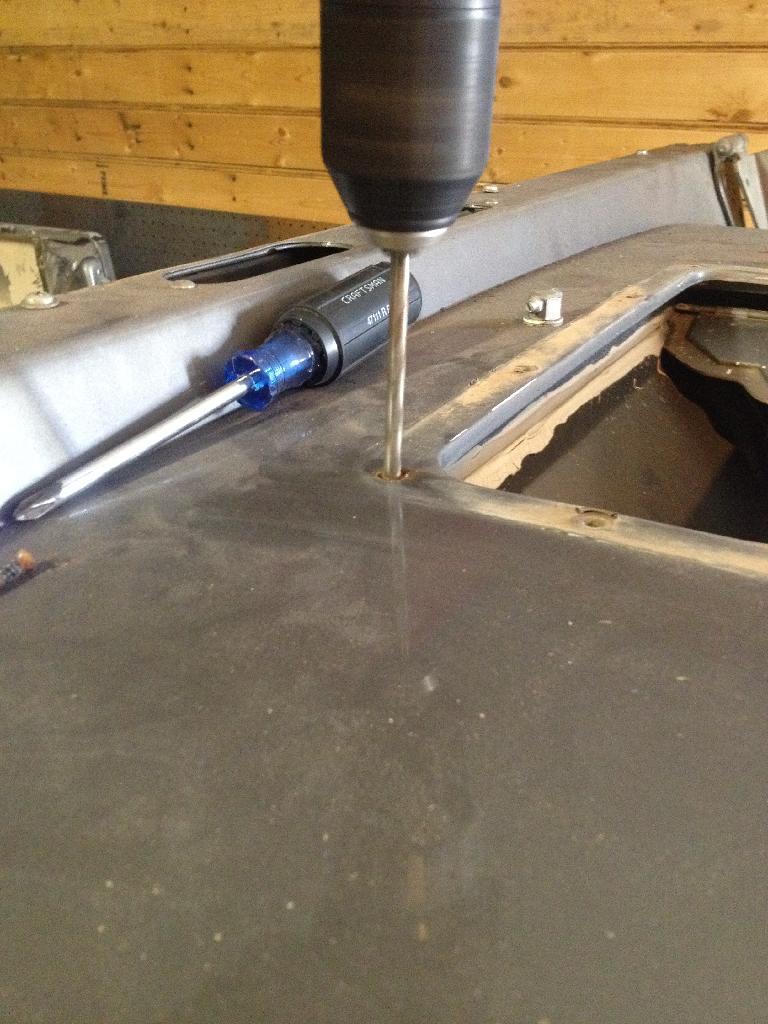
Second I attempted to pull the upper air box from under the cowl. It proved to be the original screws and they just fell apart so I had to resort to some unorthodox disassembly methods.
4132A24719E9455D951745576B10577E_zpsucns-1.jpg


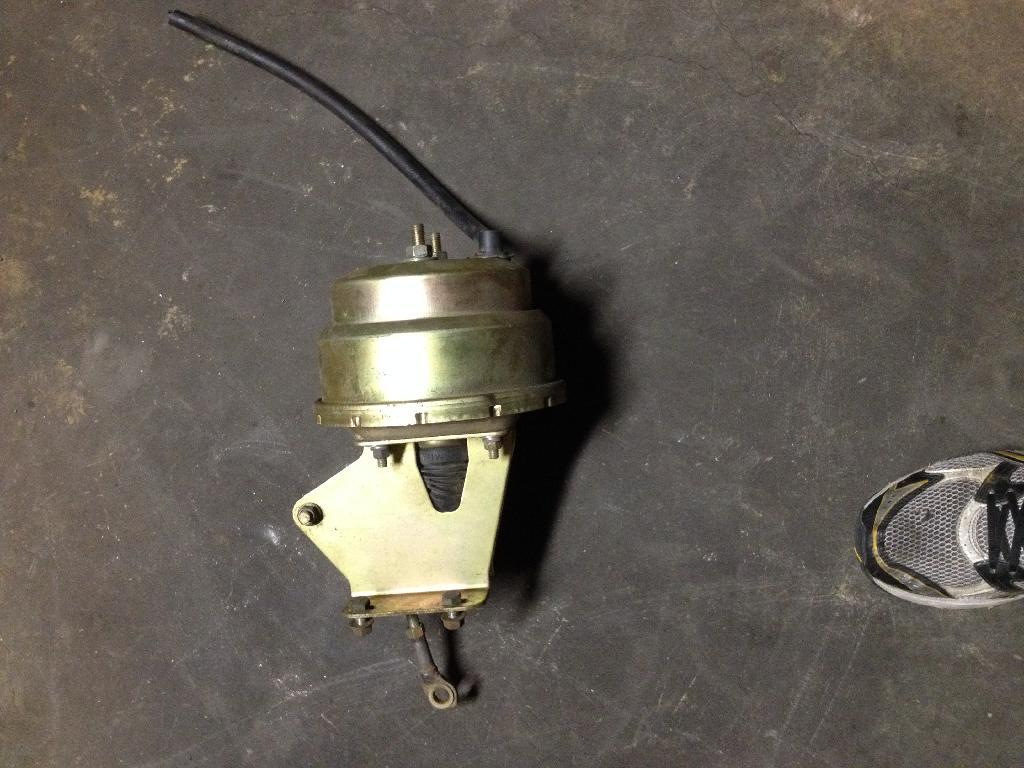
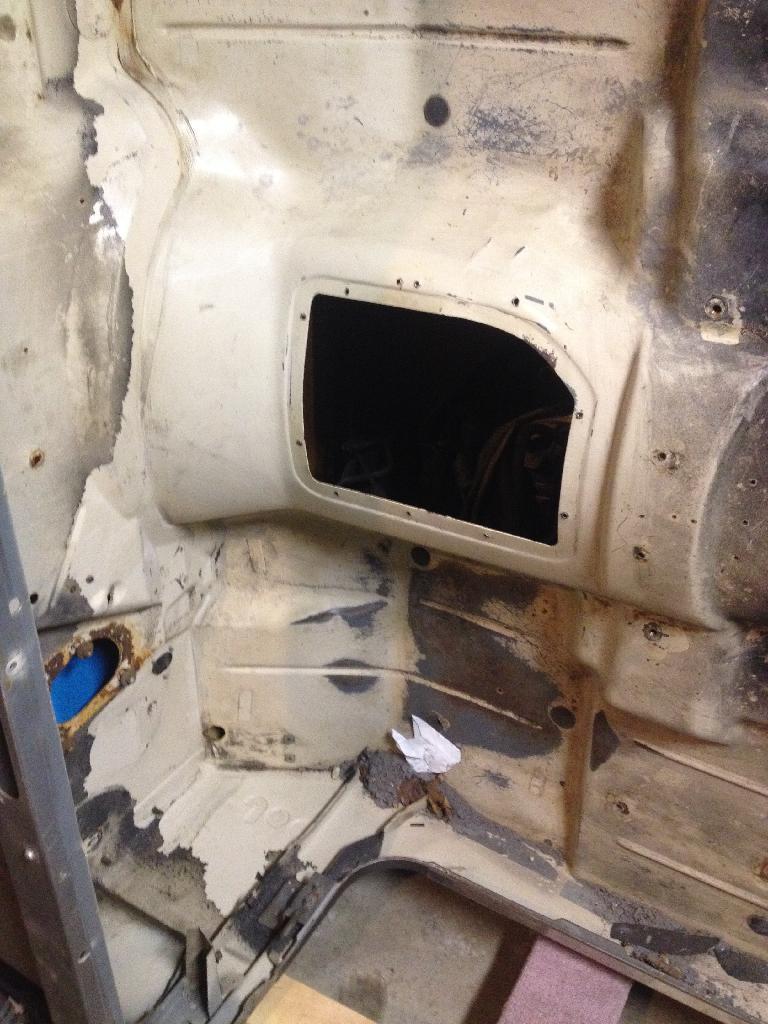
Went ahead and pulled anything left bolted to the interior of the tub and exterior of the firewall. The brake/accelerator pedal came out. Parking brake next, then pulled the brake booster off the firewall. This booster is huge. What booster is this out of or is it just upgraded aftermarket?
5DD365DA68F2490A8B1CB0CC33A7B0A6_zpsmo1w-1.jpg


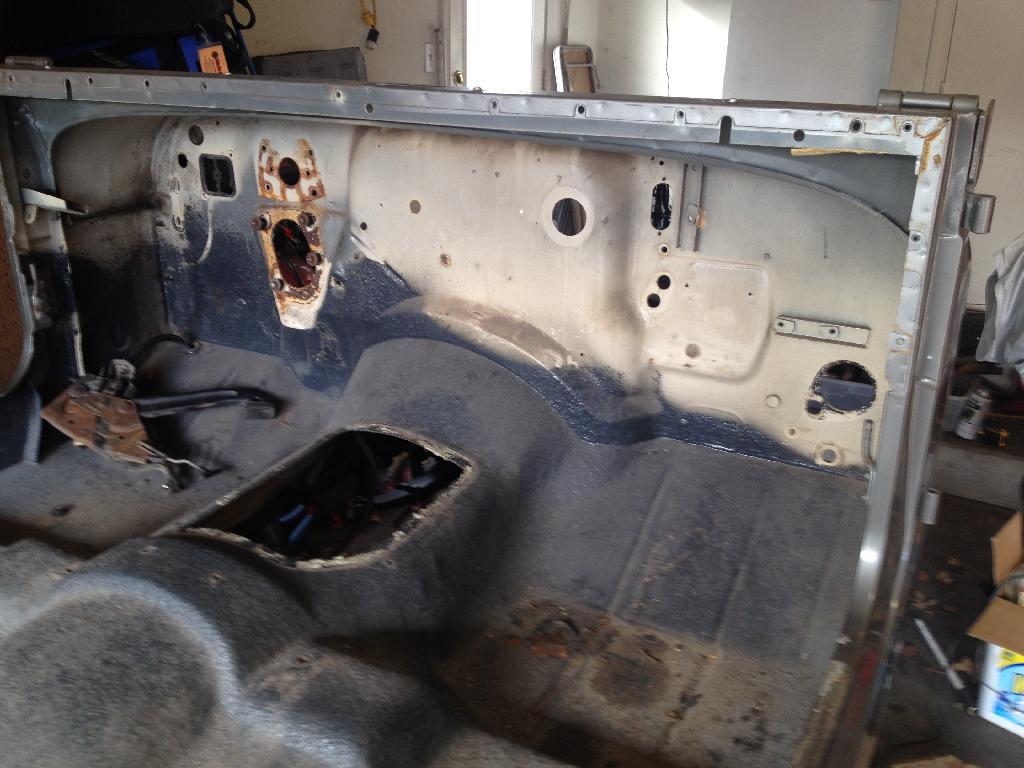
Everything is out(except the parking brake but it came out soon after this pic).
6C480369DCEE43D486C4E1FD5EF98249_zpsoego-1.jpg


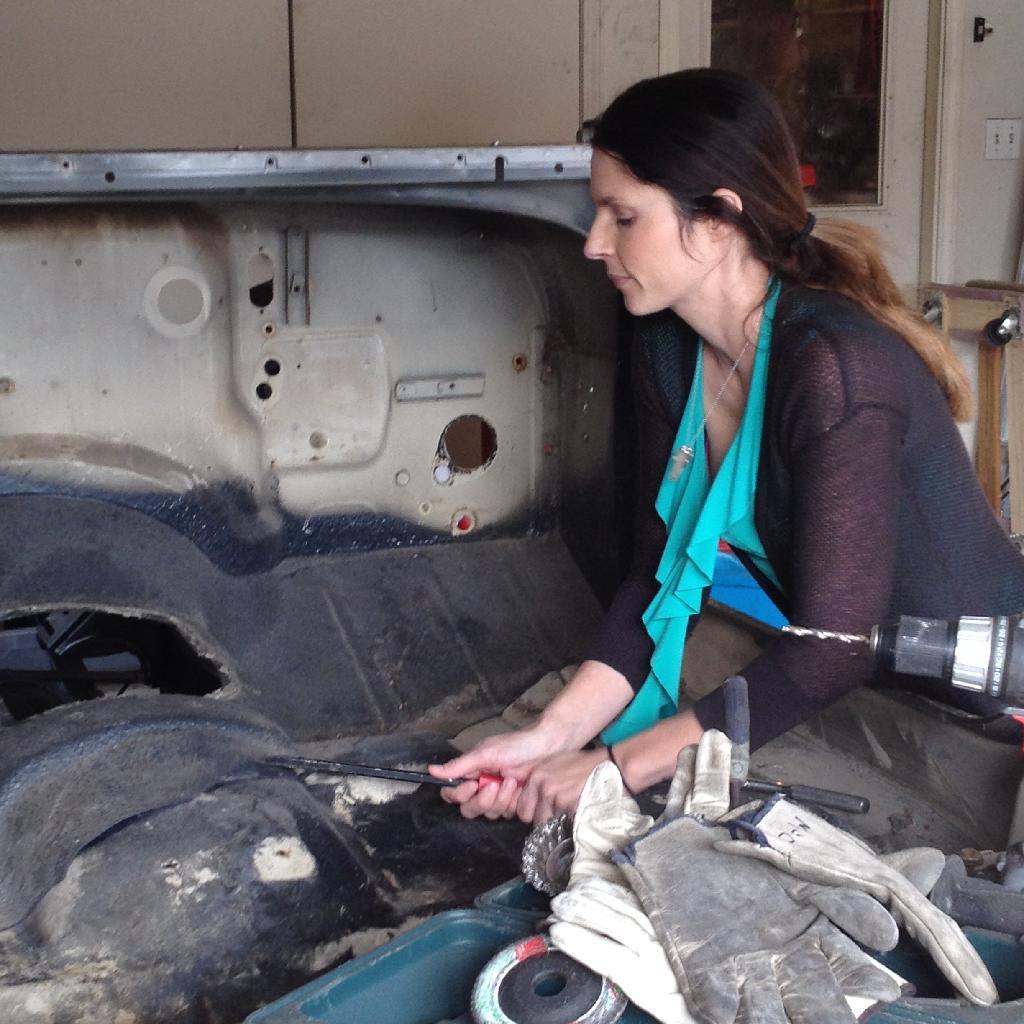
Next up was getting all the liner out of the cab area. Even put the beautiful wife to work for a minute or two.
1554EE0AAB3D47C48A0D5D6D2BFD205B_zpssosy-1.jpg


To be continued....
 
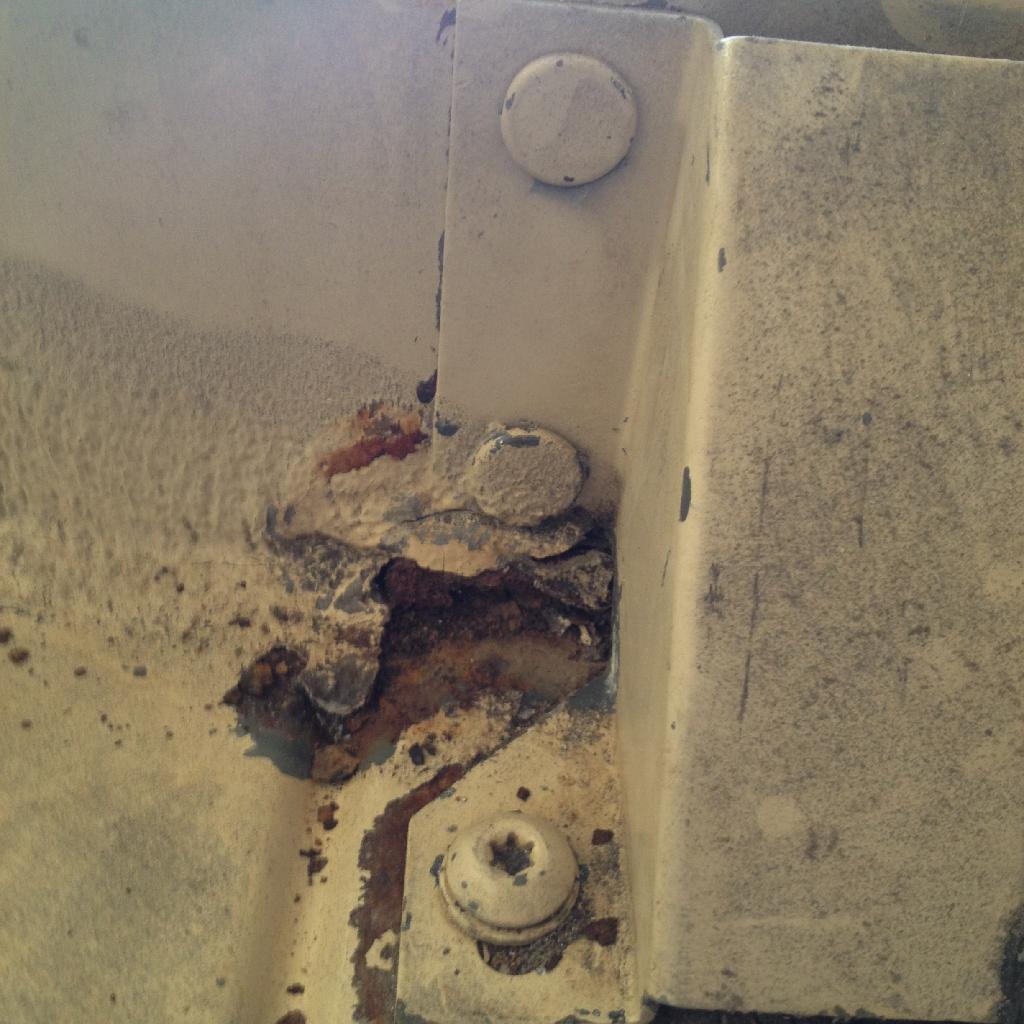
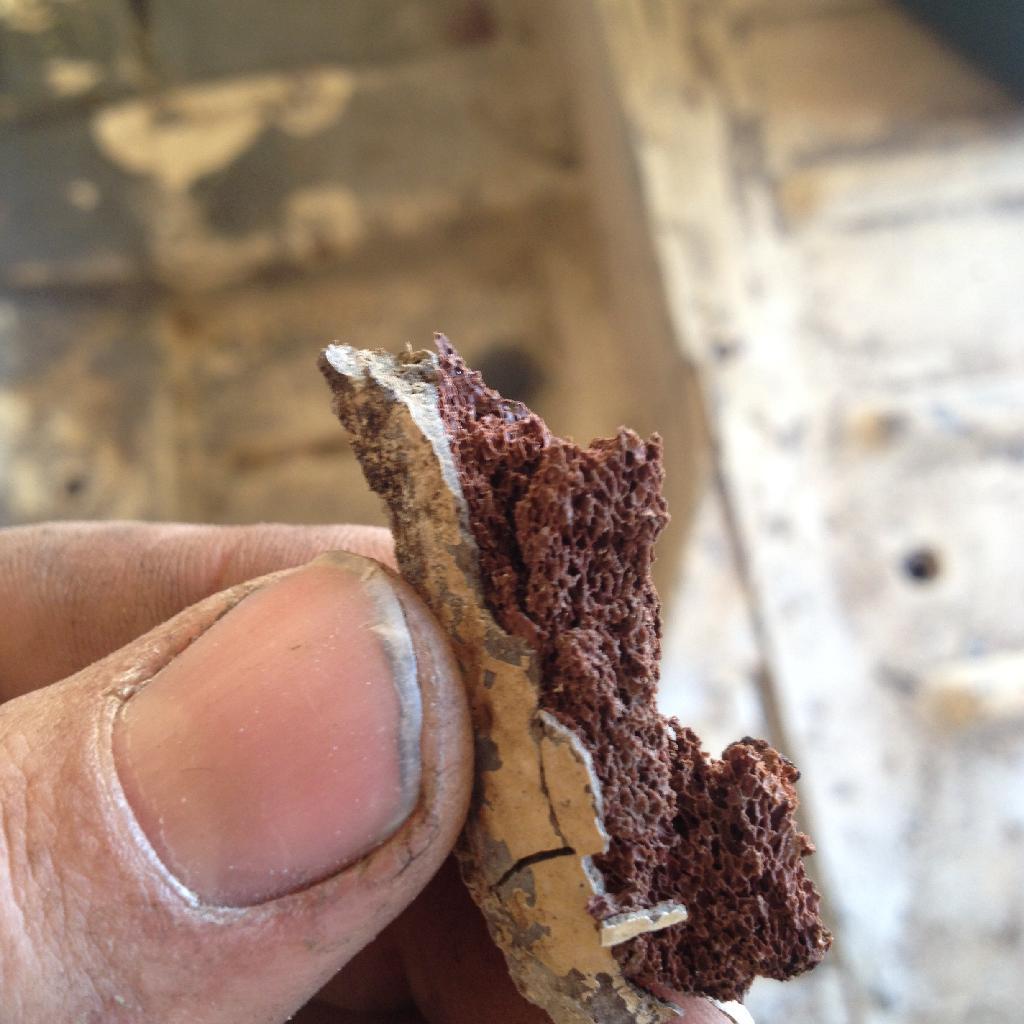
Got the rest of the liner out. Surprisingly little to no rust. I have two small pinholes at the seam at rear of cab next to support area. Seems they(guessing factory) used what appears to be some sort of foam bead in this area around the supports under the seam sealer. Moisture found it's way in and there is some very small rust in this area.
B8D2B3F9CAAC4296891FB0999F29331F_zpsnzby-1.jpg

A65F546F9E2A4284A7EDF656A7805B9C_zpschrt-1.jpg


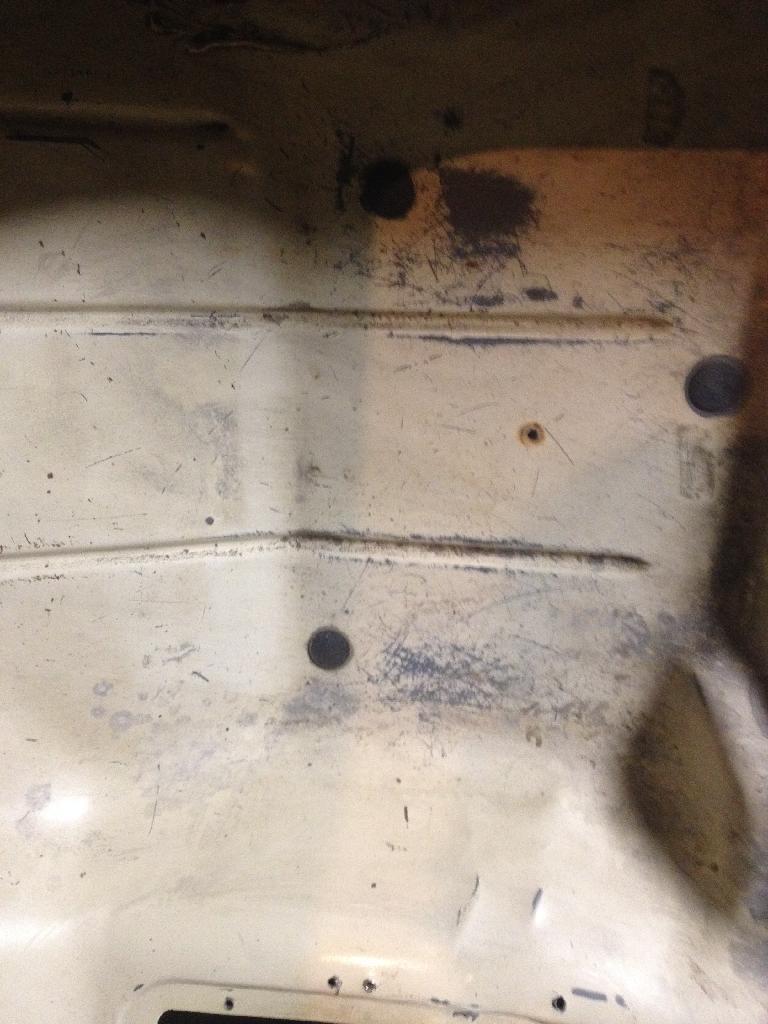
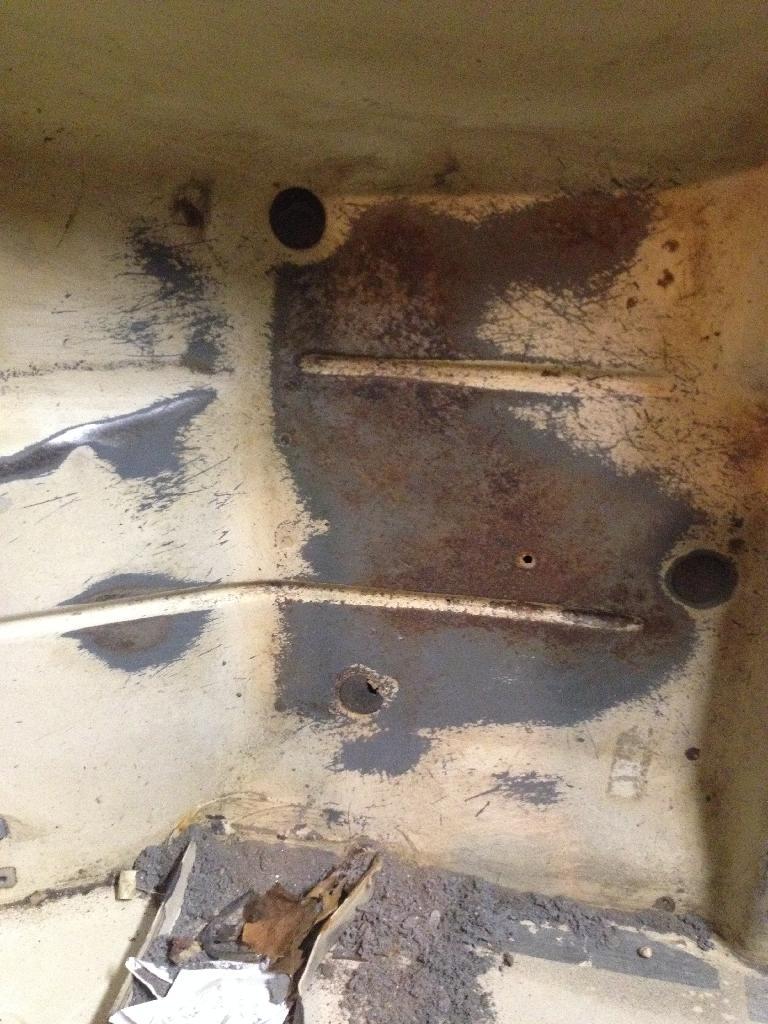
The floor pans are clean. I am pleasantly surprised.
6A0B844CD29047E0A3265C288101A7C5_zpsmzvi-1.jpg

12765BC5442B45079E512F51DF4EBA0D_zpsj4lp-1.jpg

77C6B1FB04E447258EB23B01C4331E02_zpsqvum-1.jpg


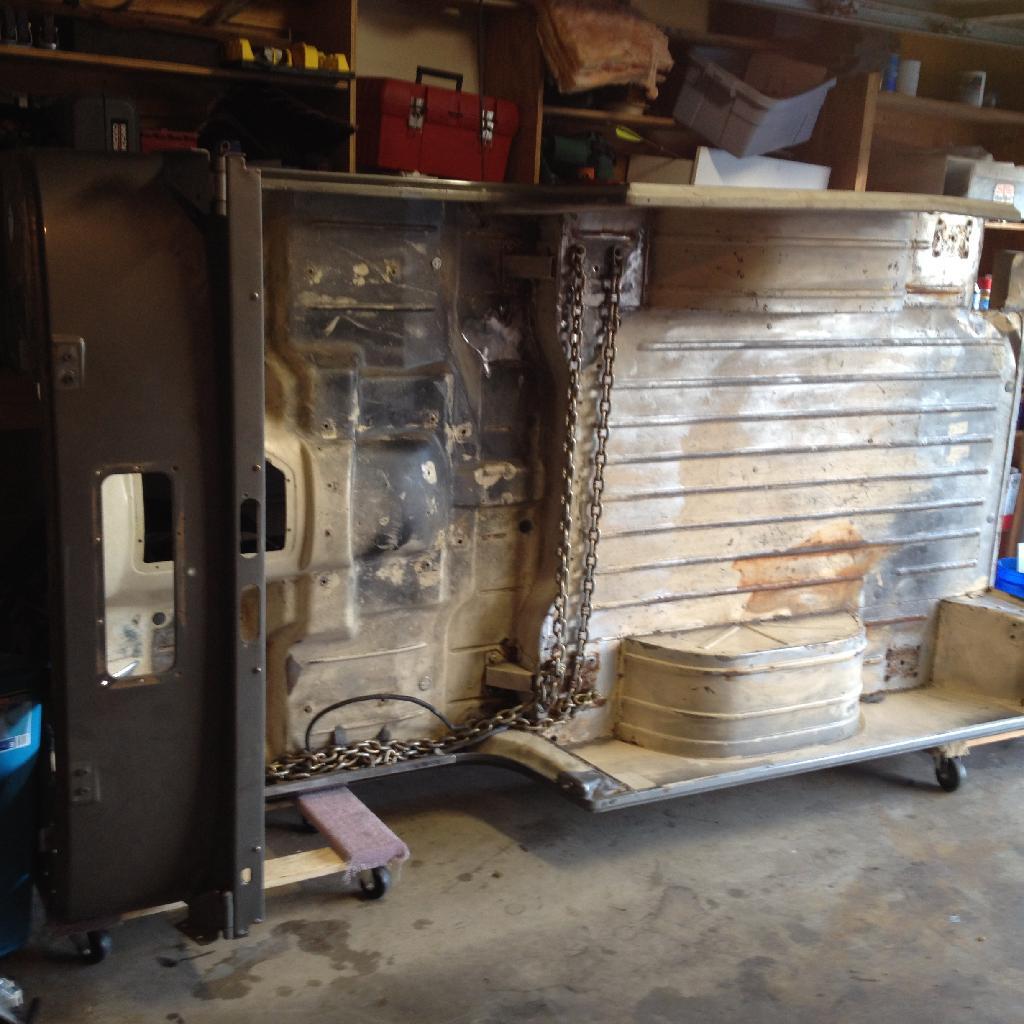
So I didn't take any pics of the removing the tub process, as I did it by myself and was extremely worried about dropping it. I used my cherry picker and put a chain from front roll bar bolts to opposite side. I also ran the rest of the chain across to another set of bolts as backup incase a bolt broke or somehow pulled out.

Tub is off.
71A52C0FC45440EB9CA686B492E6643E_zpsjike-1.jpg


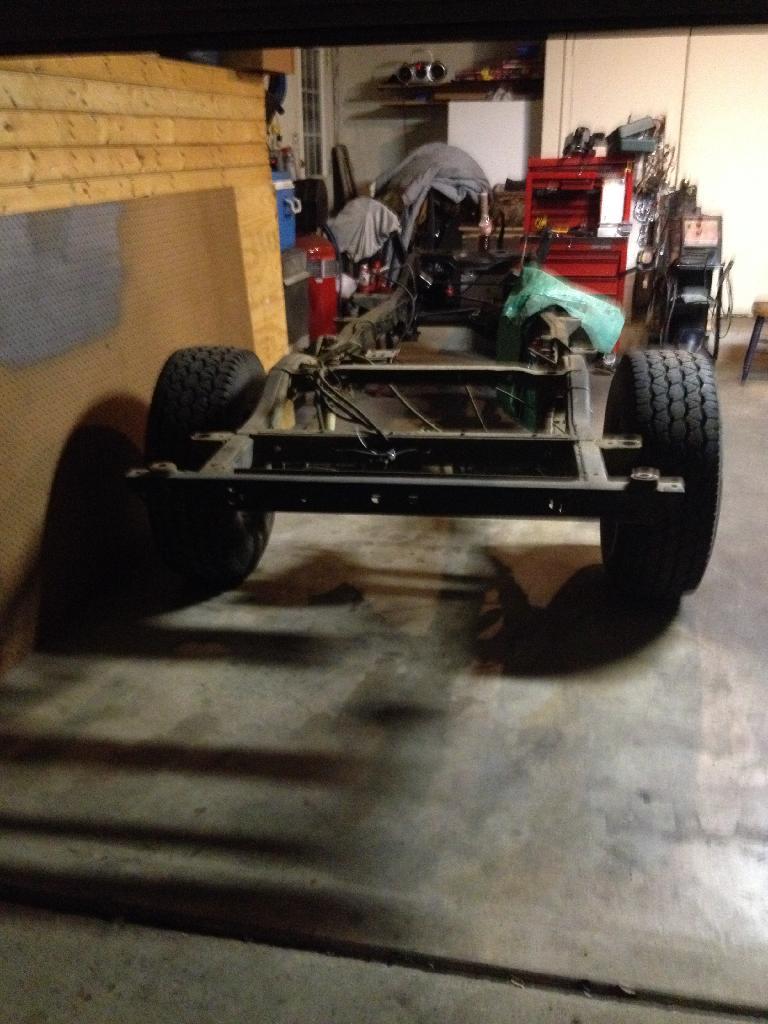
Frame looks great.
170AC9A8C65A4133B0C8044B40326C52_zpsv7p7-1.jpg

BF7D7B7922244C7BB91EBAF35C943029_zpsrtuc-1.jpg


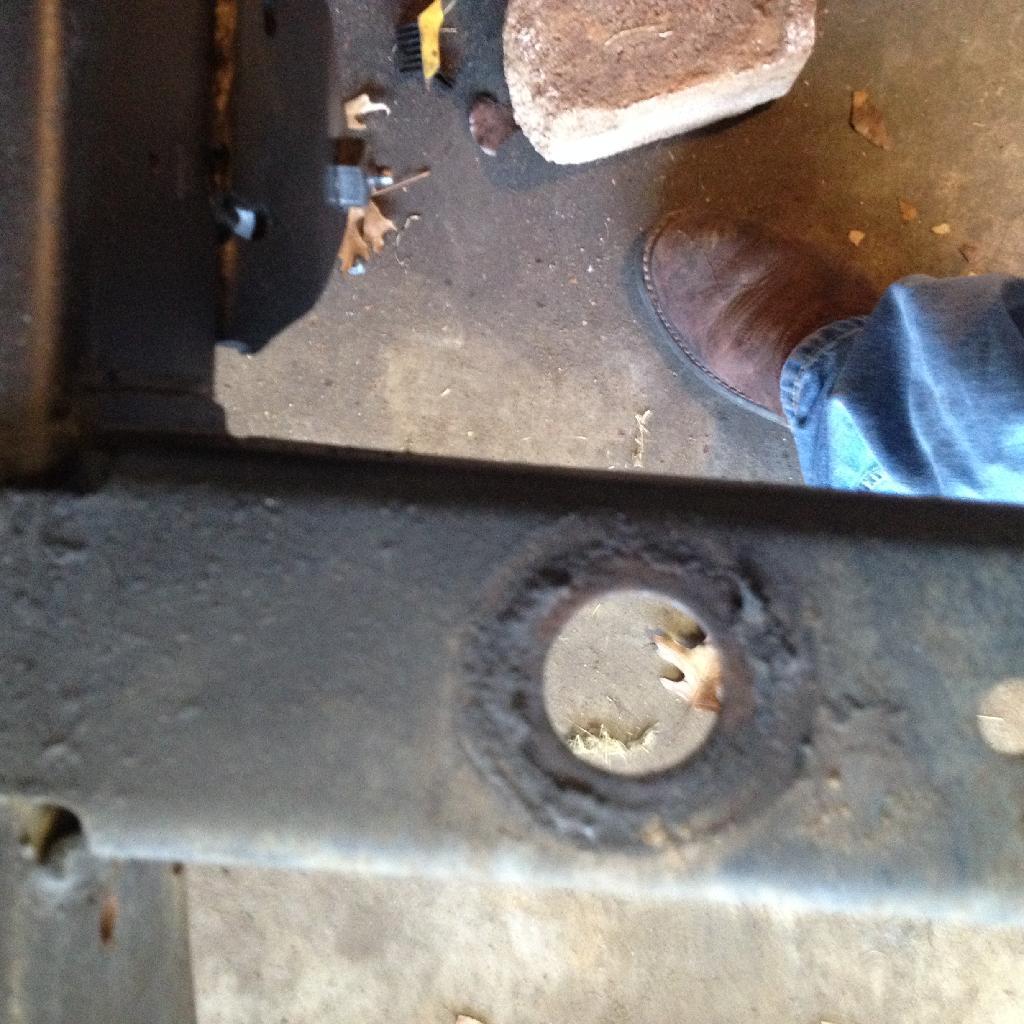
Going to have to do a little fab work here on the third from the front body mount, no big deal. Both sides look like this but the rest of them look great.
4F9A287D37D048A5A30527DF833712A0_zps9bjt-1.jpg


Continued...
 
Looking good!

Brake booster looks like an aftermarket dual diaphragm. Should work pretty good.
 
Next up I installed the goferit offroad tie rod flip insert.

I cleaned the paint off of the knuckle(just painted this two weeks ago).
7E152B6B018E49D3BE60C433B1340102_zpsjcfg-1.jpg

3FC8F80EA0554744BA9491F274688ED9_zpsnjeo-1.jpg


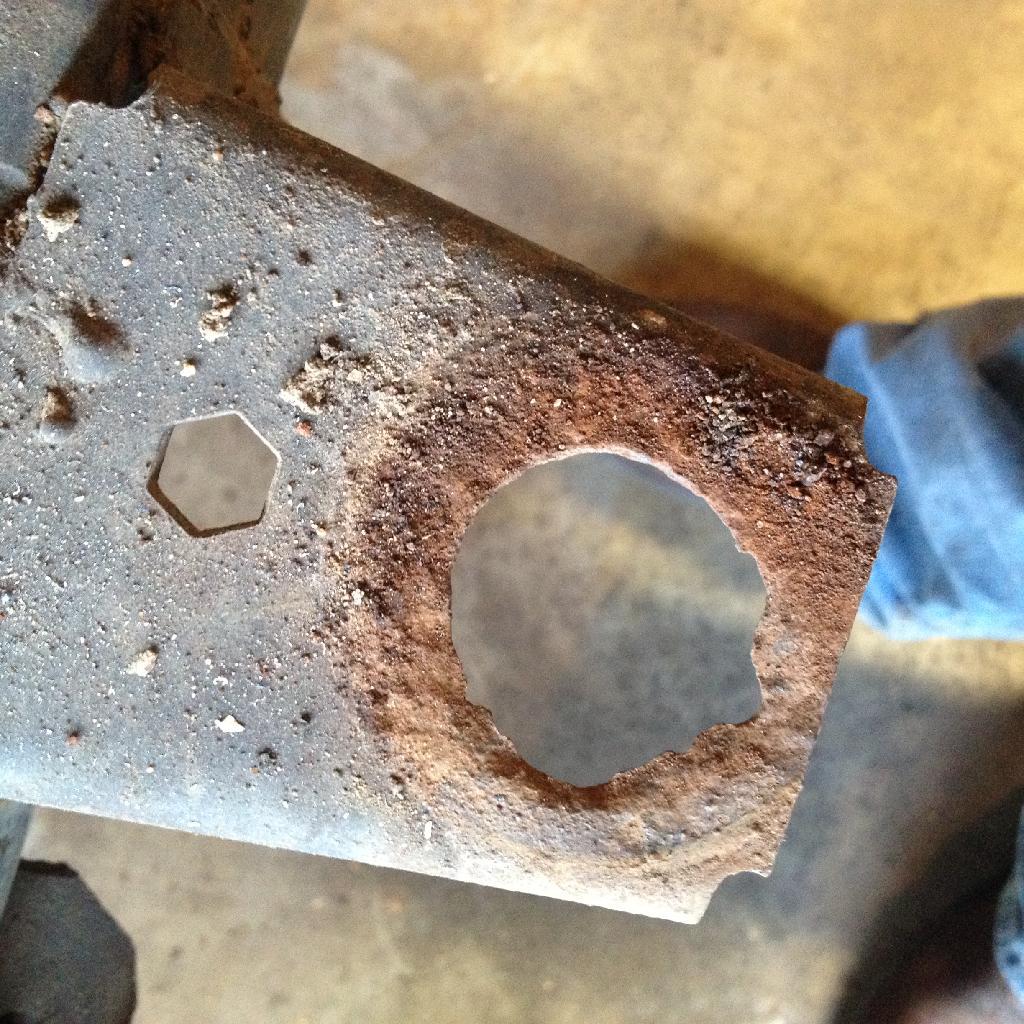
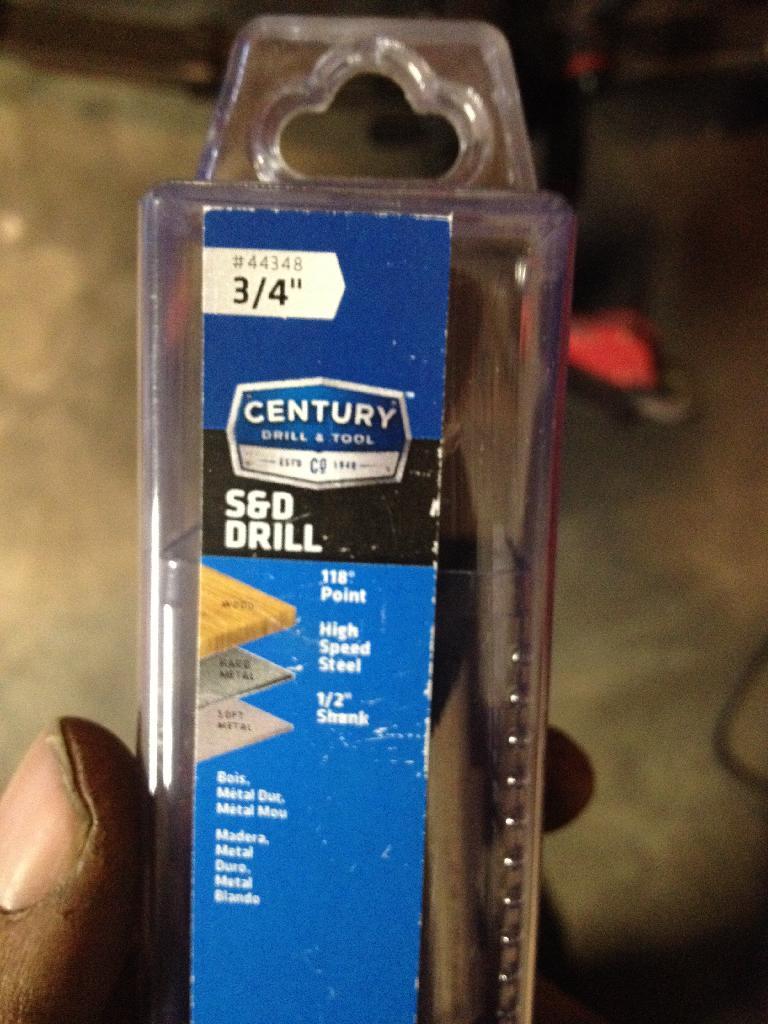
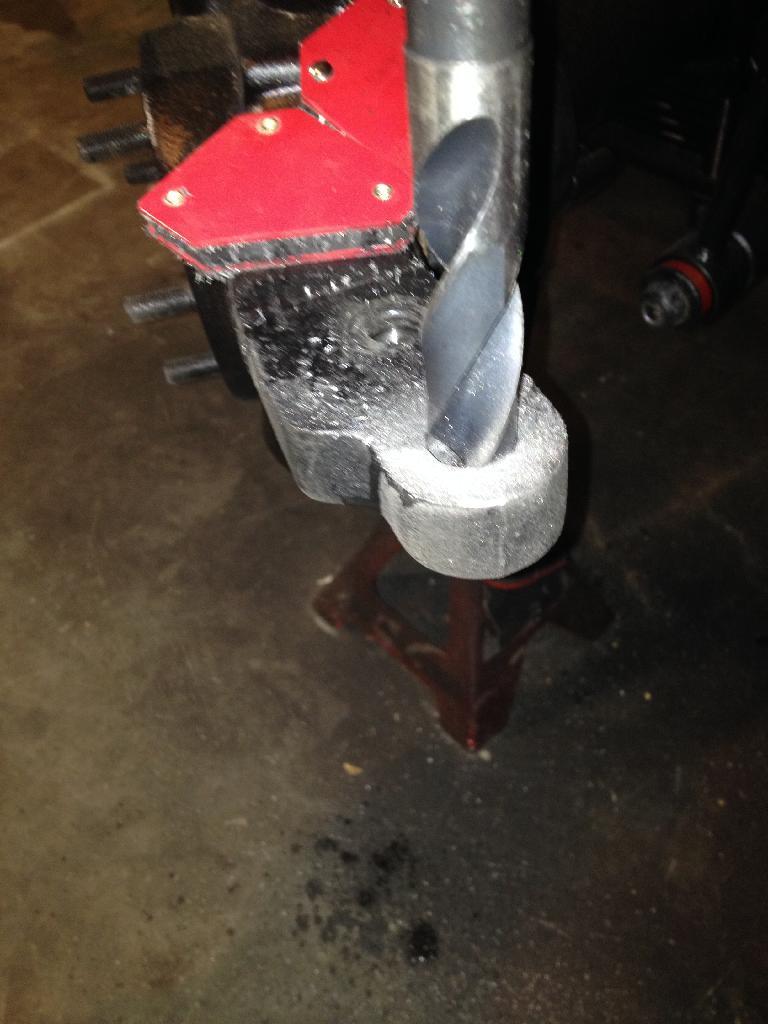
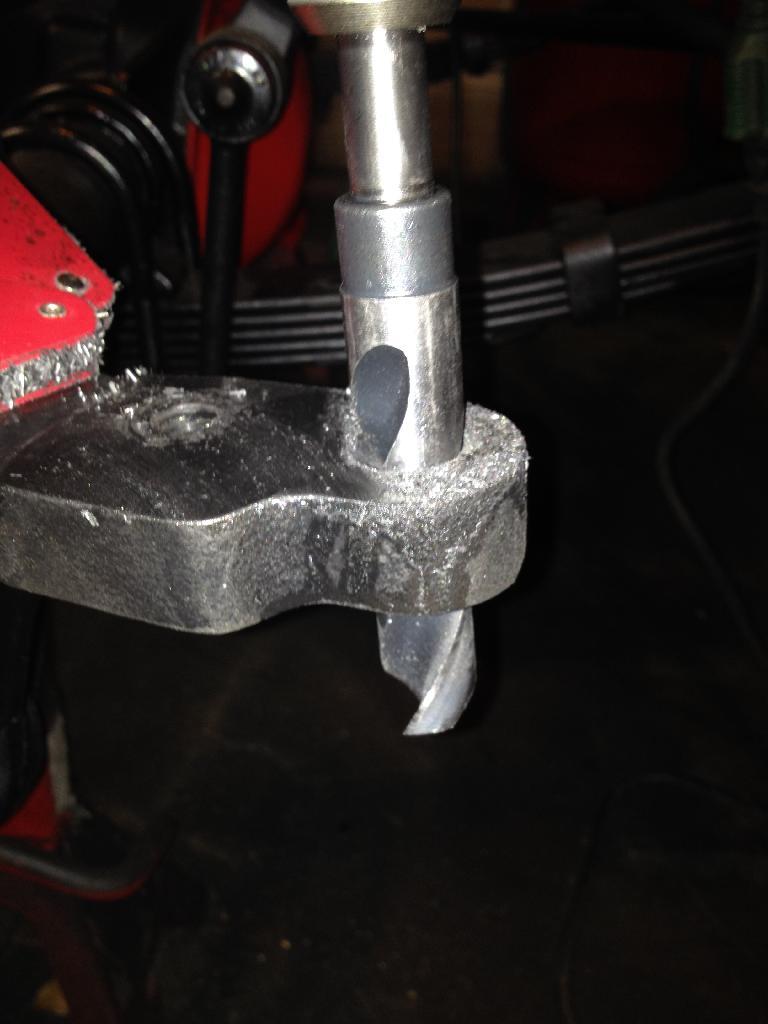
Next I drilled the existing hole out to 3/4"
A04BD2A9E55F47D5836F3BBE5BF09A6F_zps7qaj-1.jpg
16C83DDCF84B4308B975FD47F829C983_zpsbnxo-1.jpg

9F78446CCD674D4881DD5431596B0AEF_zpsjjqa-1.jpg


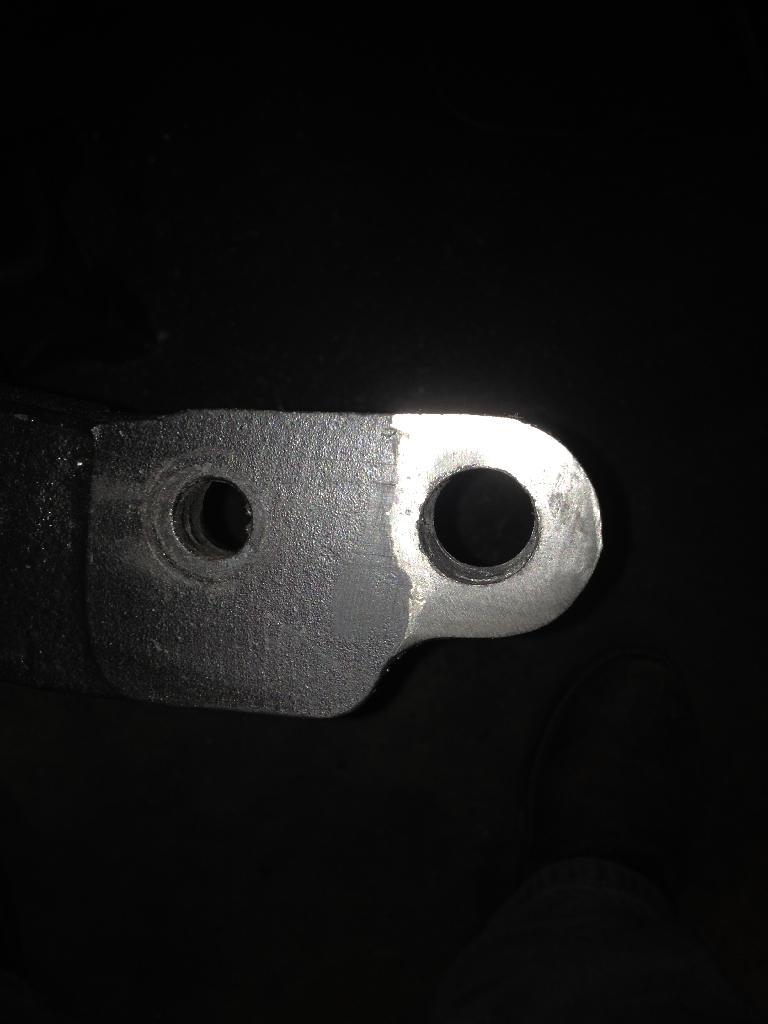
Finished hole. It's straighter than it looks in this pic.
B27BFB6F55AB40C890E46023F24183FB_zpshpjn-1.jpg


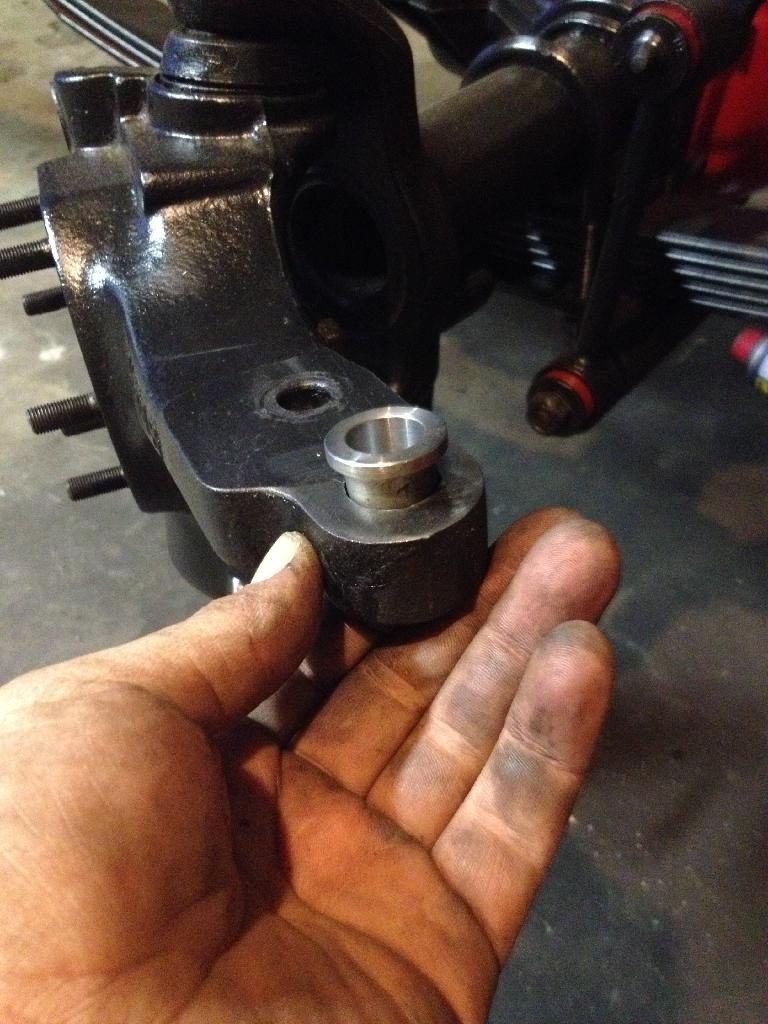
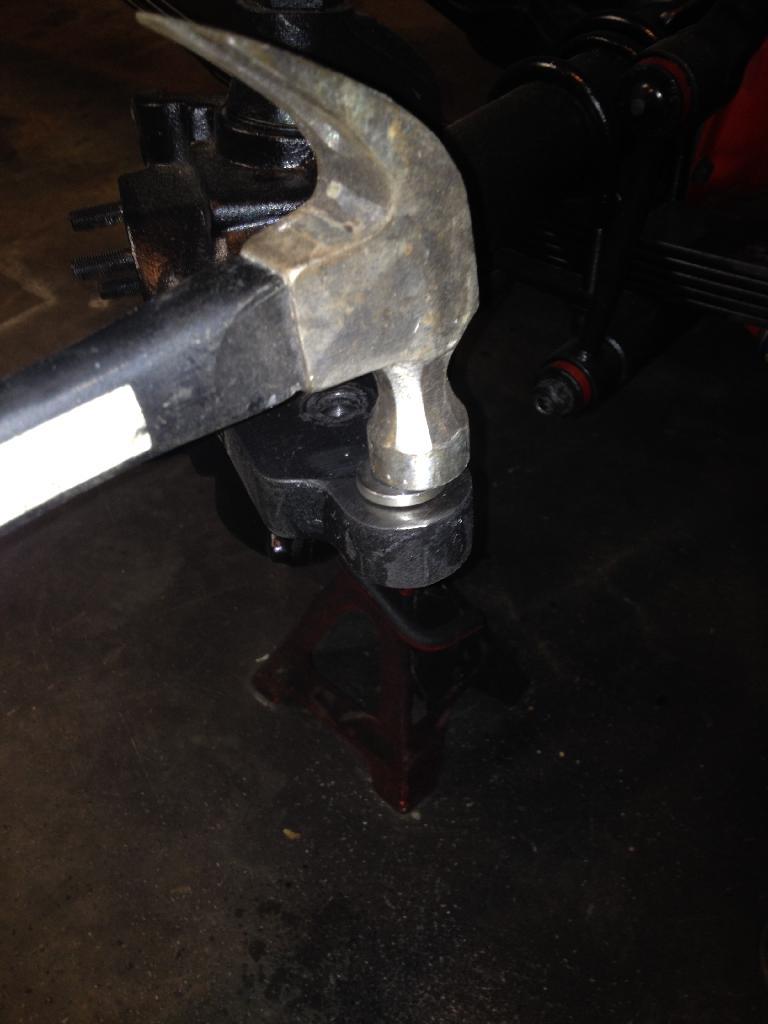
Put the insert in the hole and tapped in with a hammer. Didn't take much force.
A7FD240E497D41C9888DA4470E938933_zpsdeio-1.jpg

85F4EBA52ECF41B29FEC1C98CA5C5B3C_zpsk2dq-1.jpg


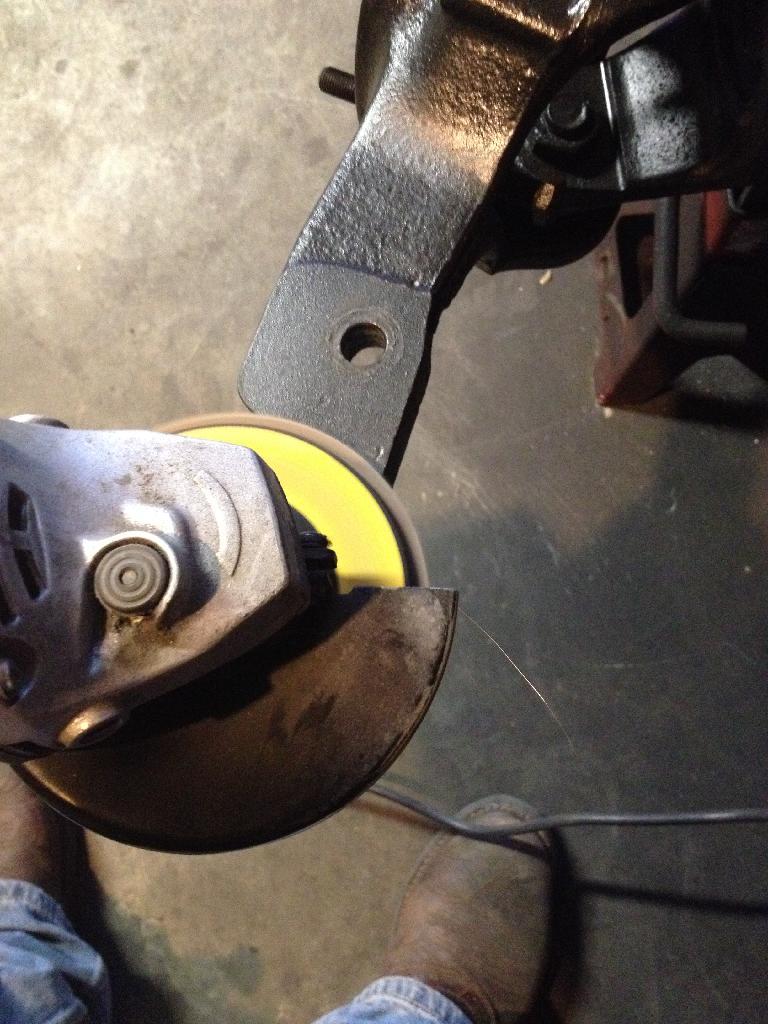
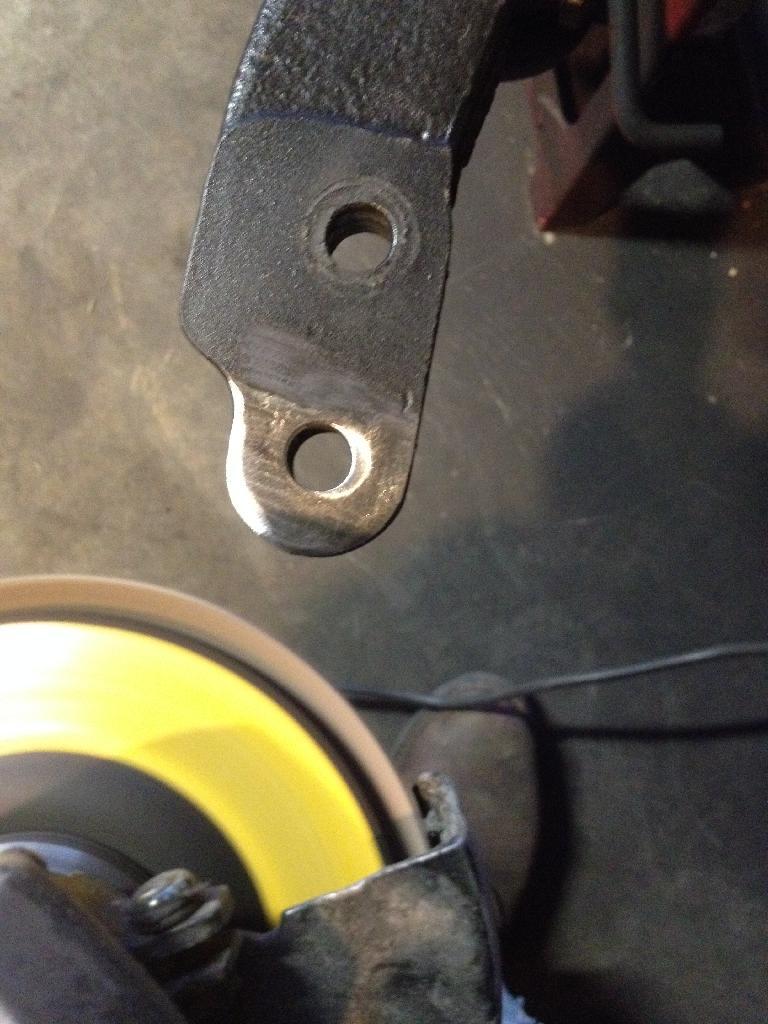
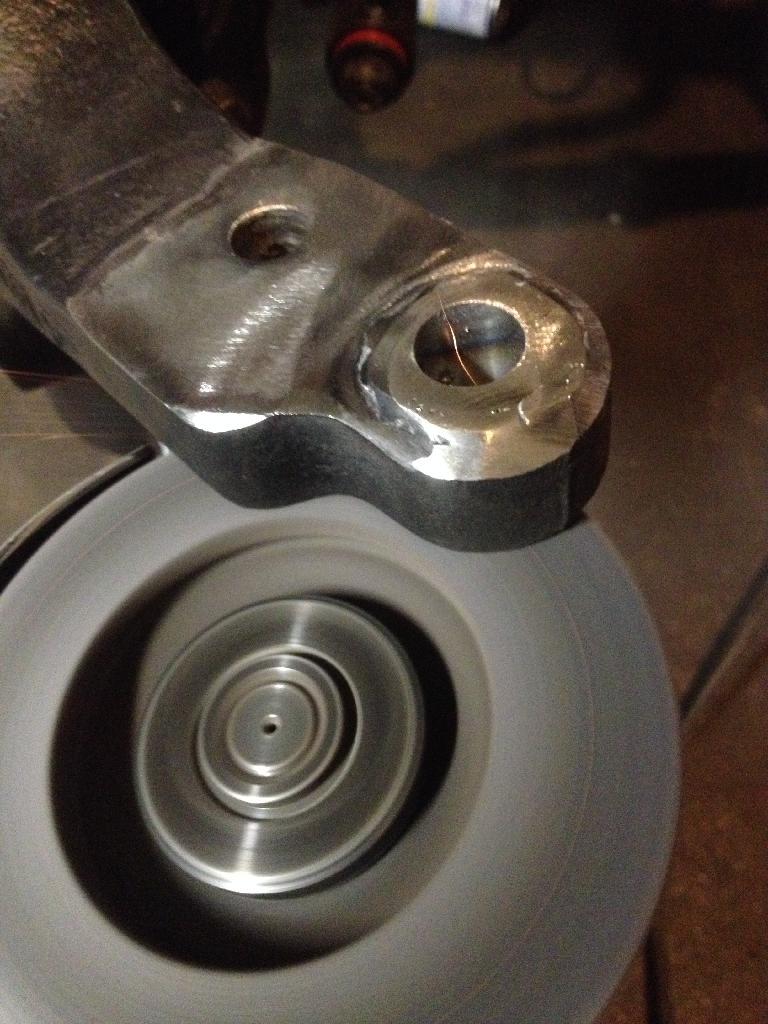
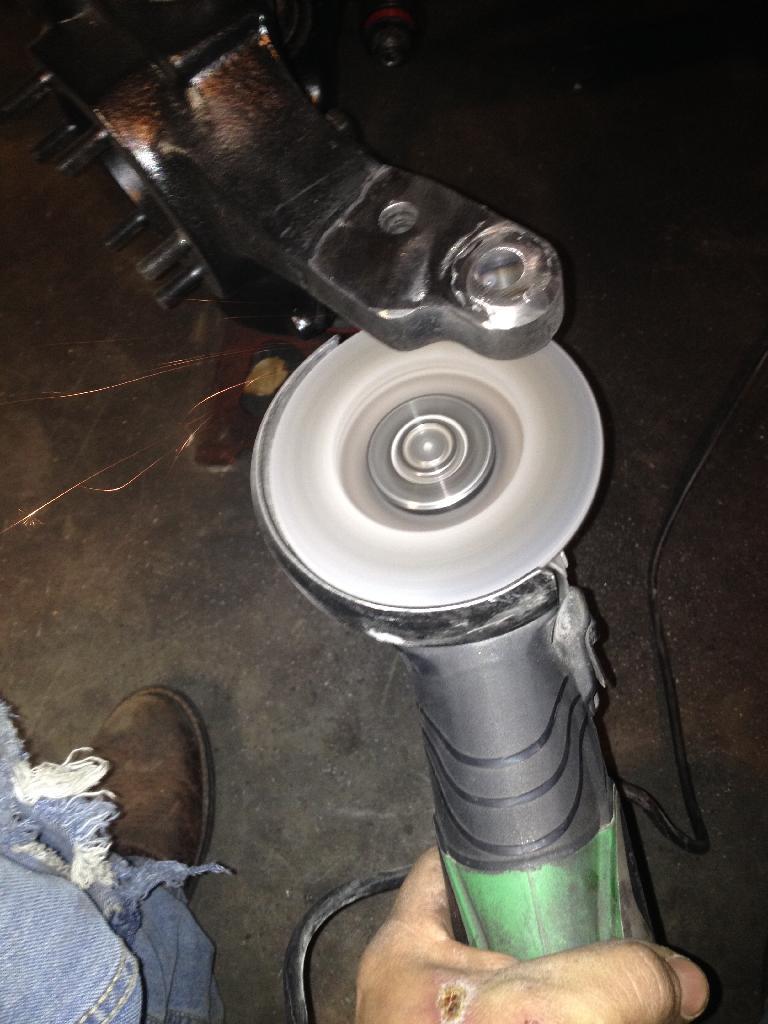
I then welded about a half inch string line on all four sides of insert and cleaned my slag and welds up with flap wheel also attempted to flatten top back out as my weld was a little high. Then I ground the excess insert that was sticking out the bottom of the knuckle flush. There was maybe 1/16 of an inch visible.
752C6A079EDE456A96048469CAB0754A_zpsmmai-1.jpg

5939FAC374D14A22B6E50A8F7DCCF732_zpsbunh-1.jpg


to be continued....
 
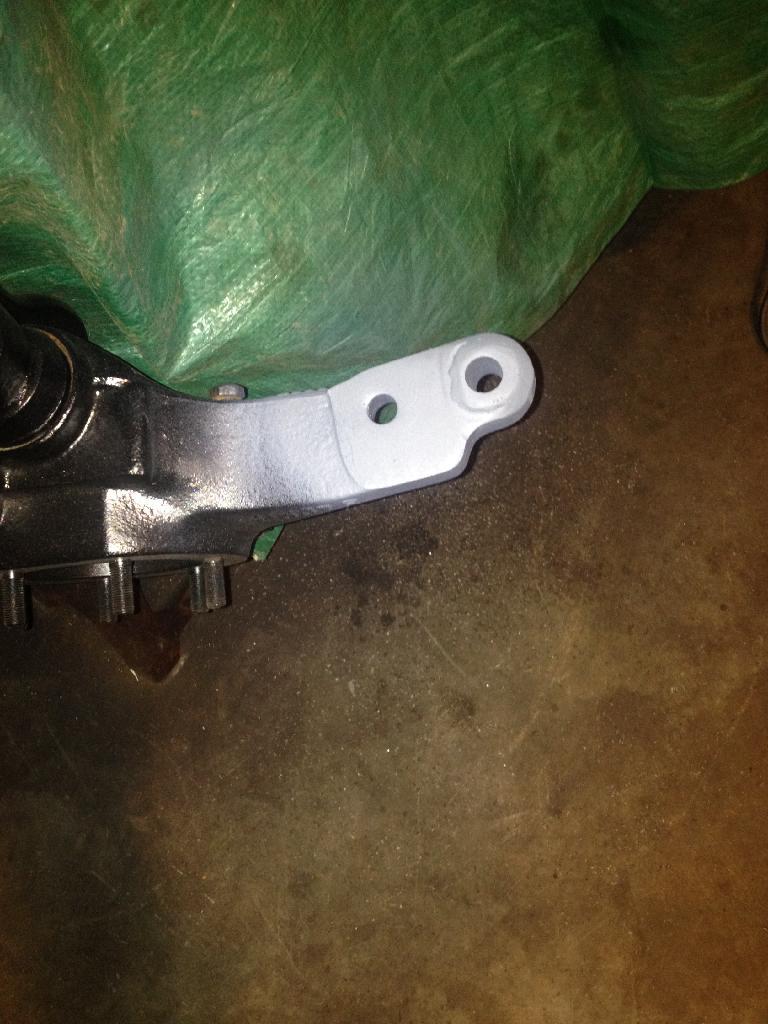
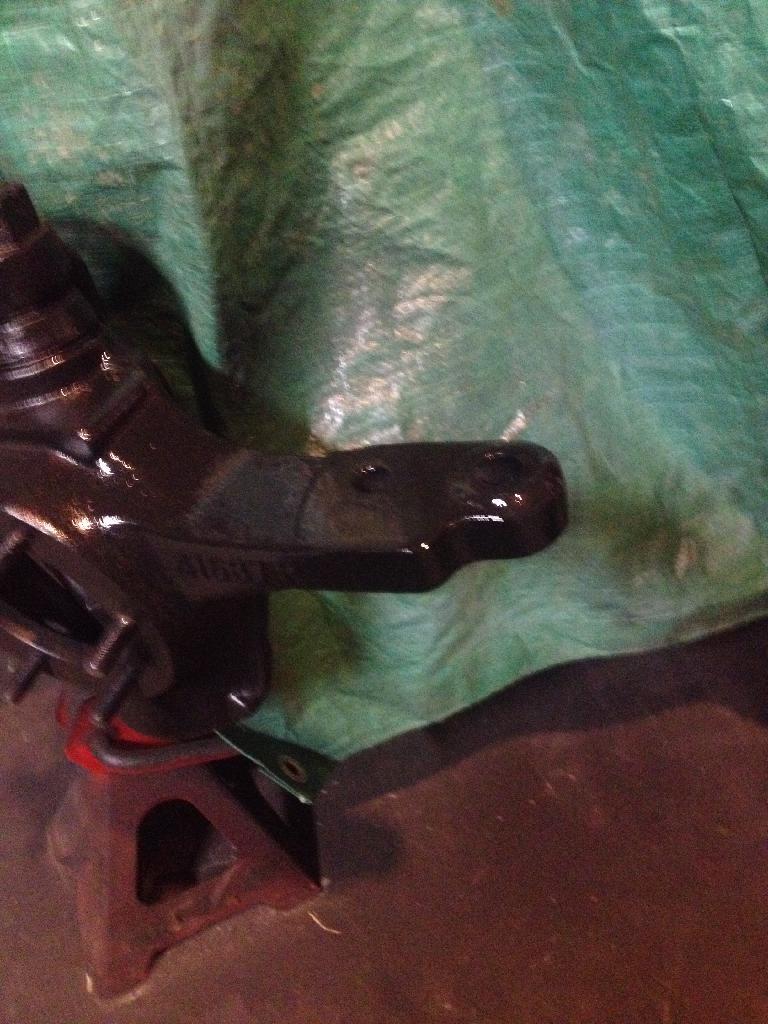
Next I cleaned the knuckle and primed/repainted it.
996A714663B143719577A0D7B9E1C54A_zpsozgu-1.jpg

F49F0566C3F54950A592B4845C161313_zpslsxa-1.jpg


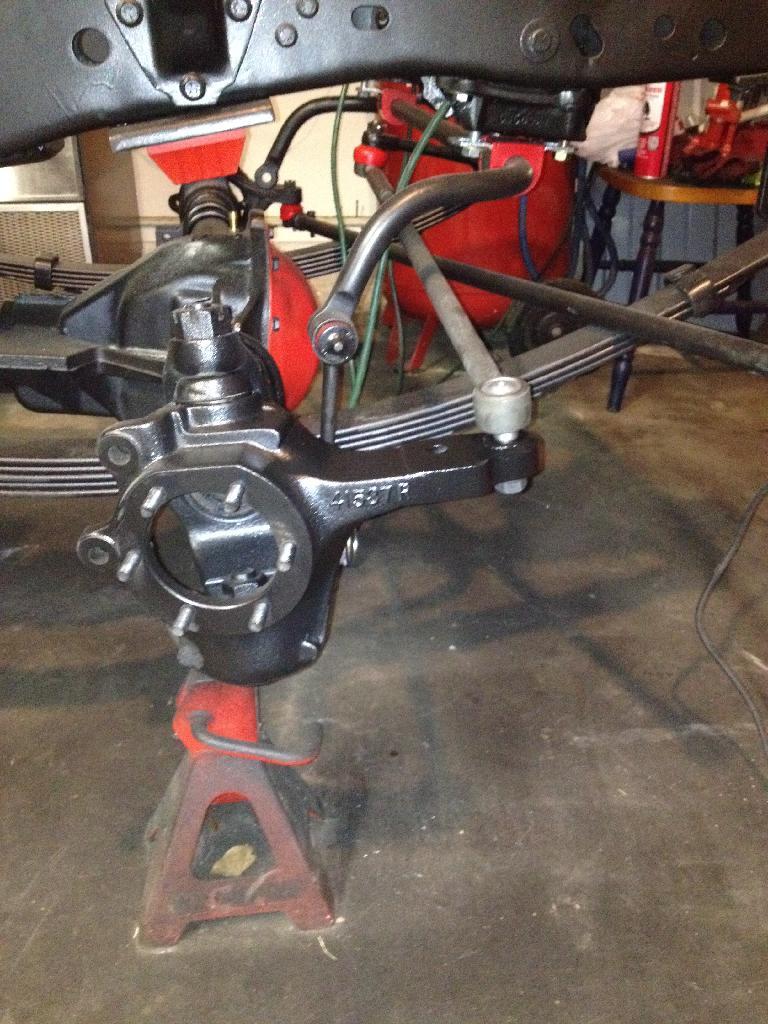
Then I set the tie rod in and put the supplied bolt on but didn't tighten it up yet. I still need to pain the tie rod(will do tomorrow).
88A329416F524AF6986F3E01D4DC7E74_zpsmott-1.jpg


My tie rod angle isn't horizontal but is a lot closer than it was before.
202DC5F9BA7A4727BC948C644CDF90AA_zpspqi4-1.jpg


Overall this was an easy modification. Maybe took me 45 minutes. If I had it to do over again I would probably just get a reamer and do this the right way. I feel like it has weakend the knuckle a little as we have taken a lot of material out by drilling such a large hole. The other problem I don't like is that they want you to just use the supplied lock nut they give you. I think a castle and a large washer will be what goes on the tie rod end and if that doesn't fit I will drill the nut and use a pin through the hole to keep this thing from ever backing off.

I probably wouldn't go this route if I planned to keep the dana 30 forever but eventually I will be rolling on a stronger set of axles with lockers. This will do for now.

So what do you think?
 
Back from the dead thread

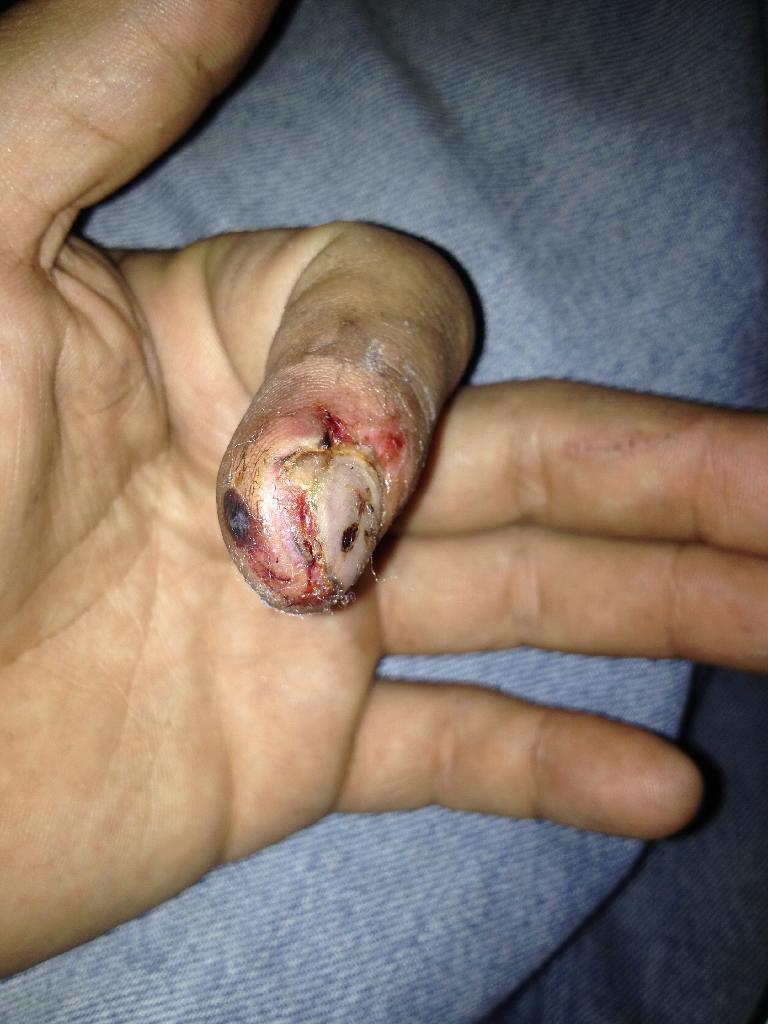
Well I'm still here plugging away. Did have some down time after I smashed the end of my finger nearly off with a body hammer and a dolly.
F7DFD5A1549A458E81B7997EE5E52C59_zpsglpu-1.jpg


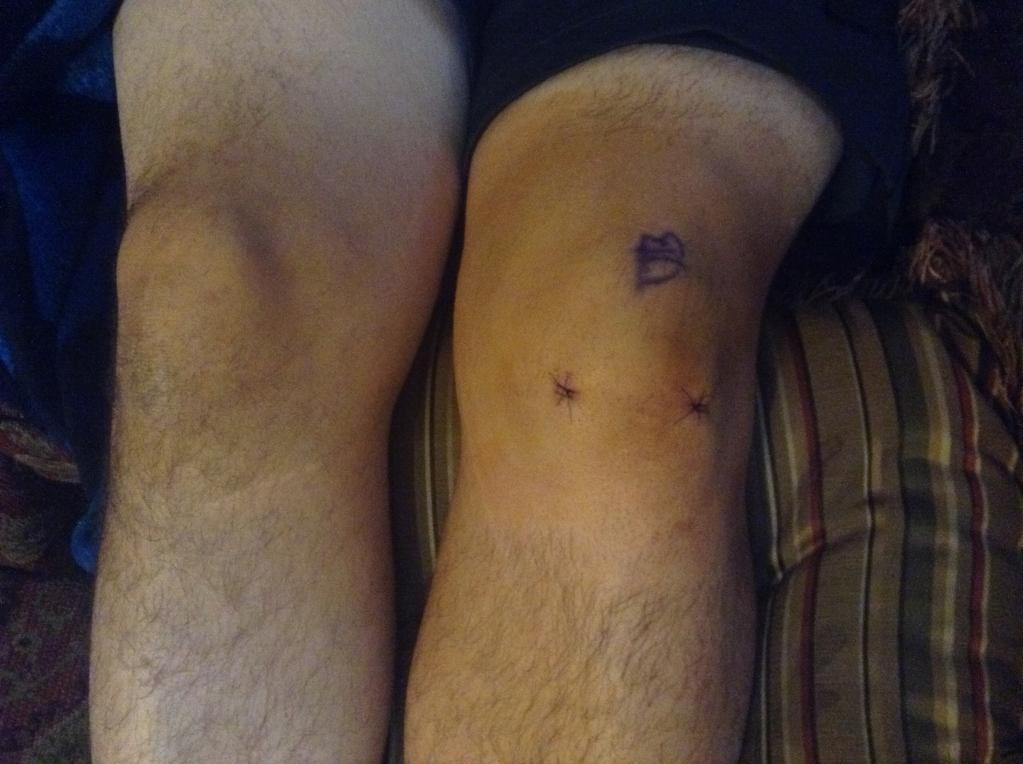
Then I tore up my knee at work. Surgery three days later.
1a043fcd5224c998c7dabbf12ae89f16_zpse320-1.jpg


I wish I had a cool story to tell but I was getting off of the fire truck and missed my step.

While I was off work recouping I decided to have a vasectomy. I will spare you guys that pic.

It was a cold miserable winter here in Tulsa and I don't have a lot of motivation in the cold. I did craigslist a few good items though. I got a set of smittybilt CJ tube fenders and a smittybilt bumper off of a yj that will fit with a little fab work. I also bought a sand blasting cabinet for the small parts and it was a great little investment. It makes cleaning rusted little parts almost fun. I then had to upgrade my compressor and just happened past a yellow sticker on a 60 gallon unit at lowes that was returned when the previous buyer realized it was a 220v. 25% off.

Ok Back to the scrambler. When I left off I think I had just welded new body mounts to the frame.
2FF0E274A74B40348ABB893DDCCC3E9B_zpswyij-1.jpg

451B2E5E8EBE454BAA16405283362CF6_zpsacrx-1.jpg

FB6D7DB5D9144D279351A151900CBD3C_zps7dud-1.jpg

Grounded down my Nasty welds and a hole saw and it looks like new.
 
Back from the dead part two

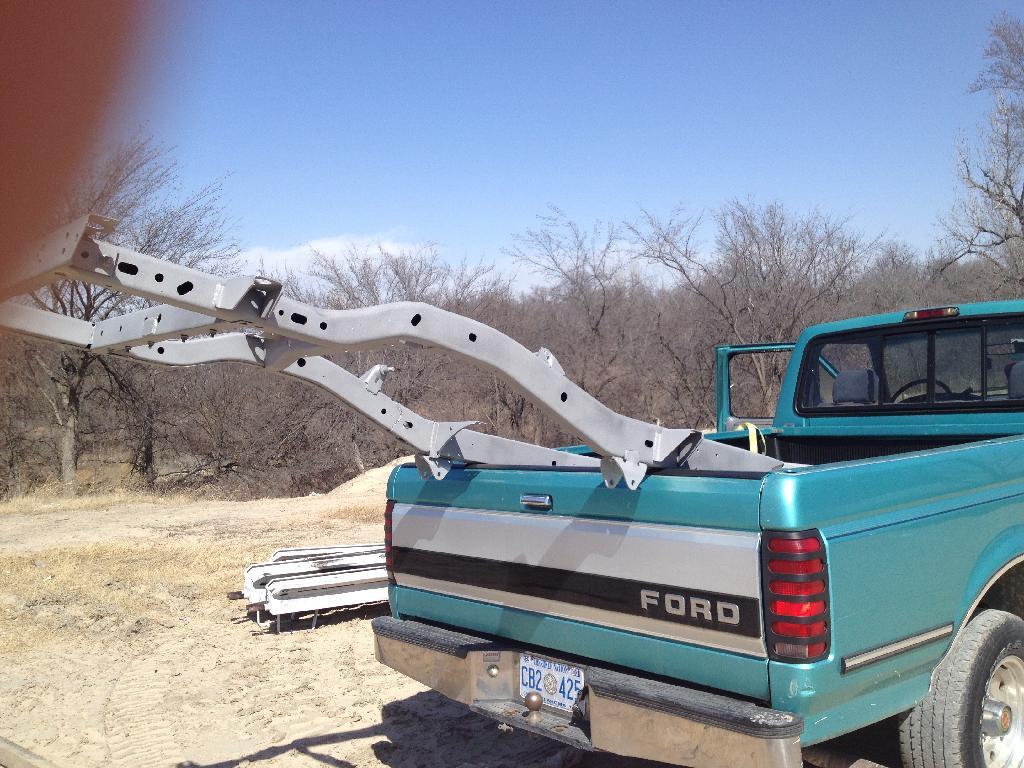
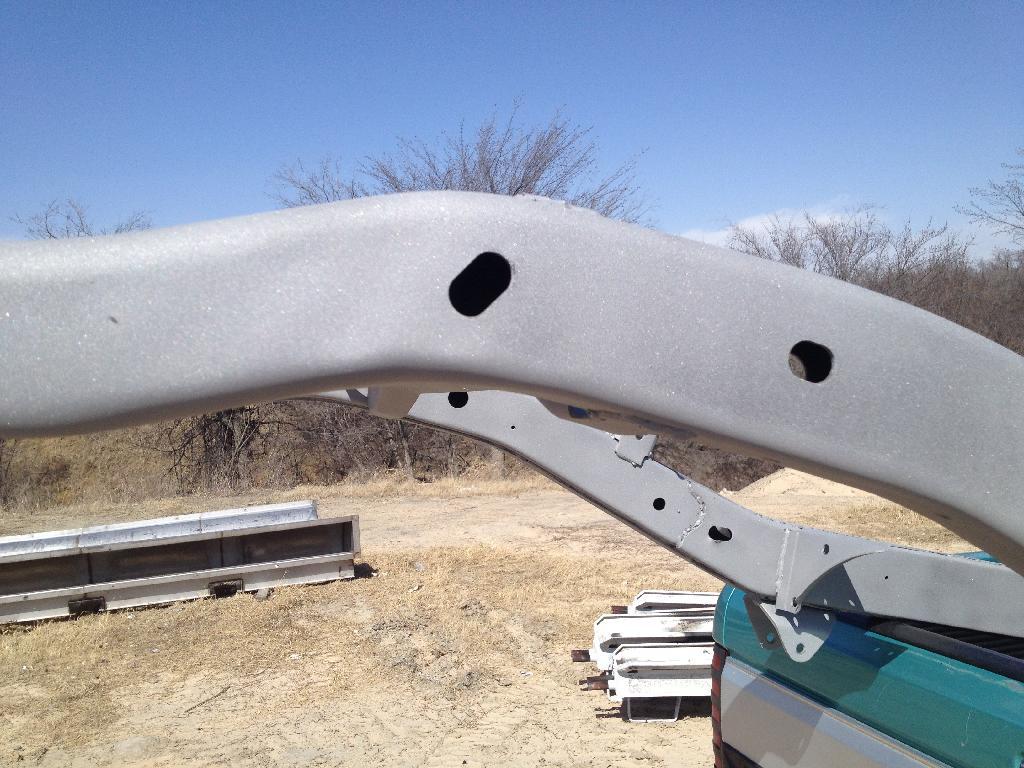
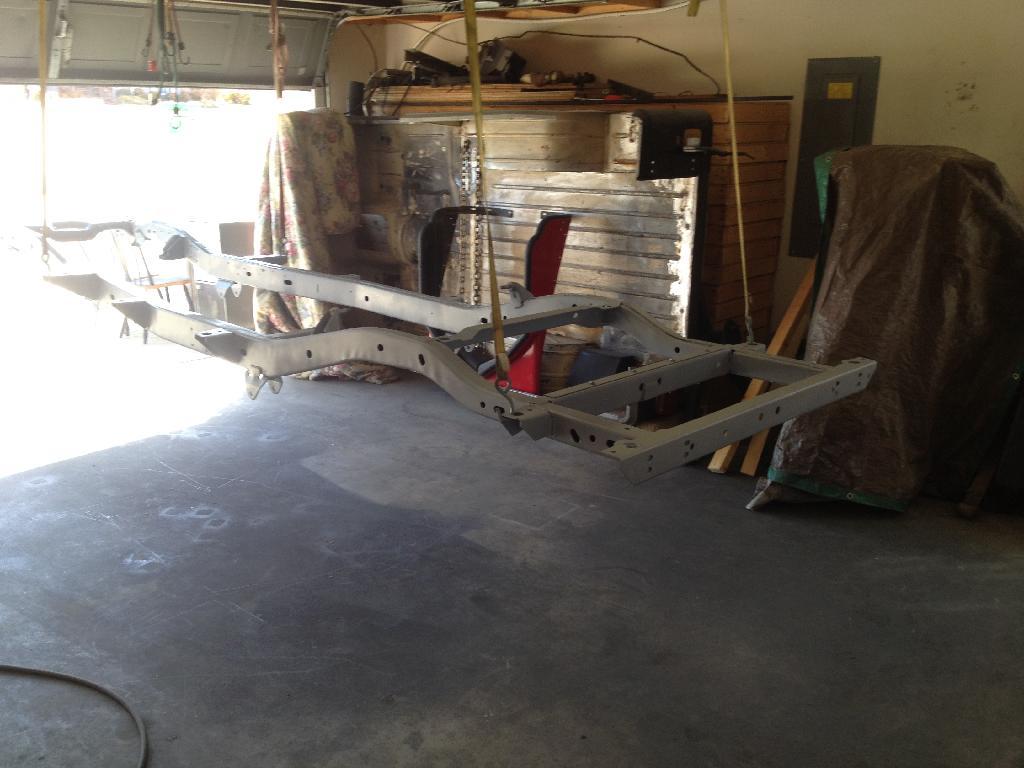
Ok I took a couple of steps backwards and stripped the frame down bare again and took it to be sand blasted. I figured if I added up the cost of flap wheels wire wheels and my insurance Copays and it was cheaper to get it blasted. The less time I have a grinder in my hand the better off I am lately.

2D6BFF920A524BC185605C4AAFC6C5E1_zpsvvw1-1.jpg

DEE081903ADE427993668E9241FAAB30_zpsvb2r-1.jpg


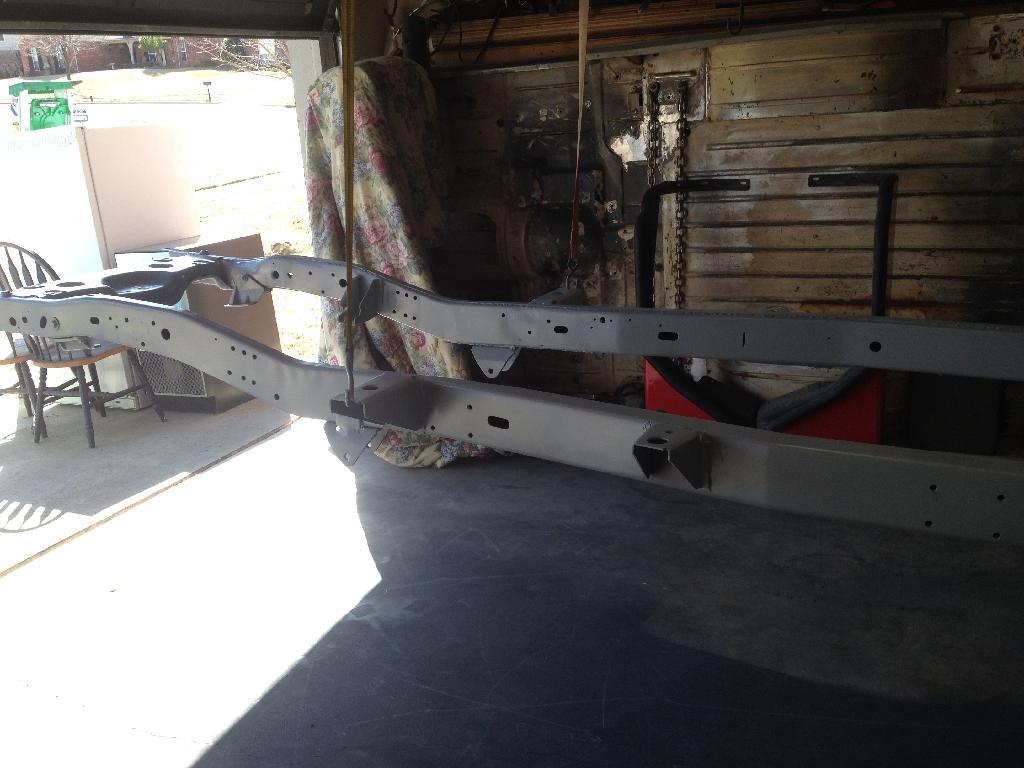
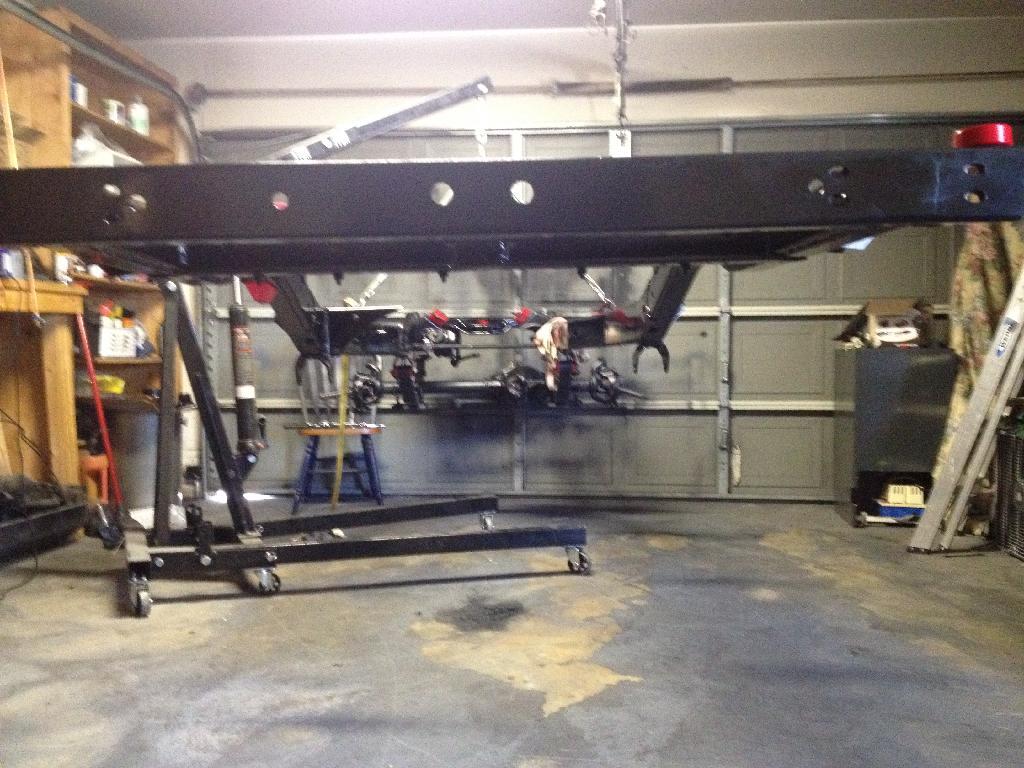
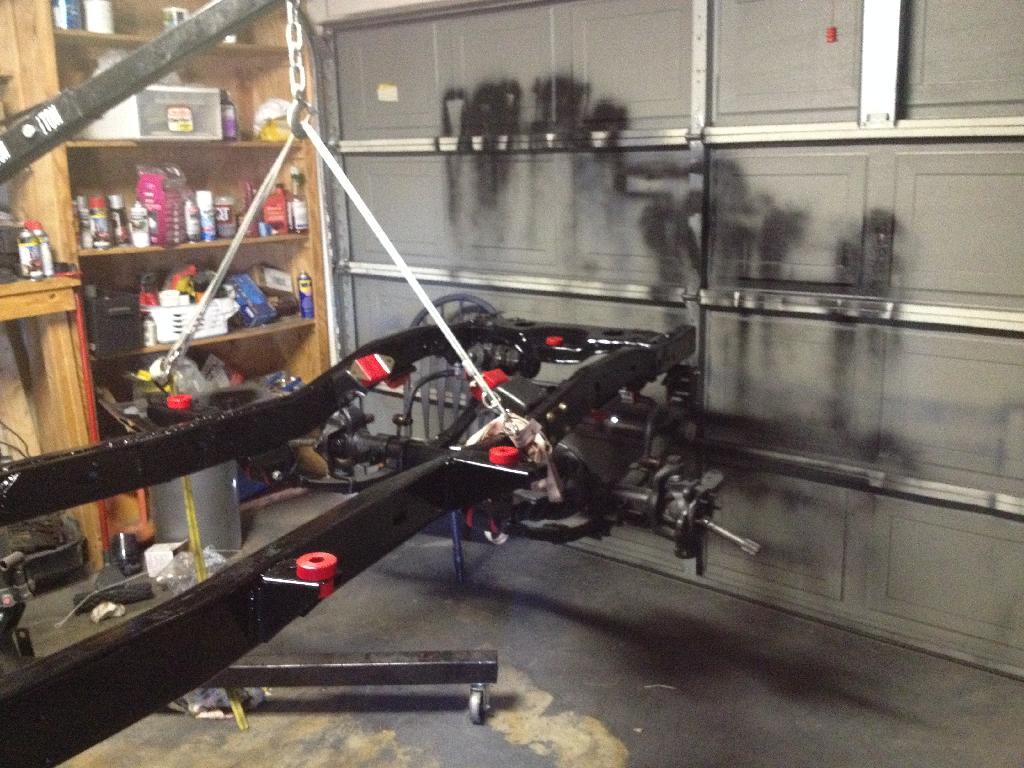
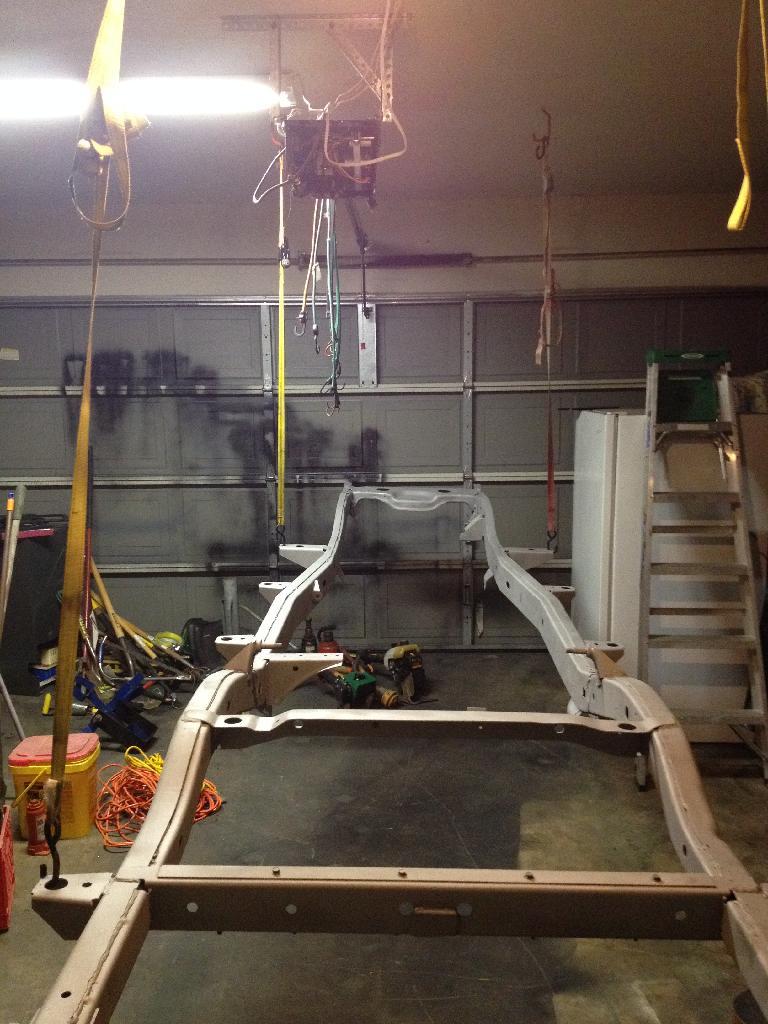
Hung the frame from the ceiling with hooks and ratchet straps for easier painting.
B96E1E7B7632449693BA7BD4544BB015_zpsrdes-1.jpg


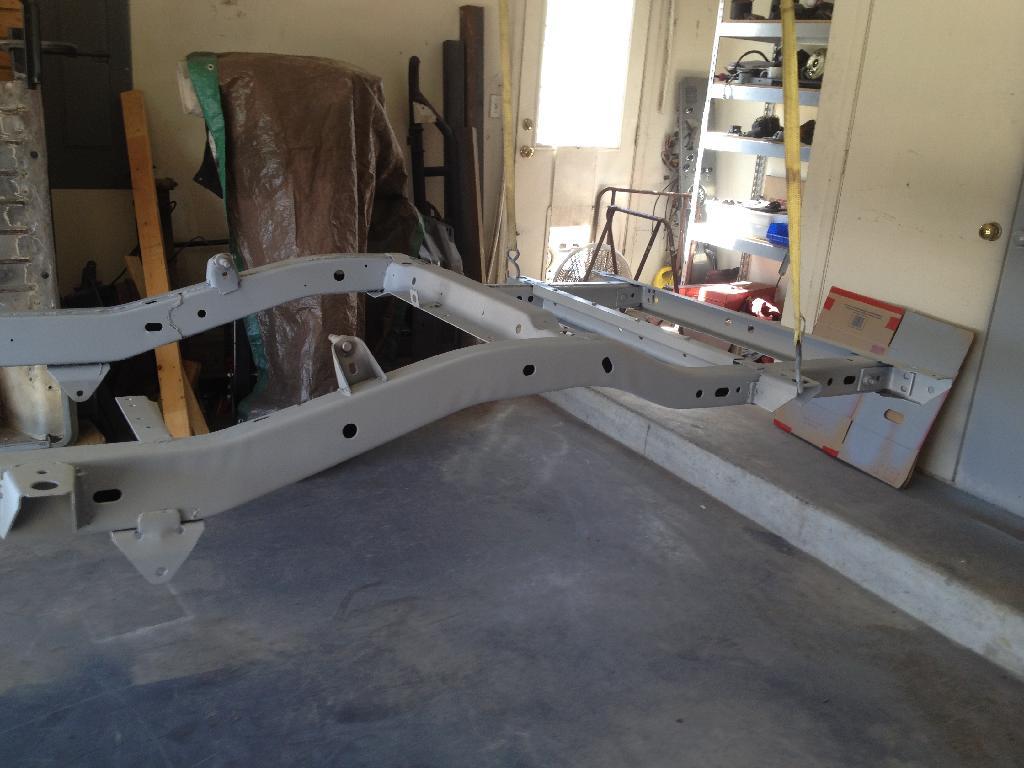
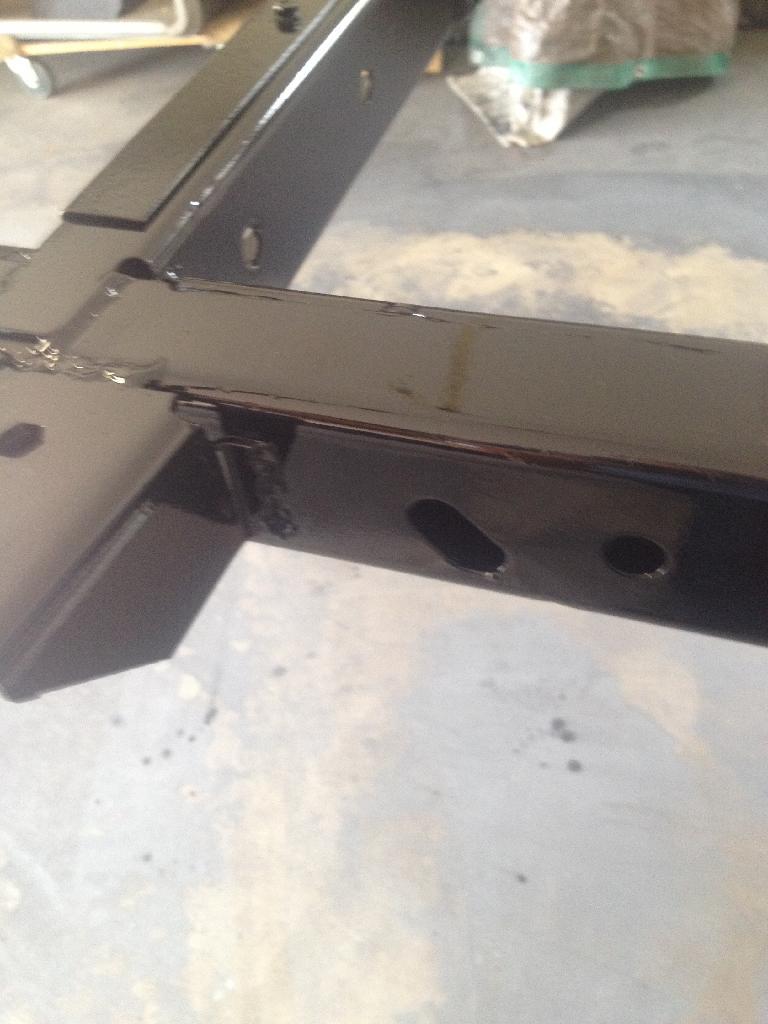
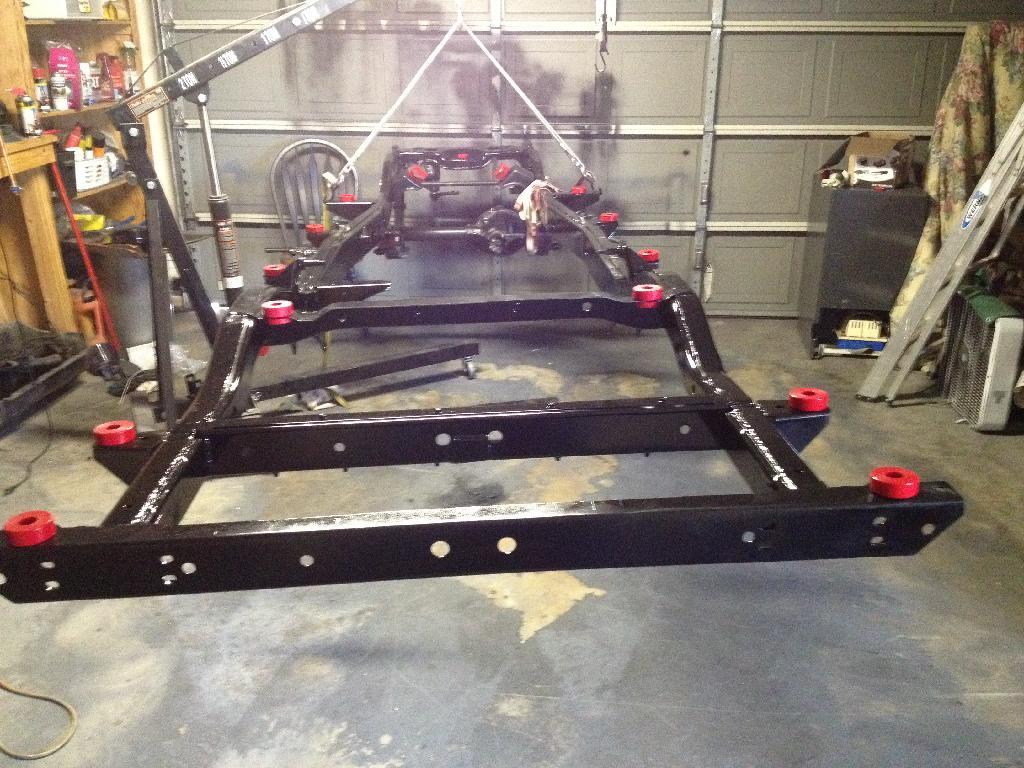
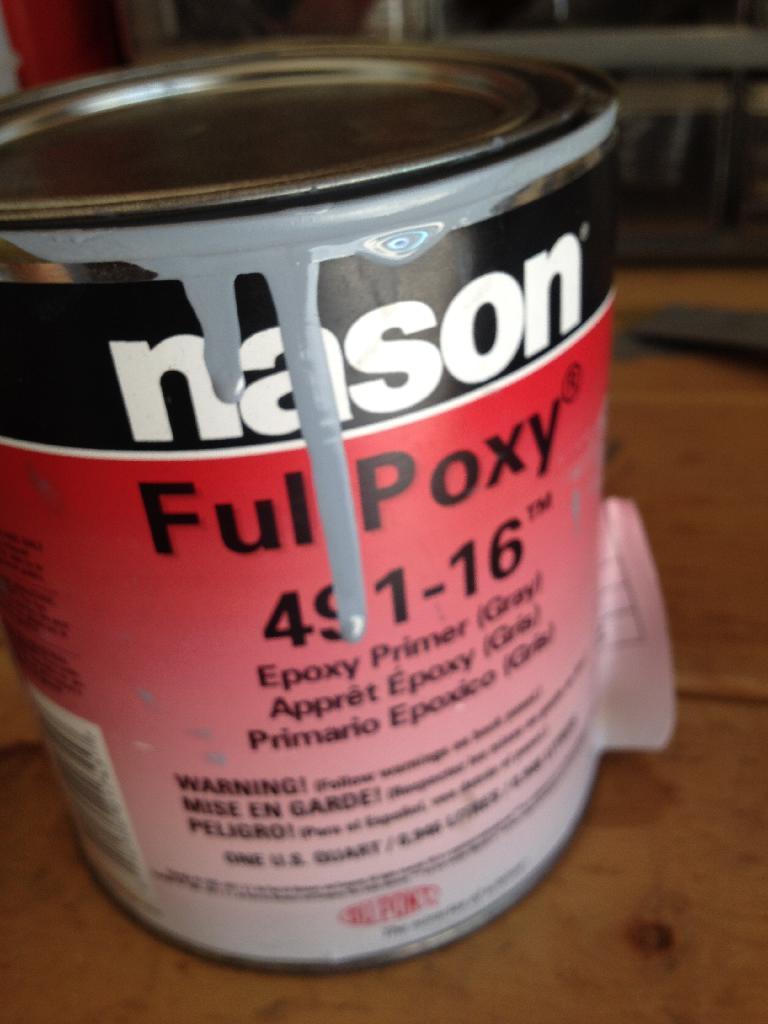
It got two heavy coats of Epoxy Primer and two coats of single stage urethane. Turned out pretty good minus a few small runs and some dust that I let blow in after I finished painting.
C2B32399075140BCA38058A8D30CB080_zps2kfr-1.jpg

6E48BD6CBE4F4A92B6465F0B26652E05_zpsergu-1.jpg

28F2C2D7AE4B45EB9C2A2A86485252E2_zpsvmdt-1.jpg

B0BC247E1E714870B95122084B4210F0_zpsfkfq-1.jpg


I'm happy with it
122700564B7D434EB49918FF9747125D_zpsrnky-1.jpg
 
Back from the dead part three

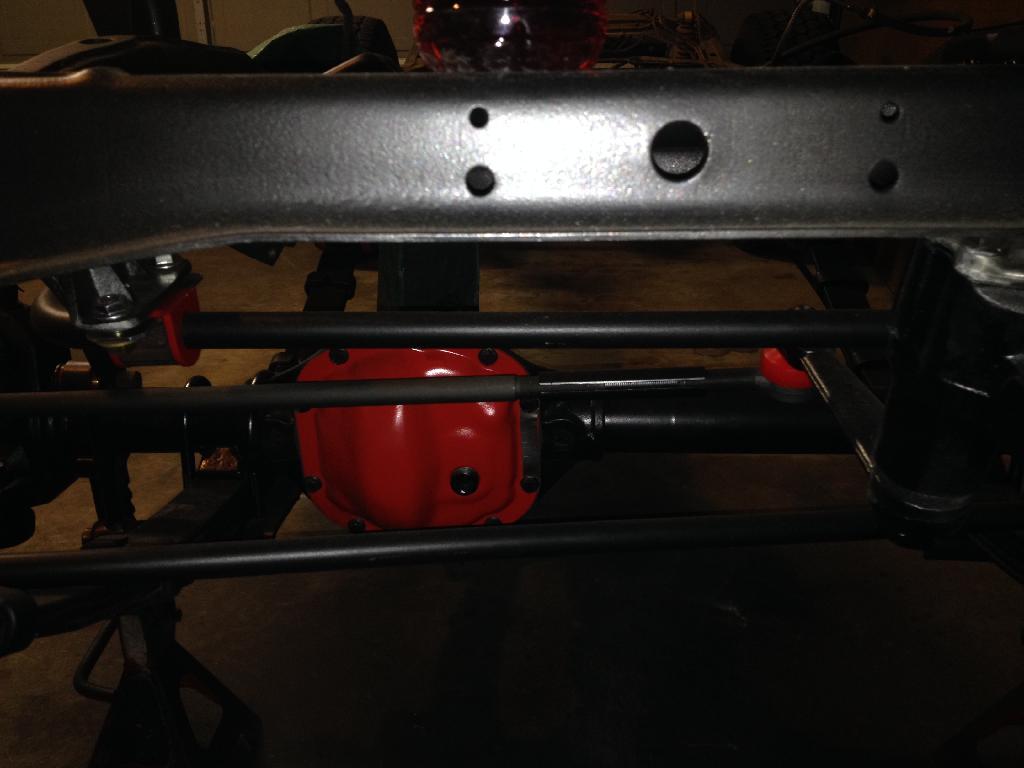
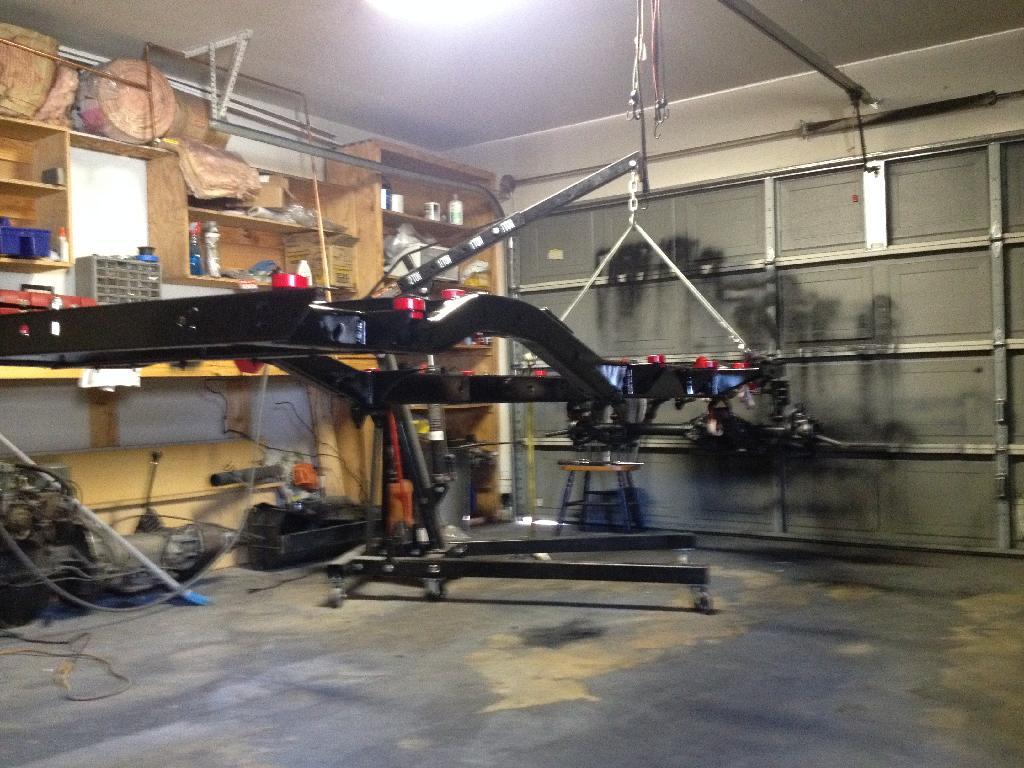
Put the steering box and front axle back on and it was actually balanced by just the front frame mounts.
E134C94D33B94C1294BC93869DFEF104_zpsjd1i-1.jpg

5B0FDE76CA094EF78789E1439A9EE315_zpsnzds-1.jpg

0981CA8FCEFA490EA665F04E8154832A_zps1tfd-1.jpg

AB6E7743D92840918843C25B4265158A_zps6ept-1.jpg


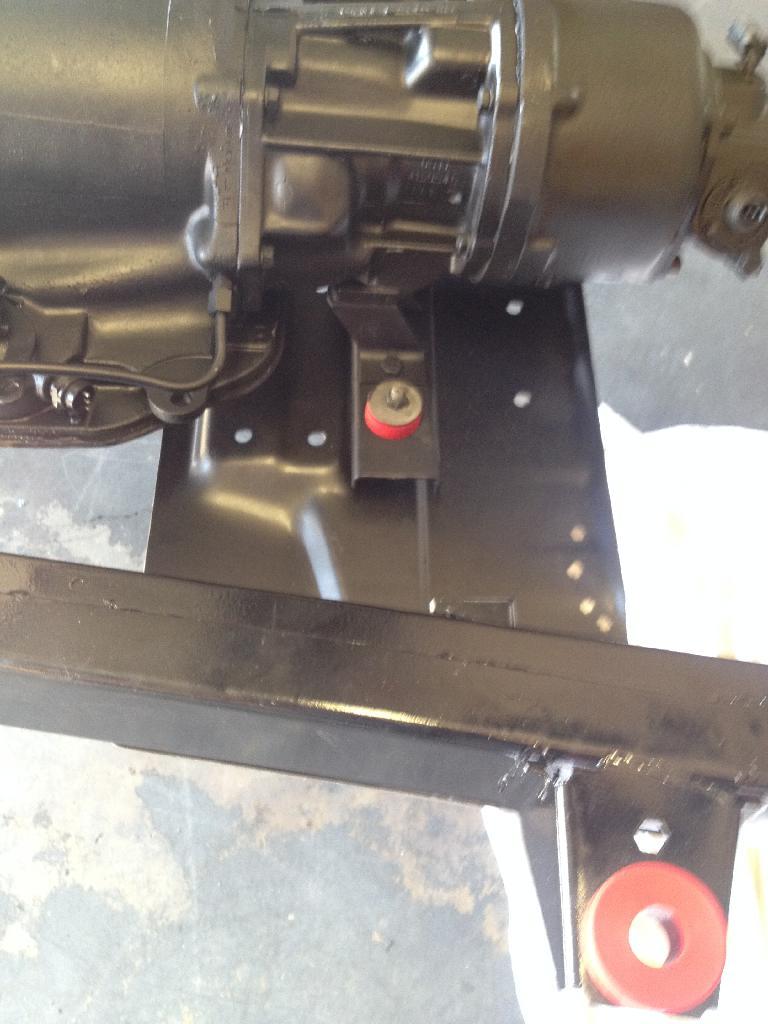
Also got the motor/trans/TC in on Saturday but need to locate a new passenger side frame side motor mount for a 4.2 as mine is bent and the one I found at the local pull it yard was the wrong one. It is in but only temporarily. Also loaded up the rear axle to drop off to be blasted tomorrow. Will post more later in the week.
 
Did u paint inside the frame rails also?

Sent from my SPH-L900

Attempted to paint them. I used a garden sprayer and thinned down some cheaper paint just to get something inside there. I am not sure it was a very effective coating as I can still see some bare rust spots when I look. I may buy the eastwood kit and try again but that is a ways down in the punch list right now. My frame was in pretty good shape as far as corrosion goes. It had a couple of bad body mounts and that is it. I have cut it open to weld in new nuts and there is surprisingly very little rust, lots of mud and dirt but no pitting that was noticeable.
 
Looks great. :thumbsup: Let the fun begin! :wave:
 
The Battle

This torque arm bolt fought and fought but I won the battle.

3773FD9C90834566A4D6BC403F91F53E_zps79zj-1.jpg


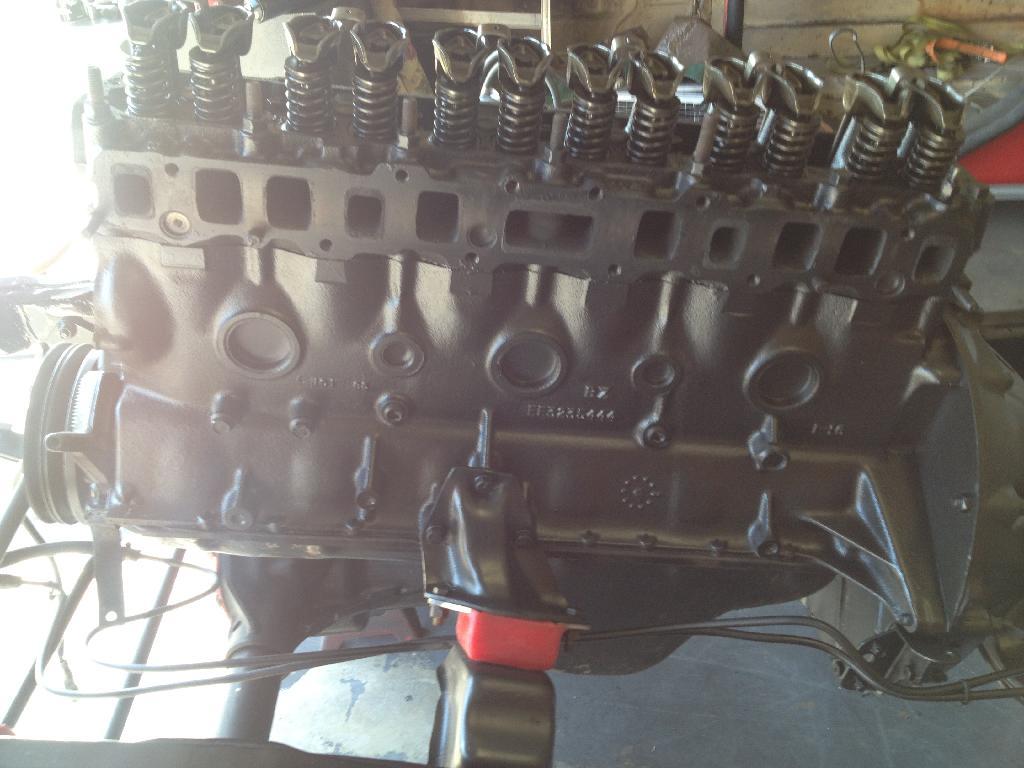
Today I got the drivetrain completely mounted and it was a bear. I ended up using a cherry picker to lower the transfer case while pulling backwards and to the drivers side with two ratchet straps while I had the motor mounts placed but loose. Finally getting it all lined up and tightened down was a rewarding feeling.

B9770962B3DA46D0A63DFF301AC90F6B_zpsczem-1.jpg

A782F9ADF26B4EFC8B77C0647A6EEDB2_zpslxpf-1.jpg

2099FEF521EA4F19A125C81C3ADC9F1B_zpsgpwu-1.jpg


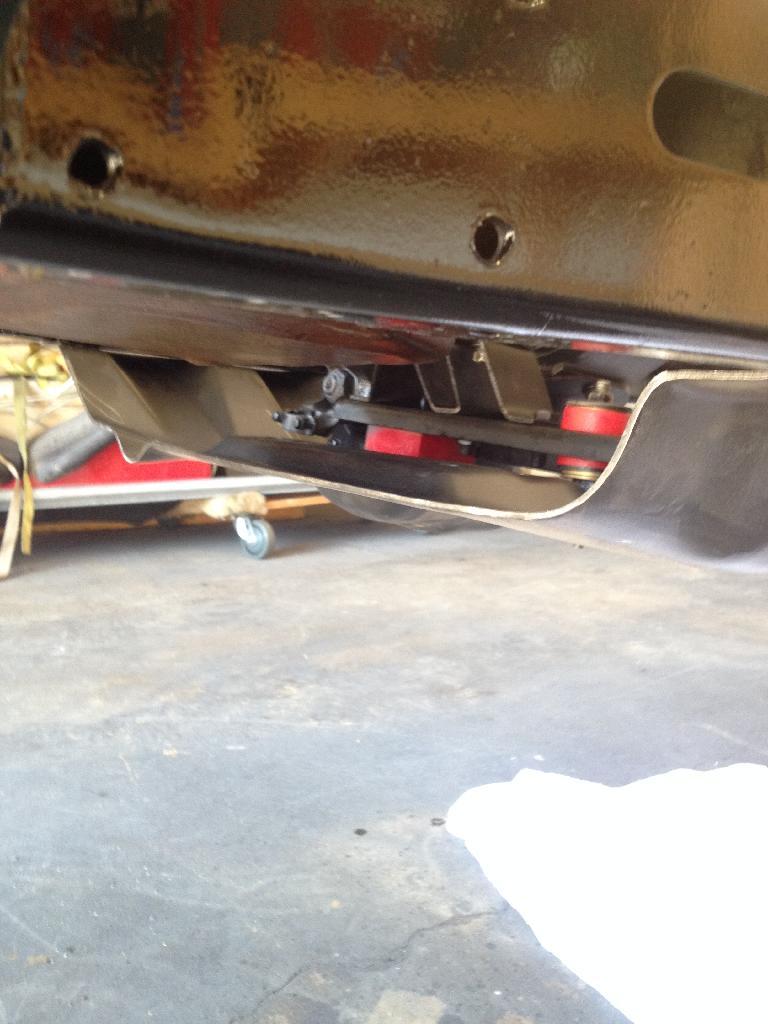
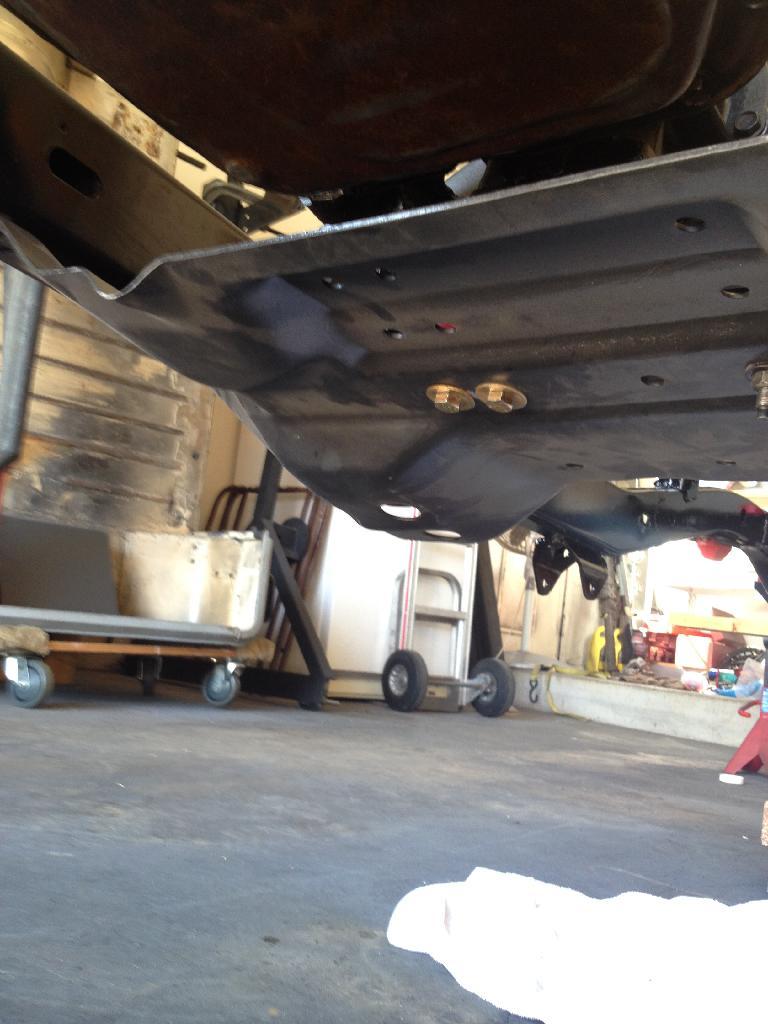
Is it always this tough? Also had very little wiggle room with the skid plate to frame. Seems as if the frame has contracted slightly and I ended up using a bottle jack to push it apart about an eight of an inch and the bolts slid right in.

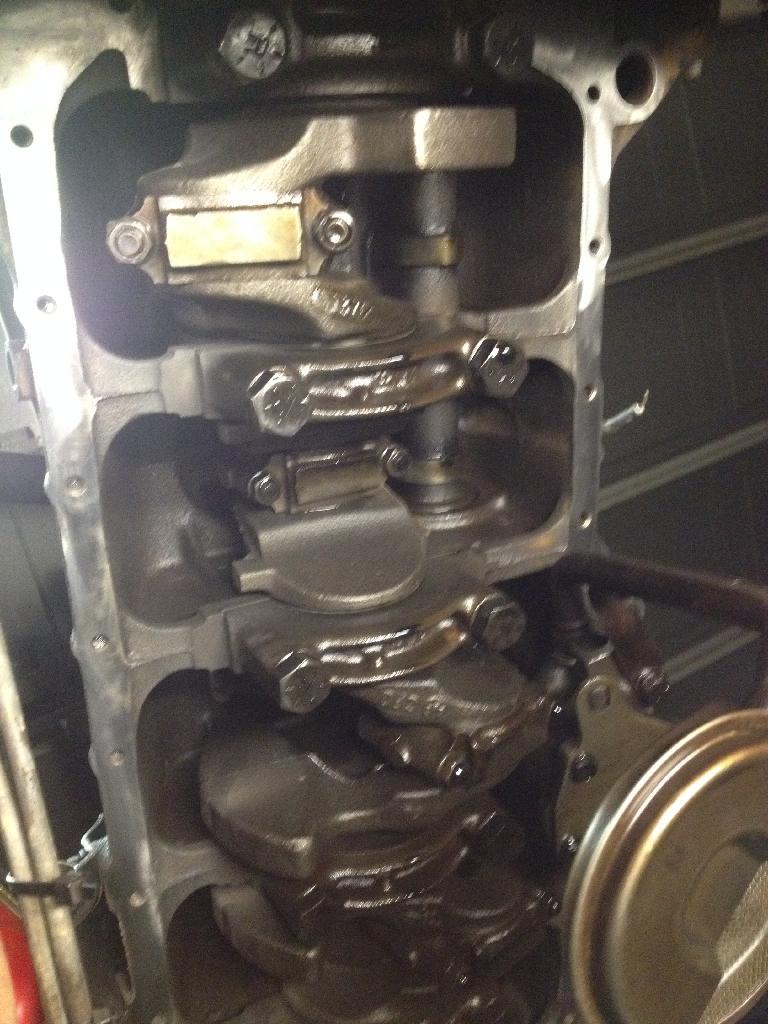
Then I learned a lesson, if your going to install a new oilpan gasket you should probably do it before you put the motor in. The passenger side motor mount is in the way of one bolt and getting the pan out wasn't happening without removing the mount, not to mention lining up that gasket while upside down is a less than idea situation. If I had it to do over again I would have put the motor on by stand and flipped it and it would have saved me a few cuss words. I got it done though.

E2968F25B35E48AEBB640DB4EA6C8F5C_zpspijv-1.jpg


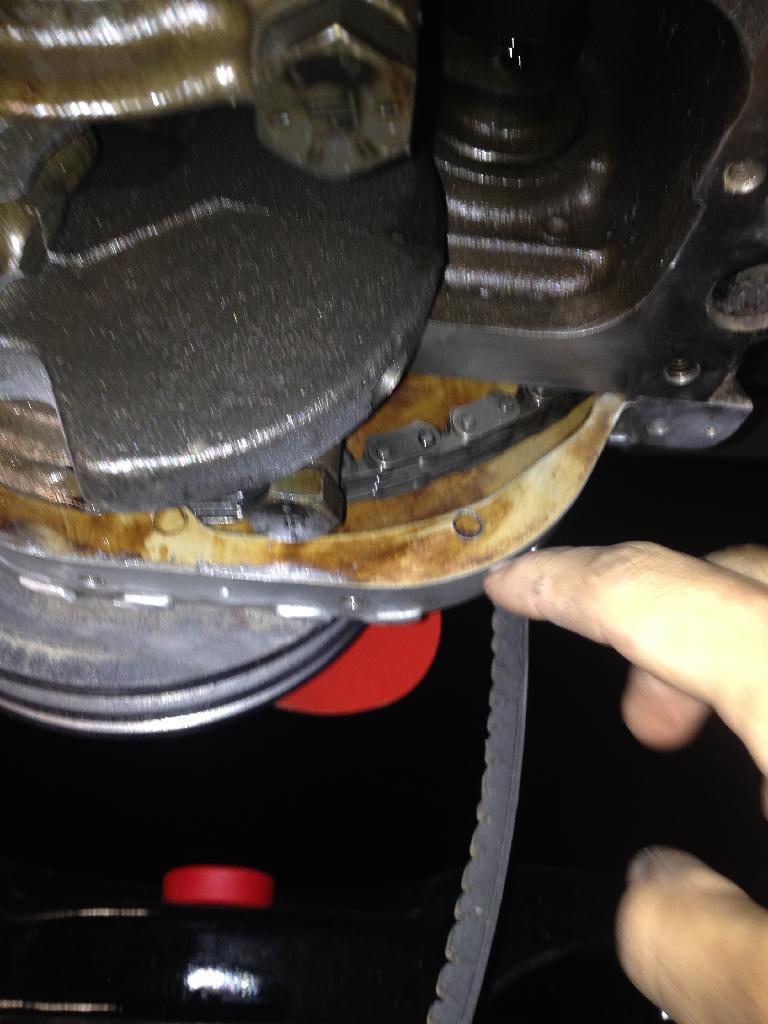
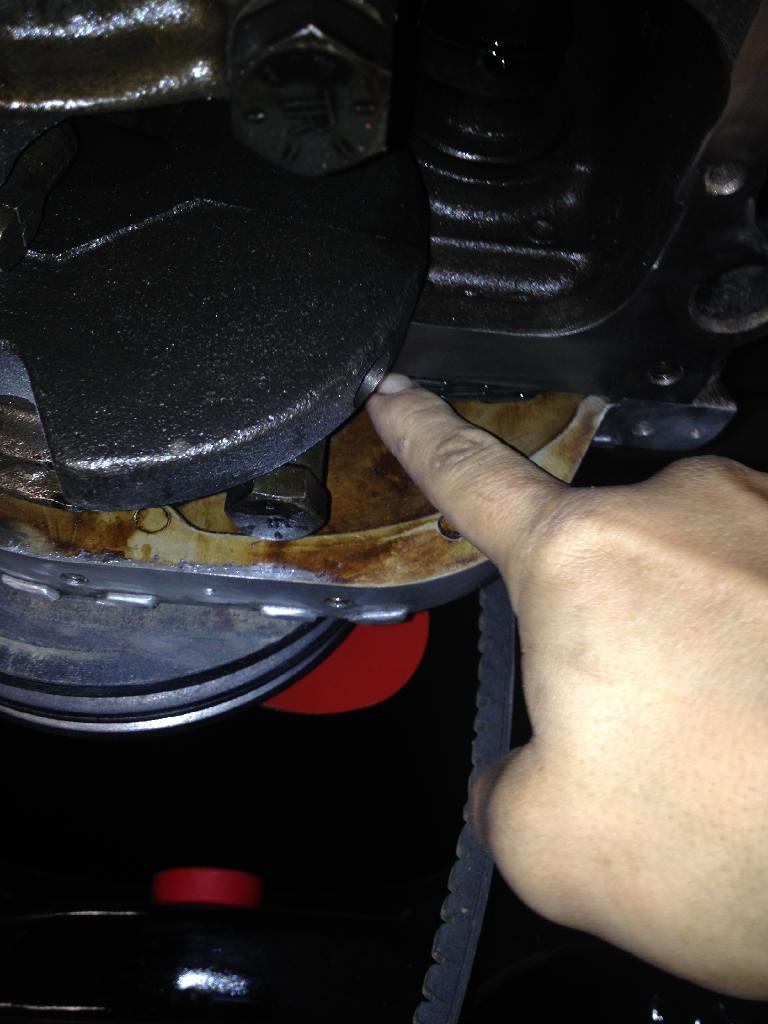
One question for you guys though, this timing chain looks quite loose on the bottom side. Is this normal or do I have problems?
AFBA2D009C334490873D165955CFD3C9_zpsz0xu-1.jpg

C3FF849DA3334D39BFDD52606AA4A3D4_zps0nil-1.jpg


I can move it about three inches and this doesn't seem right.


I also sandblasted some parts and painted them yesterday. I love this little blast cabinet. Beats any other way of cleaning stuff up. So quick and easy. I did go and get a different siphon gun for it though from northern tool. The one that came with it from harbor freight wasn't doing it anymore and the difference is night and day.
E0D90D78E8F04CE1BC95B8B0D6F532B1_zpsyfgy-1.jpg

I am attempting to paint and clean up all the accesories on the motor while using up all the paint I have on my shelf which means its a rainbow of parts on the motor but I should be the only one to see it. I had a bunch of different engine enamel from various projects that I needed to get rid of.

I've learned a bunch on this project and the most important thing I've learned is that when you have a project like this you have to set short term goals and make list of things to get done or you end up getting frustrated and moving to three or four different things that are all incomplete and it gets quite overwhelming. I have been making some short punch list for every day that I'm available to work on it and it has made me much more productive.

That's all for today. I should be getting my rear axle back from the sand blaster on Tuesday and will have a rolling chassis again this week so I will post some more pics.
 
I believe that is a little to much play in the timing chain. :wave:
 
The frame always seems to shrink on my Red Scrambler when I pull the skid plate. My tan and green Scramblers do not shrink as much:shrug:
 
I have a set of decent fender flares off of my scrambler that I'm willing to give away if someone needs them. They are in good shape. I will post a pic of them tomorrow. Please don't take them if your going to sell them. I can sell them but thought if one of you guys needs a set, I'm not going to use them. You pay shipping and they are yours. Let me know.

Sent from my iPad HD
 
Since no one has spoken up yet, I will. I'd be interested in the flares!

I don't necessarily have a scrambler to put them on right at the moment, but I've been working on a plan that will hopefully put me in possession of one sooner than later.

And If my plan does not work out the way I think it will, i'll give these to the next guy in need.

If someone else needs or wants these please speak up now!

TFDScrambler I'll pm you.
 
Back
Top