You are using an out of date browser. It may not display this or other websites correctly.
You should upgrade or use an alternative browser.
You should upgrade or use an alternative browser.
It's time to start making some changes.....
- Thread starter mysunnshine
- Start date

mysunnshine
Legacy Registered User
- City
- Phoenix
- State
- AZ
I've also decided to re-engineer my shifter mount to keep from reaching forward going from reverse to low. I'll also mount the Aeroforce scan gauge just behind the shifter in the flat area. It's roughed out for now until I hit it with the DA sander.
mysunnshine
Legacy Registered User
- City
- Phoenix
- State
- AZ


mysunnshine
Legacy Registered User
- City
- Phoenix
- State
- AZ
What do you guys think.....paint it body color or black like my Tuffy console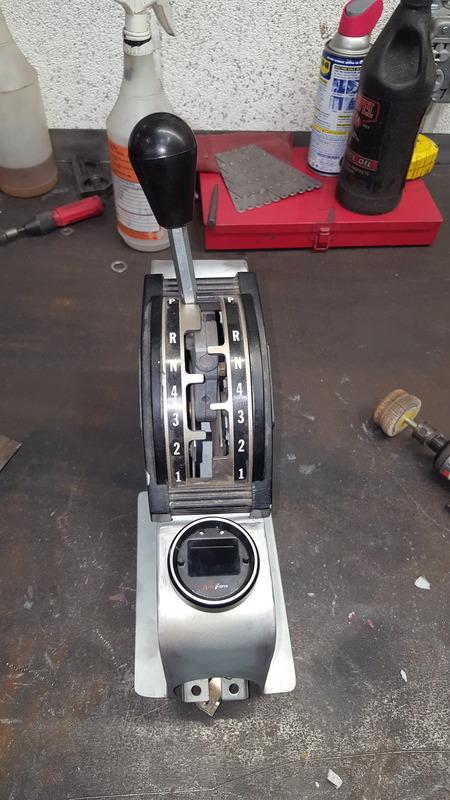 [/URL[URL=http://s13.photobucket.com/user/mysunnshine/media/New%20Scrambler/20170315_120811_zps4mrbvpgm.jpg.html]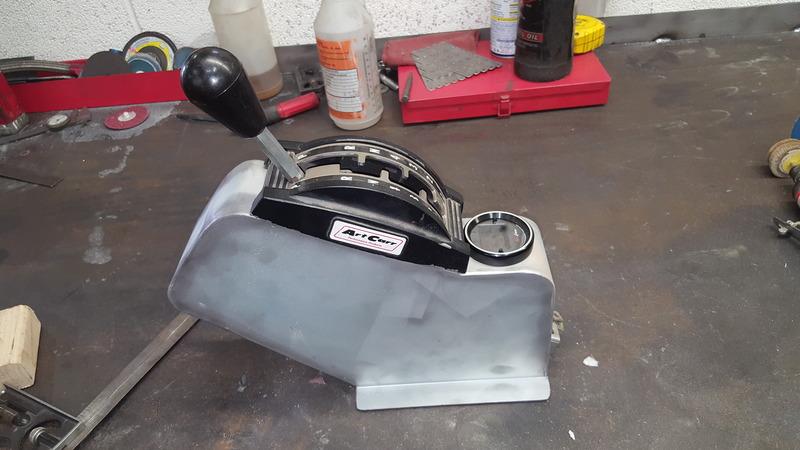
 [/URL[URL=http://s13.photobucket.com/user/mysunnshine/media/New%20Scrambler/20170315_120811_zps4mrbvpgm.jpg.html]
Dave The Sparky
Rebuilding my CJ8 very,very slowly...
- City
- Halifax
- State
- UK
Personally i think body color would probably look better. there would be too much black if it was all one color, needs something to break it up.
mysunnshine
Legacy Registered User
- City
- Phoenix
- State
- AZ
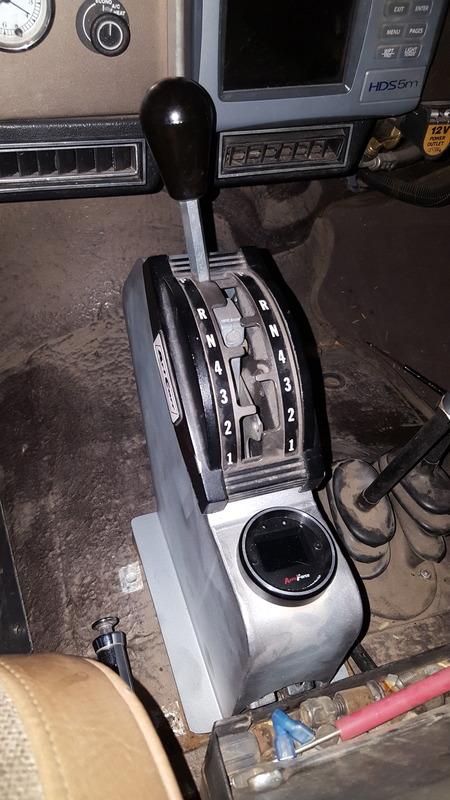
I was thinking body color also. Now that I can test fit it, I wish that it was about 2-3" taller if I was going to build another one. For now, this will have to do......



mysunnshine
Legacy Registered User
- City
- Phoenix
- State
- AZ
This mountain will go away anyhow once the aluminum dashboard gets installed. 


- City
- Gonzales
- State
- La
I thought you were going to let me have that Aluminum dash. LOLThis mountain will go away anyhow once the aluminum dashboard gets installed.
mysunnshine
Legacy Registered User
- City
- Phoenix
- State
- AZ
I thought you were going to let me have that Aluminum dash. LOL
That would definitely be easier than completely re configuring the entire interior to install it....
- City
- Gonzales
- State
- La
You already have my shipping address.That would definitely be easier than completely re configuring the entire interior to install it....
mysunnshine
Legacy Registered User
- City
- Phoenix
- State
- AZ
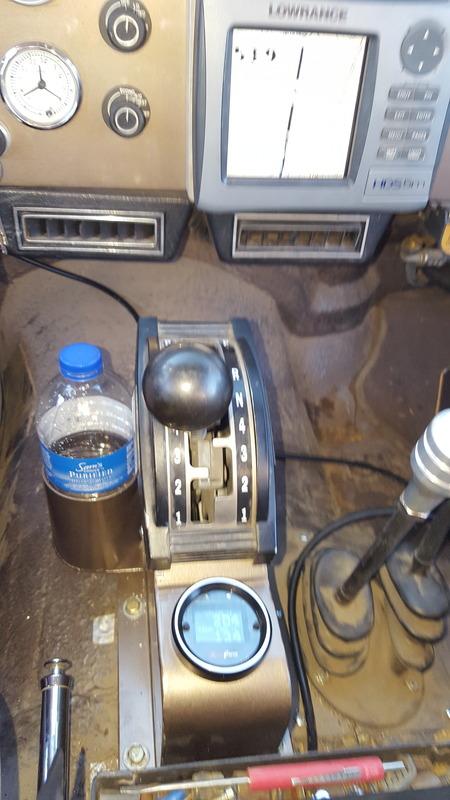
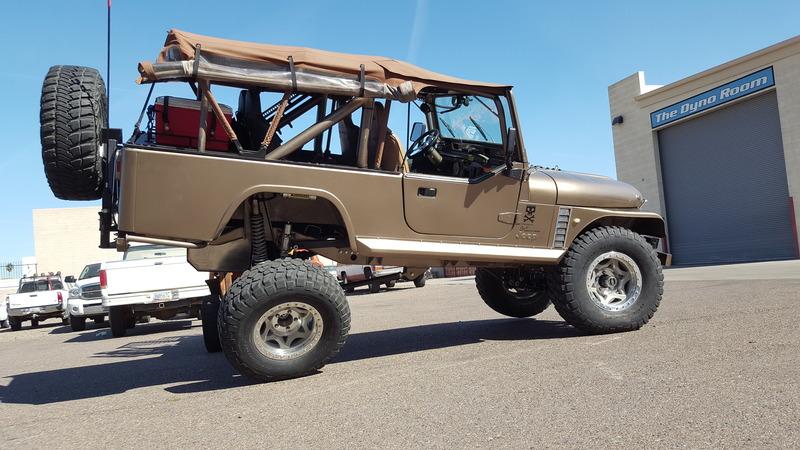
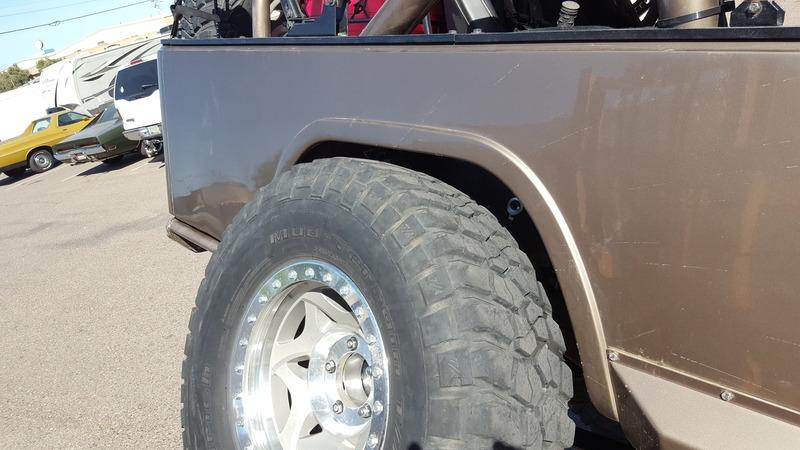
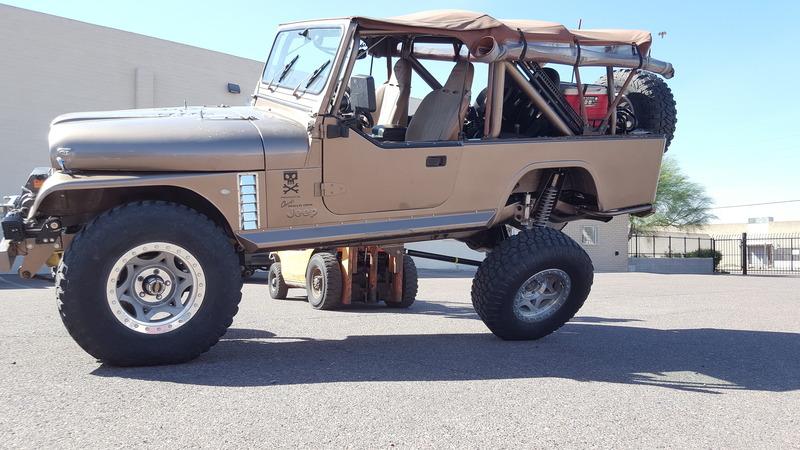
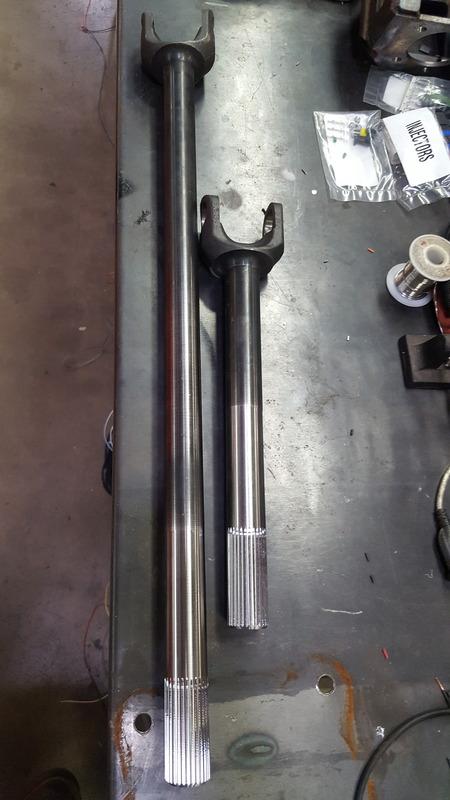
One more day of working on it and it'll be ready to go. The front shafts should be here on Monday or Tuesday so that's the last hang-up to all of this. Yesterday I installed the MORE steering box bracket that moves the box forward about an inch so my pitman arm end nut doesn't clip the tie rod as the suspension is compressed. I am absolutely impressed with their design and quality. That bracket went right on without any extra modifications at all. That kind of stuff NEVER works in my world I live in..... The shifter console is in and painted now. I made a cup holder for the side of it so I don't have to reach behind the console for my drink. The rear springs have been changed one more time and now it cycles fantastic with super stable and smooth transitions finally. I just need to shorten the lower links a tiny bit now just to center the tire when it's flexed.


mysunnshine
Legacy Registered User
- City
- Phoenix
- State
- AZ
I guess I know what I'm doing this weekend. :


- City
- Rockville
- State
- VA
You don't have to......mine are still sitting in the box for about a year. I'll get to them.....eventually.I guess I know what I'm doing this weekend. :
mysunnshine
Legacy Registered User
- City
- Phoenix
- State
- AZ
Yea but I have the feeling that I'm going to be needing these for this trip more than any other I have been on......
mysunnshine
Legacy Registered User
- City
- Phoenix
- State
- AZ
The last of the "have to do" stuff has been done. The front shafts went in but hemorrhaged oil out both new axle seals that I installed. I had to take it all back apart and inspect what was going on. The only thing that I can see is that because I did not use a gasket for the 3rd member upon re-installation, the carrier was moved off of center just enough to egg shape the seals and allow the leak. This is something that you don't have to worry about with a traditional Dana axle. I have not tested it to see if it still leaks so I don't get discouraged before the trip. If it does, the tubes will get jammed with rags and I'll deal with it later.
I needed a rear recovery point so I was eyeballing those cool aluminum pieces that go into the receiver hitch. As soon as I saw the cost, I went on the hunt for some material and made my own for much less. I also finally got around to getting my rear shaft plates made to mount it just behind the rear bumper. The plates hold an Atlas yoke/seal/nut and the 9" yoke on the other side. Generally, if you grenade a shaft, you take out a yoke with it too so I have some extra parts to maybe have a fighting chance to get going again.......
This next week is the last time I can put into the Jeep for the trip. I have new tires on the trailer so I'm good to go there. If I have a little time, I'll build my dad a cupholder for up front so he doesn't have to get his drink from behind the console. Other than that, I just need to go thru my tools and fluids that I keep in the Jeep and then it's time to wheel this thing for a full week.......
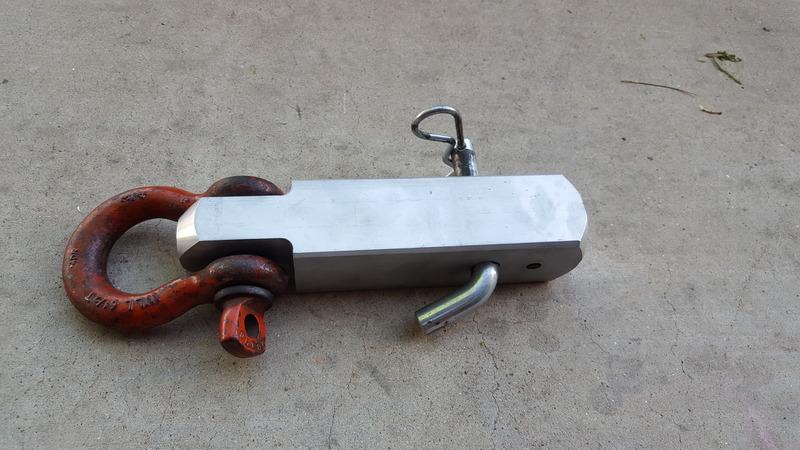

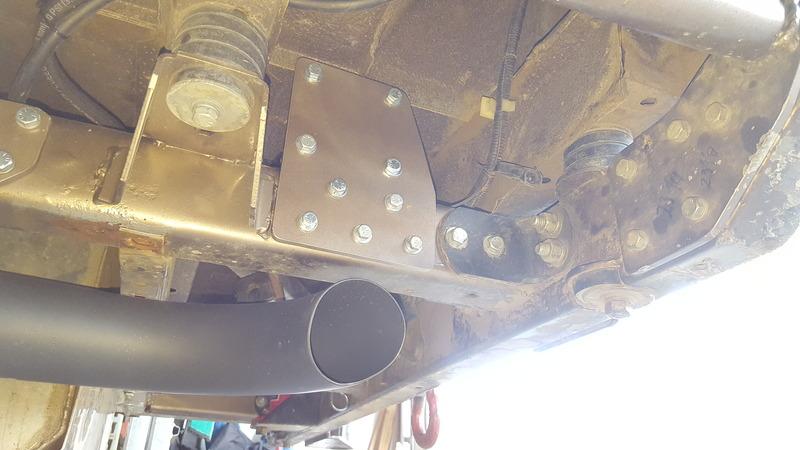
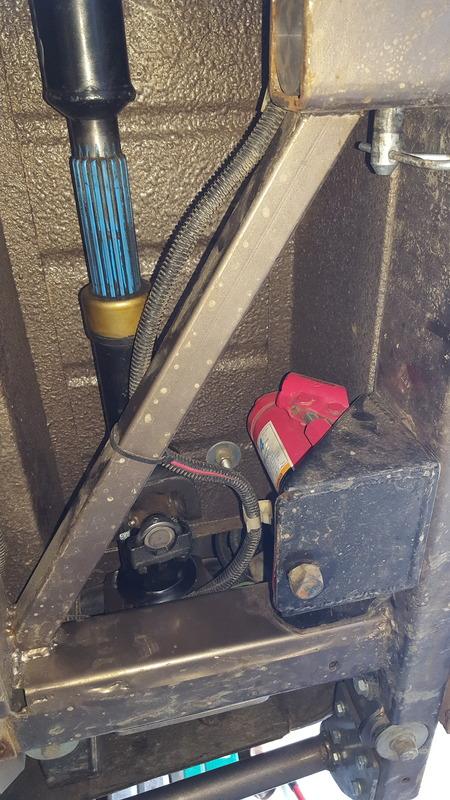
I needed a rear recovery point so I was eyeballing those cool aluminum pieces that go into the receiver hitch. As soon as I saw the cost, I went on the hunt for some material and made my own for much less. I also finally got around to getting my rear shaft plates made to mount it just behind the rear bumper. The plates hold an Atlas yoke/seal/nut and the 9" yoke on the other side. Generally, if you grenade a shaft, you take out a yoke with it too so I have some extra parts to maybe have a fighting chance to get going again.......
This next week is the last time I can put into the Jeep for the trip. I have new tires on the trailer so I'm good to go there. If I have a little time, I'll build my dad a cupholder for up front so he doesn't have to get his drink from behind the console. Other than that, I just need to go thru my tools and fluids that I keep in the Jeep and then it's time to wheel this thing for a full week.......


mysunnshine
Legacy Registered User
- City
- Phoenix
- State
- AZ
So far, the rear links worked really well. Next on the list is to retube a high pinion Dana 44 and link up the front end.