• Notice for iPhone users: DO NOT use the image size reduction option when uploading photos to the forum. This causes portrait images to post as landscape. We have added a warning to the image insert pop-up as well.

Jeep cj7 83 right hand drive 4x4 5 sp british export - part II

One last thing... I got a funny email to my website about how it is easier to do "this work", with "fancy tools".

So, not sure exactly what that meant (and it was no one here, it was some random email to the certifiablejeep.com website)

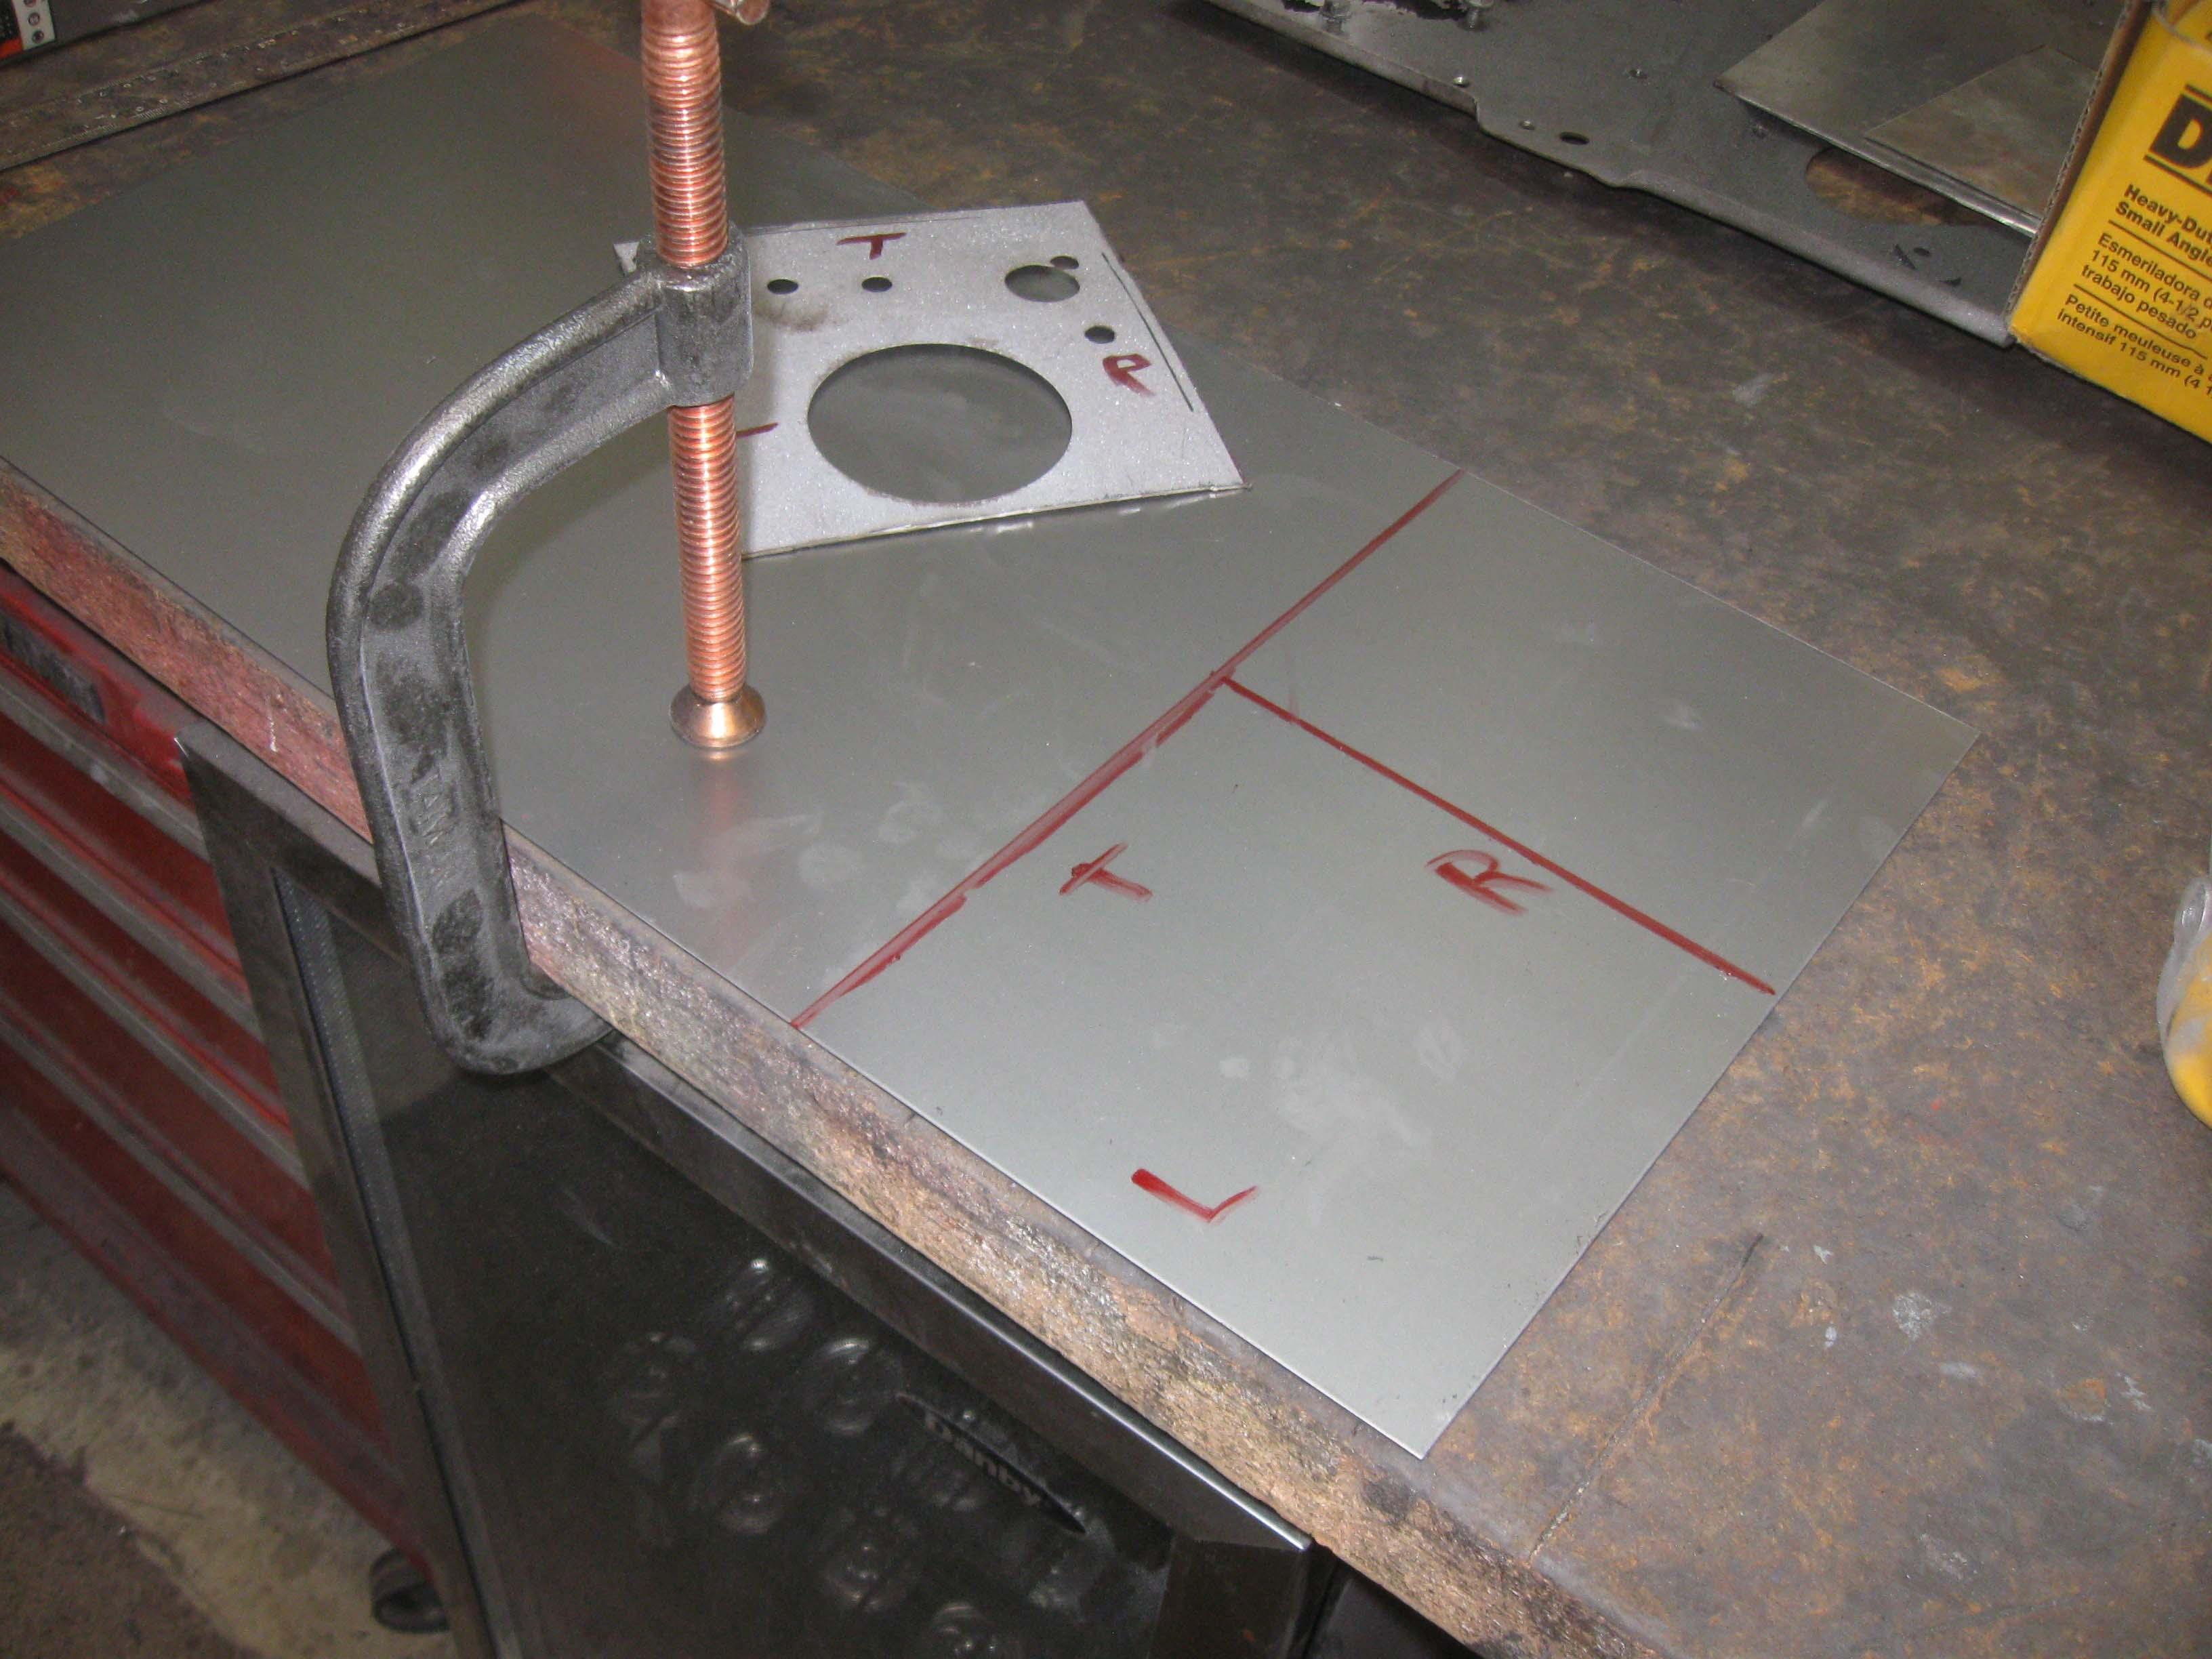
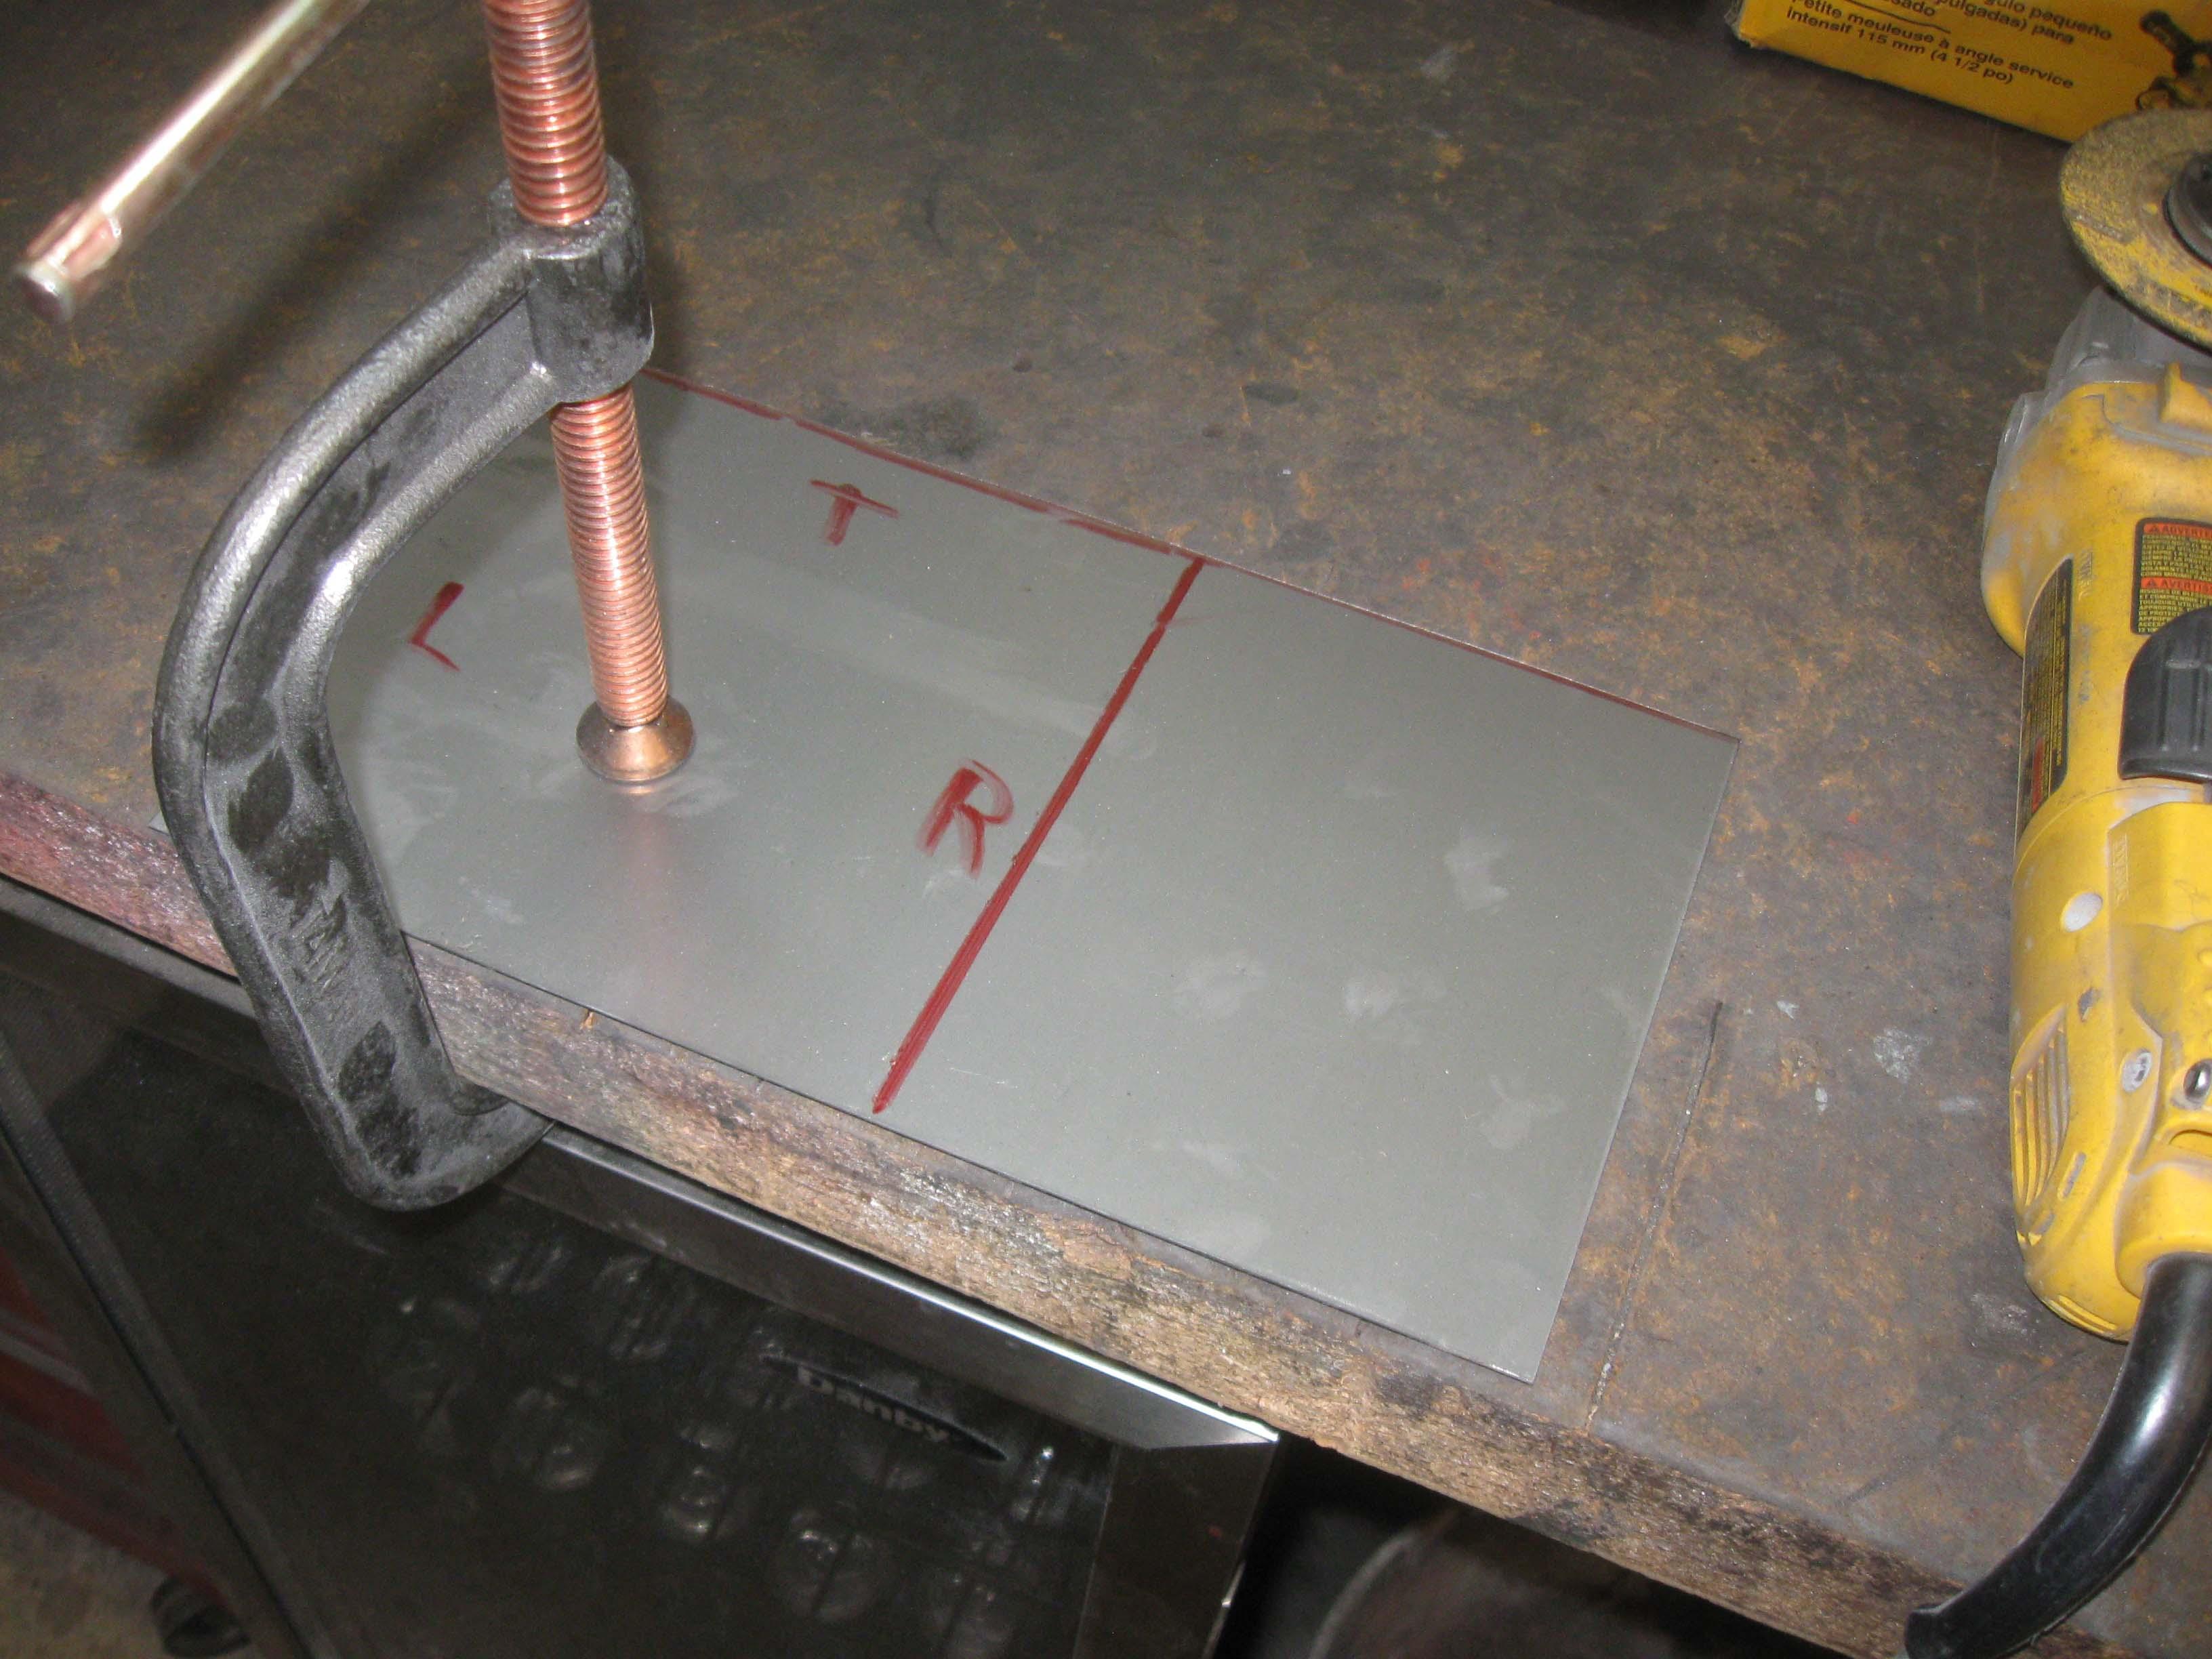
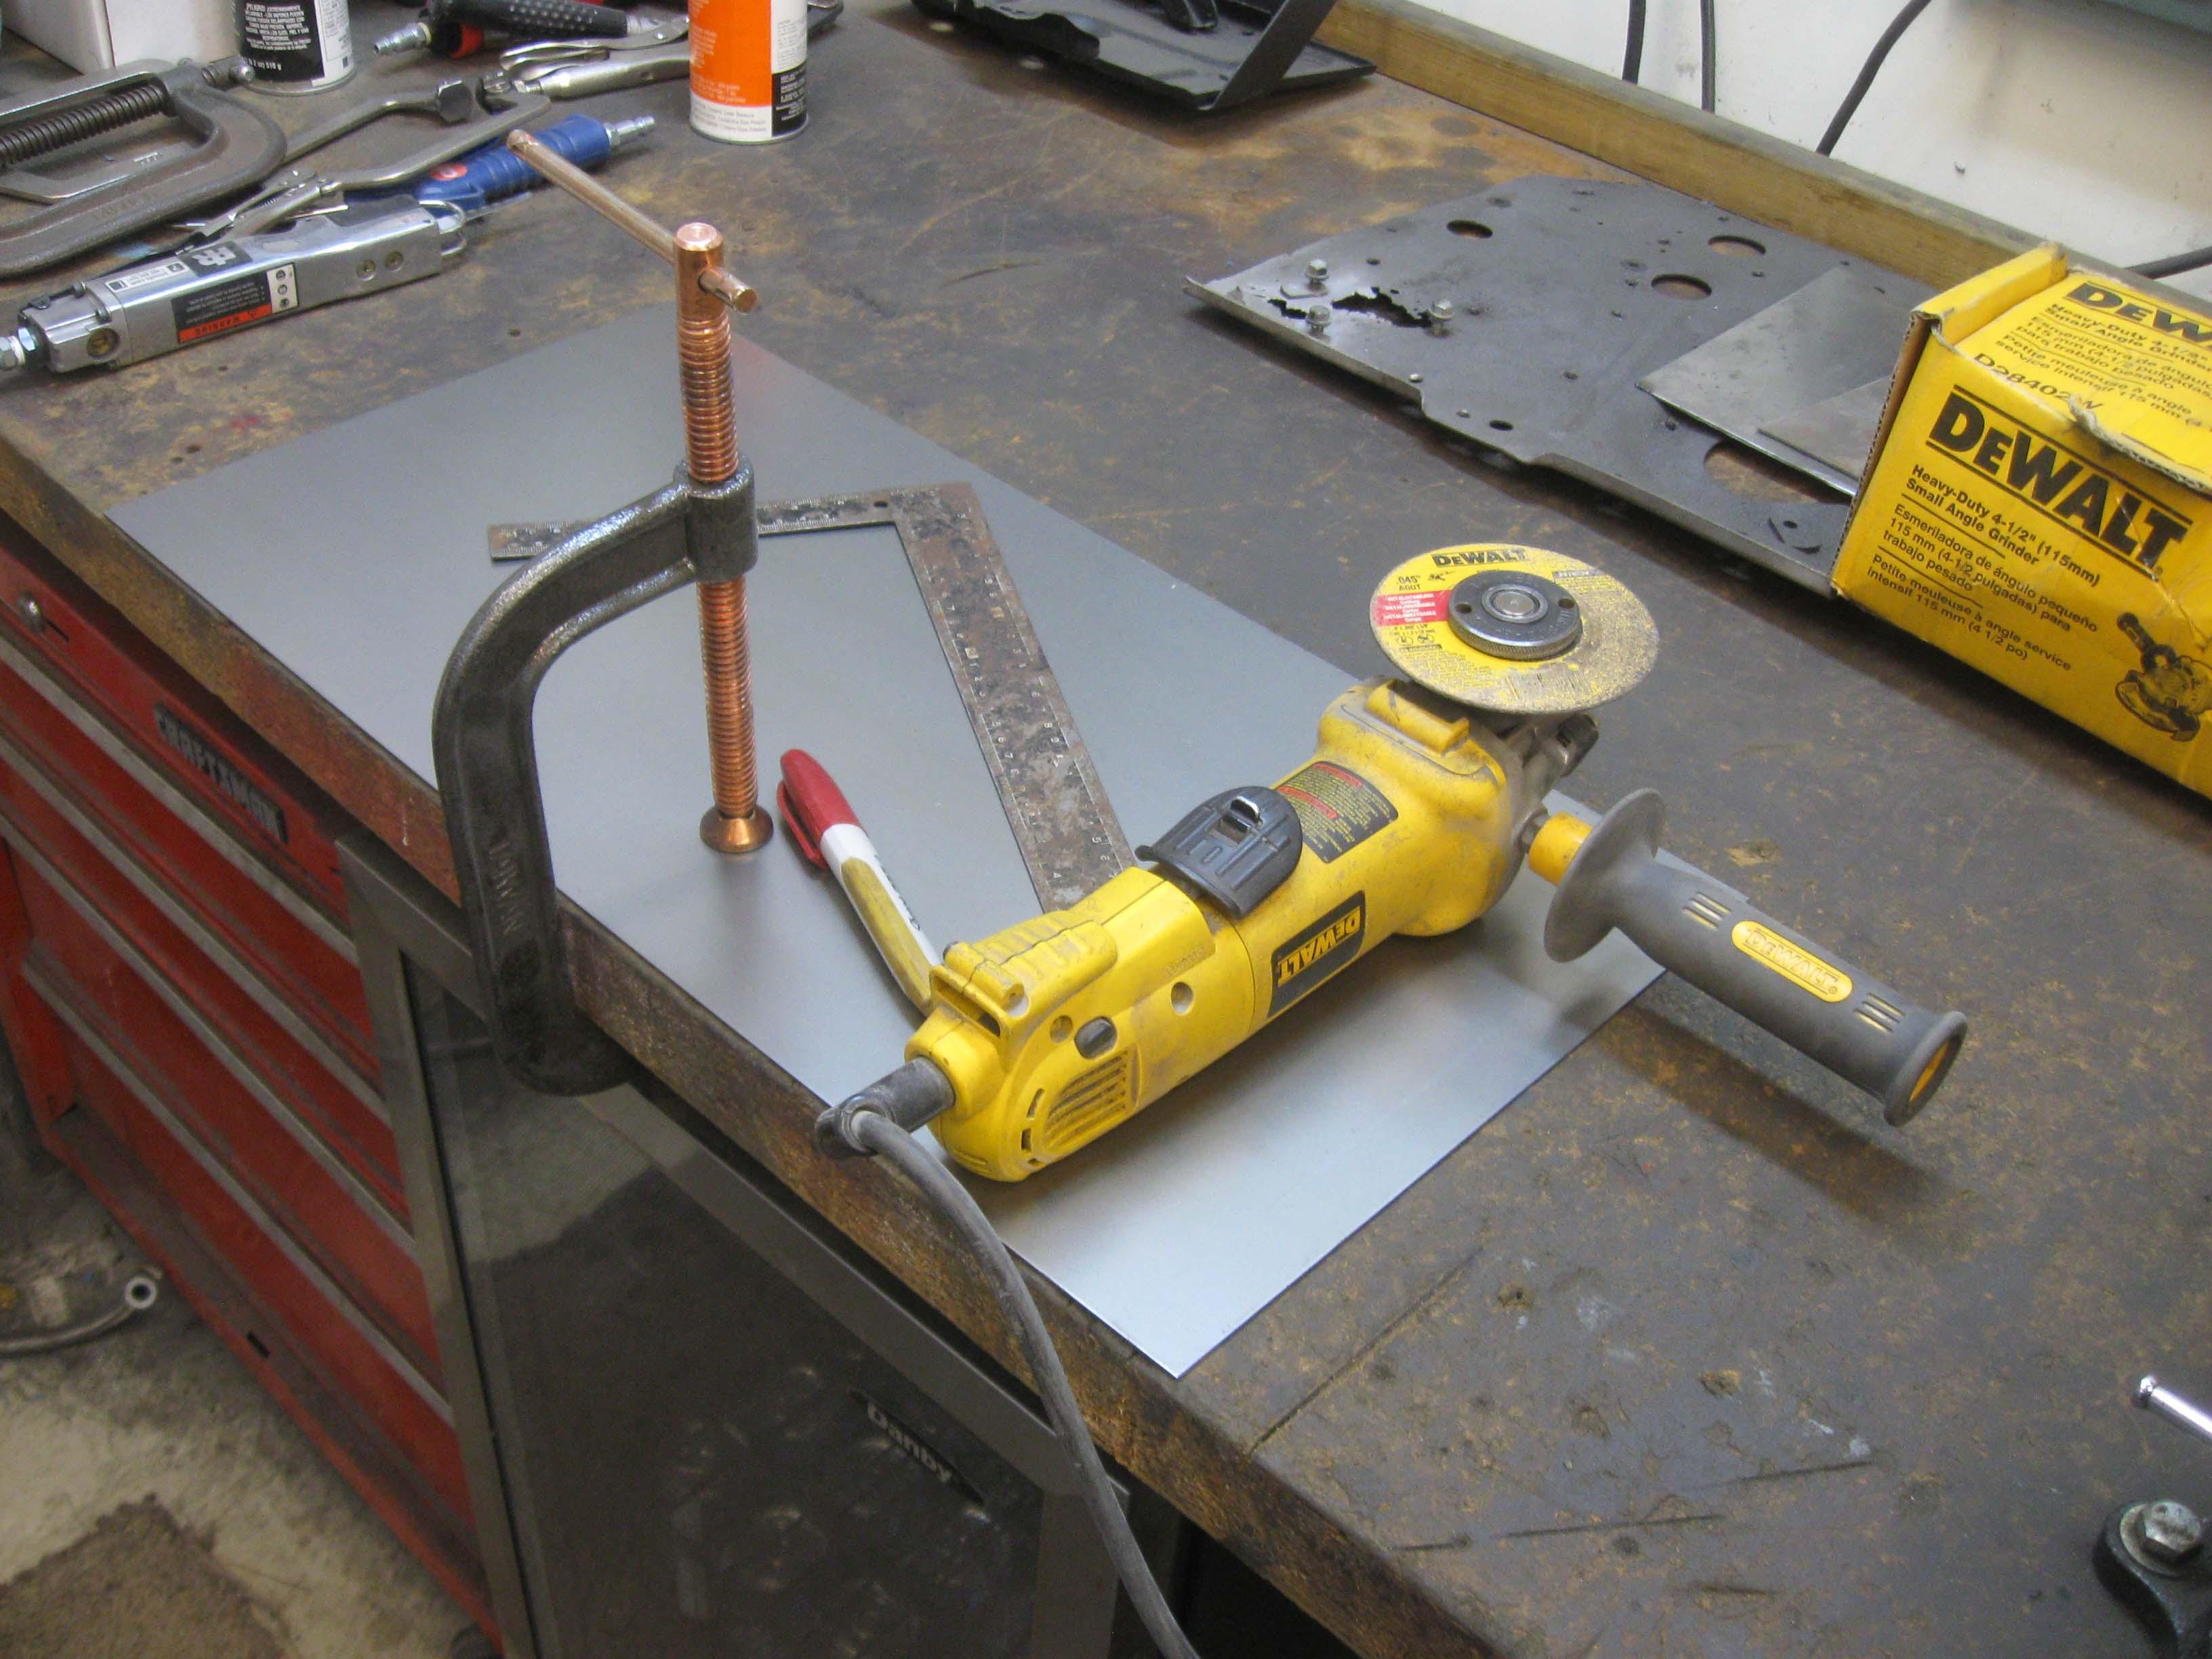
So, here are my "fancy tools" and how I cut metal.
IMG_7499-1.jpg

IMG_7500-1.jpg

IMG_7501-1.jpg


So, there you have it. An 80 dollar Lowe's grinder, a 35 year old rusty square, a 1 dollar sharpie and a 99 cent cutting disc.
The C-clamp rounds out the deal and that I got at a yard sale in a box of scrap :)


cb
 
Well that guys right it is fancy im using a harbor freight grinder.. waiting for that to explode soon lol..
 
Well that guys right it is fancy im using a harbor freight grinder.. waiting for that to explode soon lol..

This is my 2nd DeWalt in 13 years.... first one lasted like 9, but then started like it had marbles in there coming loose and then sparks and very hot... it was retired and given a good burial.

cb
 
That is all it takes. A tape measure does come in handy (with LARGE print). :thumbsup: :wave:
 
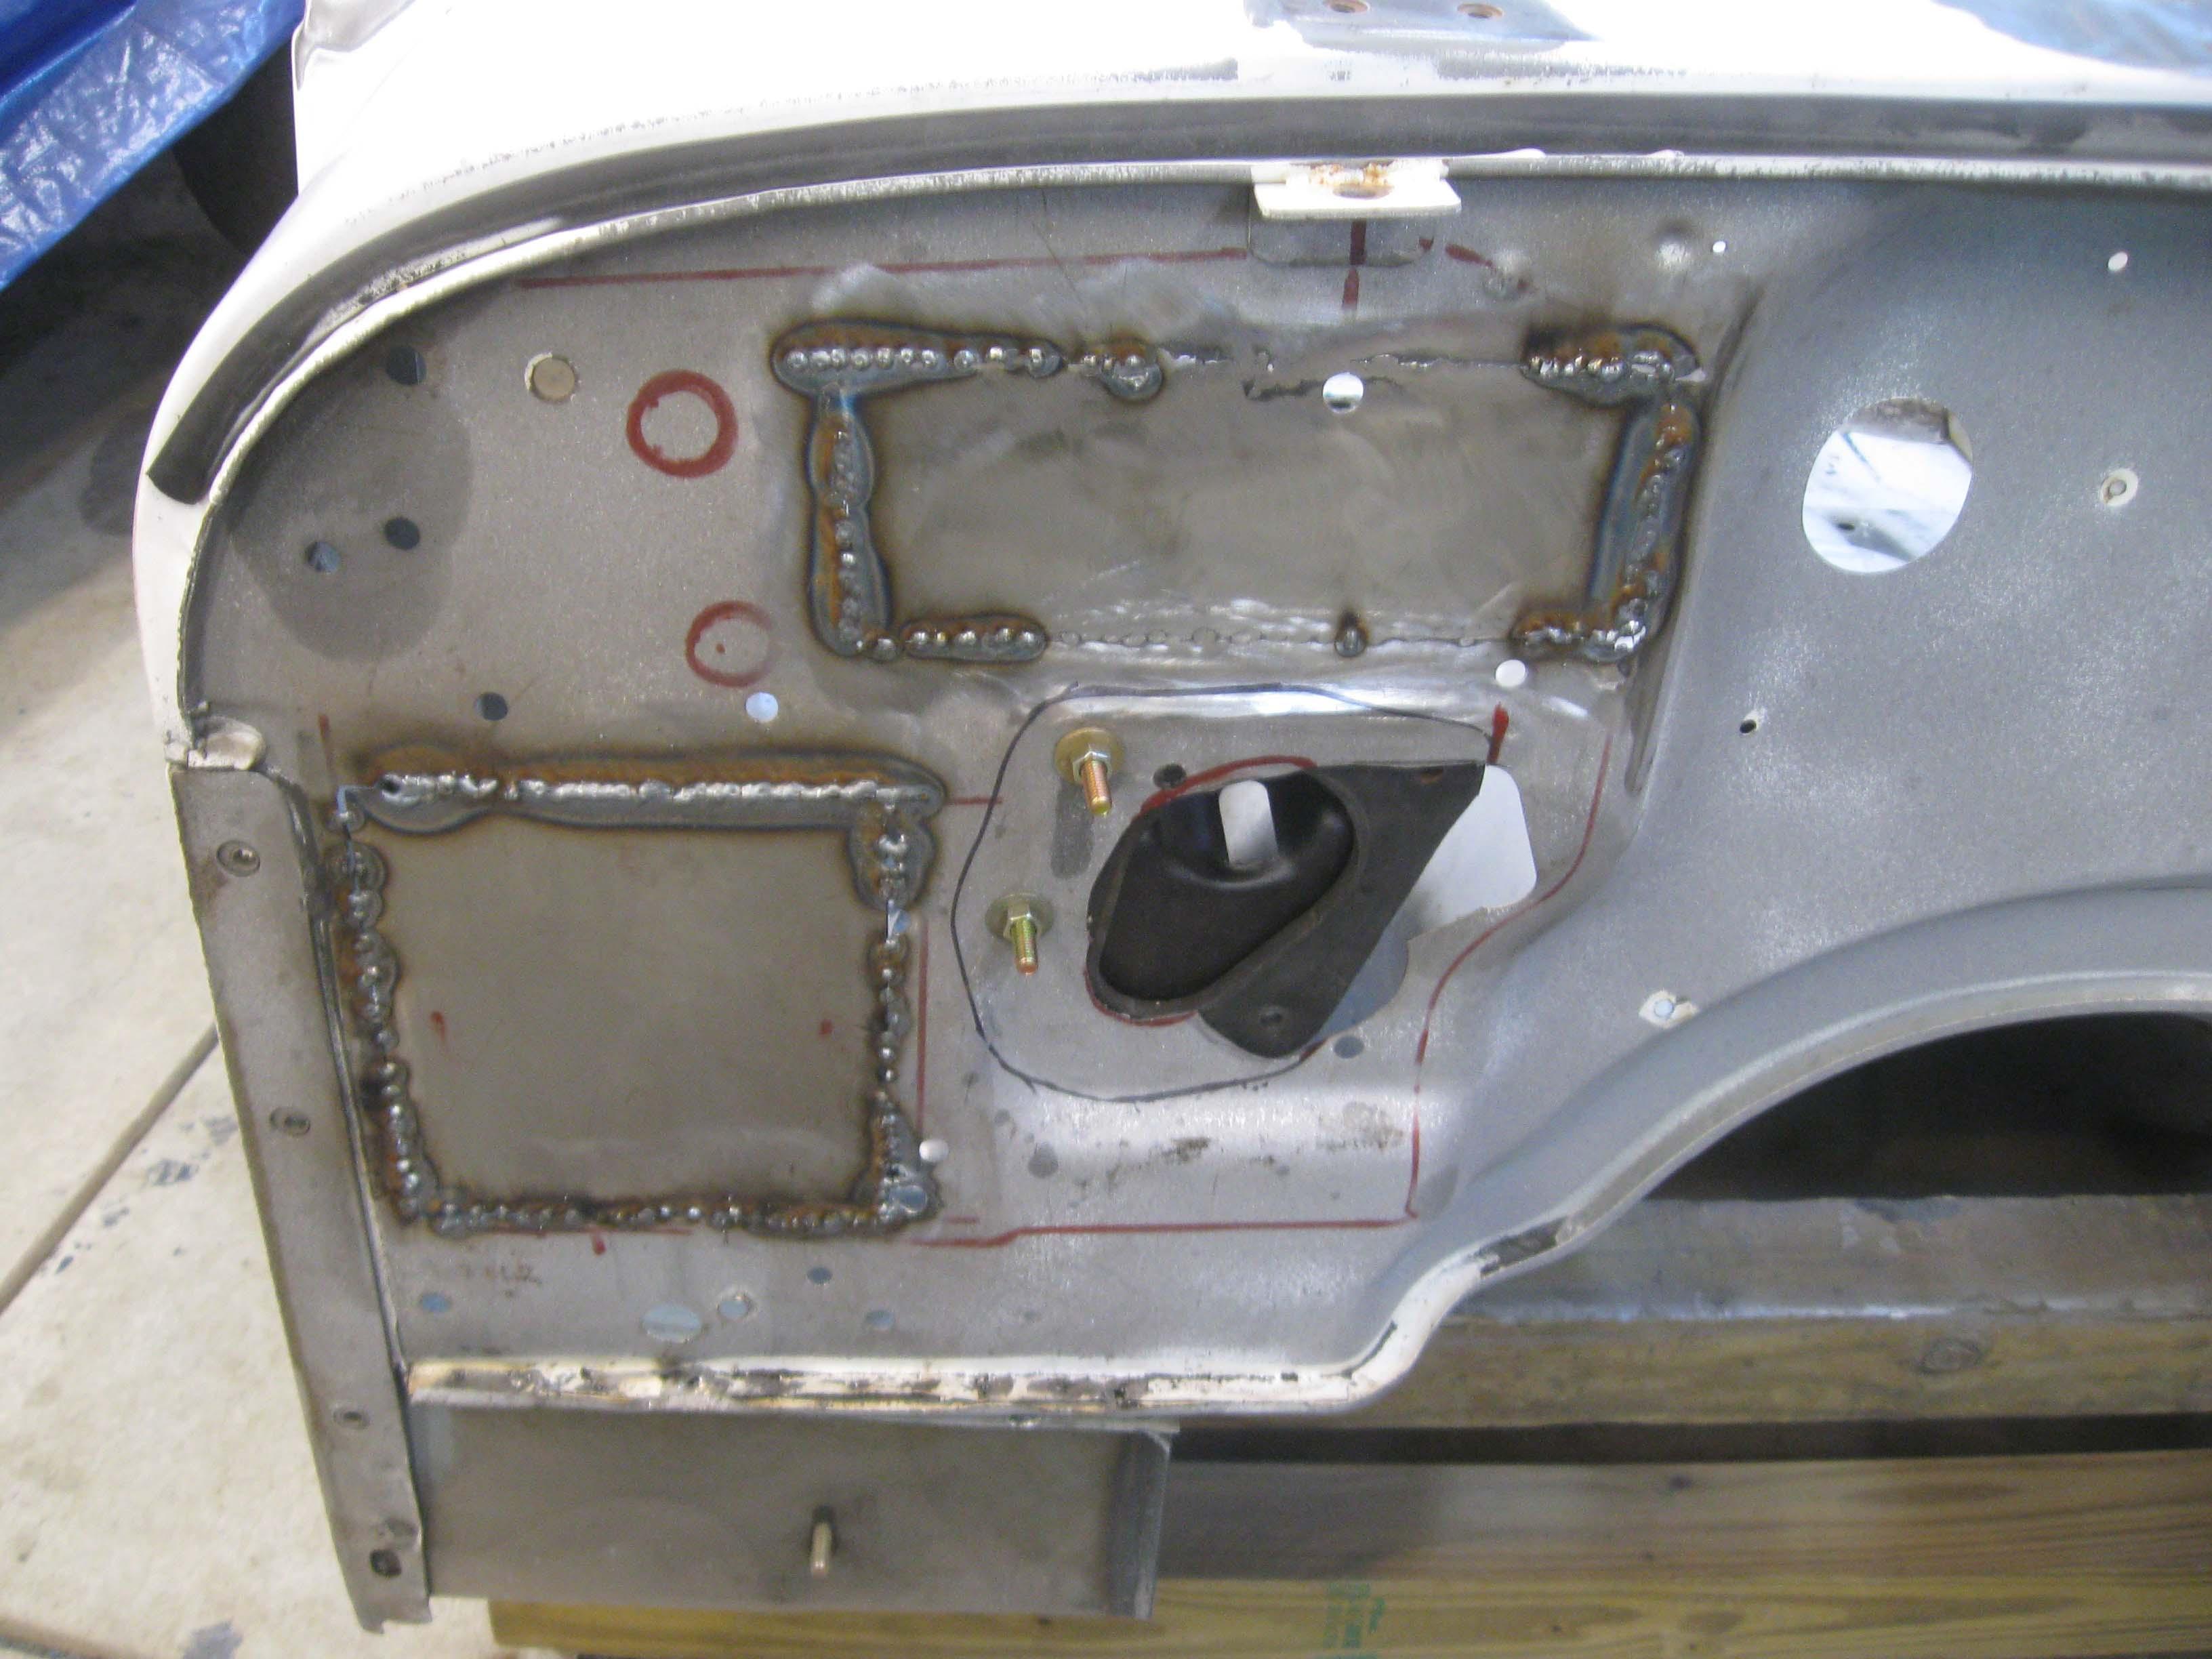
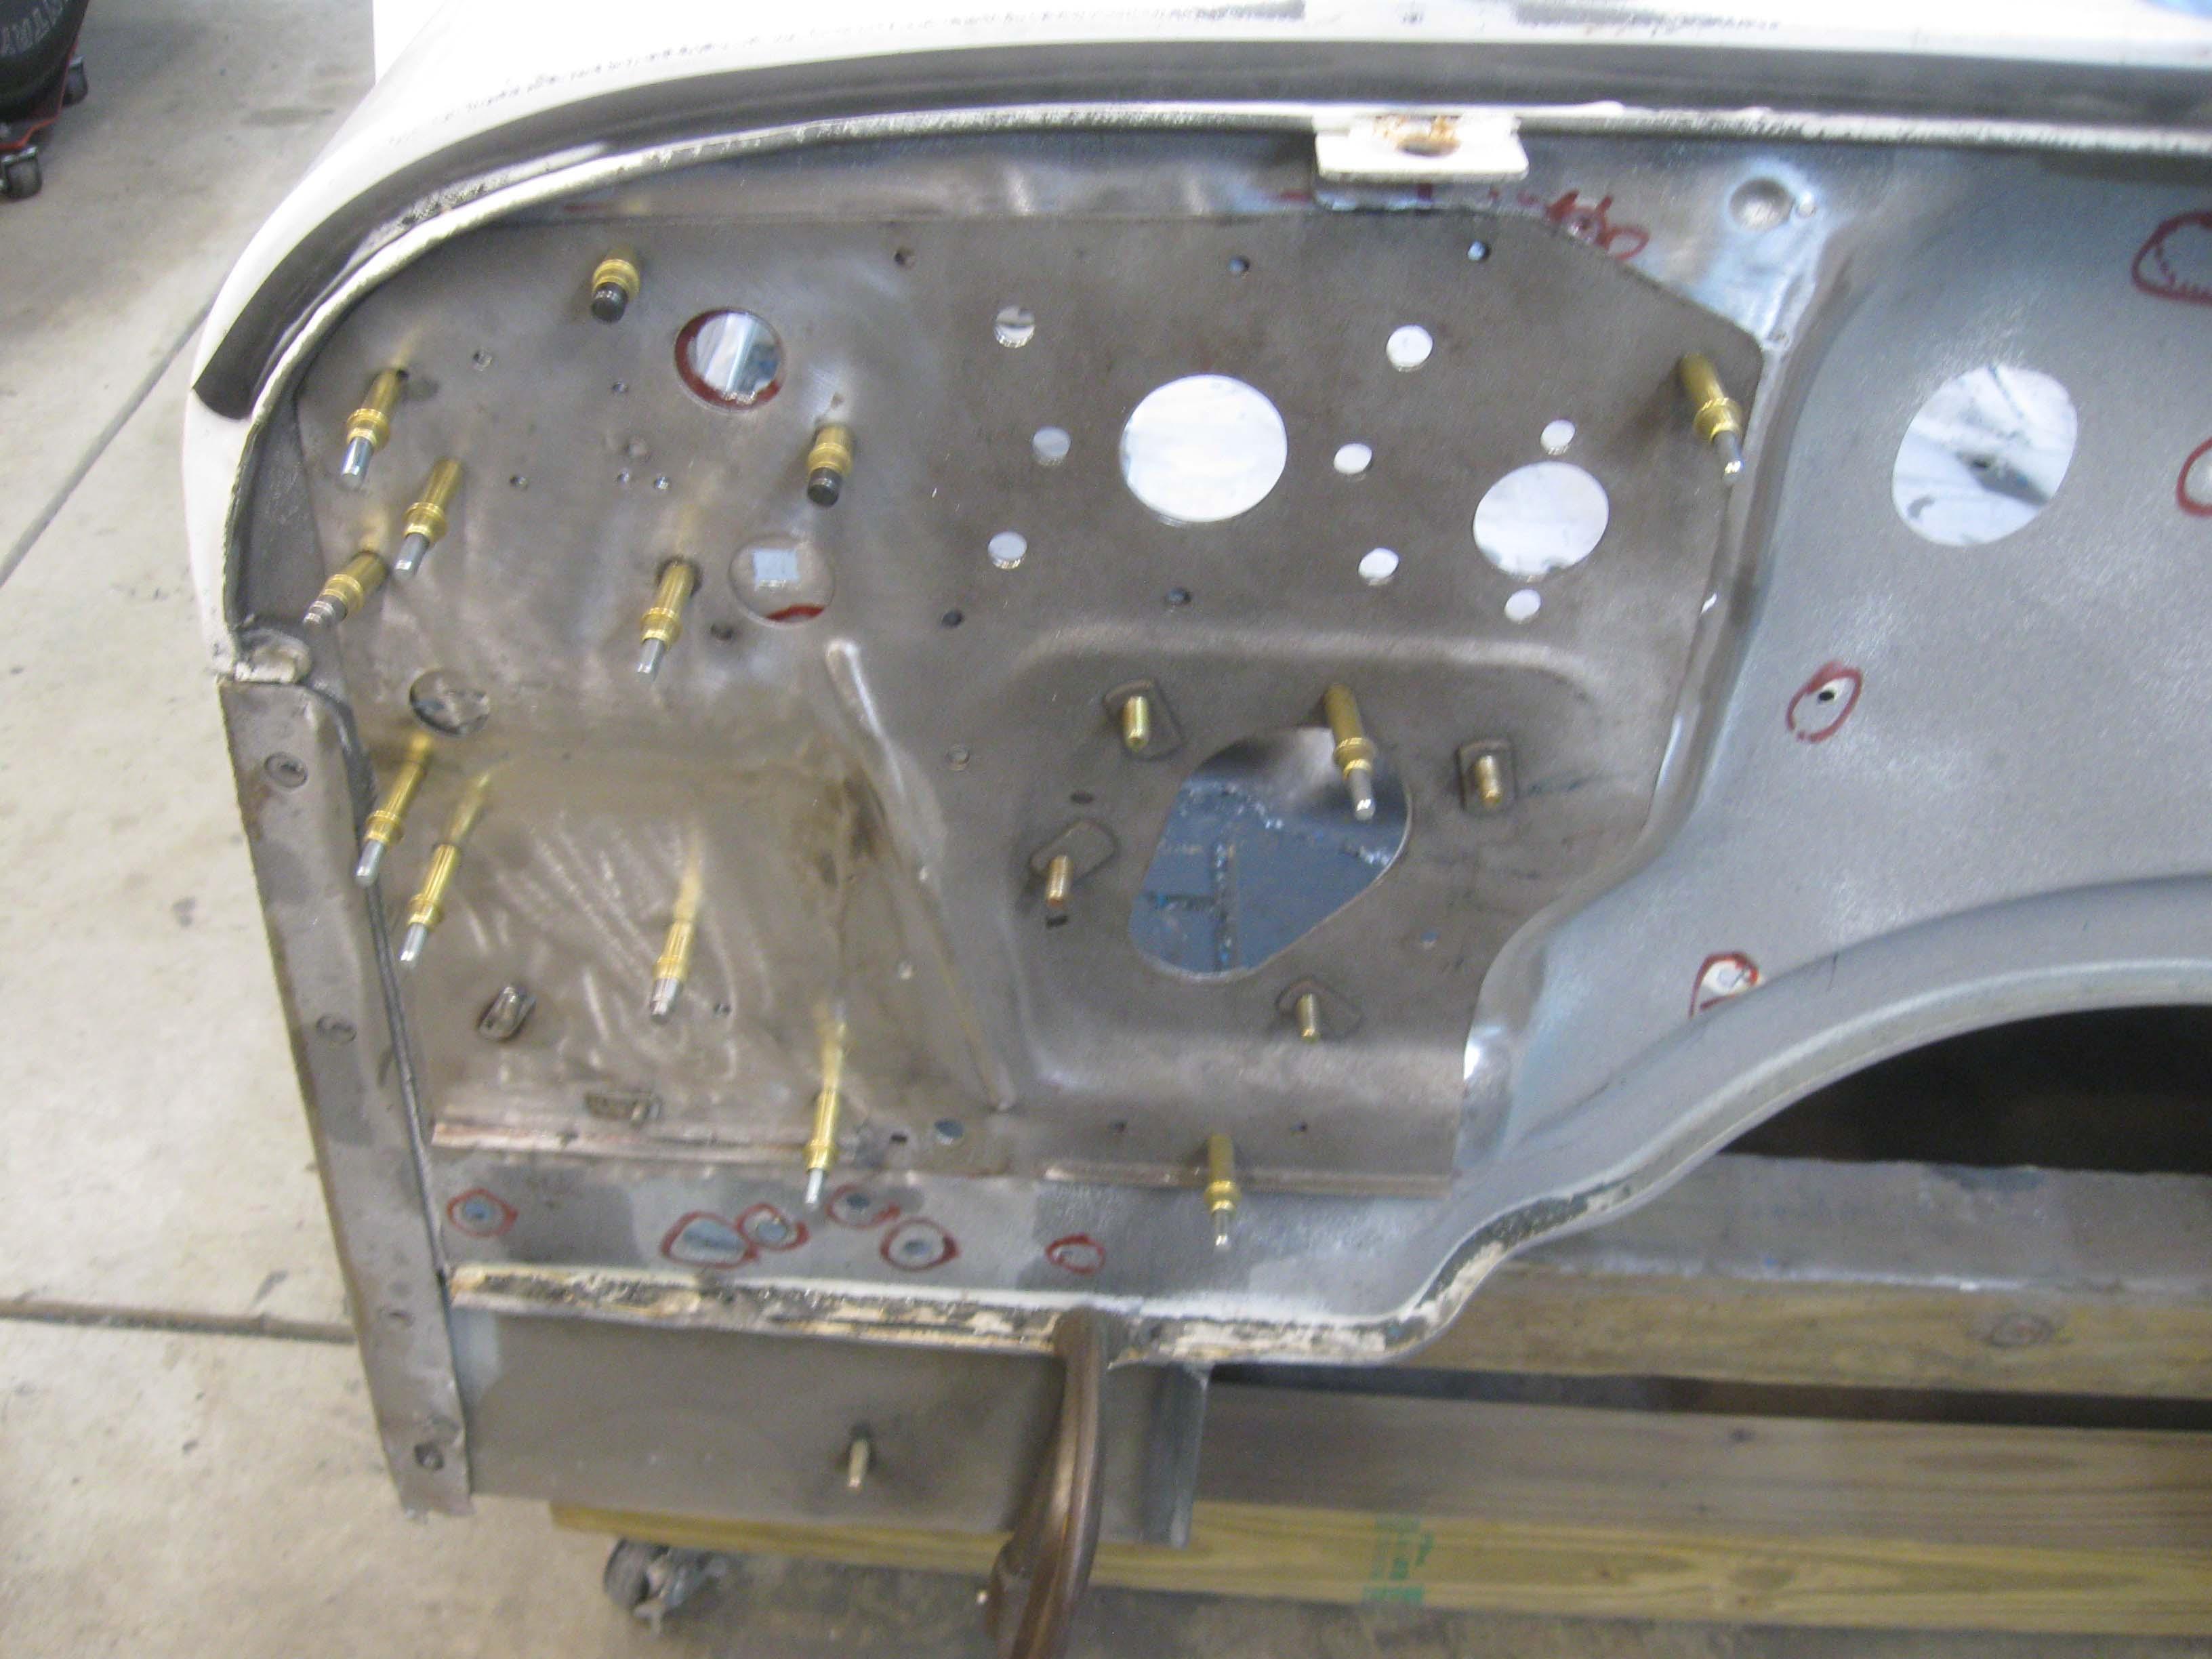
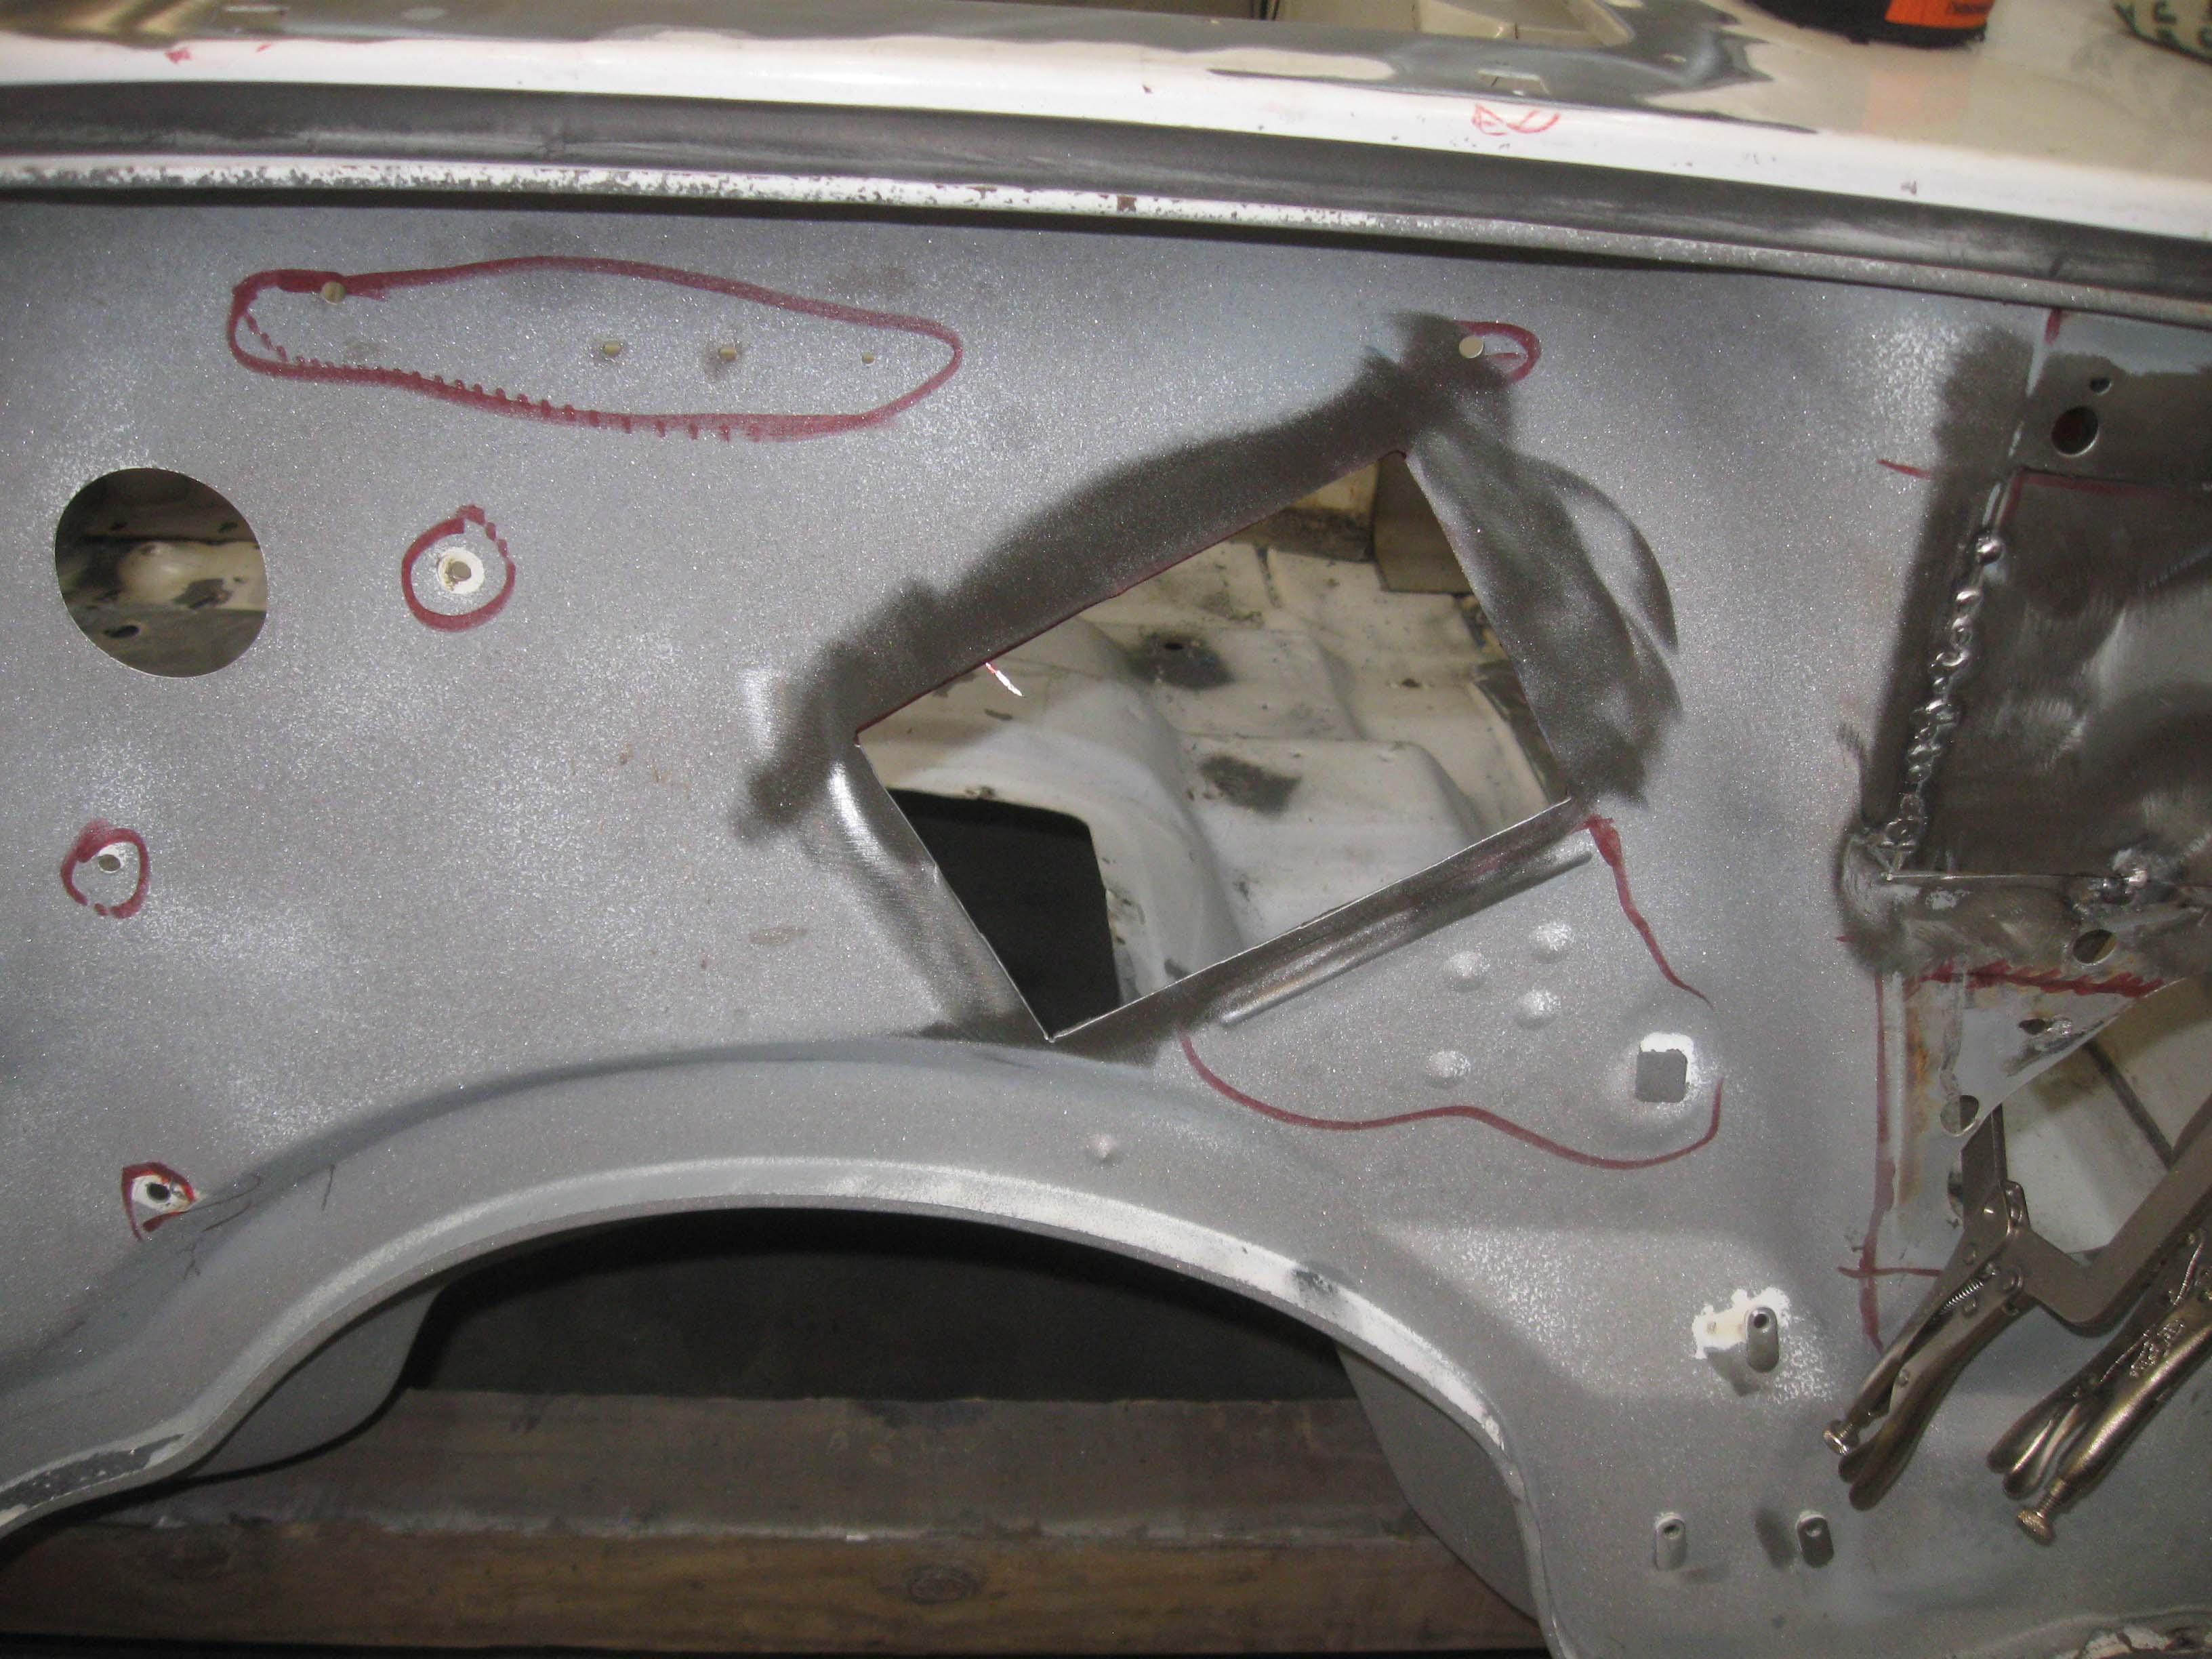
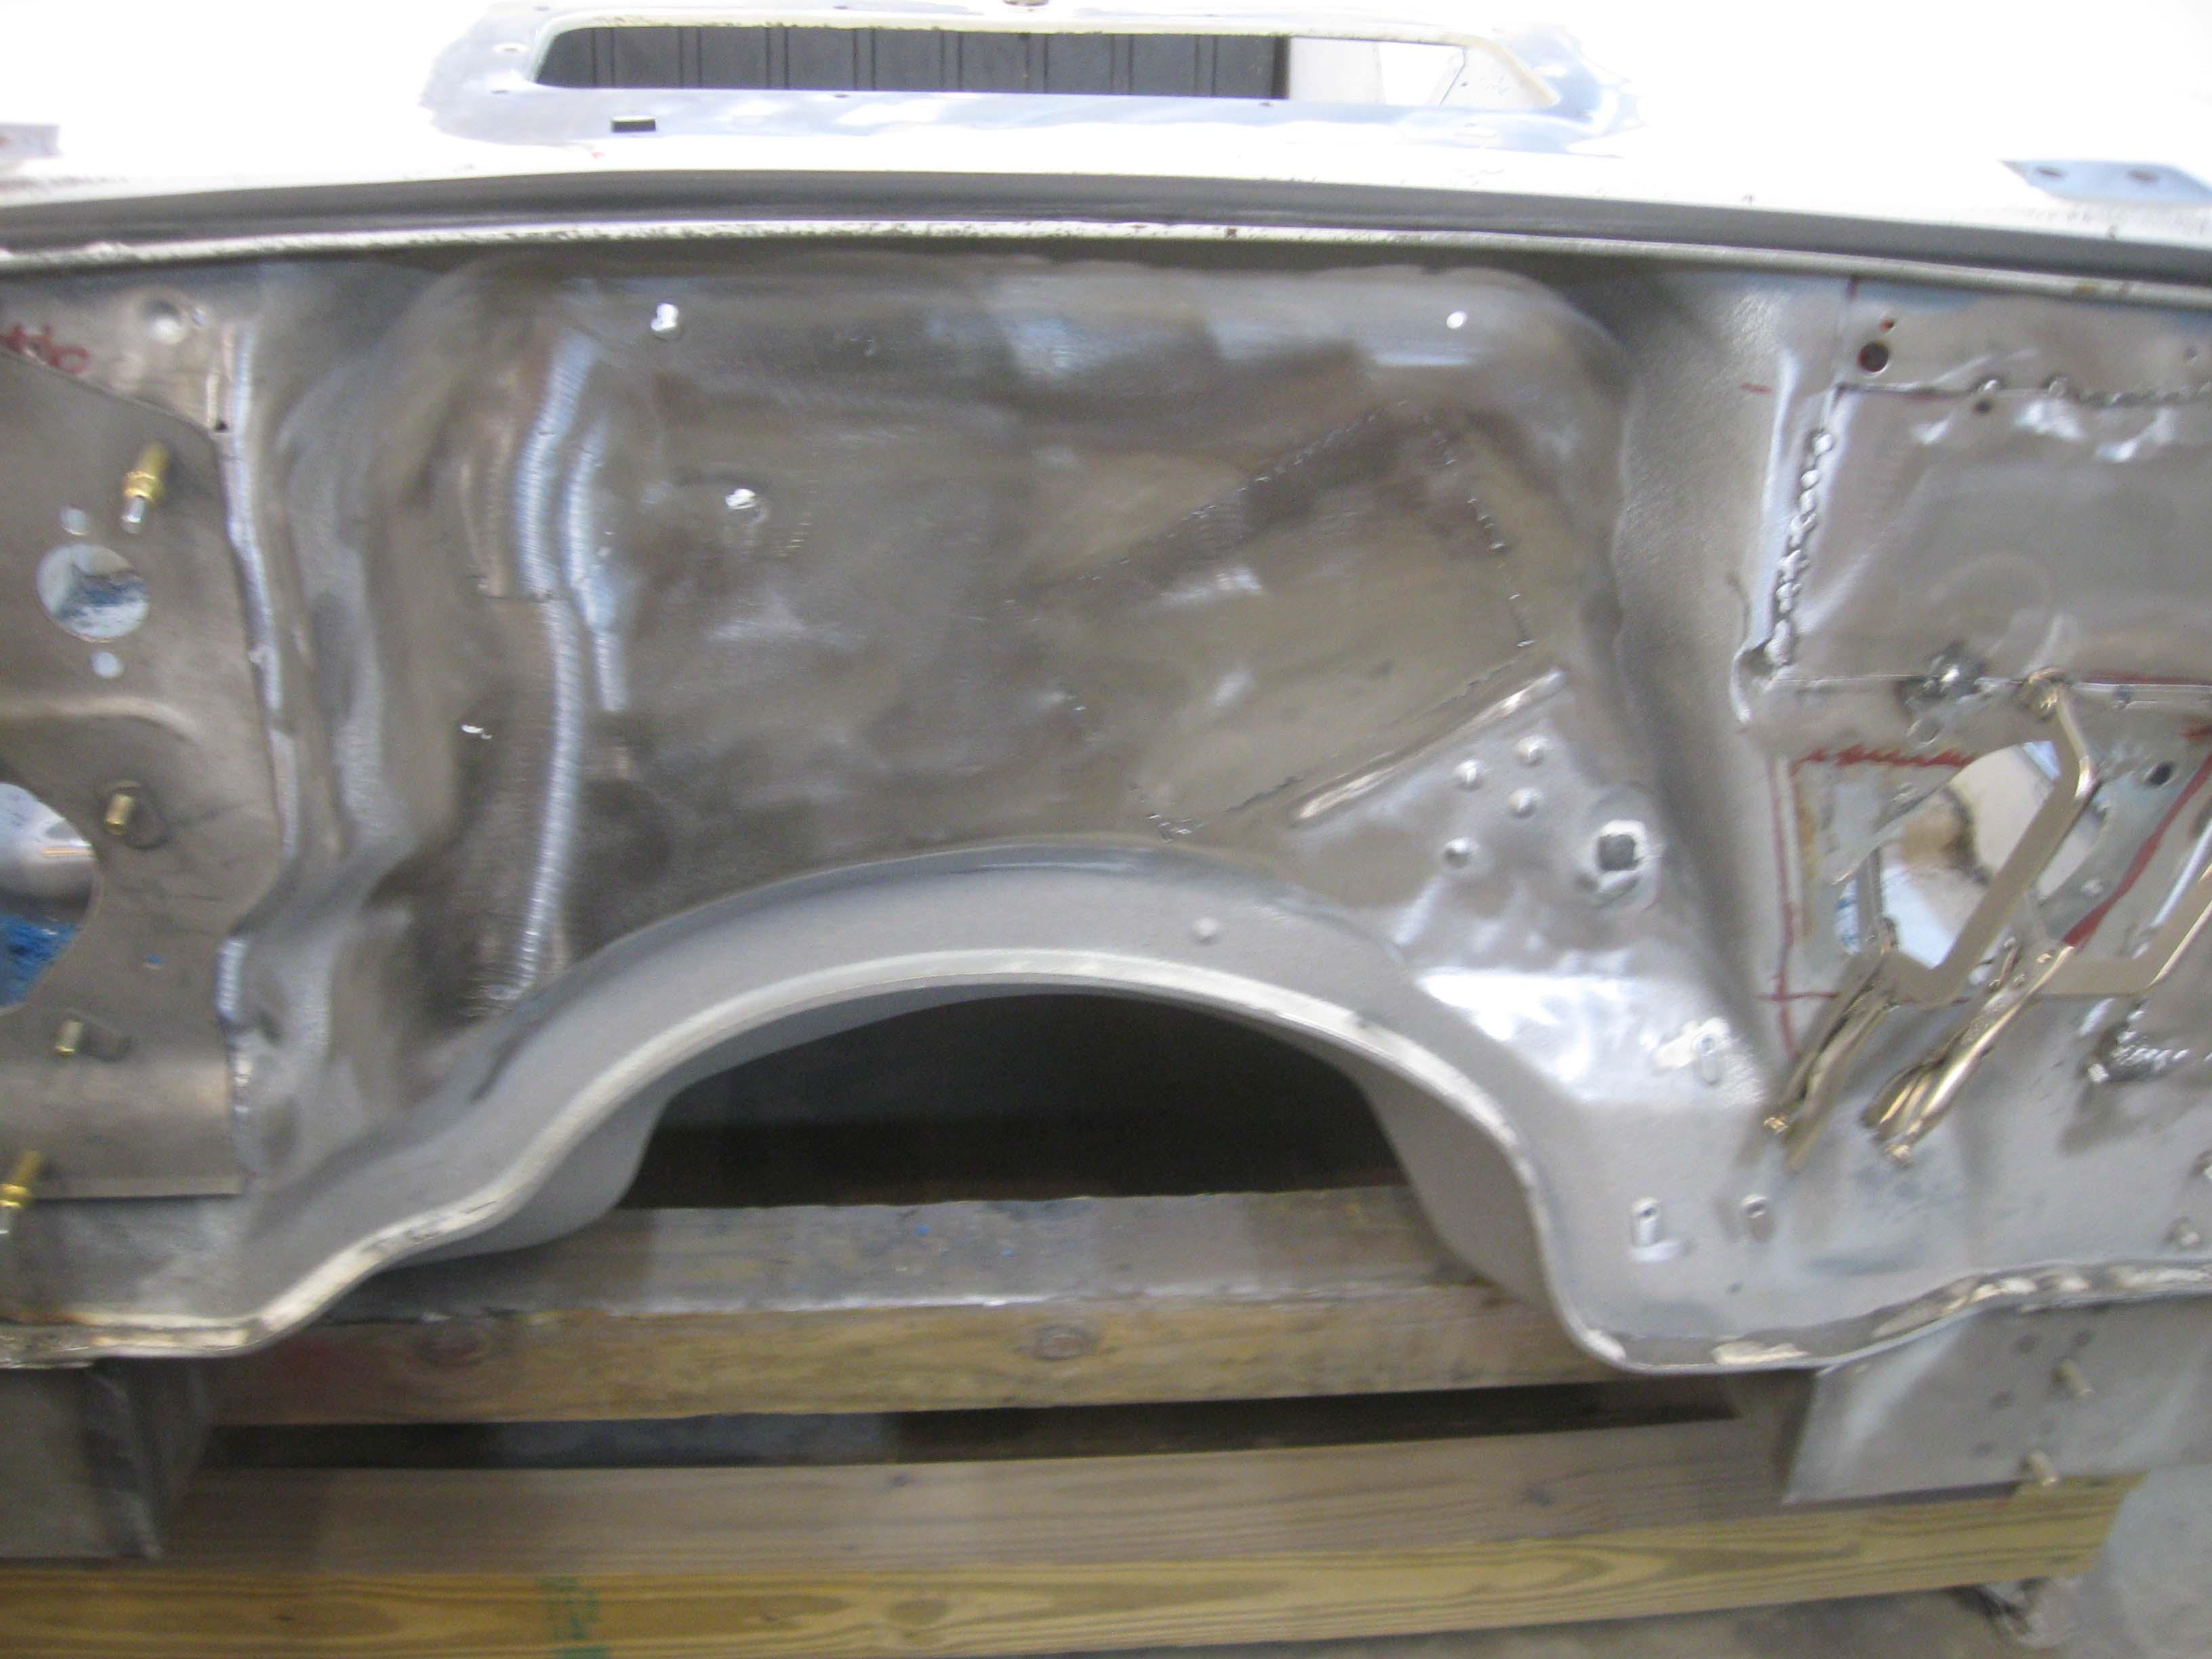
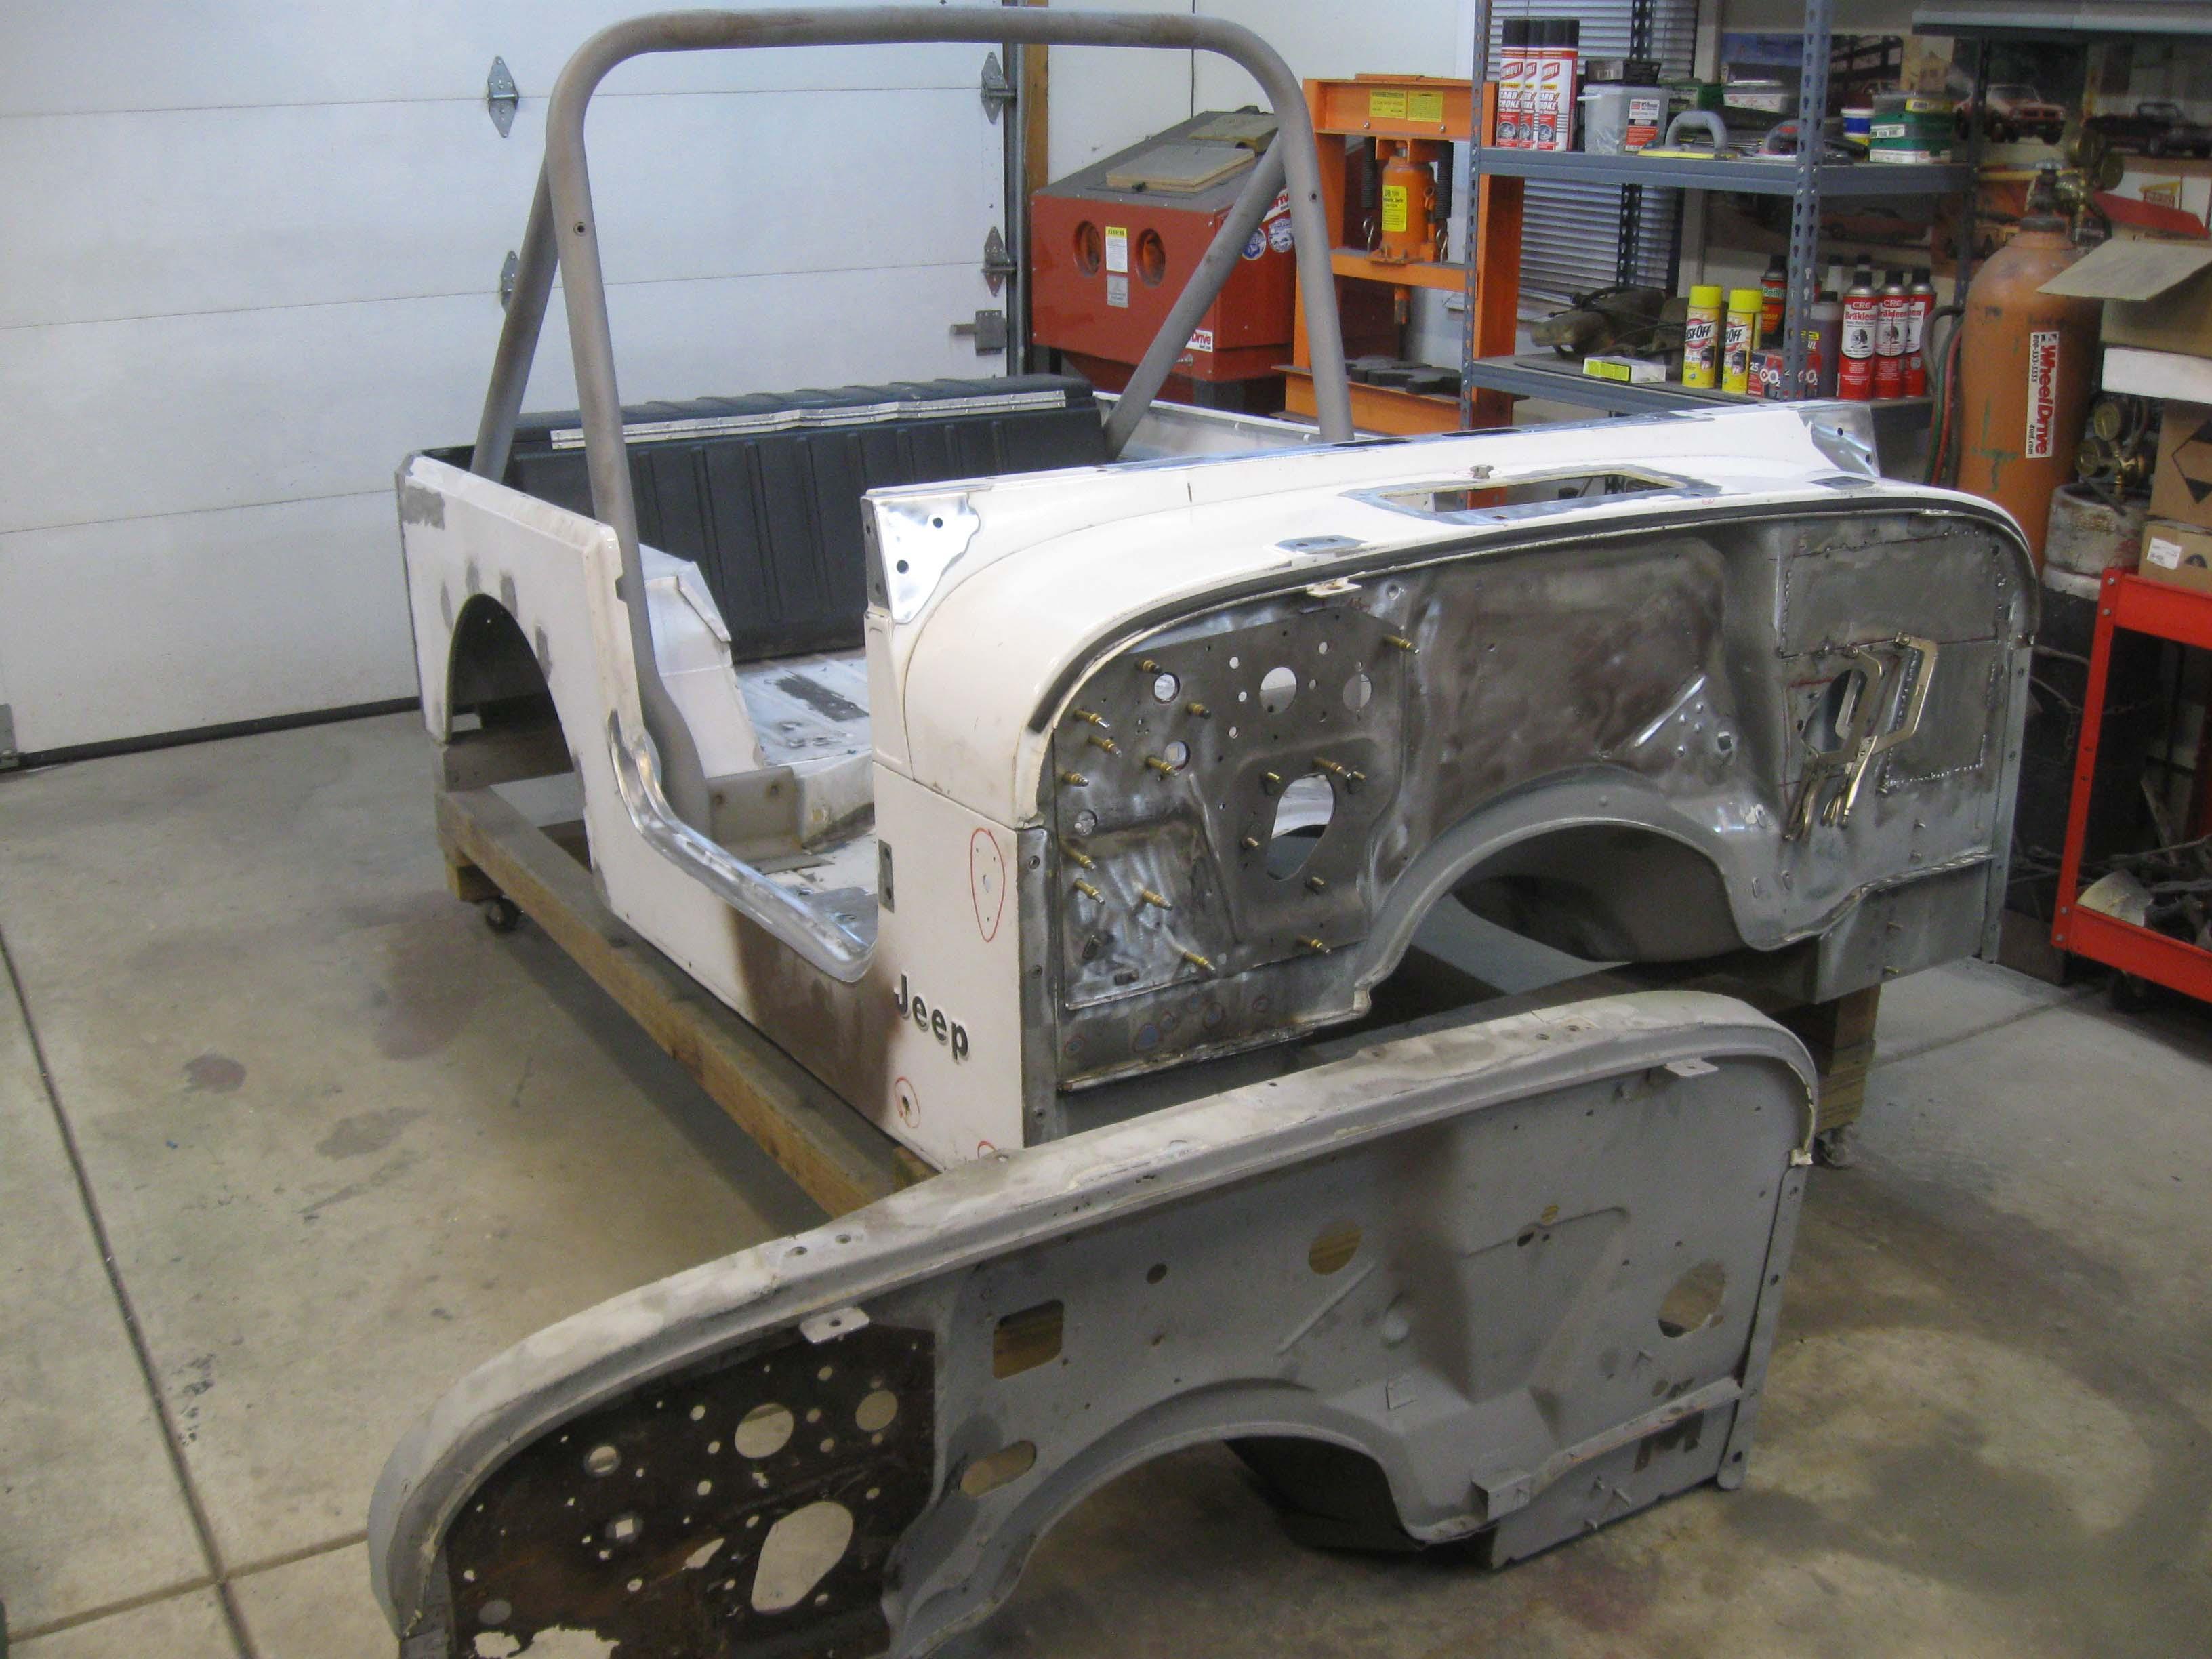
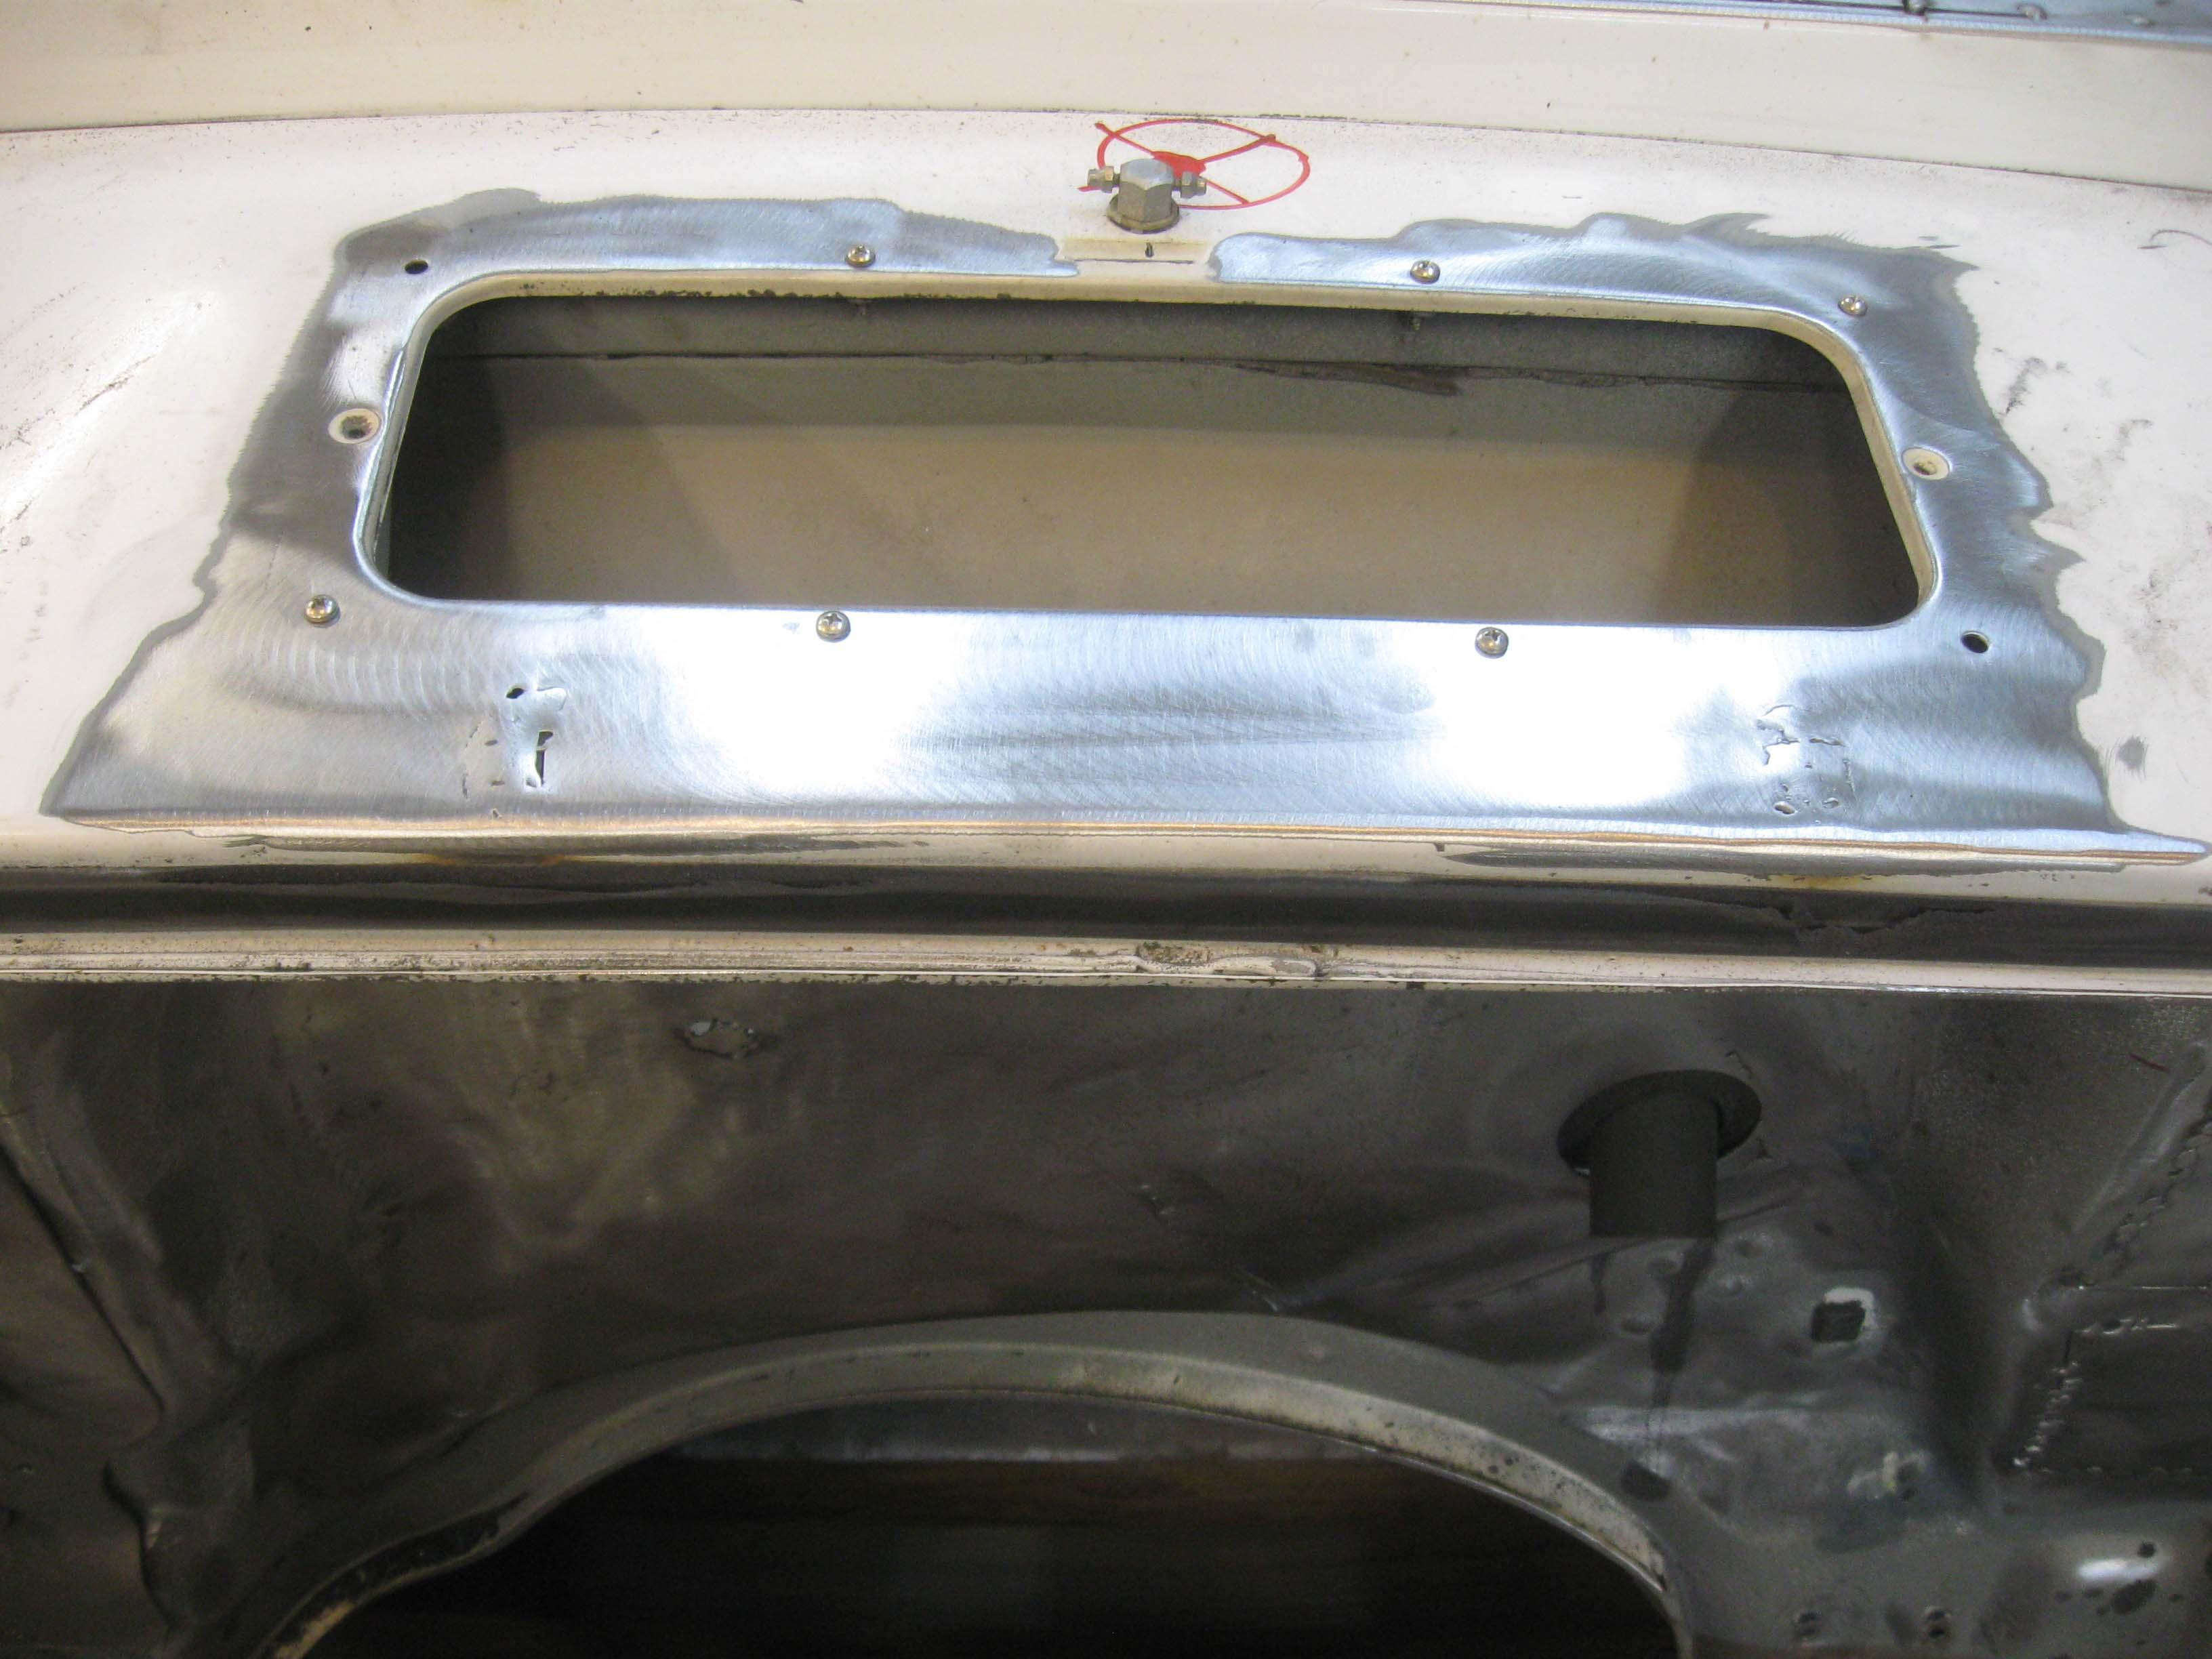
Firewall work continues... put in a few hours before vacation and a few yesterday when we got back.

IMG_7511-1.jpg


IMG_7512-1.jpg


IMG_7513-1.jpg


IMG_7517-1.jpg

IMG_7519-1.jpg

IMG_7520-1.jpg


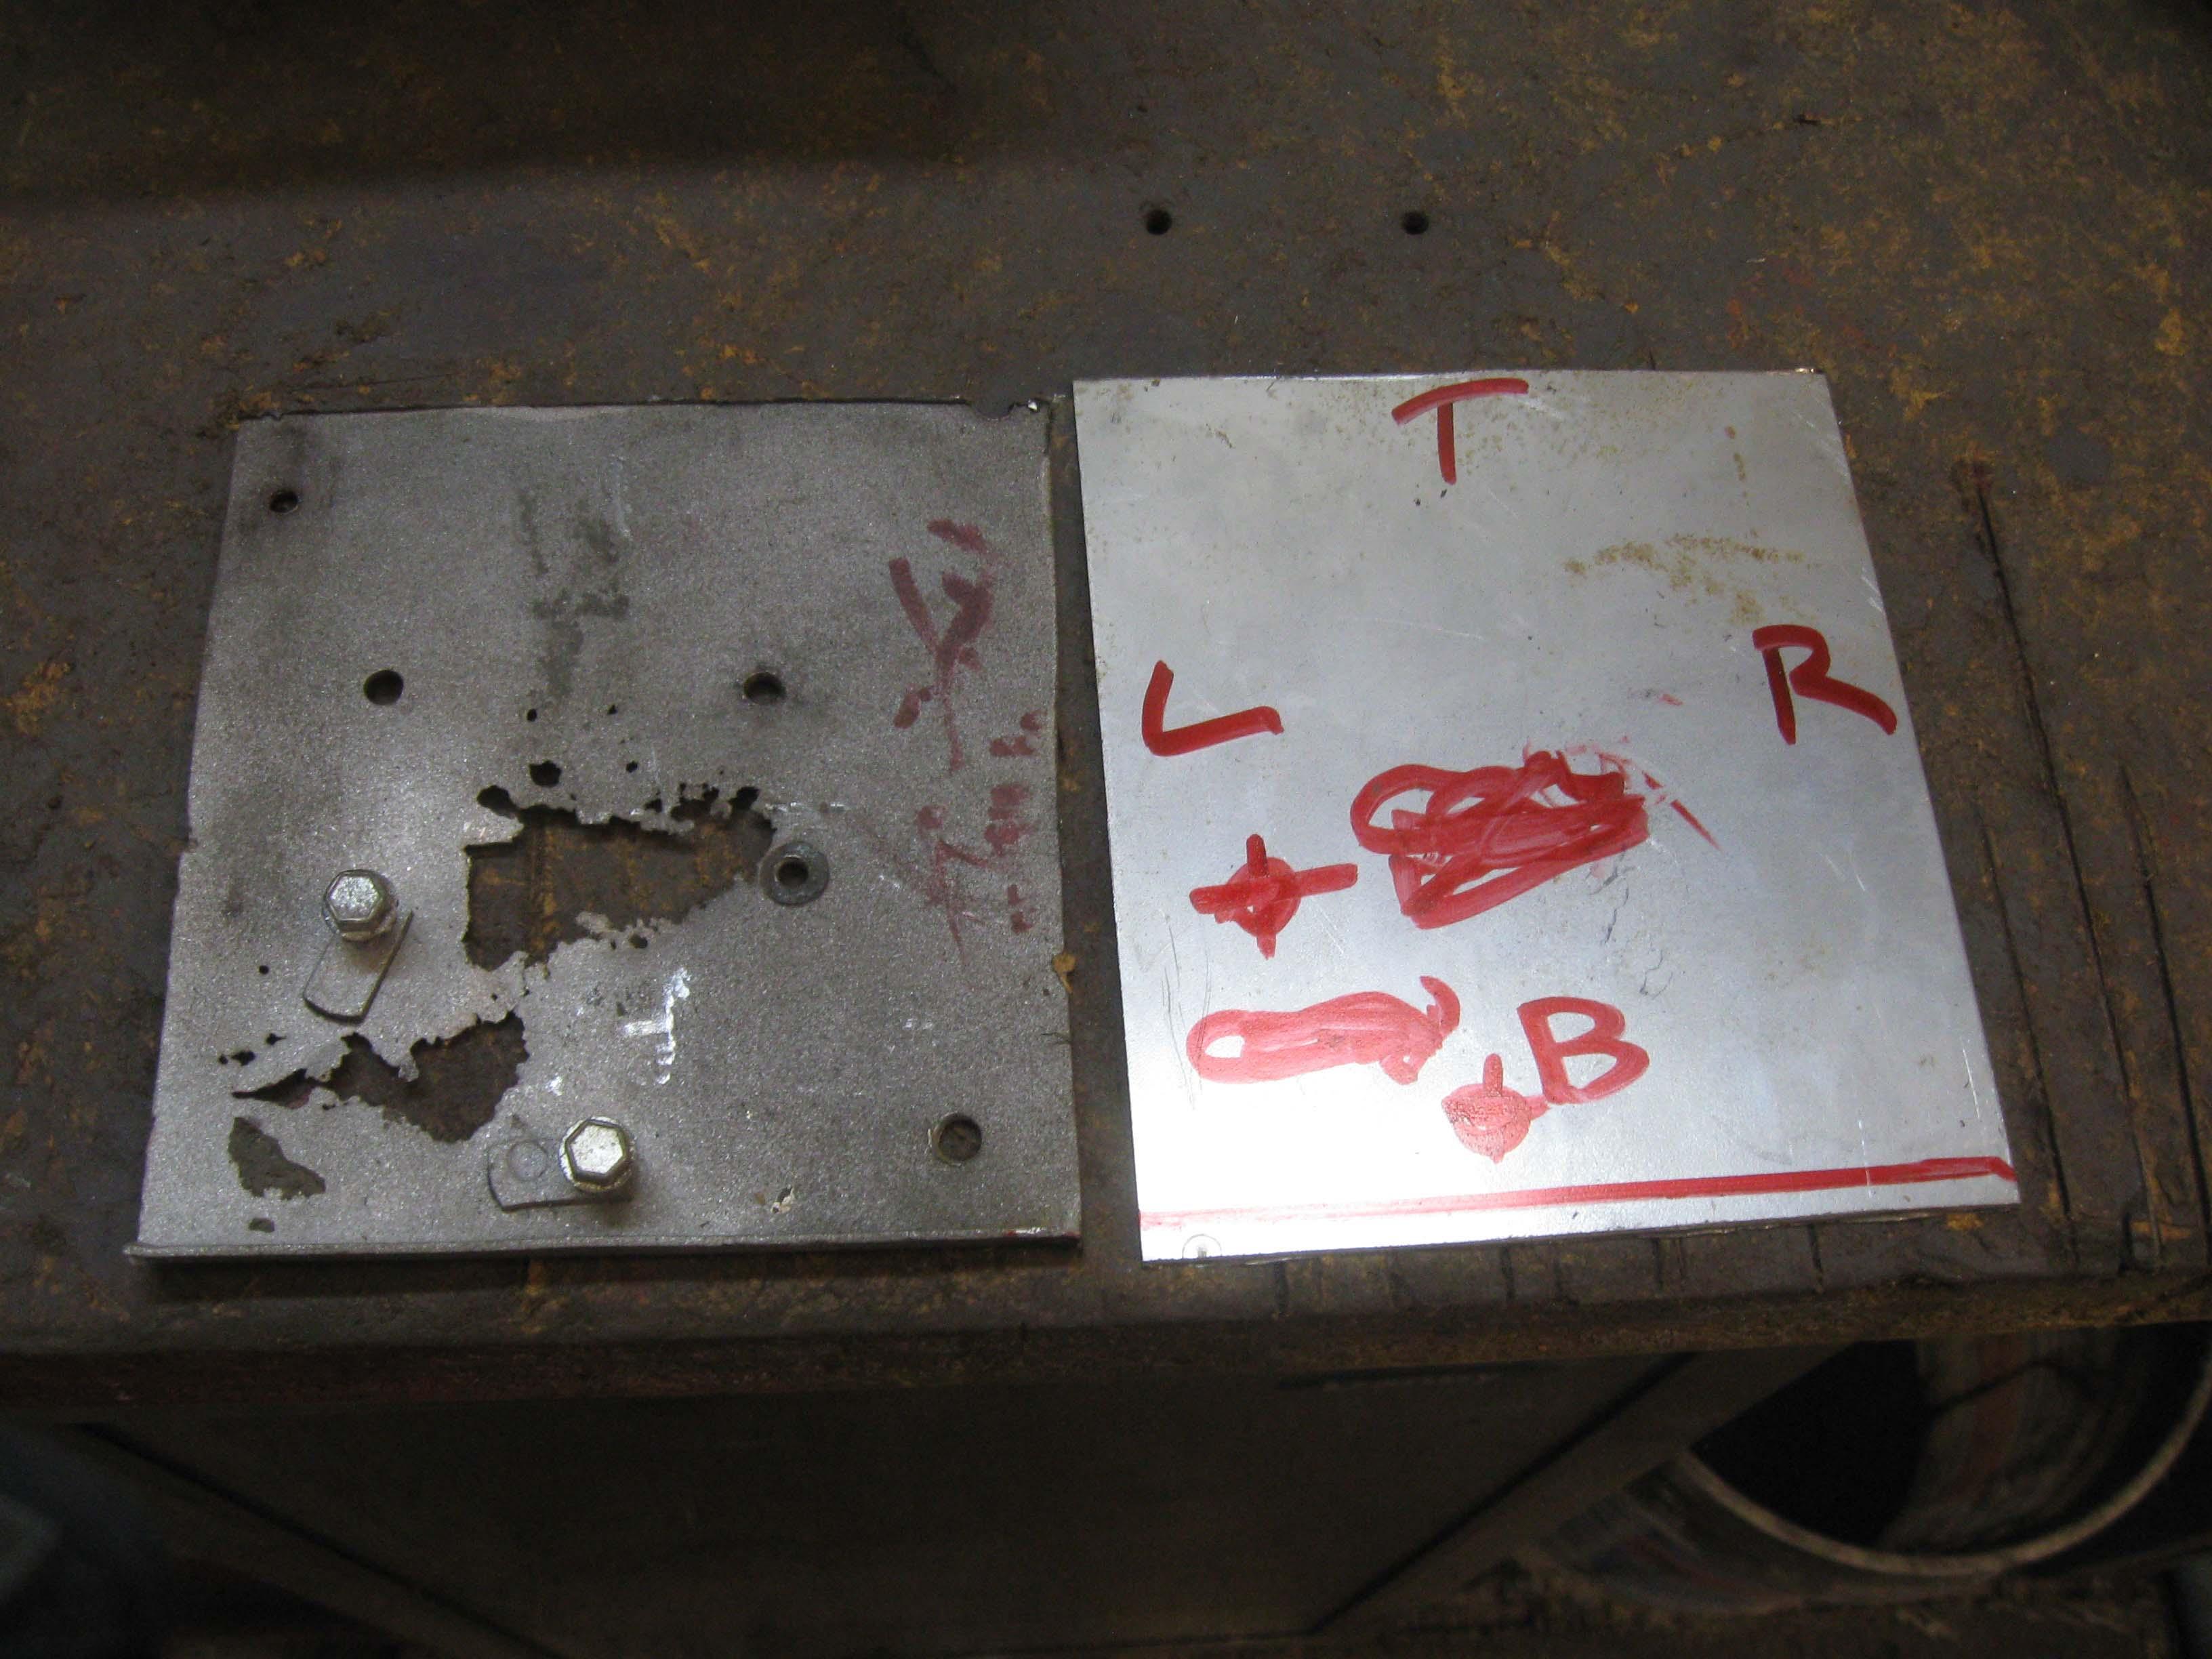
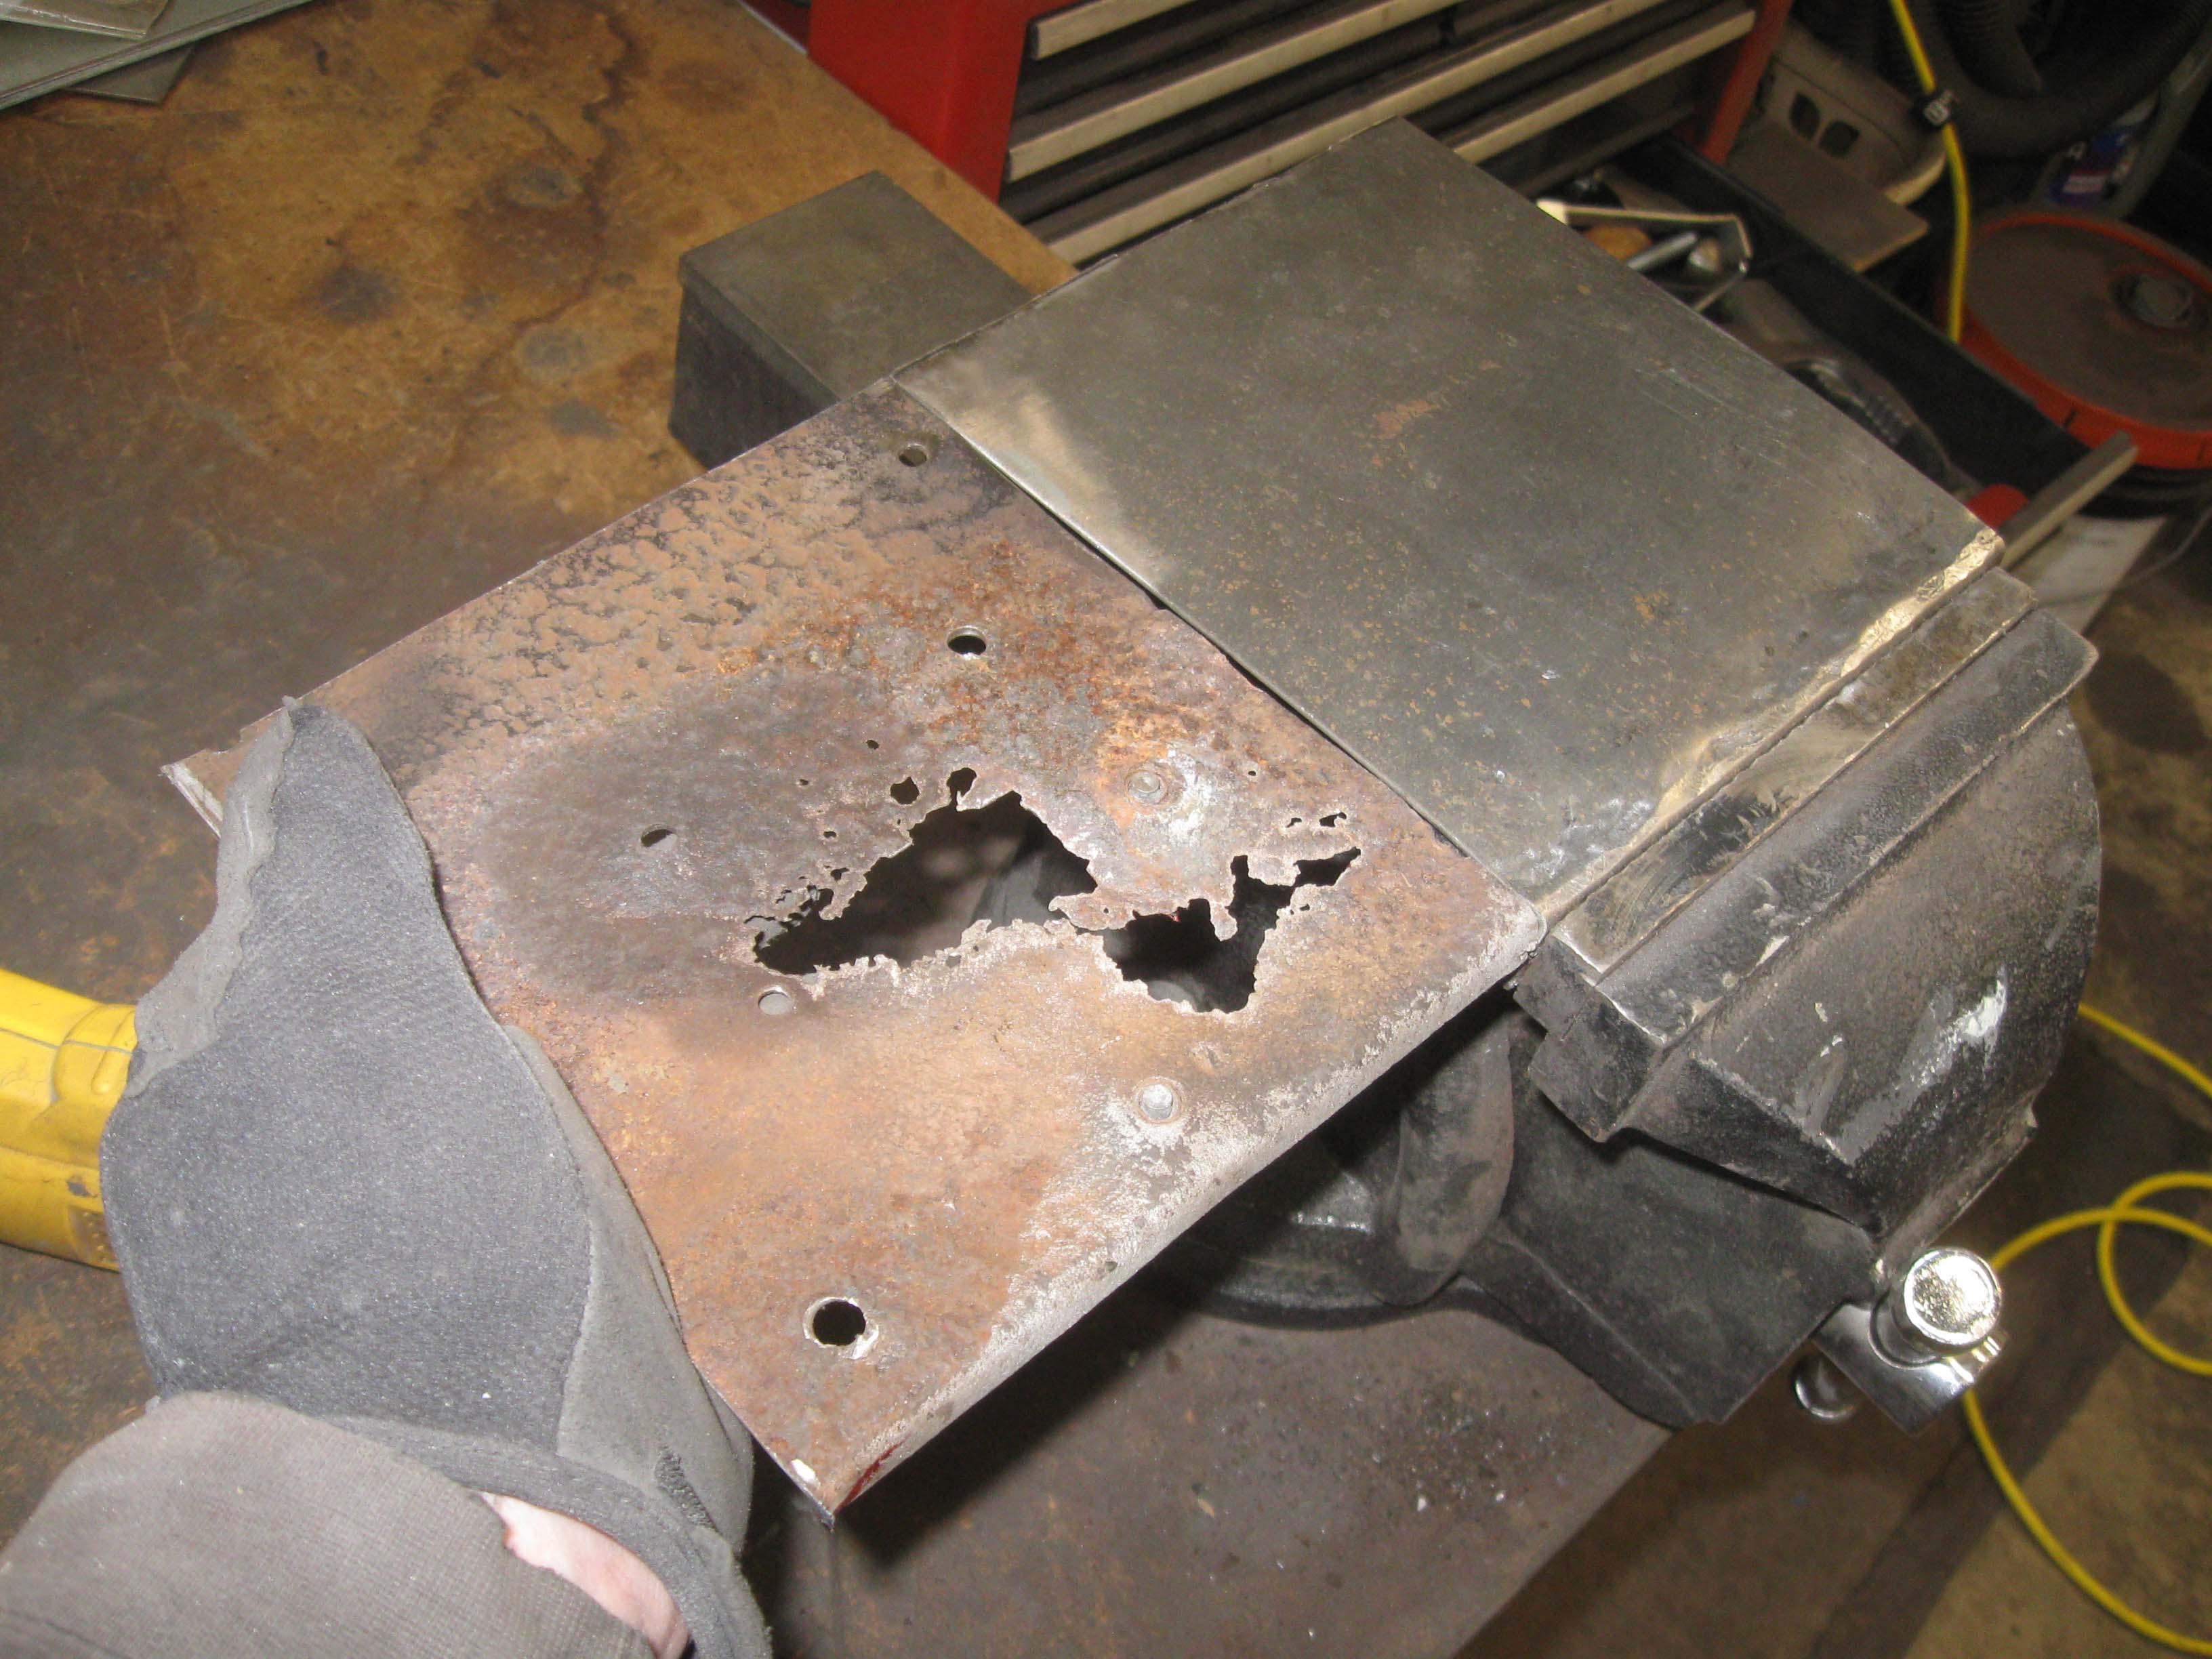
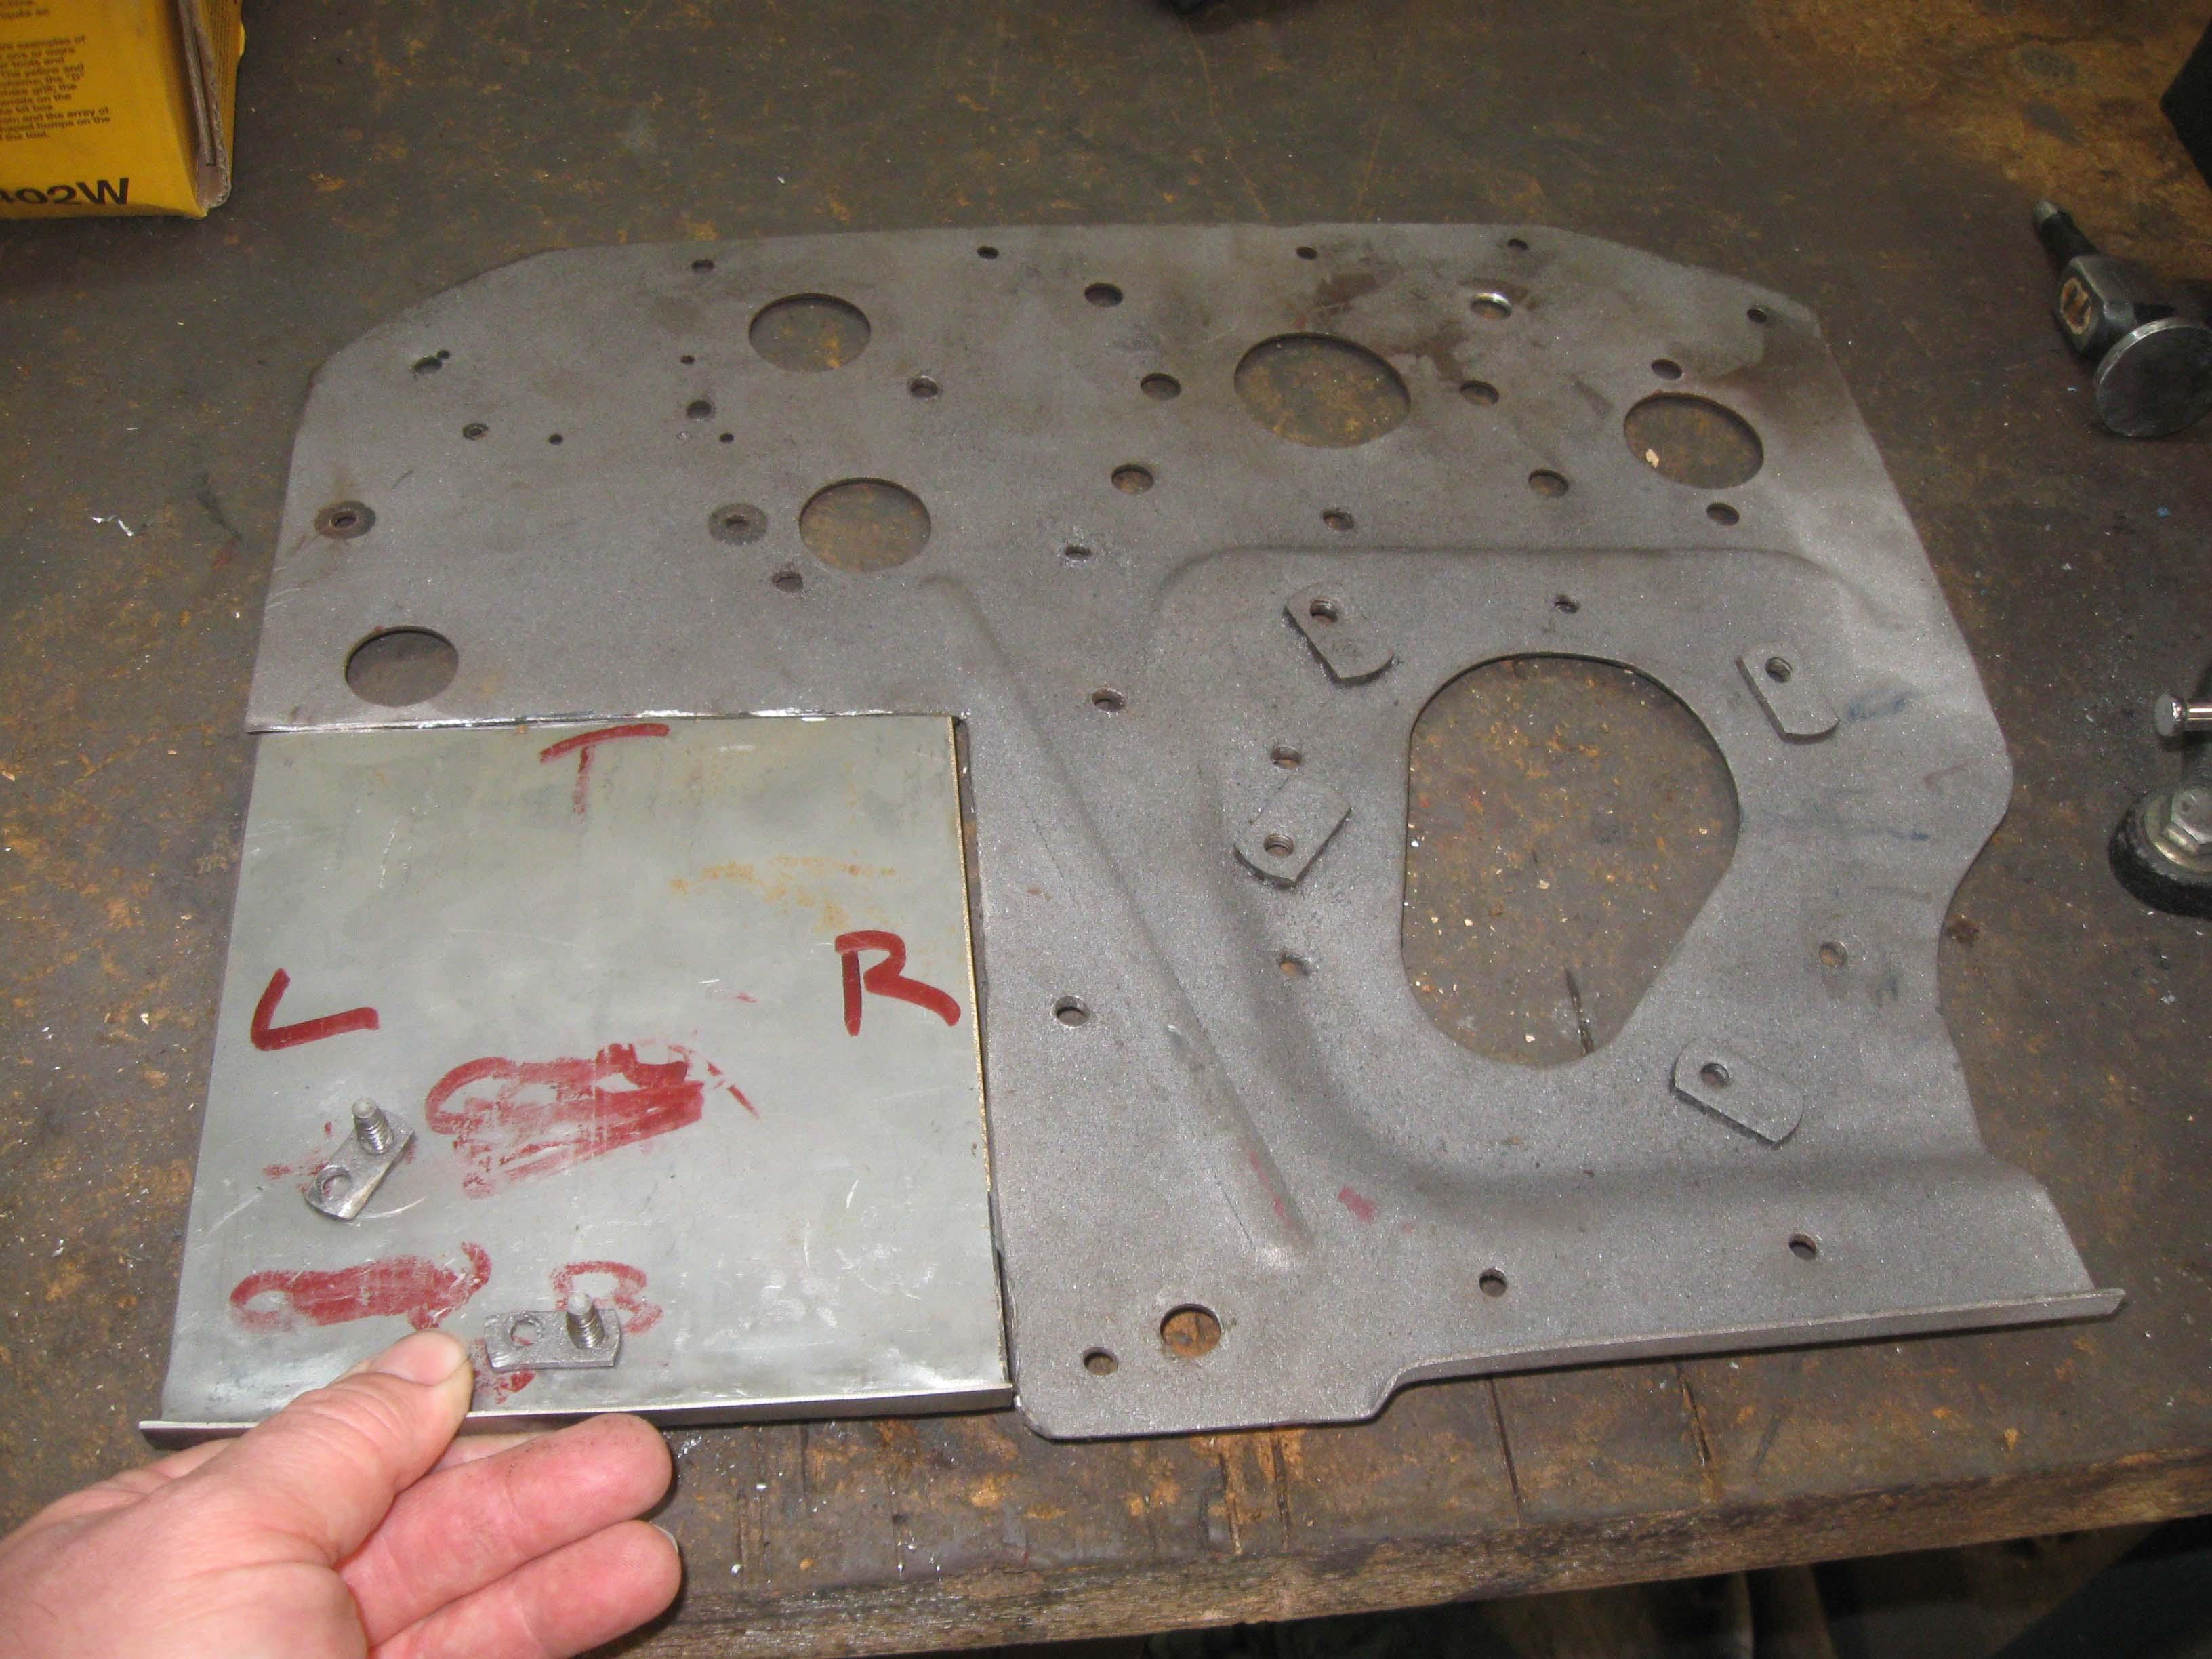
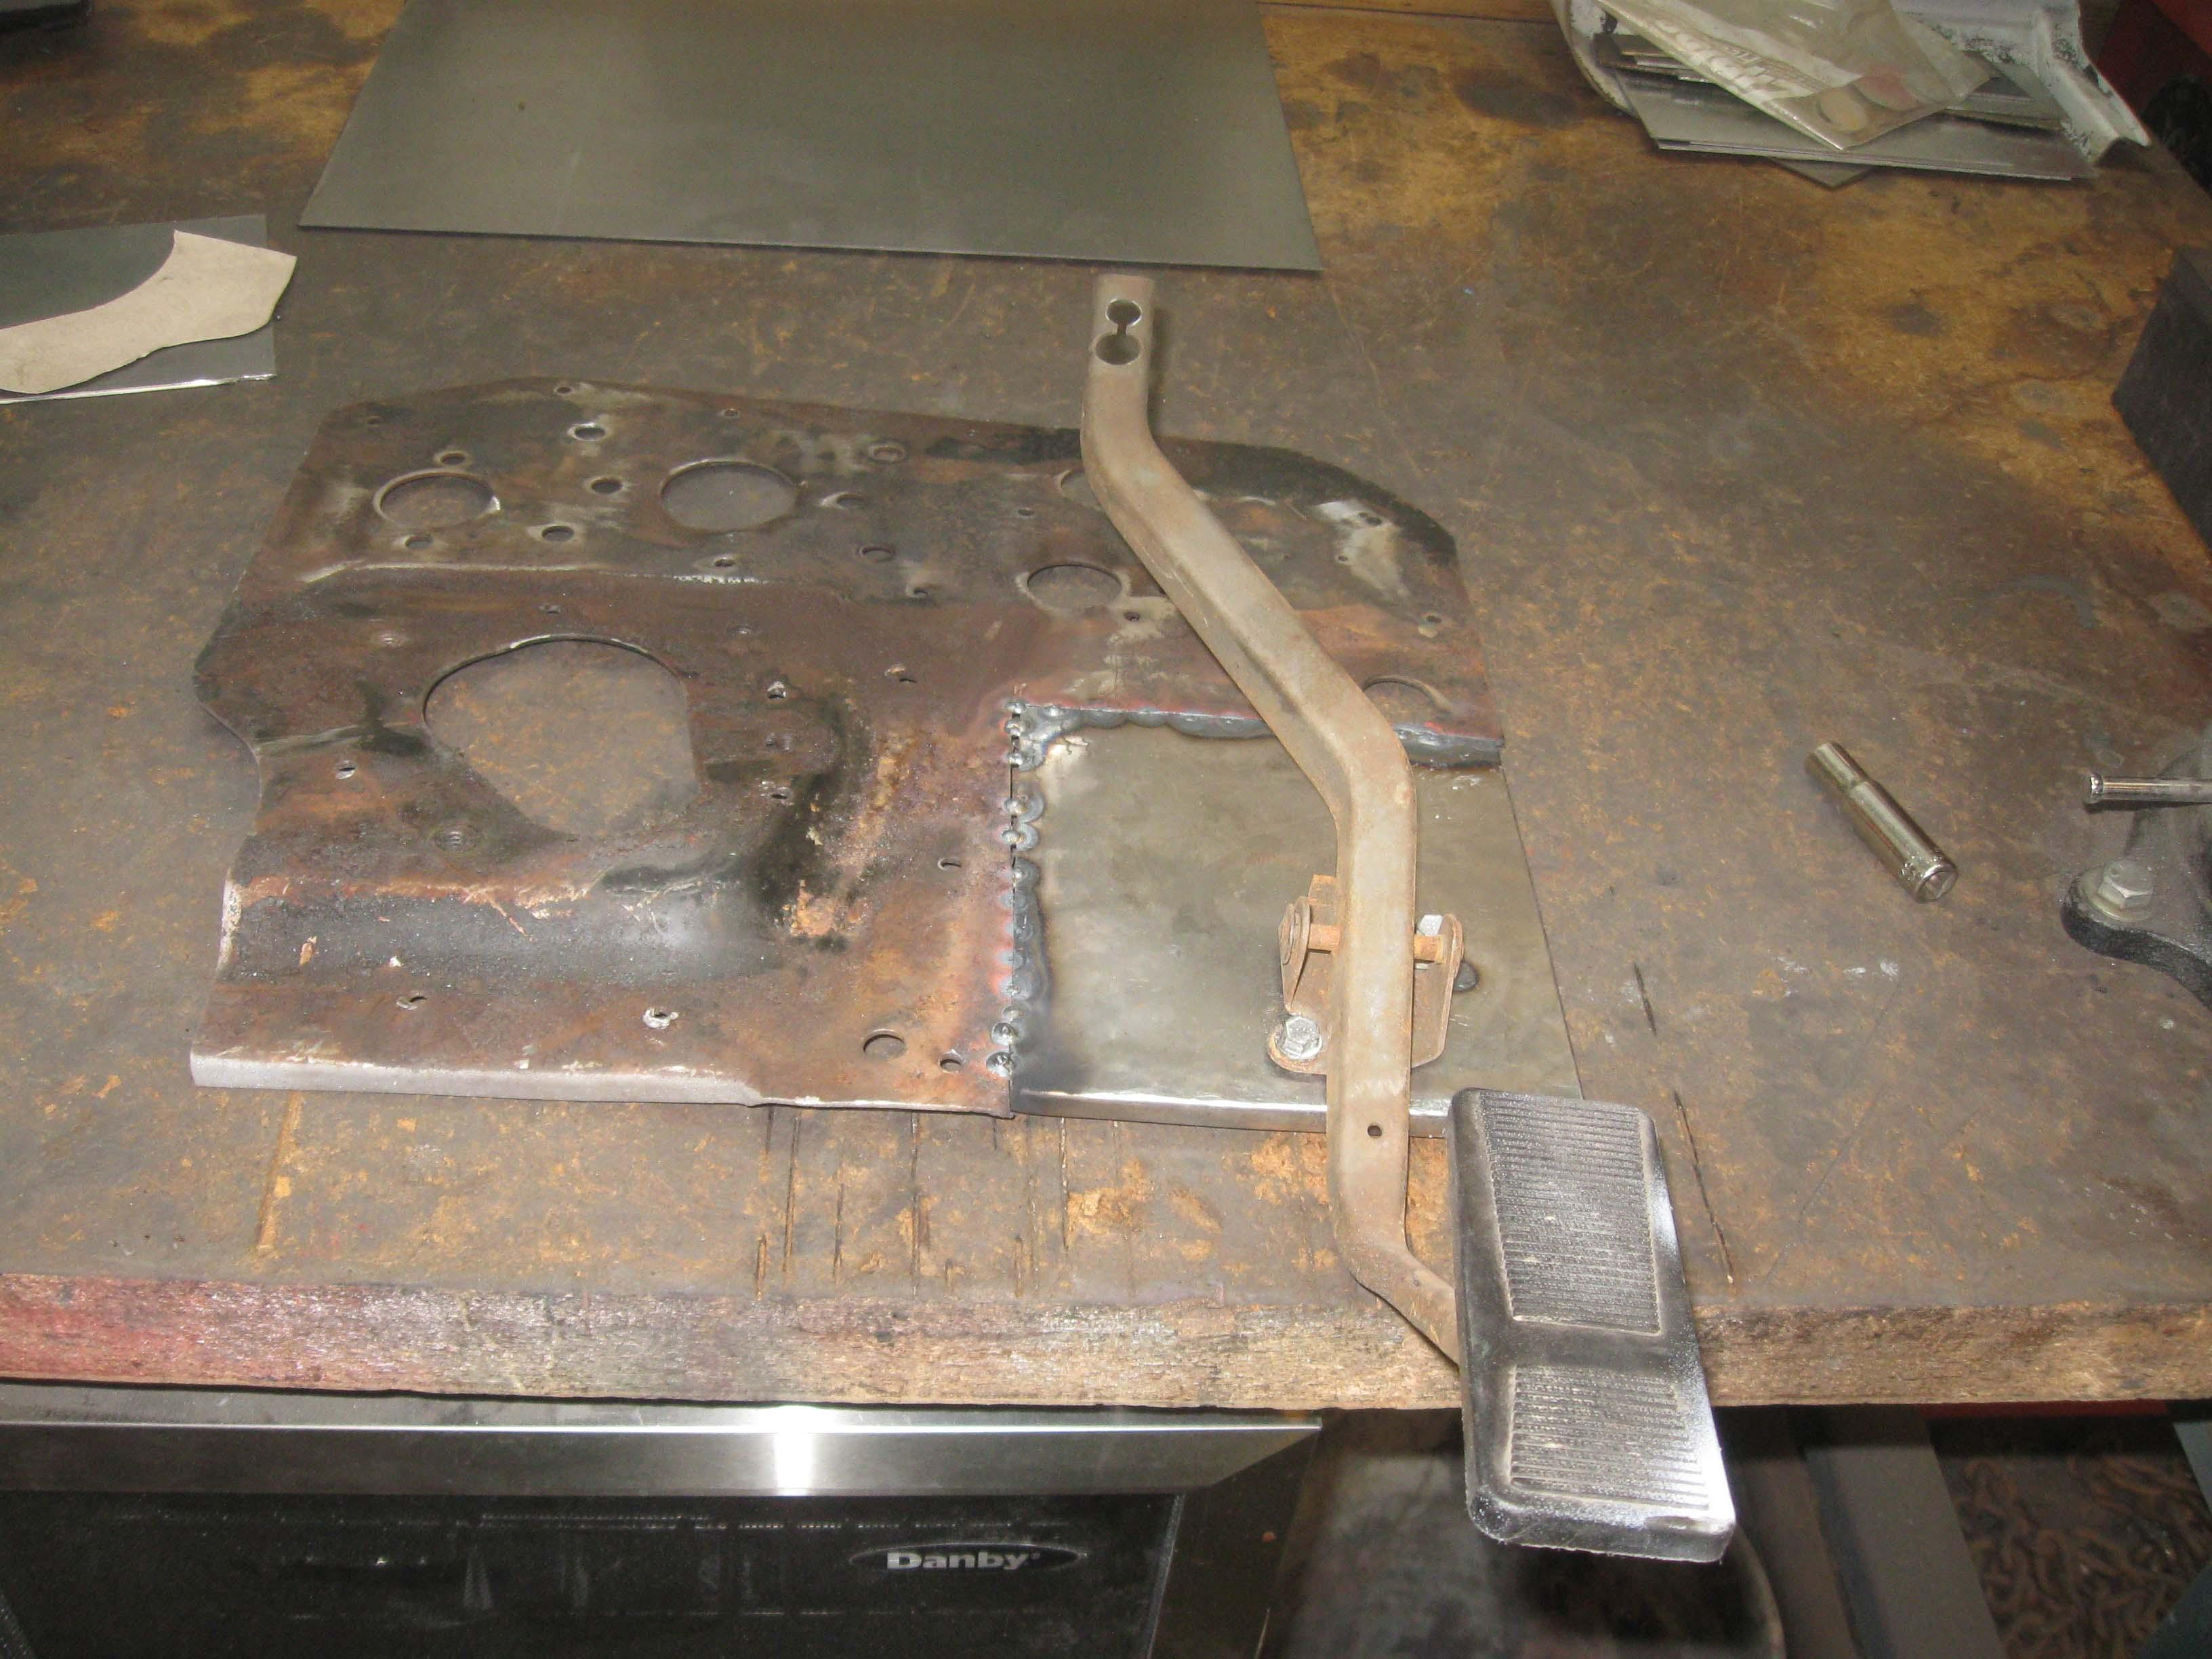
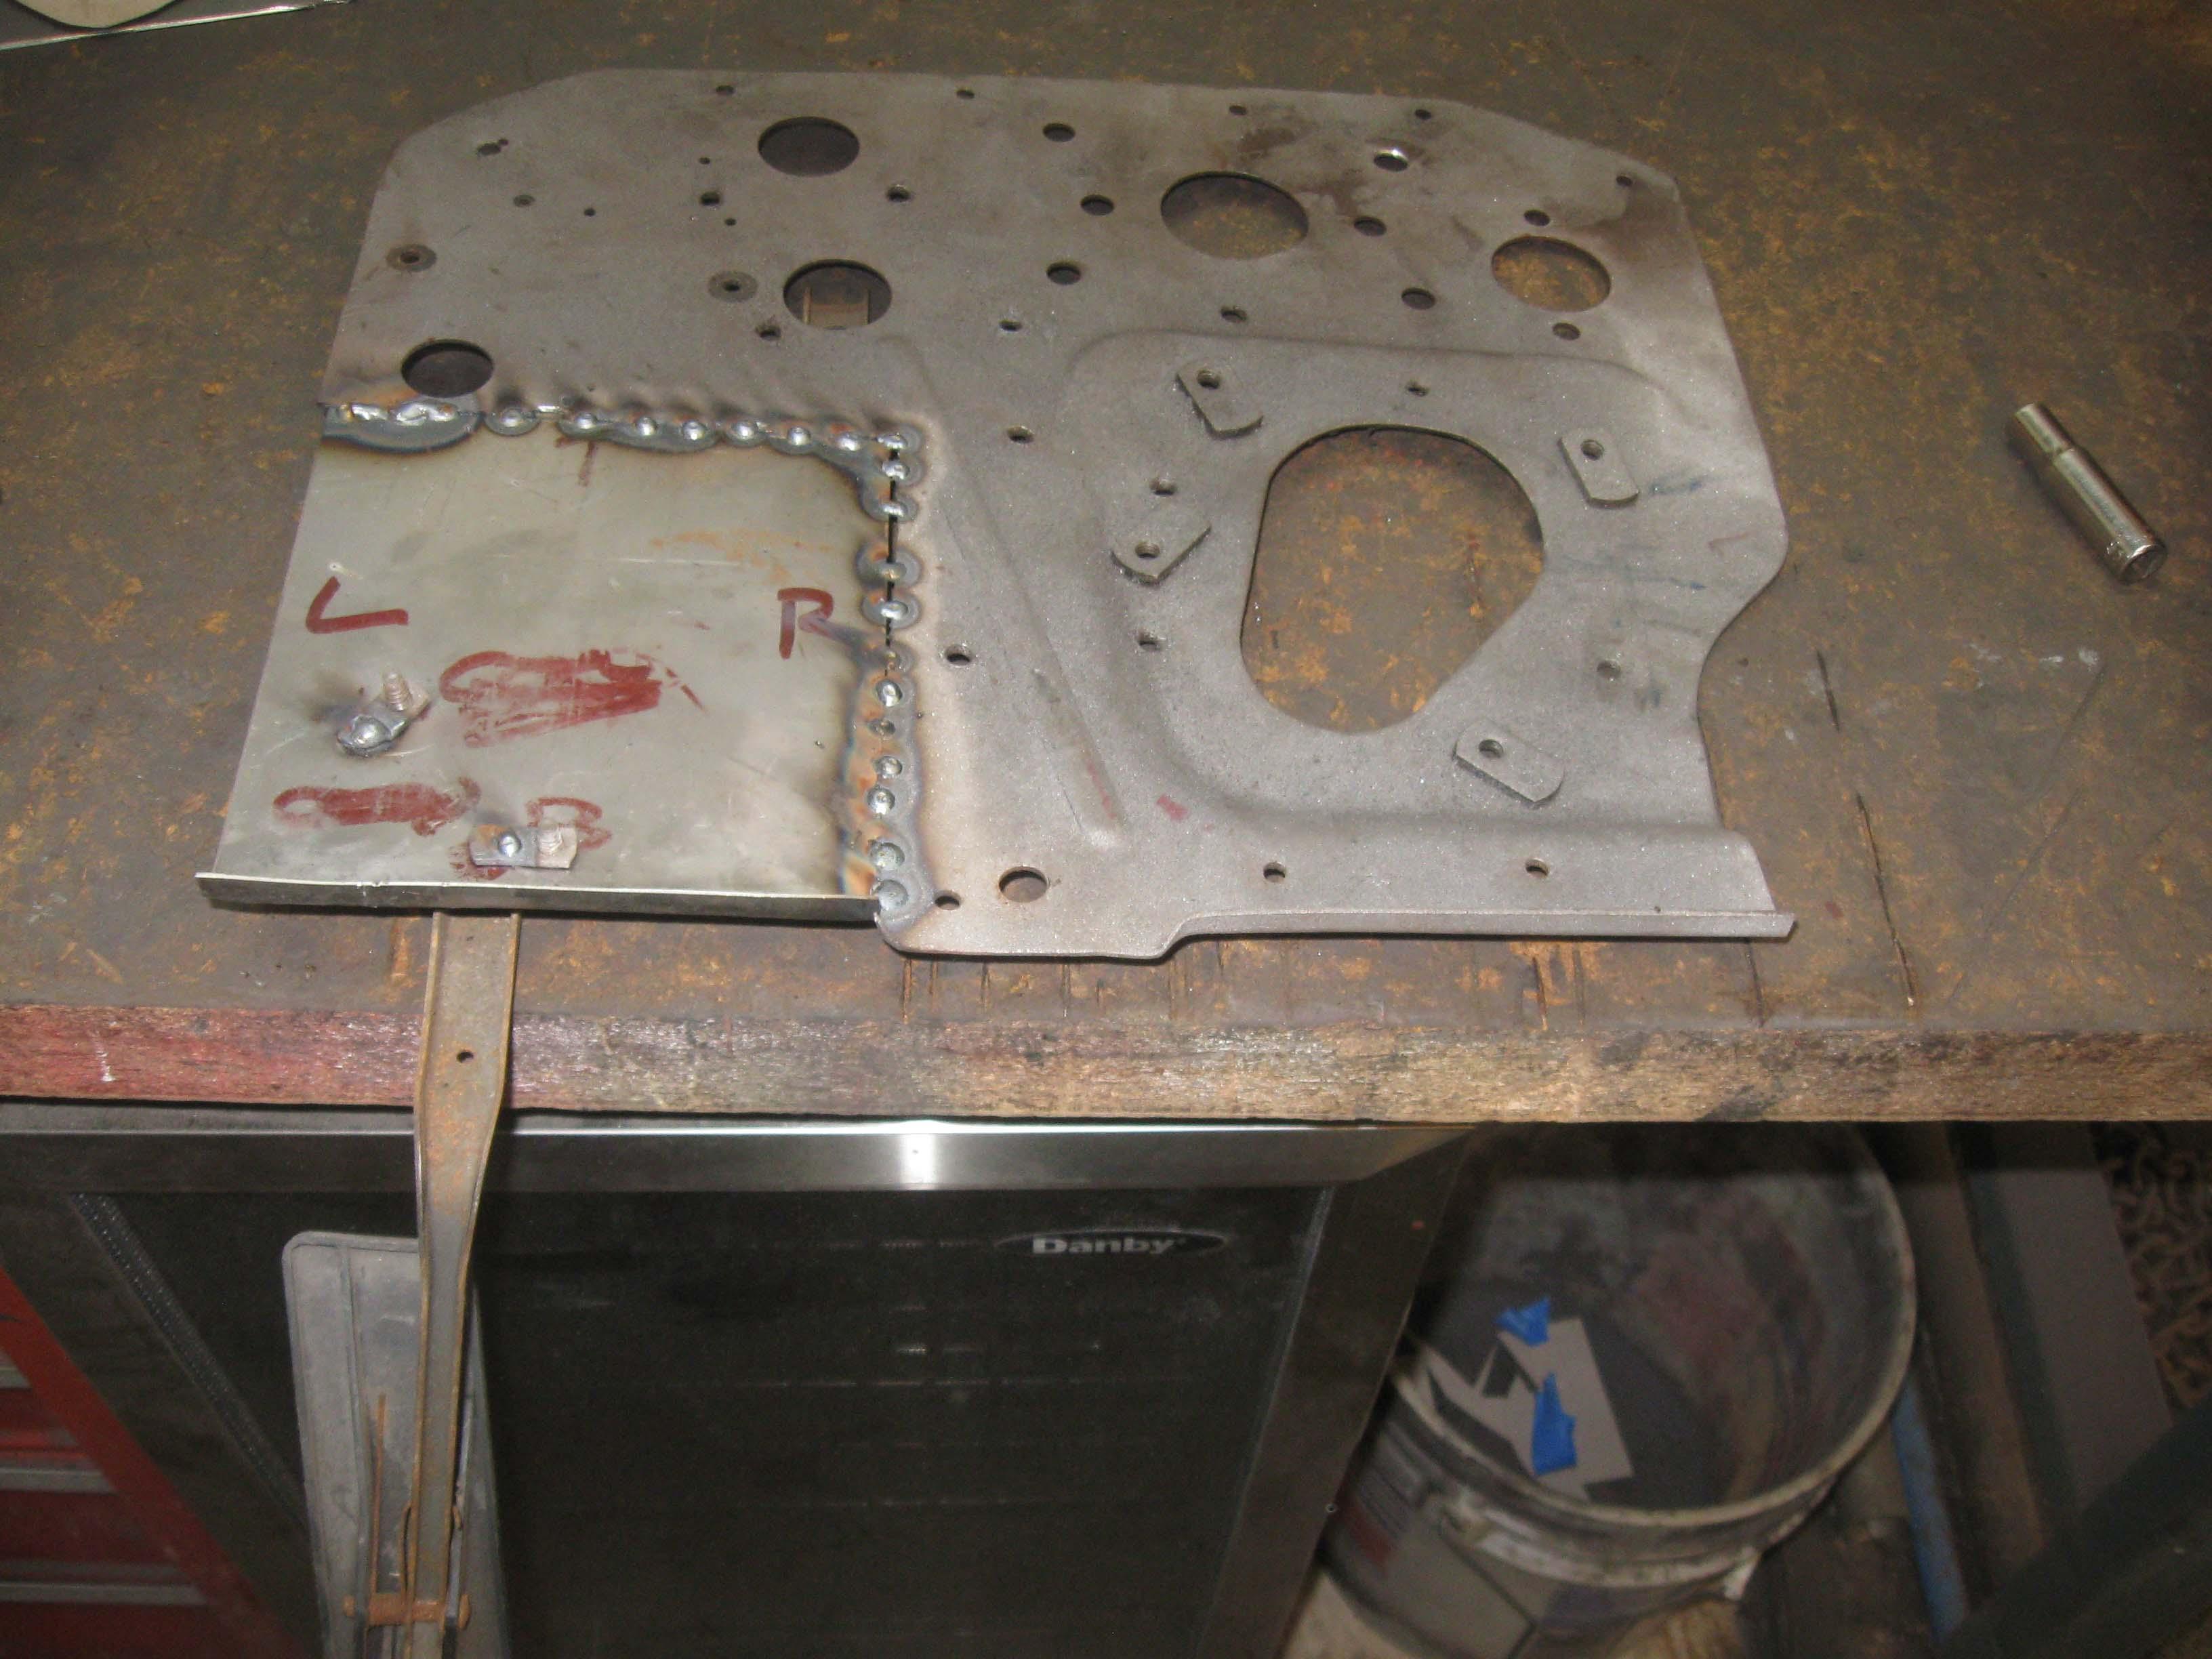
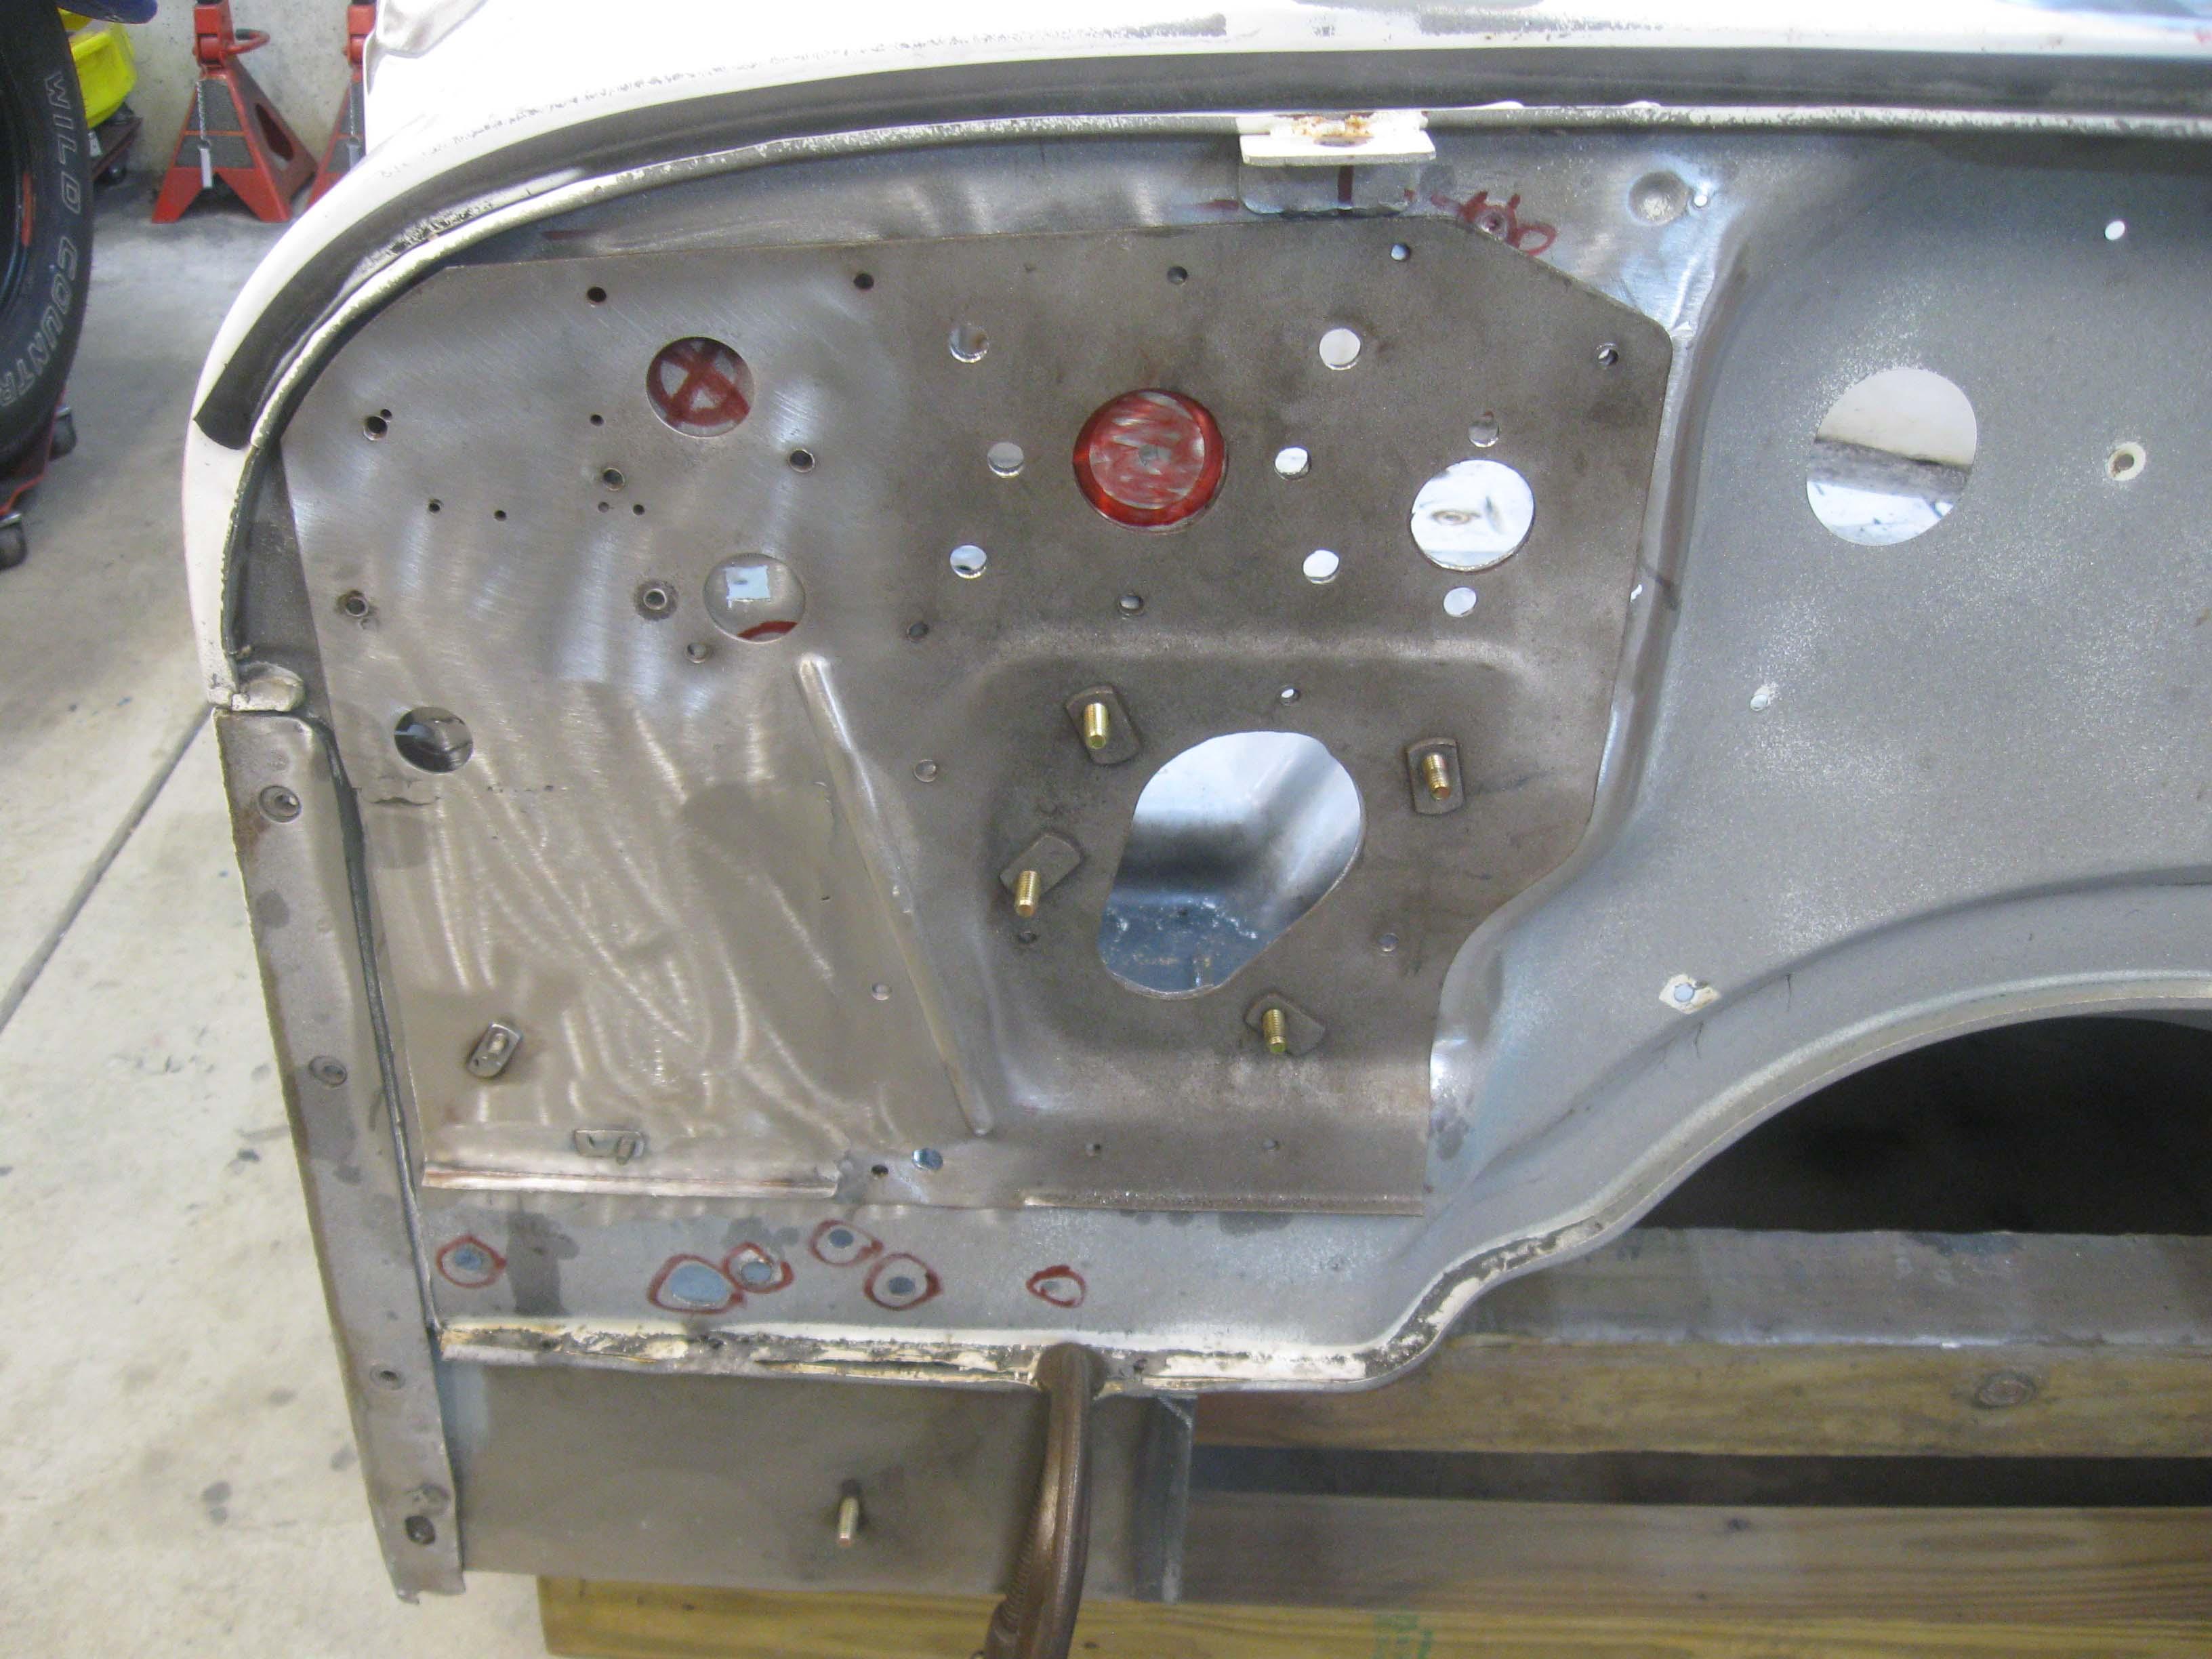
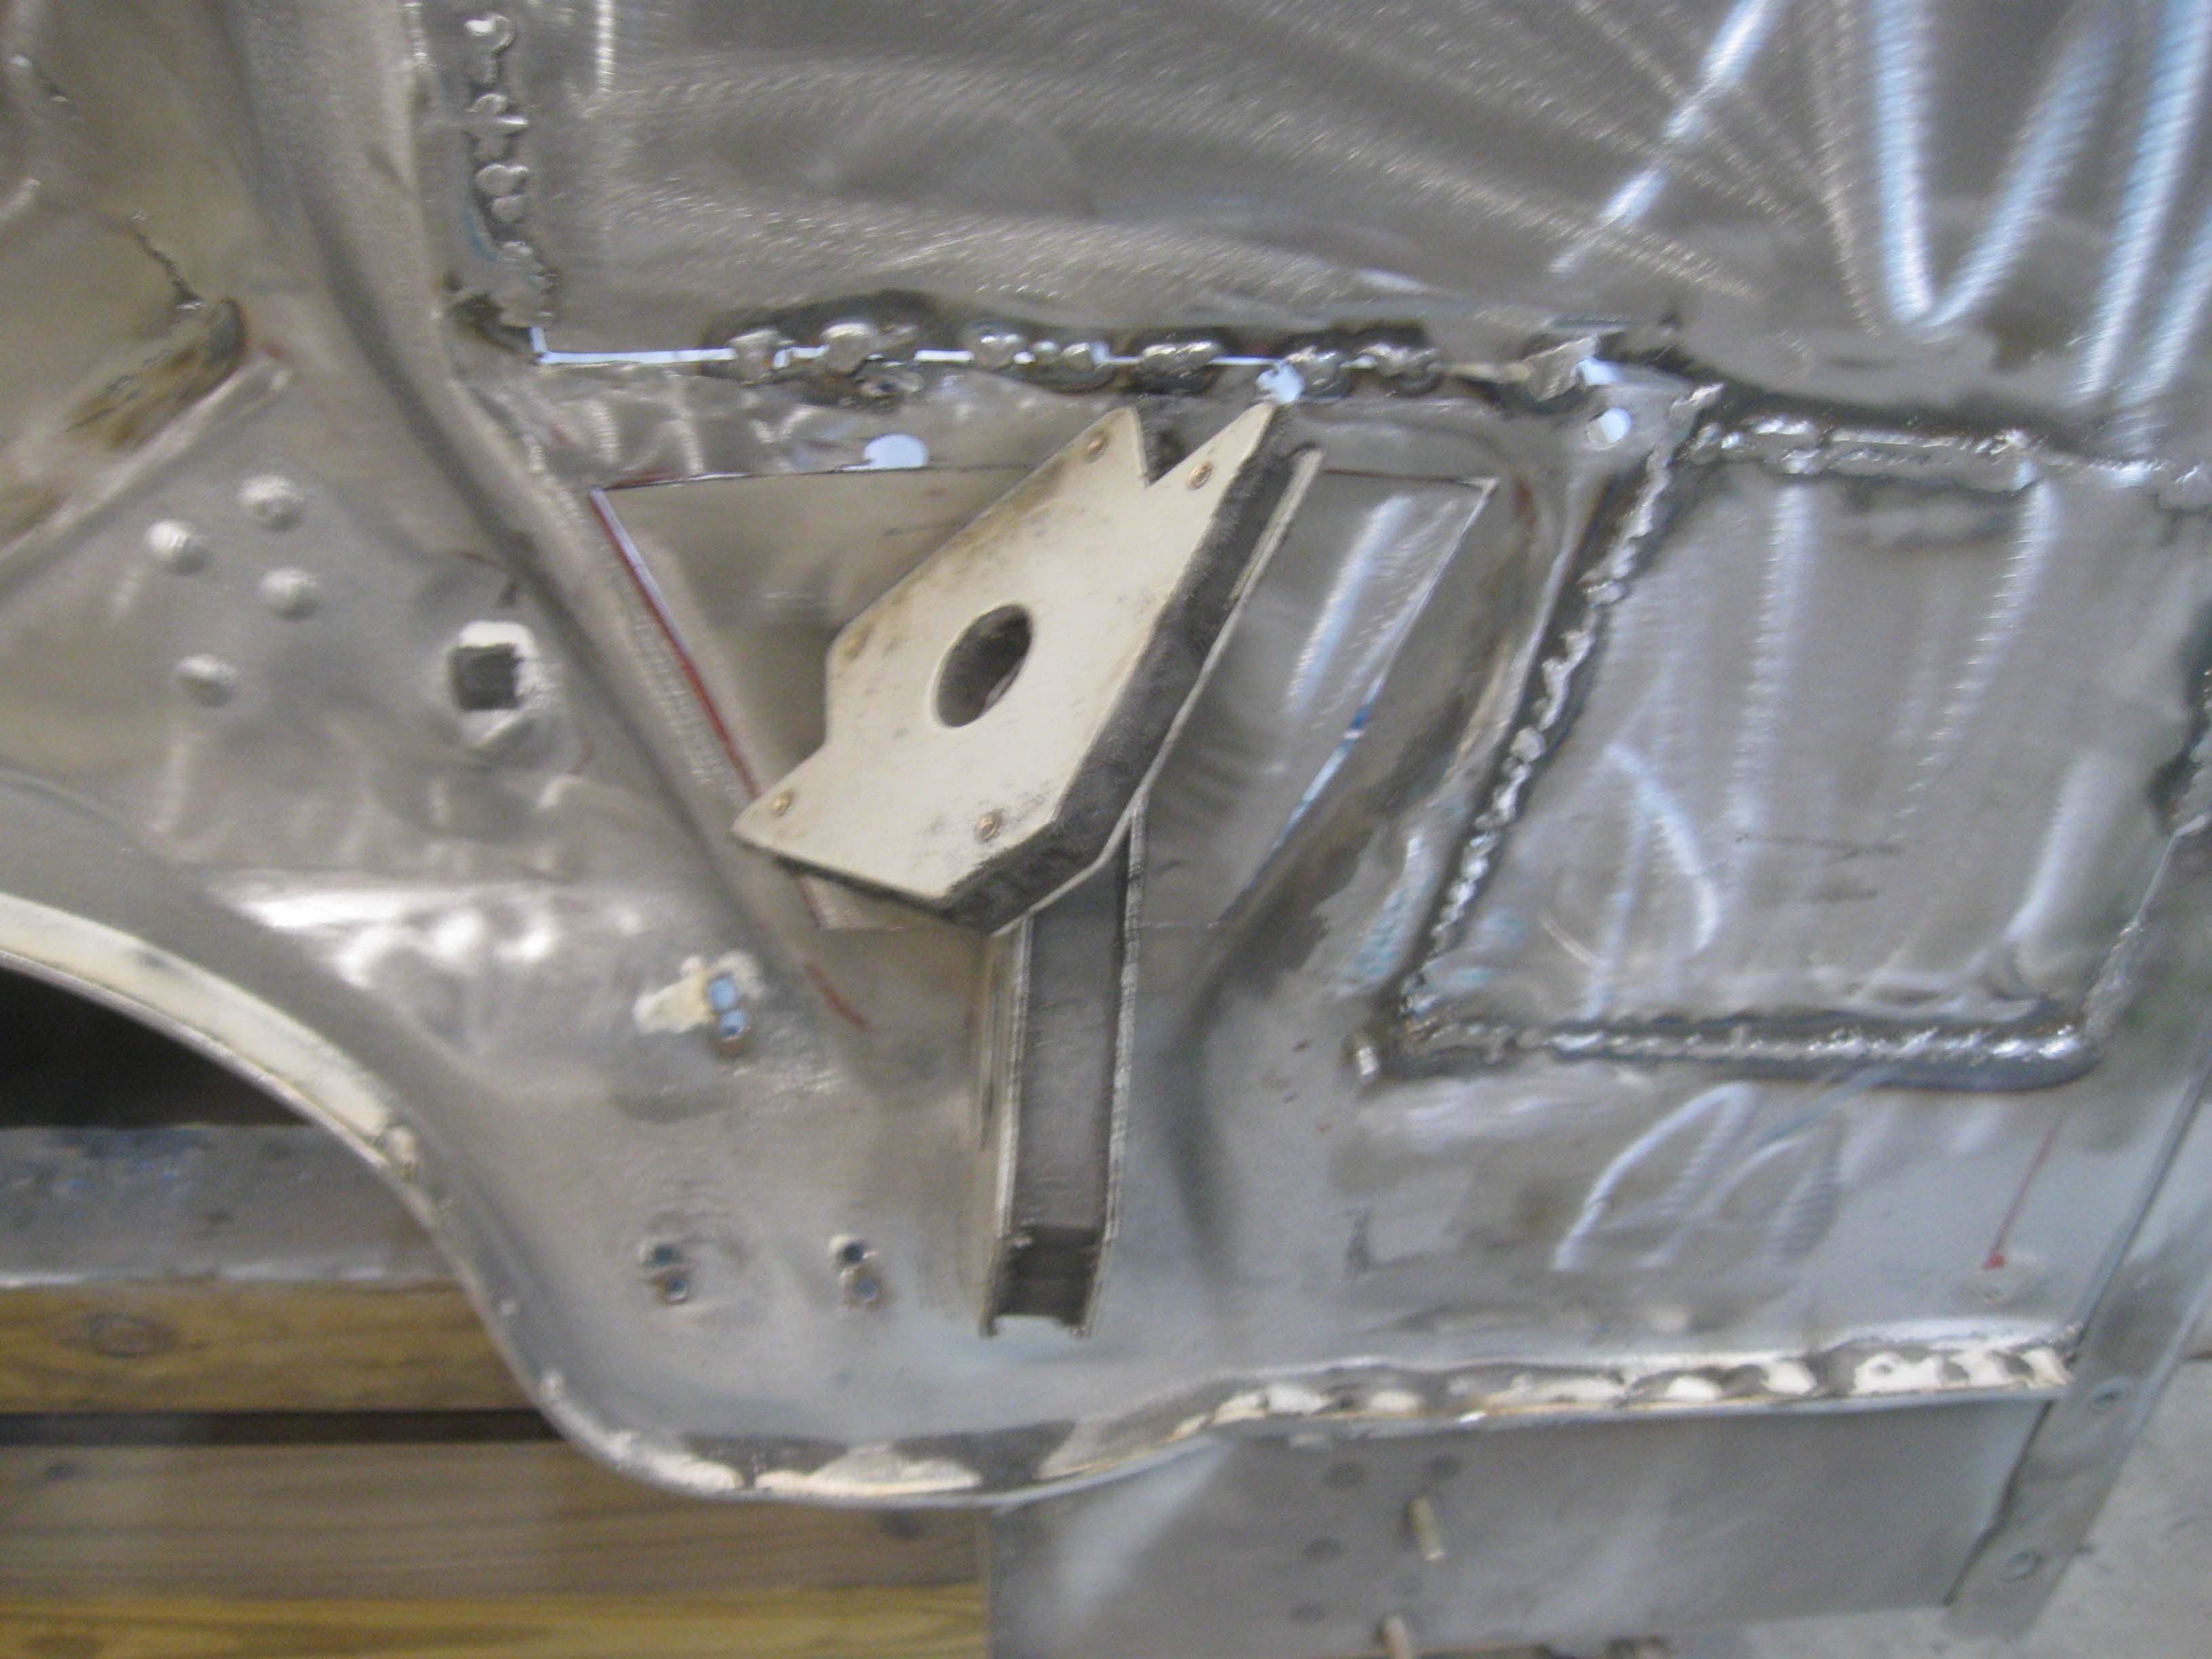
This was repairing the plate that I will use on the firewall and getting ready to get it in place to do the steering column hole reinforcement.

cb
 
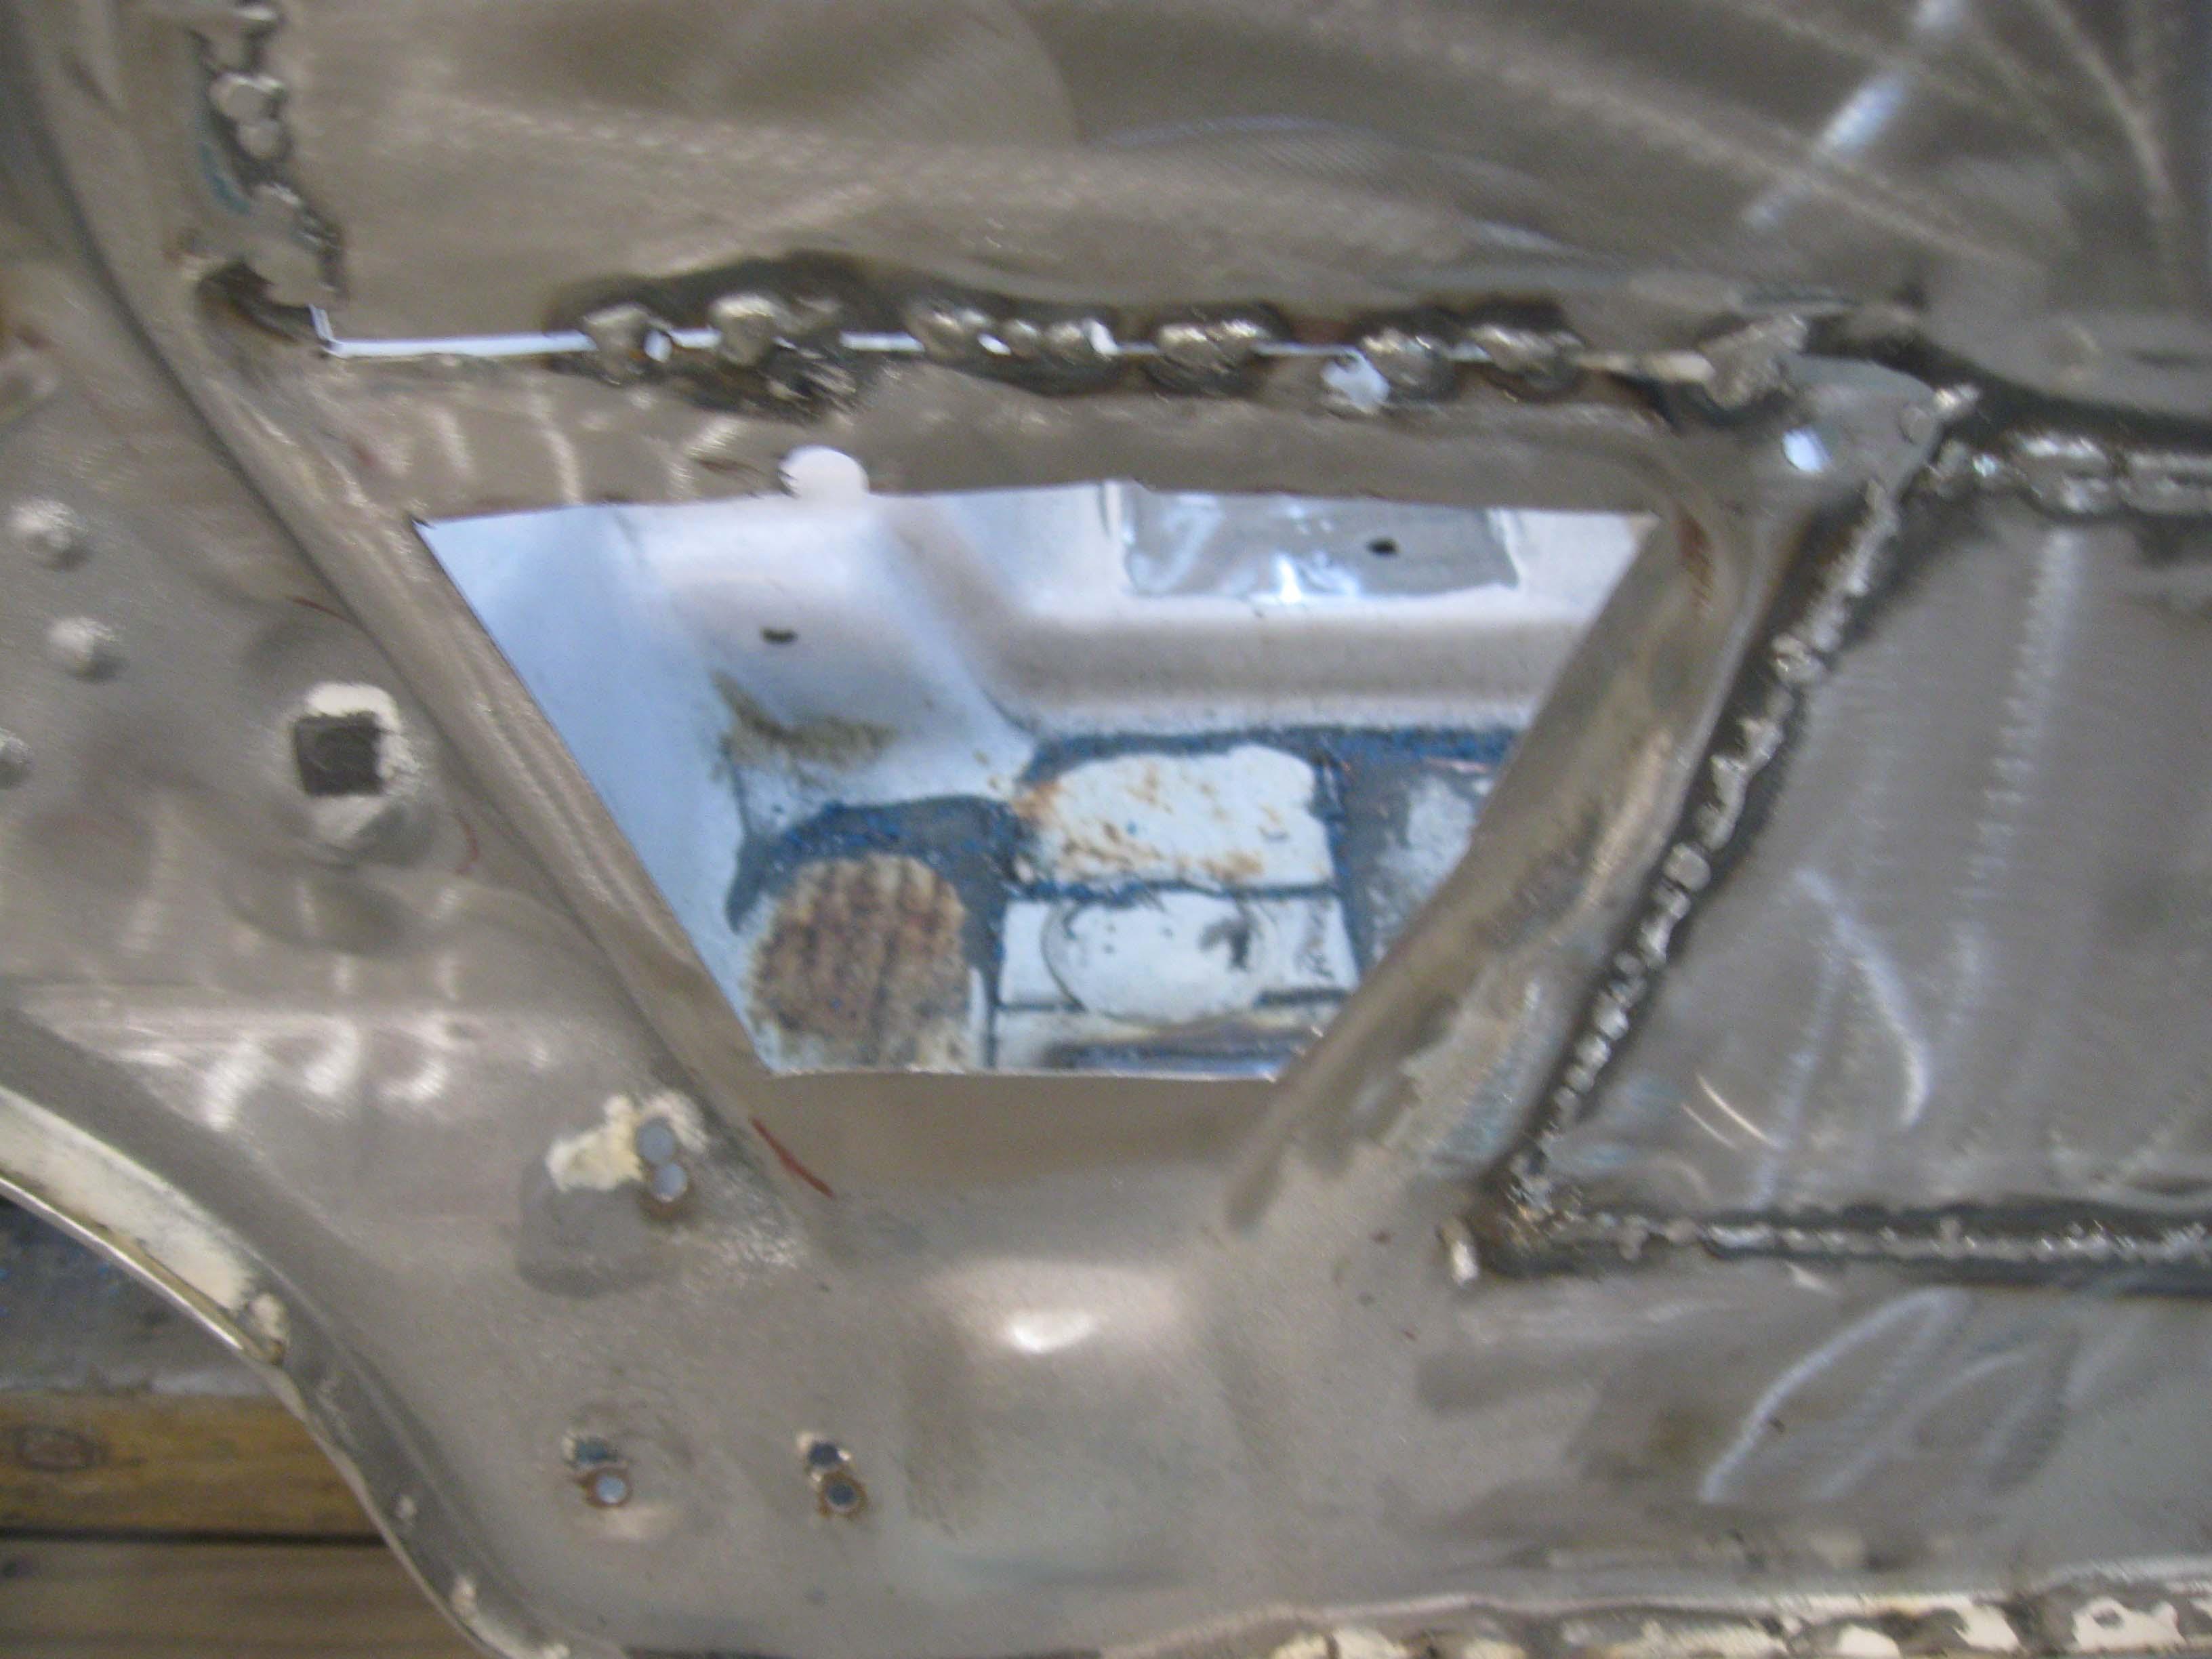
Once the plate was fixed and welded and fit in place, I moved onto addressing the hole.

IMG_7522-1.jpg

IMG_7524-1.jpg

IMG_7526-1.jpg


Figuring out what has to go and what has to stay and what needs to be drilled

IMG_7532-1.jpg

IMG_7534-1.jpg

IMG_7536-1.jpg

IMG_7539-1.jpg


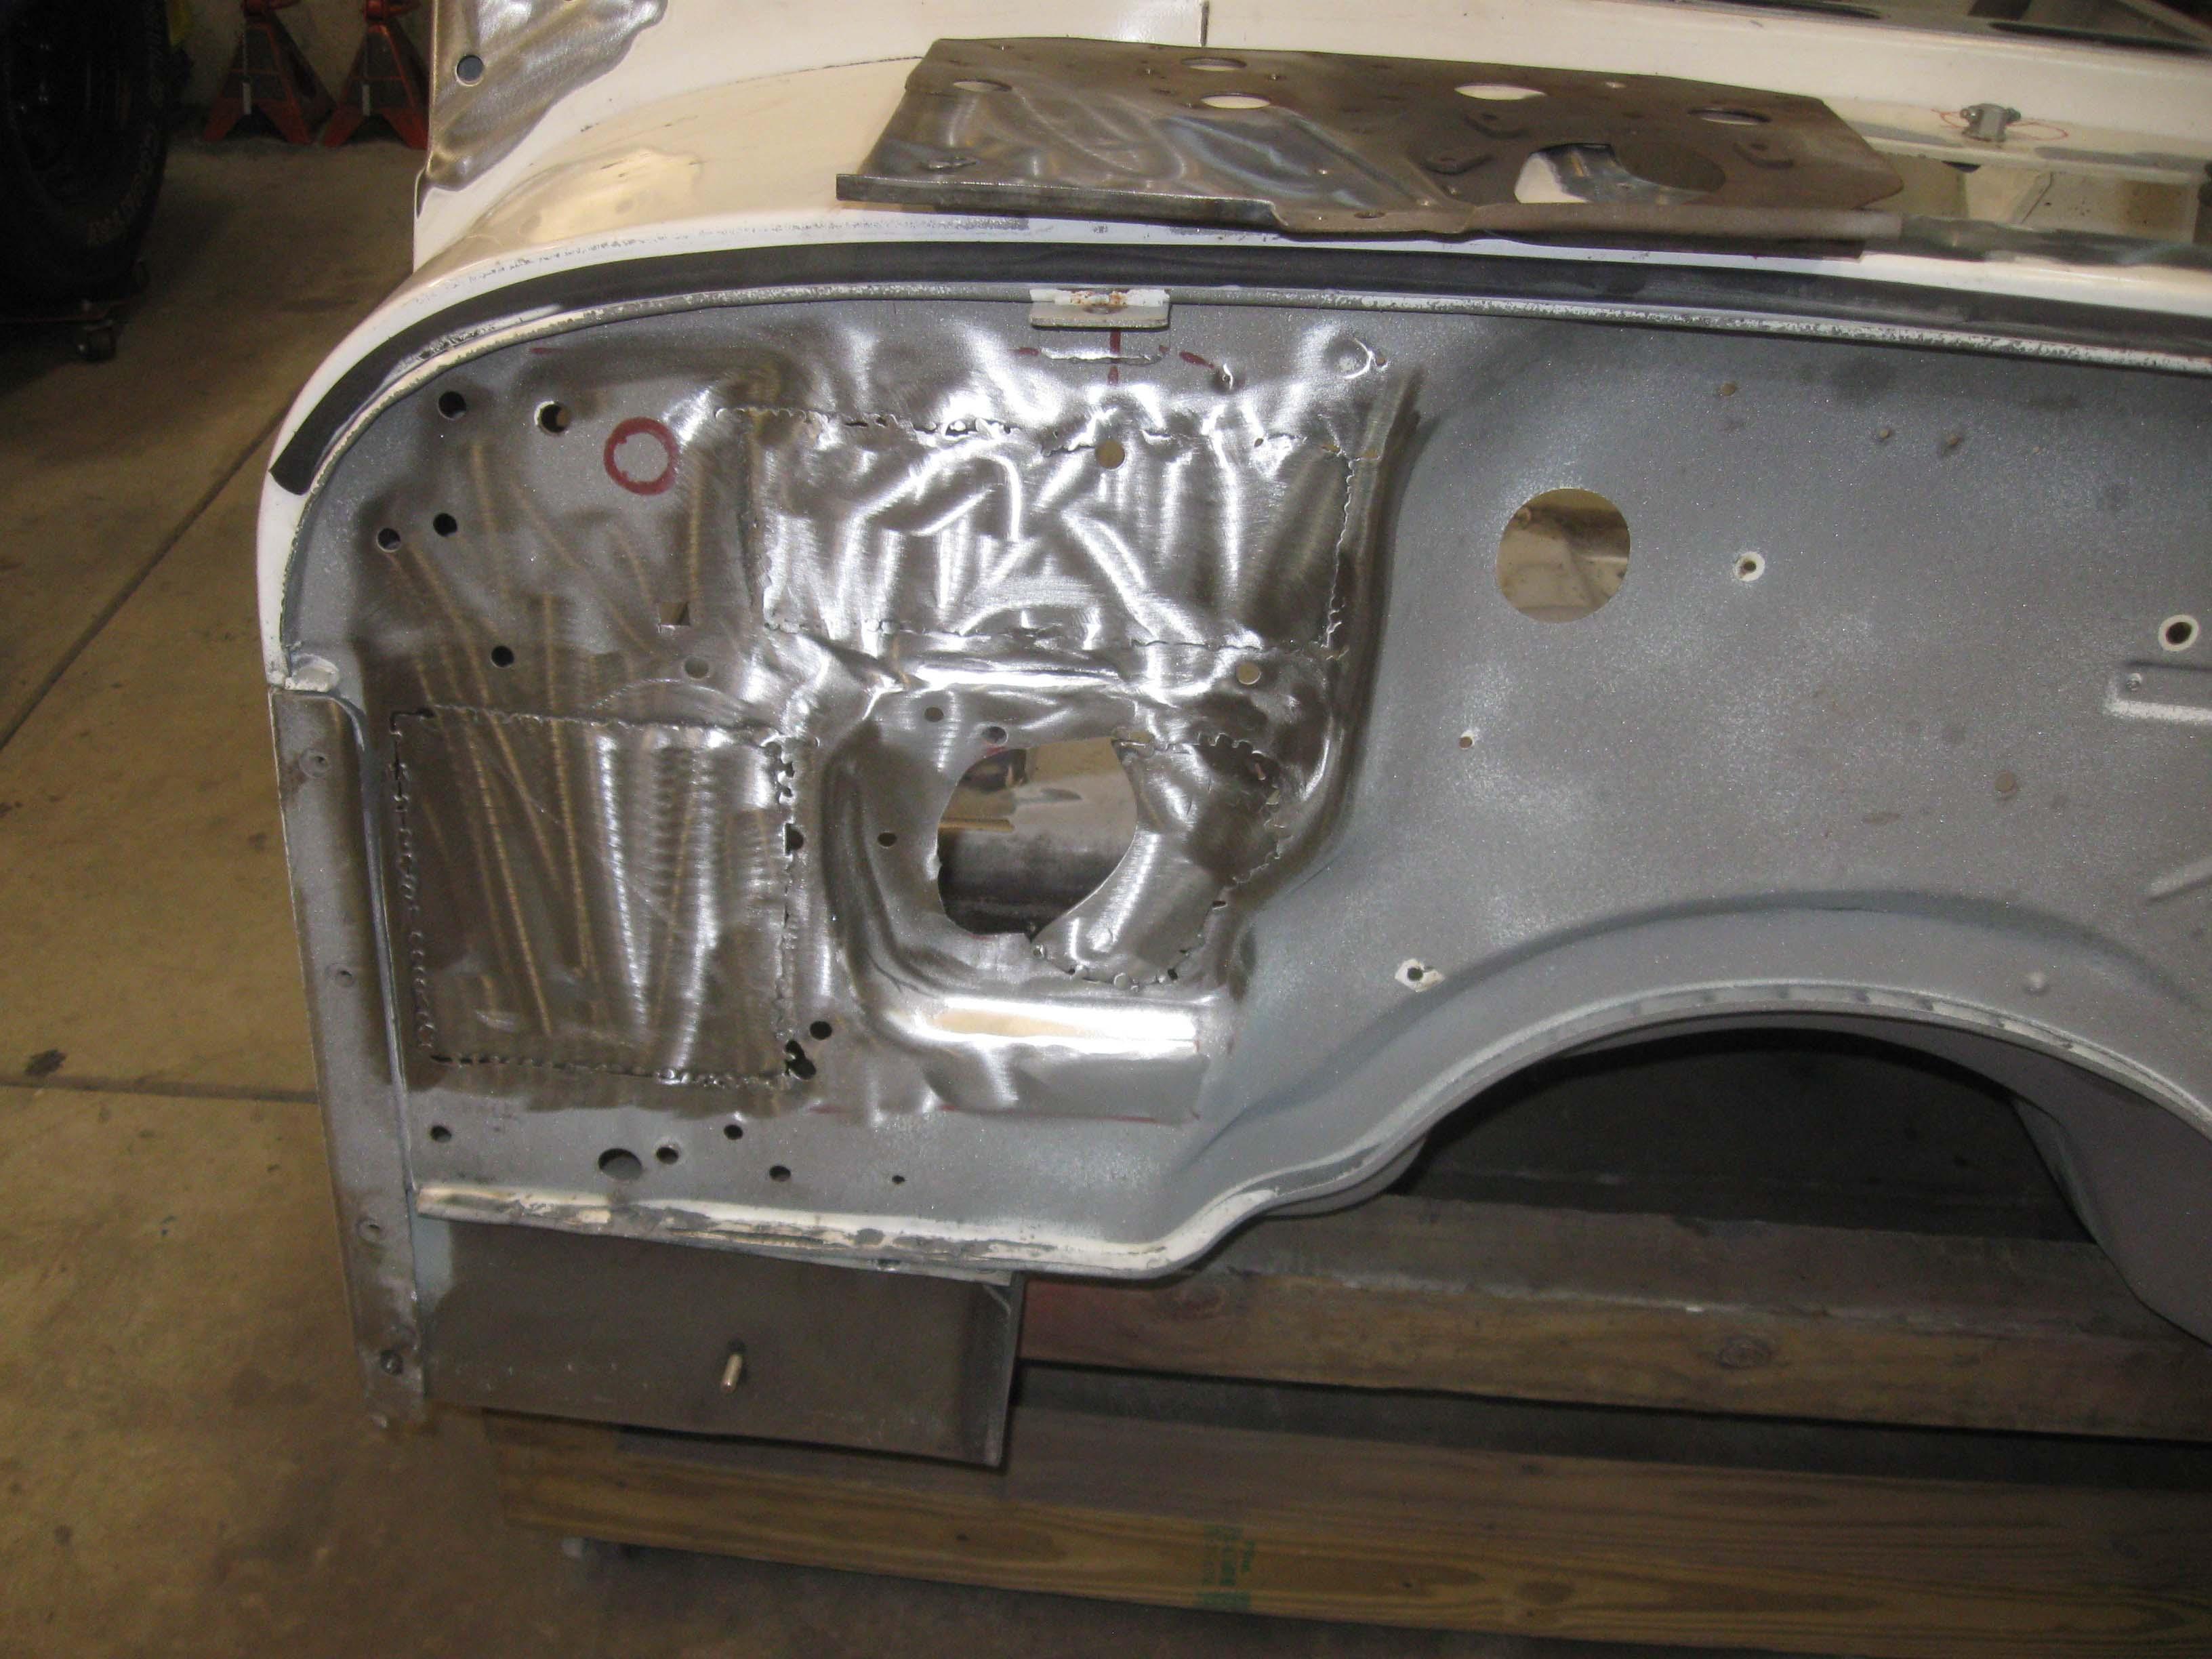
That brings me up to where I am at.

Next up is to do the other side and get the heater stuff mapped out and in place along with the battery tray and cutting holes for the wiring.
I hope to get a bit done today but then it is back to work tomorrow so things will slow.

cb
 
I started on the other side of the firewall last night... it is a mess, so that should take a while to sort out.
I also have to get more hole saws as I don't quite have the right sizes... so there's that.

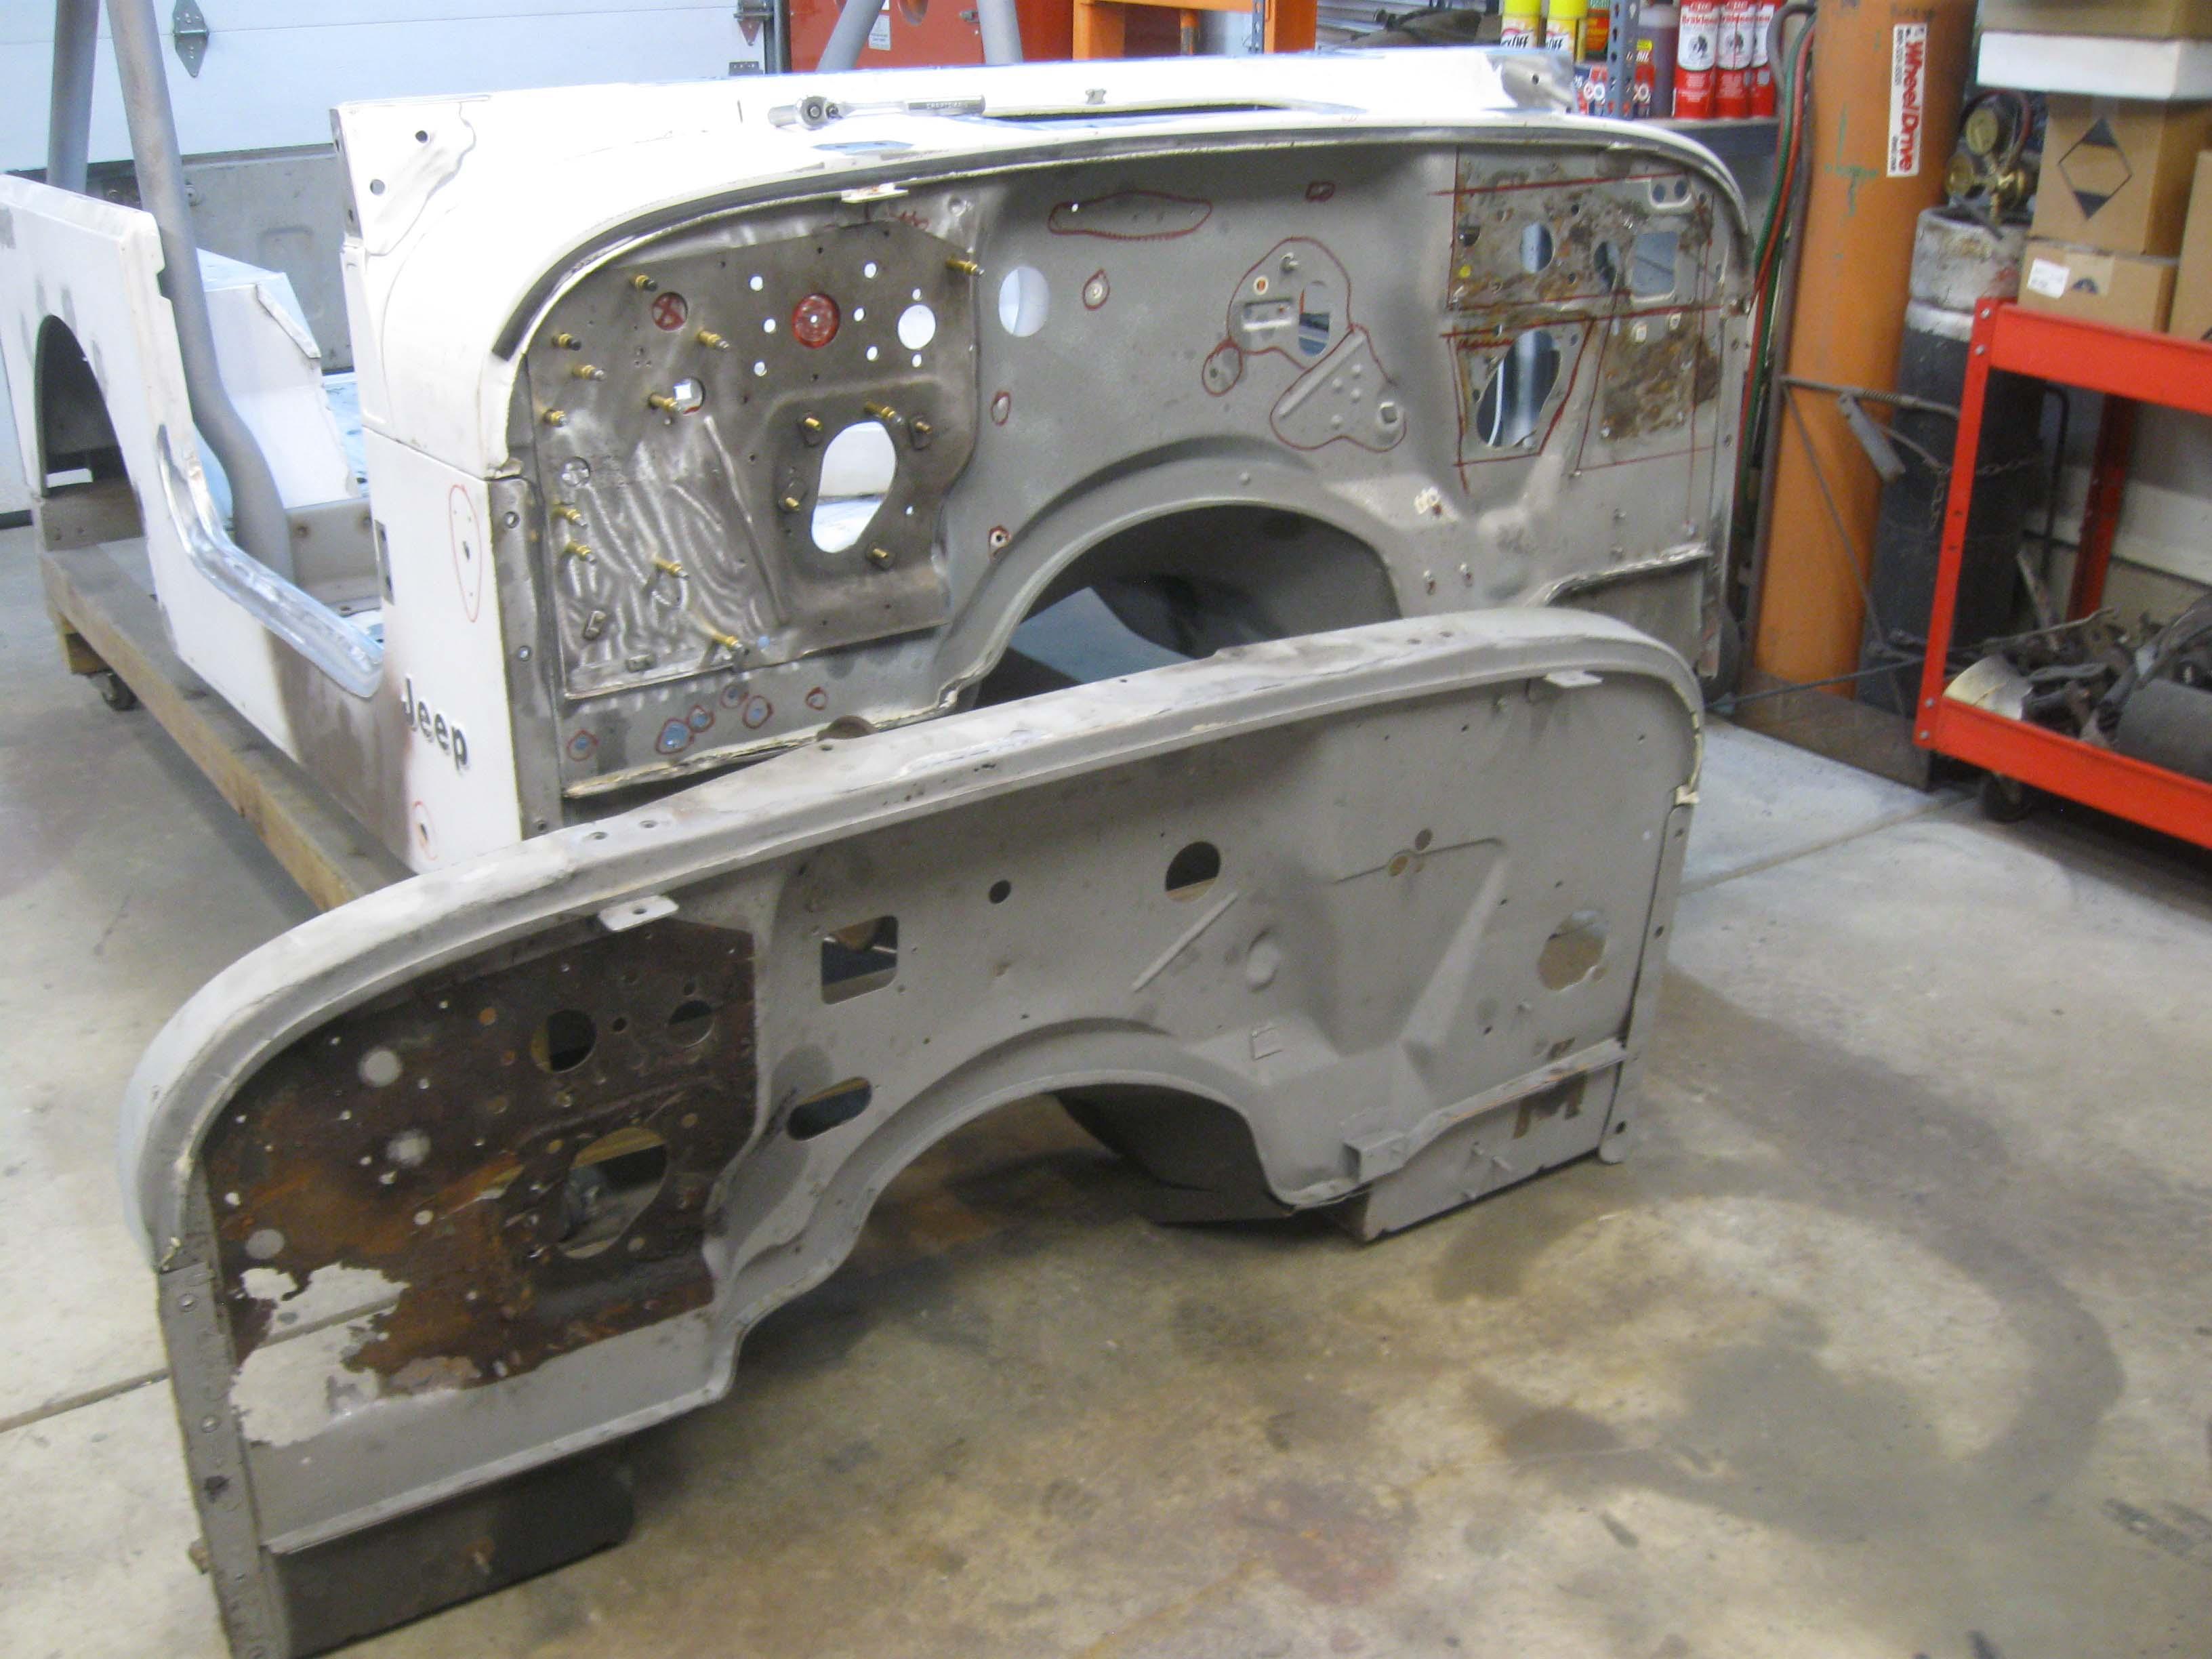
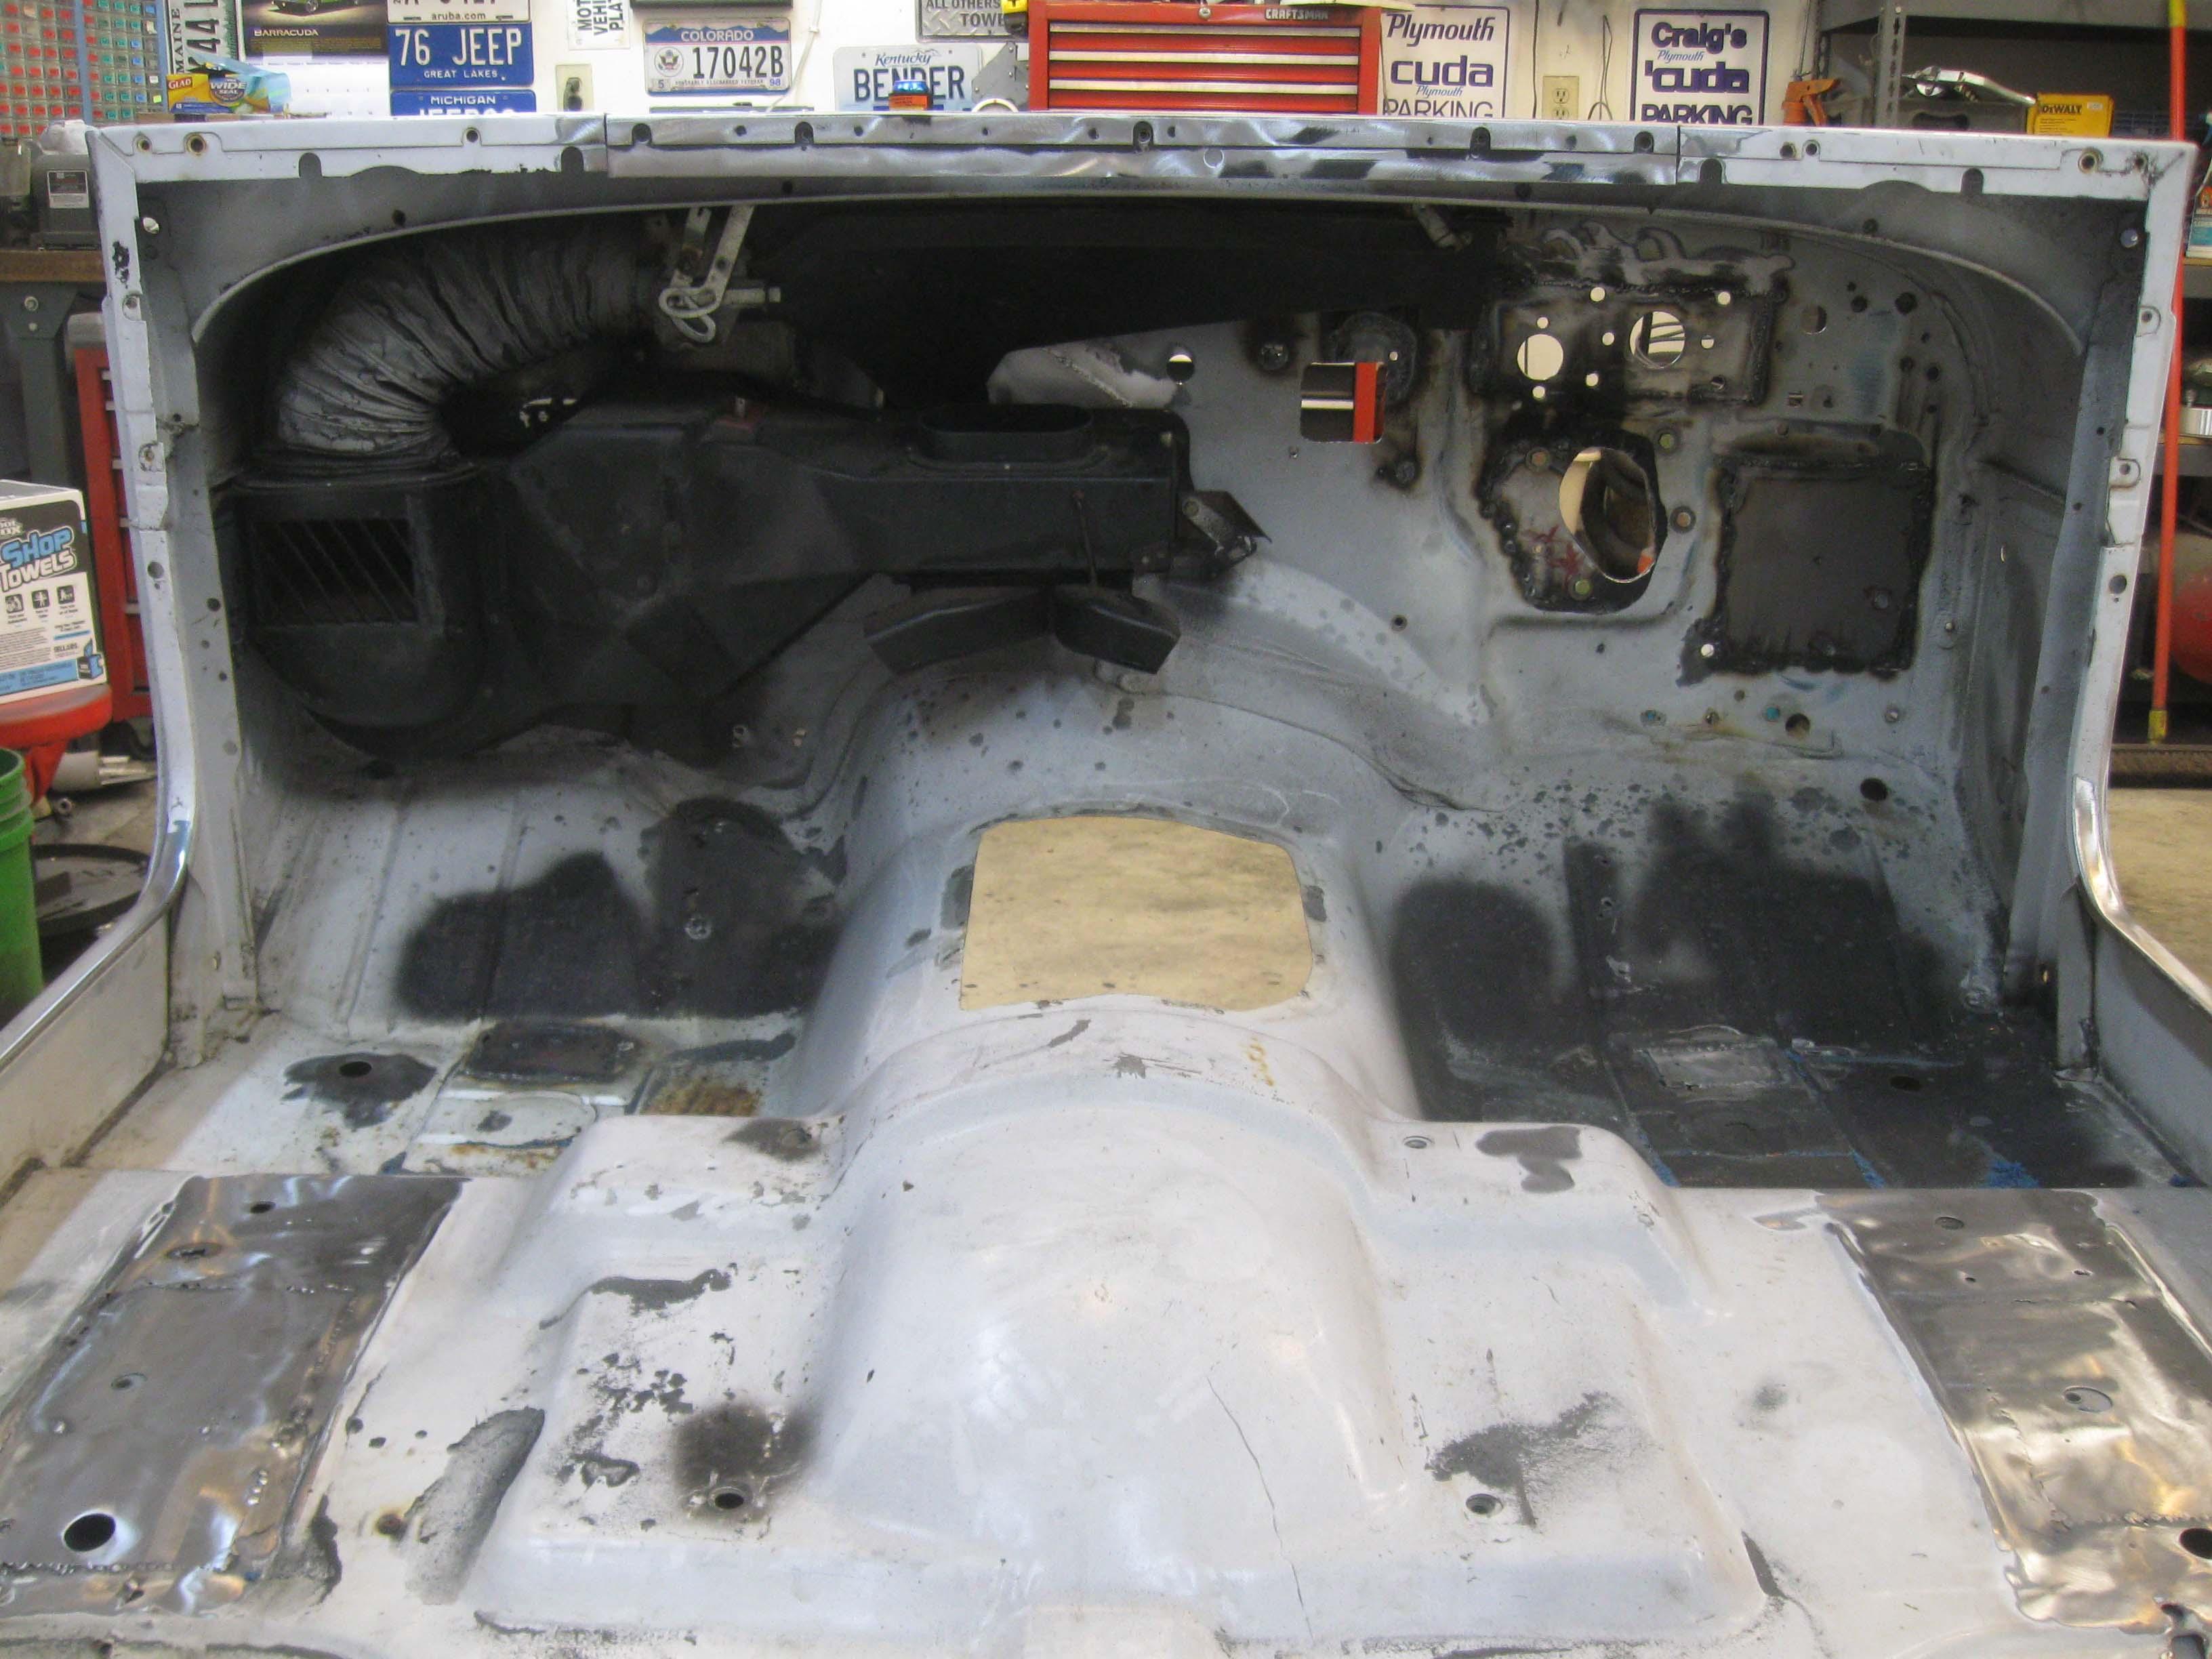
It has come a LONG way though... original:
IMG_6452-1.jpg


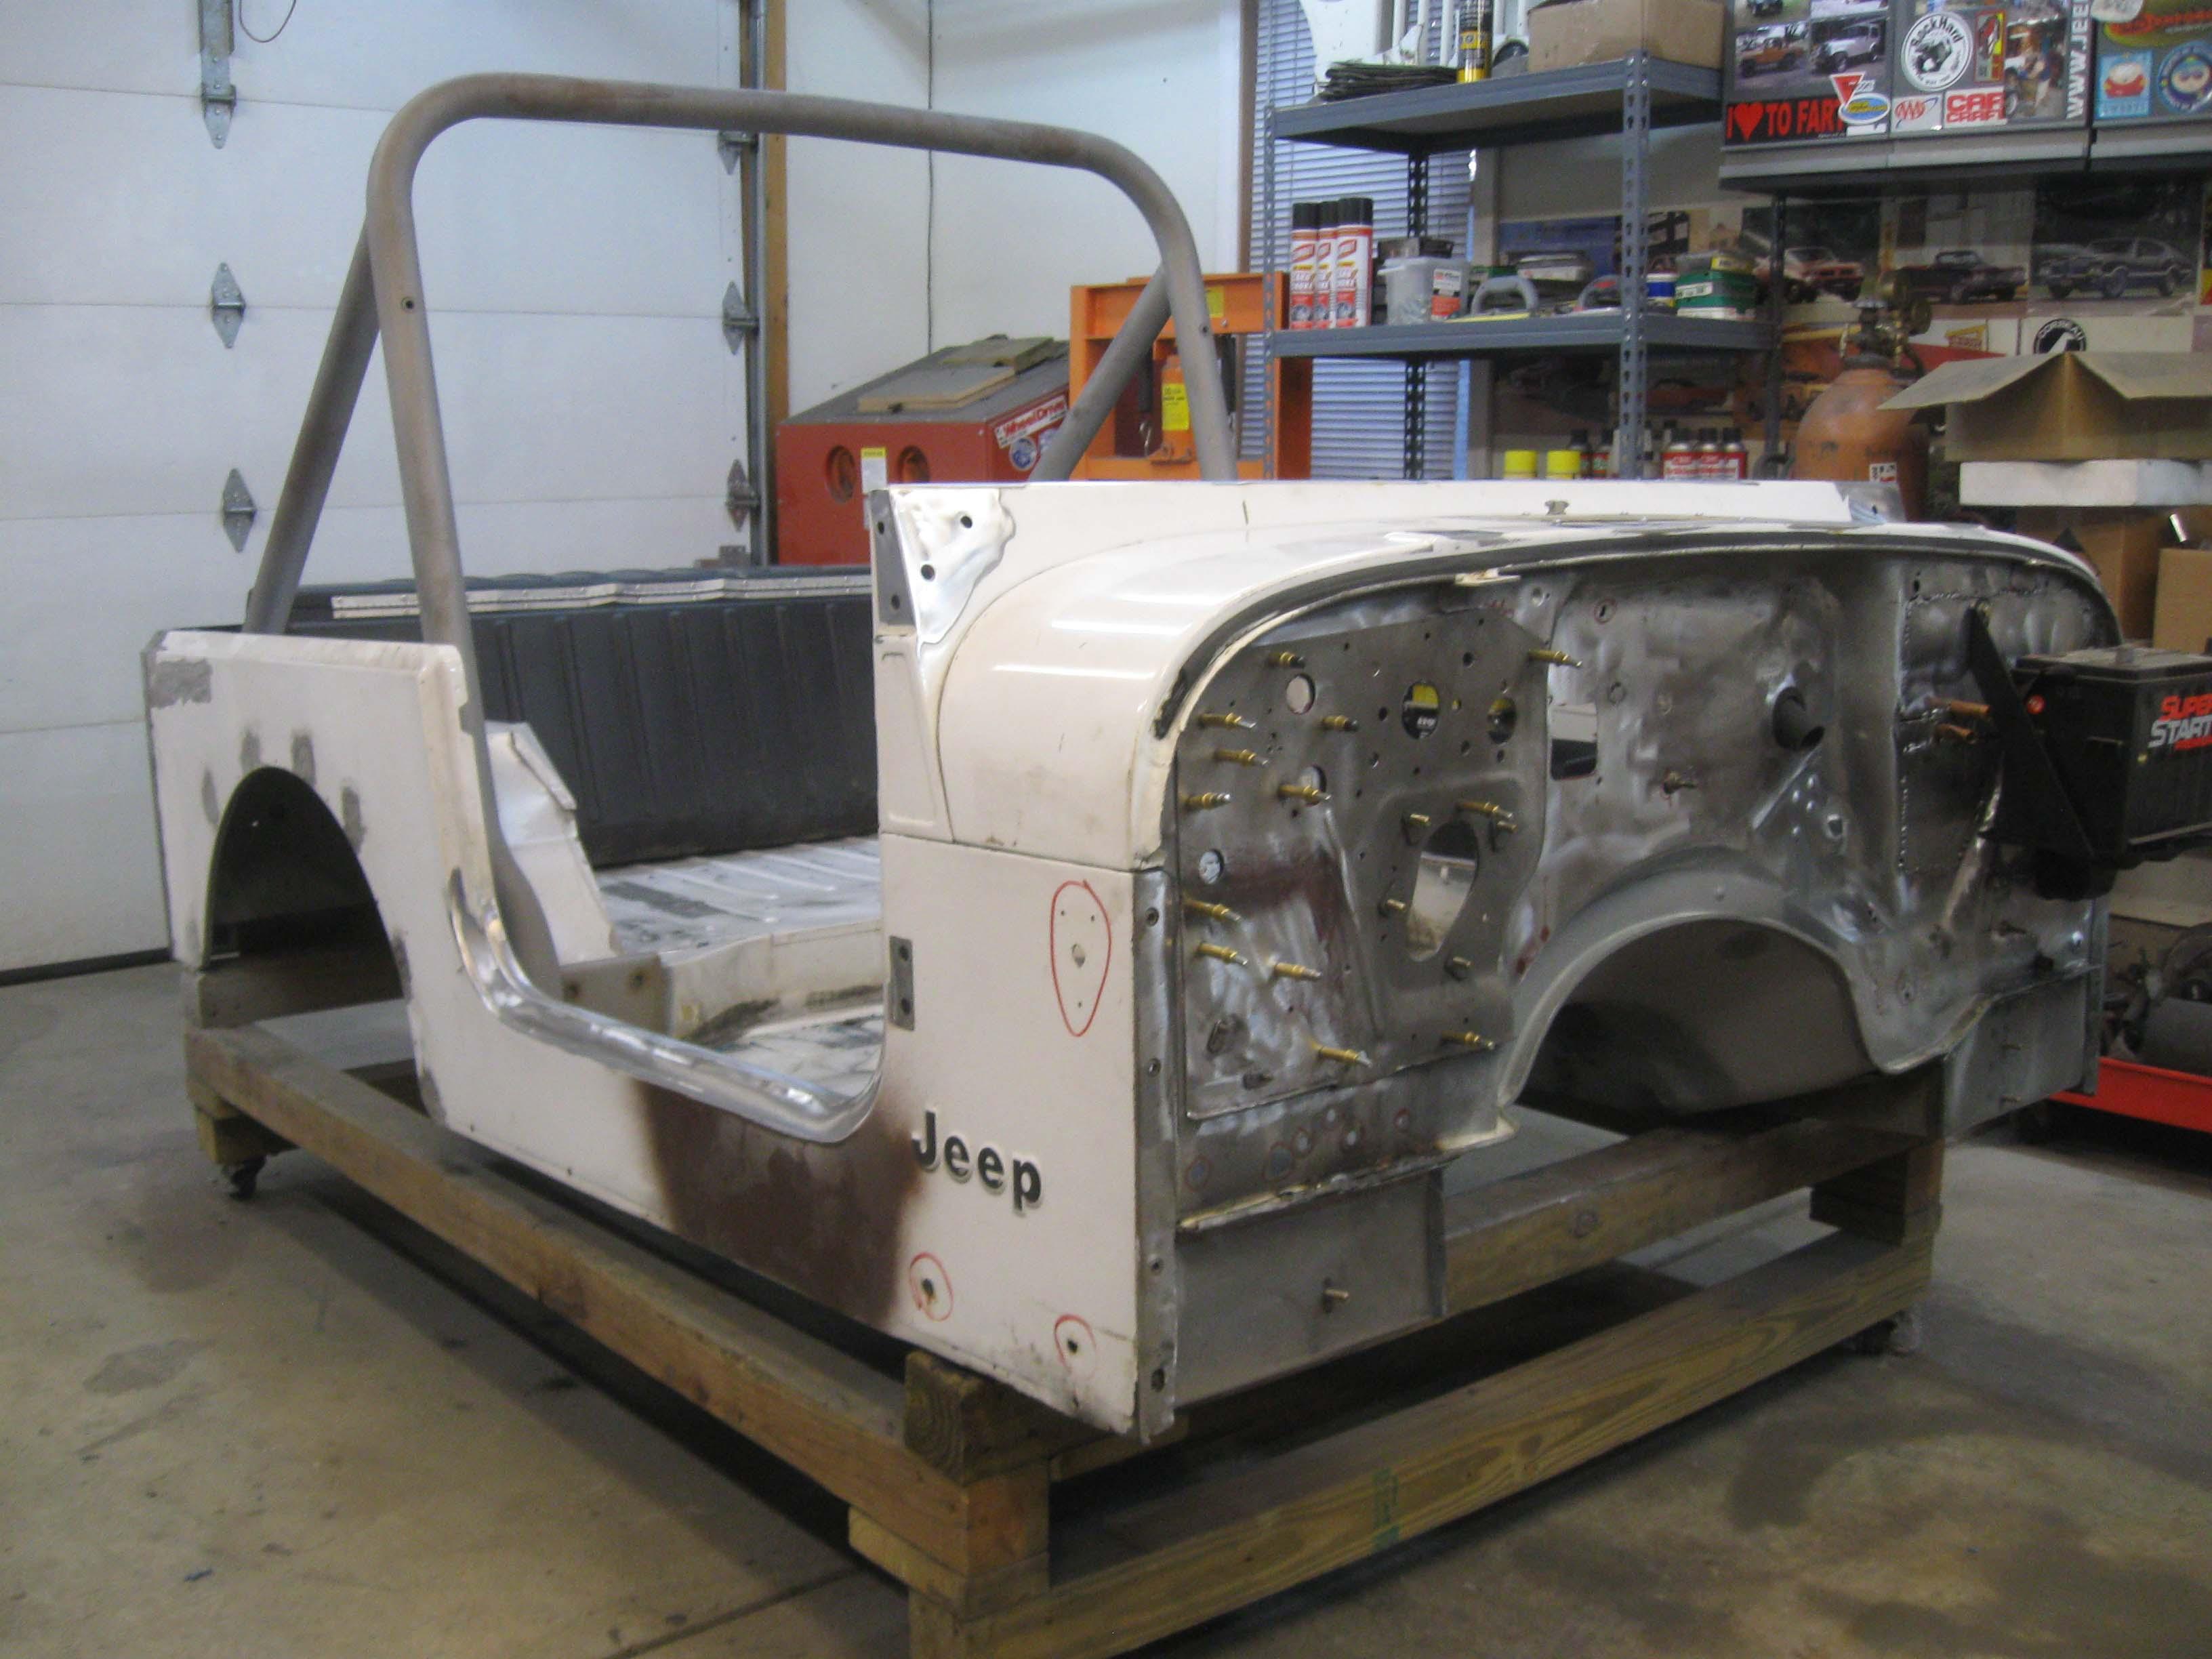
Now
IMG_7539-1.jpg


cb
 
As of this morning... should have let the lights warm up in the garage as the picture quality suffered... that and the cell phone camera is junk.
Firewall is continuing to smooth out... only one more major piece to do then it is a lot of finish welding and grinding, ran out of steel last night.

cb

0312150652.jpg
 
A little late, but leave the extra hole for a steering column on the left. Stick in another column on that side and confuse the heck out of people. Think of the fun you could have, they could use a steering wheel instead of a grab bar.
 
Yeah, that would be cool, except then I would have to send the heater back across the pond that I had to have help getting!!

cb
 
The steering shaft hole looks larger in the old firewall compared to the hole in the new one.

Karl
 
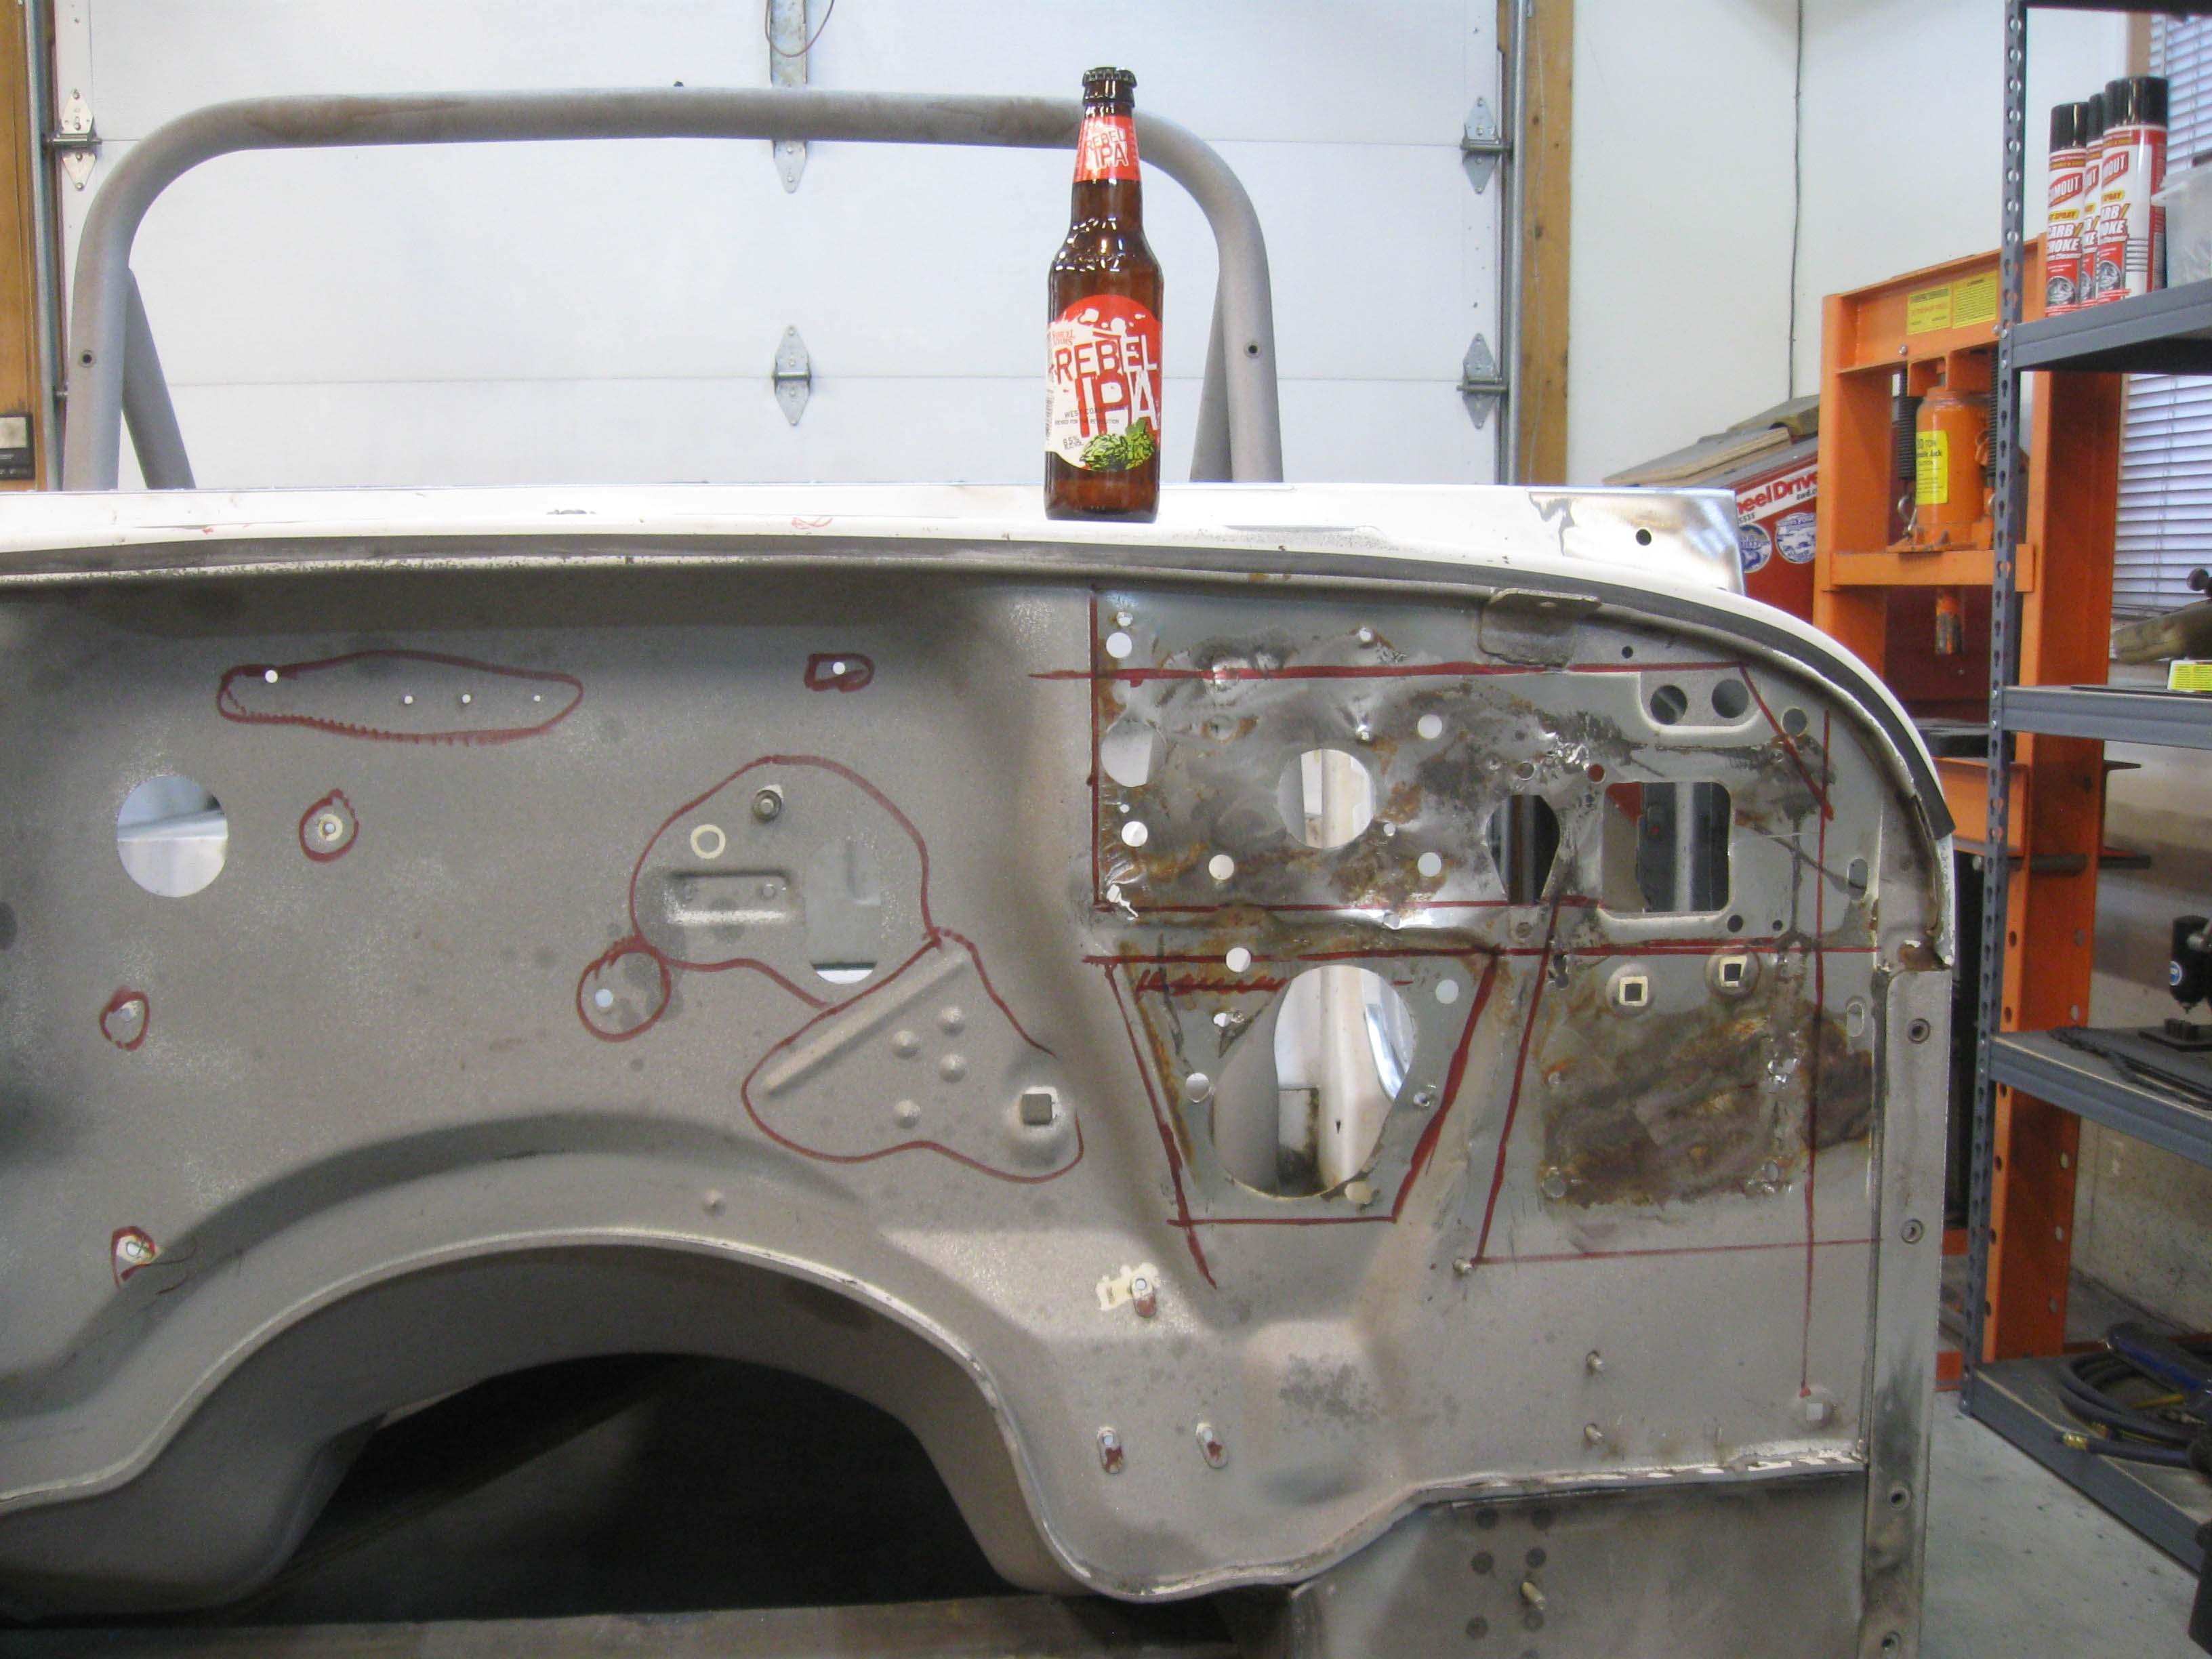
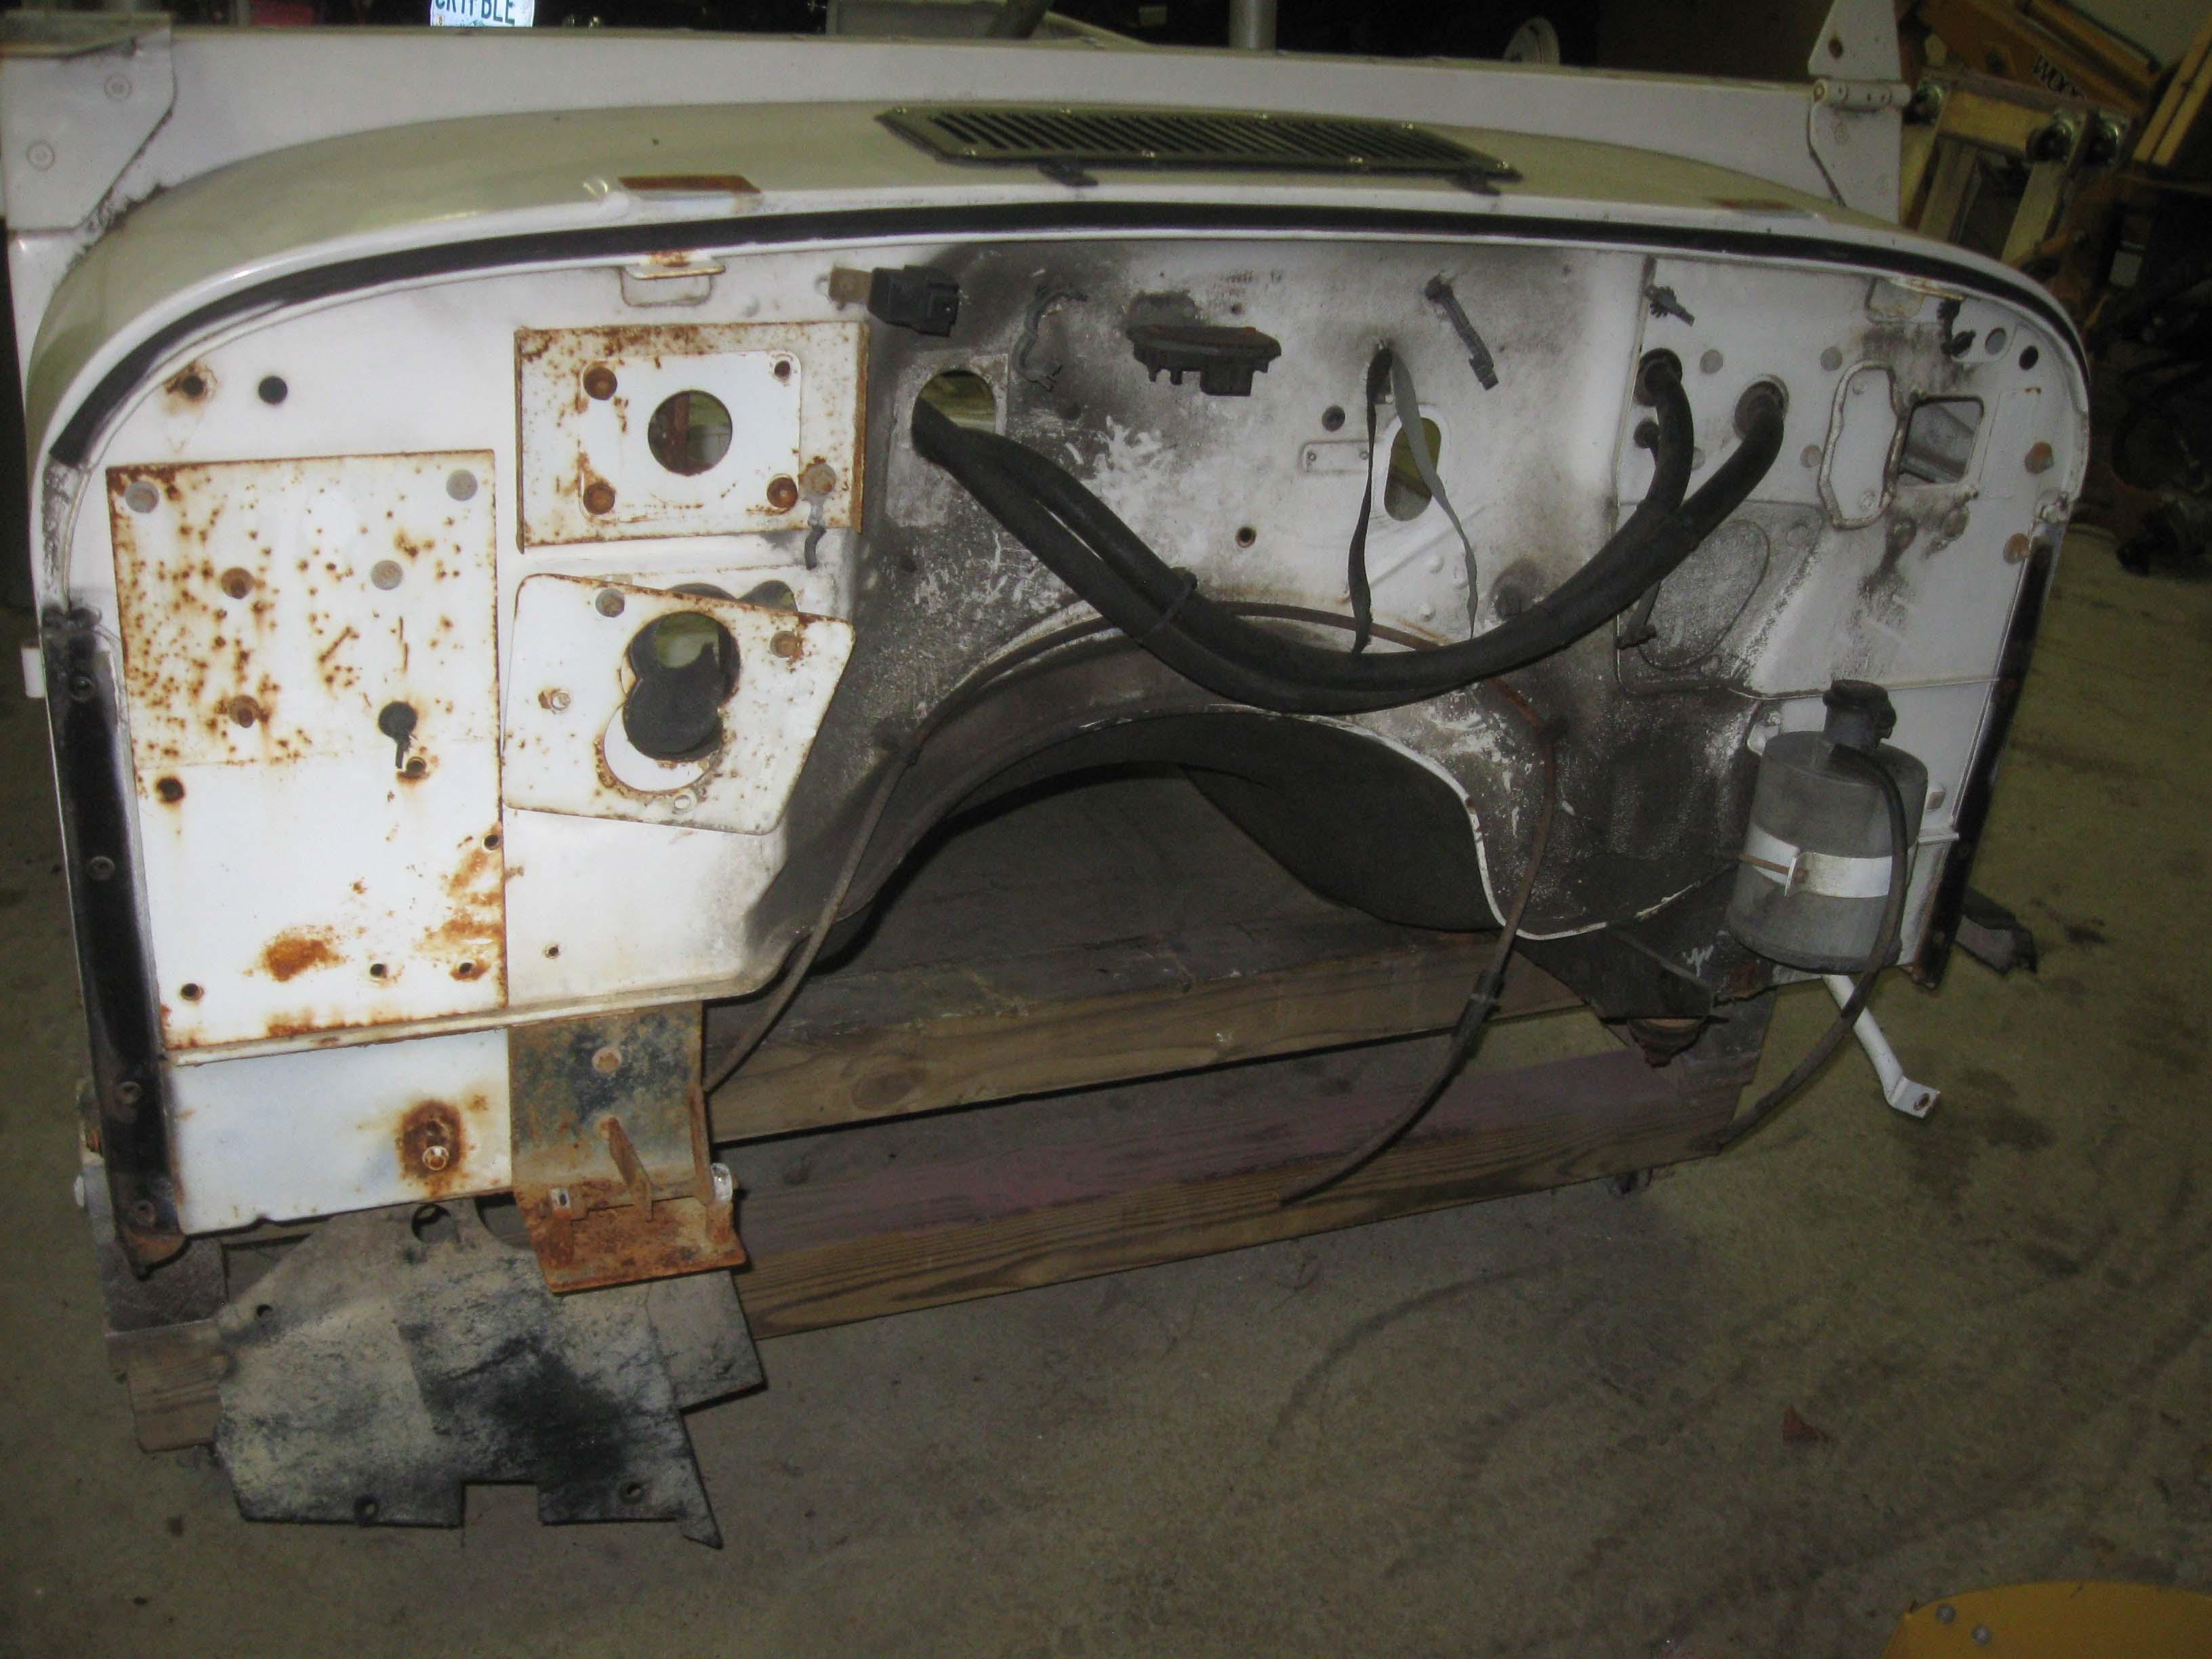
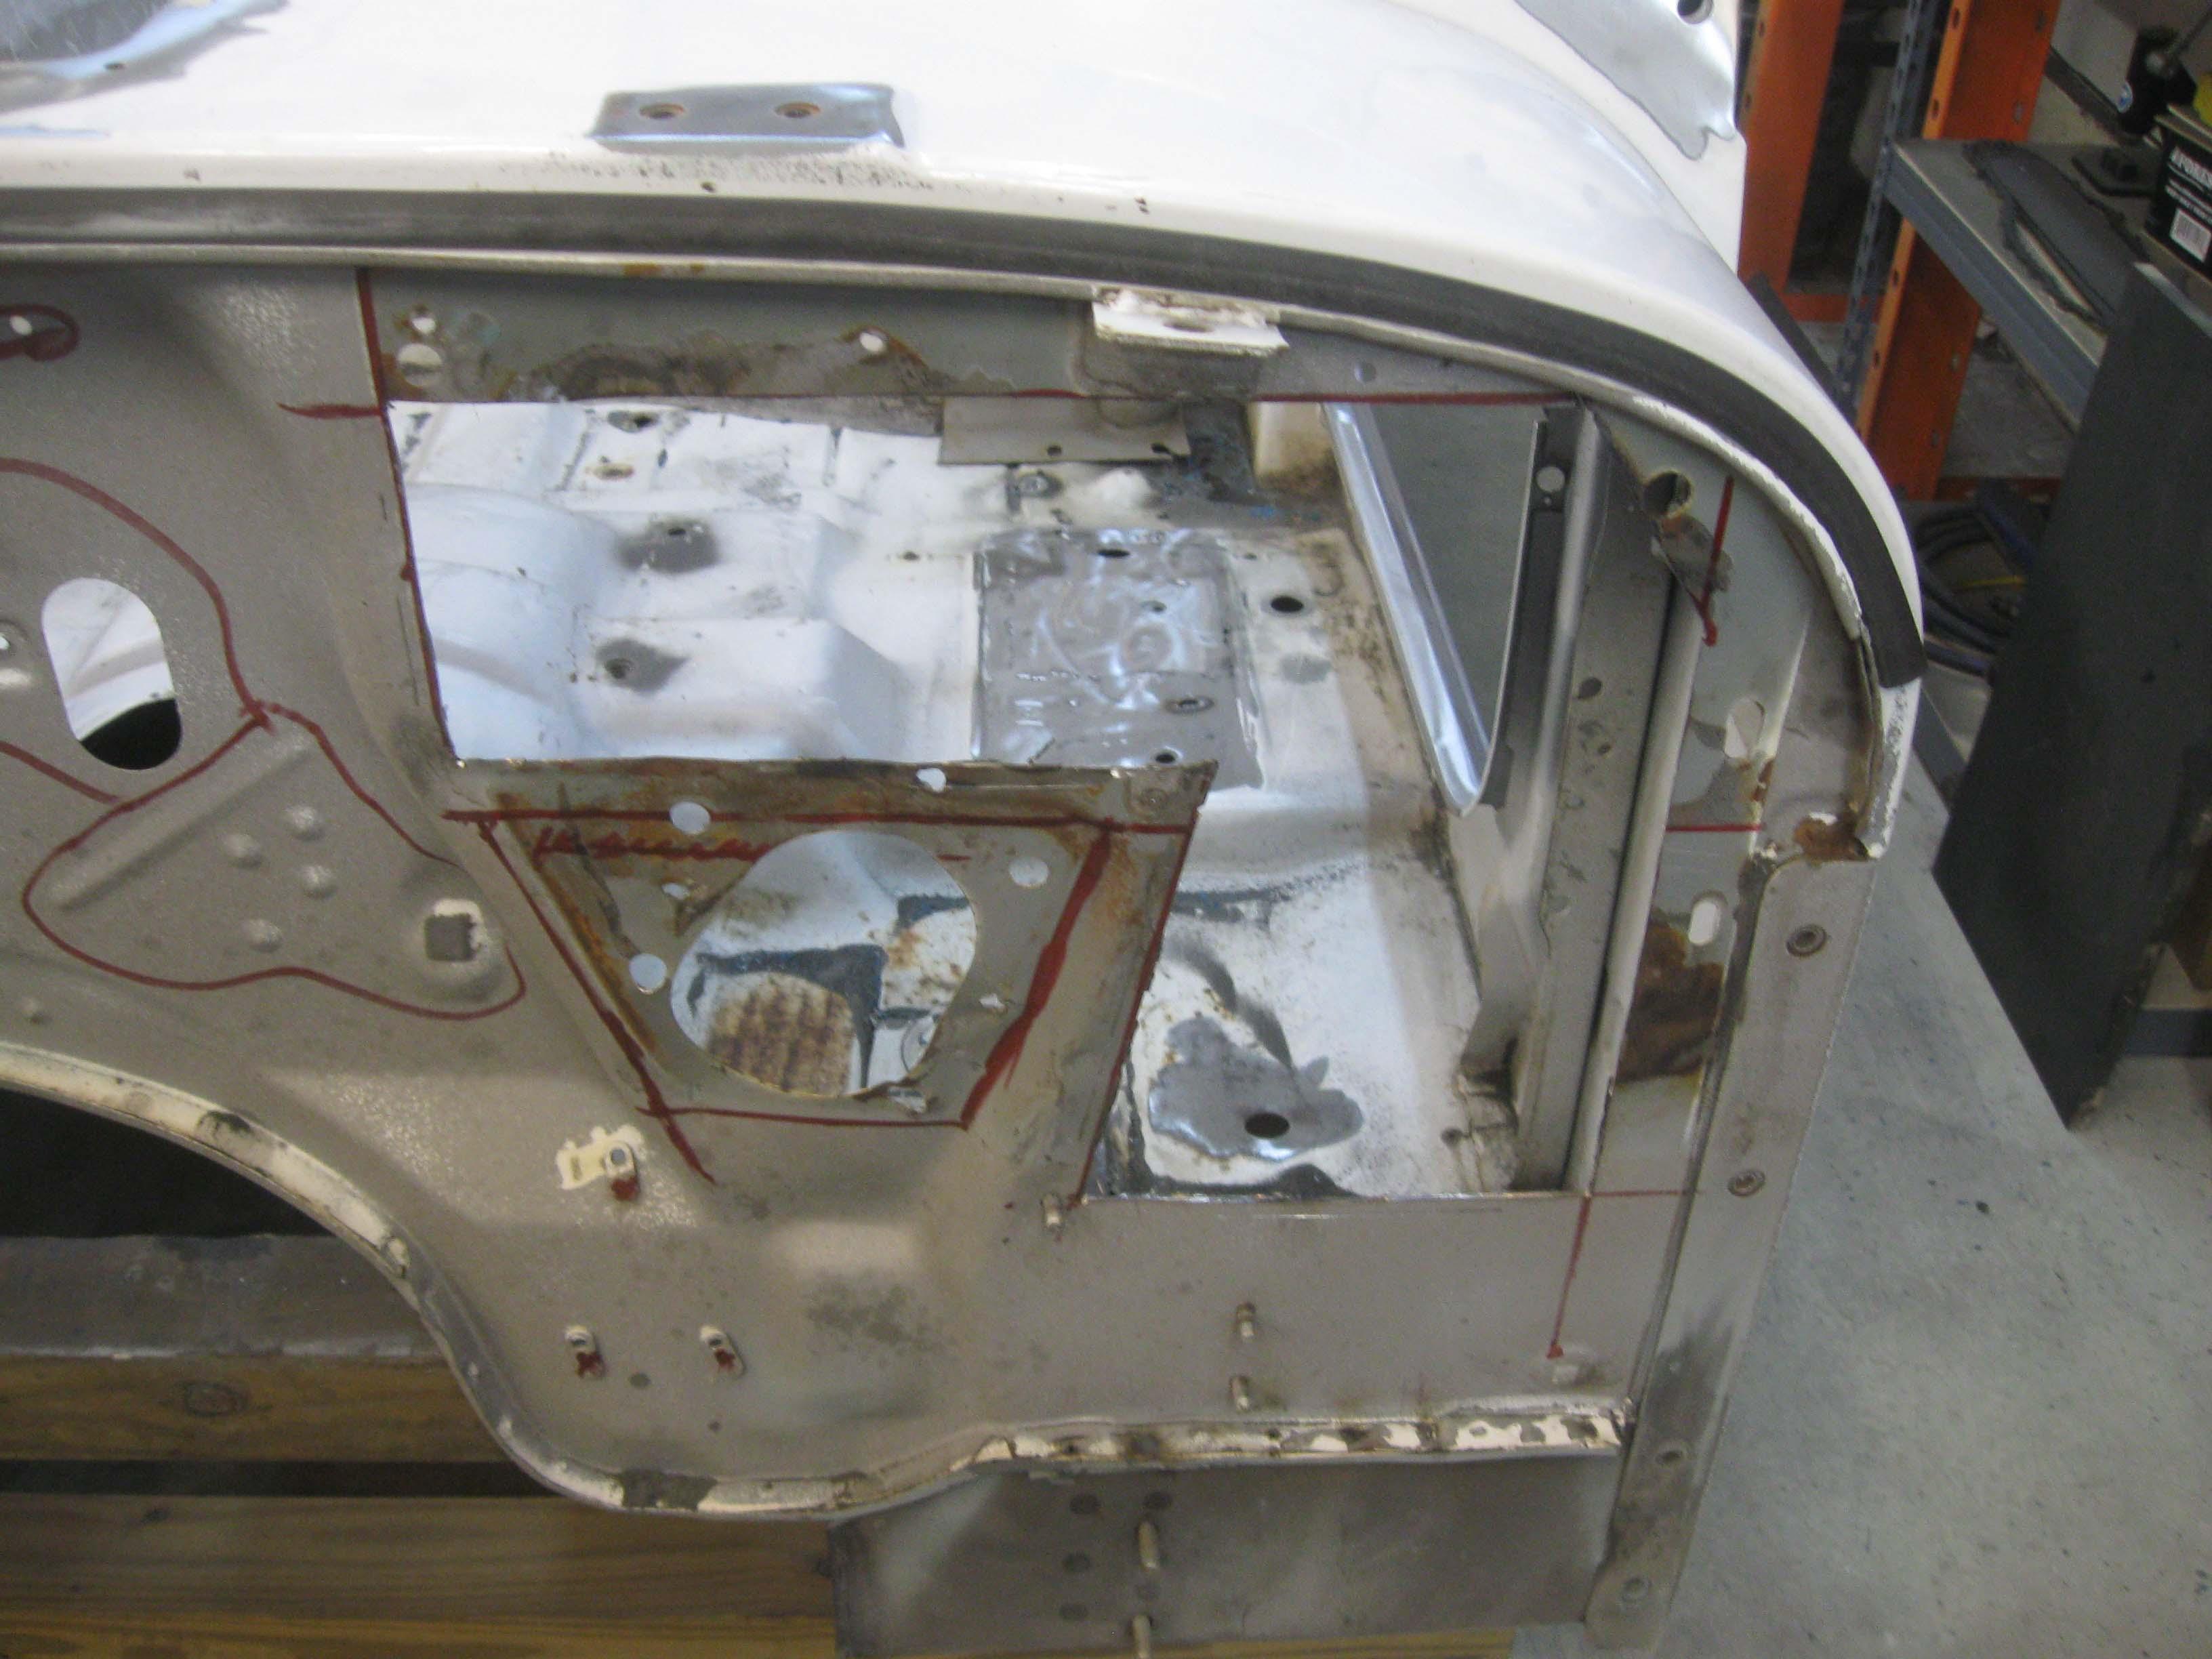
The old firewall consisted of what you see in the picture (a.k.a rusty/crappy paperthin mess) and the plate that covered it.

plate freshly removed:
IMG_7354-1.jpg


Firewall with freshly removed plate
IMG_7356-1.jpg


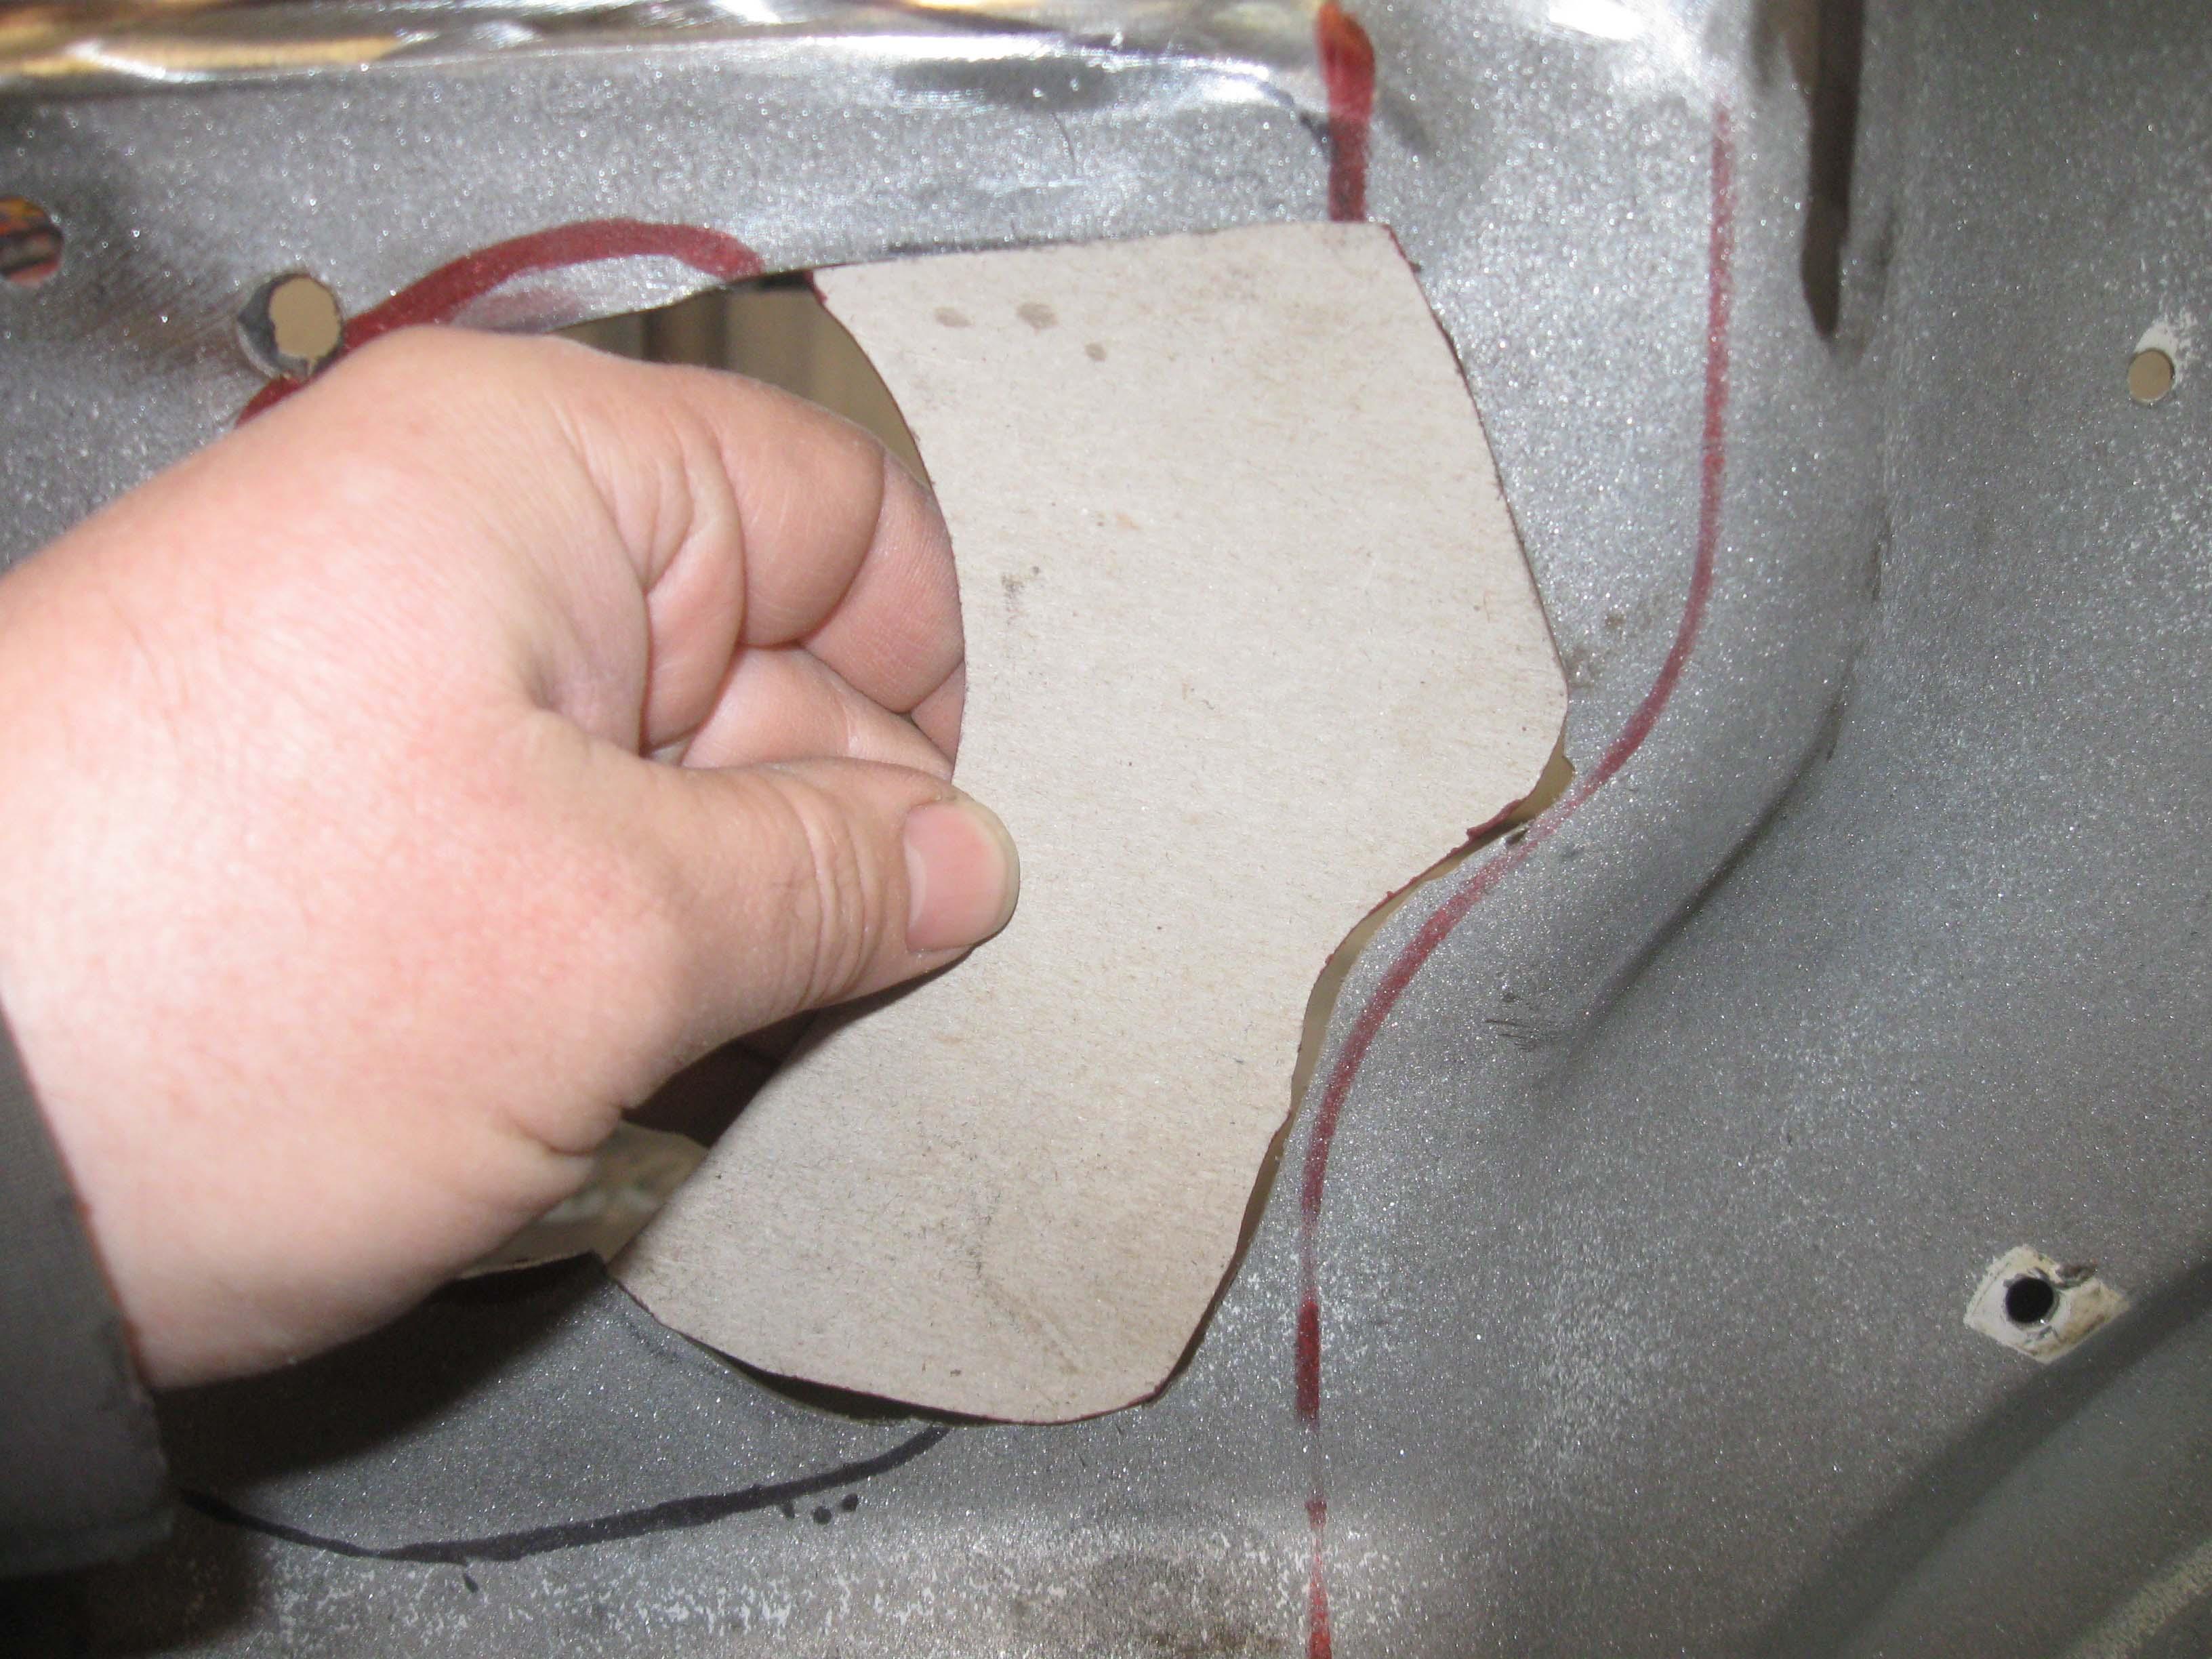
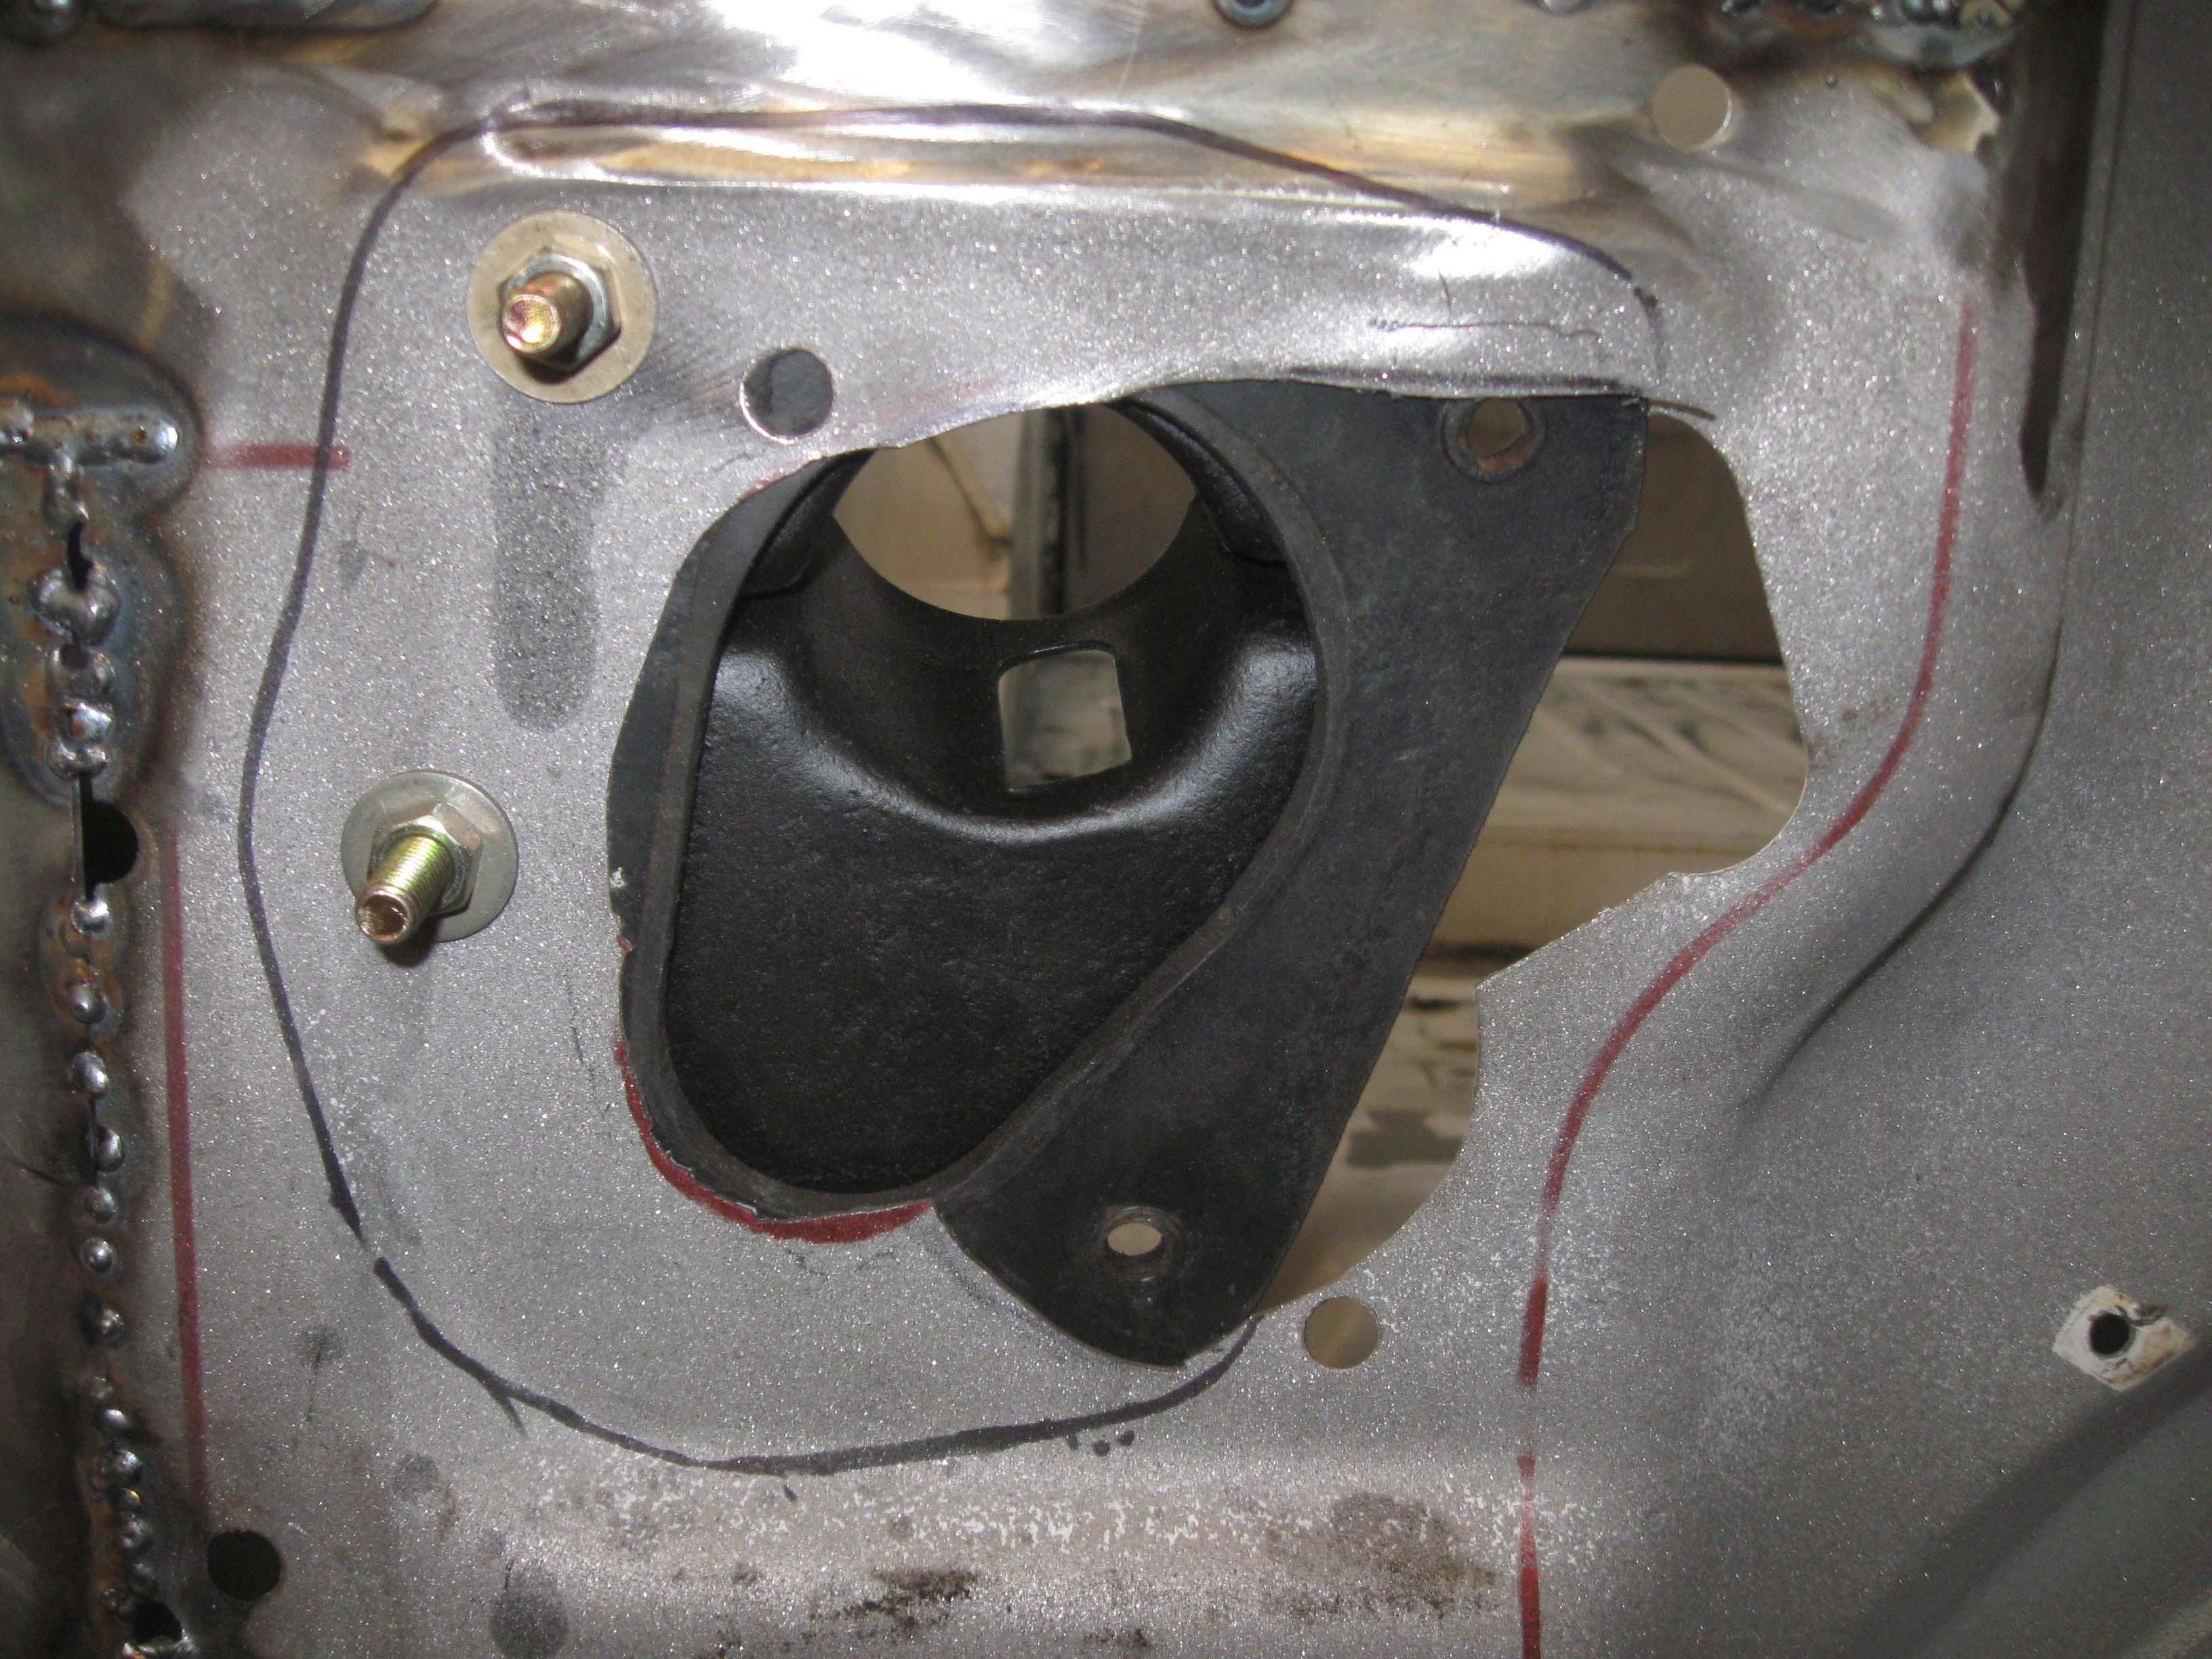
I used the plate to put on the new firewall and made the hole according to it along with the spacer that is in the RHD for some reason, and steering column clamp hold down.

New firewall templating:
IMG_7510-1.jpg


IMG_7524-1.jpg

IMG_7526-1.jpg


The new firewall section is slightly larger than the plate and then when it is all sandwiched together, no one will see anything.

cb

cb
 
I am enjoying watching this coming together, how you find the time and have the patience is beyond me!!
 
Thanks Dave... I chip away at it and get a little done when I can.
I have not had time really over the last 6 years with the little ones, but they are getting older now and I don't have to keep both eyes on them.
Wife also doesn't need as much help with them and I get my time in with them and she does as well and that has freed up some time at night.

So, work, kids, family, then Jeep... and trust me, when you go without for years, any hour you get, you spend it wisely... crack open a beer, setup, work, another beer, clean up... go in :)

So, here is this weeks pull...

IMG_7543-1.jpg

IMG_7545-1.jpg


IMG_7553-1.jpg

IMG_7554-1.jpg


IMG_7562-1.jpg

IMG_7561-1.jpg


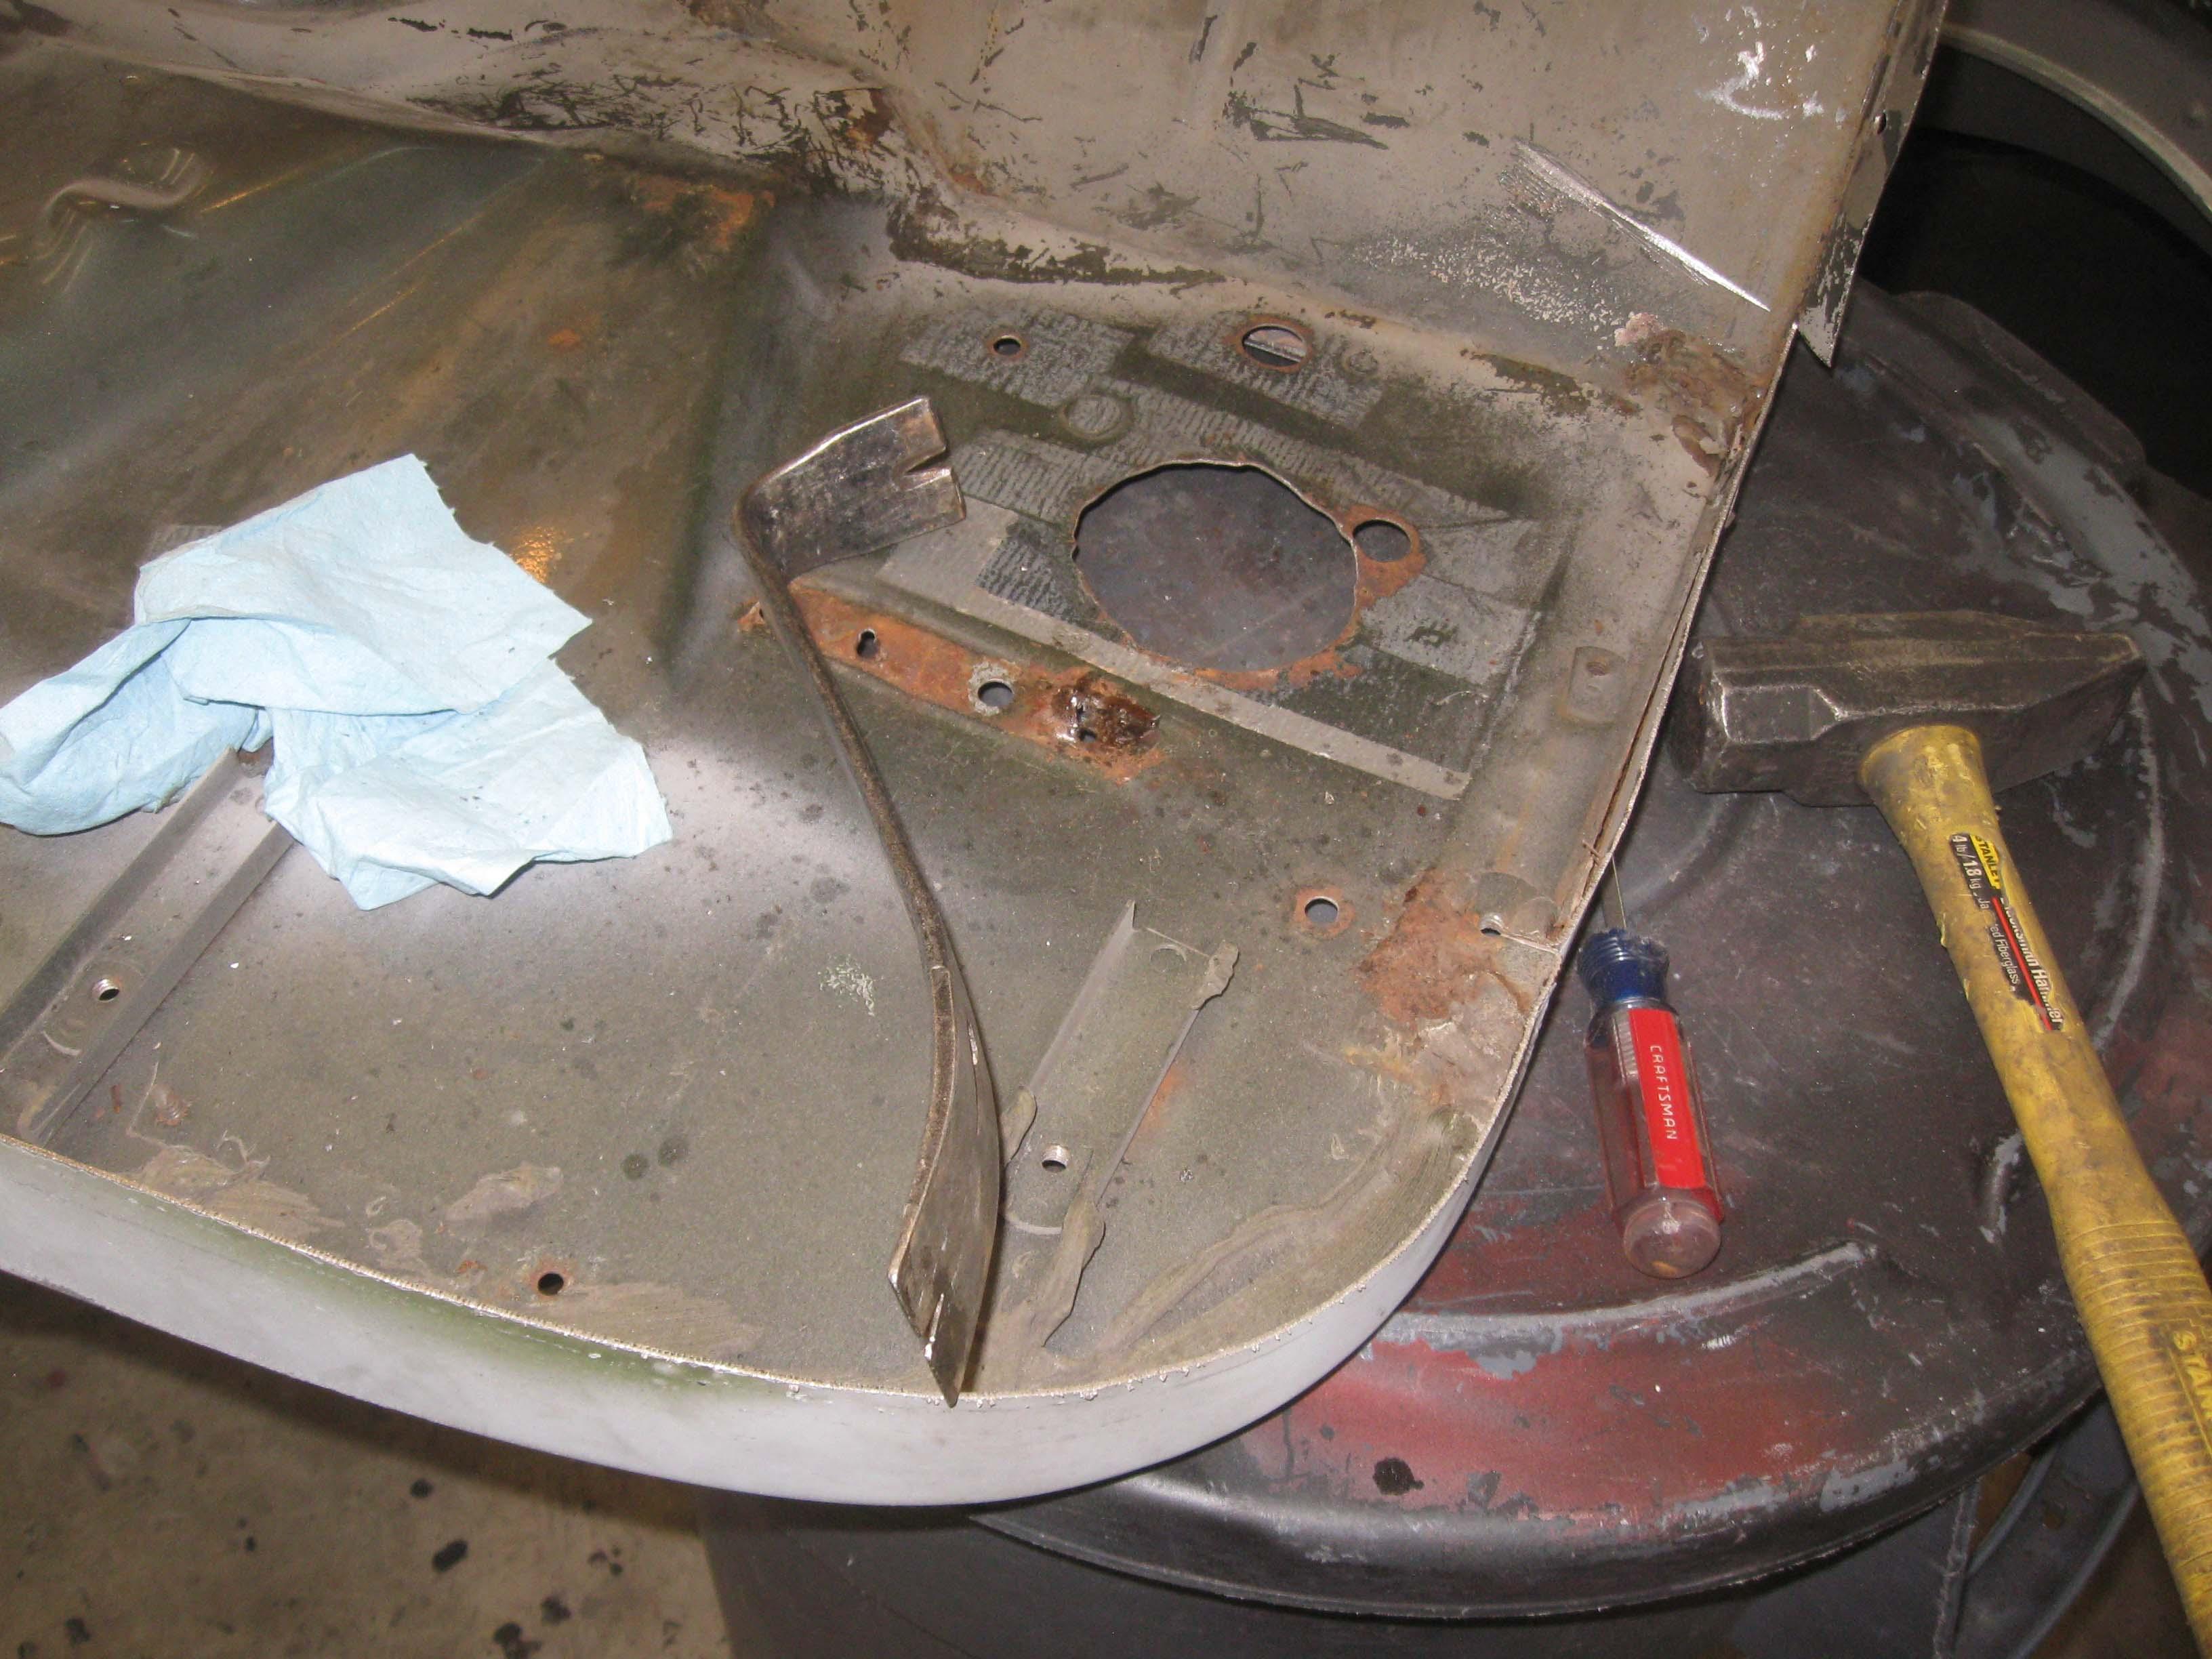
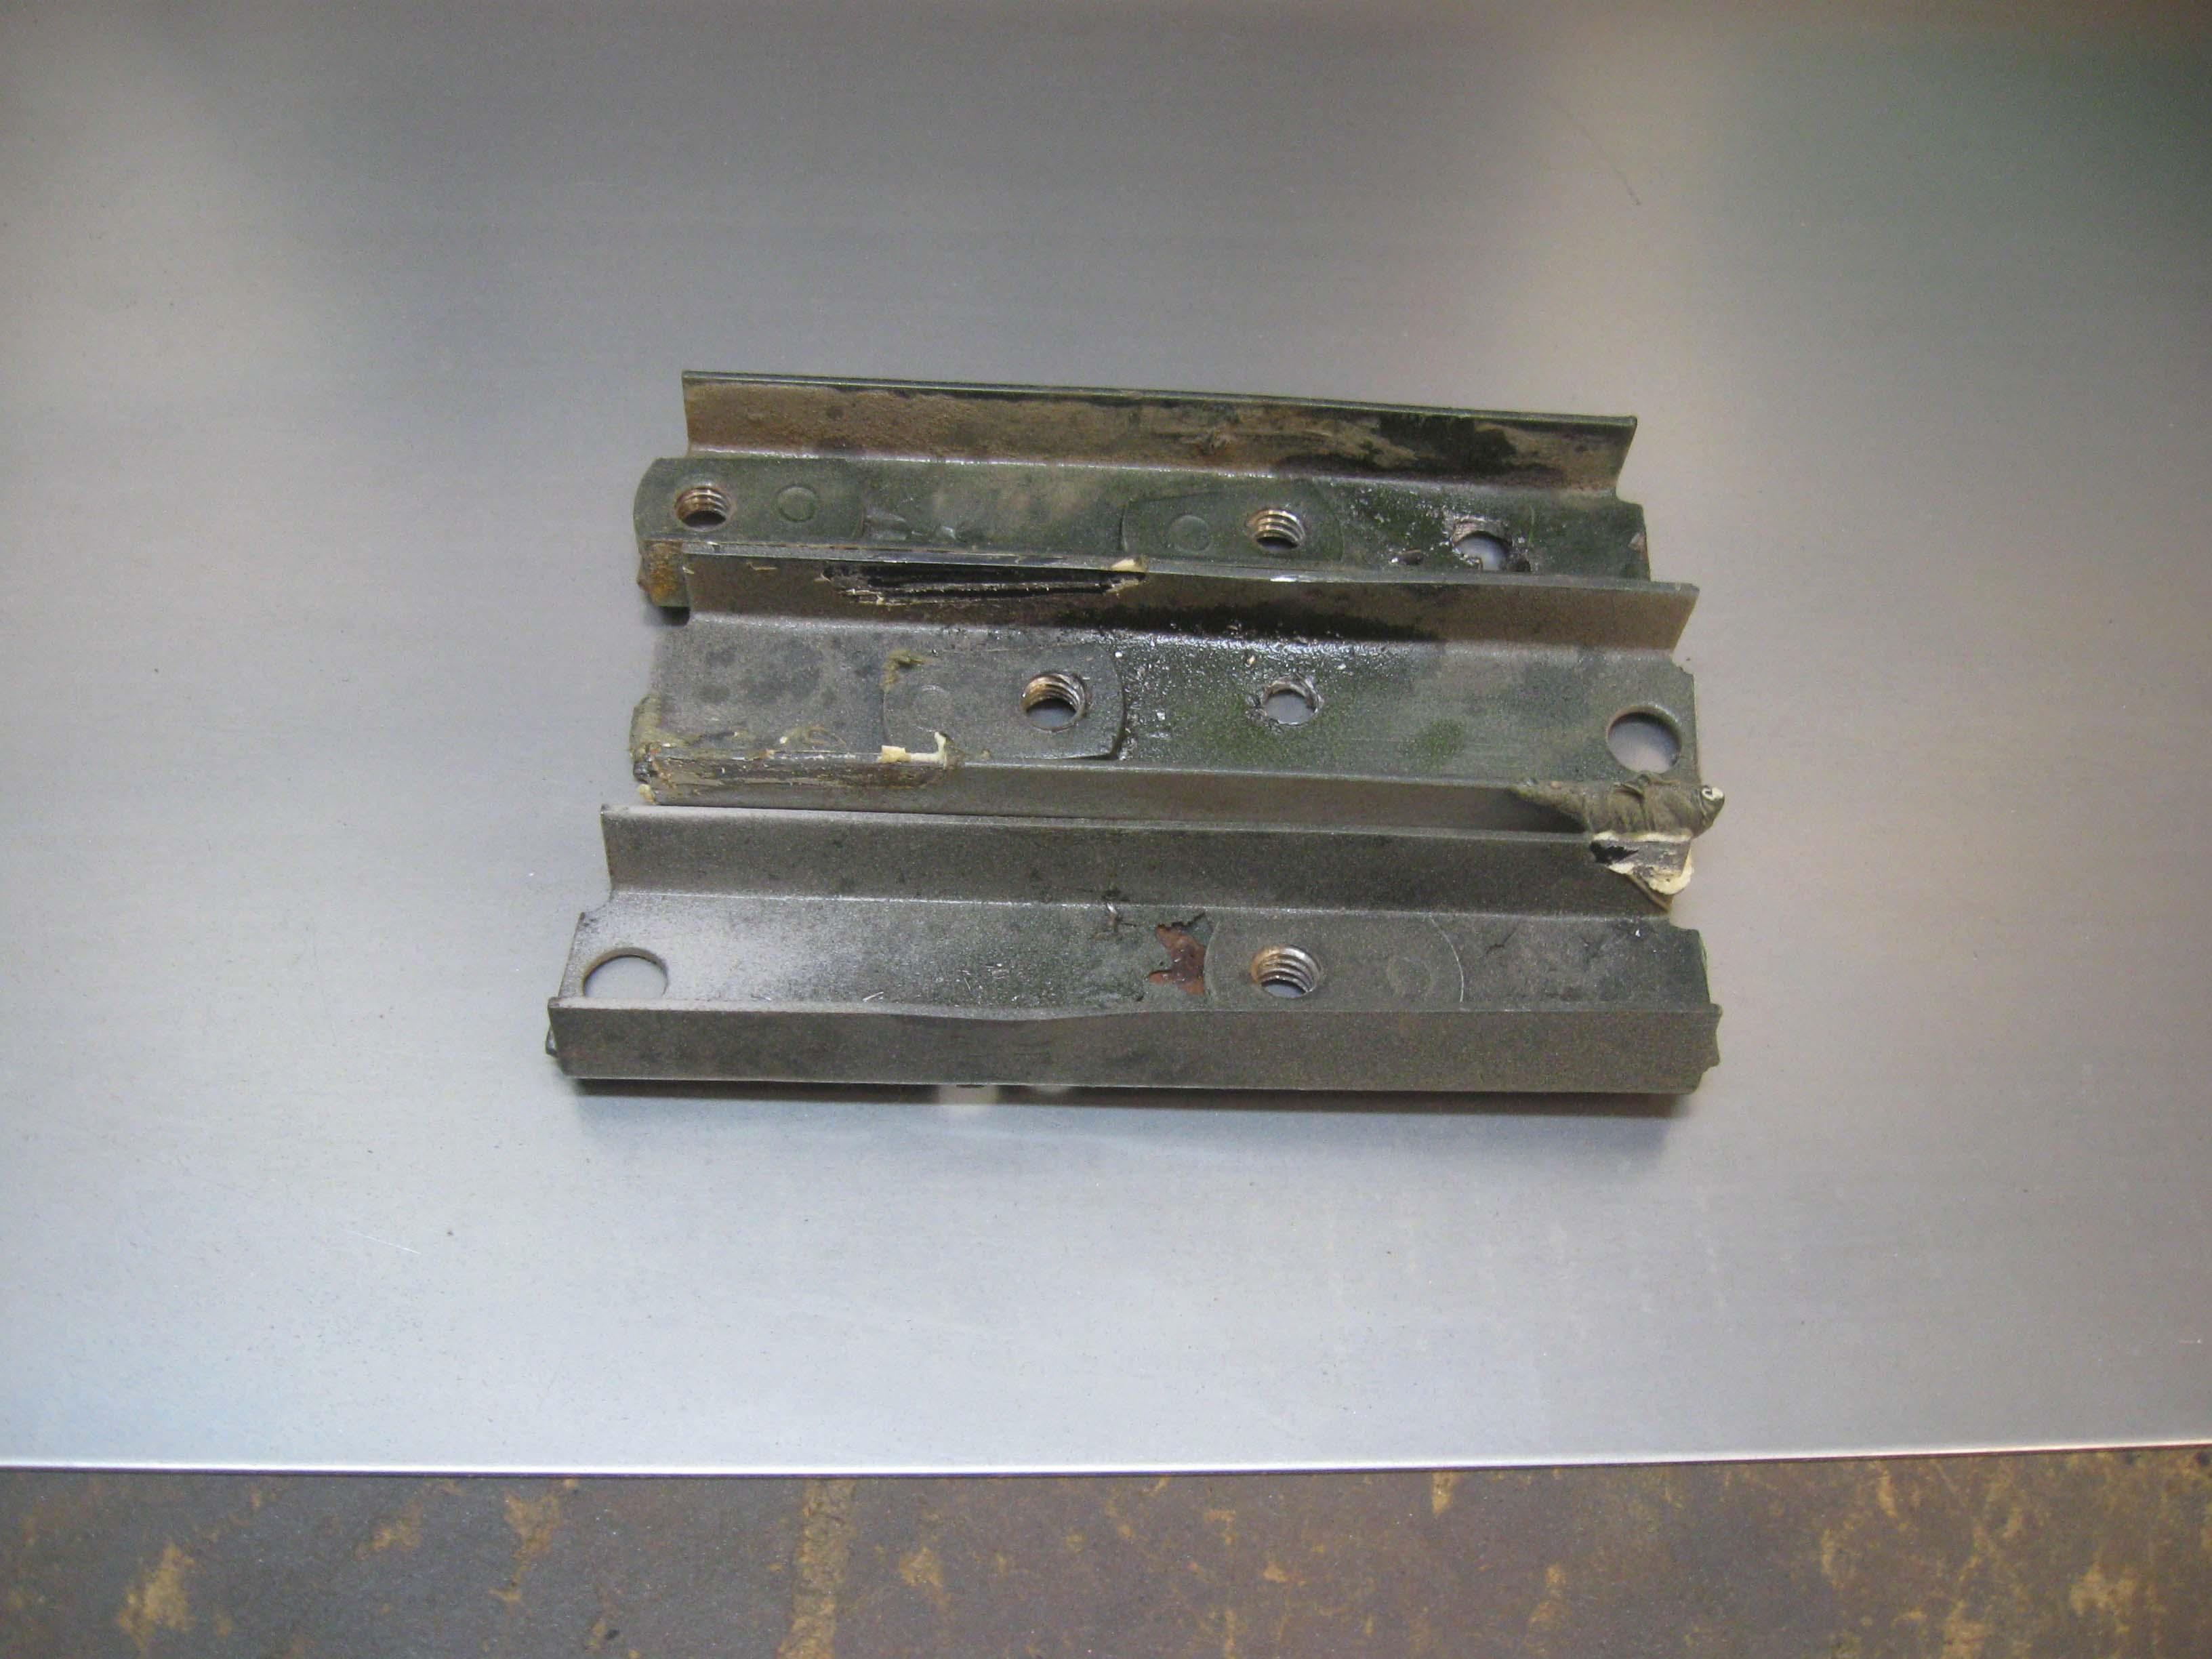
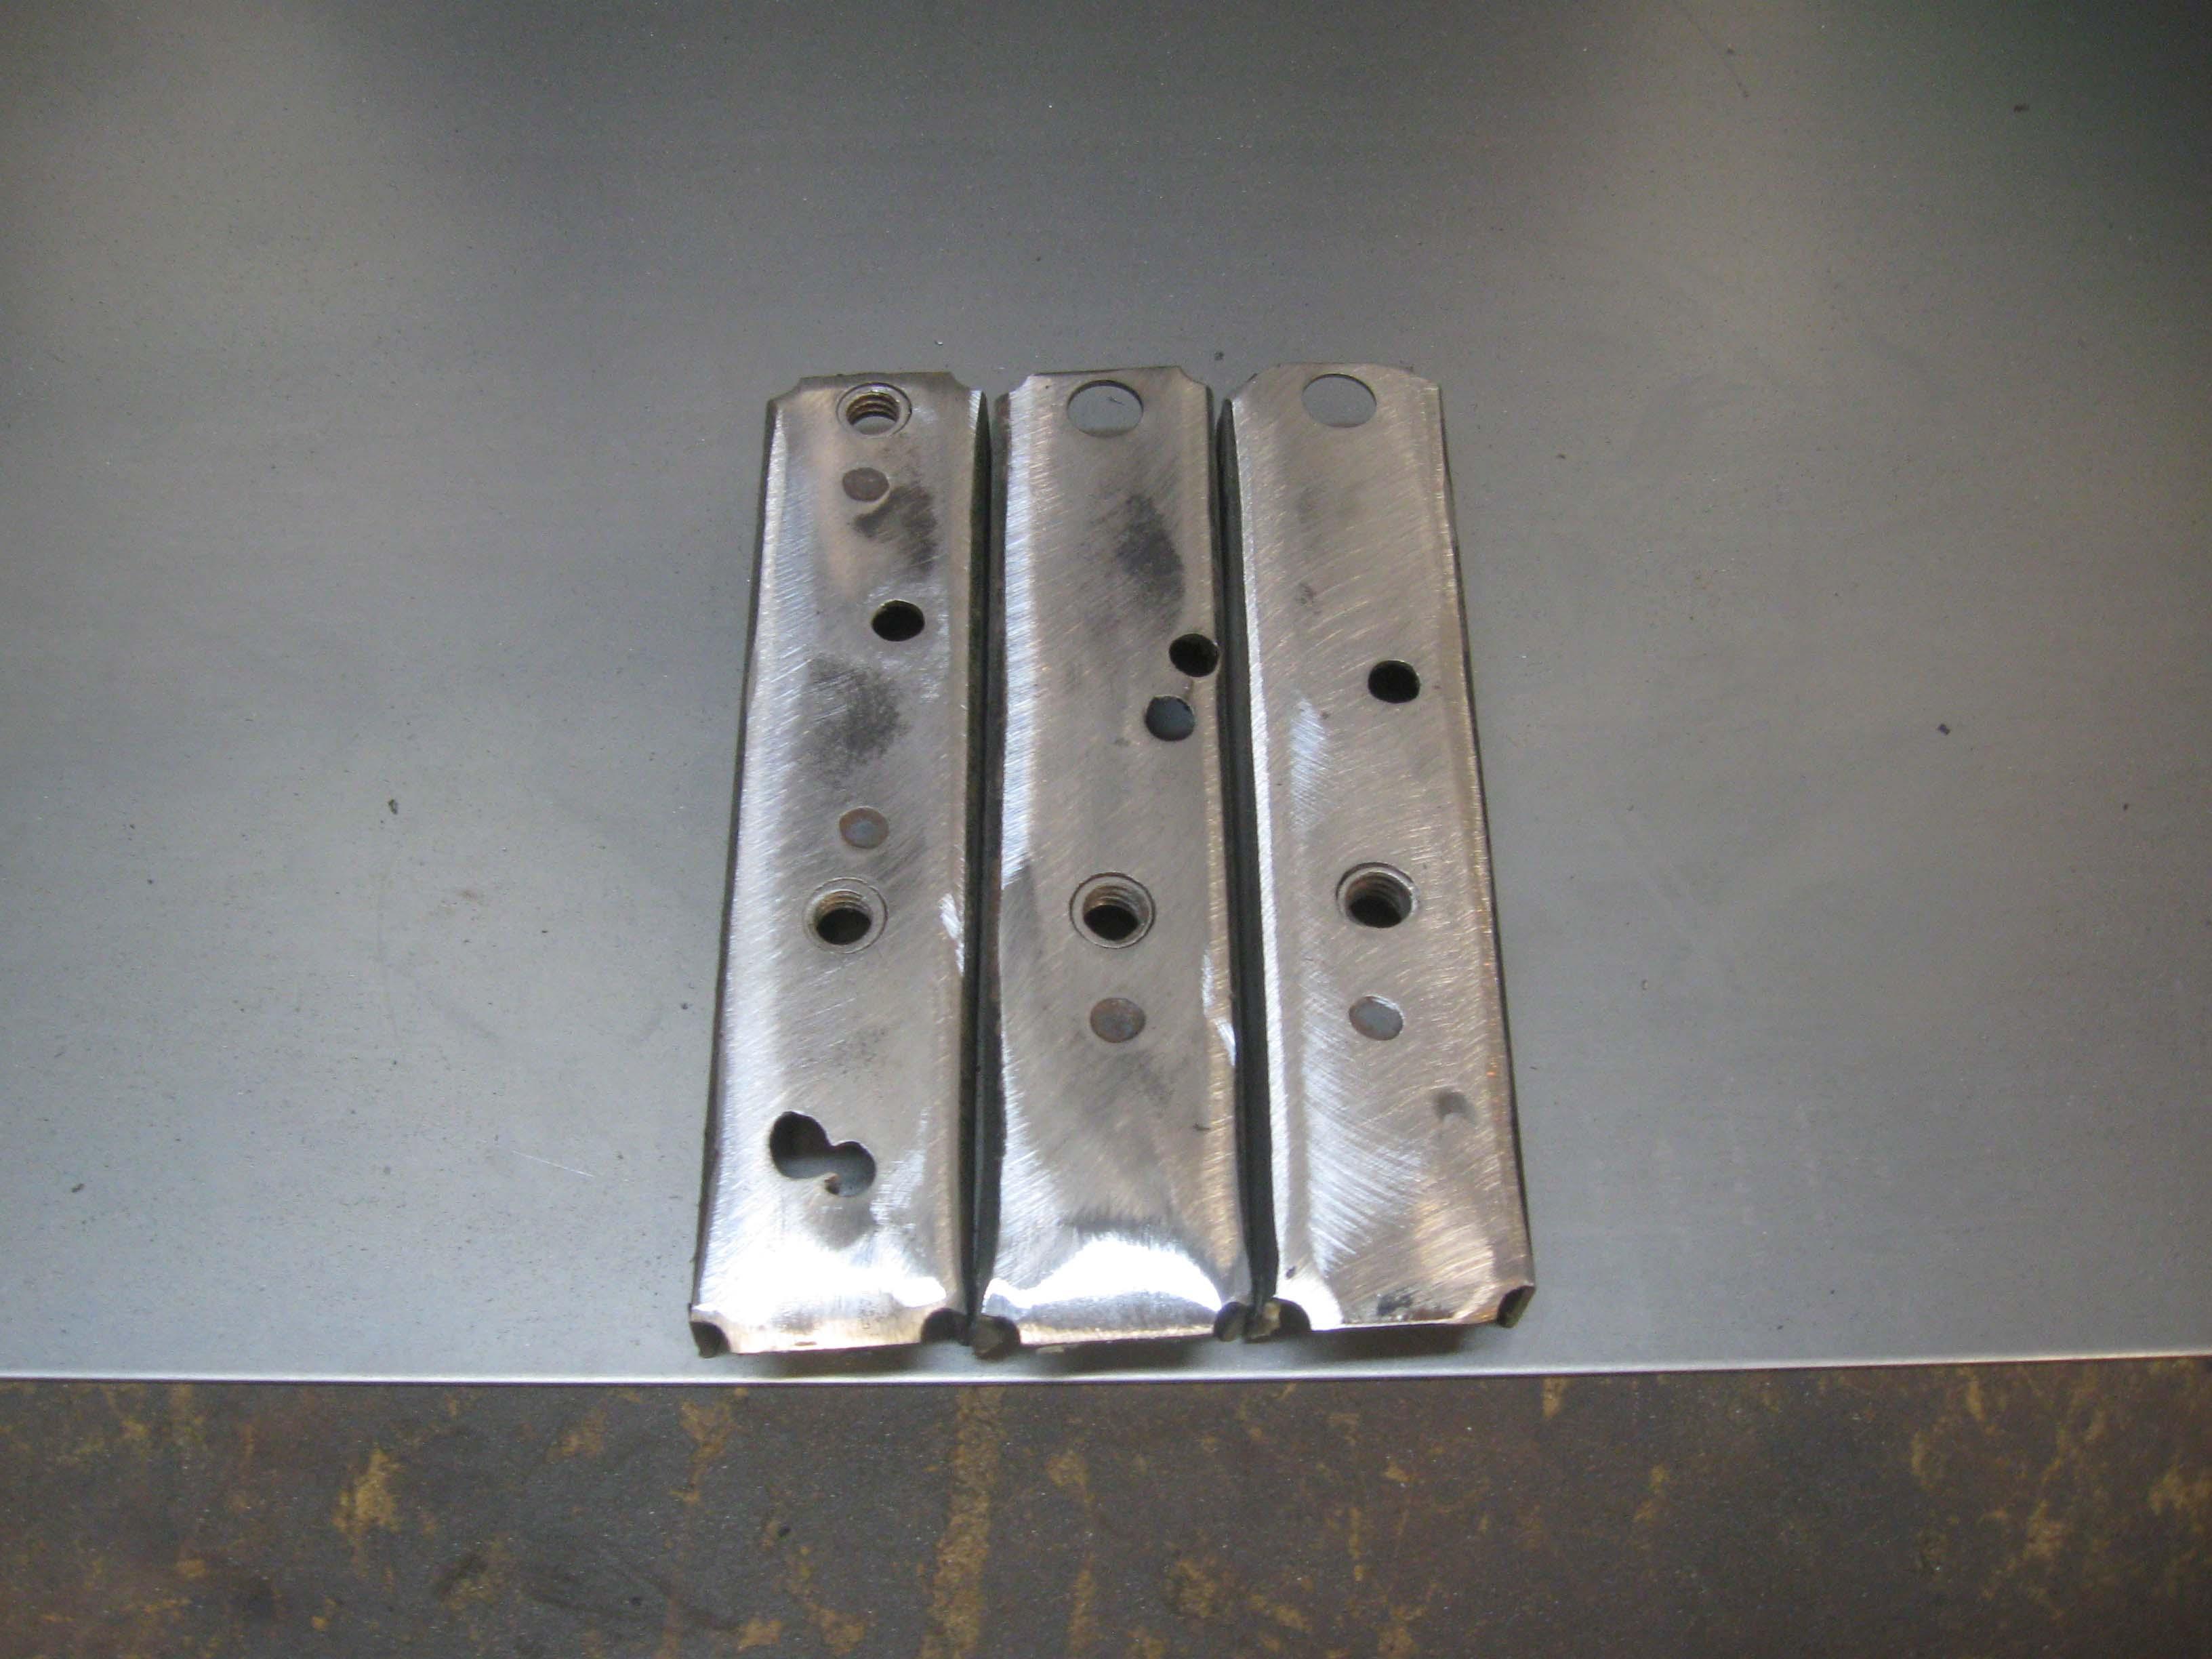
And then finished up last night getting the stubborn battery support brackets off so I can clean them up and use them... simple job took forever, they were on there good.

IMG_7564-1.jpg

IMG_7567-1.jpg


cb
 
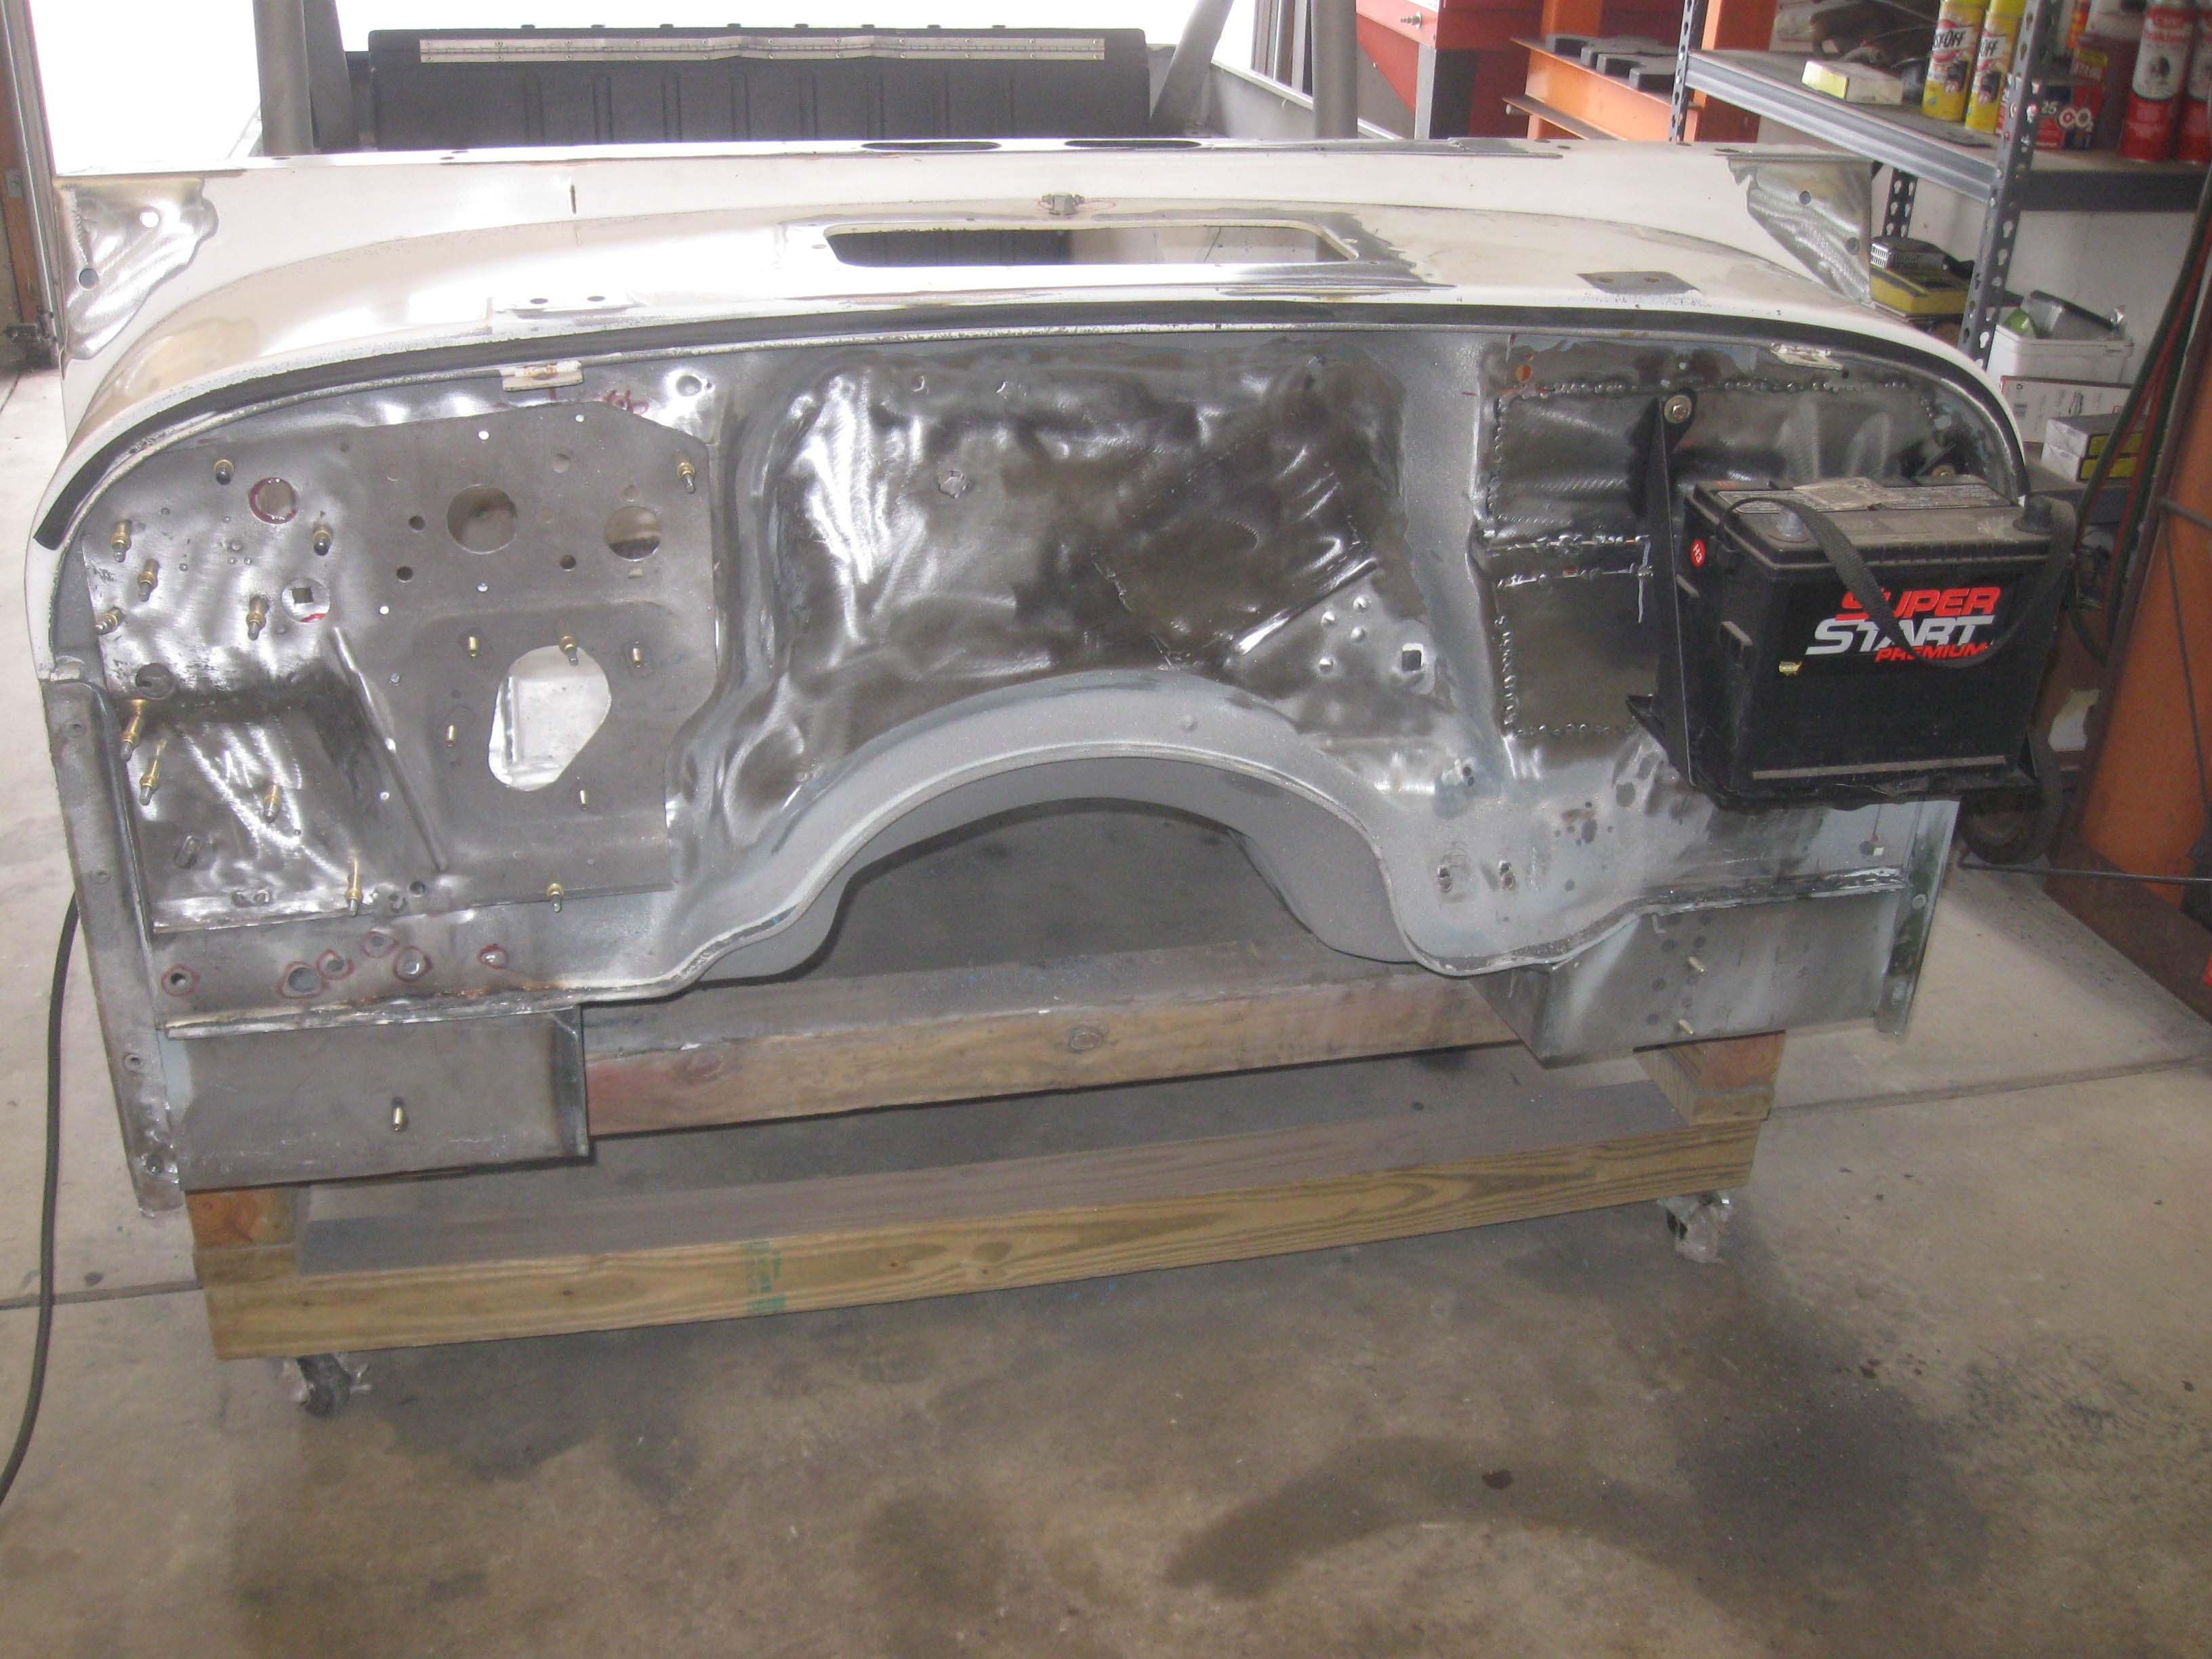
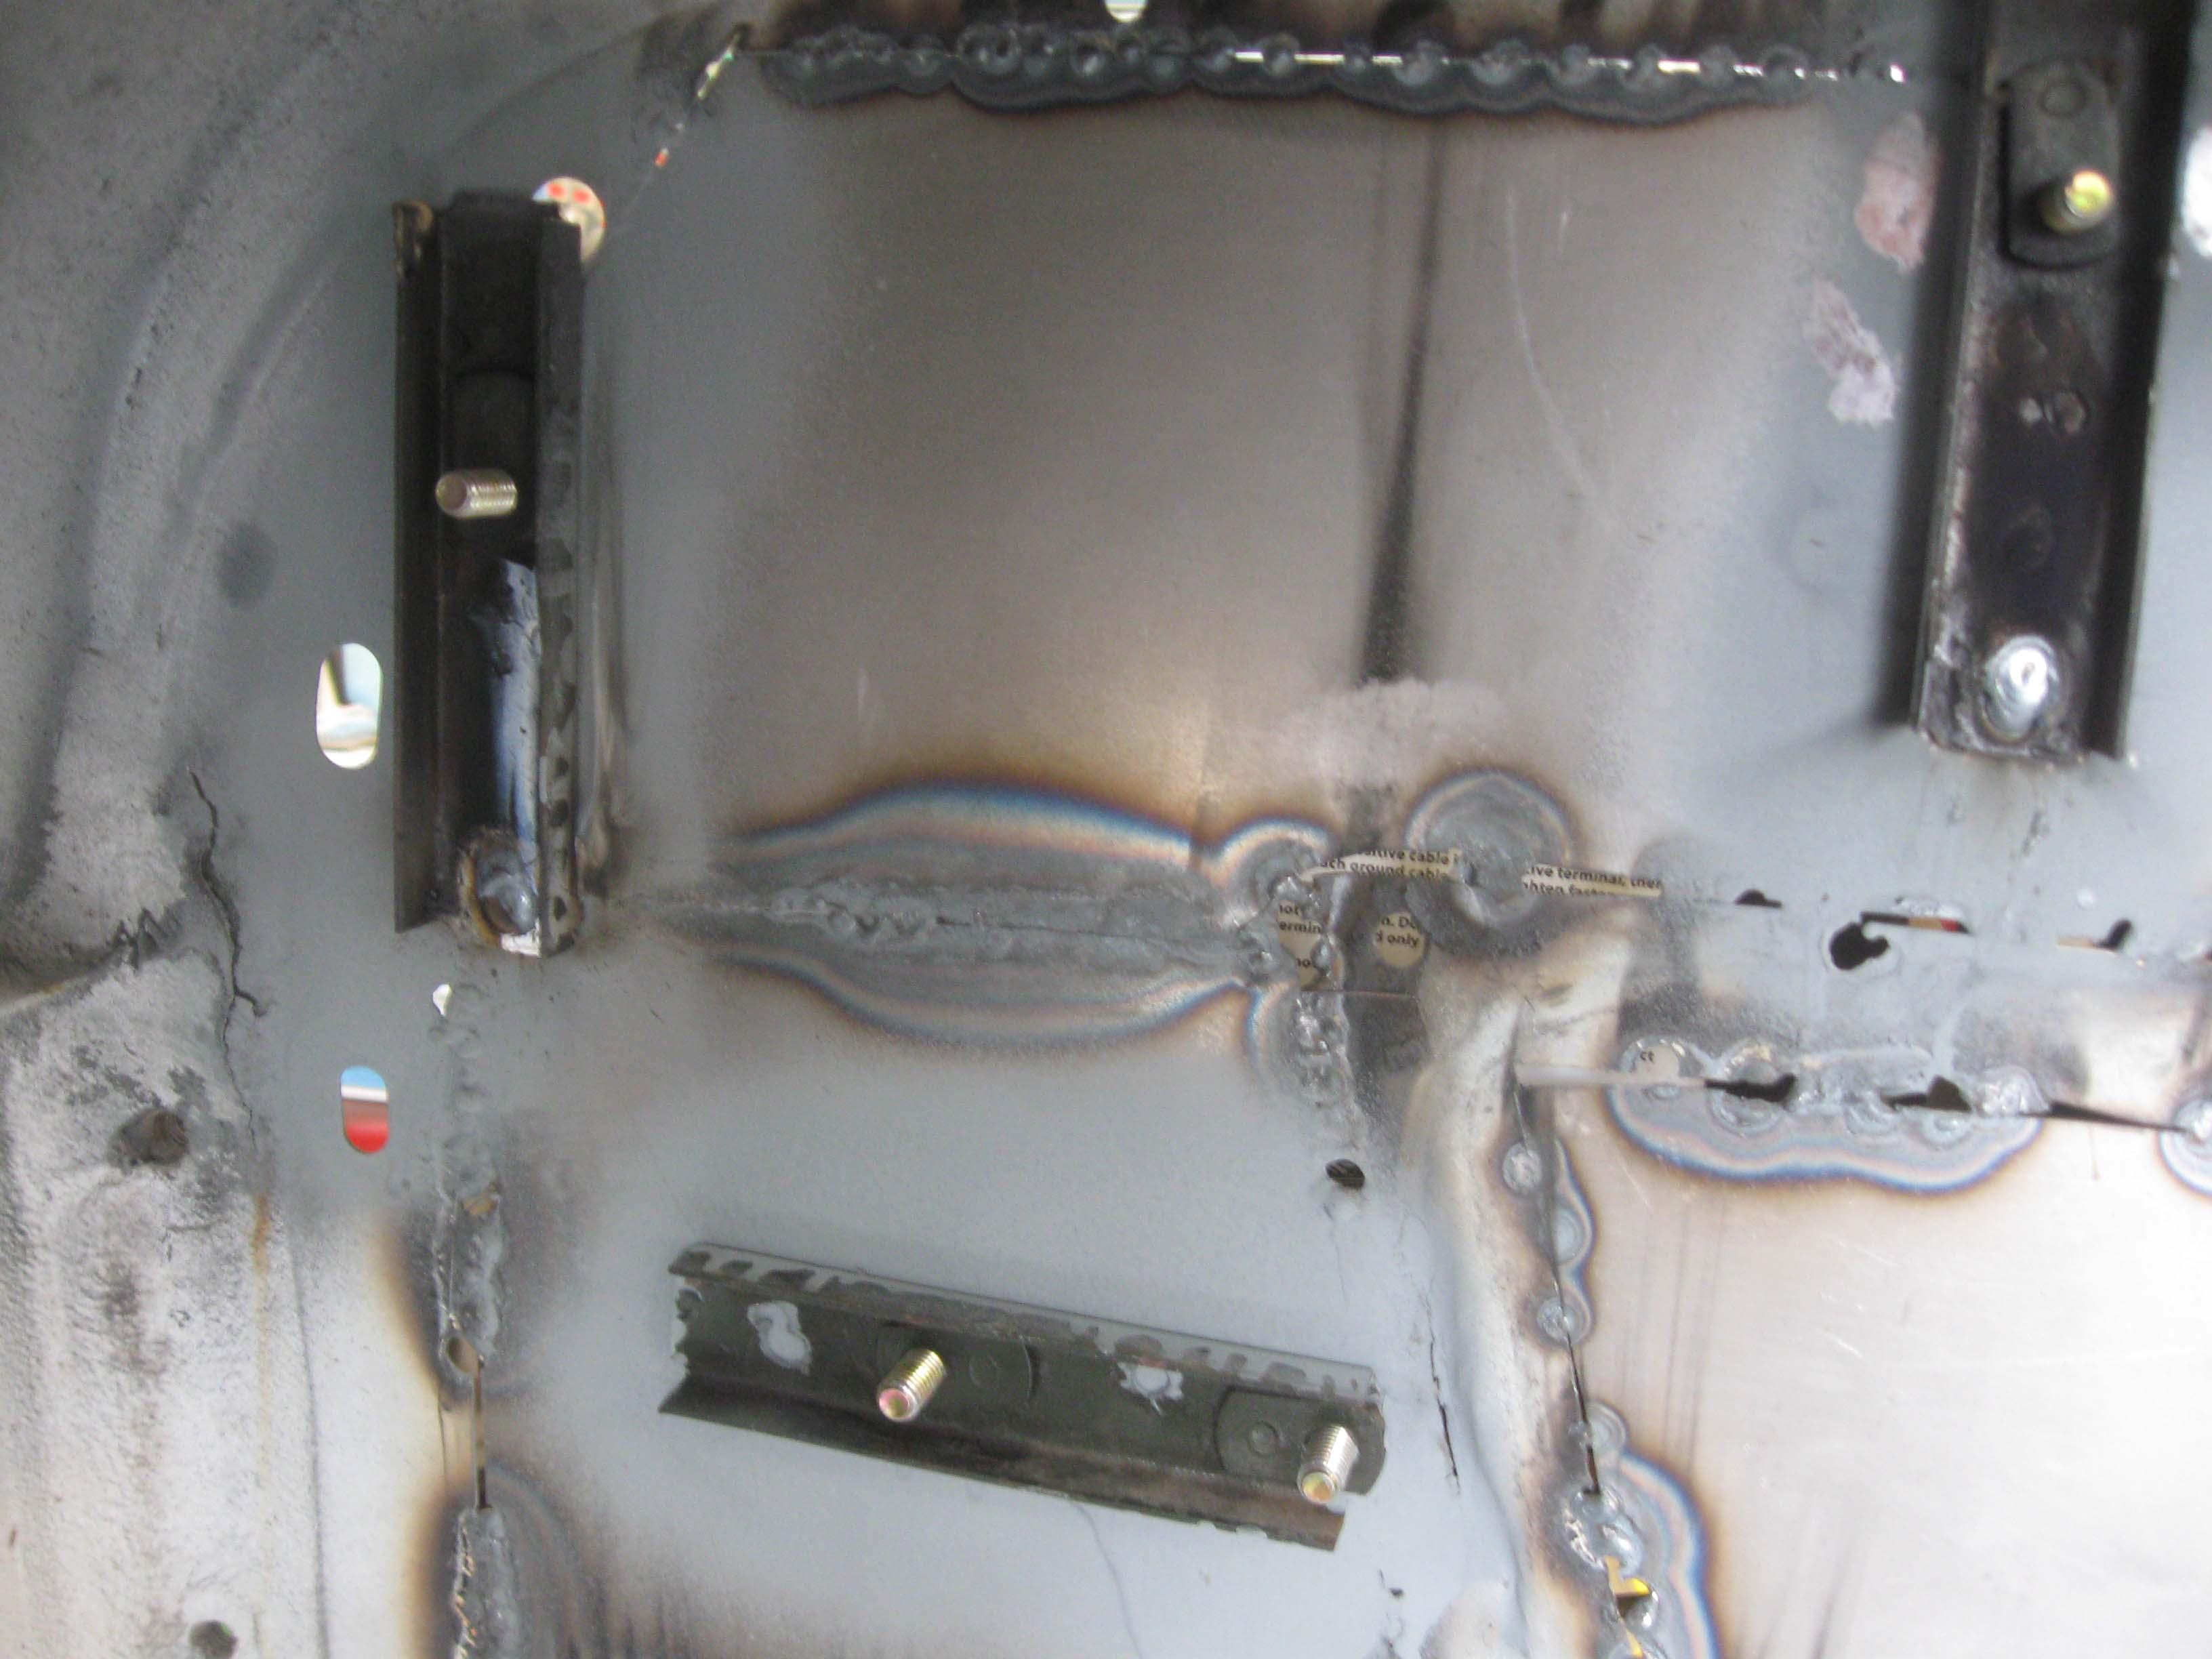
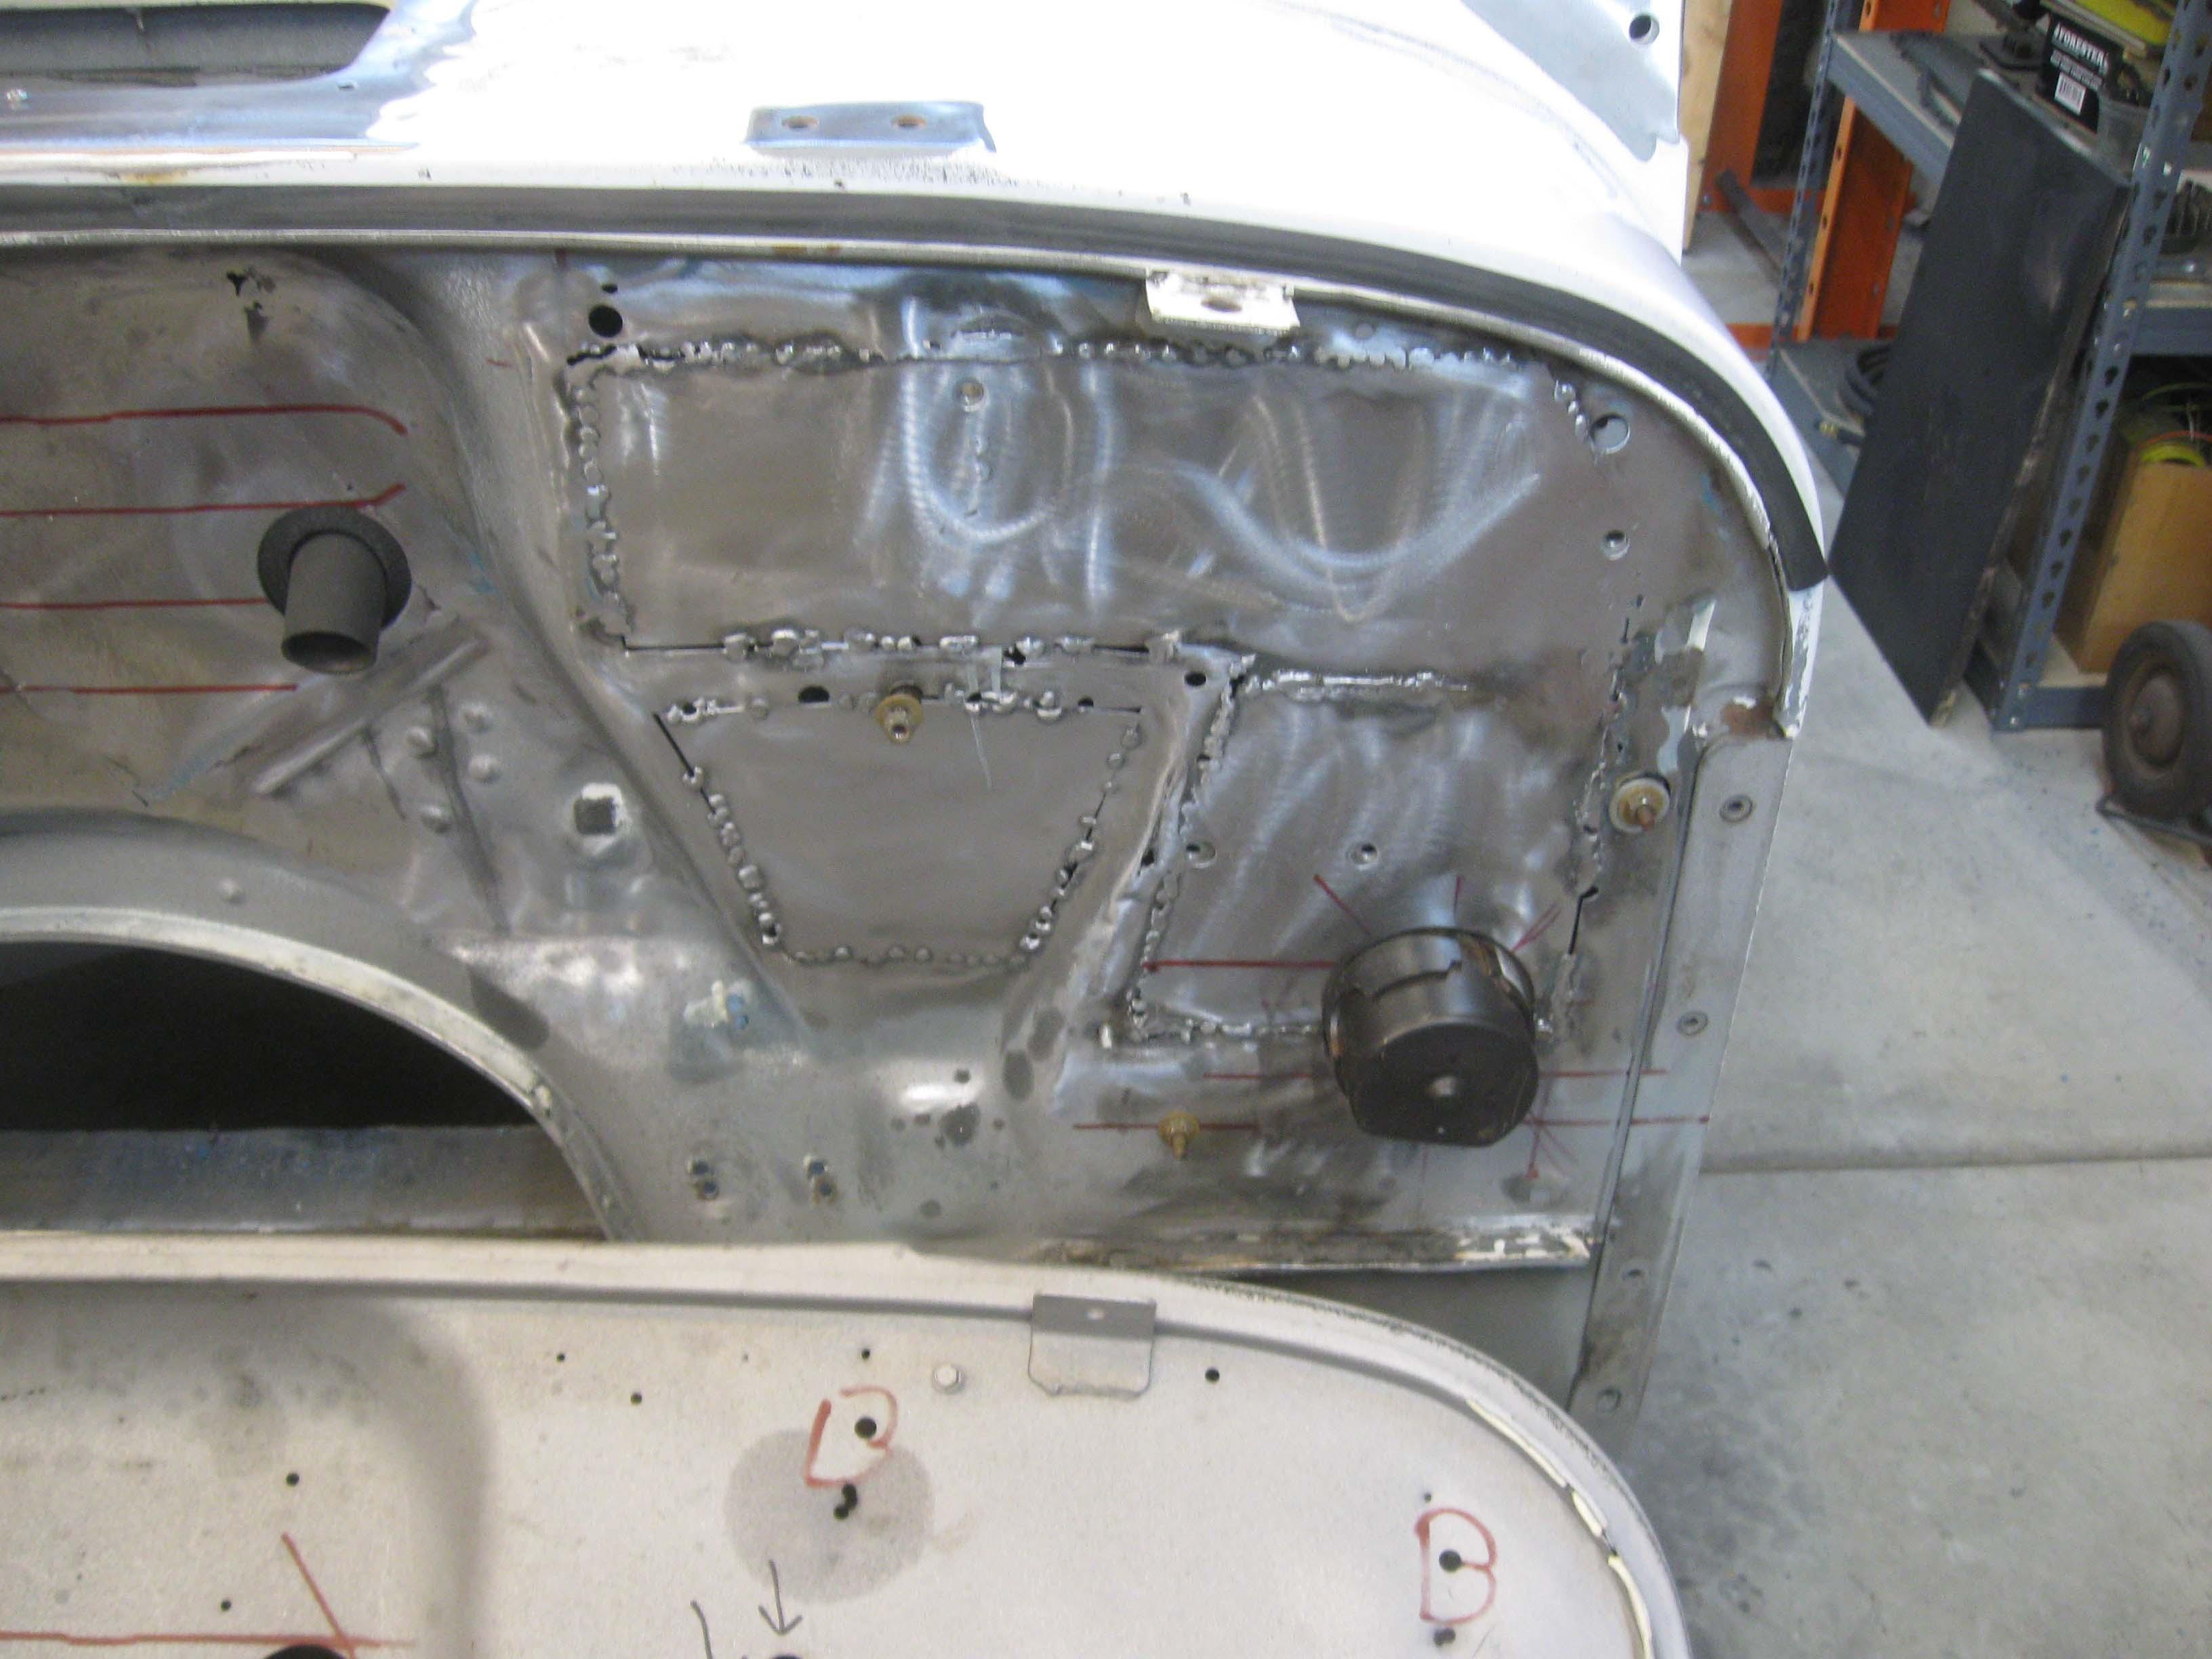
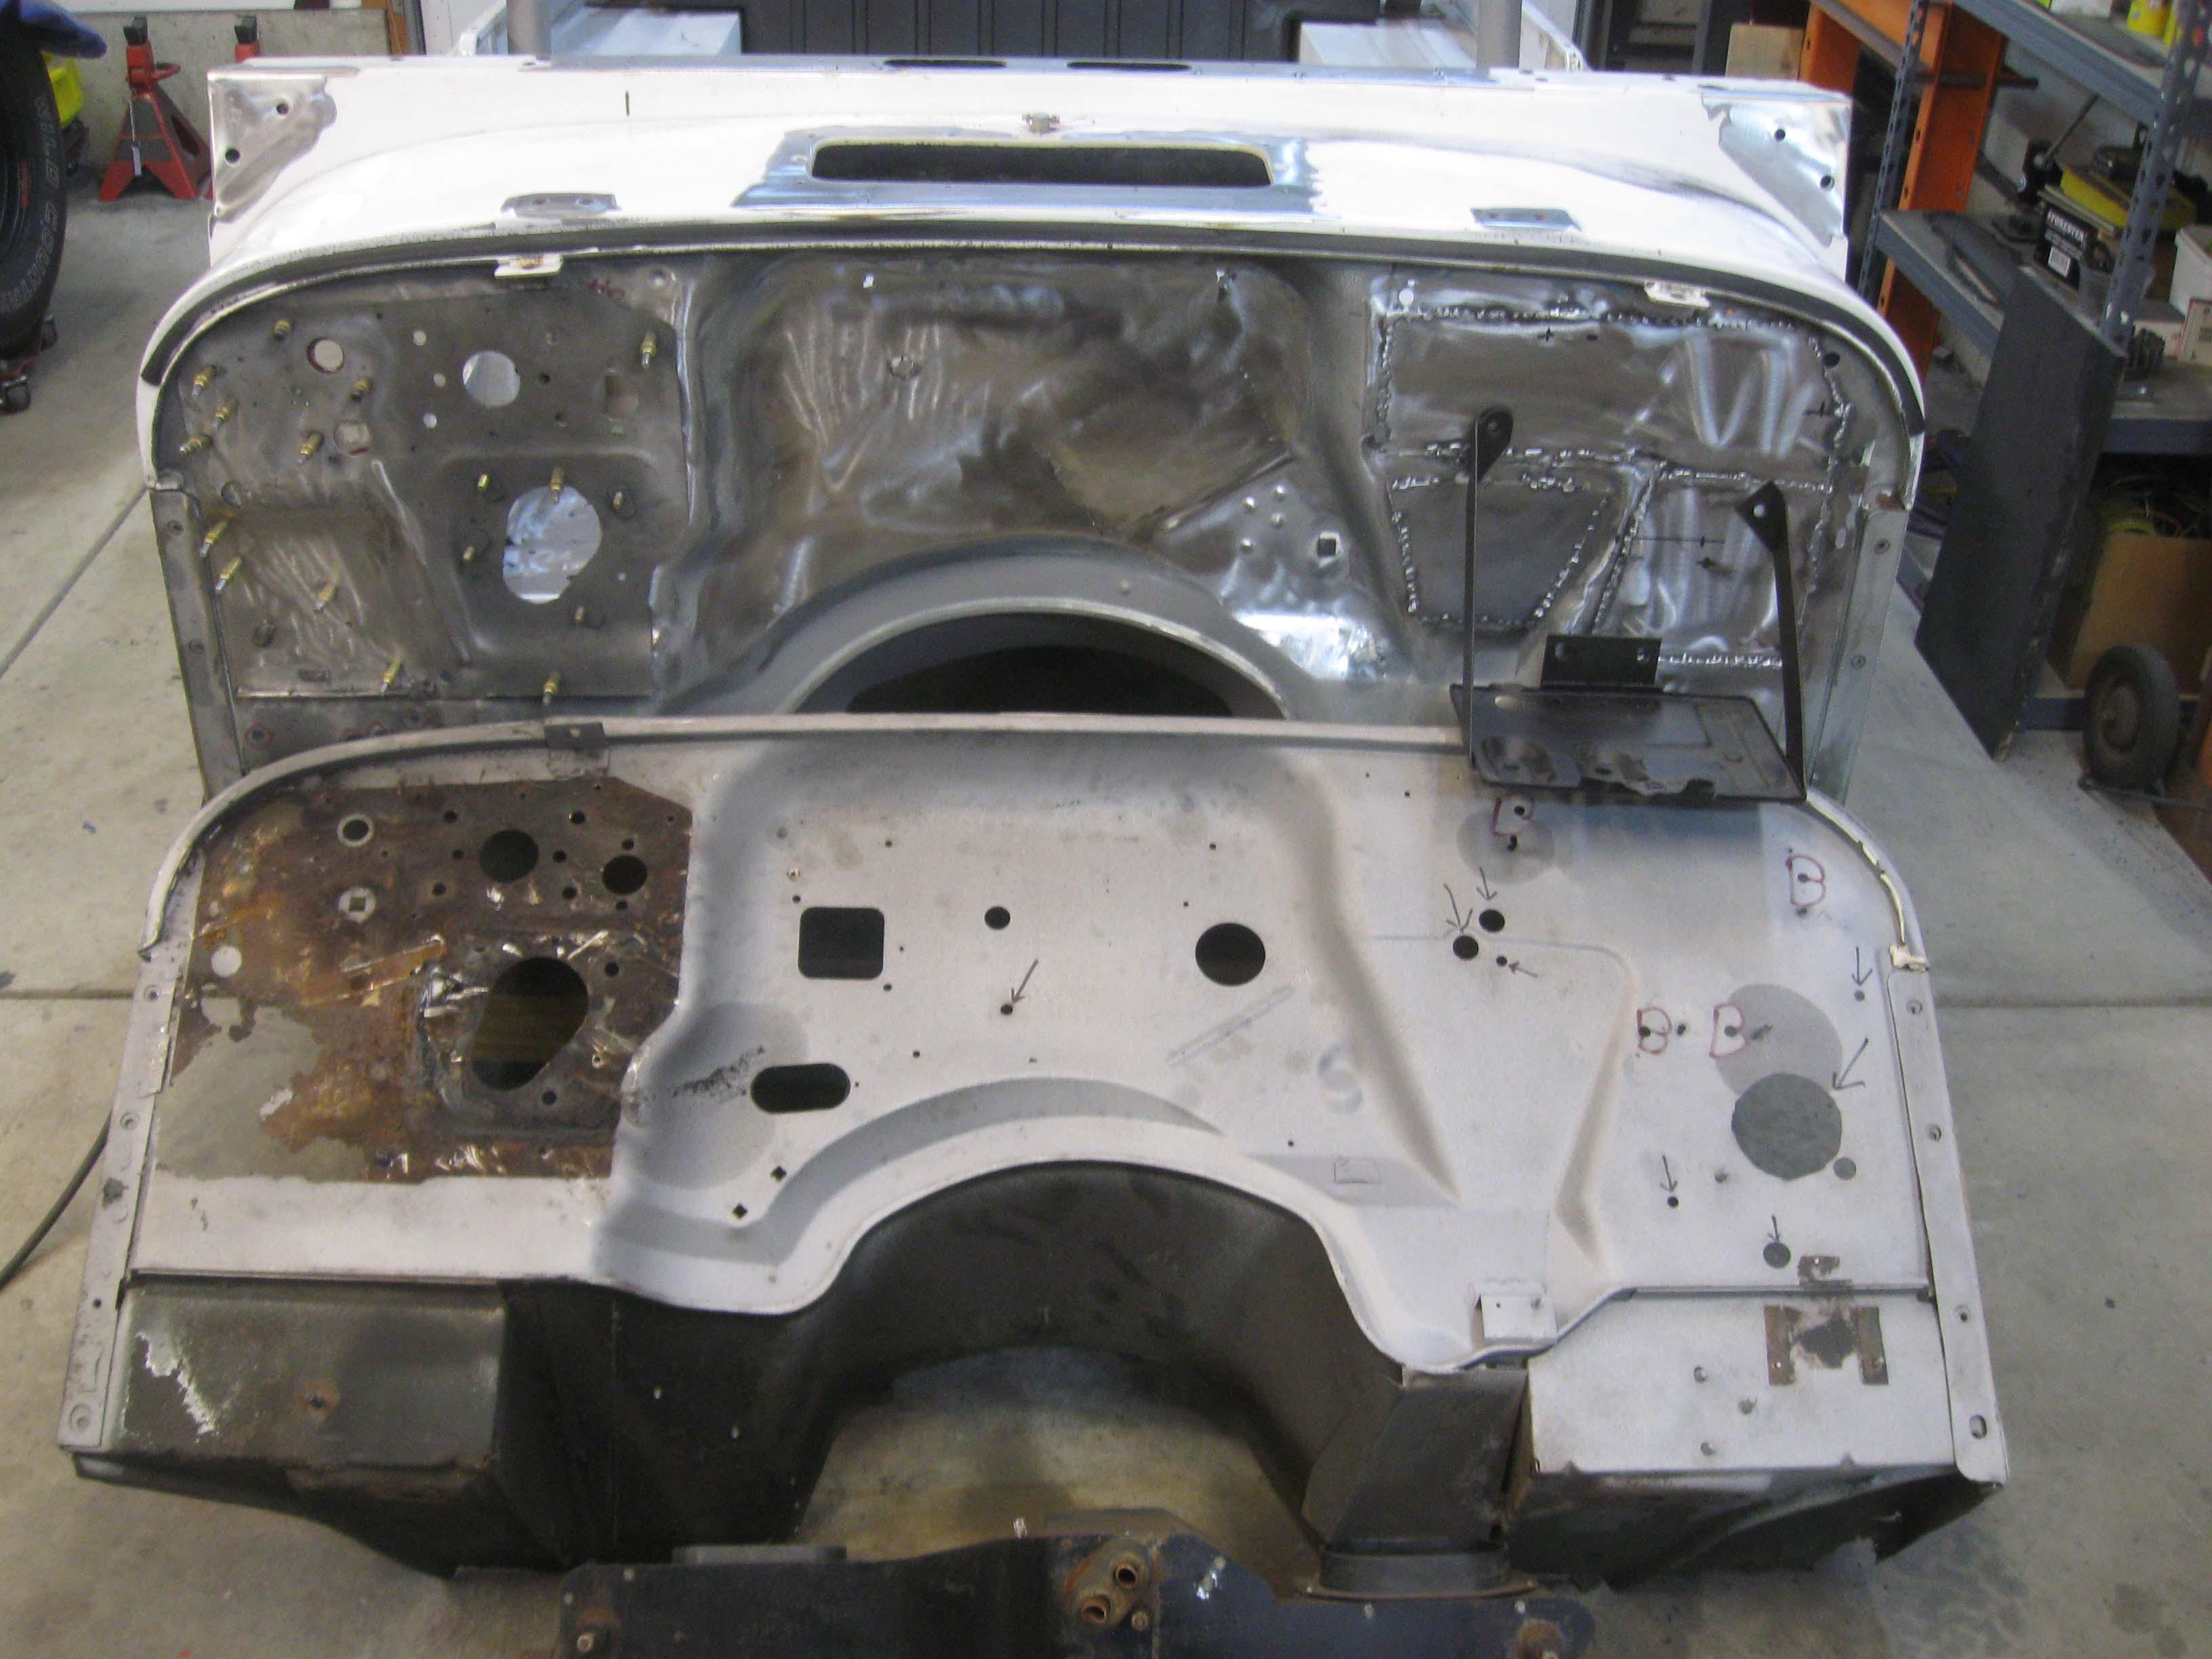
Continuing on the firewall, I cleaned up the battery brackets as I hope to attach them today.

IMG_7568-1.jpg


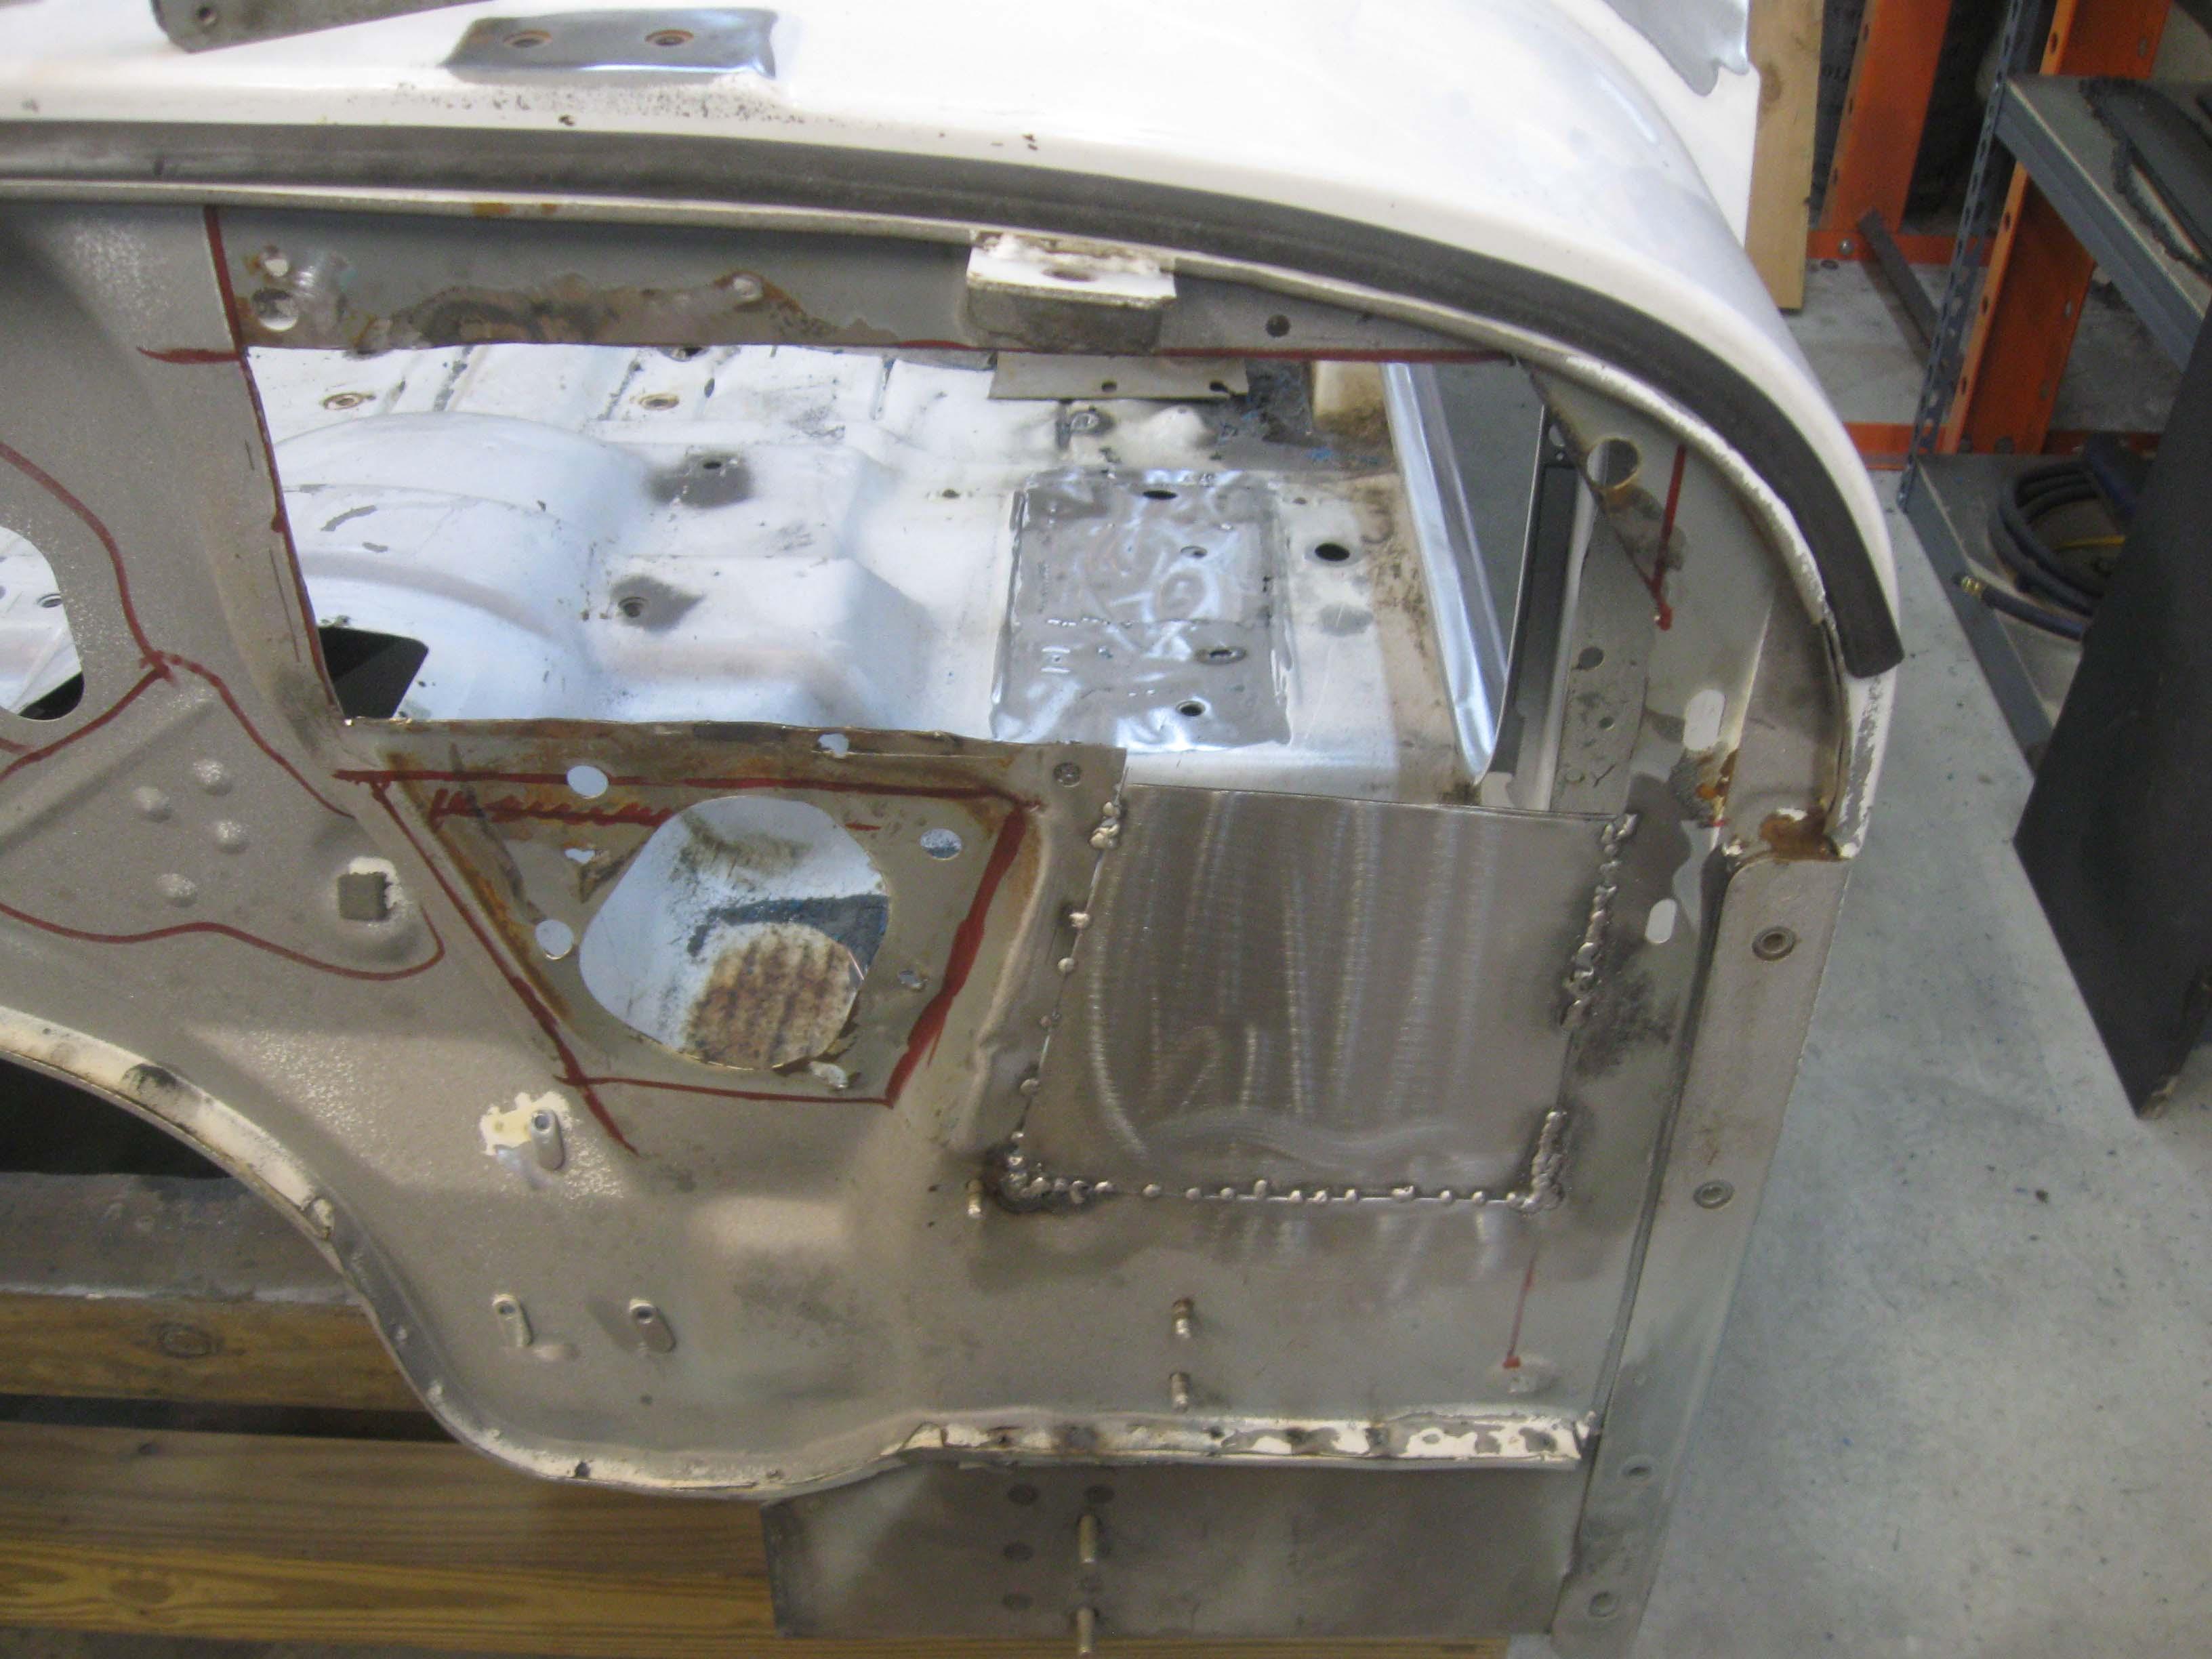
I then moved onto filling the last major hole

IMG_7572-1.jpg

IMG_7574-1.jpg


Now that everything is structural, I don't want to finish weld anything until I cut all the new holes in place... no sense in wasting more metal and time.

IMG_7577-1.jpg


I hope to get out today and get the heater and battery situation situated and hopefully cut holes and weld up supports.
I am missing one hole saw I think, so it might have to wait another day for the blower motor, but all the major stuff should go in/out without issue I am hoping.

cb
 
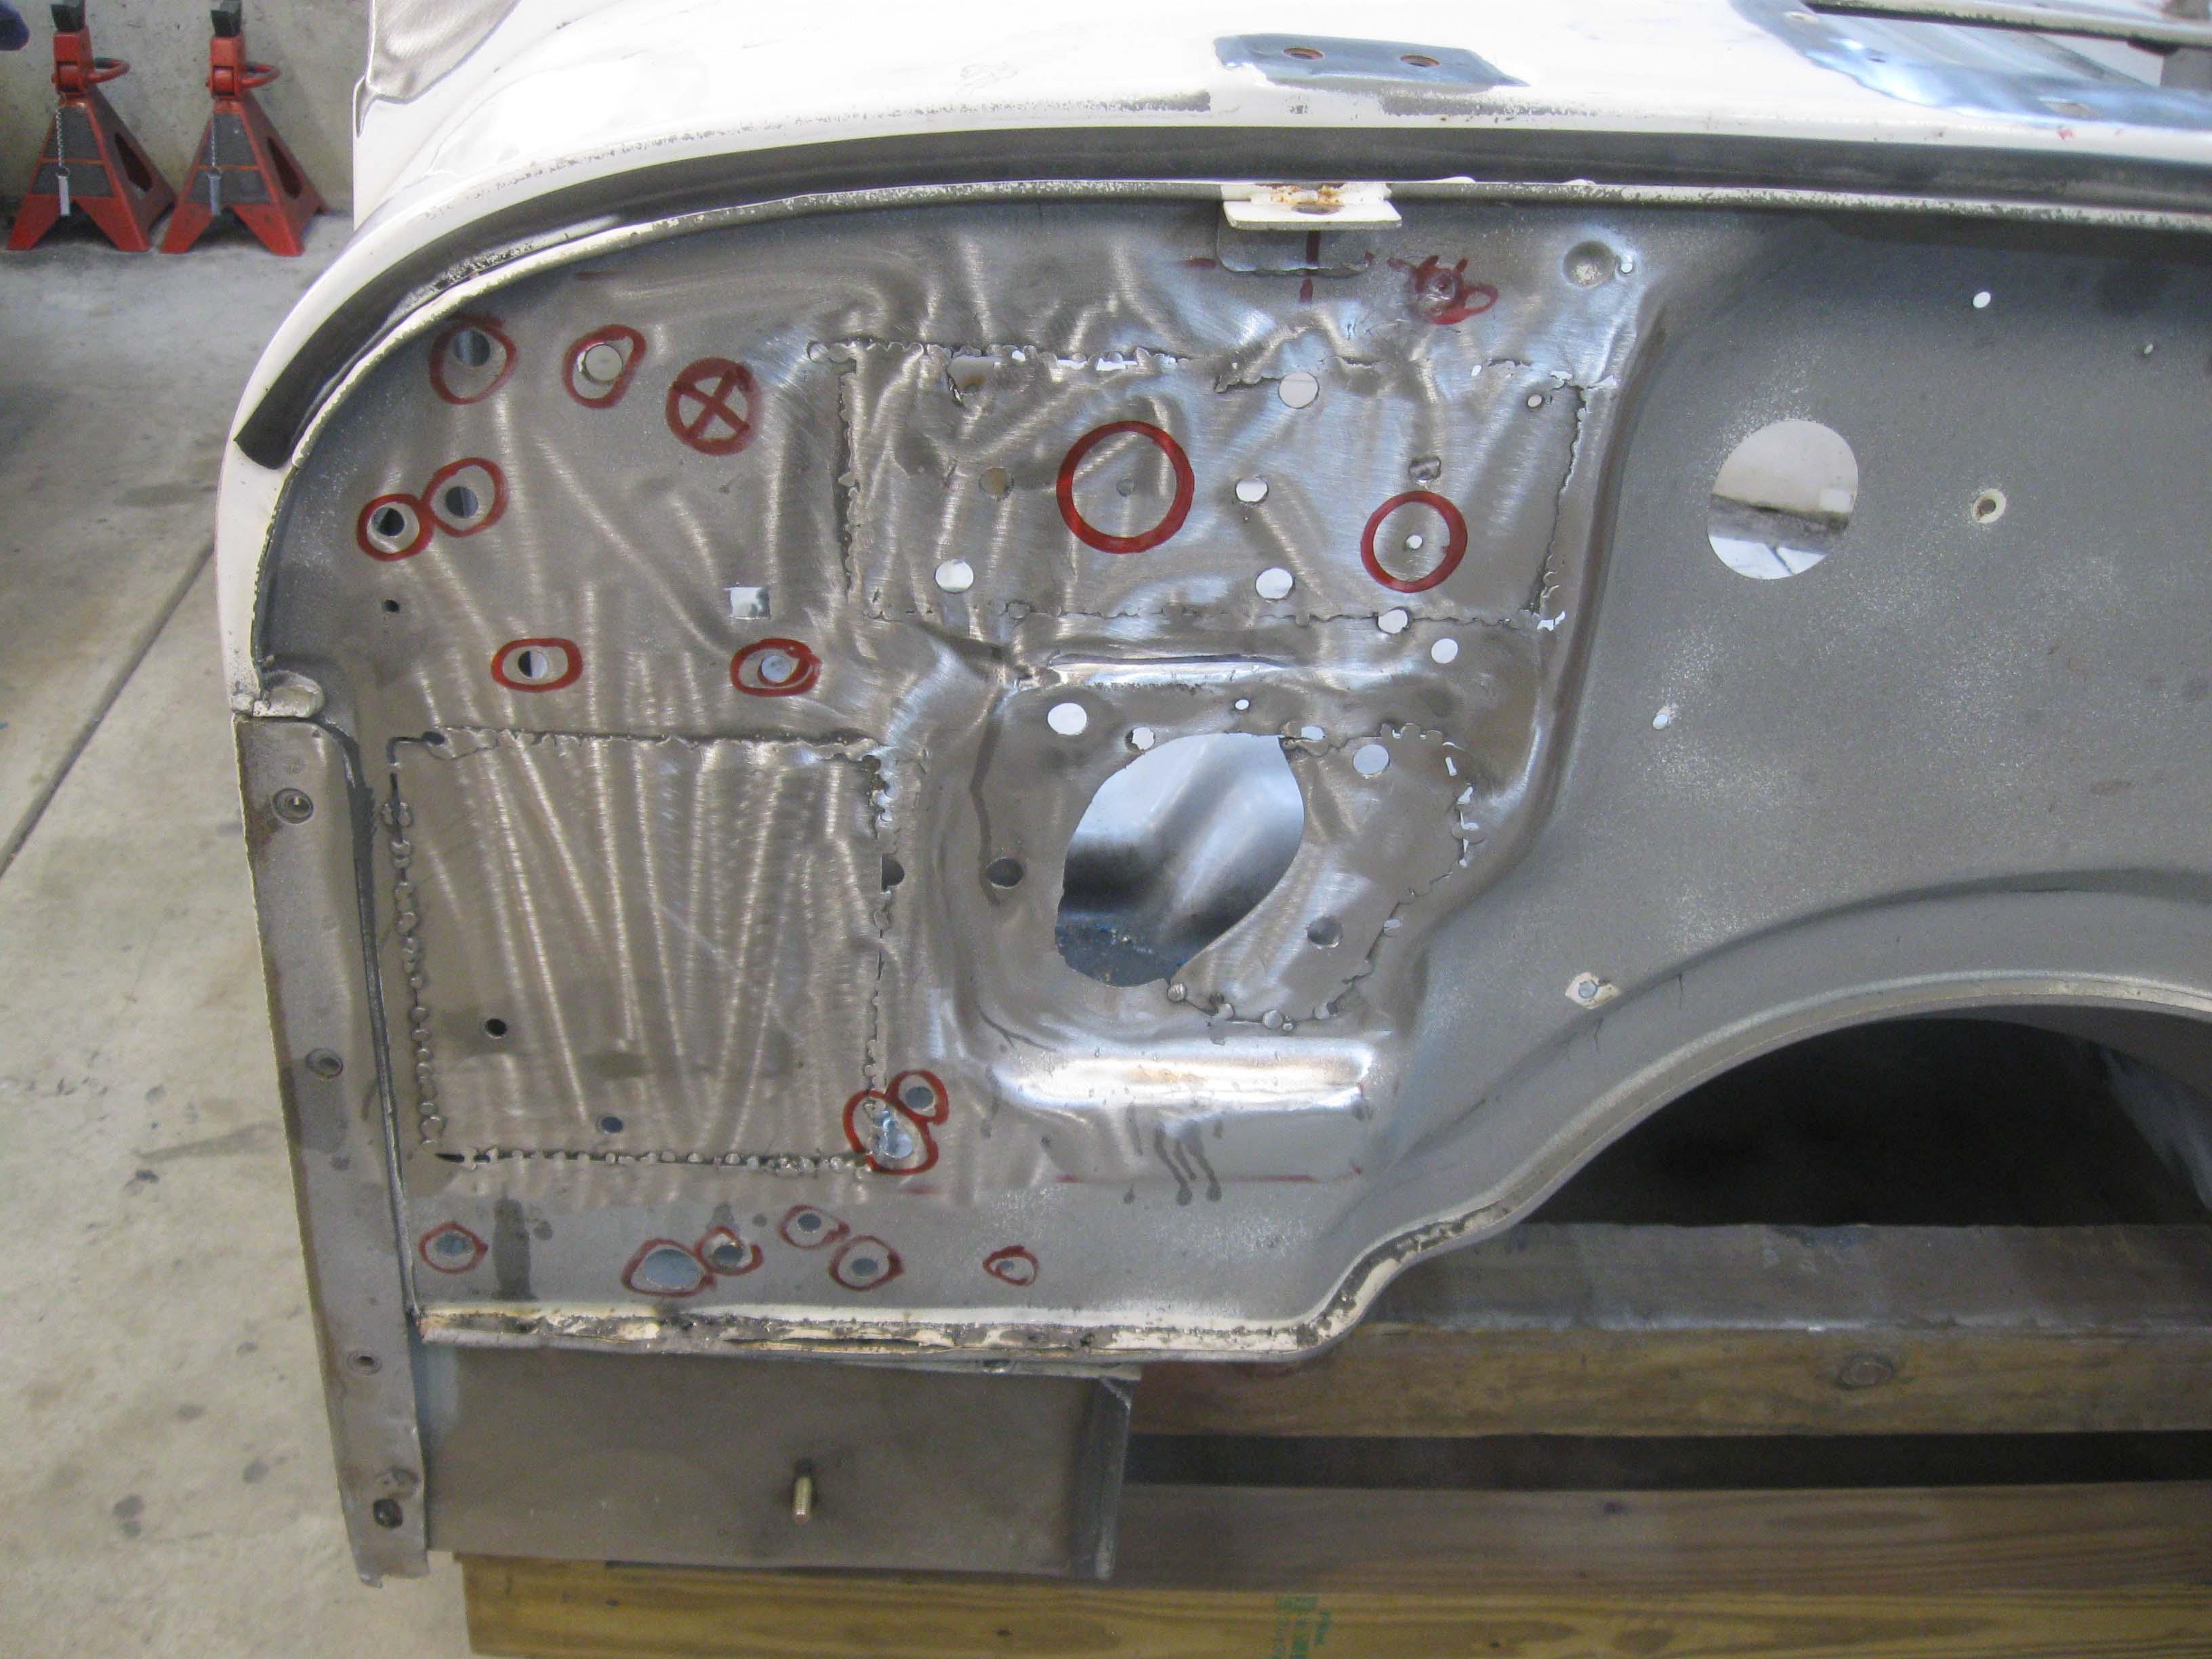
I got some time yesterday to put my high school geometry to work to try to identify all the holes and where they were.
Templates were made, measurements were taken and in the end, I couldn't get 100% accuracy as the slight differences in size between the CJ and the YU tubs.
They are close, but when it came down to it, I am trying to put large holes in the firewall in the right place.

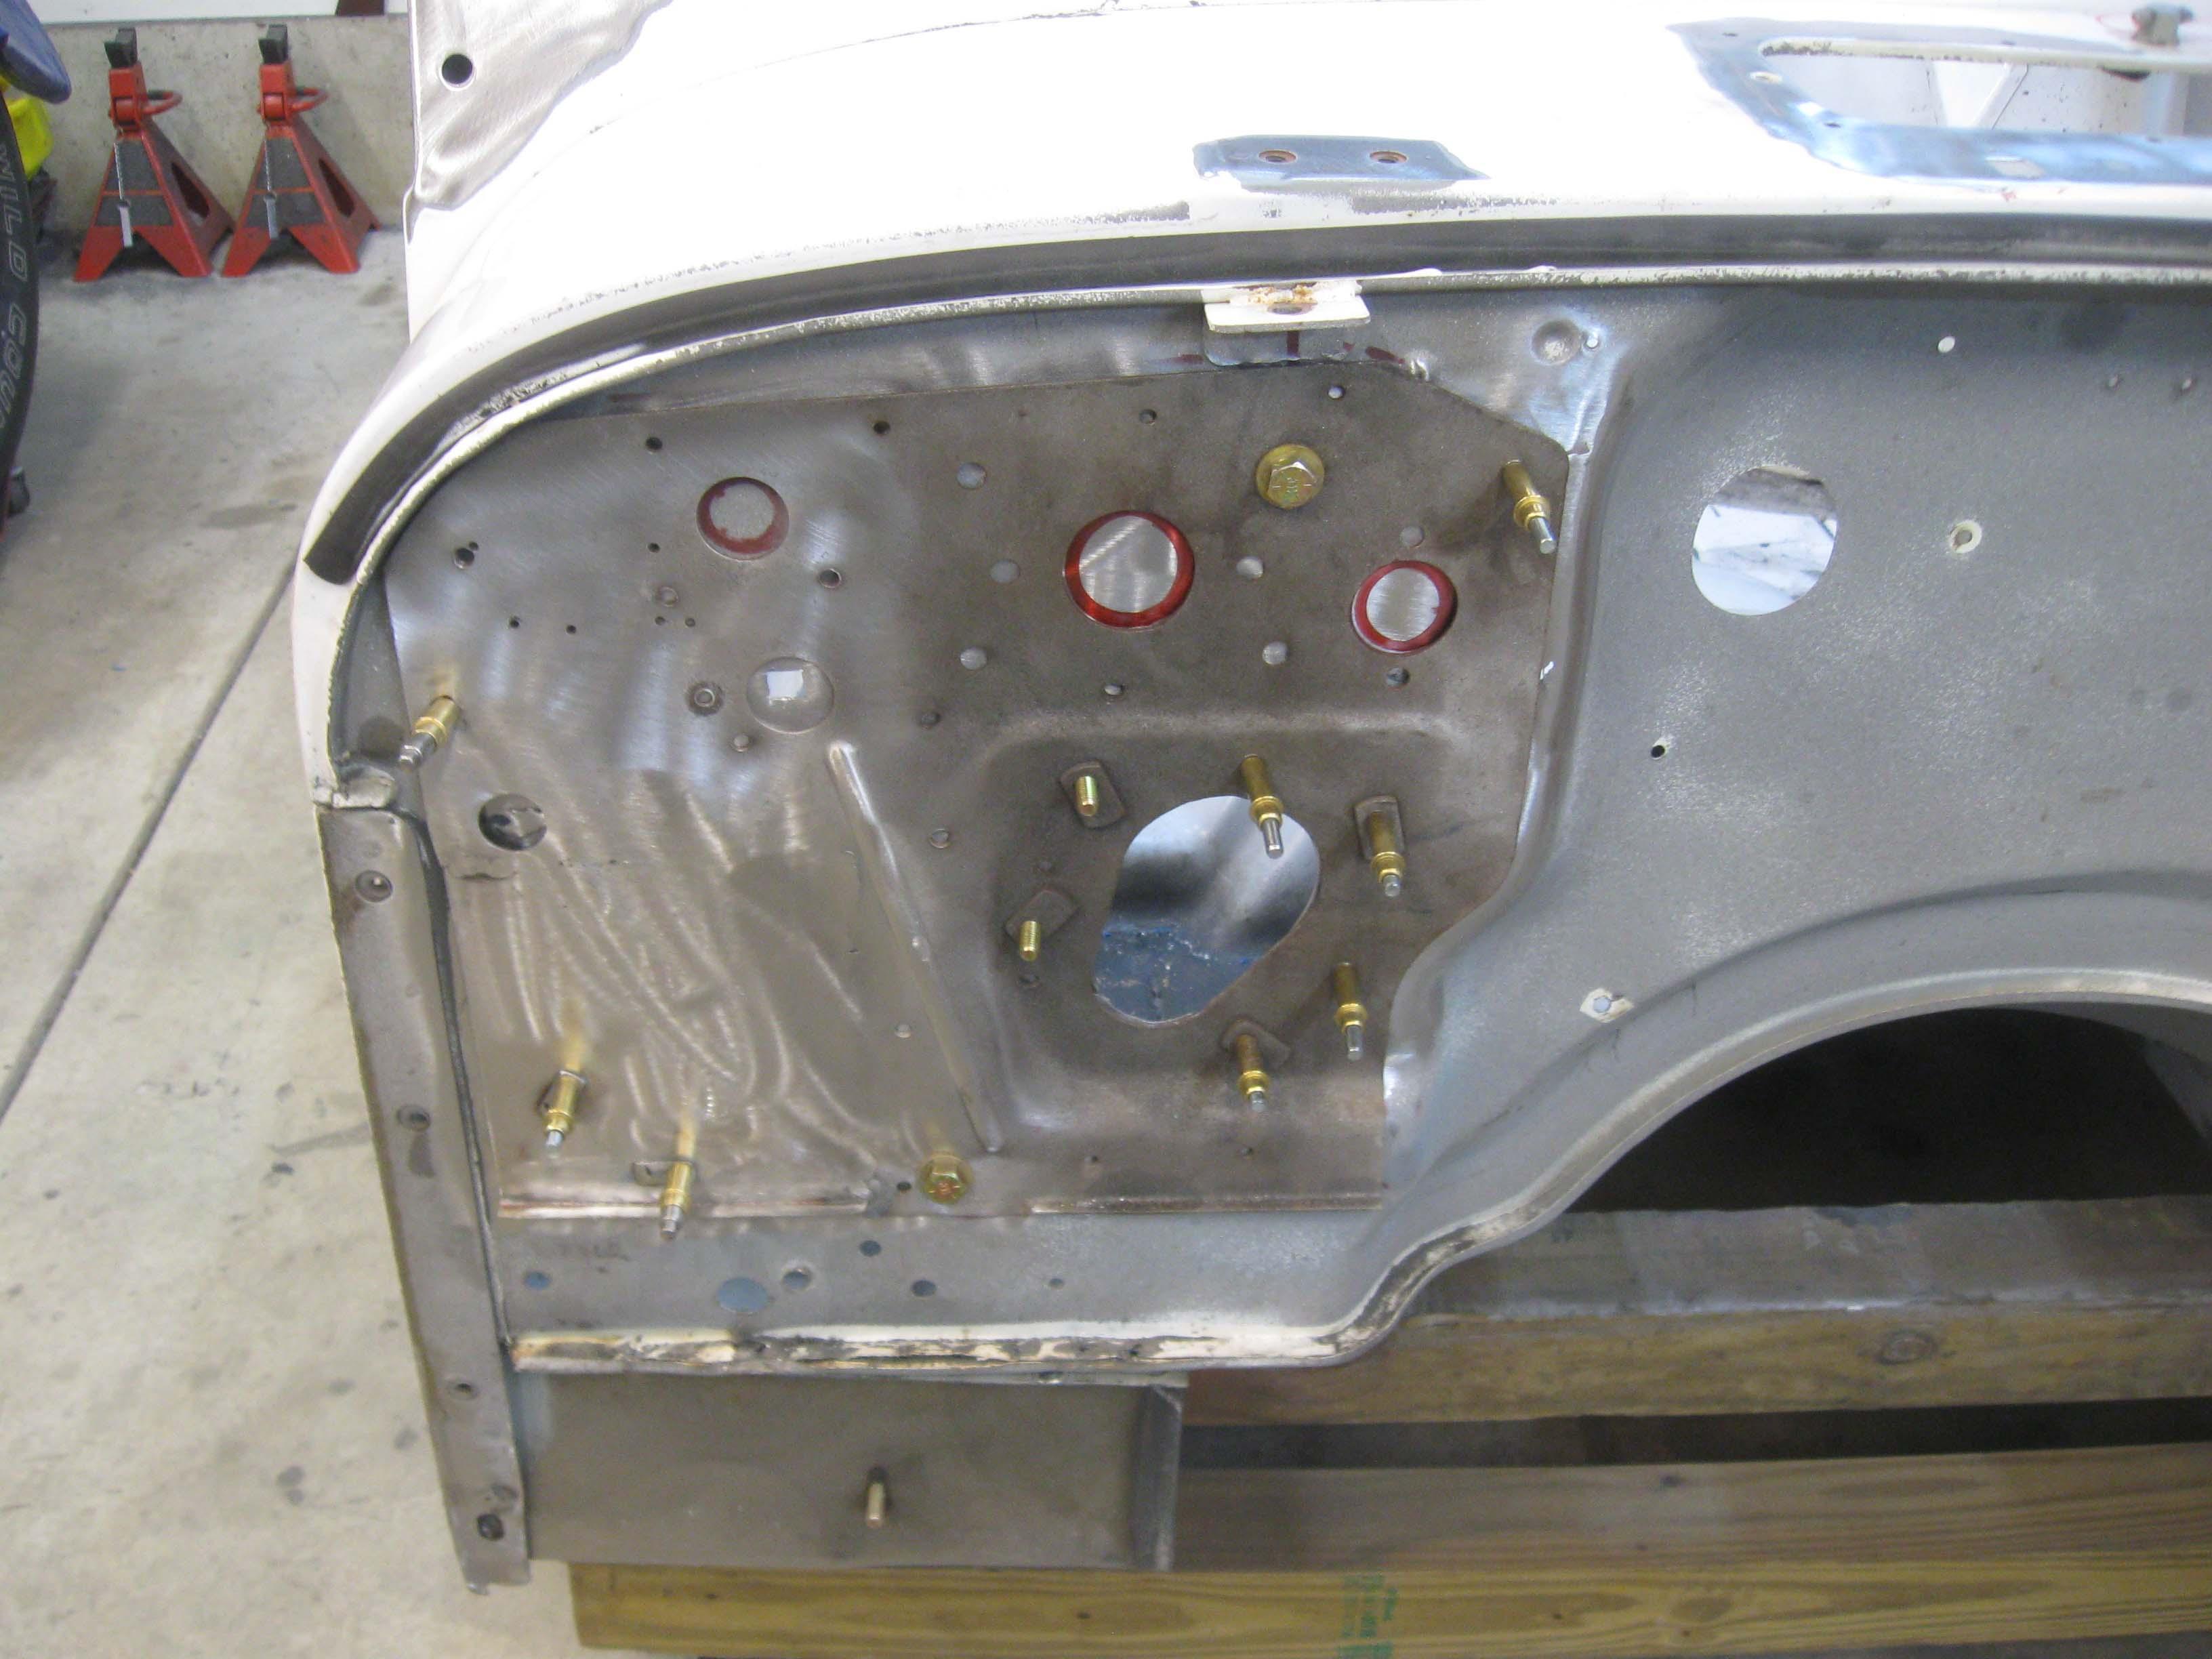
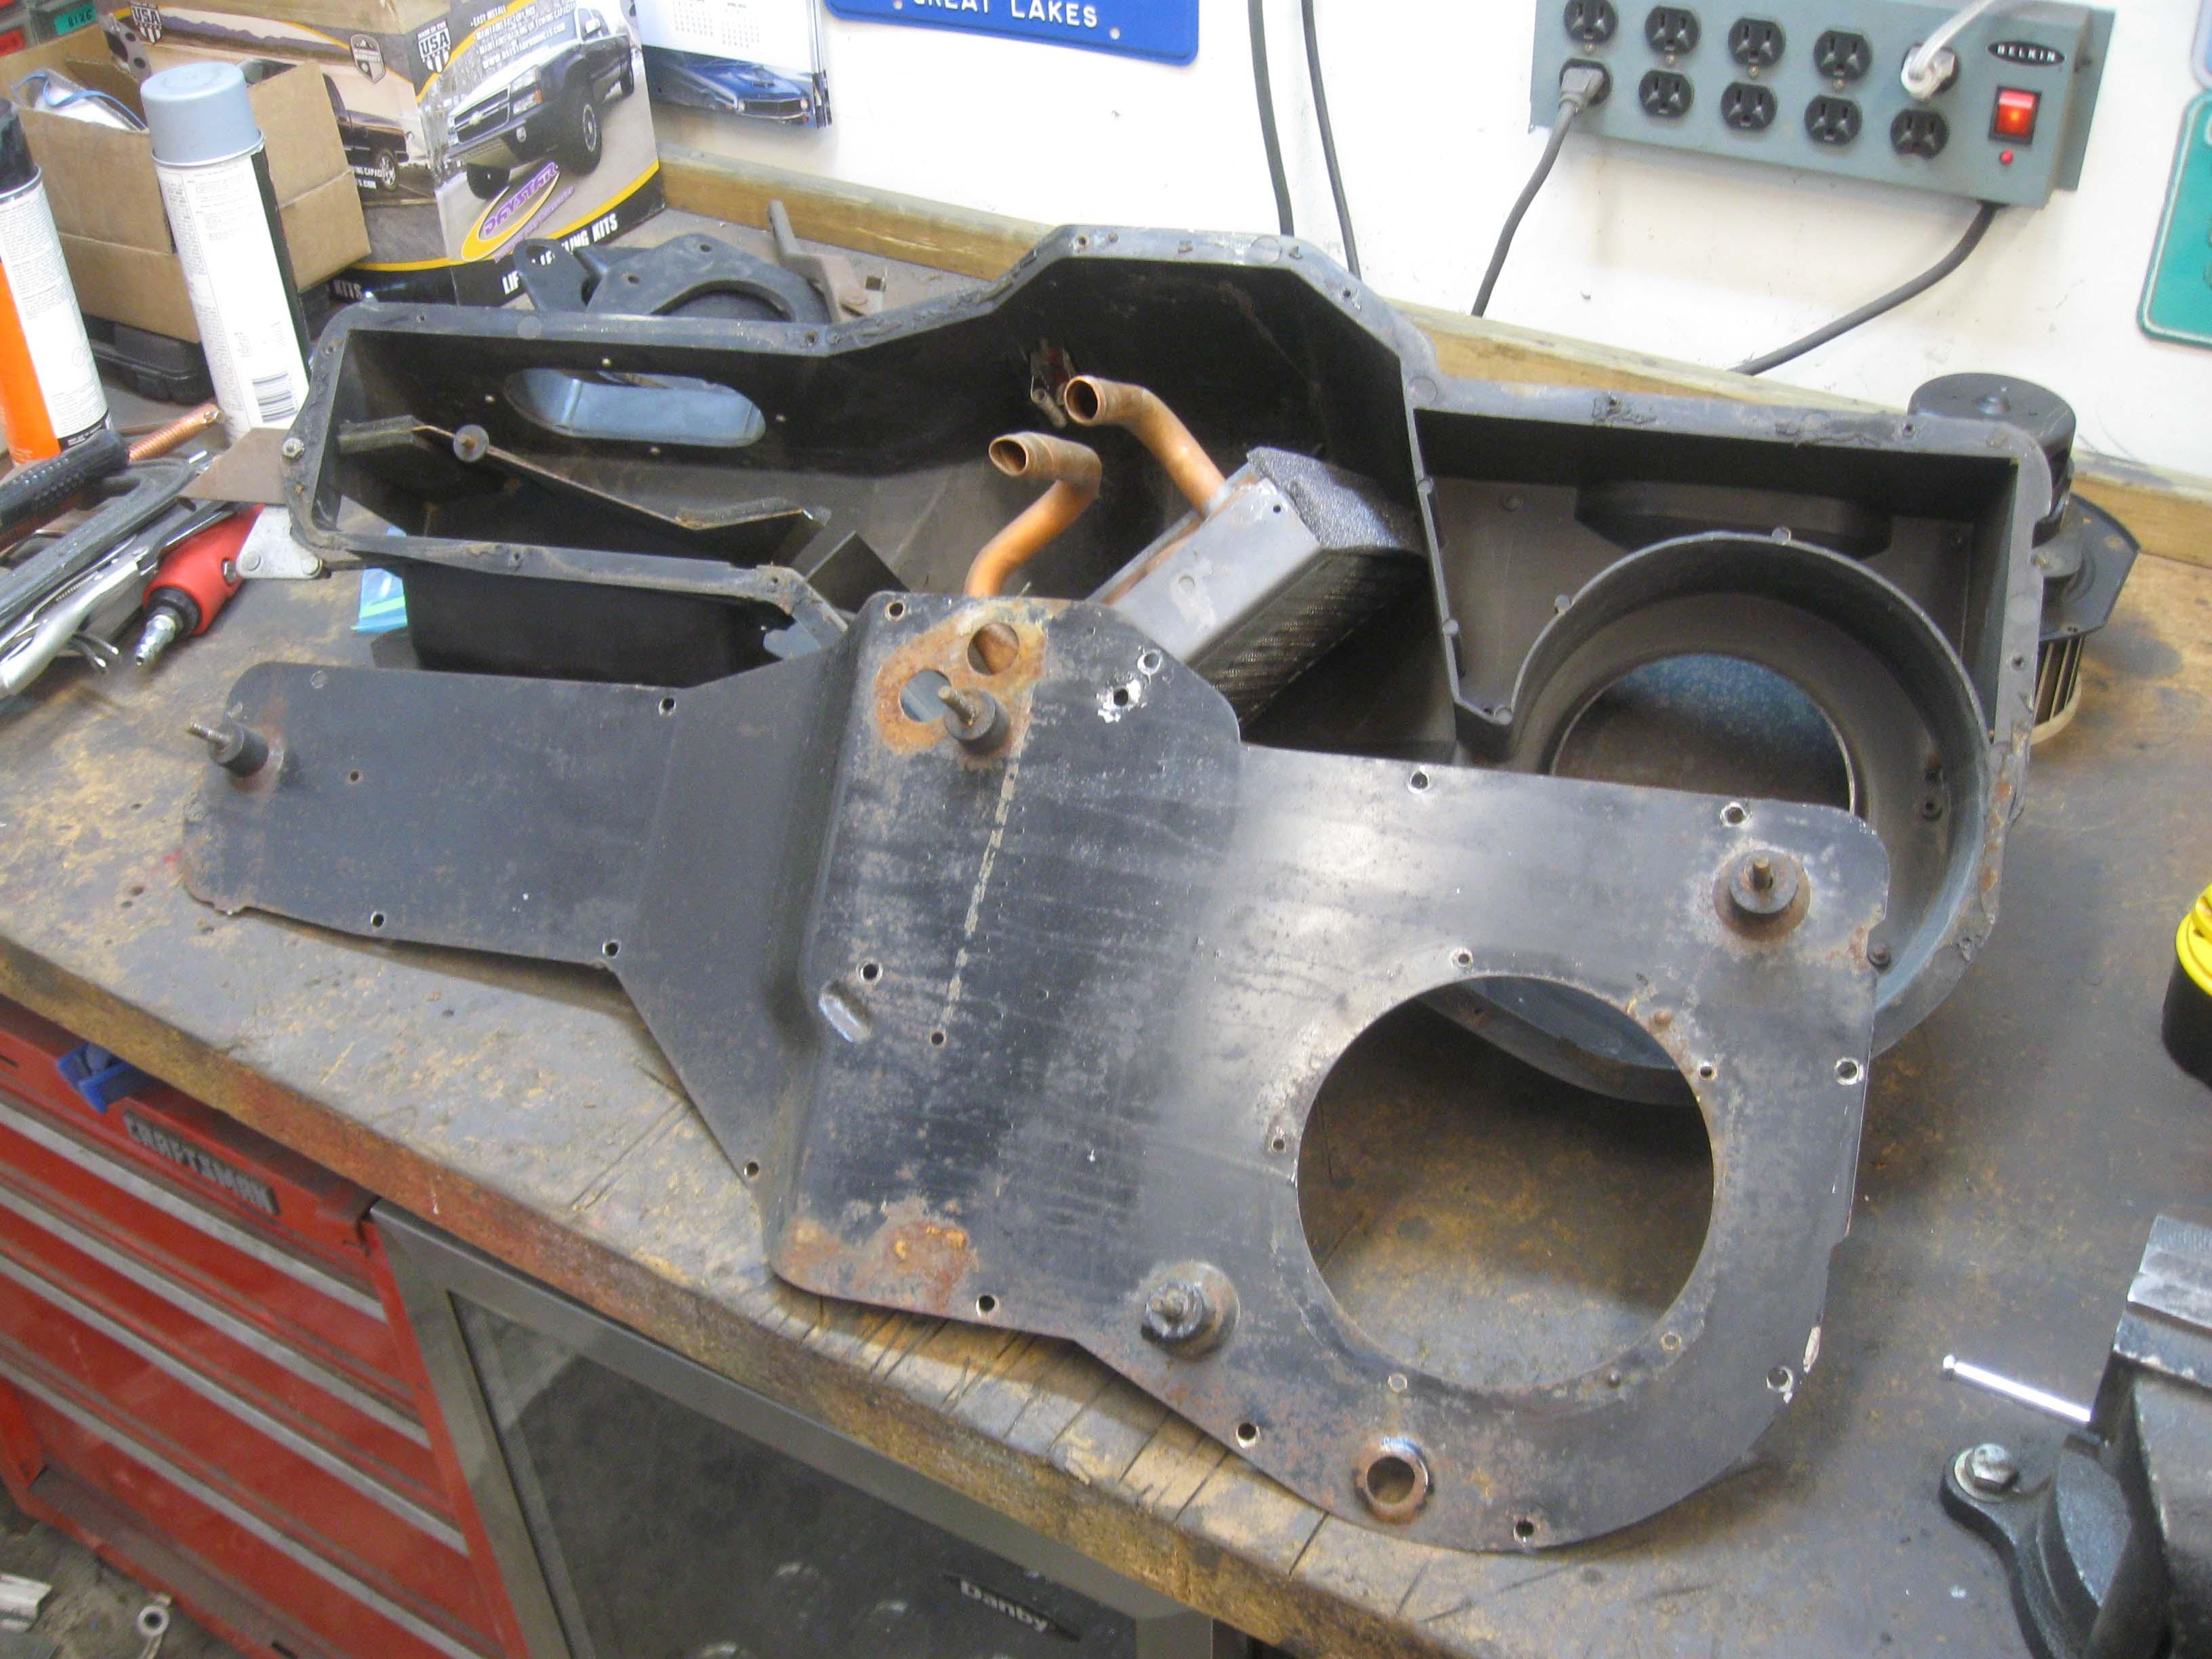
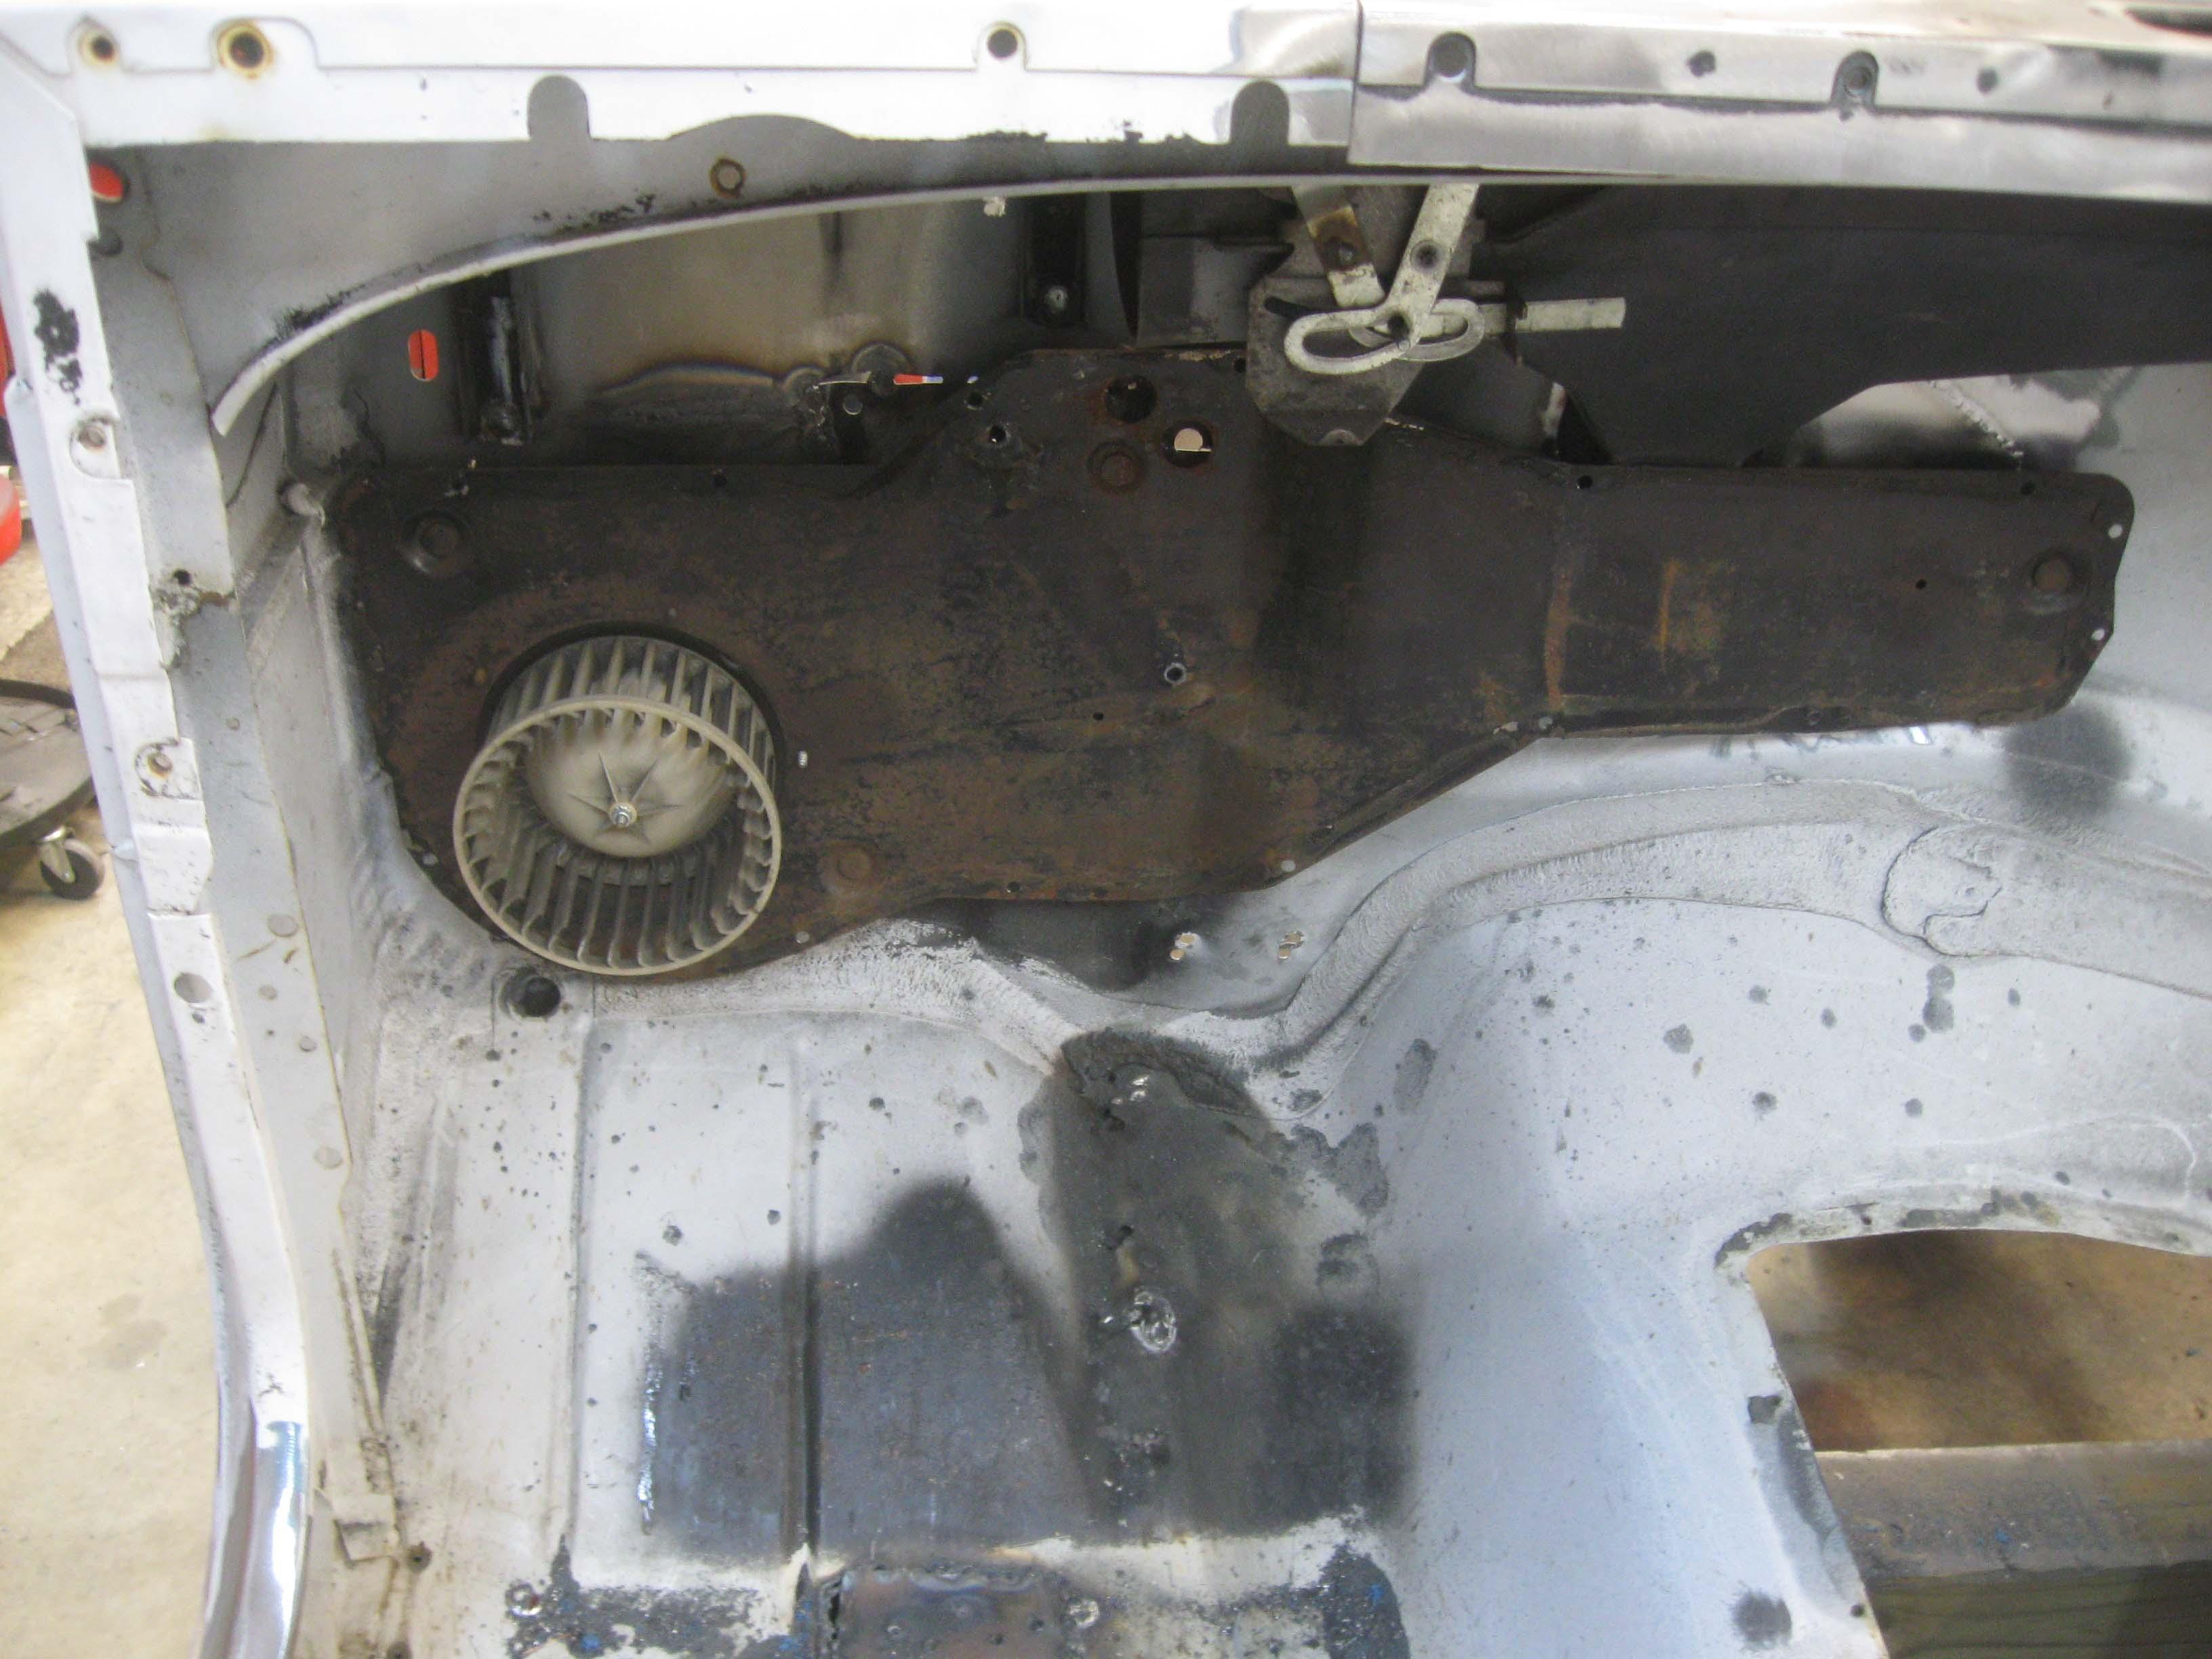
So, I took apart the heater box so I only had the steel plate and then tried to template it (after I got the batter squared away).

This is what I had come up with at the end of the day.
I still need more holes for the heater core and the wiring and speedo and a drain hole, but it is getting there.

cb

0316150707.jpg
 
Work has chewed up a lot of my time lately, but I got a few hours here and there... figured I would put up what I had.

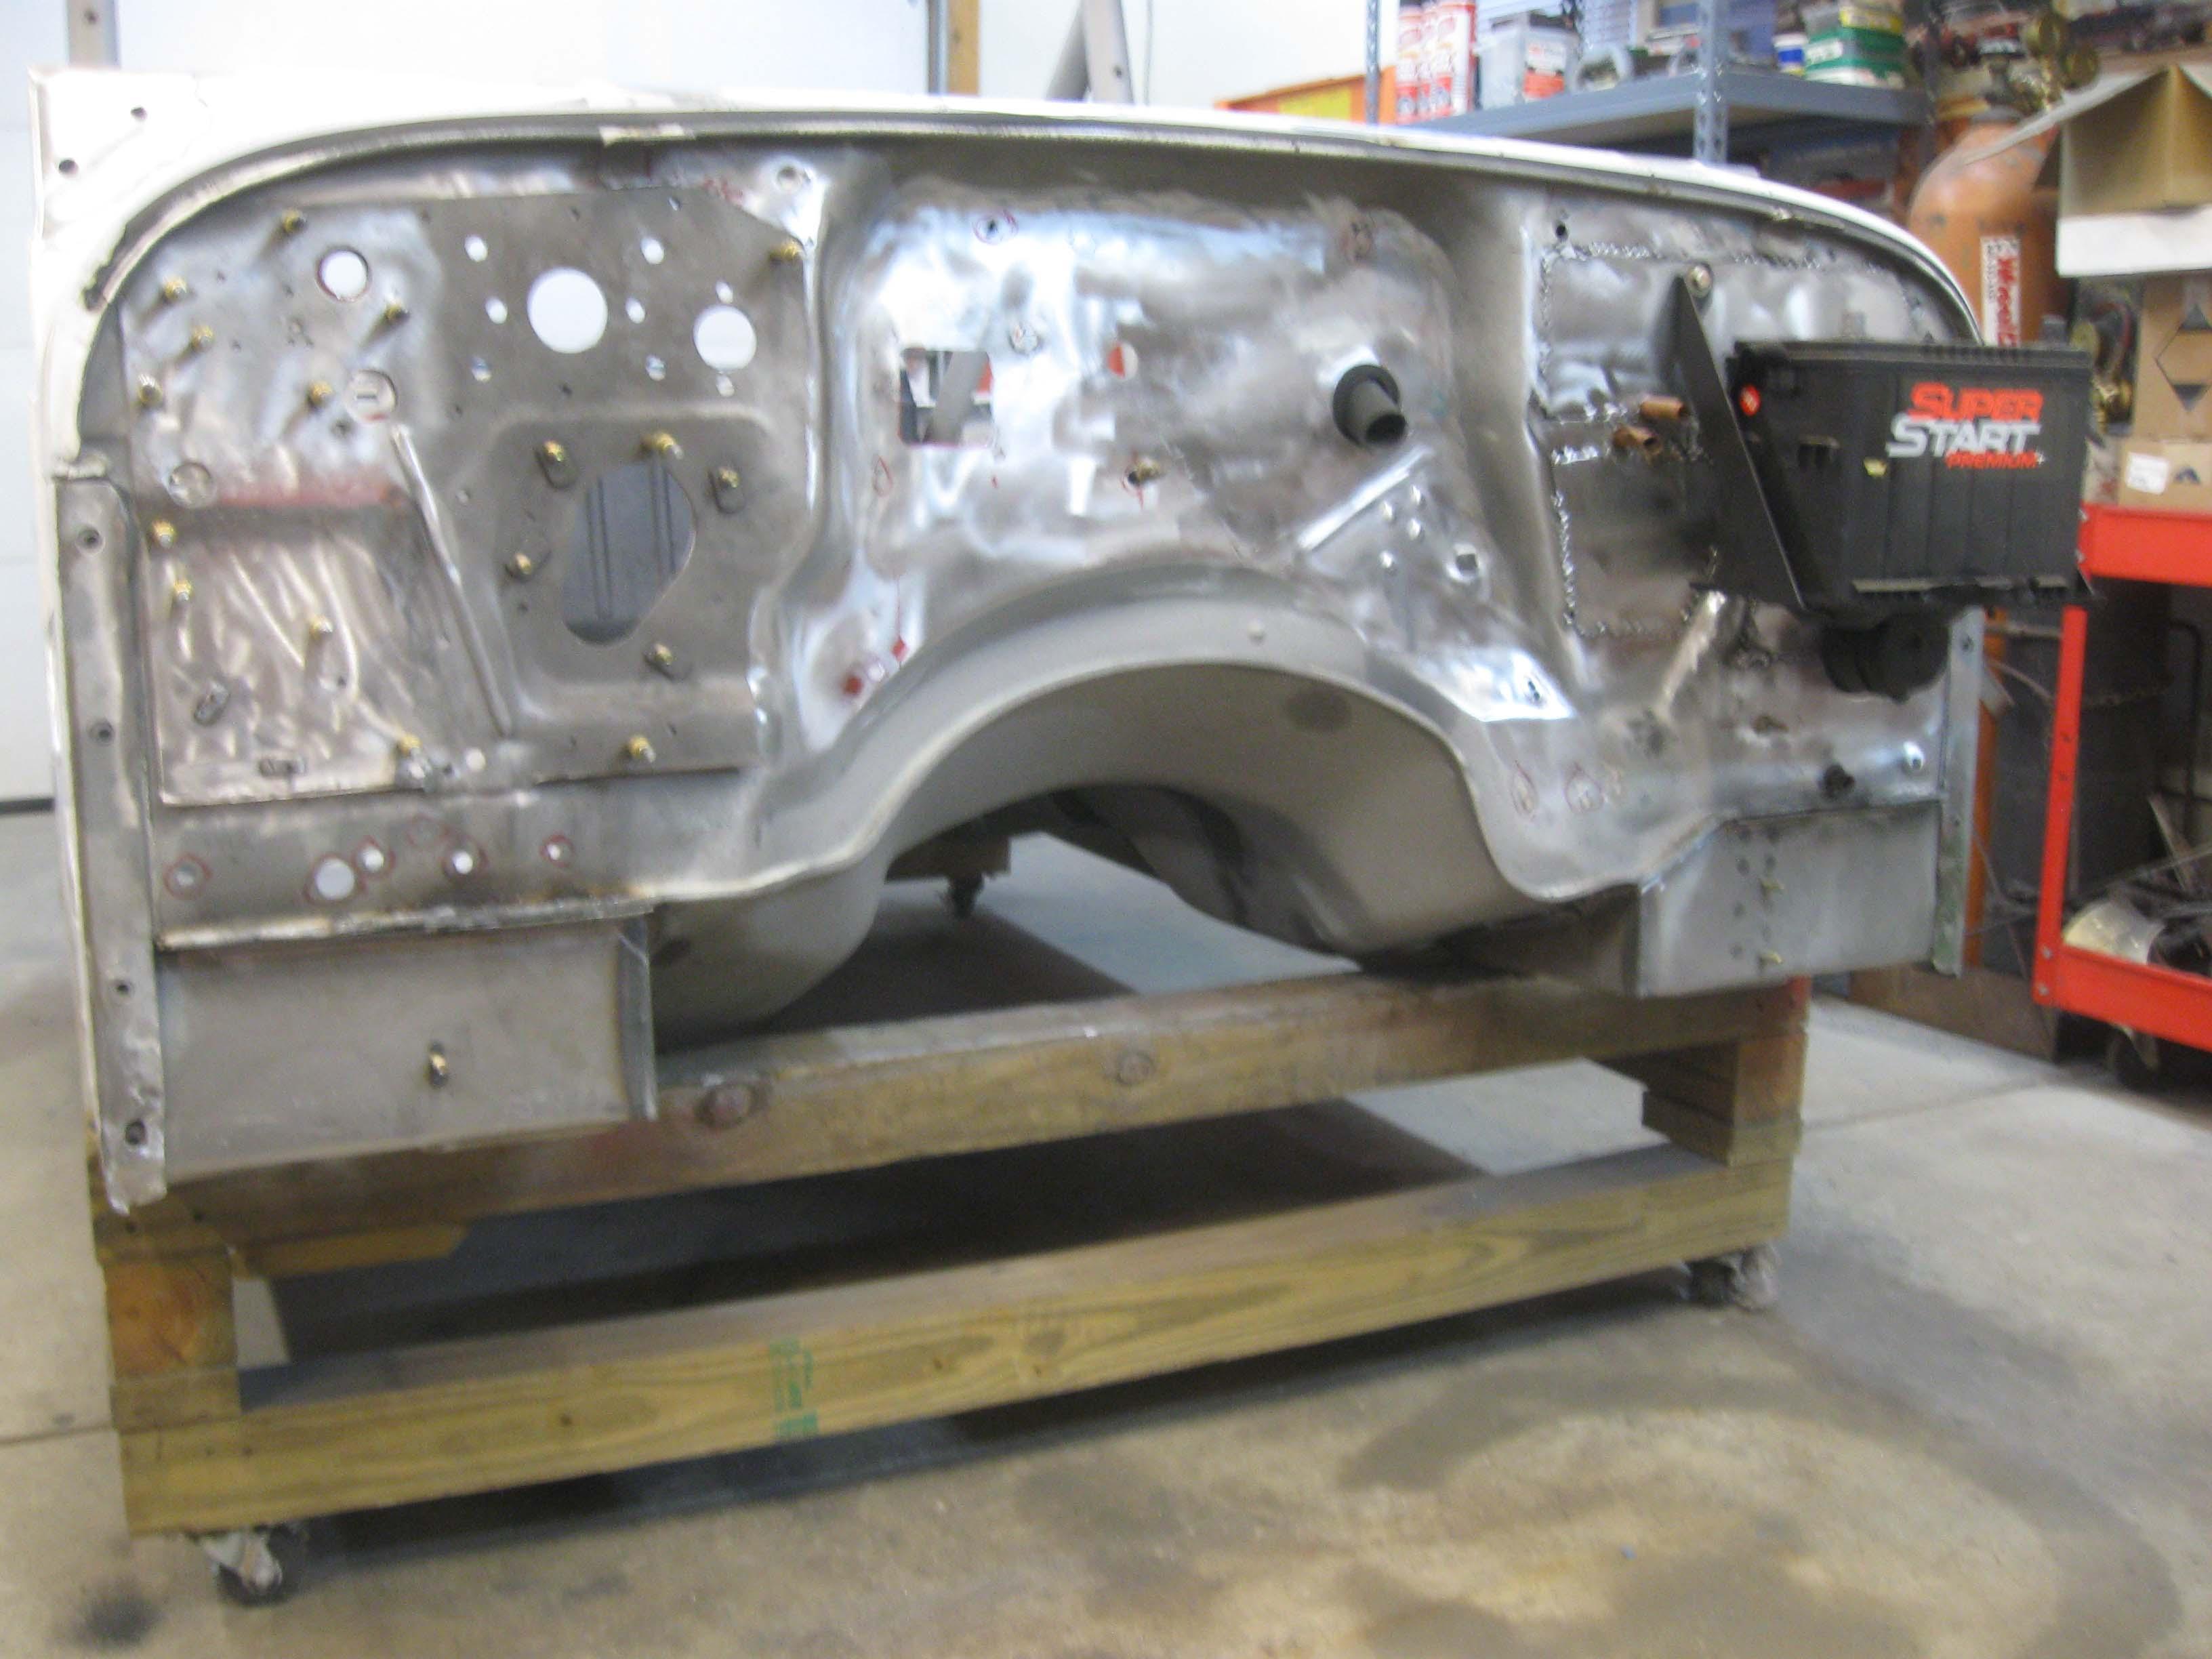
Finished the Battery install w/ original inside supports.

IMG_7580-1.jpg

IMG_7582-1.jpg


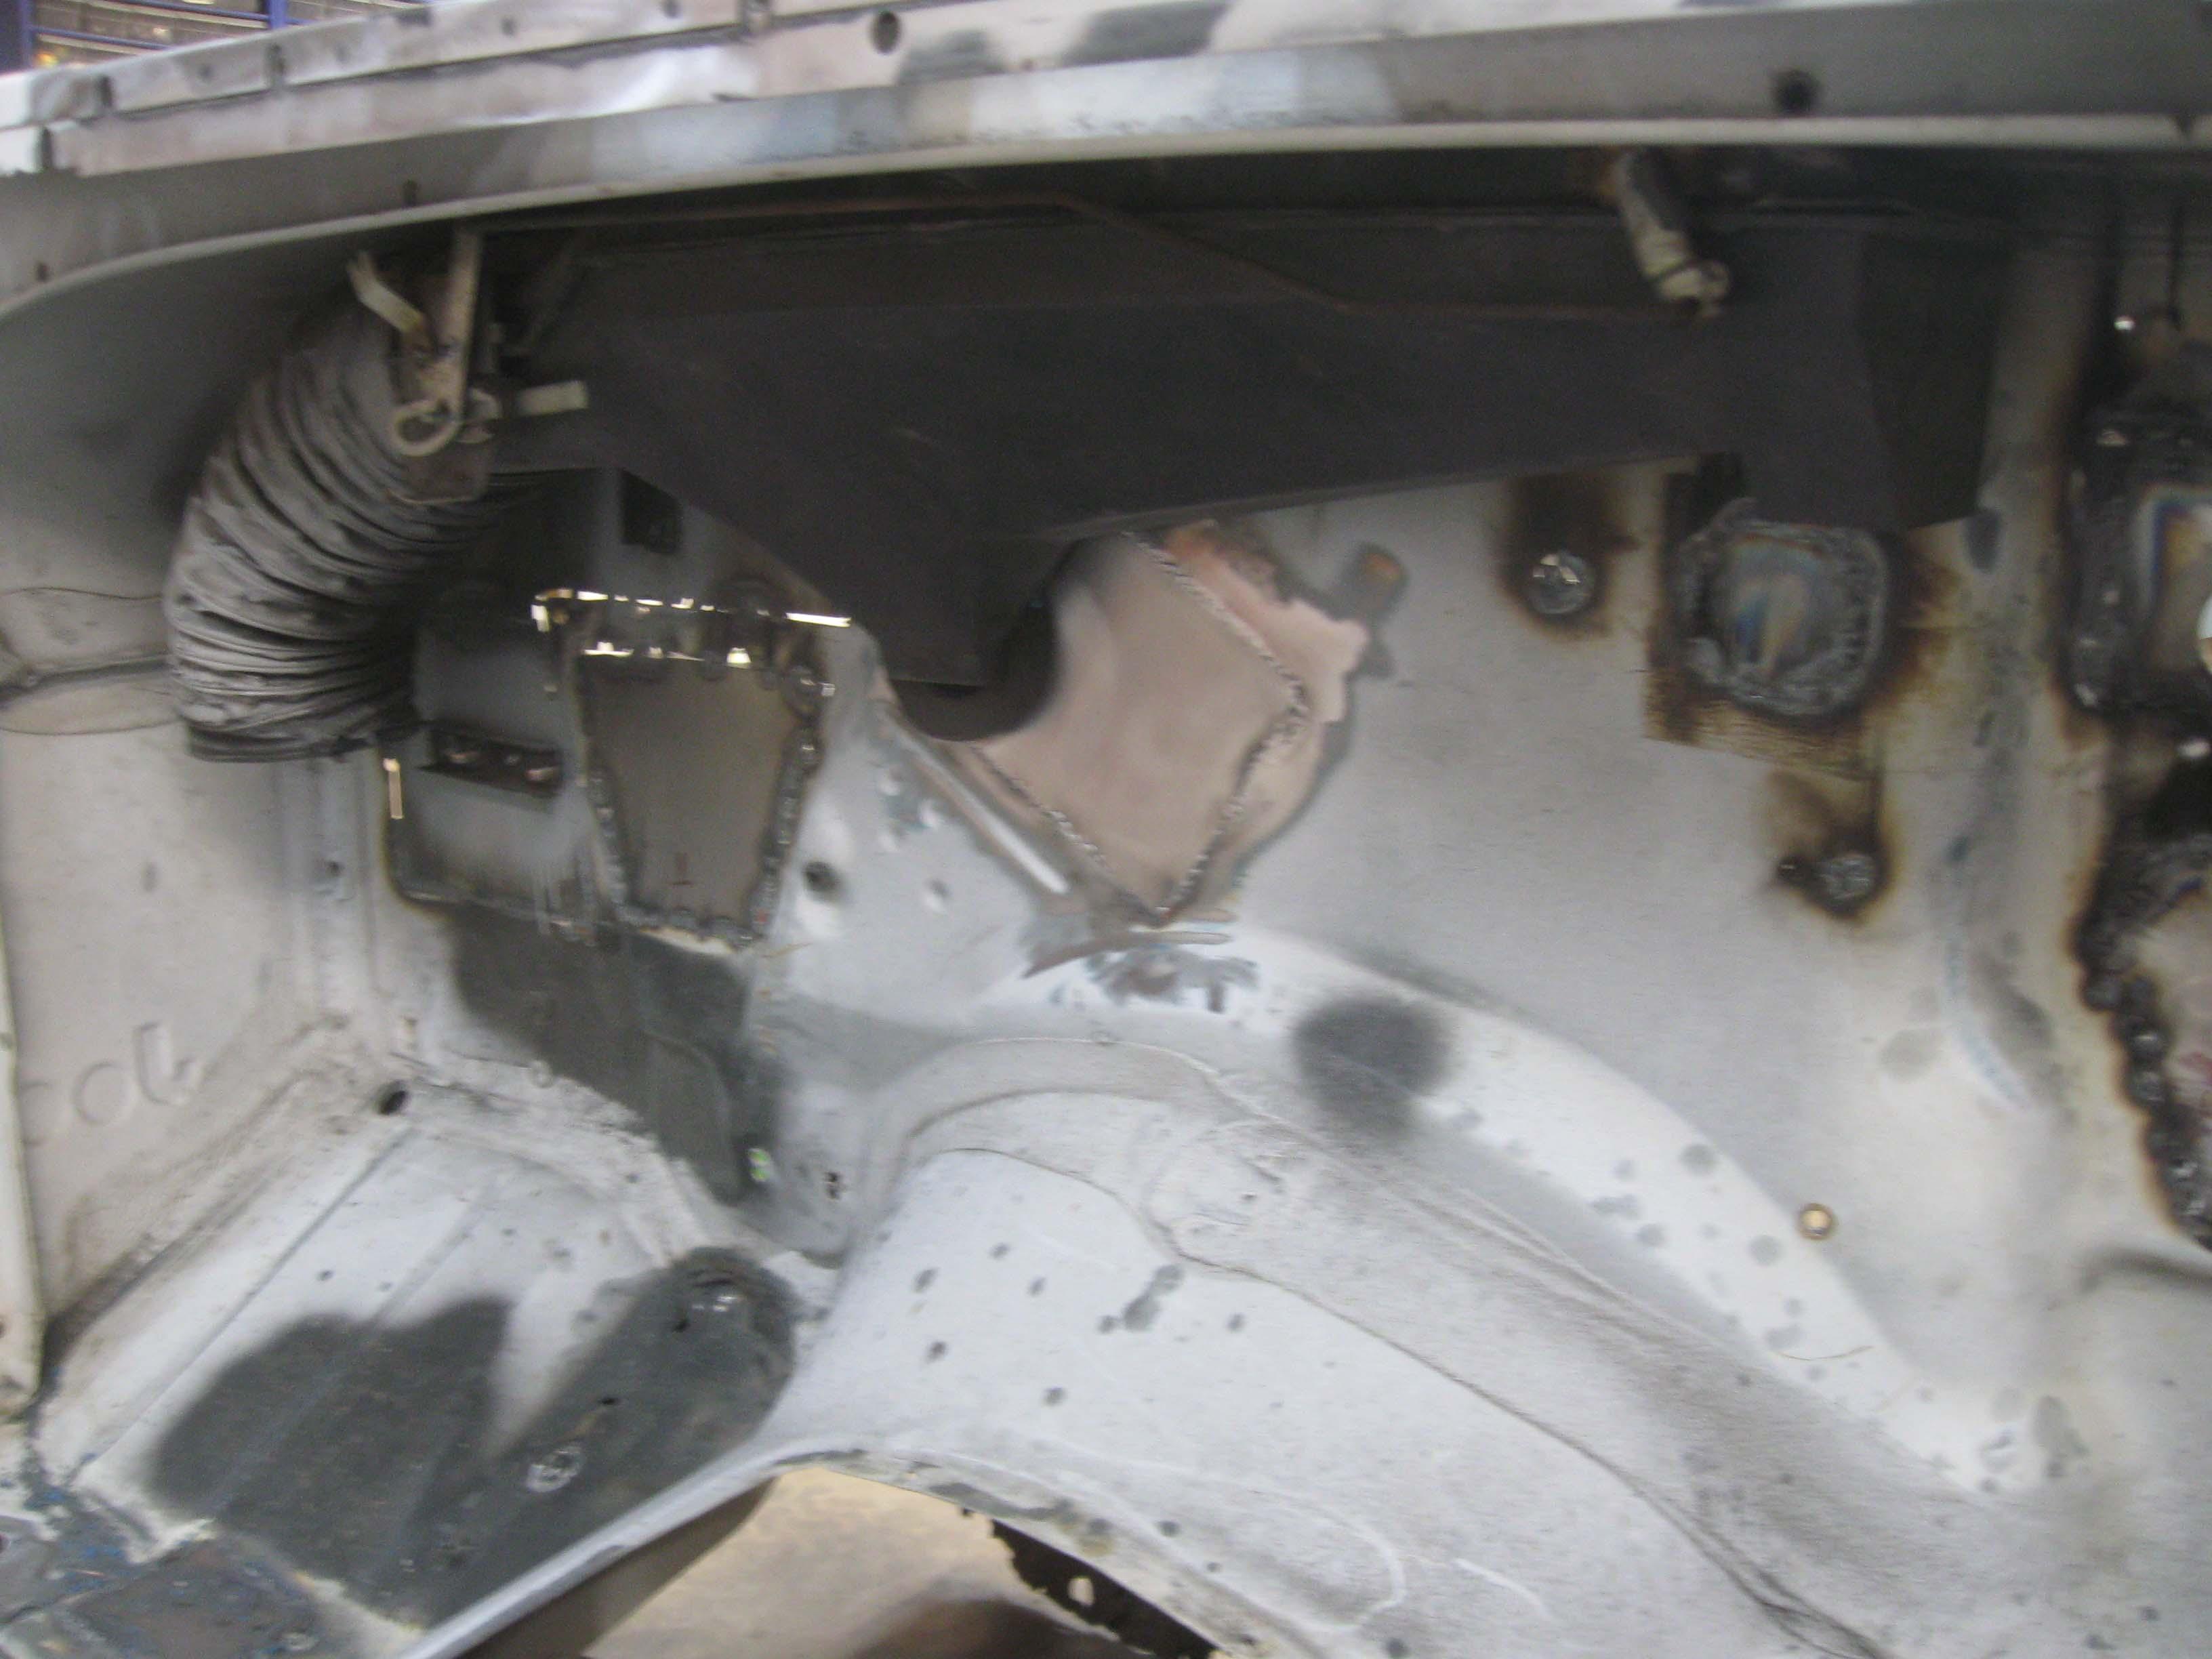
Heater work

IMG_7586-1.jpg

IMG_7587-1.jpg

IMG_7588-1.jpg

IMG_7594-1.jpg

IMG_7595-1.jpg


You put it all together and do the hokey pokey...

cb
 
Everything is very solid and works.
It was a ton of measuring 15x and cutting 1x.
I hooked up the battery to the blower to make sure it spun and I tested all the levers after a liberal coating of lithium spray.

IMG_7599-1.jpg

IMG_7601-1.jpg

IMG_7602-1.jpg


cb
 
Back
Top