


- City
- Lexington
- State
- SC
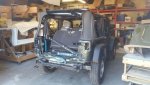
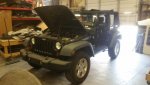
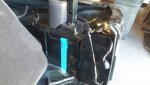
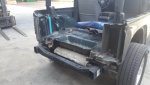
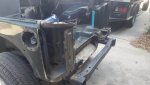
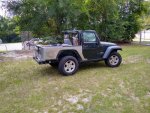
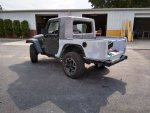
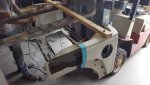
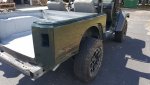
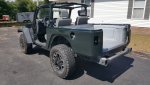
As you note, for the purist, this is in the non scrambler builds section and I refuse to call it a "scrambler". So, due to its insurance demise we will call this the "crambler" as the tailgate and corners were "crammed" in the back and also due to what we will end up with it. GR8TOPS one of our awesome employees bought this 2010 2 door JK from a friend of ours who had bought it at the Copart auction and decided it was more than he wanted to take on. So, the rear of the body was pretty much toast, but the frame, drivetrain and interior all the rest of it was in very good condition. A bit of higher mileage but we decided to get it. It sat for a loonnnggg time, untouched, and we finally started working on it back in the spring. Trying to finish it up and get it to the Smokey Mountain Jeep Invasion to have at our booth with a new product on it.
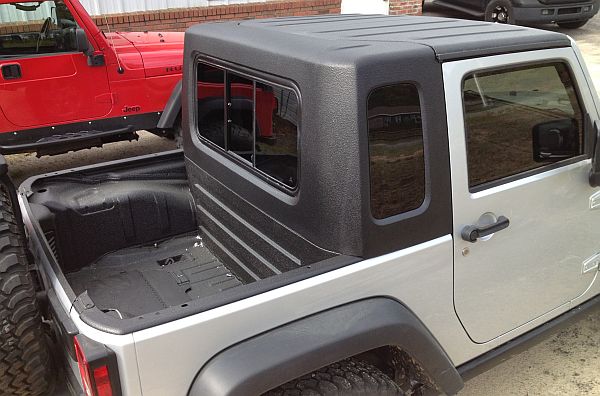
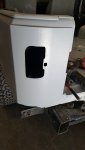
So, it was a 2010 with the tailgate, floor and corners crushed in. The body probably could have been pulled, and straightened, and new panels, but we were really wanting to try something a bit different with it. All the sheet metal was going to need to be cut and pulled away anyways or there was going to be a LOT of bondo in it. So, the thought was what if we actually stretched the body AFTER the wheel wells, and make a longer overhang like a scrambler. Not do anything between the wheelbase as all of that was fine. But strictly on the tail. Yes, a bit odd and also ANTI departure angle, but hey, nobody has ever done it and might be interesting. Also, along with that, what if we put a half hardtop on it like a CJ8 and then that would actually make the bed usable. Here at GR8TOPS we already had a "halftop" for 2 door JKs and we also use it on 4 doors converted to 2 doors, BUT... it uses the horrible freedom panels. We previously did not have a 1 piece half hardtop for JK's. Already have them for TJ/LJ but never had a 1 piece half hardtop for JK's. Being old school, I just never really fully acclimated and adopted the whole freedom panel thing with JK hardtops. #1 - no matter how much you try to seal them up, they leak. Just the nature of their design, they are going to leak. #2 they add an additional $900 cost to our product which makes it a bit harder sell on the front end. So, last year, we did a couple of prototypes of 1 piece JK half hardtops going onto 2 door JKs. Turned out really nice and got a really good response. So, we started building a mold for it in January of this year. Mold is now finished and we are putting the 1st top on the this "crambler" build.
We are hopefully on the tail end of this but we've tried to take a fair amount of pictures, so will post them up here and try to update in the next couple of days.






 .... jk


