

You are using an out of date browser. It may not display this or other websites correctly.
You should upgrade or use an alternative browser.
You should upgrade or use an alternative browser.
Never Ending Scrambler Build
- Thread starter jammer1
- Start date


- City
- Rockville
- State
- VA
Wow. Just wow.
I agree, lots of work done there. I hope you welded the rear axle tubes to the pumpkin while you had it apart.
No I didn't, she's going to spend most of her life in a nice and dry shop. If she goes off road it will only be for light trips. If I ever decide to really go off road the rear end will be pulled, the tubes welded and a good locker put in. Up here we just don't have cj8's around (last one I saw was 7kings7kings and that was probably 3 yrs ago). I've only seen a handfull of cj7's up here in years. I get the looks on my cj7 when I drive it. Most are the wranglers.

- City
- W-S
- State
- NC
Just got back from outside Canton! You and I are on parallel paths with our 8's. Looks great and keep up the good work. Pm me if you'd like, I'm always open to transport from the south up your way.
Keep up the great work
Keep up the great work

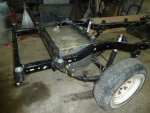


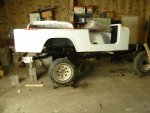
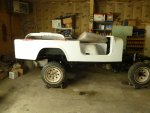

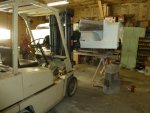
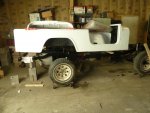
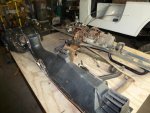
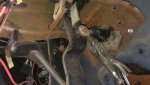
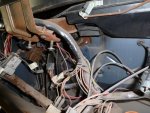
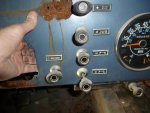
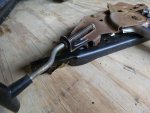
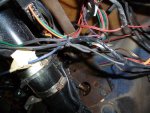
Pulled the tub into the heated section to disassemble the tubs heating box, steering and dash. Also pulled the steering support bracket (for steering and M/C).
Attachments







- City
- W-S
- State
- NC
You are Rollin big boy! I need to get my rear in gear.
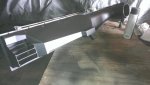
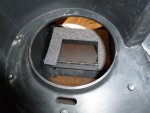
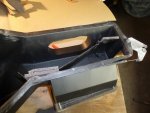




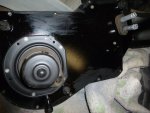
I sanded and metal prep the back cover and metal parts. Then epoxy primered the parts and painted gloss black. I had the one cable inside the box keep popping off after I had everything installed (except the blower motor). I ended up reaching inside with JB weld to lock the cable housing in place then install the motor.
Thanks, it sounds impressive but I actually started this 2009. At this point I'm almost caught up to about two months ago. Just trying to catch up and so a quick outline with a portion of the pics (don't want to bore everyone with too many pics.
I put a piece of plywood on the inside of the tub (bolted in) and found it's center. I used a hole saw and drilled a pilot hole for the saw. It started out good but I found a flaw in my plan. When the hole saw was cutting the metal, the pilot bit started walking in the pilot hole (like a router bit) and this caused the hole saw to wobble and scar the firewall. Next time I'll use a 1/8" metal plate instead of the plywood (keep it from enlarging the pilot hole). 


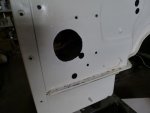 Nothing metal snipes and a file can't correct. A little paint and were good.
Nothing metal snipes and a file can't correct. A little paint and were good.Installed the heater box. During this time I also sandblasted the different parts (Steering mount, brake and gas pedal. The parking brake along with other parts.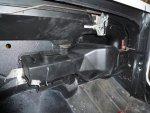
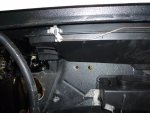
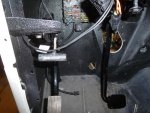 I also started to install the fusebox and run the main part of the harnes (it goes over the steering column mount support).
I also started to install the fusebox and run the main part of the harnes (it goes over the steering column mount support).Ran the rear part of the wiring harness. Install the rear tail lights. Used the weather pack connectors to tie into the wiring harness. Also cleaned up the fuel fill hoses and installed on the fuel tank since I was under the rear.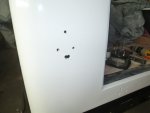


Installed the tailgate with new hardware and seal.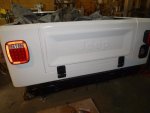 The tail lights are led style that I bought off ebay a few years ago. Checked off a battery (needed to figure out the wiring) and they worked even though the wire color codes don't match.
The tail lights are led style that I bought off ebay a few years ago. Checked off a battery (needed to figure out the wiring) and they worked even though the wire color codes don't match.Time to move to the other end. I installed the front fenders and grill. Now that I have the body on I aligned the body to the tub and tightened down the tub and grill body bolts. I then lightly sanded the grill support rods (already sandblasted, primered and painted. The paint is just scuffed from being moved). I purchased a stainless steel license plate bracket and sanded it (going to paint to match the black stainless steel hardware that's going on the jeep). I also sanded the dash handle which was also painted earlier. The parts that weren't painted before also got metal prep including the headlight bezels (going to try painting black to match the hardware). Next I shot the epoxy primer.

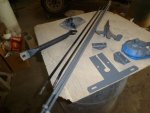 Since I was sanding I also sanded, metal prep and primered the mounting hardware for the tail gate cables and the glove box door and horn.
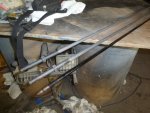
Since I was sanding I also sanded, metal prep and primered the mounting hardware for the tail gate cables and the glove box door and horn.When going through the parts I found two sets of grill support rods. One set was the original ones from the jeep the other set were thicker (like 7/16" rod) and longer I believe 42" long. When put in place they stuck 4" out over the edge of the grill and they have the same slight bends. I can't remember exactly where they came from but they were in the pile of parts I had with the cj8.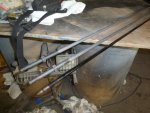
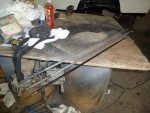
 Does anyone have any idea what they were used for? The previous owner had parts tossed in the bed that he removed and extra parts but by the look of it he wasn't experience at working on the cj8.
Does anyone have any idea what they were used for? The previous owner had parts tossed in the bed that he removed and extra parts but by the look of it he wasn't experience at working on the cj8.regular guy
Basic User
- City
- Cameron
- State
- NC
Disregard
Last edited: