• Notice for iPhone users: DO NOT use the image size reduction option when uploading photos to the forum. This causes portrait images to post as landscape. We have added a warning to the image insert pop-up as well.

New To Me 83--Parts Needed

... and he's single with no kids (unless your status has changed since we talked)... and trust me, that matters :crazy:

as you can see the arrival of my second child = zero updates on mine in over a month

I'm going to ask Raymond to adopt mine (the Scrambler, not the kids), as it'll likely get more love from him than me at this rate :)

Yep, no wife + no kids = lots of Scrambler time

Let me knock down a few more trees to make room, then bring it over:rotfl:
 
Small update from this past weekend.

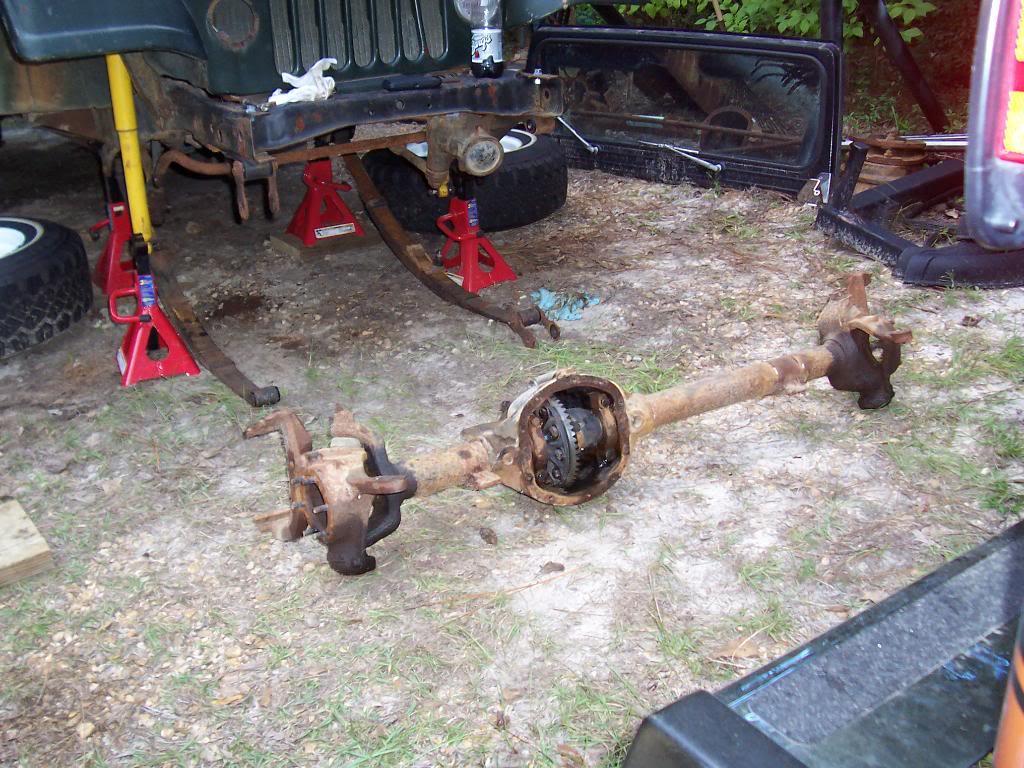
Pulled the front axle out, again.

0013-1.jpg


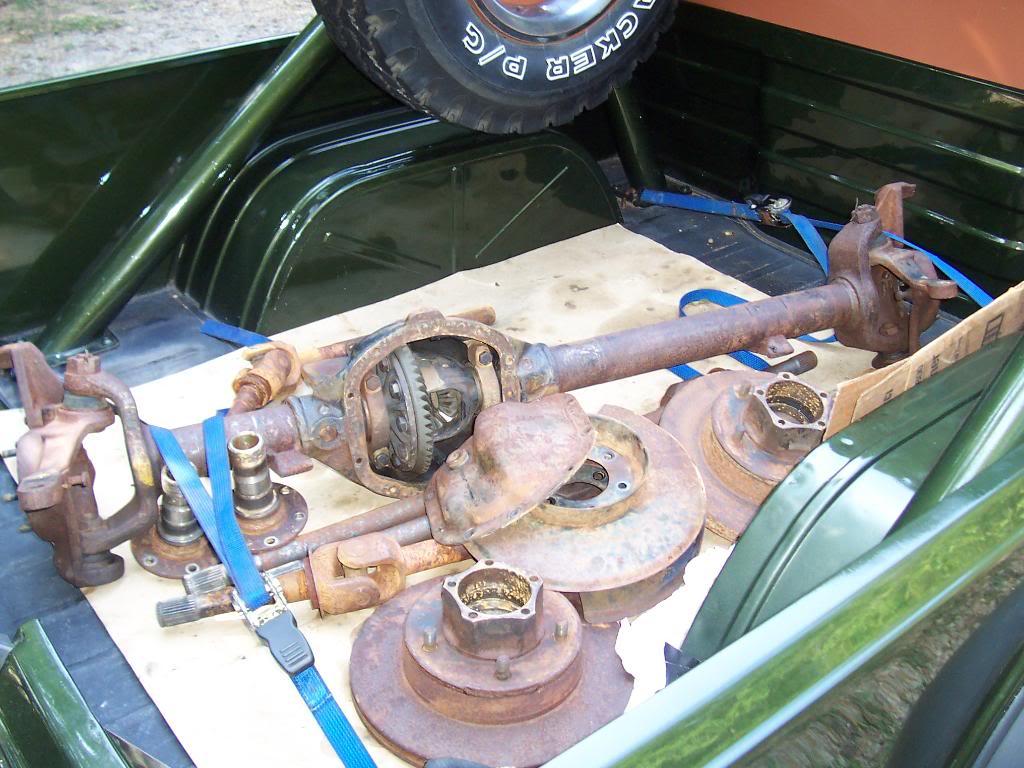
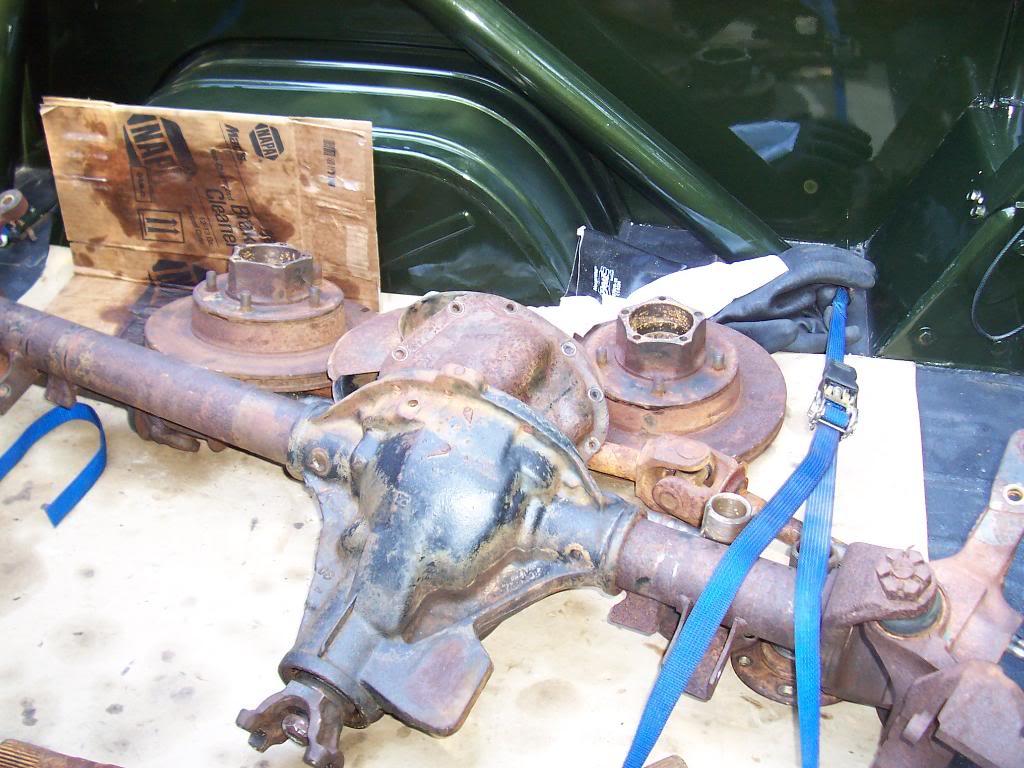
Took the parts to work and used the stem cleaner on them. These pics were after I cleaned them. It is amazing how the steam cleaner blasts right through close to 30 years of crud. It only took about 15 minutes to clean all these parts. You can still see some of the factory black paint on the axle housing in one of the pictures.

0023-1.jpg


0033-1.jpg


No updates till next week, going jeeping this weekend in my red Scrambler.

That's it for now.
 
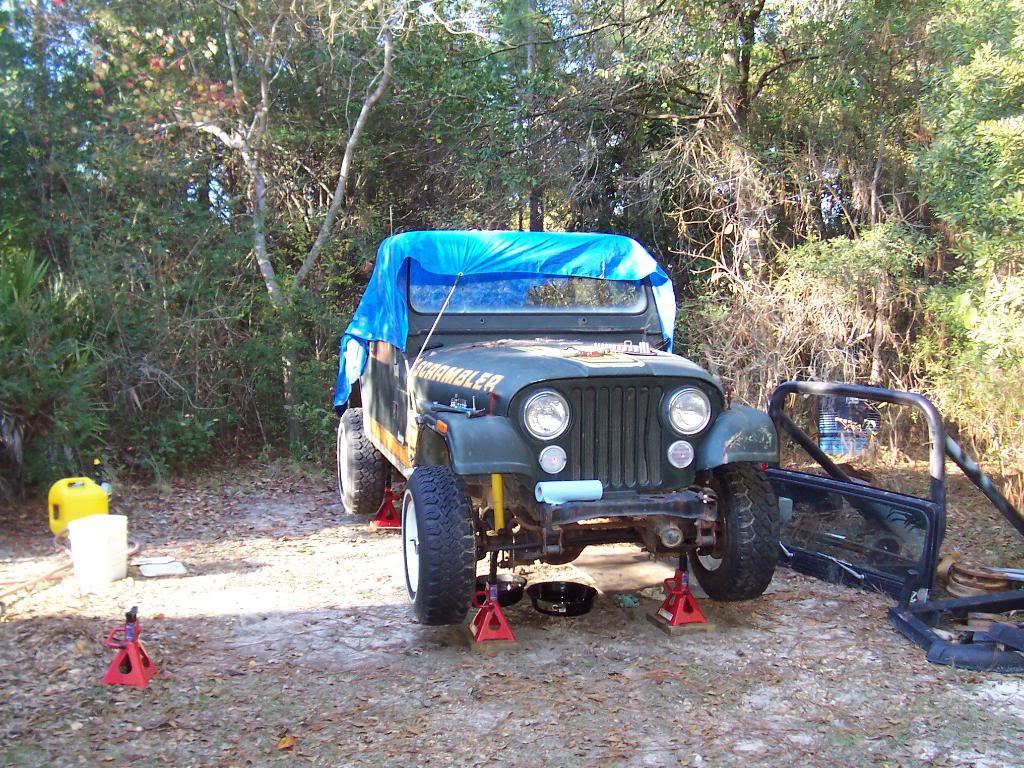
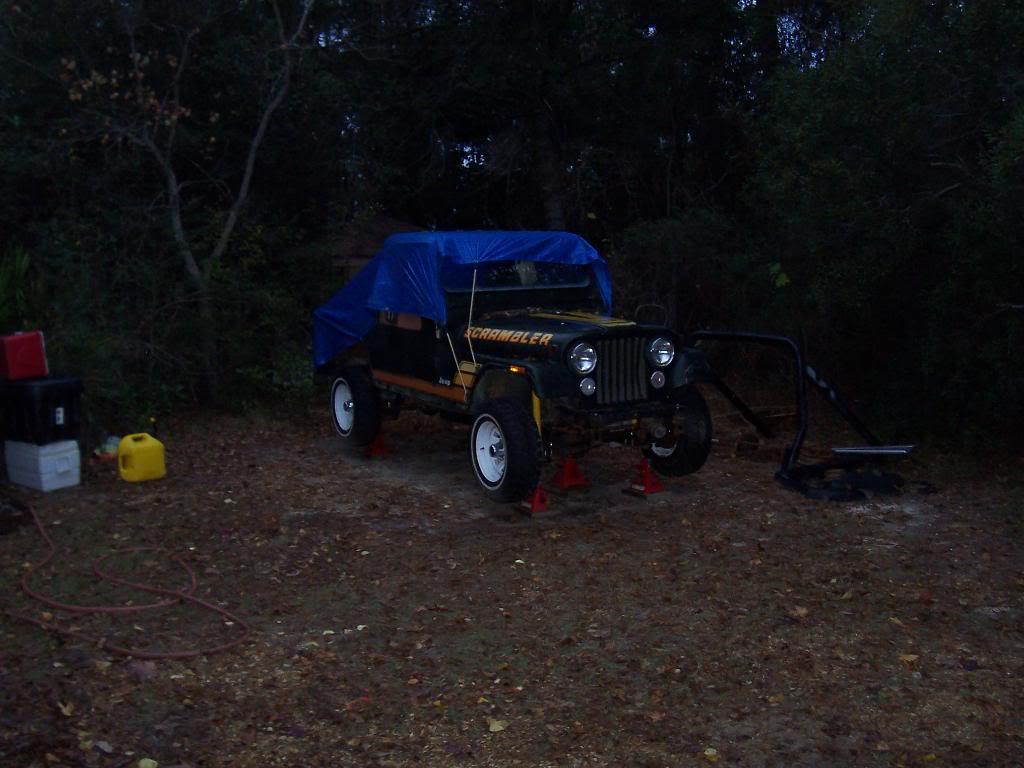
Got back to work on "Project Lawn Ornament/Thorn In Thy Home Owner's Association Side".

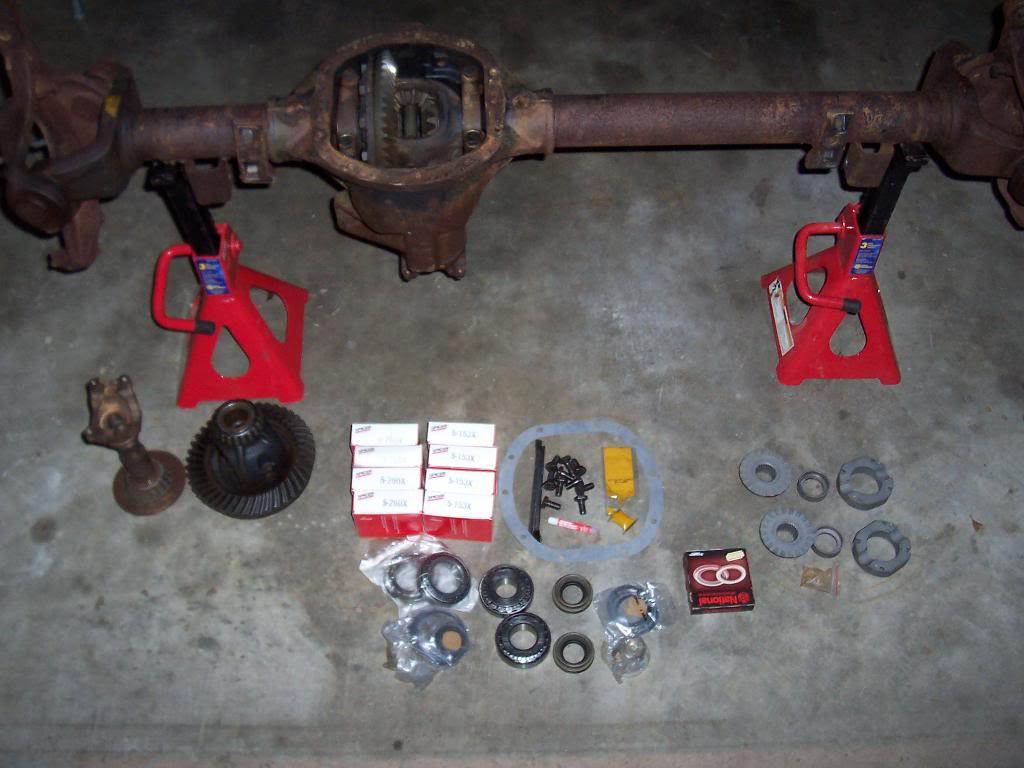
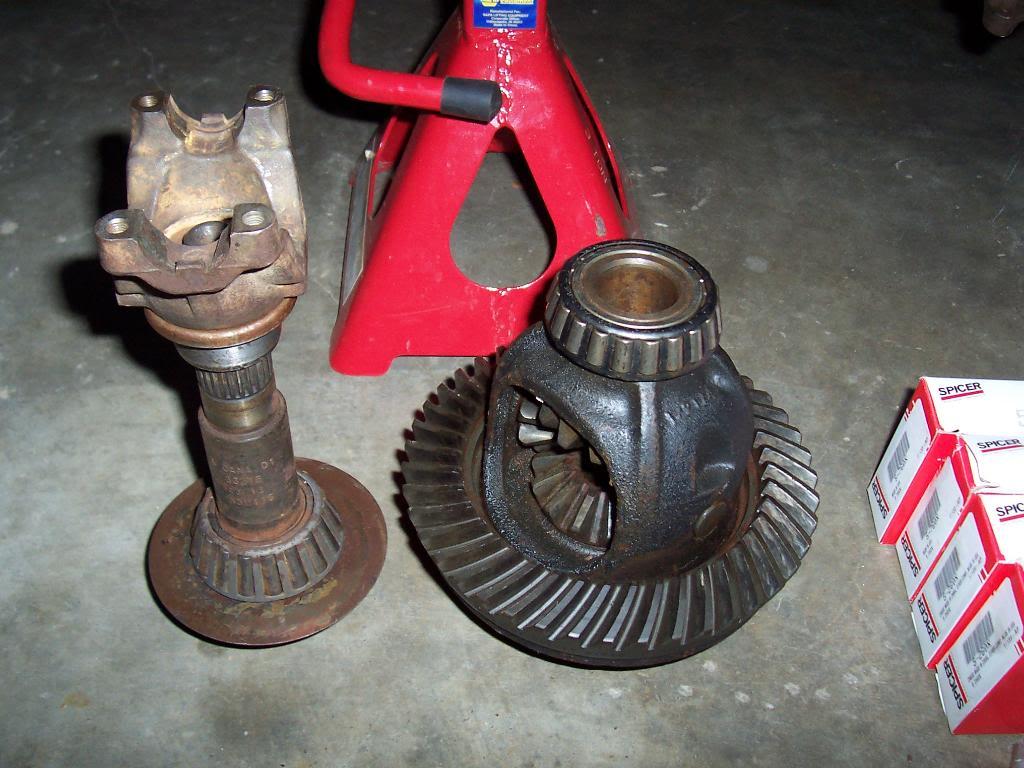
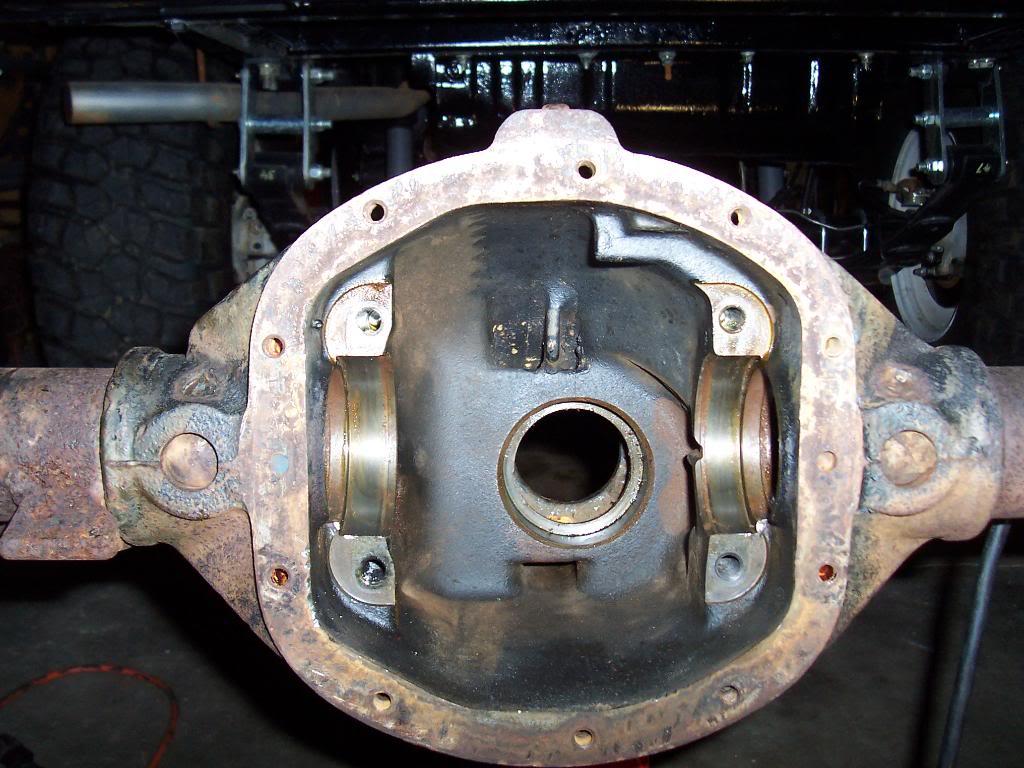
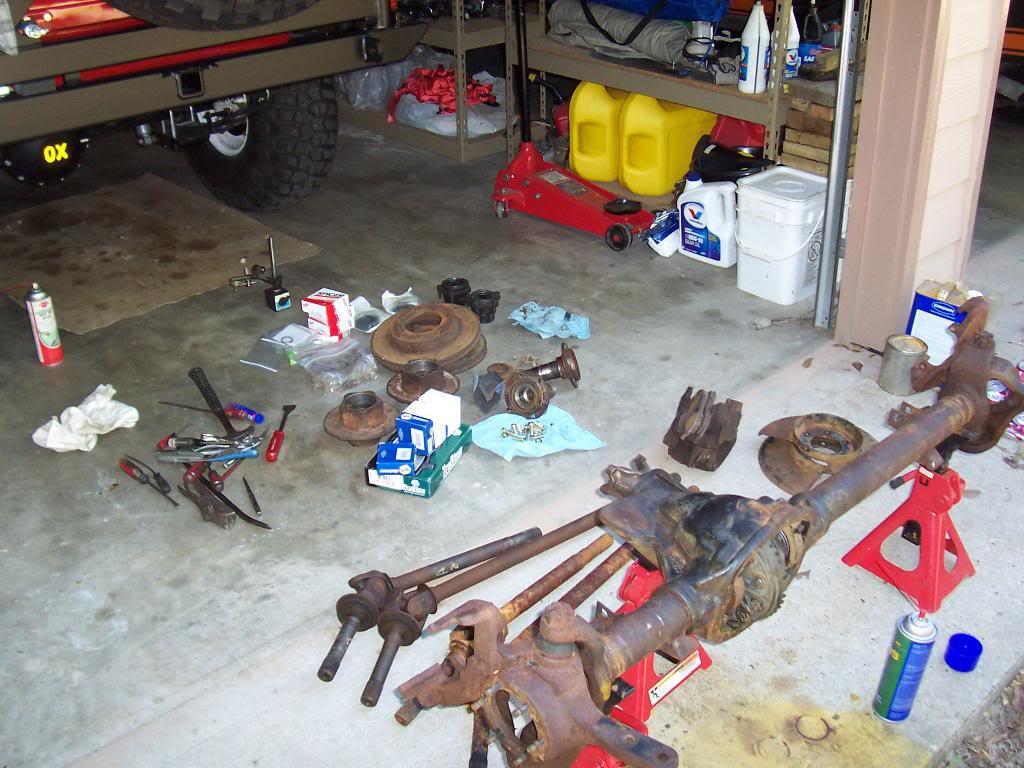
Picture of the axle housing and new parts on the garage floor.

0014-1.jpg


The good/used 3.31 Ring/Pinion/Carrier that came out of my Red Scrambler.

0024-1.jpg


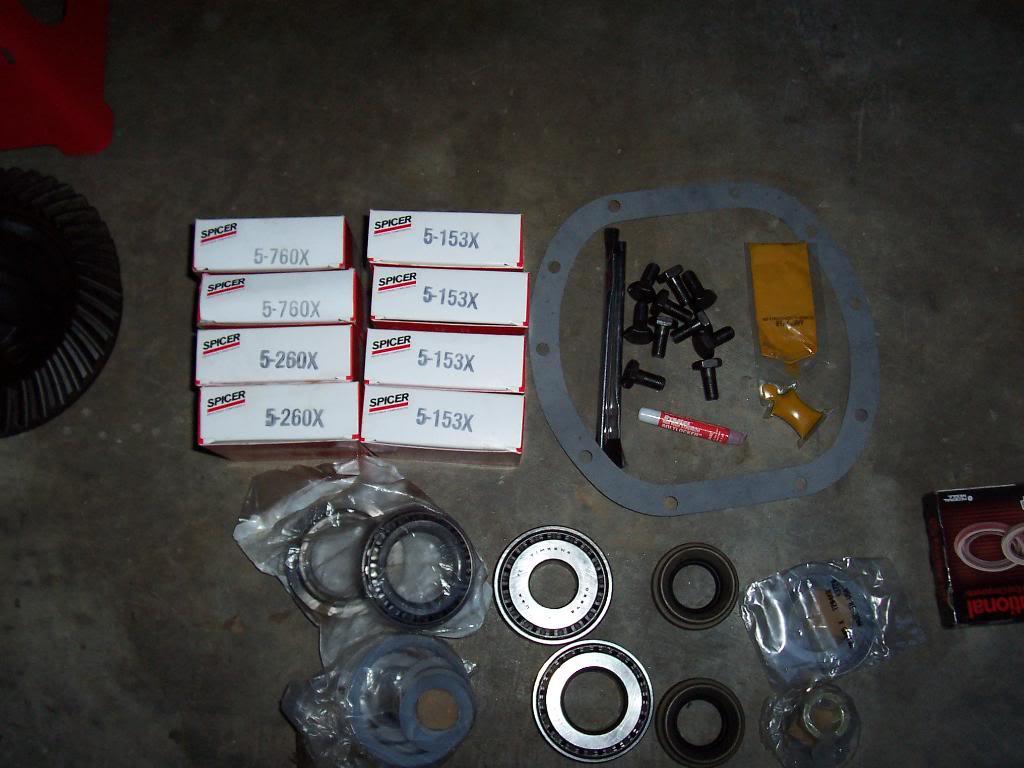
8 new U-Joints (4 for the drive shafts/2 for the stock front axles/2 for the aftermarket front axles) and the new pinion bearings, carrier bearings, shims, bolts and nuts, seals, etc.

0034-1.jpg


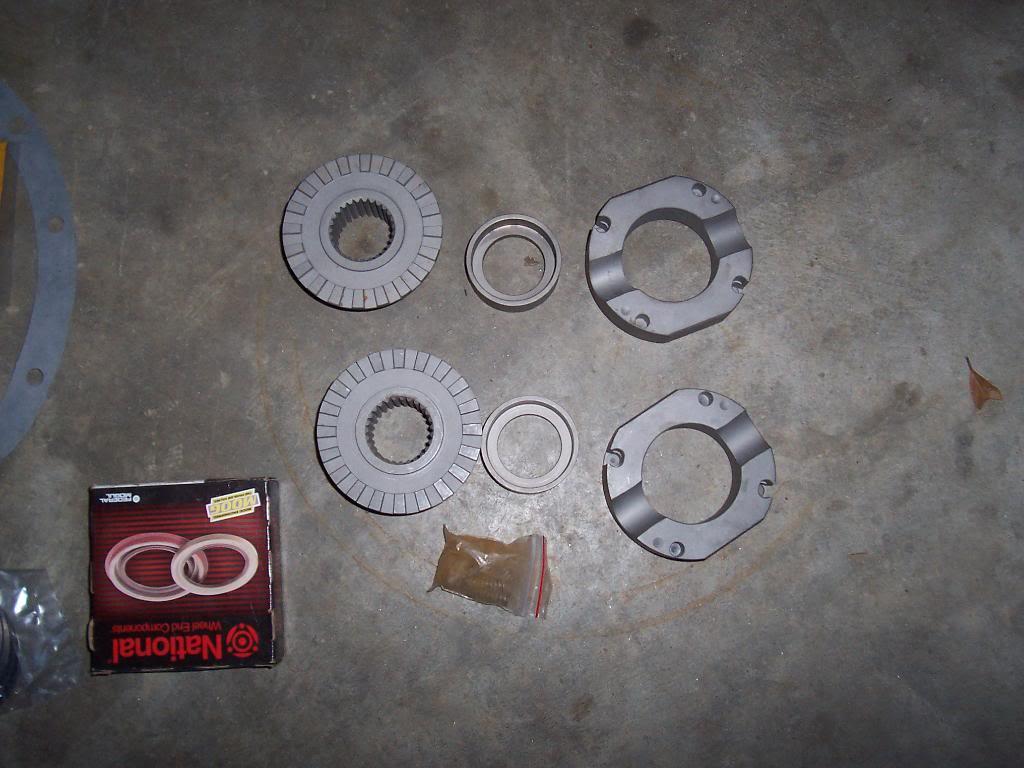
Aussie Locker Parts.

0043-1.jpg


Removed the old pinion, carrier, races and seals from the front axle.

0052-1.jpg


Installed the Aussie Locker.

0063-1.jpg


Next step will be pressing all the old bearings off the carrier and pinion. I am then going to make "set up" bearings (slightly boring out the center of the bearings to make them a "slip fit" vs a "press fit") to make it easier on my self to try to set up the gears. I am not going to go into great detail on how to set up a ring and pinion for several reasons:

1) I am not qualified. I set up a gear set along time ago with a real mechanic helping me. This is probably something better off paying a skilled person to do.

2) I don't want anyone to think that this is a step by step "how to set up a ring and pinion" guide.

3) Seting up these gears requires patience, some special/expensive tools, and skill/experience. Like I said under #1, this is better off left to an expert, but I figured I would give it a shot.


With that being said, I might throw in a few pictures, and I will definitely post up if I am successful in my attempt.

That's it for now.
 
I was able to install the ring and pinion in the front axle on Saturday. Took all day Saturday!

Some highlights:

Setting up the pinion height was fairly easy. I had 2 factory shim stacks for a "+3" pinion head. Both stacks were exactly the same. I was also able to measure the pinion depth once I had it installed in the housing, measured exactly 2.25" from the axle center line as per the FSM.

The pinion bearing preload was fairly easy to set. Just a matter of adding or subtracting shims to get the correct preload. Took me about 5 attempts. It takes approximately 40-45 inch pounds to keep the pinion rotating once it has already started rotating. The FSM calls for 20-50 inch pounds, so I am happy with this setting, especially with new bearings. NOTE - I said to "keep it rotating" once it has started rotating. The torque to get the pinion initially turning is slightly higher then the rotational torque, as it should be.

Setting up the carrier (carrier bearing preload and ring/pinion backlash/contact pattern was more fun. This took me about 30 attempts. I had no problem eliminating all carrier side play by shimming each side, and no problem adding the preload shims to slightly preload the bearings. I did have some issues getting the back lash right. This took most of the time, moving .001 and .002 thick shims from one side of the carrier to the other to get the correct backlash. FSM calls for .005-.010 on the backlash, I am at approximately .006-.007.

The one thing I could not achieve was a "perfect" contact pattern. This really bugged me. I reinstalled the carrier multiple times, slightly changed backlash settings, and never could get a "perfect" pattern. But, then I realized I am setting up used gears with some wear. That, and these gears were not set up correctly in the old axle. When I finally settled on my backlash and went back and checked the pattern, the teeth are meshing correctly (center of the tooth, centered between the "heel and toe"). But, they do not mesh so tight (like new gears would) to remove the paint off the ring gear. The contact pattern I have does "smear" the paint good, and considering the wear on the ring and pinion gears, I think this is as good as I can get it. With my.006 backlash, i do not want to set the gears any tighter. I think I have the pattern as good as it is going to get. With a new ring and pinion, I am confident i could get the pattern dead on.

Few pictures:

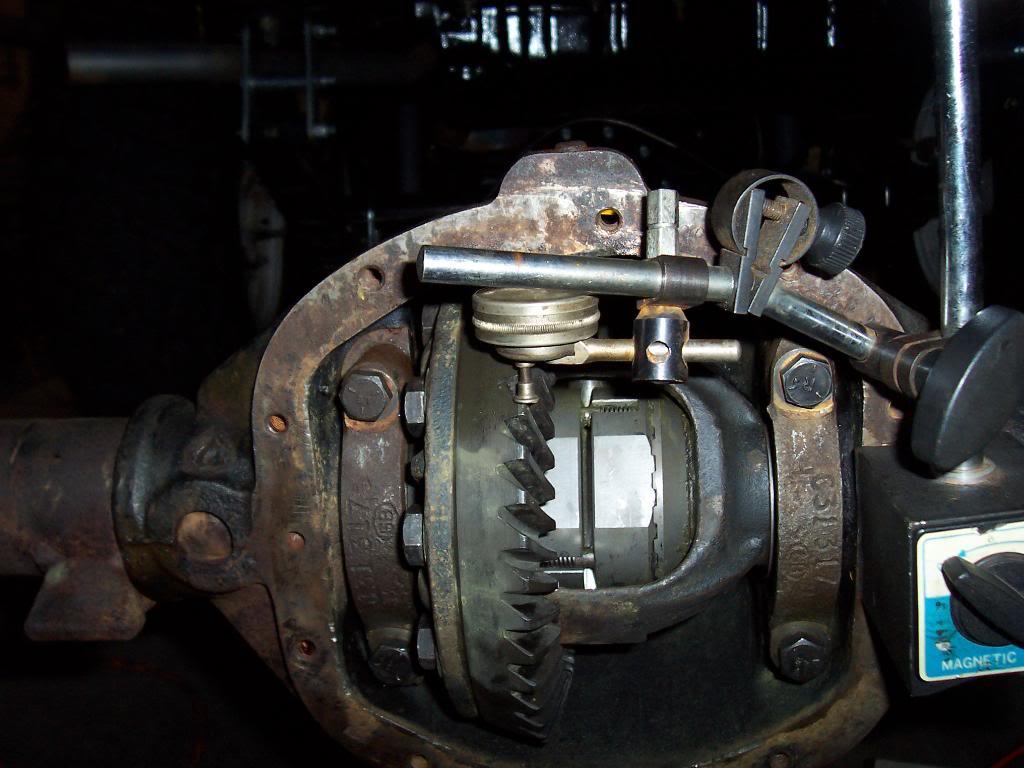
The installed carrier, with dial indicator attached to check final backlash.

0015-1.jpg


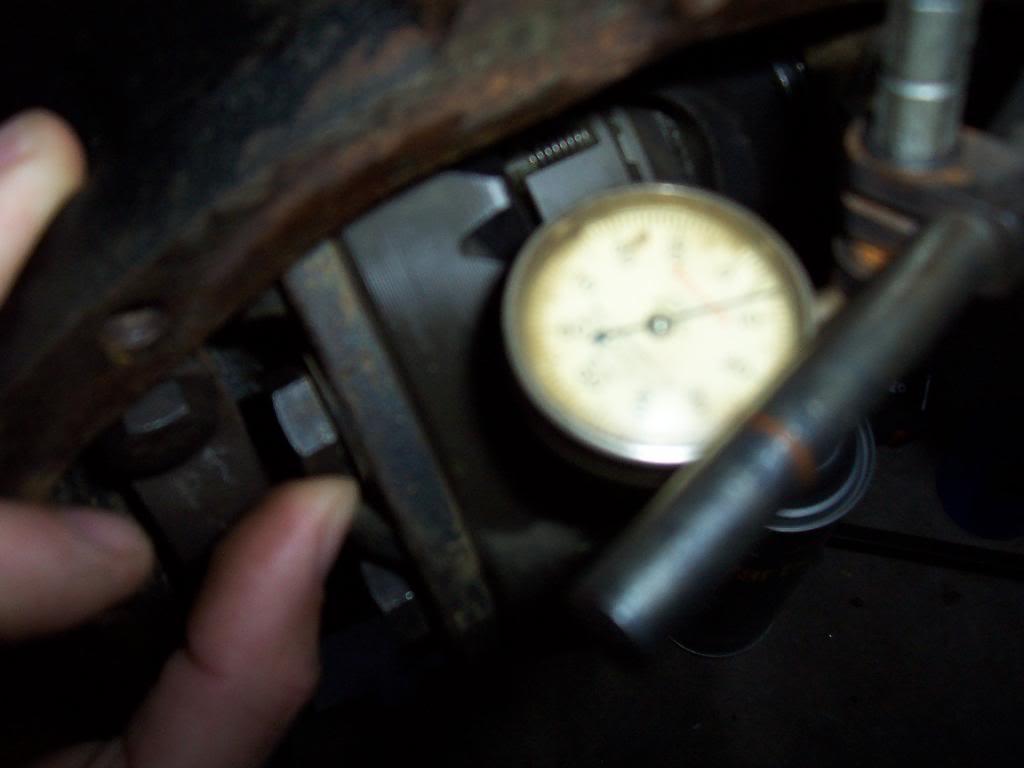
Blurry picture of the dial indicator's face, showing .006 backlash between the ring and pinion teeth.

0025-1.jpg


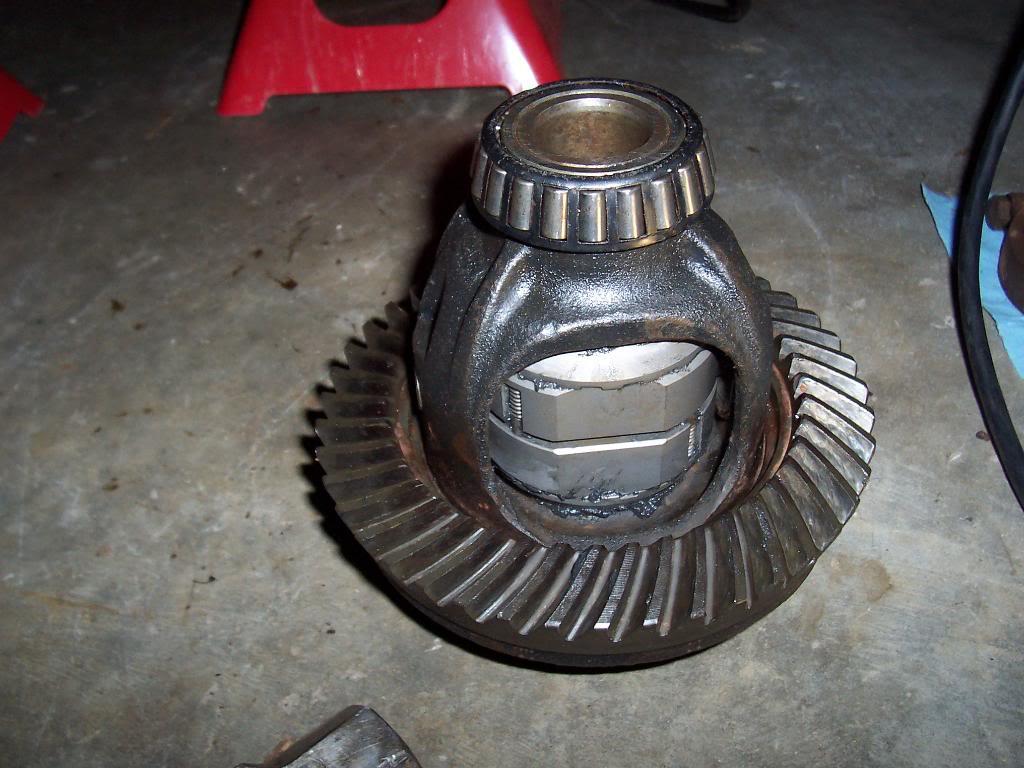
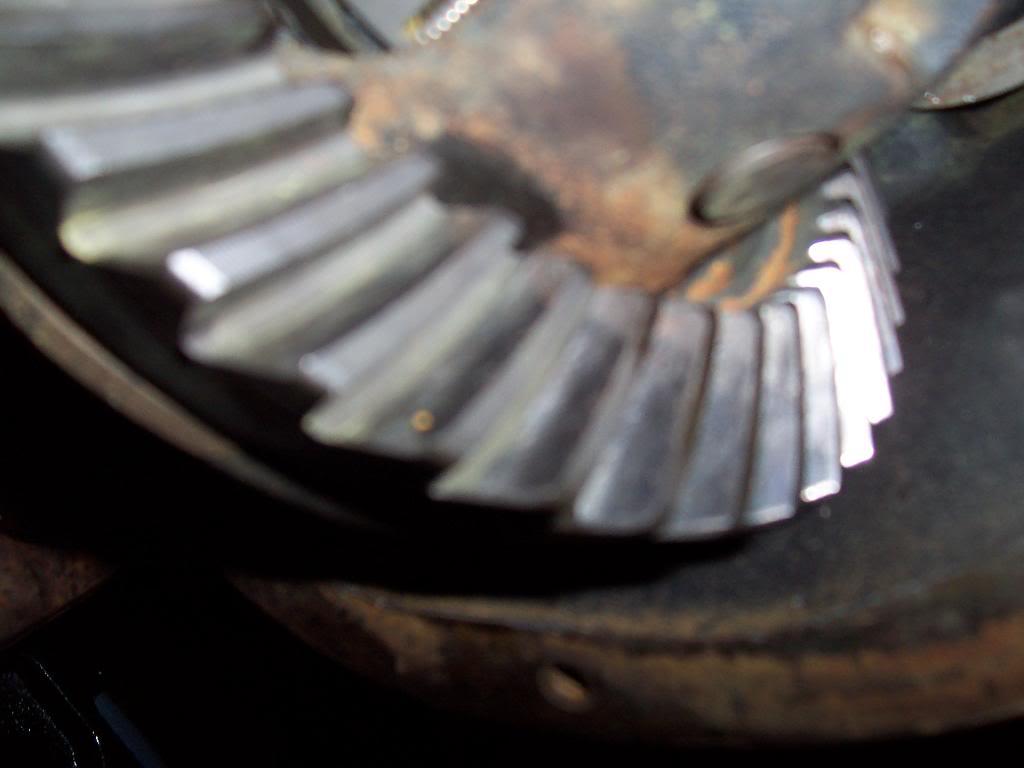
Close up of the ring gear. Note the existing wear pattern, which is slightly closer to the "heel" of the teeth. My install has the contact pattern centered. This existing wear is what was making me pull my hair out trying to get a "perfect" contact pattern.
0035-1.jpg


All in all, this was a very educational experience. I will probably try to set up at least one new ring and pinion set up in the future. I think with new gears, I could get the set up dead on. But, this is not something I want to do all the time. Just this front axle took me all of Friday night and all day Saturday to get set up. I am happy with this current set up in the front axle of this jeep. If this was the rear axle, I would install a new ring an pinion to get a more "perfect" pattern. But, it does not make sense to spend money on a new 3.31 gear set for the front axle. Once this jeep gets back to JeepAddict, he might decide to install lower R+P gears front and rear to get better big tire performance. For now, this set up will work fine.

That's it for now.

 
Last edited:
So you don't try to redo the pinion differently to change the contact pattern? I've never done it, but I always assumed it ended up being a matter of changing both the pinion and carrier setup to get that pattern right after you got everything else done.

Just curious, like I said, I've never done it. I thought it was enough DIY to pull the axle and break it down completely before taking it to someone to do ;)

So :bow: for the attempt! Just curious if playing with the pinion might have done the trick.
 
So you don't try to redo the pinion differently to change the contact pattern? I've never done it, but I always assumed it ended up being a matter of changing both the pinion and carrier setup to get that pattern right after you got everything else done.

Just curious, like I said, I've never done it. I thought it was enough DIY to pull the axle and break it down completely before taking it to someone to do ;)

So :bow: for the attempt! Just curious if playing with the pinion might have done the trick.

If the pinion was hitting too far toward either the heel or the toe of the ring gear tooth, then you can adjust the pinion depth to get a better contact. But, supposedly, you should not have to adjust pinion depth IF it is set to factory spec, 2.25" from axle center line on a Dana 30. If you don't have a factory pinion depth shim stack to start with, then you have to adjust pinion height to get the correct depth. The pinion on this one is hitting the ring gear tooth where it needs to, but the wear pattern on the ring gear teeth and the pinion gear teeth are preventing a "perfect" contact. Their is no adjustment that I can make to compensate for the wear on the face of the teeth of the gears except to tighten up the backlash. My backlash is about as tight as I want it, .006-.007, with .005 being the tightest that you would want:shrug:

It turns by hand and feels fine, feels about the same as my red Scrambler's front end that was set up by a professional. I think we will just run it and see what happens:fingerscrossed: I think the only issue we might have with it is that it could be a little "noisier" then a new gear set, mainly due to the existing wear on the ring and pinion teeth. Worse case, will have to install a new ring and pinion if this one starts prematurely wearing out. If that is the case, time to change ratio's anyway:rotfl::thumbsup:

But, I agree with you, next time i need to do a front and rear end, I will probably take them to someone who does this for a living:cheers:
 
Got a little work done this weekend.

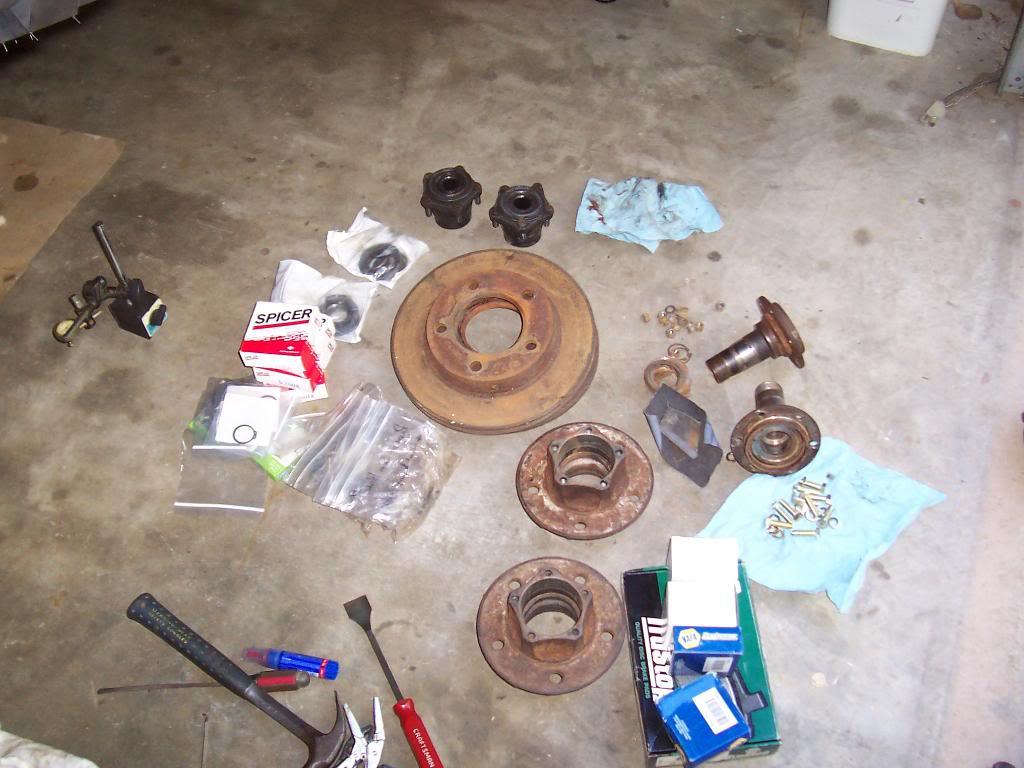
Picture of the front end and all the associated parts.

0016-1.jpg


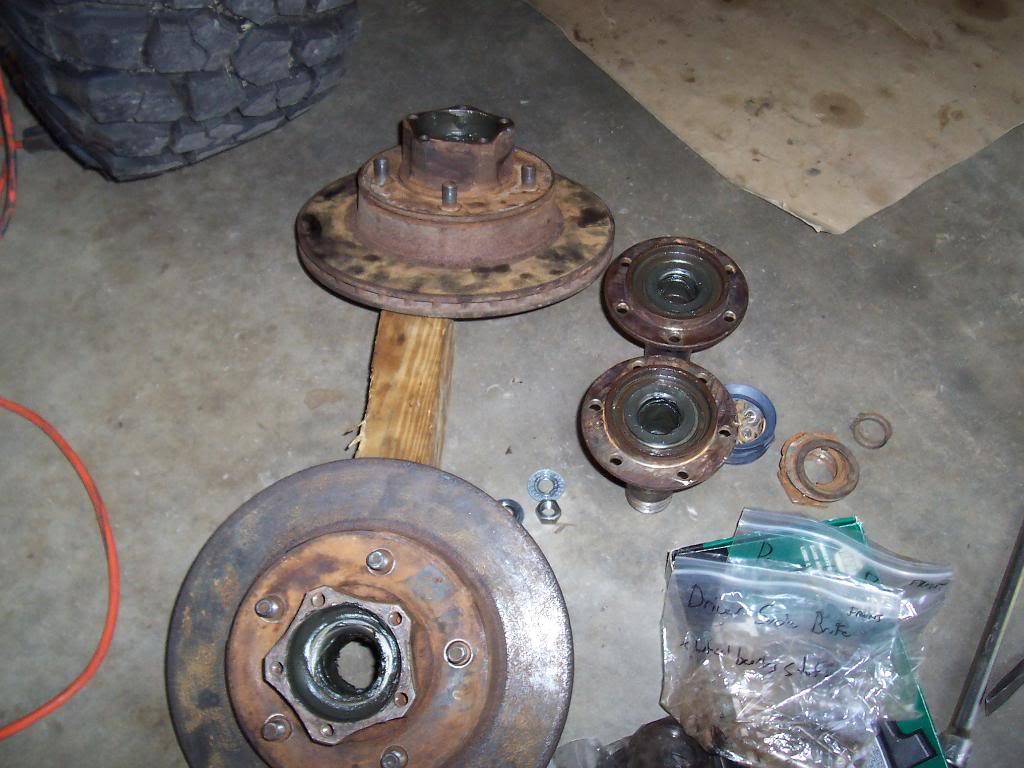
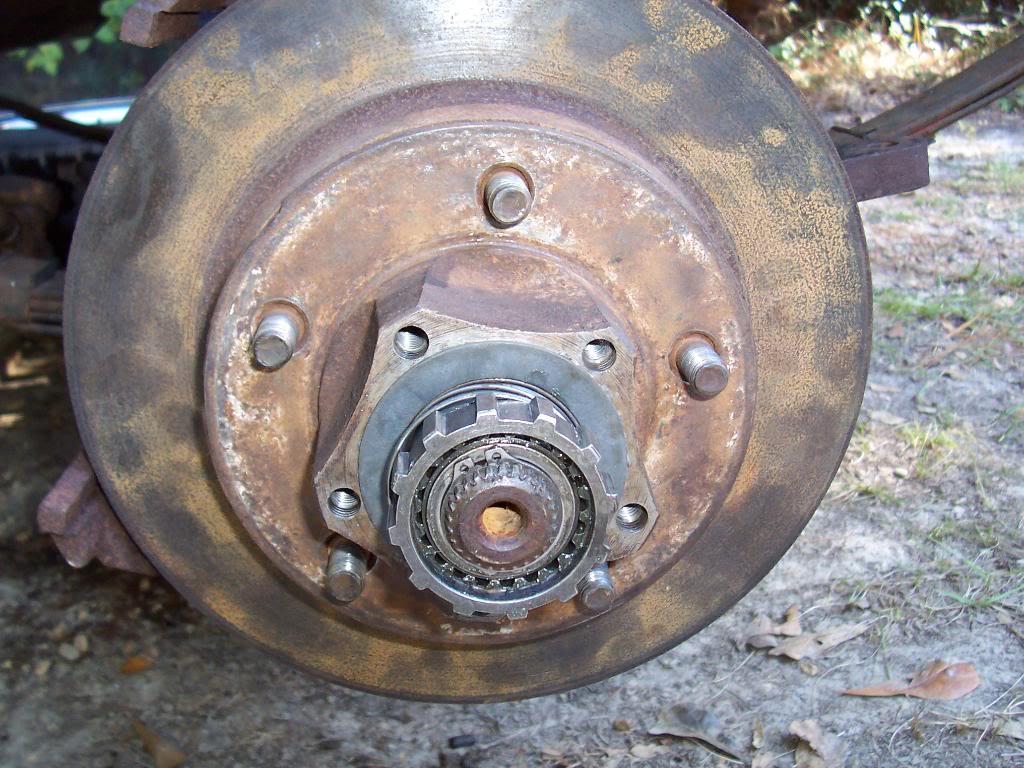
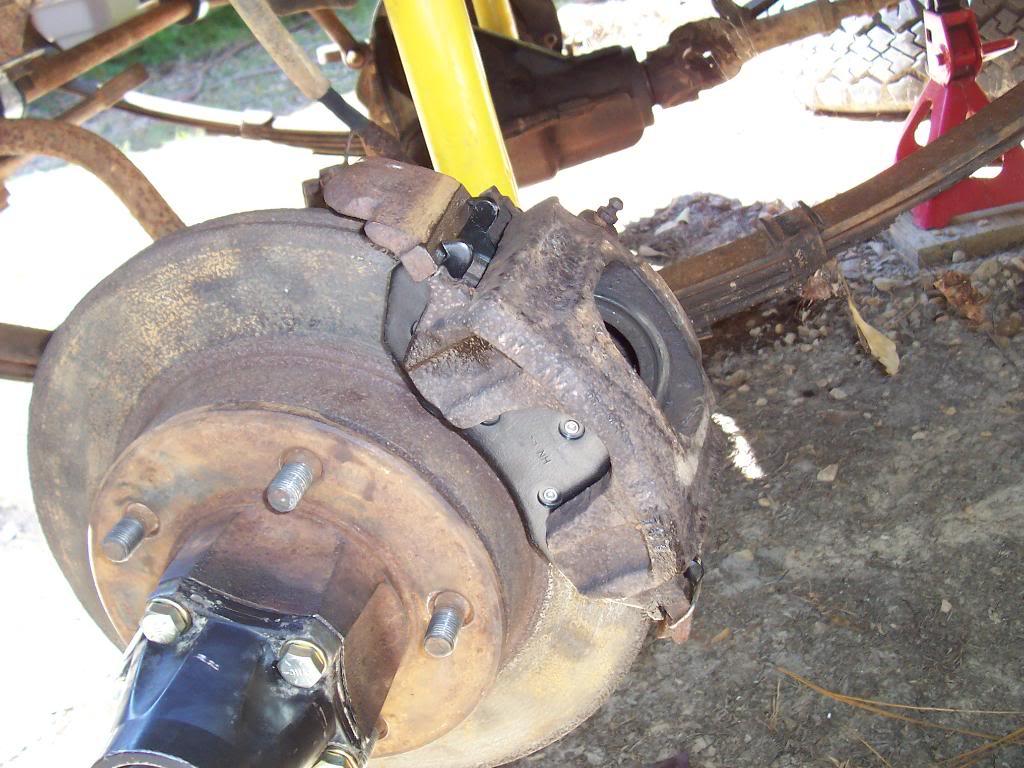
I had to use a combination of some of my old parts plus some of the existing parts to get two good inner hubs and rotors.

0026-1.jpg


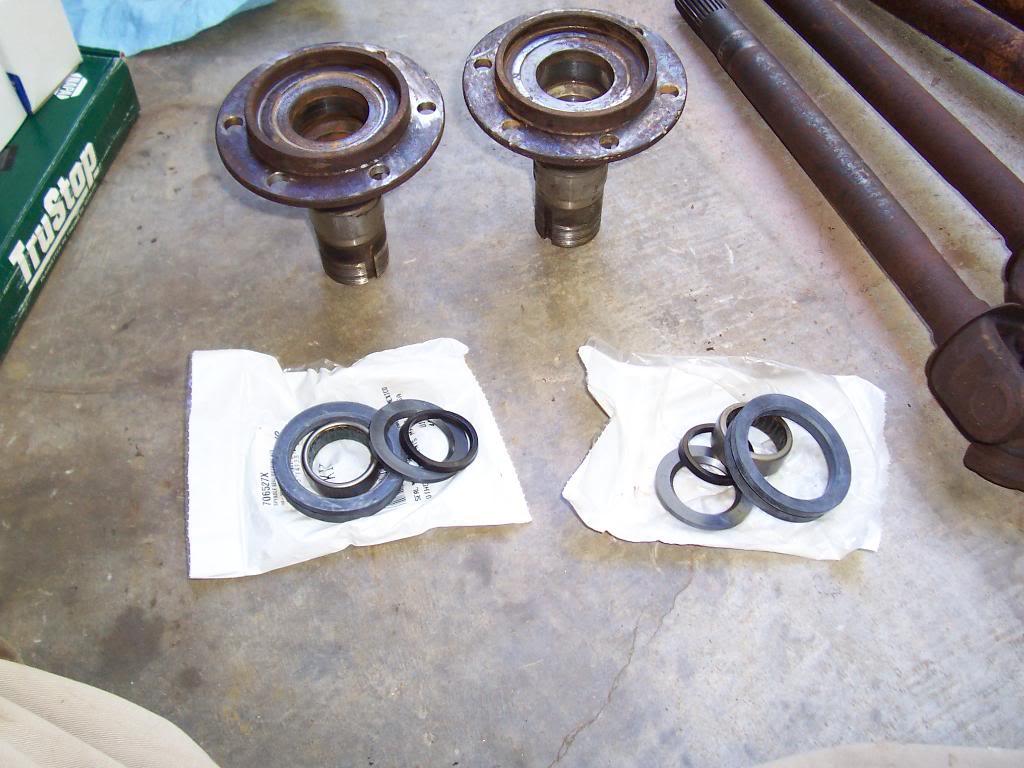
Removed the old spindle bearings. New parts pictured in the foreground. I had these left over from the re Scrambler build.

0036-1.jpg


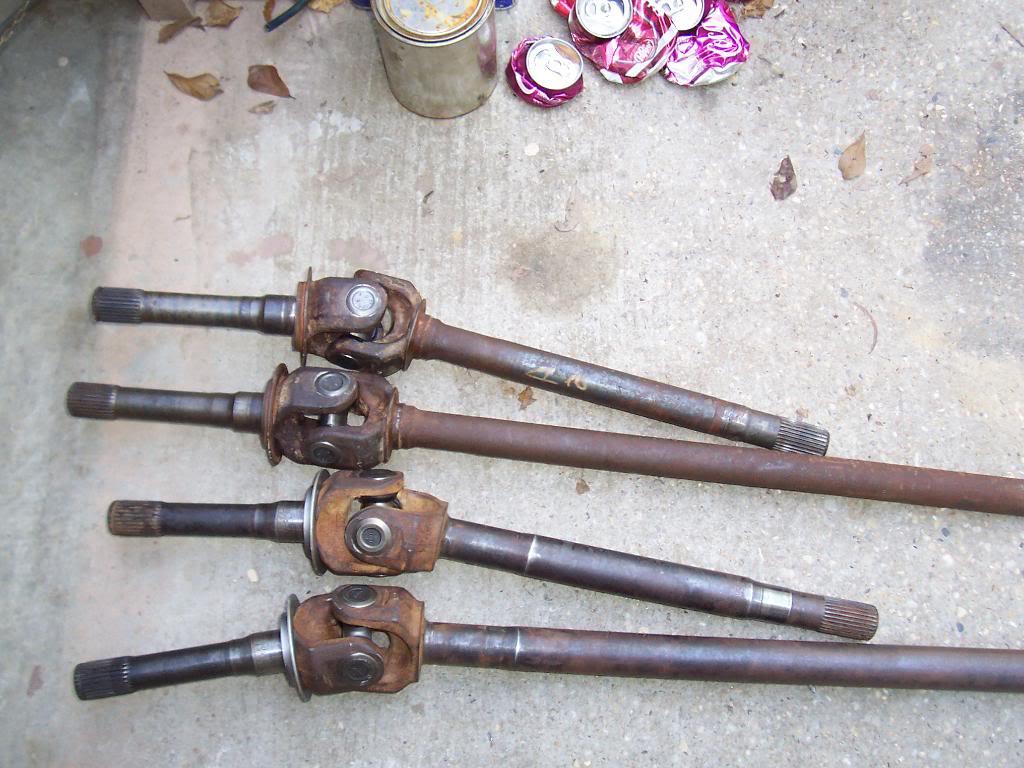
Changed all front axle u-joints. I am going to install the shafts that take the Dana 44 size U-joints. The stock shafts are spares now. I cleaned all the rust off of the donor shafts, especially where they contact seals, inner axle oil seals and spindle seals.

0044-1.jpg


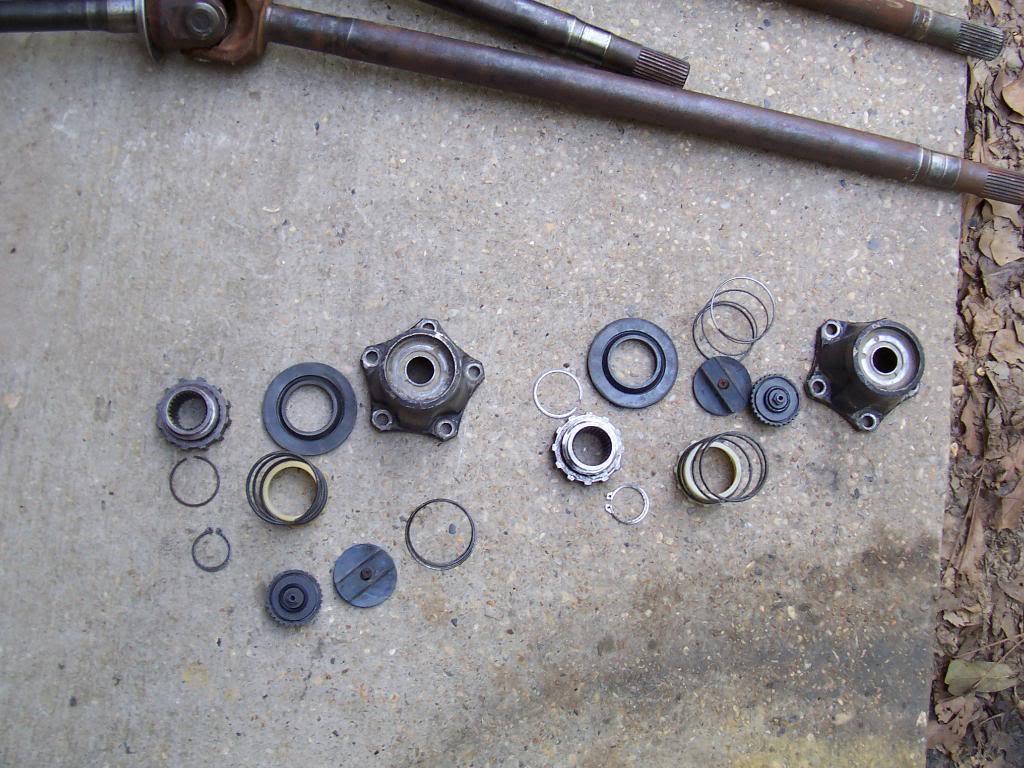
Took apart the old hubs and cleaned them out. These are the hubs that came on my red Scrambler. They are still in excellent mechanical shape.

0053-1.jpg


All new wheel bearings installed. The originals were rusted bad. These parts are greased up ready to assemble.

0064-1.jpg


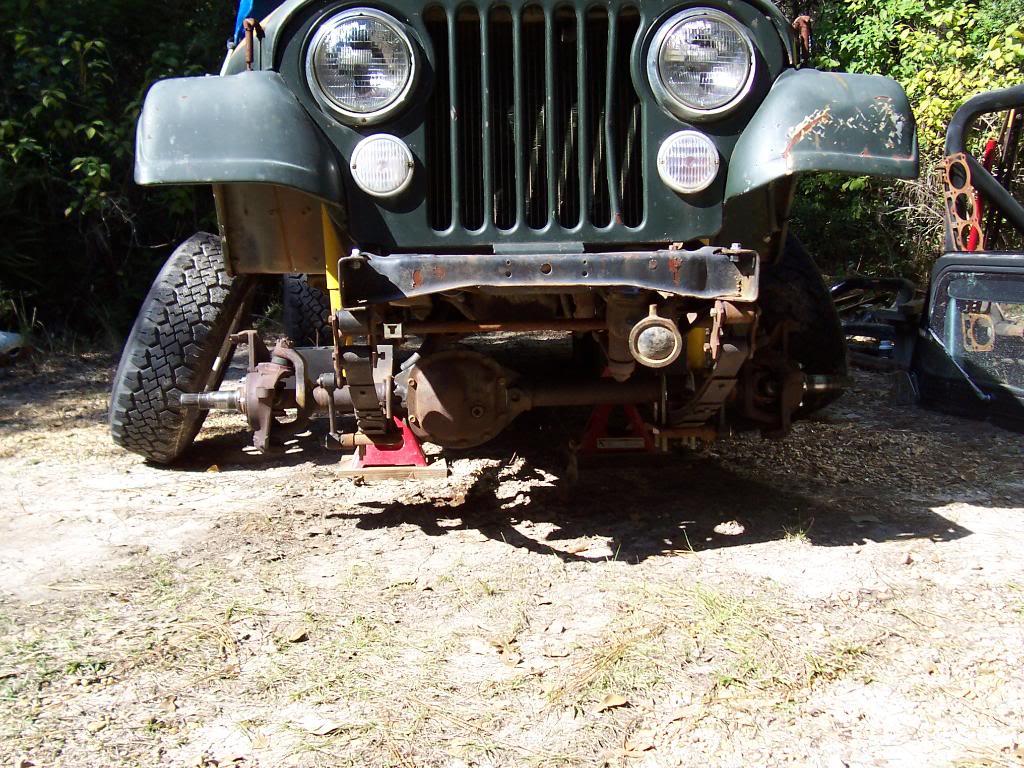
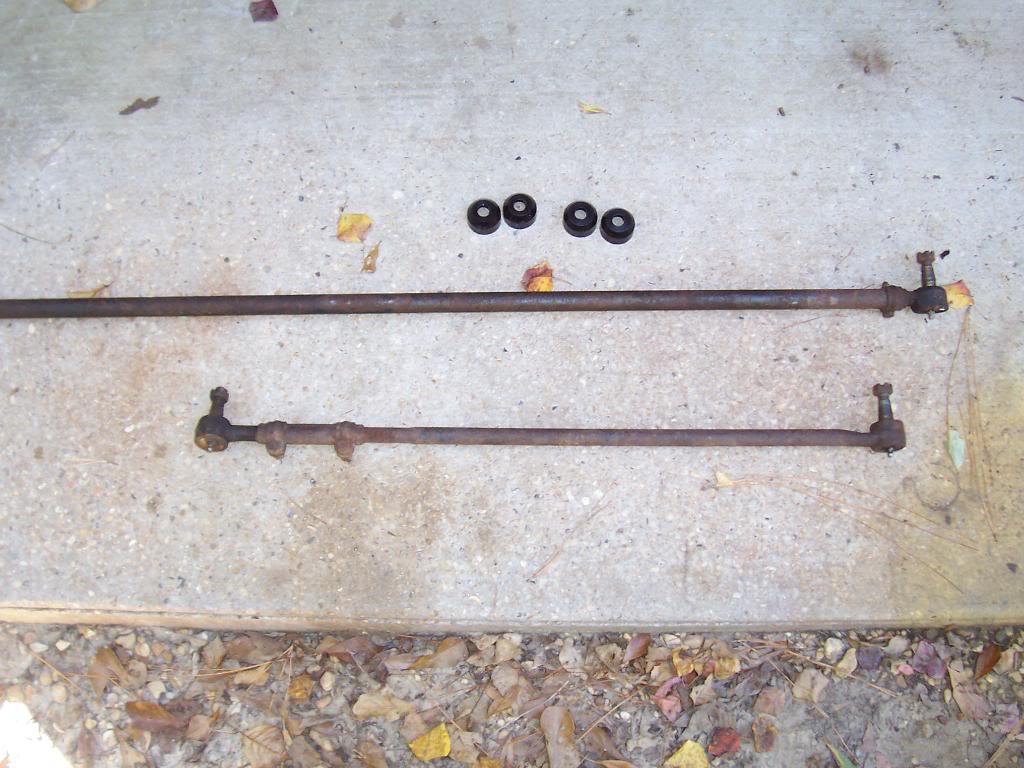
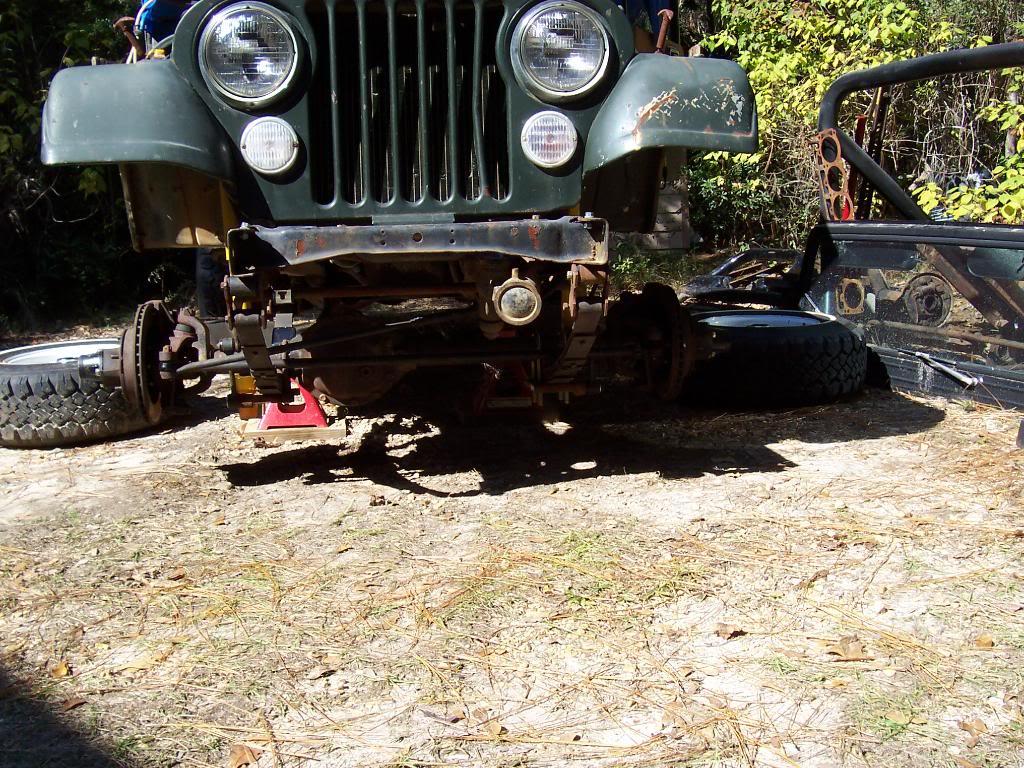
Bolted the front axle back under the jeep. Installed the U-bolts, shocks, and sway bar ends. I still need to clean/regrease/install new boots on my old tie rod and drag link. The ends are damaged on the tie rod and drag link that came off of this jeep.

0073-1.jpg


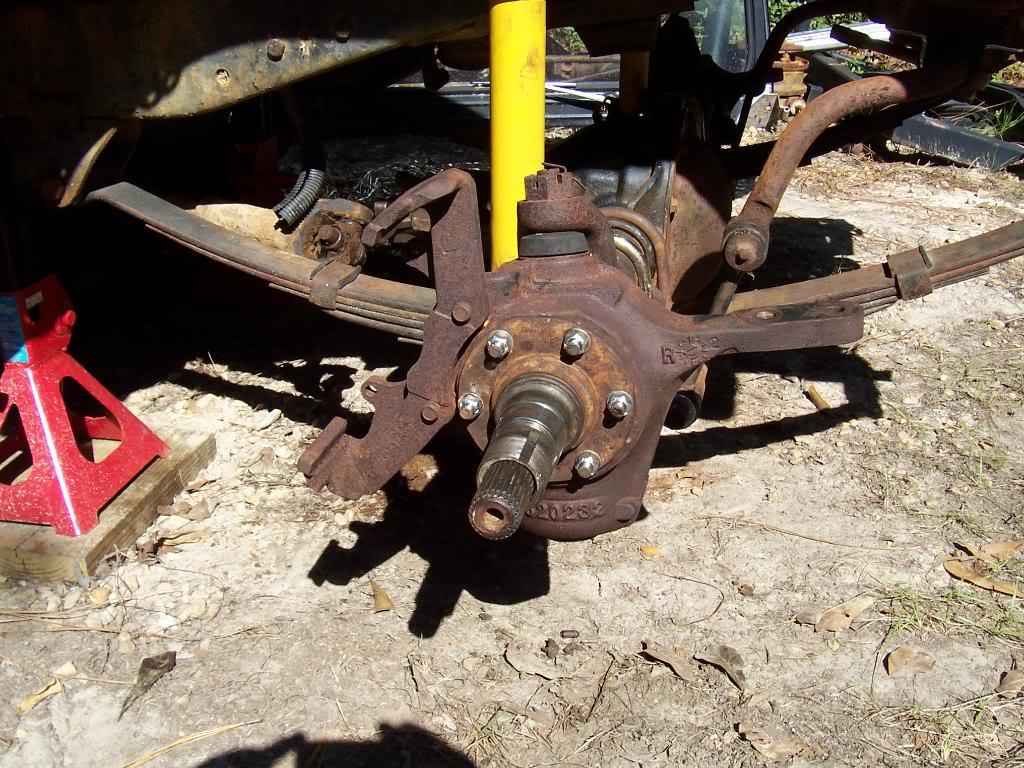
Installed the axle shafts and spindles. Used new self locking nuts to secure the spindles. I did not reinstall the factory splash shields on purpose.

0083-1.jpg


That is all the work that I got completed before the Saints game last night. I should finish up the front end on next Saturday.

That's it for now.
 
Last edited:
Did some work last weekend on project yard jeep, just now updating.

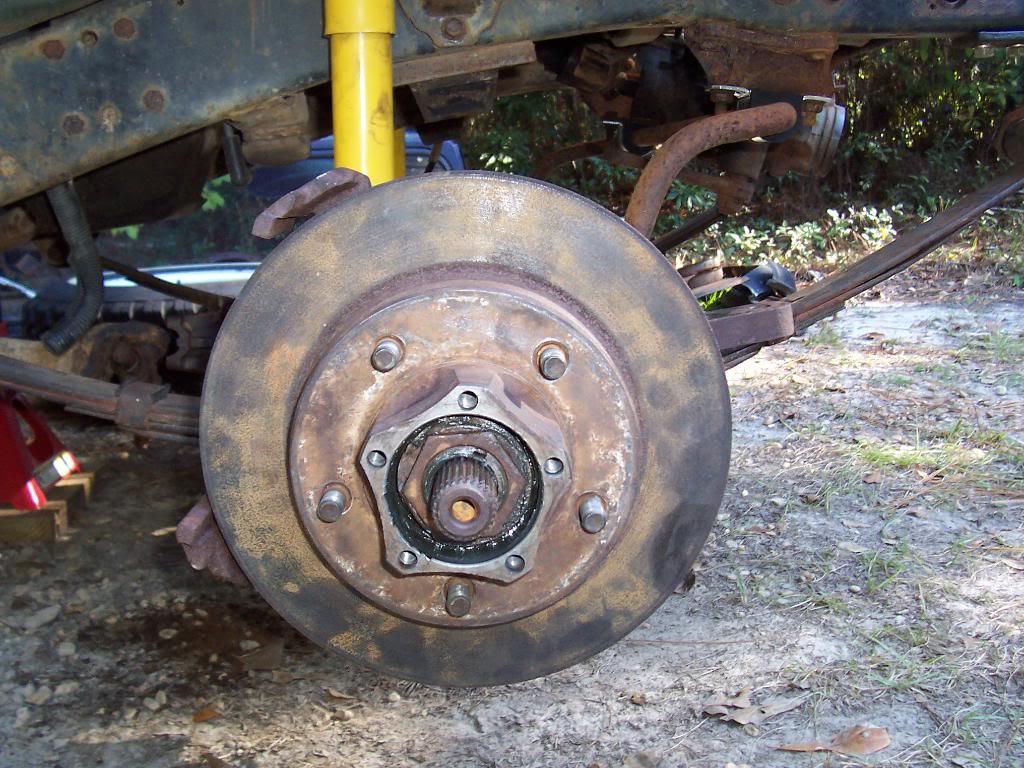
Slid the new rotor hub assemblies on the already installed spindles. New wheel bearings and seals installed.

0017-1.jpg


Installed the retaining nuts and washers. All torqued up with the correct preload on bearings, bent the lip of the washer to "lock" the nut. I like the "ford" style hub nut set up better.

0027-1.jpg


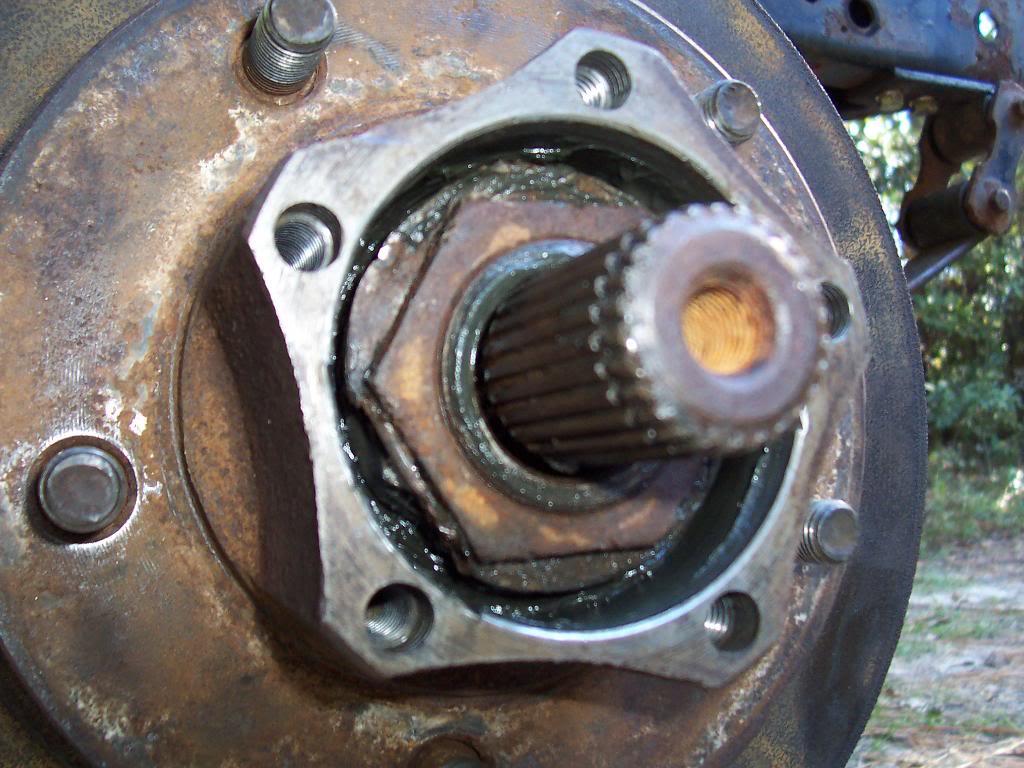
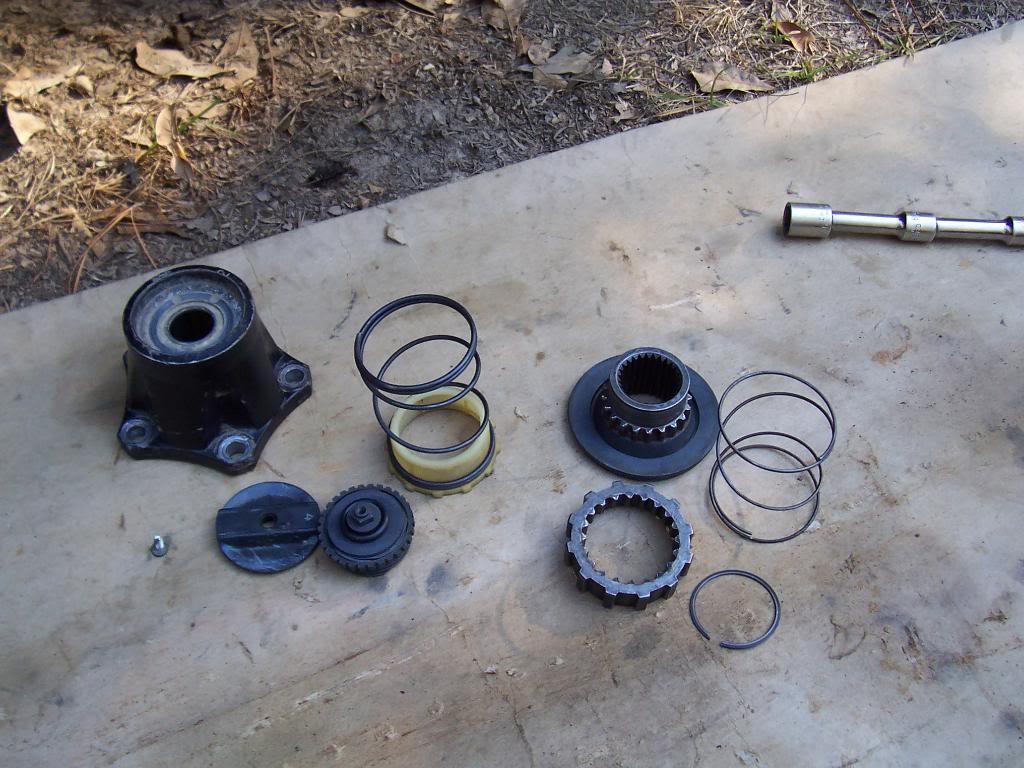
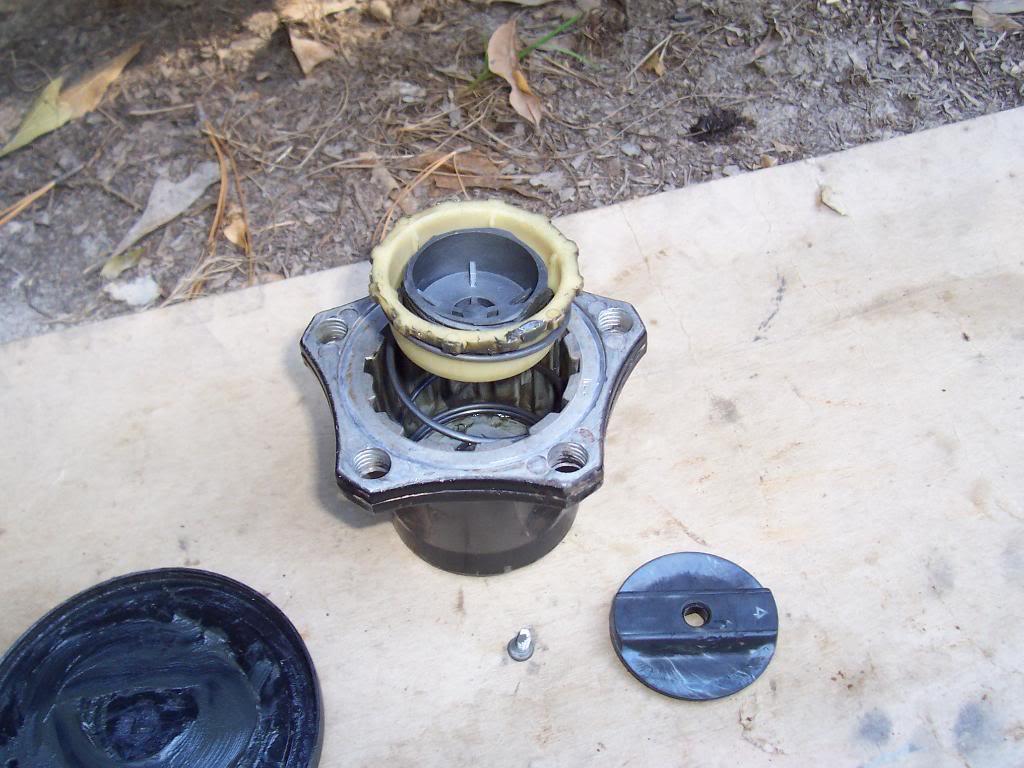
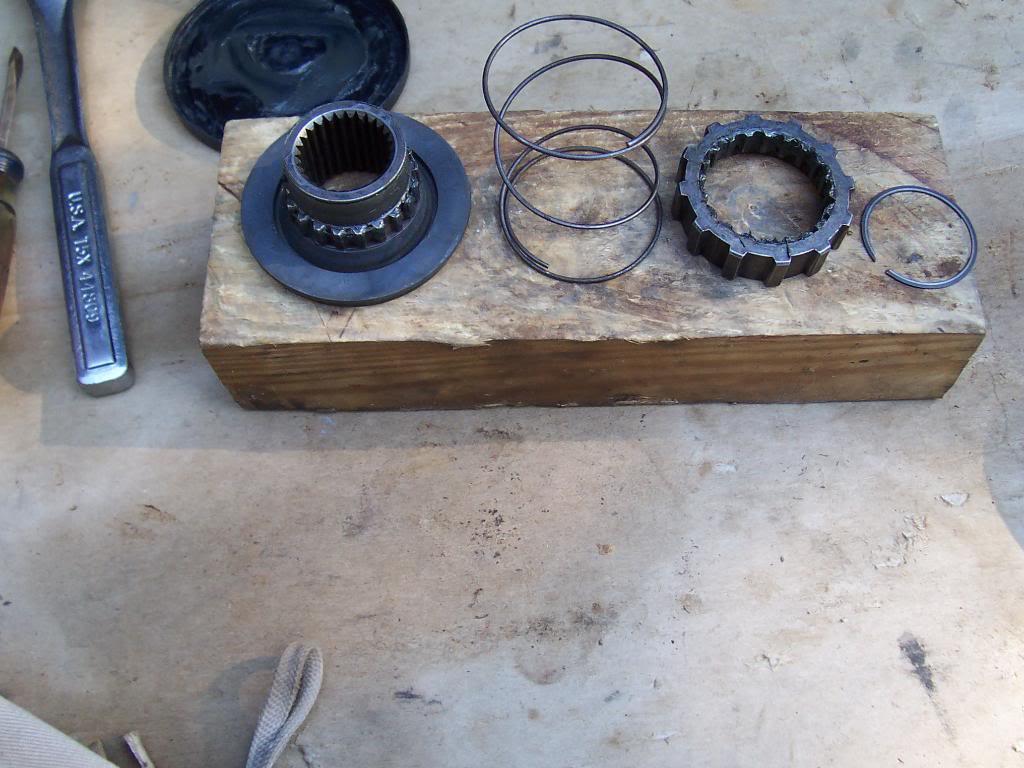
Picture of all the parts that make up one of the lock in hubs. Surprisingly, the FSM does not go into great detail on how to take these apart and put them back together. Took a bunch of pictures that might be useful to others.

0037-2.jpg


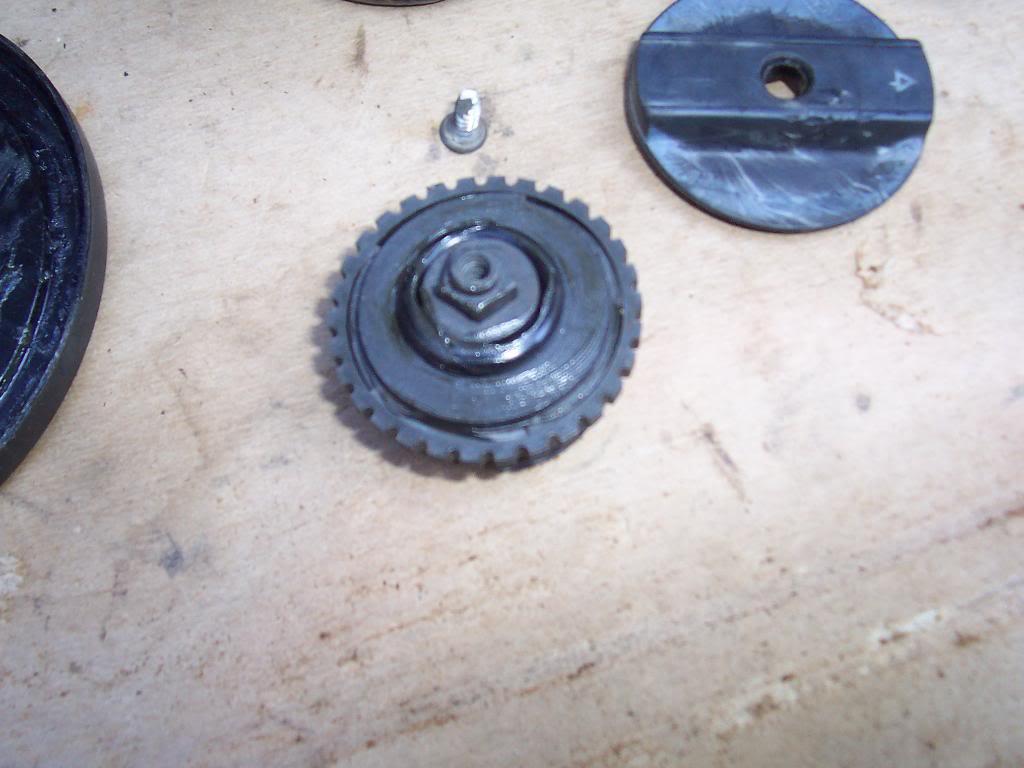
This is an important picture. It shows how the dial "dog clutch" is reassembled. The parts have to screw together just right. This is the unlocked position. Before you grease everything back up, you might want to dry assemble the hub and make sure it is engaging and disengaging all the way. If these parts here are not oriented correctly, the hub will not function properly, i.e. it will not engage or disengage fully. Took me a few tries to get it right.

0045-1.jpg


Lightly greased up all the outer hub parts.

0054-2.jpg


Placed the parts in the hub body. Note orientation.

0065-1.jpg


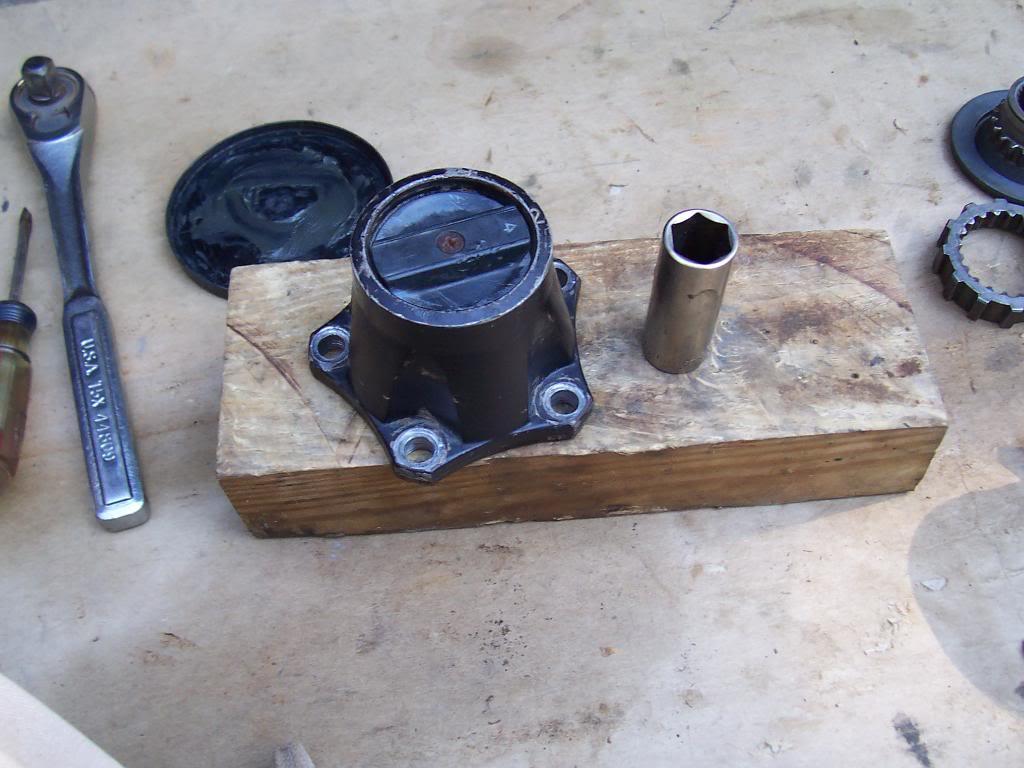
After placing the parts inside the hub, I flipped it upside down, placed a socket in the middle of the hub assembly, pushed down on the hub body, and screwed the twist dial to the dog clutch thingy. That spring is kind of stiff, found it easier to do it this way then trying to squeeze everything together by hand and then fidgeting with the dial screw. This completes the outer hub assembly.

0074-1.jpg


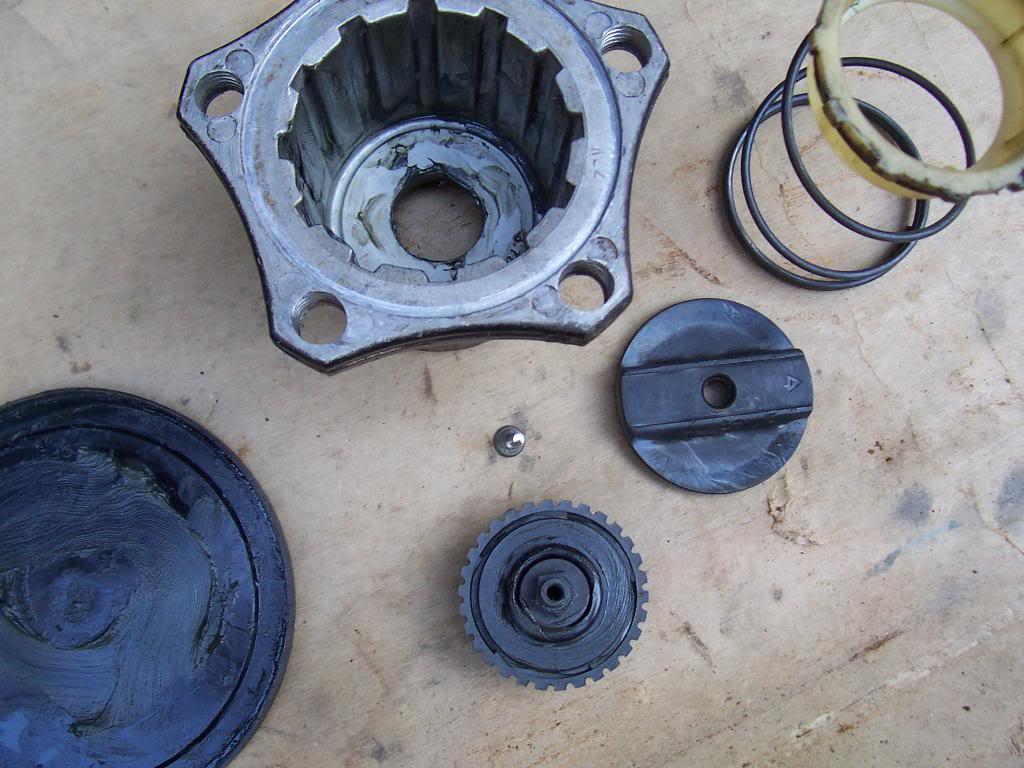
Inner hub parts greased up.

0084-1.jpg


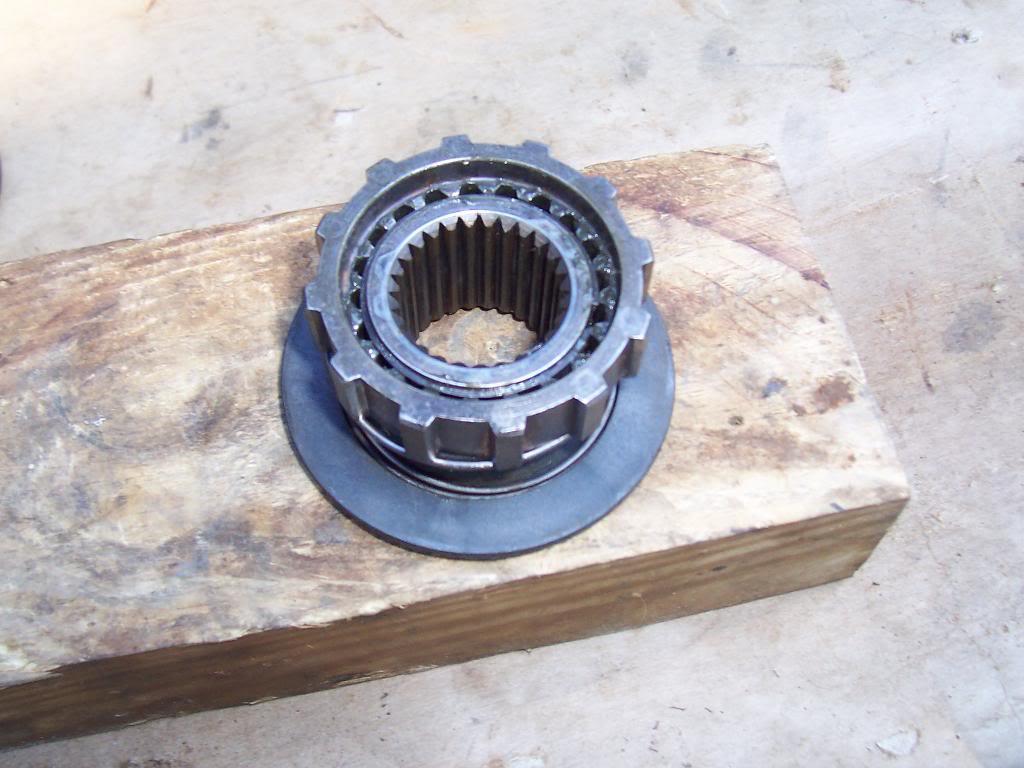
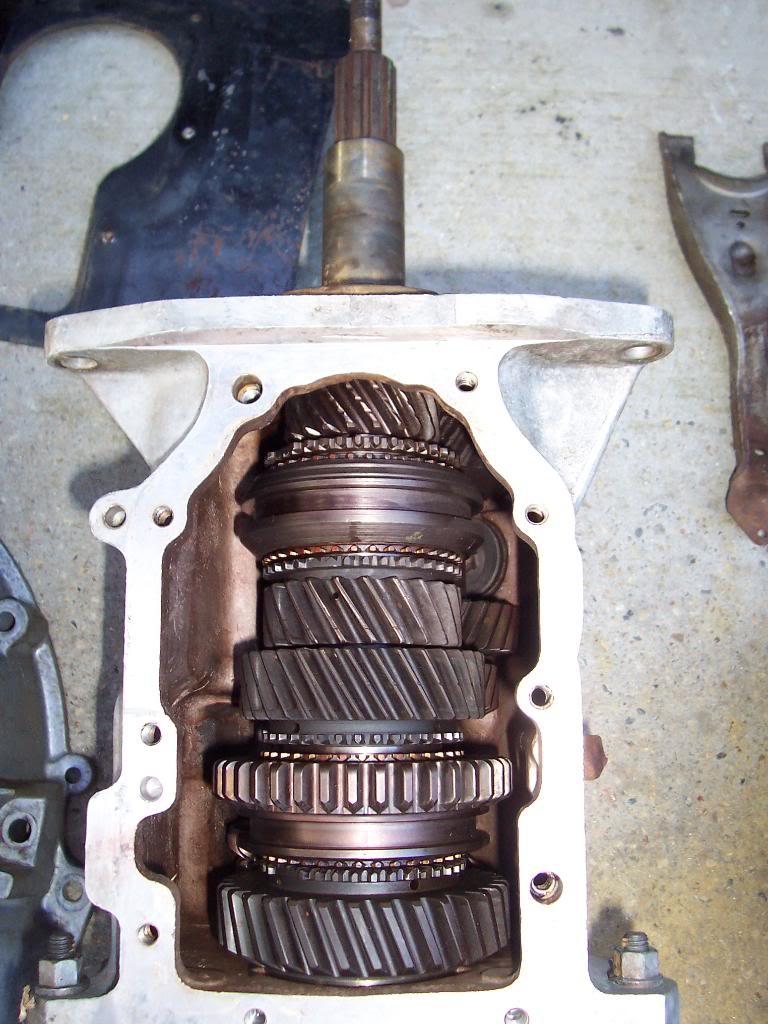
Inner hub assembled. Note orientation of parts, especially which way the locking ring faces. It will still function if installed backwards, but it will not engage the teeth all the way.
0092-1.jpg


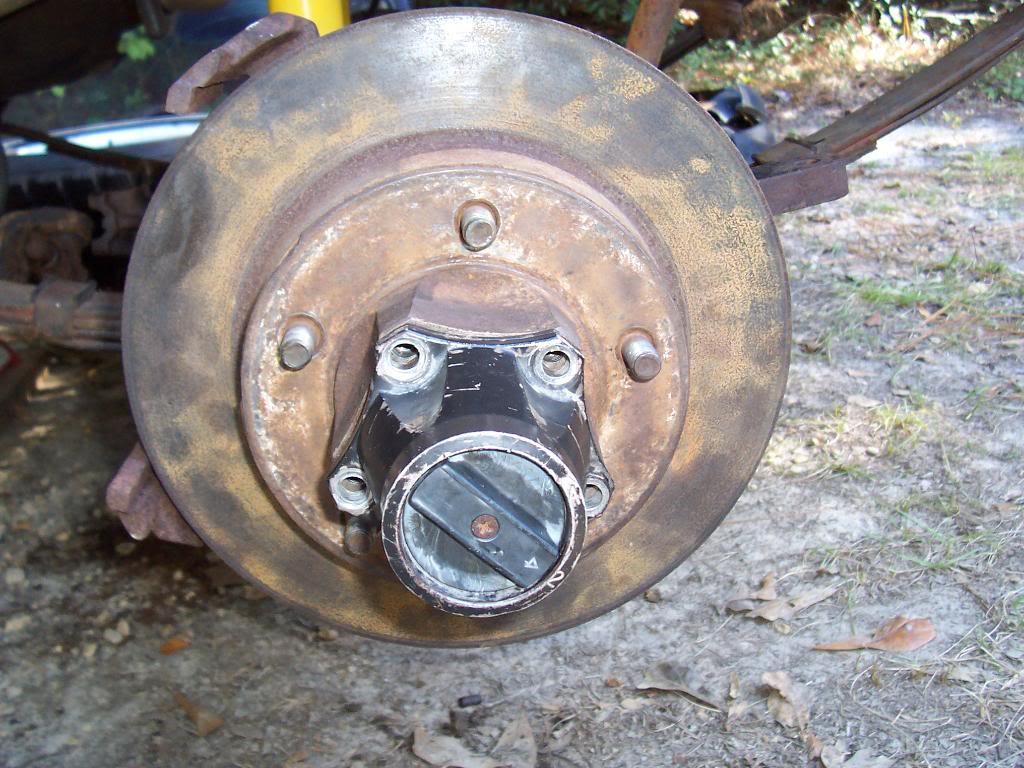
Slid inner hub onto axle shaft, installed snap ring.

0102-1.jpg
 
Last edited:
Slid outer hub over inner hub.

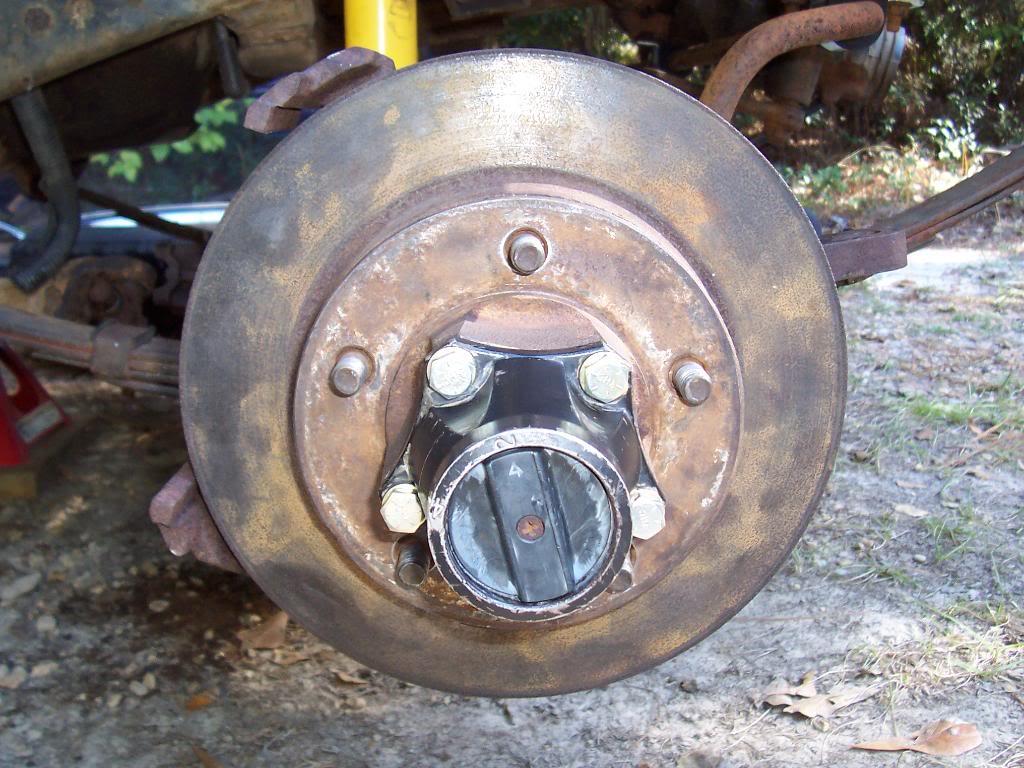
0111-1.jpg


And bolted to the rotor hub. Used red lock tight, new grade 8 bolts and lock washers. I am morbidly curious to see how long these factory 5 bolt hubs will last with a front locking diff? I guess as long as the bolts stay tight?
0121-1.jpg


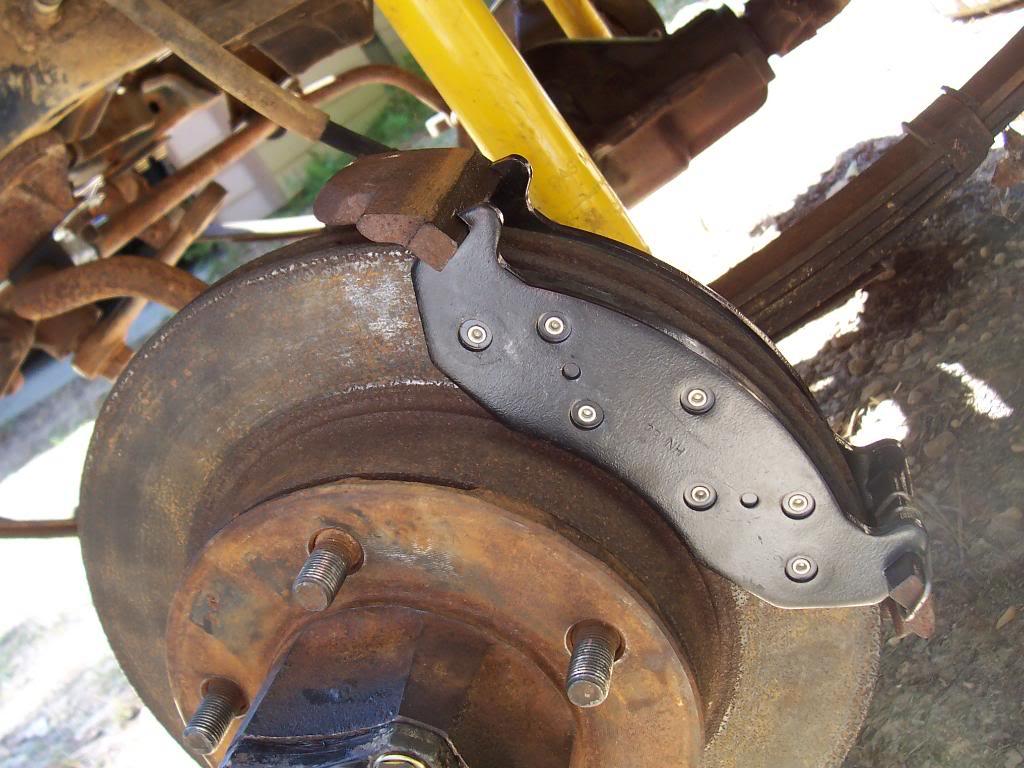
Installed new pads.

0131-1.jpg


Used a pair of good old calipers I had. I did use new caliper bushings, though.

0141-1.jpg


Used my good, used, stock tie rod and drag link to replace this Scramblers damaged items. Installed new poly boot covers over rod ends. The covers came with the complete bushing kit.

0151-1.jpg


Replacement steering linkage installed.

0161-1.jpg


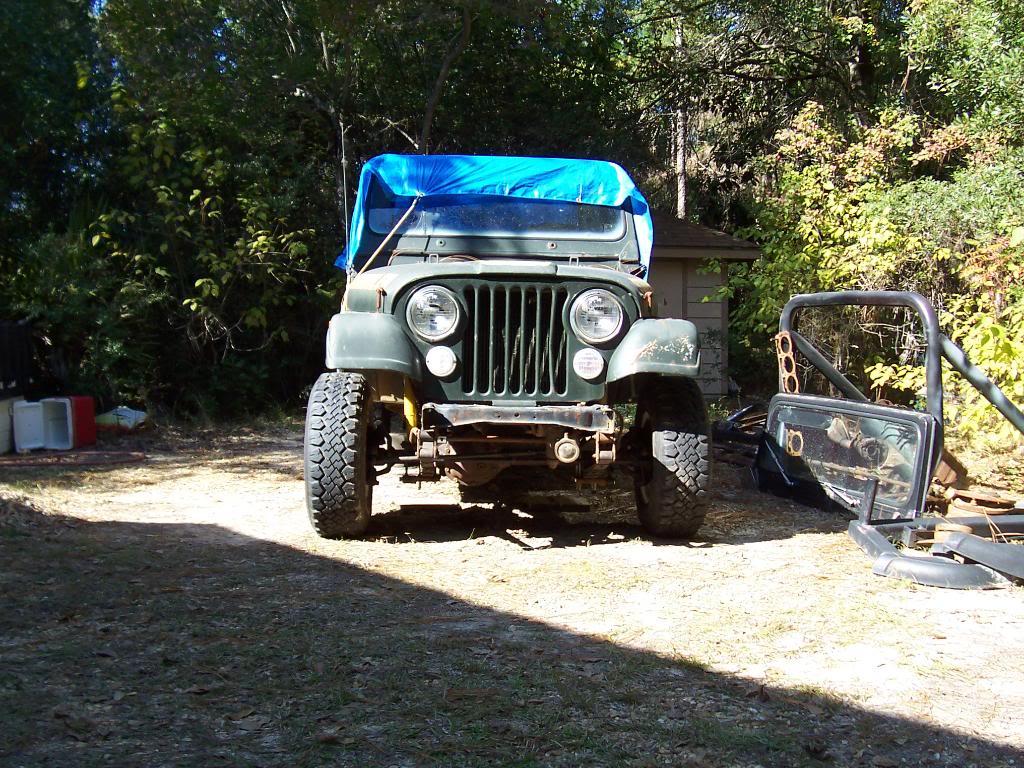
And finally, back on all fours.

0172-1.jpg


Next up, remove transmission, transfer case. bell housing, clutch, etc for a thorough cleaning and rebuild. Then the motor.

That's it for now.
 
Last edited:
I did some more work to project yard Scrambler this past weekend.

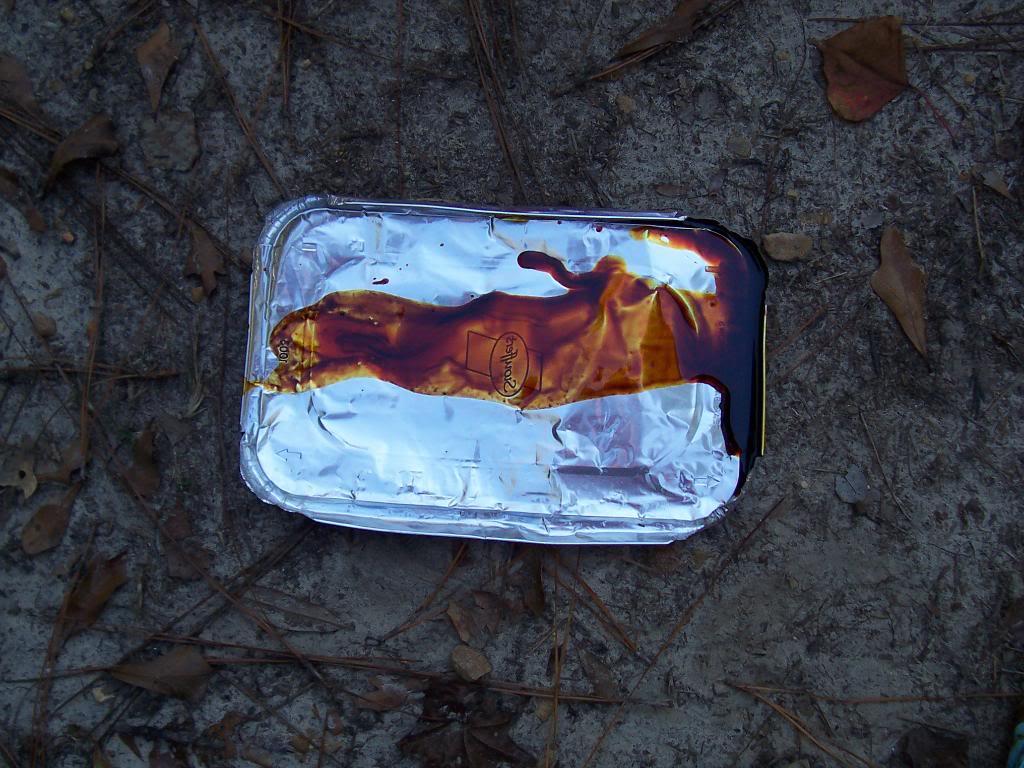
Picture of the oil that came out of the transmission and transfer case. It is red, thicker then ATF but not as thick as gear oil. Smells "funny". Maybe this is the factory proprietary AMC gear lube???

0018-1.jpg


Back on jack stands.

0028-1.jpg


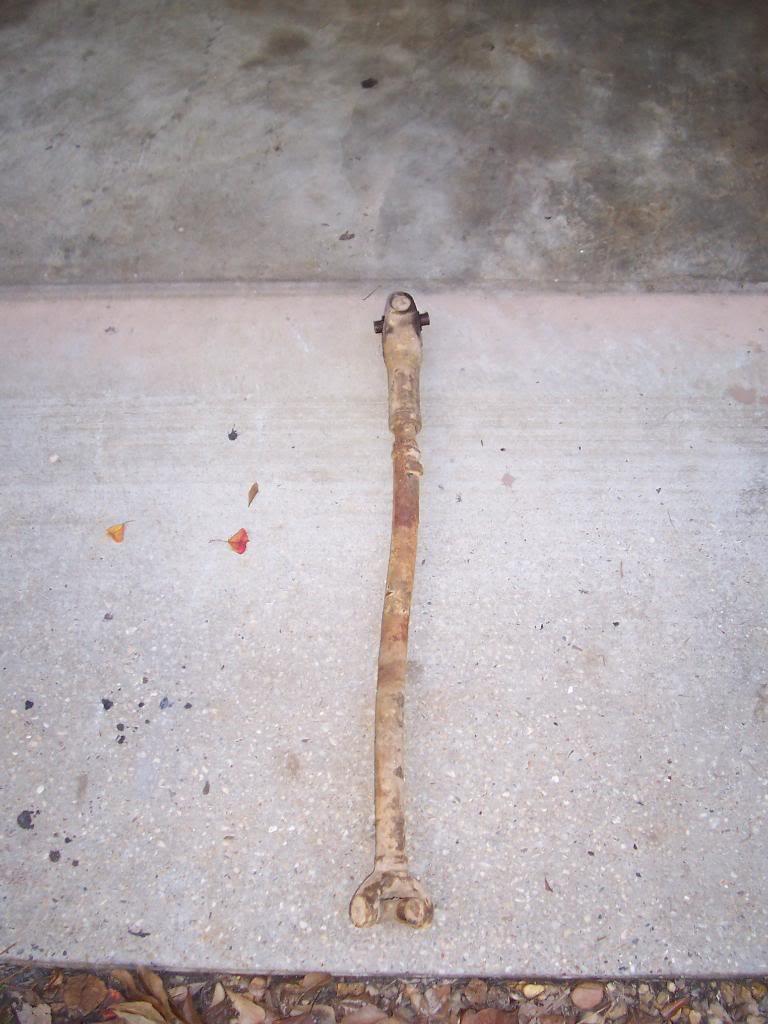
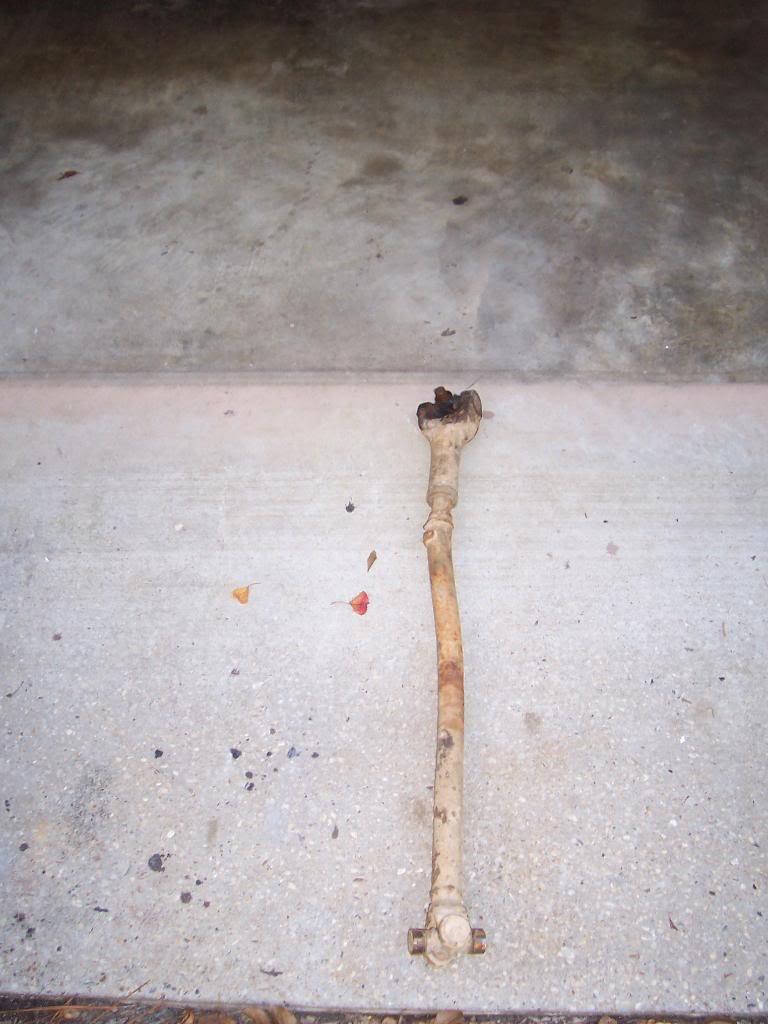
Bent front drive shaft.

0038-1.jpg


0046-1.jpg


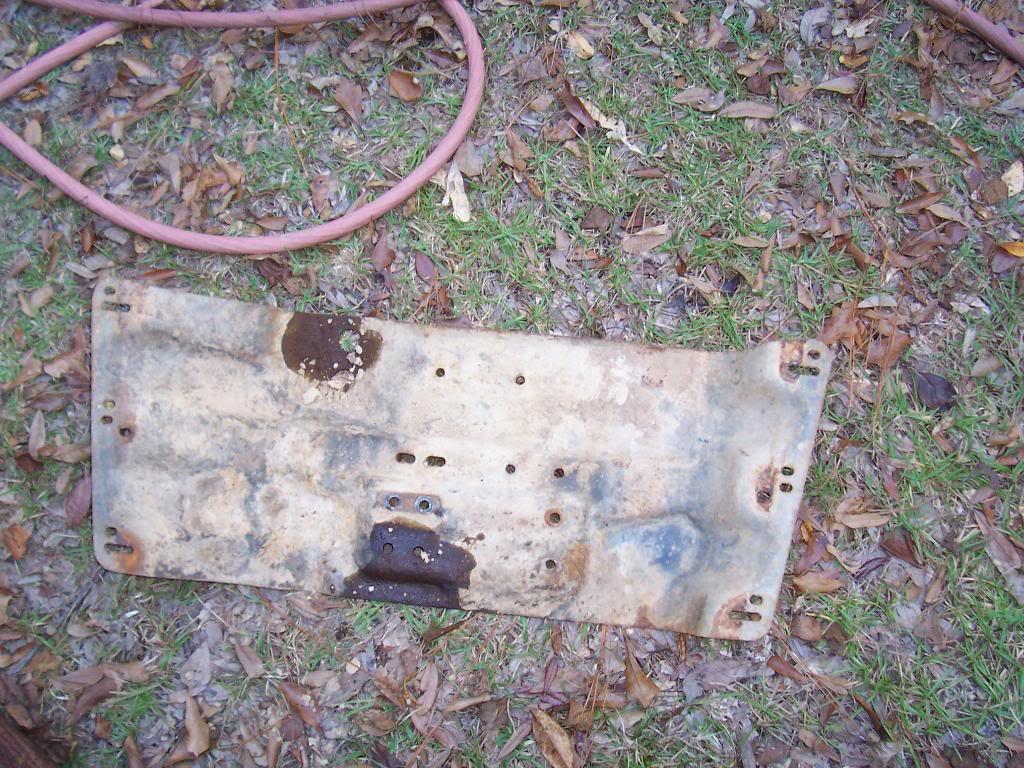
Surprisingly, the skid plate was pretty clean.

0055-1.jpg


The often missing in action Dana 300 shift lever rubber bushing. Elusive little creature.

0066-1.jpg


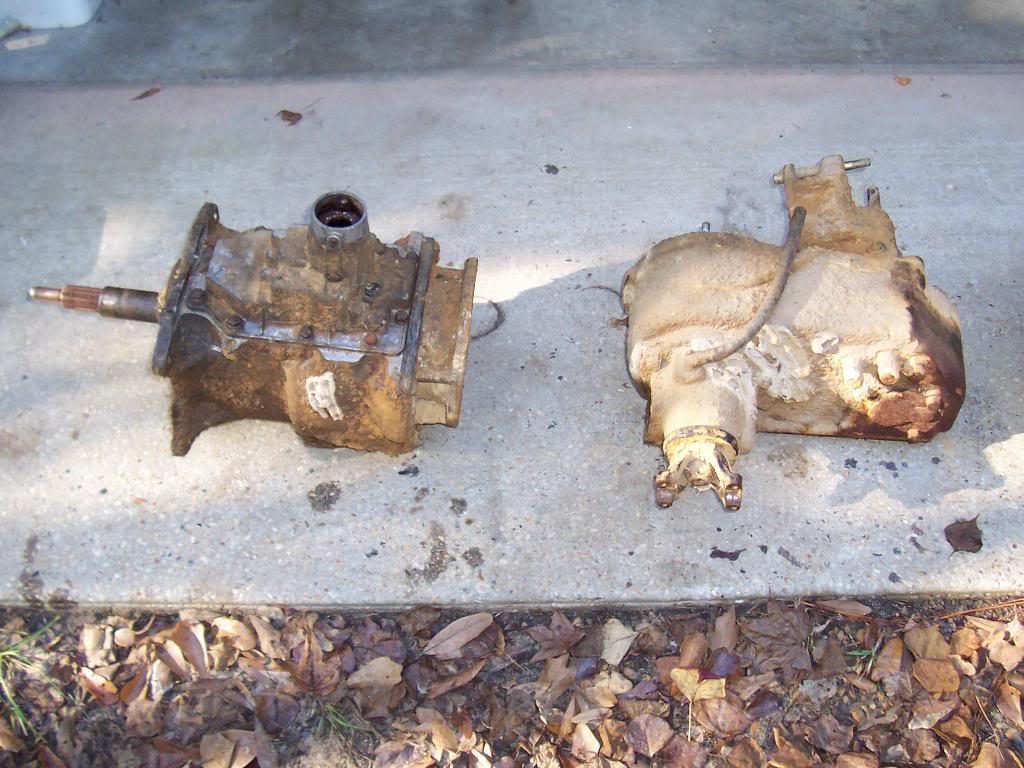
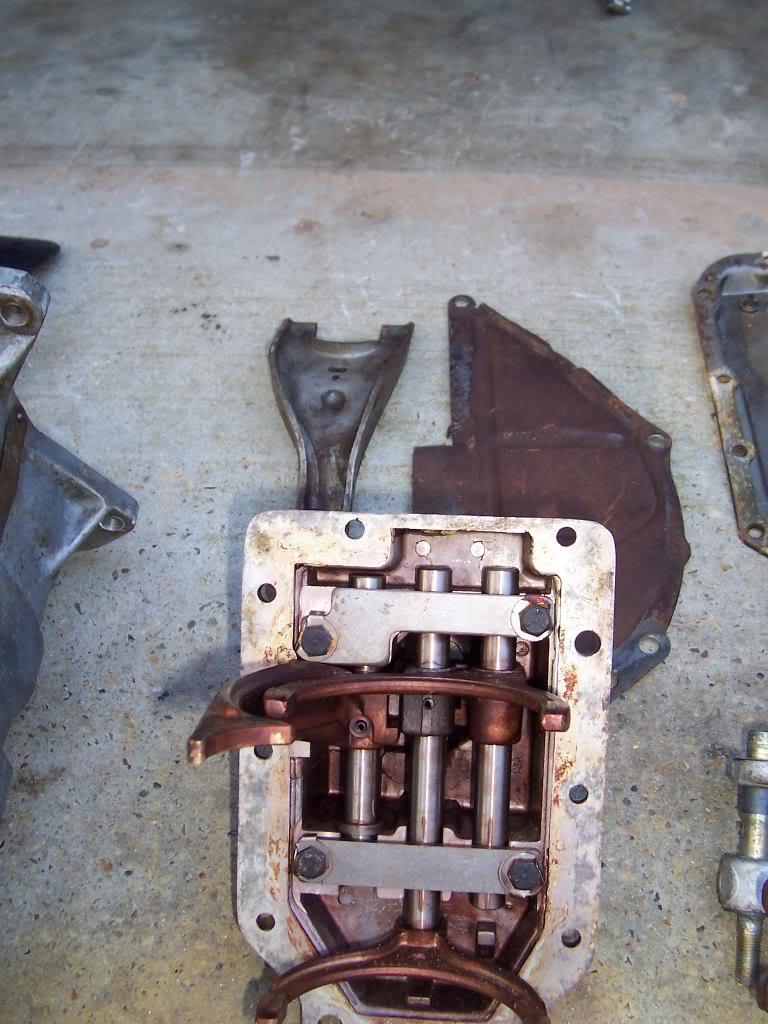
Transmission and transfer case, a little bit dirty.

0075-1.jpg


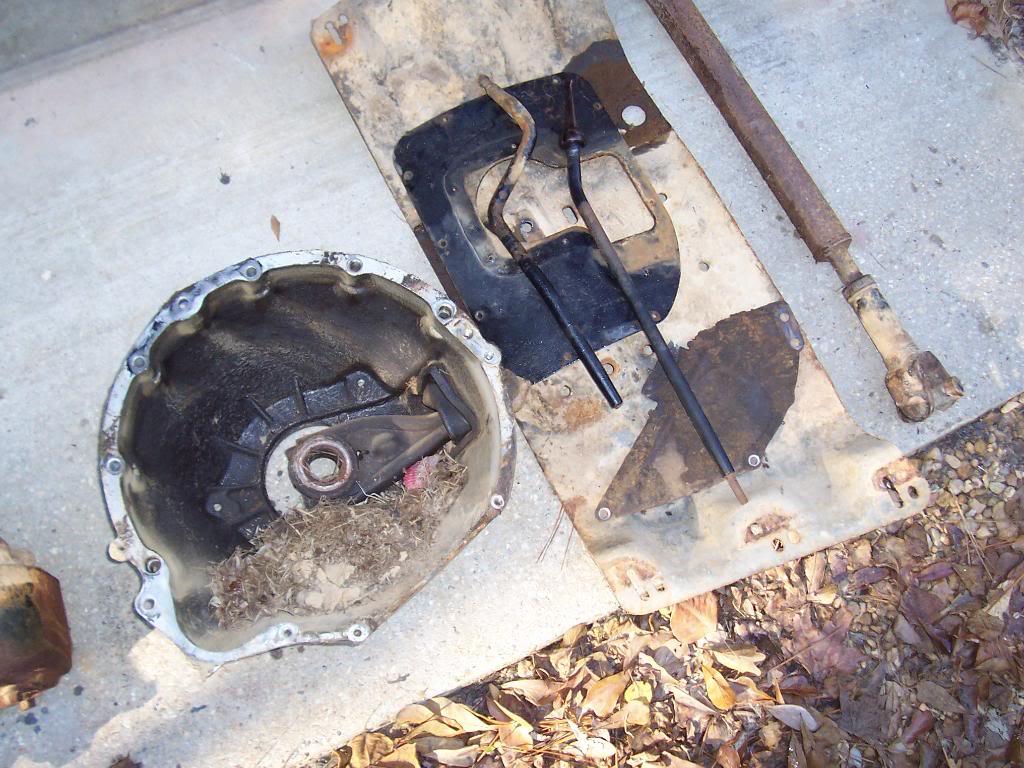
Bell housing, complete with rats nest, skid plate, rear drive shaft, etc.

0085-1.jpg


After an appointment with the steam cleaner.

0093-1.jpg


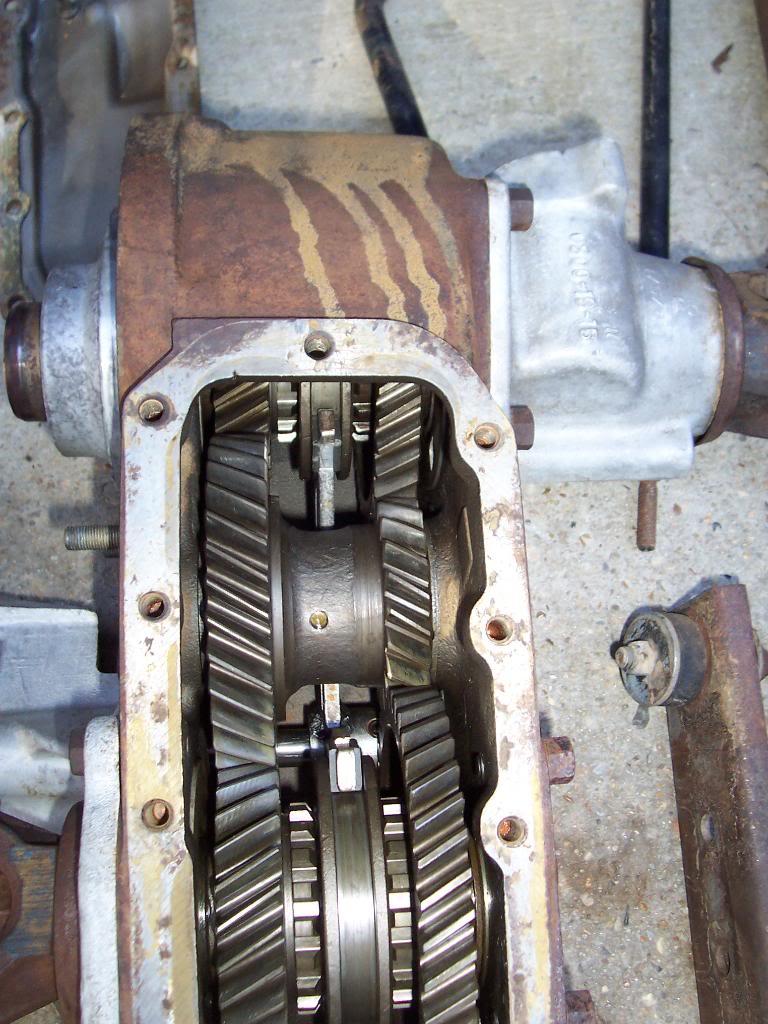
Inside the transmission, looks good.

0103-1.jpg
 
Inside the transfer case, looks good, too.

0112-1.jpg


What ever kind of oil was in the transmission, it stained everything a reddish/pink color. It did not stain the transfer case pieces, though????

0122-1.jpg


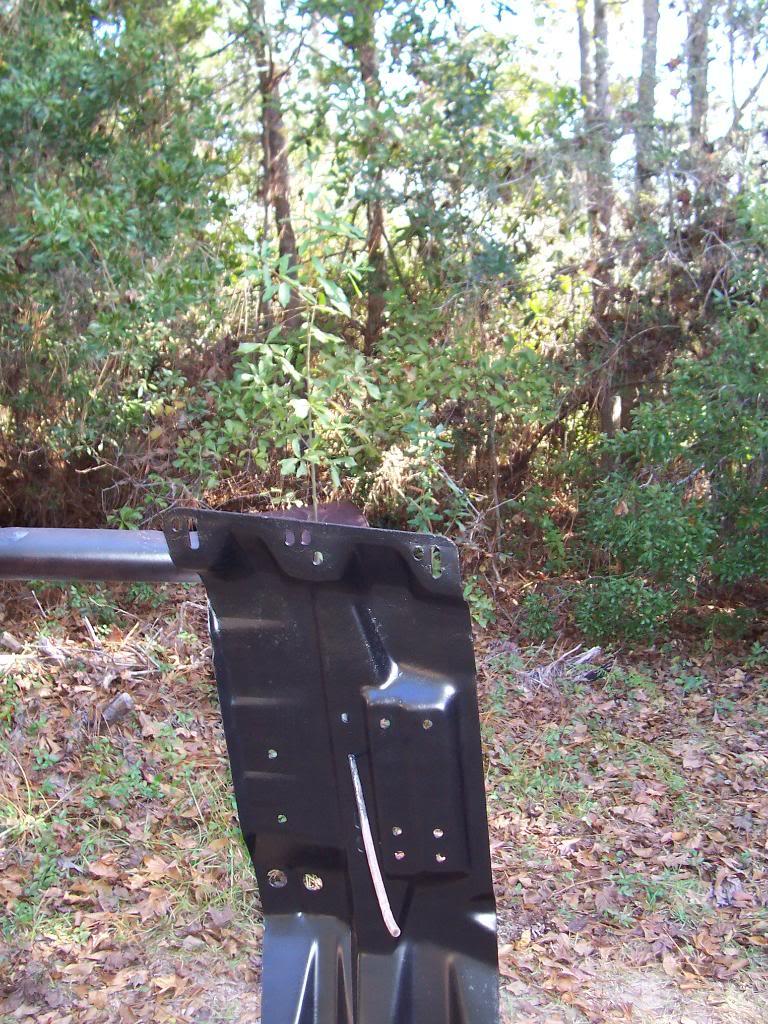
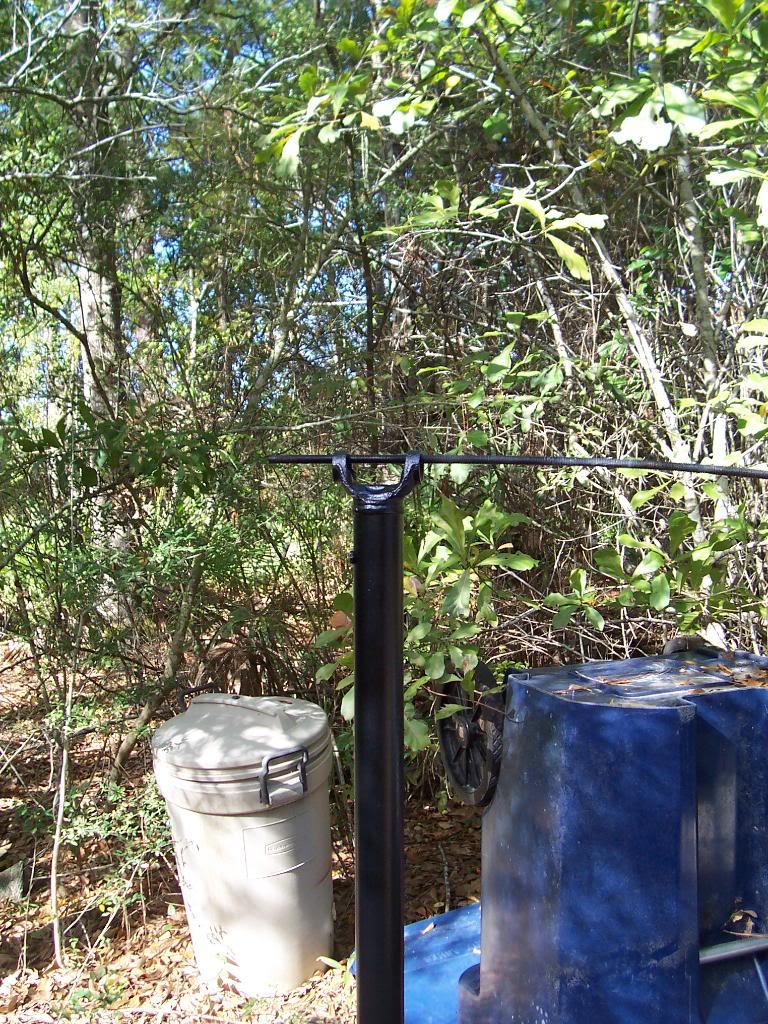
Bought a new grinder, decided to bust all the rust off the drive shaft and skid plate, hit them up with some paint. Nice and shiny.

0132-1.jpg


0142-1.jpg


Disassembled transfer case.

0152-1.jpg


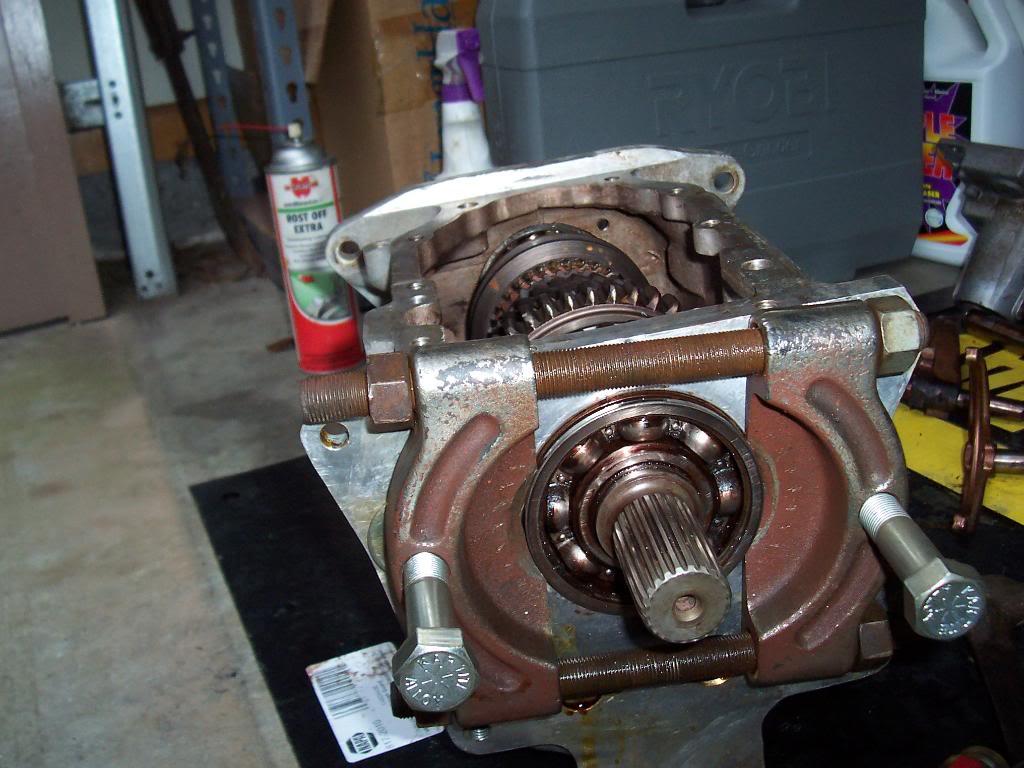
Had to use a bearing puller to pull the front and rear transmission bearings.

0162-1.jpg


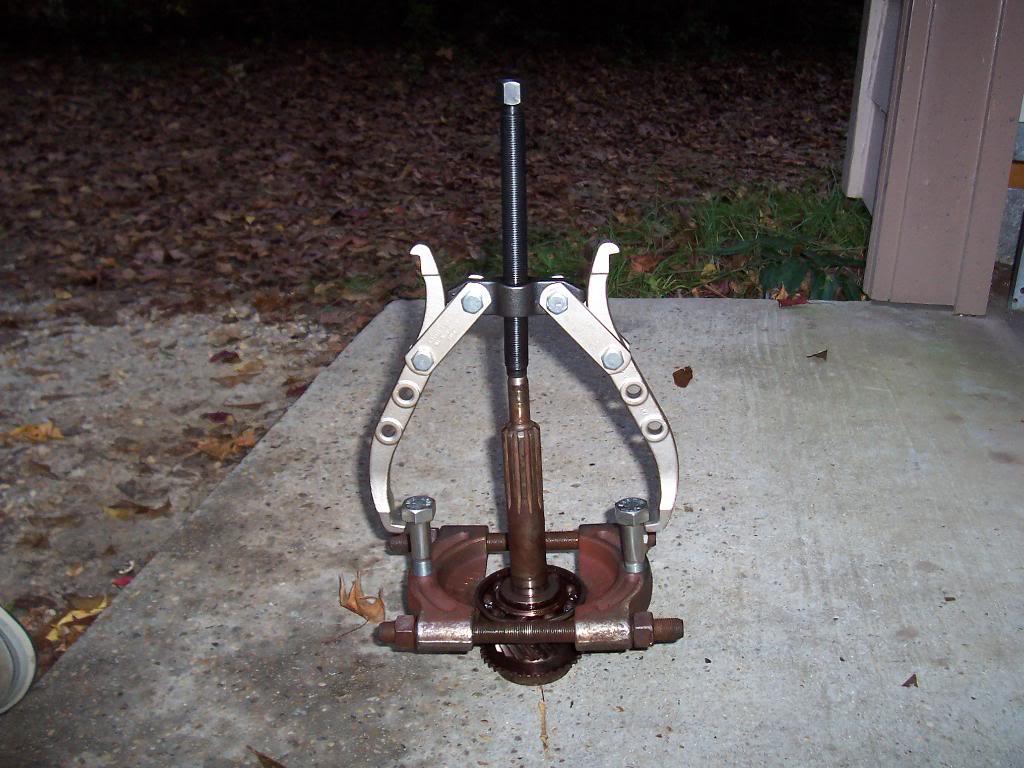
Using the bearing puller to pull front bearing off of the input shaft.

0173-1.jpg


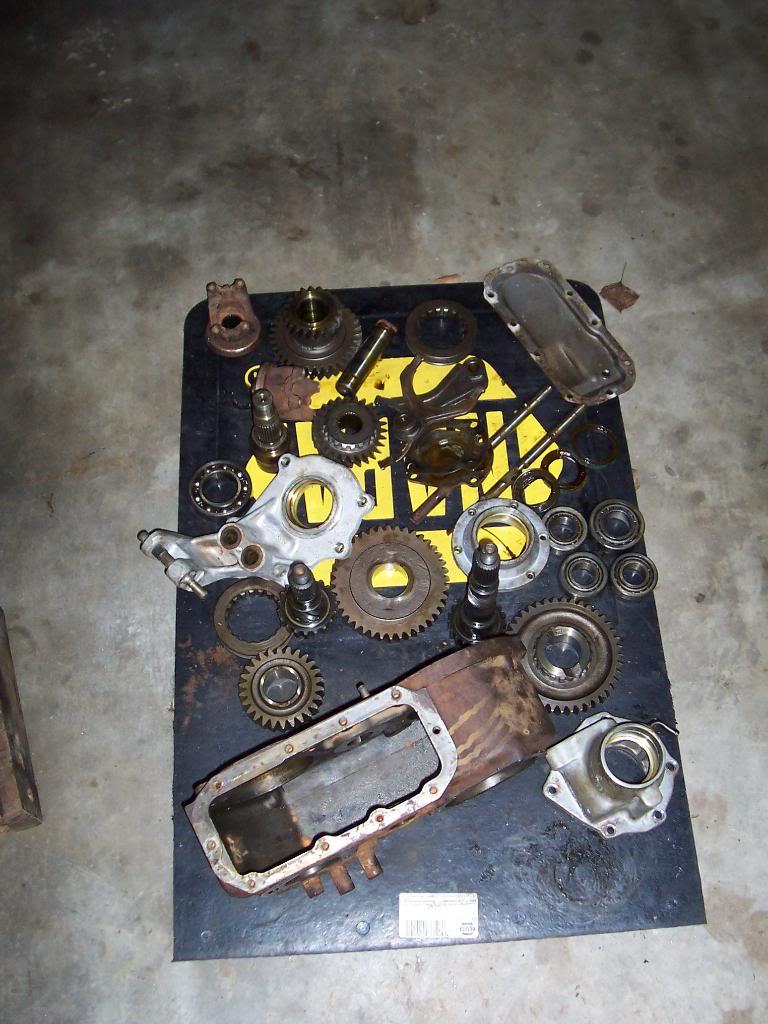
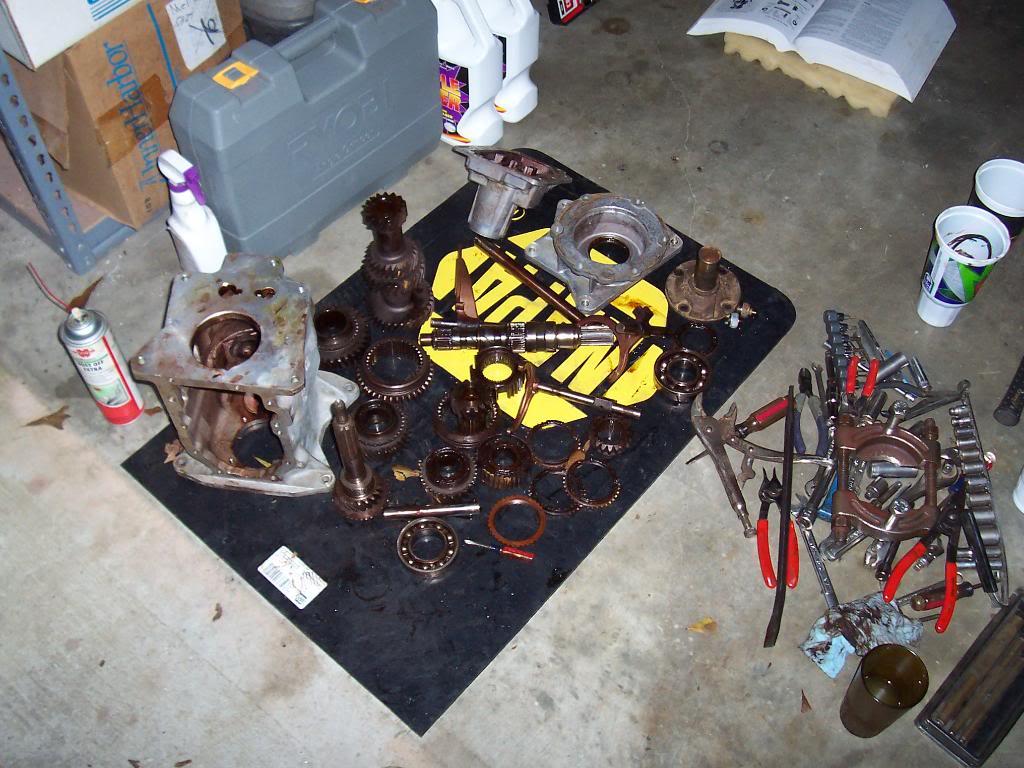
And the transmission in a million pieces.

0182-1.jpg


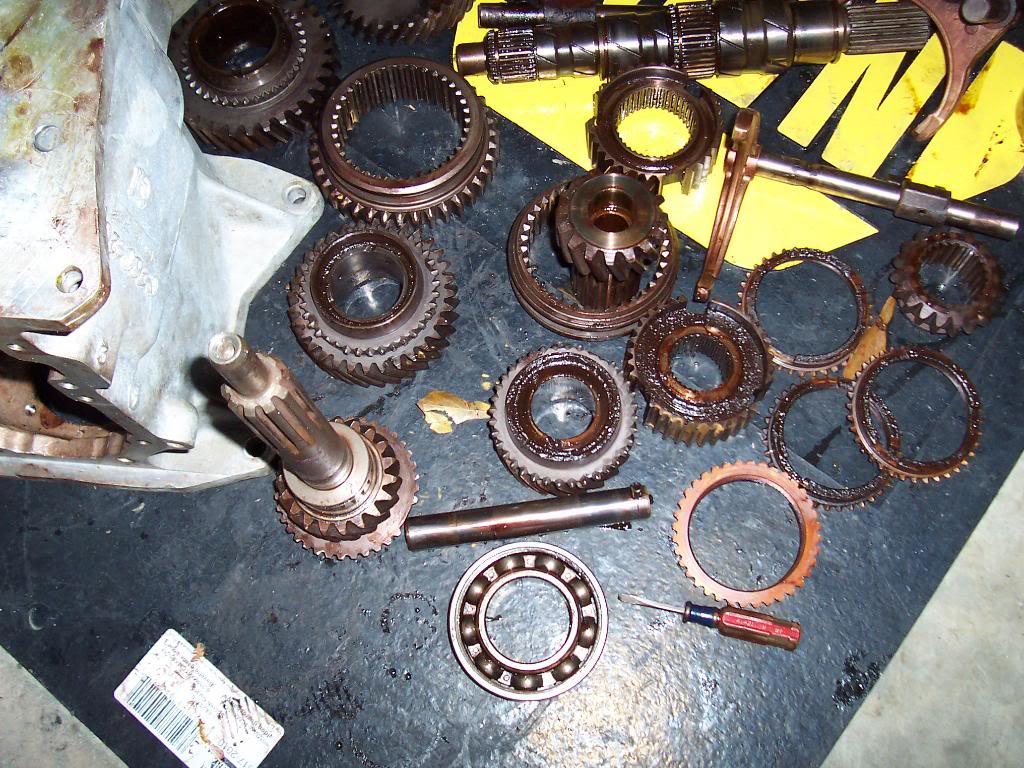
Another picture of the transmission pieces. Even after blasting out the inside of the transmission with the steam cleaner, some of the old lube gunk stayed behind.

0191-1.jpg


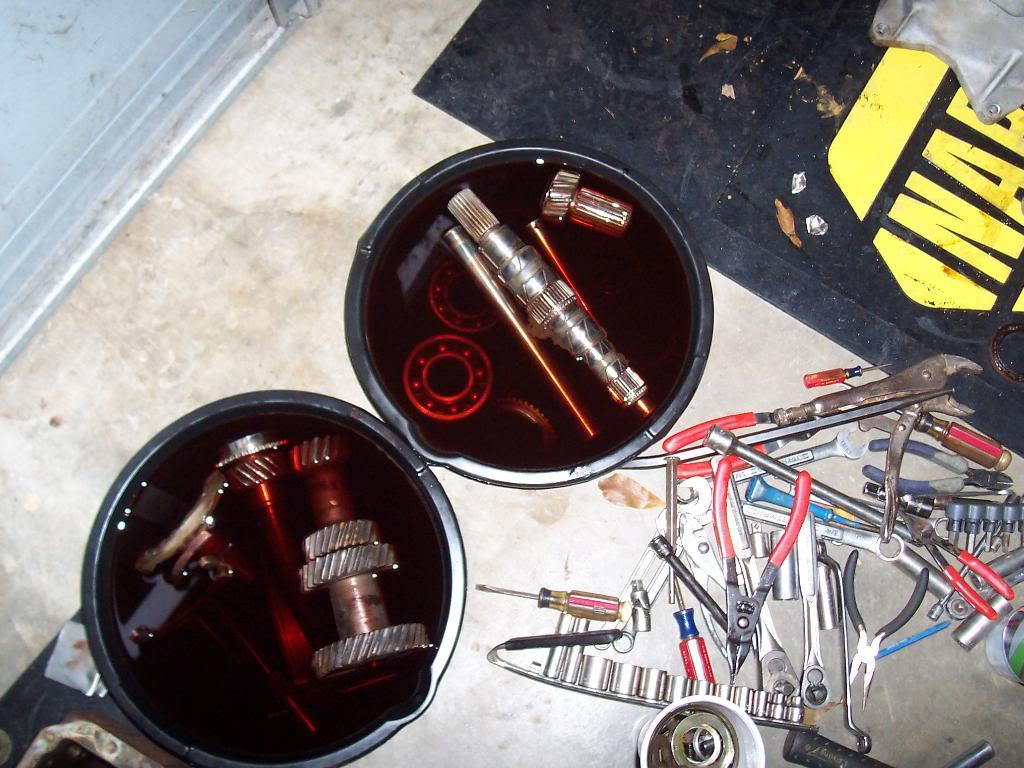
Soaking transmission pieces in Purple Power.

0211-1.jpg
 
One last picture, looks kind of sad without its "guts" intact.

0201-1.jpg


That's it for now.
 
Should have the transmission back together tonight, will update thread tomorrow. Plan on rebuilding/installing the 4:1 gears in the Dana 300 this weekend:thumbsup:
 
Plan on rebuilding/installing the 4:1 gears in the Dana 300 this weekend:thumbsup:

I'm looking to do the same soon. But could you do a little write up on the 4 to 1 install? Do you plan using a press or the old hammer and drift? Thanks in advance!
 
I always enjoy watching the journey and the end results.... Thanks for taking the time to share it with us.

z :ZZZ:
 
I'm looking to do the same soon. But could you do a little write up on the 4 to 1 install? Do you plan using a press or the old hammer and drift? Thanks in advance!

I wll do a write up on the 4:1 gear installation in my Red Scrambler build thread:cheers:

Since I have access to a shop press, I always use the press. Makes assembly and dis-assembly much easier and safer. In reality, you could probably use a hammer and drift. While these parts are a "press fit", they are not as tight as a fit as say an axle bearing. But, the press makes it much easier:wave:
 
I always enjoy watching the journey and the end results.... Thanks for taking the time to share it with us.

z :ZZZ:

No problem, I am just glad somebody actually looks at all the stuff I post up:cheers:
 
Back
Top