• Notice for iPhone users: DO NOT use the image size reduction option when uploading photos to the forum. This causes portrait images to post as landscape. We have added a warning to the image insert pop-up as well.

Project Panel Replacement

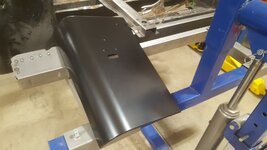
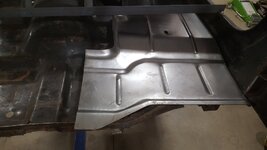
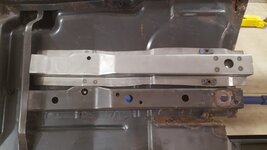
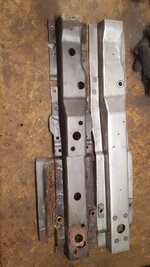
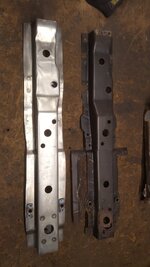
Last piece of the puzzle came in yesterday.
It is from Keyparts... it looks very close and nice quality.
First time ordering anything from them.

I will hopefully be getting to this after stacking the rest of the wood and dealing with the snow coming through tonight.
At least all the parts came in a timely fashion with all the delays and holiday stuff going on... very excited.

cb

20211217_165048_resized.jpg
 
I have that same Key corner to install on CJ7 Project Caroline. I look forward to learning from your install…
 
Well, I gave it my best shot, but the weather beat me... it always does.
I got like 90% of the wood up...

20211218_130403_resized.jpg

It snowed all night and now I am heading out to clean up the mess.
I did get a little bit last night to really go past the point of no return.

20211218_173530_resized.jpg

20211218_175149_resized.jpg

20211218_175152_resized.jpg

20211218_175555_resized.jpg

20211218_175637_resized.jpg

20211218_185310_resized.jpg

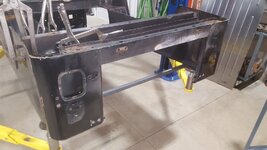
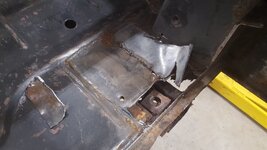
I got the Passenger side (inside part of the rear cross member) off and realized that the corner panel is bent and full of bondo as well. So I need one more part again... oh well.

I made good progress, so that is important.

The other side needs cleaning and then the new rear crossmember needs some holes drilled.

20211218_185315_resized.jpg

1639918032200.jpeg


20211218_185327_resized.jpg


I realize that this is probably NOT how the factory built these, but with the floor out and needing the rear cross member, I need to do things a bit unconventional.

I plan on doing something more unconventional for the bracing when flip it.

It came to me in a dream... or car show... not sure.

cb
 
This thing definitely took a shot to the rear.
I didn't notice it with the first go round, but someone didn't even remove the gas filler plastic bezel and just pancaked bondo right up to it.

20211218_185354_resized.jpg

It is hard to show the dent, but there is one that runs through the panel... ordering one up right now.
Keyparts... Quadratec... should hopefully be here for next week when I have a little time off.

cb
 
Snow cleanup, check... we didn't get a ton, just enough to be annoying.

20211219_103536_resized.jpg

Then it was onto a problem area that I had with the previous rebuilds, and wanted to make an attempt to get the bed "inside" the rear channel.
I trimmed and nipped and tucked and finally it was inside, opposed to outside.

20211219_150242_resized.jpg

I think it will work if I have enough hands to get it in there and then where it is supposed to be, once it is on the Jeep.

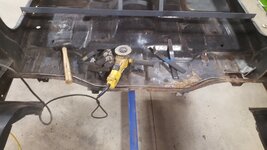
Next was continued cleanup of the bad areas... cave and pave, lots of bondo over rust to remove.

20211219_152822_resized.jpg

20211219_152827_resized.jpg

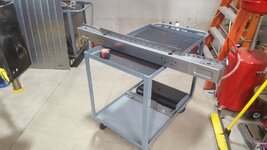
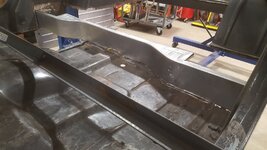
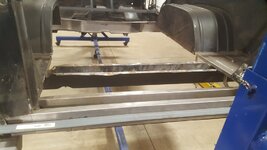
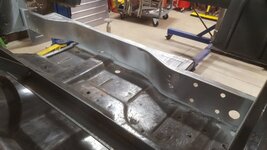
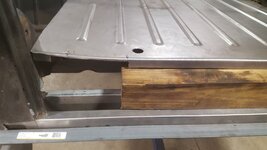
Finally we had some room to put in the rear cross

20211219_162554_resized.jpg

It fits, which is nice, but I had to cut a lot of the rear corners out to get it to where I wanted it to be.
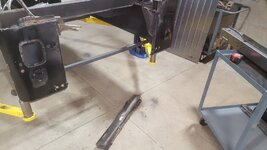
So, I need more steel now for bracing and I was out, so I will get some today... and wait for the other corner to come in.
But, hopefully I can flip it back over and continue once it is braced fully.

20211219_163503_resized.jpg

cb

Bonus level picture
20211219_162608_resized.jpg

That level needs some cleaning... lol.
 
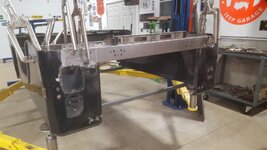
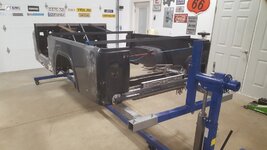
Bracing complete so I can flip it and get it back on the rotissierre.

20211220_172722_resized.jpg

20211220_172726_resized.jpg

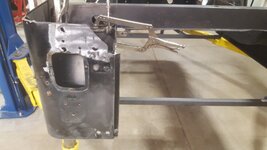
Rear most passenger side panel where the foot of the rollbar attaches.
This was not attached when I got the tub and it has been a source of issue when flipping.
I got it the new one trimmed up to fit around the cutout and now installed.
Doesn't seem like much, but easily 10x on/off to get this to fit right and it is no fun.
20211220_173638_resized.jpg

20211220_173654_resized.jpg

20211220_182541_resized.jpg

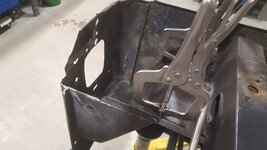
It needs to be attached permanently, but right now it is clamped in place.

I couldn't pass up to see the fit of the floor... it is tight and needs some tweaking, but all in all, happy.

20211220_182533_resized.jpg

20211220_182558_resized.jpg

Trying to get a lot more of this done in the next few days... there is a lot to do here!

cb
 
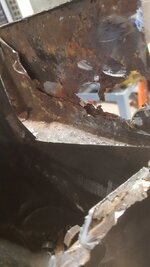
More digging... have to keep cutting till you find good metal... and I am finding stuff that needs replacing.

20211222_180514_resized.jpg

20211222_180518_resized.jpg

20211222_180528_resized.jpg
20211222_181301_resized.jpg


20211222_182255_resized.jpg

20211222_182303_resized.jpg

Classic Enterprises to the rescue!

20211222_182543_resized.jpg

20211222_182549_resized.jpg

There is a lot of work to be done, but I got a lot cut out last night and now trimming and making some small repair pieces is next on the list.

cb
 
20211223_165333_resized.jpg

Tackled the support rip that was missing the nut/bolt area and rust underneath.
Peeling more of the onion.

20211223_170827_resized.jpg

Came out finally and the new one went in and fits, but doesn't have the right holes in it.

20211223_171240_resized.jpg

Measuring and drilling... looks better.

20211223_174642_resized.jpg

Need to clean up the foot of the b pillar... this was not pleasant...
I think I have used 5 cutting discs so far...

20211223_181832_resized.jpg

But I have nice clean metal to weld to now once we get the new floor in place.

20211223_181845_resized.jpg

I don't have a great picture of it, but this floor where it meets the rockers is missing metal and it is somewhat rusty. I am glad I bought full floors.

20211223_181953_resized.jpg

Everything on that side is done now and waiting for the floor support to go back in ... I have to attack the middle and other side next.

20211223_182057_resized.jpg

Hole is getting bigger :)

20211223_182109_resized.jpg

A lot has been done, I am happy.

cb

Throwback pic... three weeks ago today it looked like this and I was just bracing it up. So it is good to go back and review where you have been so you know where you are at... one step at a time.

20211201_175111_resized.jpg
 
In your opinion, how far is too far gone for a tub rebuild?
 
In your opinion, how far is too far gone for a tub rebuild?

So, this is a tough question as each ones seems to rust/rot differently.
The biggest and hardest issue I have is when the A and B pillars are wiped out, as is the cowl upper triangle section.

Also cost. This was a very good tub to start with and most people would have just fixed the floor and run it... probably be fine if you kept it indoors and didn't get it into the water/salt to often.

I saw things though that I didn't like and I felt it needed to be addressed.
This snowballs.

It also gets to be more than a cost of a replacement tub.

I have always wanted to build one from scratch.
Set up a jig, buy the panels, and get it all together from scratch with all the Classic panels I can get and then fill in the rest with key parts and then some MD Juan stuff if that is all that is left.

Main issue with this? I think I figured it would be $6-7K in parts/shipping and then the labor.

"Brand new tub" with the best parts, but at what cost?
Well, seeing that a jig would allow it to be assembled pretty quickly, labor would be down over time, but all in all with prep time, I think 100 hours maybe... and then what? Add in labor costs, even conservative and you have a $10K tub.

That is the price of 2 new ones essentially.

So here is my list... not complete, but showing what my thoughts were if I was to use the existing silver tub I have on that 83 Scrambler.
Basically how I was going to use the silver tub and get the needed replacement parts as that thing is pretty wiped out.
I may still do that, but I would spend time building a jig out of an existing frame and then just assemble it in place.

Rear Side Panels
$640.00​
Cowl Panel
$344.99​
Full Floor Section
$789.99​
Toe Board
$190.00​
A Pillars
$120.00​
B Billar Repair
$110.00​
Floor Riser
$145.00​
Rear Floor Section
$490.00​
Corner Panels
$160.00​
Rear Wheel Houses
$370.00​
Rear floor supports
$210.00​
Tailgate End Support
$215.00​
"Jeep" Stamped Panel side
$330.00​
Shipping
$500.00​
$4,614.98​

So all in all these prices were from a couple months ago, but I was into it for that much if I got all new parts... so I decided to get a better tub to start with.

And even now, I am into it for probably ~ +/- $2K, I haven't added up the receipts, but I have a lot of metal that has shown up, plus the initial purchase cost.

So, the bulkhead isn't gone like was mentioned, but yet, I think you need to start with something that has bones to build or I hate to say it, it is better to find another original tub, or get a new one, which has its set of inherent problems.

cb

PS> This doesn't include the cutting discs, spot welds drill out, saw-zall blades, welding wire, etc. that will be consumed/used during the process as well.

 
Last edited:
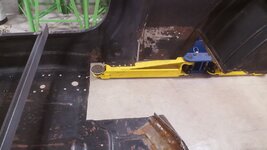
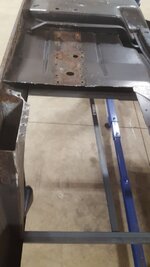
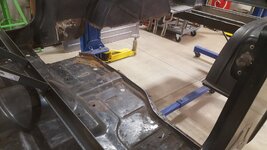
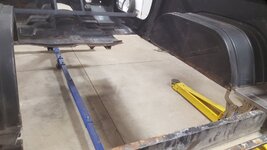
I had a great day off yesterday, got what I think is a ton of work done, but it just doesn't show up that well...

20211224_163215_resized.jpg

20211224_163227_resized.jpg

20211224_163236_resized.jpg

I have the ability now to put the step up piece in place and then get the rear situated... the front floors will be later. I need this to be solid once again!

cb
 
Great work. I always feel guilty when I check this thread- I buy a replacement hood or fenders if there's a dent. I can't count the Jeeps ive passed up on just because there's a bubble in the paint. I hate body work...
 
Great work. I always feel guilty when I check this thread- I buy a replacement hood or fenders if there's a dent. I can't count the Jeeps ive passed up on just because there's a bubble in the paint. I hate body work...
Don't feel guilty... it is rare that I have time to get stuff done... right now in between seasons I have done most of the chores and I have been sneaking away for a couple hours each night. It isn't easy, but I try to put in the time so I can get stuff accomplished. This tub was in pretty good shape. It still requires a ton of work, but I don't think this is body work... body work to me is the finish stuff... I am just hacking and replacing :)

cb
 
Cutting holes and getting ready for welding...

20211225_164540_resized.jpg

Cutting out the wheel wells that will be replaced and getting the rear weld through primer painted.
20211225_164552_resized.jpg

Almost tucked the back edge in the back... it is close, but not perfect.

20211225_173412_resized.jpg

Final shot... needs to be removed and more trimming so it sits fat and further back, but I got pretty lucky with how it fits.
Since it was hit in the rear, the driver side rear corner is pinching down... need to address.

20211225_173505_resized.jpg

cb
 
and the dumba$$ of the year award goes to... me :(

In my haste, I did something that I didn't notice until last night.
Nothing was adding up, nothing was lining up... couldn't put my finger on it.

Grabbed a beer, stepped back and then I saw it.

One thing is not like other here.

20211226_163349_resized.jpg

20211226_163408_resized.jpg

20211226_163414_resized.jpg

What is different?
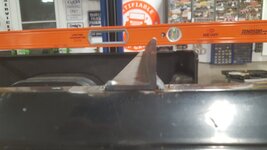
Well, in getting the new angle iron to brace the tub so it didn't flex... I got different sizes.
Different sizes means different level-ness.

The bed floor I was working on (more on that later) and it was level, but the top was not and I kept scratching my head.

Lesson learned / moral of the story, make sure when you are looking for level... it can actually be found.

cb
 
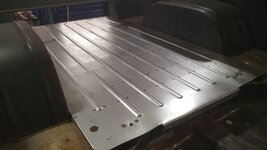
In my attempt to "tuck" the floor into the rear cross member, I had a heck of a time trying to figure out why it wouldn't sit flush once installed.
I got it in there after some trimming, but it wouldn't sit.

Step back and it hits me... the cuts classic put in the fold down weren't big enough, or they weren't in the right places at least.
picked it back up, trimmed it out and boom... very cool flush mount.

20211226_160348_resized.jpg

20211226_160356_resized.jpg

20211226_160400_resized.jpg

20211226_162537_resized.jpg

20211226_162705_resized.jpg

Now the floor fits into the channel and fits flat (for the most part) and most all lines up. It is taking shape.

cb
 
Back
Top