• Notice for iPhone users: DO NOT use the image size reduction option when uploading photos to the forum. This causes portrait images to post as landscape. We have added a warning to the image insert pop-up as well.

Retitled: 83 Scrambler resto-mod finally gaining momentum

there's ALWAYS one

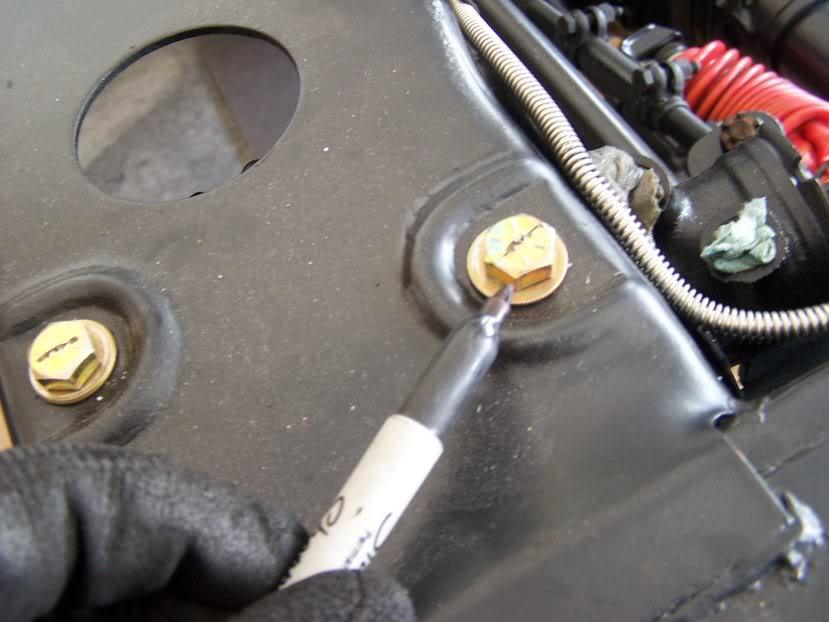
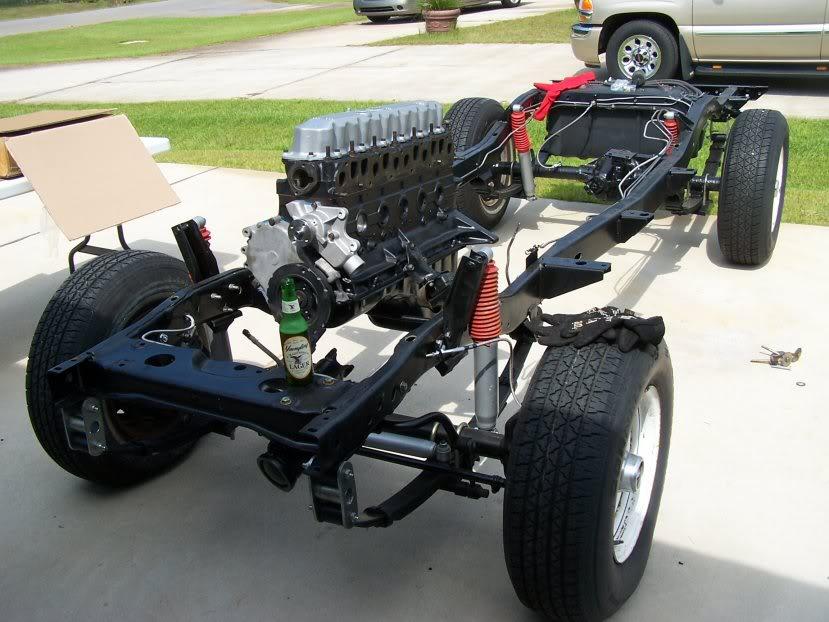
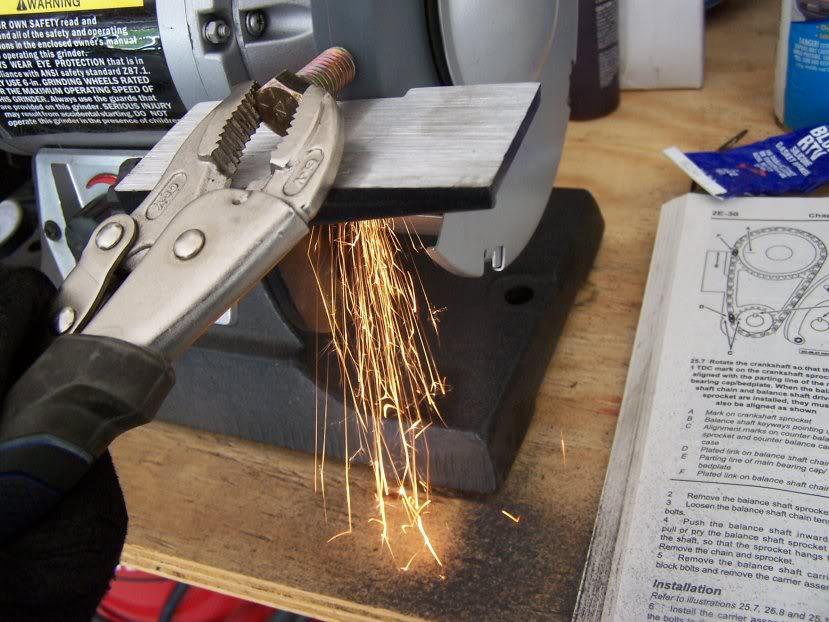
the 4.0 motor mounts have one odd-sized bolt.. steps up from a 9/16 driven to a 5/8 driven in the lower right bolt on the DS.. of course the shortest sized bolt in Grade 8 that fits from Lowes was about 1/4 inch too long so, more new tools to the rescue
100_2881-1.jpg
 
before I rolled the chassis out

I took a look at my torque settings on the bare chassis.. and used a marker to indicate which bolts I'd set.. came to find out that there are a ton of bolts on the chassis that are not easily referenced for torque settings...
100_2882-1.jpg

so I'll have to do some more digging...

bottom line is, i'll have to re-torque everything once I (a) get some weight on the chassis again and (b) get it on the road for a shake-down
 
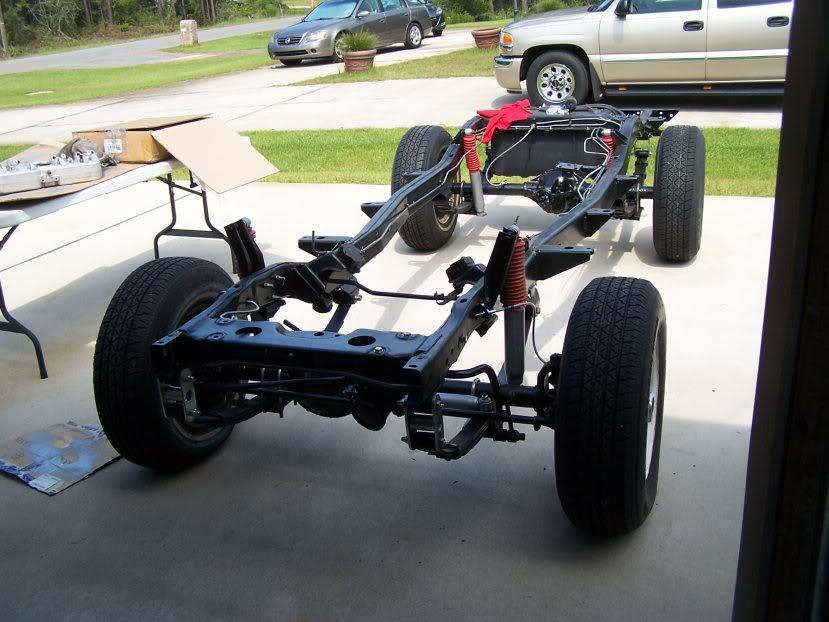
for the first time in MONTHS

my chassis sees direct sunlight
100_2883-1.jpg

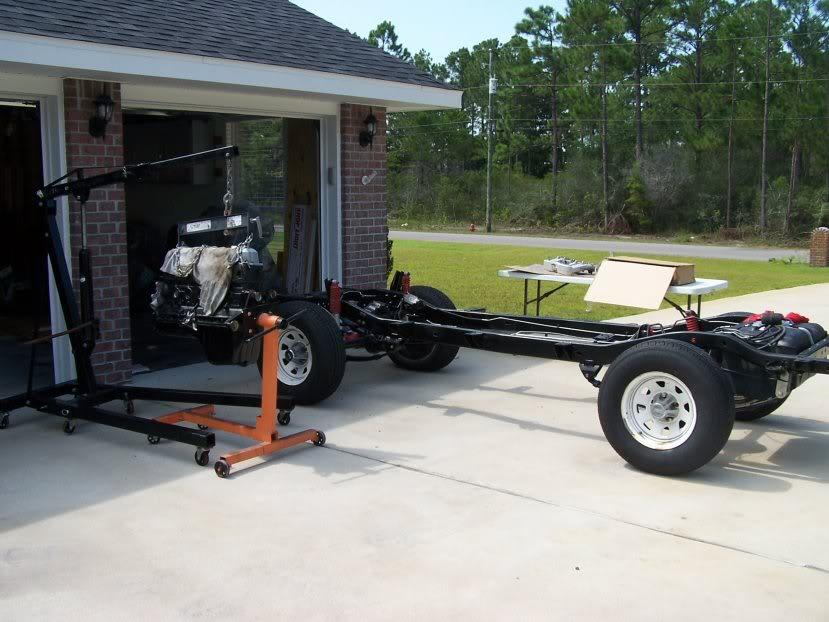
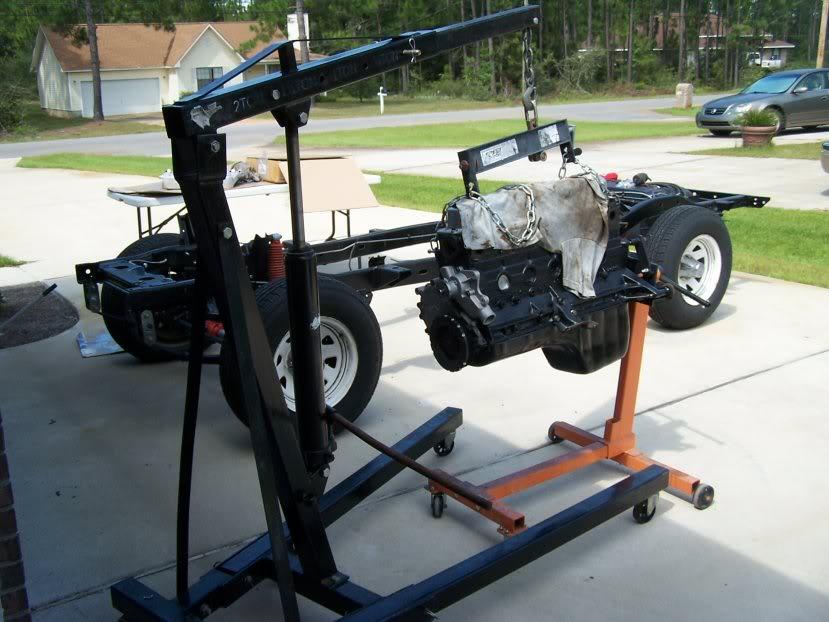
for as big of a job as it sounds, setting the motor by myself with a cherry picker was actually pretty easy...
100_2885-1.jpg

100_2884-1.jpg

100_2886-1.jpg


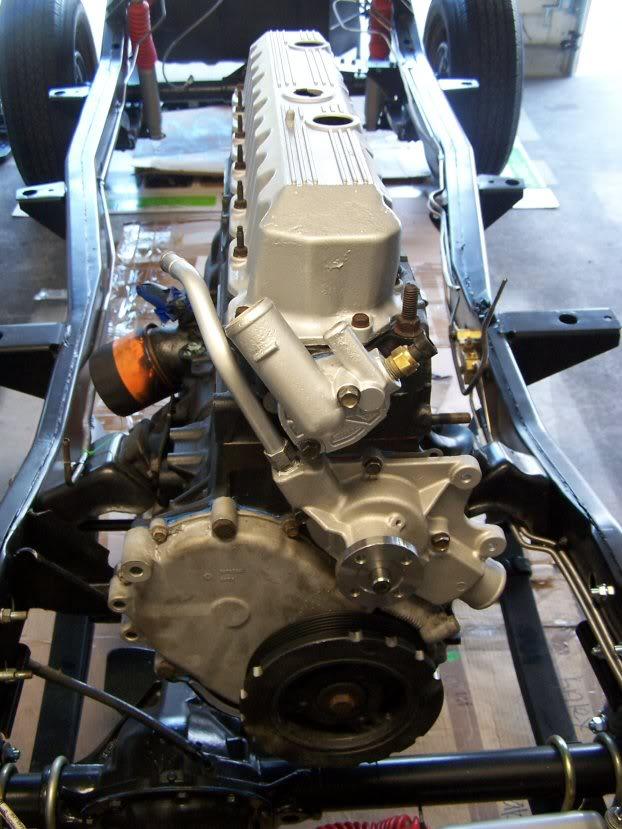
and back in the garage she rolled.. (re) installed my water pump (the 4.0 has a heater core outlet pipe that must be installed before the pump is mounted, which I hadn't done, so had to pull it off, clean, and re-gasket it GRRRR.. you can see it running parallel to the valve cover, which is what prevents you from screwing it back in when the pump is mounted) and my thermostat/water outlet
100_2887-1.jpg


things have been slower for me lately and it does get me down a bit on the project.. getting the motor mounted today was a big motivator.. it's really a simple task at this stage but had a big visual impact, as well as cleaning up my workspace in the garage.. I think what dawned on me today was: I need to get hot on finding a source for my body/paint project so they can work it at the same time I'm finishing the rest of the drivetrain (which is a non-rebuild.. just a clean up and reinstall, so it SHOULD not take long)..

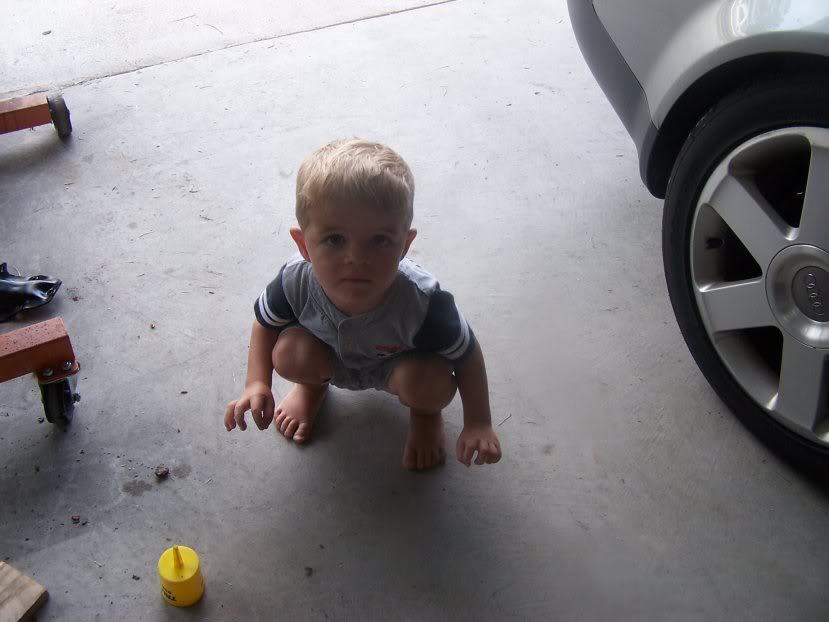
wish he was JUST a bit older for this part!
100B2870-1.jpg
 
Last edited:
Looking good:cheers:

It is amazing how much shop space you regain as more and more parts get bolted back on the chassis:thumbsup:
 
where does the time go...

... the arrival of baby #2 has put a serious damper on my activity, along with a bit of an up-tick in activity at work so, I've been chosing sleep (when I can get it) over progress..

what I'm (re)learning is that I'm much less effective on just about anything when I lose momentum... for example, getting my drive train reassembled has run into a couple of frustrating nights of "where did I put that bolt?"... whereas I've been detail oriented 'til now, I seem to more frequently lose things, forget to order things, order the wrong things, etc..

so.. things that I HAVE accomplished...

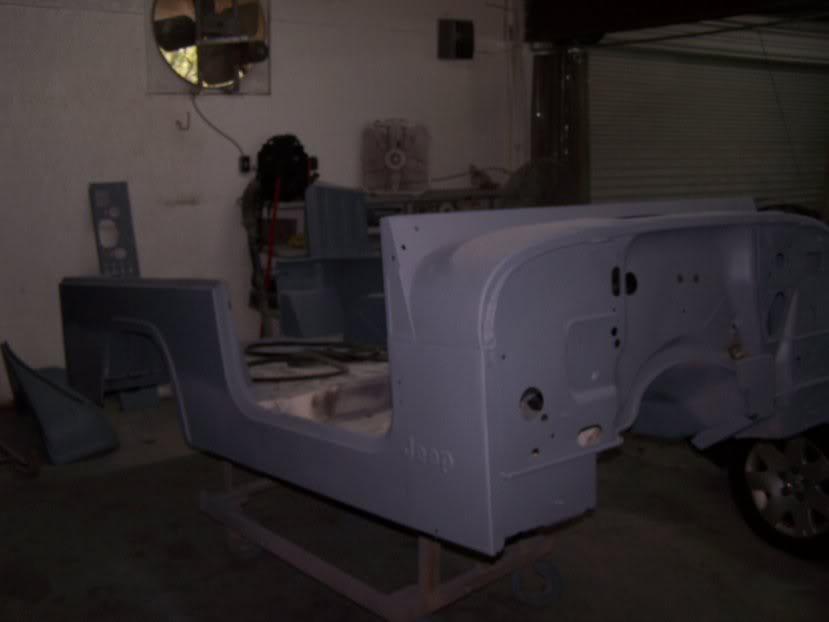
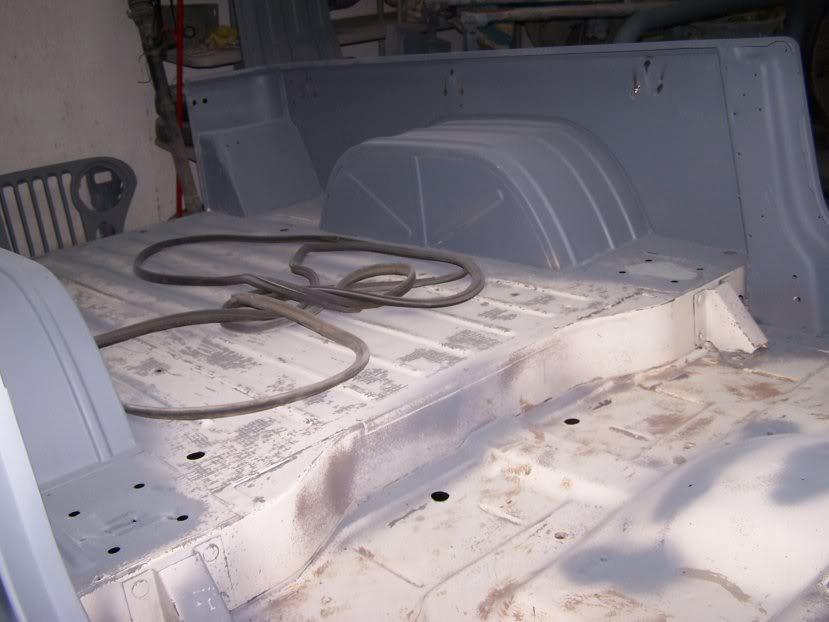
finally found a body shop that would accept restoration work (same guy that Raymond/Spankrjs used), which was a 2 hour drive away..

20110822TubonTrailer-1.jpg


stopped by last week to check on progress and drop off a few pieces, snaped a few (too few) pics, so here's a sneak peak of progress
20111001Tubsneakpeak-1.jpg

20111001tubsneakpeak2-1.jpg
 
chassis is still at home

and I've been (slowly) getting the drivetrain cleaned, prepped and (partially) re-installed

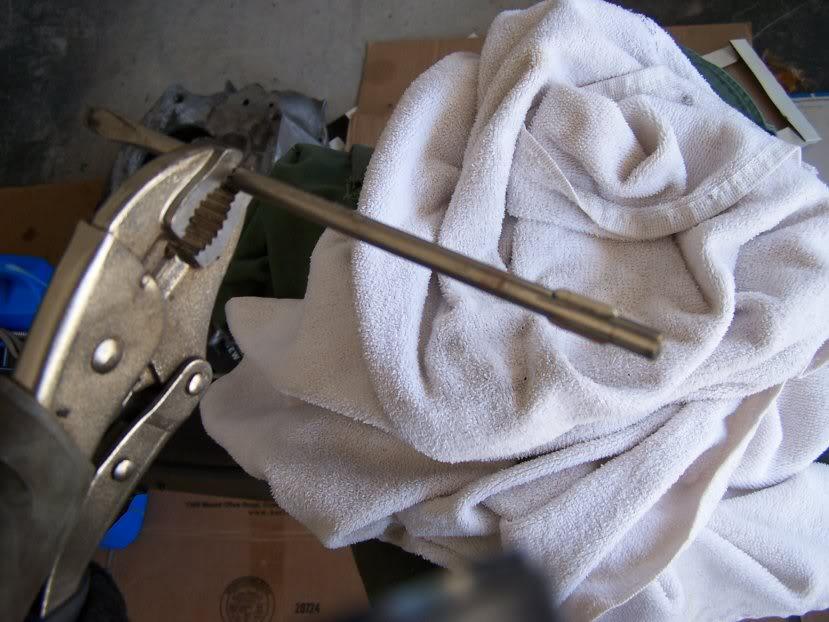
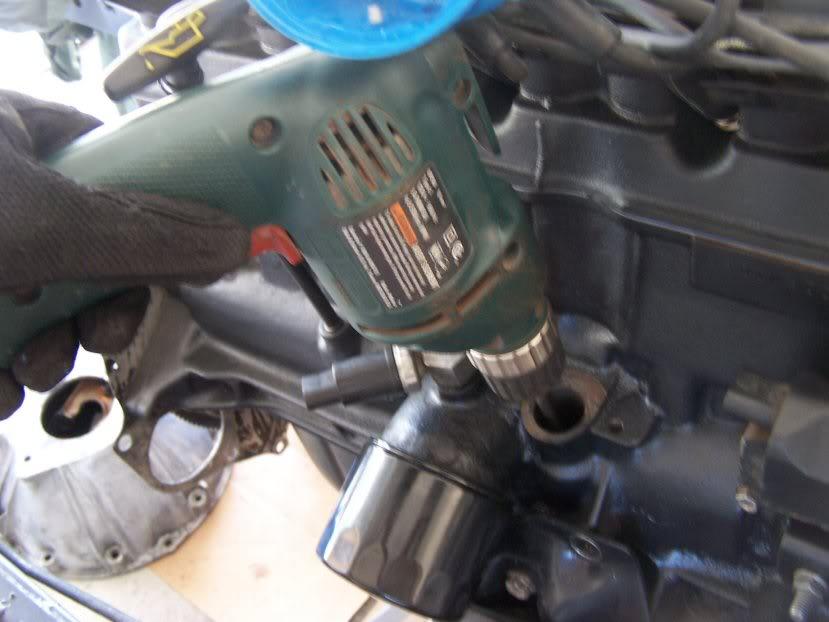
I've got the motor pretty much reassembled.. including my home baked tool to try and pre-prime the oil with an old screwdriver and a drill
20111006homeadeprimertool-1.jpg

20111006primerdrill-1.jpg


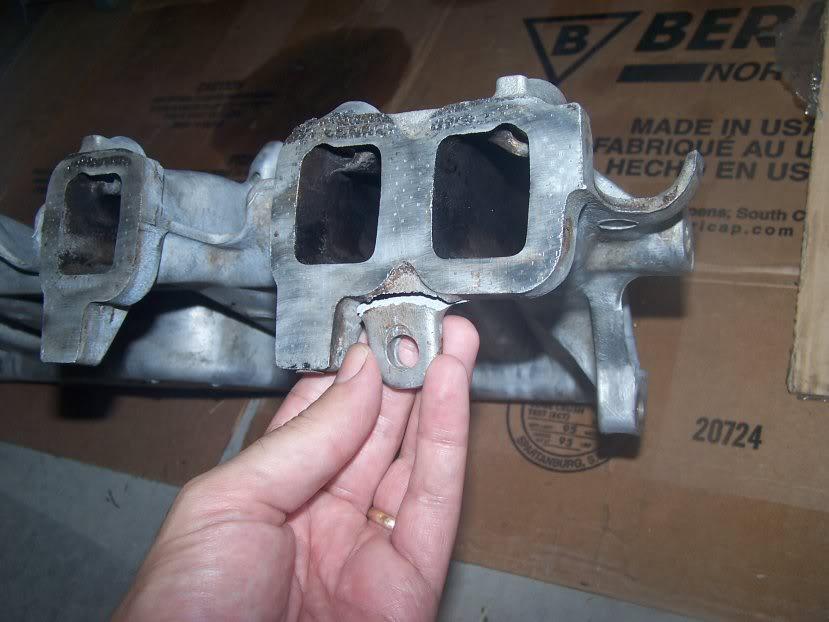
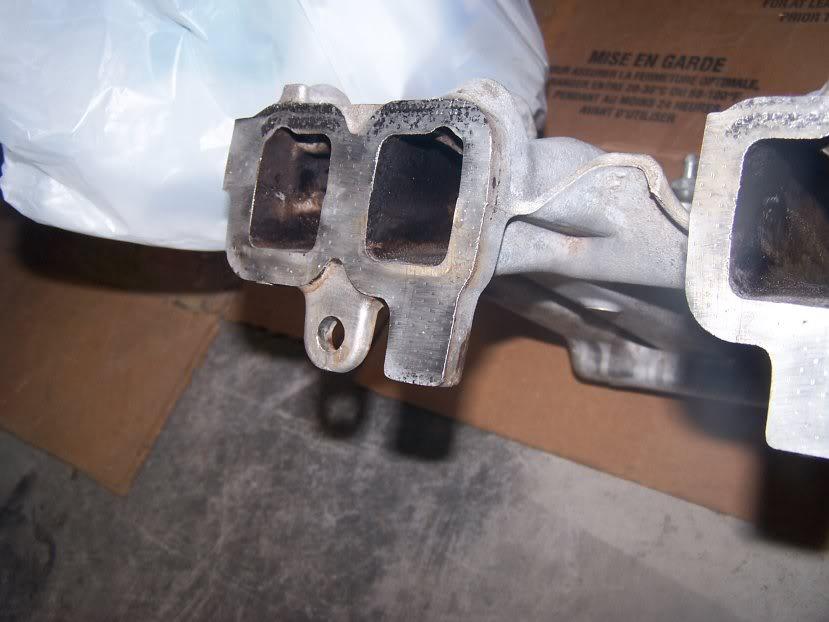
lesson learned: if you're intake manifold takes alot of torque to get bolted on.. something is wrong: I broke off one of the alignment tabs reinstalling it:
20111006brokenintake-1.jpg

JB weld solution has worked:
20111006intakeJBweld-1.jpg
 
trying to get the full drivetrain mounted before I get the tub back (next week).. really struggling to get this moving..

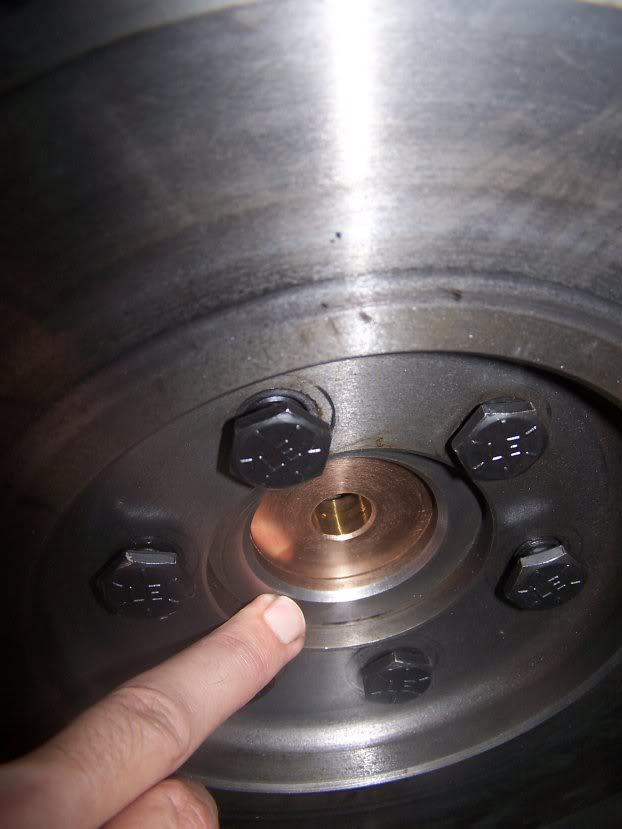
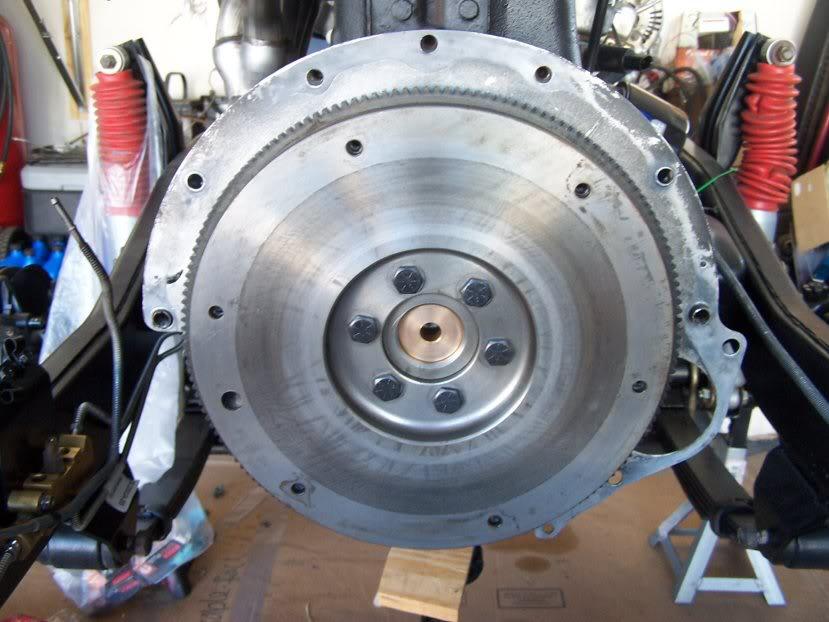
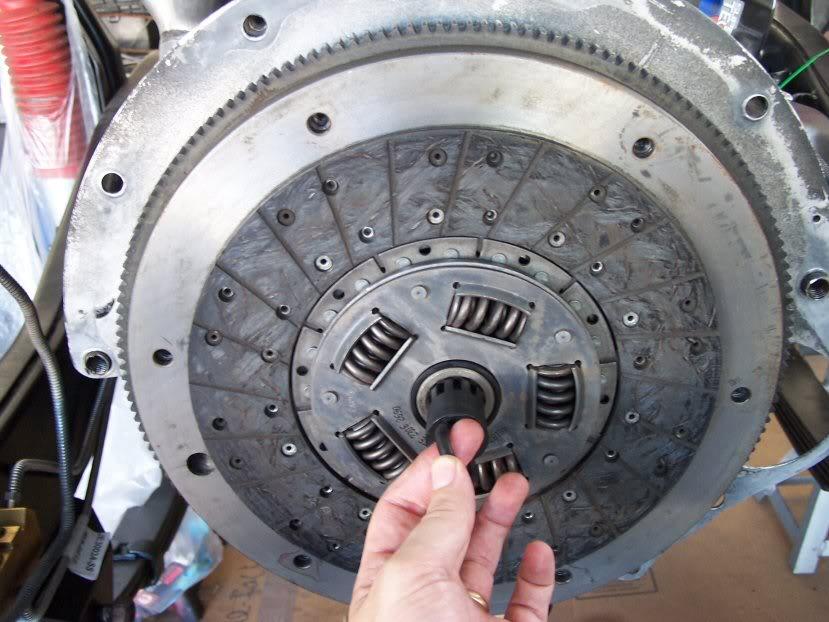
bought the Advanced adapters pilot bushing, and then re-used a (basically new) CJ flywheel, clutch, and pressure plate that came off my 4.2 (going on the refreshed 4.0)
20111006AdvAdapterPB-1.jpg

20111006flywheel-1.jpg

20111006clutchdisk-1.jpg
 
here's where the time goes...

I was trying to explain this to my wife today.. why everything seems to take so long.. and other than the paint job I've farmed out, every SINGLE bolt, fixture, accessory, requires cleaning, prepping, painting, reassembly, replacement.. whatever.. and I've taken off EVERY bolt on the CJ8..

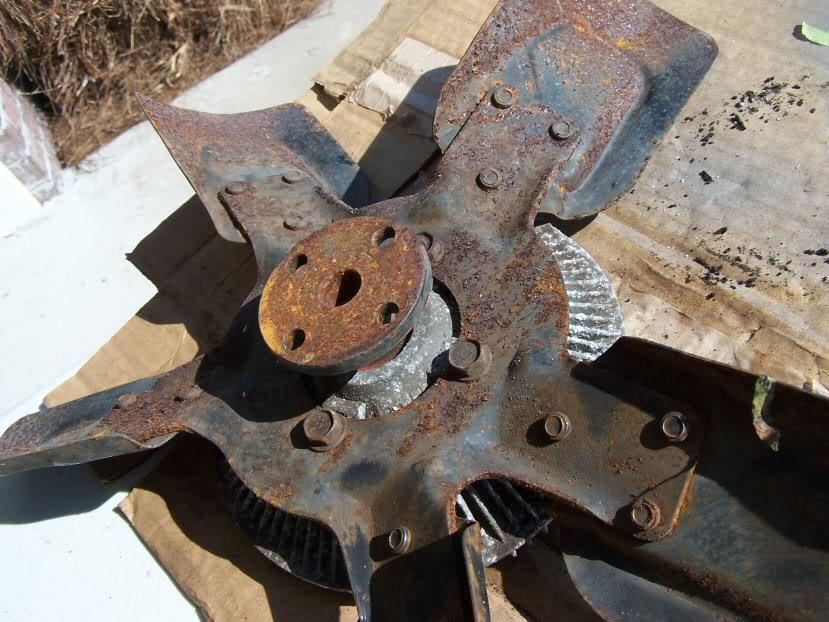
as an example.. putting the fan/fan clutch bac on today.. can't put one back on that looks like this so..
20111006fanbefore-1.jpg


disassemble, wire brush, prime, paint, wait for it to dry, reinstall... so just something simple like the cooling fan takes 1.5 hours or so of labor..
 
Great Documentation

Thanks for the detailed documentation, especially of the engine swap. I'm about to do the same thing on a Scrambler I'll be picking up tomorrow. As it will be my first engine swap, your posts have been very helpful in my decision to take this on.
 
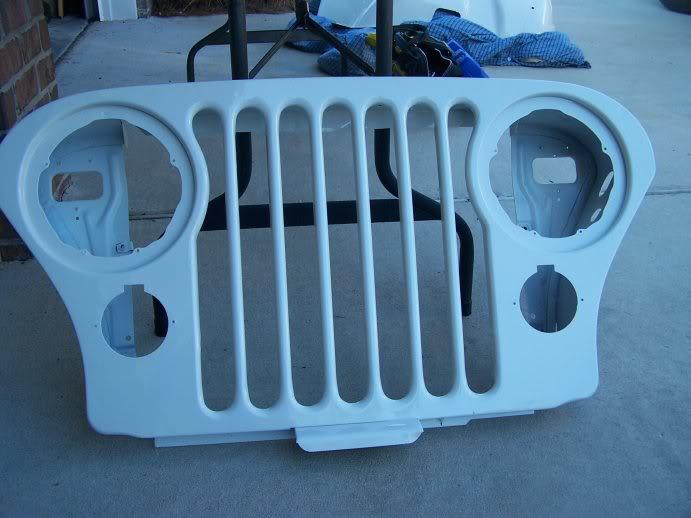
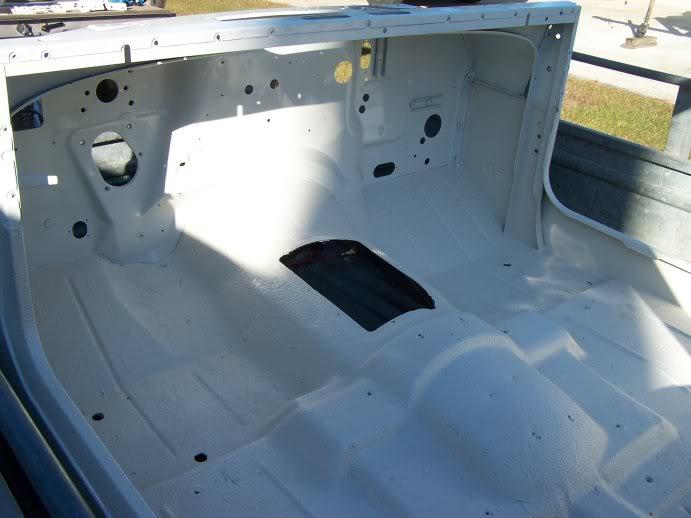
back from paint

tough to get an appreciation for it in some of these pics, but you get the idea...

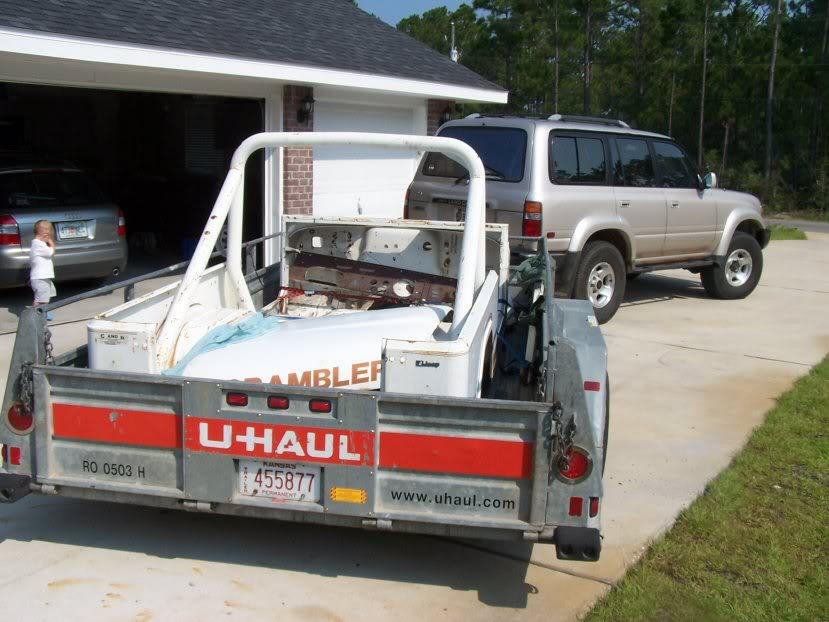
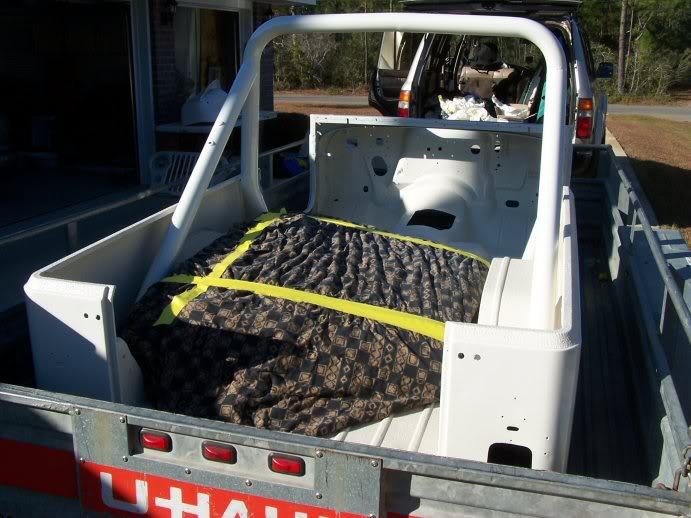
took me about a solid hour (with the assistance of about six guys from the body shop) to shoehorn an entire disassembled jeep into my trailer and landcruiser in such a fashion not to damage it on the (long) ride home..
100_2964-1.jpg


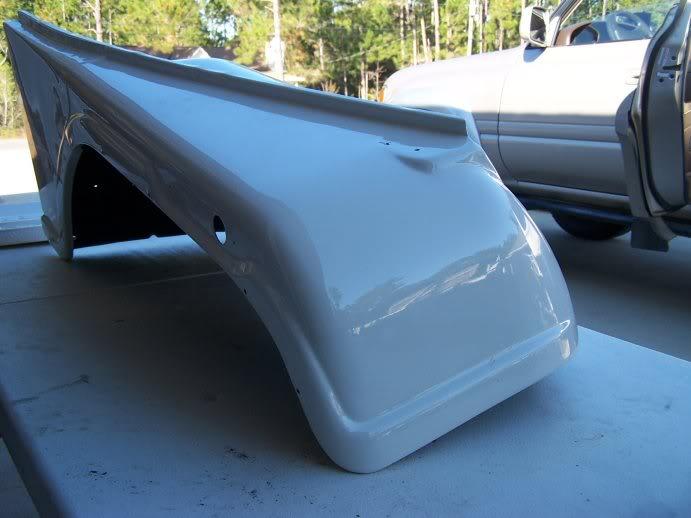
pretty happy with the quality of the paint and the decision to go back to the factory off-white color
100_2960-1.jpg

100_2959-1.jpg


had the underside done in black bedliner, and the tub lined in a (nearly) color matched bedliner
100_2963-1.jpg

happy with the color and look of it, but less than thrilled with the masking job they did on the edges.. you only see it if you're looking for it, but it's a little sloppy

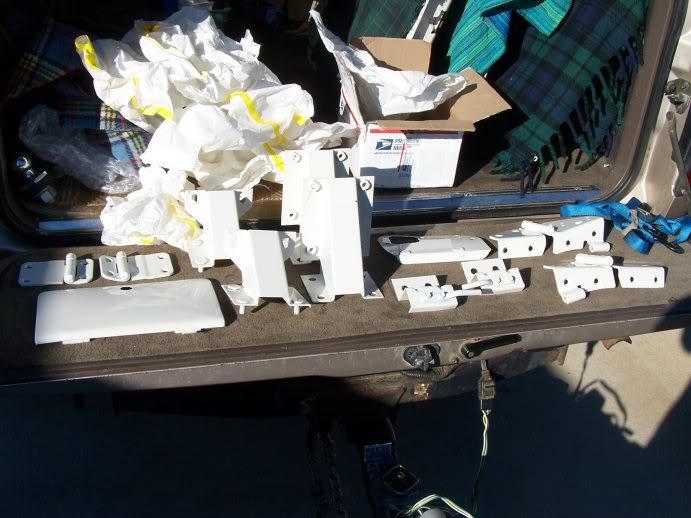
had what hinges/accessories I have on hand that were in good enough shape to paint done as well
100_2961-1.jpg


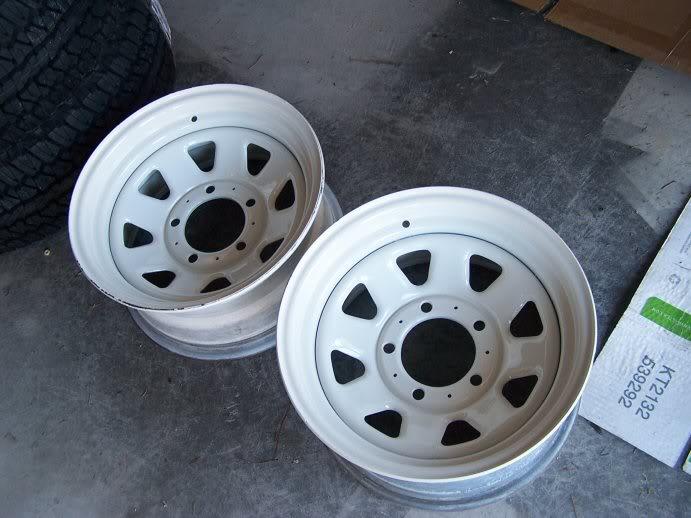
and the wheels.. this is the second area where I'm not totally satisfied with the work.. they look pretty good but could've used better prep/priming.. I"m alreayd getting some peel on the edges.. inevitable at some point, and I did get a take-away bottle of touch up paint, as I'm sure things will get dinged up during reassembly
100_2965-1.jpg

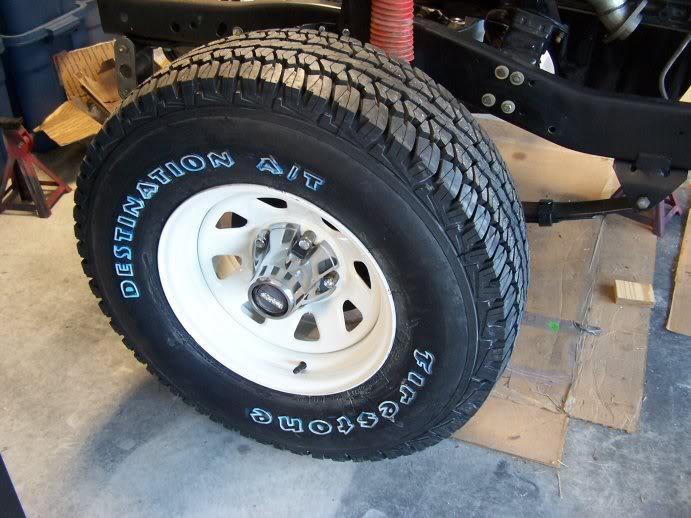
tires mounted and center caps polished
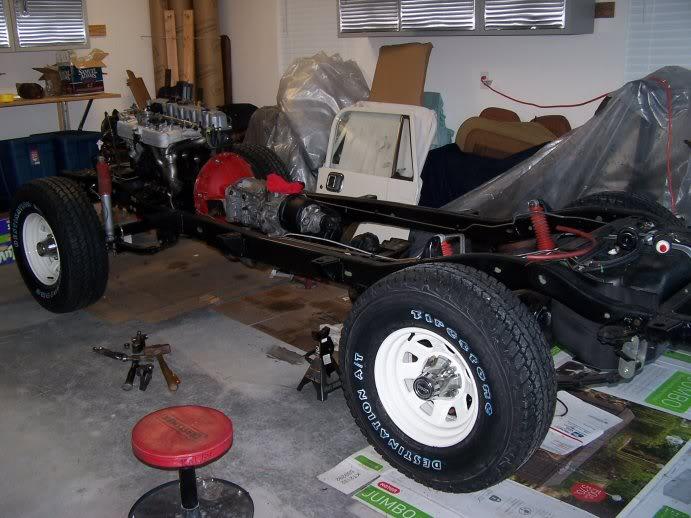
100_2966-1.jpg

100_2970-1.jpg
 
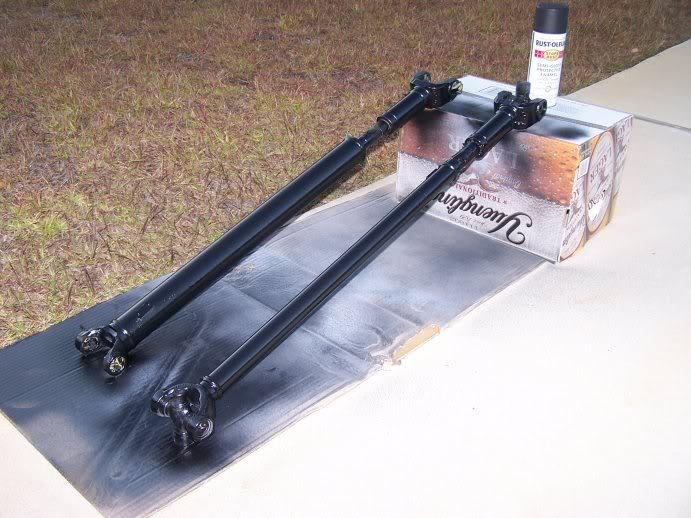
have a few things left to assemble to the chassis before I drop the body on it.. cleaned/painted my driveshafts yesterday, need to do new u-joints and mount them..
100_2969-1.jpg


and I need to mount/plumb my external fuel pump/lines..
 
WOW!!! it is going to look amazing!!

Are you sticking with that size tire for a particular reason? My old CJ7 had the same wheels (by the look of it) but had Firestone Firehawk 31x11.5 on them. I believe there was an add-a-leaf, but I bought it that way.

Looks wonderful. My hands would be shaking with excitement at every turn of the wrench.

Sent from my MB860
 
VERY nice!!! Keep the pics coming!
 
thanks guys.. I am more excited now about getting it bolted back together..

Awesome! :cheers:

Are you leaving it all white or adding a stripe kit?

long term, yes, I plan to go back to the original stripe package..

and yes, the 31x10.5r15 tire size choice was deliberate.. thought about going with a 32 or 33 but I've only got 3.31 gears so, for daily (non hardcore wheeling) driving I wanted the size mostly for looks to offset the lift..
 
Last edited:
I always get so freaking jealous when people do it right and paint the body off the frame like this :drool:

So awesome and :popcorn: for the reassembly!! :D
 
managed to destroy one of my new u-joints (must have dislodged two needle bearings and subsequently broke them under pressure.. tried to swap in two older needlbe bearings from the old u-joint.. not a size match and gave me some noticeable friction just hand-turning it.. grrrr

the other u-joint installed but then felt like it was binding hard? I pulled it back out and may re-try it tomorrow, or go get two new ones... it's the simple sh-t that drives me nuts..
 
Back
Top