• Notice for iPhone users: DO NOT use the image size reduction option when uploading photos to the forum. This causes portrait images to post as landscape. We have added a warning to the image insert pop-up as well.

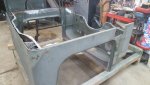
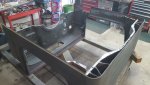
SJScrambler - Getting Started

I guess it is like anything, if you do it enough times the wrong way, you eventually learn how to do it the right way (or at least a quicker way).

cb
 
Got more done last night than I thought I would.
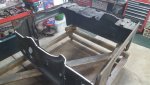
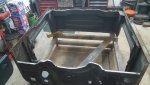
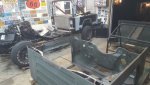
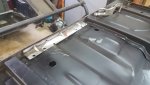
I only get a couple hours a night max (when I have the time) so I was able to cut more off and get some more spot welds drilled out.
My hands are sore today... and I had a "boo-boo" on the back edge.
Watch those blades... they cut quick!

cb

20191022_185519_resized.jpg

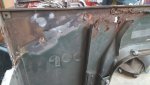
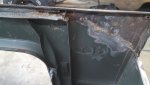
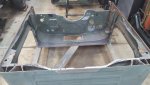
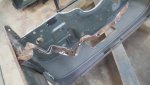
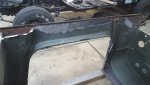
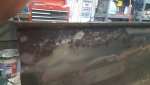
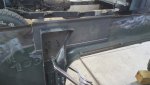
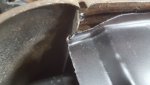
The next 2 pictures show the A pillar area that from the outside usually is starting to bubble or "pop"... but the inside shows a whole level of rust and what is actually going on... lots of layers with moisture turned to rust over time and really in rough shape.

It all needs to be cut out and replaced with new metal, but usually this is not what happens and it is ground down from the outside and bondo applied to cover it up... just showing the "actual" mess with the floor removed so you can see what is going on.
20191022_185527_resized.jpg

20191022_185537_resized.jpg

20191022_185546_resized.jpg

20191022_185558_resized.jpg
 
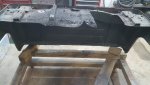
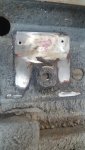
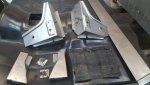
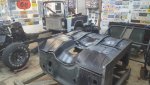
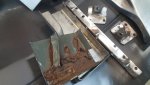
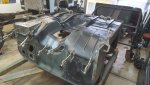
A couple more hours... sneaking up on it... also I think I found a piece of unobtanium under all that grease... the part that connects the floor to the back... interesting little doo-dad.

20191023_175007_resized.jpg

20191023_175409_resized.jpg

20191023_181455_resized.jpg

20191023_185114_resized.jpg

20191023_183619_resized.jpg

20191023_185042_resized.jpg

20191023_185131_resized.jpg

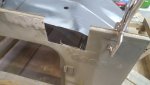
There is still a ton of work to do to get the side pieces off, but I really did do a lot on the rear of it last night and got that small connector piece off and saved.

Once all the sides are clean, it is replace the A Pillar bottoms and the outside rocker area to new metal, then fit the floor and weld it all up.

After that, the rollcage updates to make it fit.

cb
 
Another couple hours, a lot of small bits of metal removed... slow and tedious work now for the sides, hope to finish it up tonight and work on replacement metal this weekend.

I got some parts from Classic Enterprises yesterday as well which will help with the reassembly.

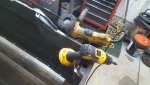
I showed the picture of the basic tools I am using as people ask questions a lot on how I am doing it.
I use the basics, I am sure there are other ways to do it, but this is what I do.

Also, when doing this, keep those seat belt hold downs for underneath as well as the female end retainers, those have to go back in place during the reassembly process. NOTE: Not pictured is the angle bracket for the rear of the tub, which will be reinstalled as well.


20191024_172432_resized.jpg

20191024_182003_resized.jpg

20191024_182011_resized.jpg

20191024_182214_resized.jpg

20191024_184600_resized.jpg

20191024_185229_resized.jpg

cb
 
The game was a great throwback to how Michigan football was when I was growing up... ground and pound, offensive line doing their job, running game, tiring out the defensive line. Weather definitely was in their favor, but overall it was just a good showing of what they are capable of... they need to keep it up as they essentially need to win out and hope everyone else has a couple of losses, which so far this year isn't as far fetched as it has been... teams are losing each week that you would never think (cough... Oklahoma... cough).

Anyway, I enjoyed it but back to the Jeep yesterday before another football related viewing part and then out to dinner... it was a great weekend of Jeeps, eating, friends and football... can't complain.

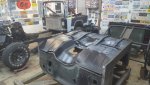
So, I posted above the trial fitment, but these pictures show all the rest of the work before it and some after it, also a few new wall hangers I finally got to put up.

20191026_185016_resized.jpg

20191026_185022_resized.jpg

20191026_185026_resized.jpg

20191026_185034_resized.jpg

20191026_185038_resized.jpg

20191026_185050_resized.jpg

20191026_190650_resized.jpg

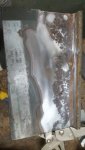
You got to look very carefully on both sides... this I ground off ^^^ and it had pinholes where the spot welds were from popping... you have tocutn all of it out to get it all... more on that later in the pictures.

20191026_190655_resized.jpg

20191026_191621_resized.jpg

cb
 
20191026_192659_resized.jpg

20191026_192708_resized.jpg

20191026_192713_resized.jpg

20191026_192718_resized.jpg

20191026_192730_resized.jpg

This was were I stopped for the night ^^^

The following were from yesterday:

New Artwork

20191027_141515_resized.jpg

20191027_141541_resized.jpg

Got it to fit, but still need to cutting out ALL of the bad parts on the rocker and the pillar.

20191027_143535_resized.jpg

cb
 

Attachments

  • 20191027_141541_resized.jpg
    20191027_141541_resized.jpg
    53.3 KB · Views: 0
20191027_143615_resized.jpg
The brace piece will fit.

20191027_144143_resized.jpg

Rough Fit worked, needs tweaking but should prove to be what we are looking for. The floor "works" but it is far from perfect. It is hammered to form and is then spliced. All in all, it is better than what was there but will require workd.

20191027_144147_resized.jpg

20191027_145404_resized.jpg

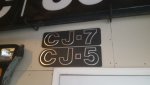
The cut out piece of bad metal just happened to have a military sticker on it with info... nice wall hanger to keep.

20191027_151042_resized.jpg

All cut out and the new pillar piece being fit ^^^

20191027_151516_resized.jpg

Test fitting, needs trimming

20191027_151524_resized.jpg

All clean metal, should be a lot better for the long haul and won't have any popping.

cb
 
You guys are just watching the wrong channel or at the wrong time. Turn on a SEC game and you can watch a ground and pound. :)
 
Who makes that pan? it looks a little bumpy and not so nice in the stamping areas...I assume Classic does not make a full pan ?
 
Who makes that pan? it looks a little bumpy and not so nice in the stamping areas...I assume Classic does not make a full pan ?

No unfortunately classic does not make a full pan this is the same pan from md Juan tubs only one you can get
 
Amazing work as usual...I need could use 3 clones of you for sure down here...or at least one of you 40 hours per week :thumbsup:
 
I wish I had clones of me as well... or at least the ability to stop time and get stuff done...

Not much time last night, too much on the personal side going on.

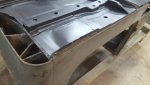
I was able to trim/fit and tack in one side and start figuring out the pillar... needs more trimming.

20191028_175714_resized.jpg

20191028_182928_resized.jpg

20191028_182940_resized.jpg

cb
 
Back
Top