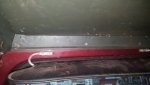
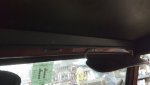
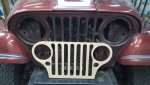
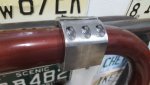
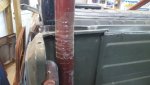
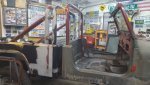
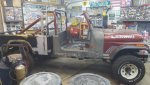
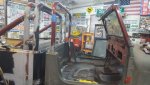
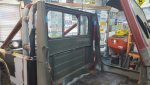
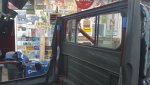
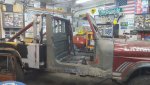
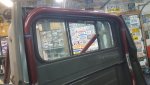
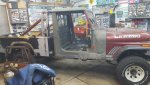
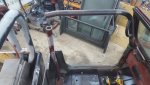
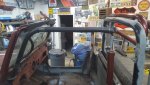
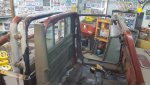
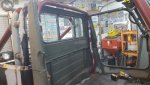
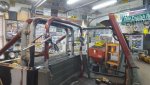
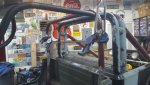
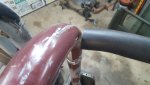
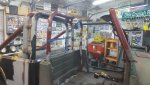
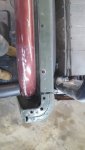
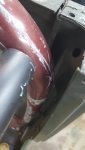
OK... so I did a lot of what everyone suggested.. pictures are of later on after a lot of swapping around.
I was pretty angry and dirty hands and didn't have time to snap all the "in between" pictures of taking things off/on with the different doors and windshield frames.
So... here goes... I did the following:
1) Removed doors
2) Dug out old doors that came with top
3) Removed old windshield and put other one back in place
4) Attached hood hold downs
5) Put it all together and had same issues with the older doors.
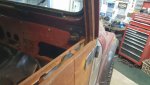
6) Noticed that the rear piece of the cab was not perfectly vertical
EUREKA moment... weather stripping!!!!
So, when the top was removed and disassembled there was about 1/2" think weather stripping on the rear that helped to seal it... that combined with the weird metal work they did caused it to pitch forward to meet the vertical line of the door.
Of course I removed it and didn't give it a second thought... it was old and ripped and dried out.
So...
1) Loosed bolts on rear of the cap and decided that my plan to work back to front was not warranted.
2) Put new lower door hinges on... found out that the ones I were using were wallowed on and slopping around
3) Put new doors back on
4) Lined up doors on the "beltline" to have the horizontal line front to back
5) Set windshiedl in place about where it went
6) Attached top to the front with screws.
This is where I noticed the disparity.
The rear was not even close to the vertical part of the door... closer on the driver side, but the passenger side was an inch off easily... so this was the main cause.
So... took it apart again and put in some paper toweling to act as the weather stripping to pitch it forward.
The top then lined up on the passenger side and the driver side was close... need a screwdriver in the hole trick to move it forward.
So, it all fits and is close.
Passenger side is a lot nicer and the gaps are pretty nice.
The driver side is tight in the front and the rear... but both doors open/close and don't rub.
cb
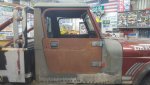
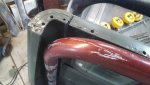
Across the front... if you really look close, the passenger side is up slightly... but I only have 1 screw in this windshield frame in the middle... there were no holes drilled that lined up except for the middle hole... that is going to be fixed moving forward.
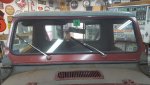
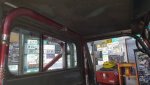
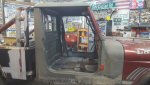
More prevalent here with it being tighter gaps, but it all works... the interesting part is the CJ doors slope down on the top vertical and the CJ10a top is level... so are the CJ10a doors... they are same measurement fron tto back from top to bottom whereas the CJ goes down 1/2 over the whole length roughly.
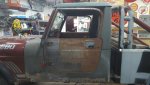
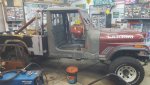
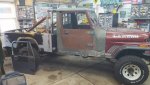
The full side shot... I am happy now, the bolts are in the rear of the cab portion on the top and bottoms (there are a ton to put in, but I have 2 in each of the corners(top/bottom) as I cut the center section on the bottom and that has to be fixed once I blow it all apart.
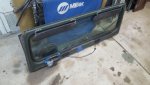
Round of applause for the original pieces

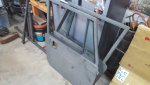
So the lesson here I guess is that although I picked a starting point, I picked the wrong one.
Work front to back, not back to front and it will work out better I guess.
I did lock down the back, but it was locked down cocked back at an angle, so that from the beginning was never going to work.
Set the doors, then the windshield, then the back, then the top... then it works.
So, this is all good and great, but now we have to get the case built.
I received some weldable goodies from Rockhard 4x4.
cb



 ).