• Notice for iPhone users: DO NOT use the image size reduction option when uploading photos to the forum. This causes portrait images to post as landscape. We have added a warning to the image insert pop-up as well.

Spankrjs' 1984 Long Term Project

Still getting ready for Sandblast, knocked a few more "to do" items off the list:fingerscrossed:

1) The connector I bought for the 4wd light will work. I gently smushed it with some plyers, fits tight,so I installed it.

2) Drained/re-filled the rear axle lube. (it had various brands of cheap fluid in it from when the pinion seal was leaking)

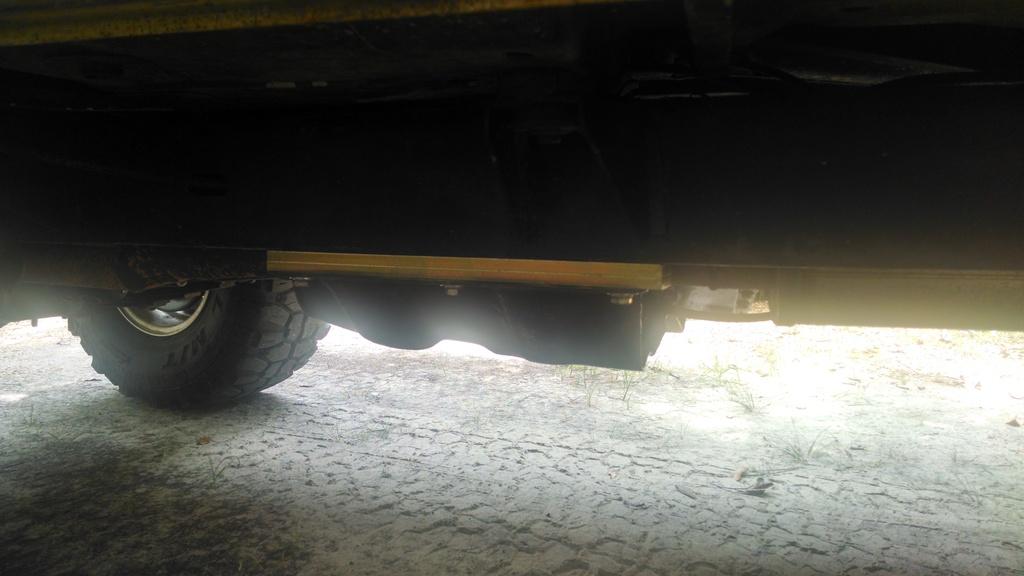
3) Replaced the (x4) individual Dana 300 drop spacers with some continuous bars from Explorer Pro-Comp, much better.
IMG_20150712_134547768_HDR_zpsquyjvejf-1.jpg


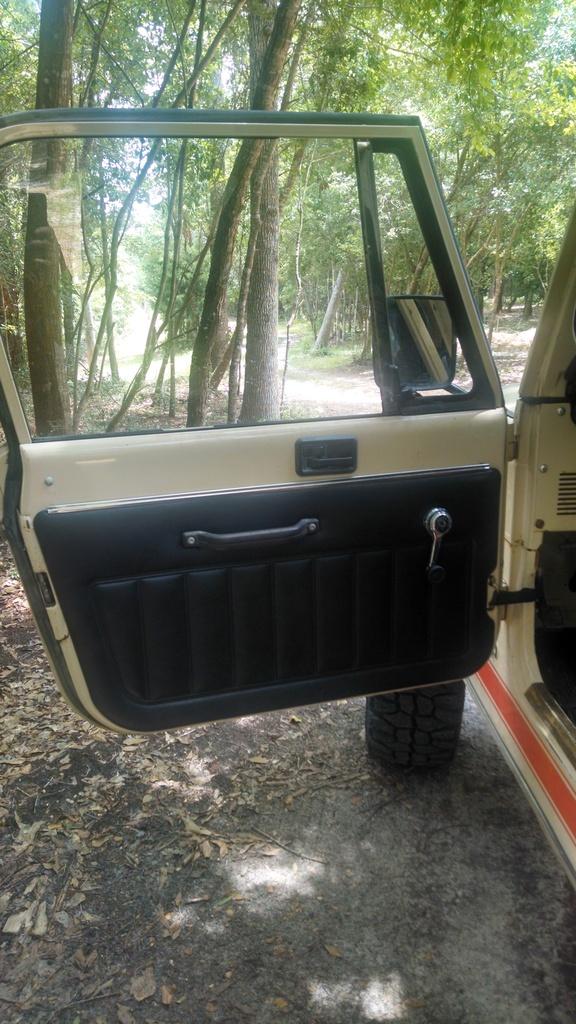
4) Finally cleaned up/installed the factory inner door panels, which are in super shape, interior looks much better now.
IMG_20150712_134712714_HDR_zpsauarnsmr-1.jpg


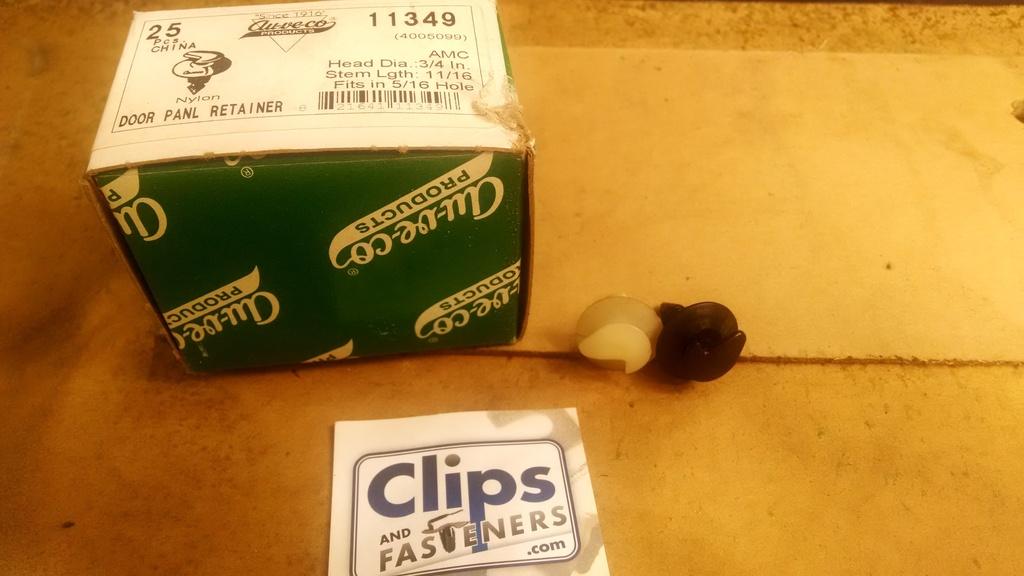
I had bought these replacement clips when I first bought this Scrambler a few years ago, just now using them. The stock ones are white, the replacements are black. Other then the color difference, they are identical.
IMG_20150712_134536899_zps13xb6y0s-1.jpg


Hopefully, only a few more wants/need to's:

1) Figure out why the top gear signal from the transmission does not work (either switch or wire)
2) Install a radio.
3) Change the oil once I get 500 miles on this motor, getting close now, I am on my second week of daily driving this one.
4) Possibly, maybe, putting a diferent/new top on this one:fingerscrossed:

That's it for now:wave:
 
Don't forget Flag mount hole. :thumbsup:

If you do, I know of a garage that has drill motor and bit. Located really close to your flaf and chairs. :bacon: :cheers: :wave:
 
I had bought these replacement clips when I first bought this Scrambler a few years ago, just now using them. The stock ones are white, the replacements are black. Other then the color difference, they are identical.

I've used ClipsandFasteners.com for several vehicles and have always been happy with what I got.

Keep up the good work.
 
Don't forget Flag mount hole. :thumbsup:

If you do, I know of a garage that has drill motor and bit. Located really close to your flaf and chairs. :bacon: :cheers: :wave:

Appreciate it Toby:cheers: I think I will make a new flag mount for this Scrambler, so I don't hurt the red Scramblers feelings:crazy:


I've used ClipsandFasteners.com for several vehicles and have always been happy with what I got.

Keep up the good work.

Appreciate it:cheers: Yes, they are a great source for misc fastners:twocents:
 
I did some diagnostics/testing/redneck engineering trying to figure out why my ECM is not getting the "Top Gear Engaged" signal from the transmission.

I pulled the transmission harness plug out of the transmission. I then ran a ground wire from the negative battery post to the transmission harness plug. With the scan tool plugged into the diagnostic port, I ground "Pin B" of the transmission harness. When I ground "pin B", I would get the "Top Gear Engaged" signal to the ECM.

So, my wire harness/ECM/ALDL is good:headbang: But, either the "4th gear pressure switch" inside the transmission broke, or the wire fell off of it inside the transmission. The only way to know for sure, drop the transmission pan:shrug:

After thoroughly going through the GM service manual trying to find out exactly what this "4th gear pressure switch" controls, the only thing GM says is that this signal to the PCM controls the timing of TCC lockup in 4th gear ONLY. The signal does not do anything else, as far as I can tell:shrug:

I am getting TCC lock up in 2,3, and 4th gear like normal. The only difference that I notice, and the scan too has to be plugged in to really observe:

1) When the "4th gear pressure switch worked", the TCC would lock up almost instantaneously with the 4th gear up shift.
2) With the switch not working, there is some delay, 3-4 seconds, after the 4th gear up shift, before the TCC locks up.
3) Not sure about this, but I am not seeing a TCC unlock on the 4-3 down shift with the scan tool. The downshift is not harsh, so:shrug:

I am not sure if I am going to worry about/have time to fix this before the trip to Michigan. I don't think it will cause any problems, not 100% sure???

The biggest issue, the TCC is locking up, and that is all I am really worried about:twocents:

Almost 500 miles on the new engine. All stop and go city traffic, averaging 15mpg:headbang: I am confident I should get decent highway MPG, if I can keep my foot out of it, which is hard to do. The few short trips I have made on the interstate, it is really easy to look down and see I am doing 85, so MPG probably suffers at that speed:crazy::eek:

That's it for now:ZZZ:
 
I talked to my transmission shop, they said not too worry to much about the Top Gear Pressure switch since the TCC is locking up:headbang: They said the slight delay in TCC lock up wouldn't be a problem, drive it to Michigan:thumbsup:

Even though I am past warranty, they said they will fix it for free, but not until after August 1, they were super busy:thumbsup::cheers::headbang::bacon::wave:
 
Hit 500 miles on the new engine, so I changed the oil. I also went ahead and greased all the driveshaft/steering zerk fittings, getting ready/closer to SandBlast:thumbsup:

I might pull the transmission pan off and change that switch, not sure, but it bugs me...................................
 
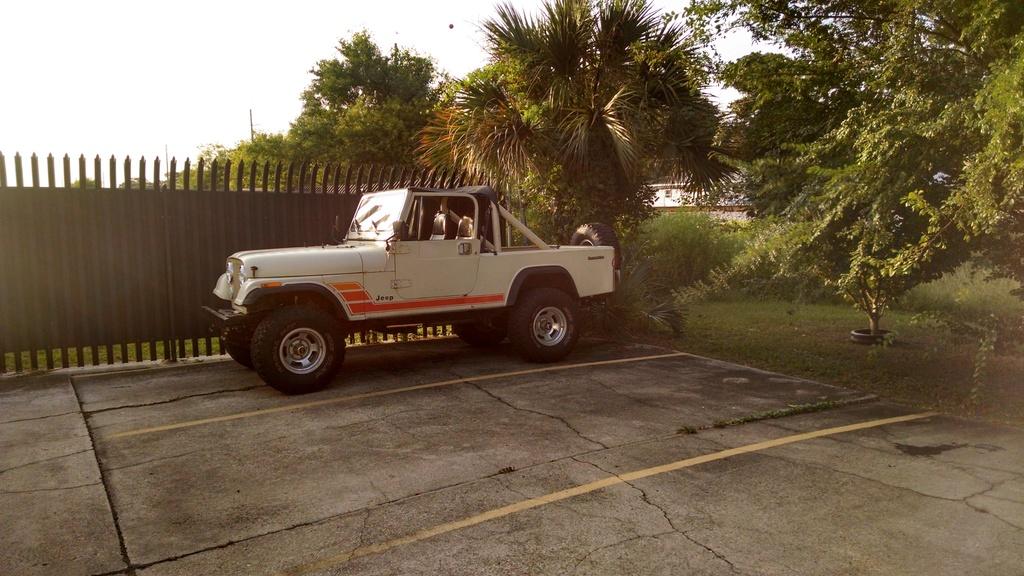
Only the second time I have taken the top off of this one:banghead: Two people can do it, but its awkward:shrug:

IMG_20150716_070522334_HDR_zpsbpumcvpy-1.jpg


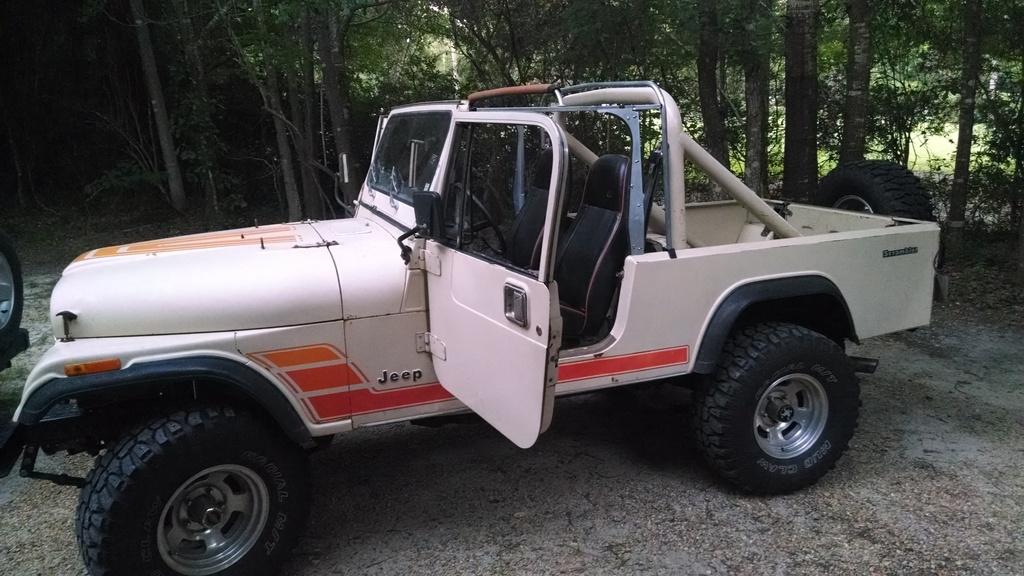
Working on something new for this one:popcorn:

IMG_20150715_200146819_zpssxovm6d0-1.jpg


IMG_20150715_200315723_zpsyqpfvxzt-1.jpg
 
Those look like '85 Spring Special seats!


Yep, they have been in this Jeep for the last few years, the orange "pipping" matches the Scrambler decals pretty well IMO. I have the matching back seat in the garage:cheers:


I am going to have a busy weekend:fingerscrossed:

1) Finish installing new top
2) Maybe install a radio
3) Need to pull all the suspension bushing and grease them:banghead: The bushings are "new", but they are old, and polyurethane. I should have greased them when I had the suspension apart before, forgot to. The creeking and groaning is driving me crazy:crazy::crazy:

Plan is to grease all the bushings tonight, a long night, finish installing top tomorrow morning. And, I might still drop the transmission pan for the 4th gear pressure switch, it is bugging me:crazy:
 
And...........................new Daystar body mount bushing/1"BL combination early next week, all the stock bushings are falling apart/squeaking/dry rotted, nothing like waiting till the last minute:eek::banghead::thumbsup::wave:
 
Spent all weekend working on this Scrambler, got a good bit finished, still want to do some more this week before the long trip to Michigan.

I have been having an annoying metallic grating/rubbing sound coming from the suspension, rear passenger side corner. I also wanted to grease all the suspension bushings, so I started with the passenger rear corner.

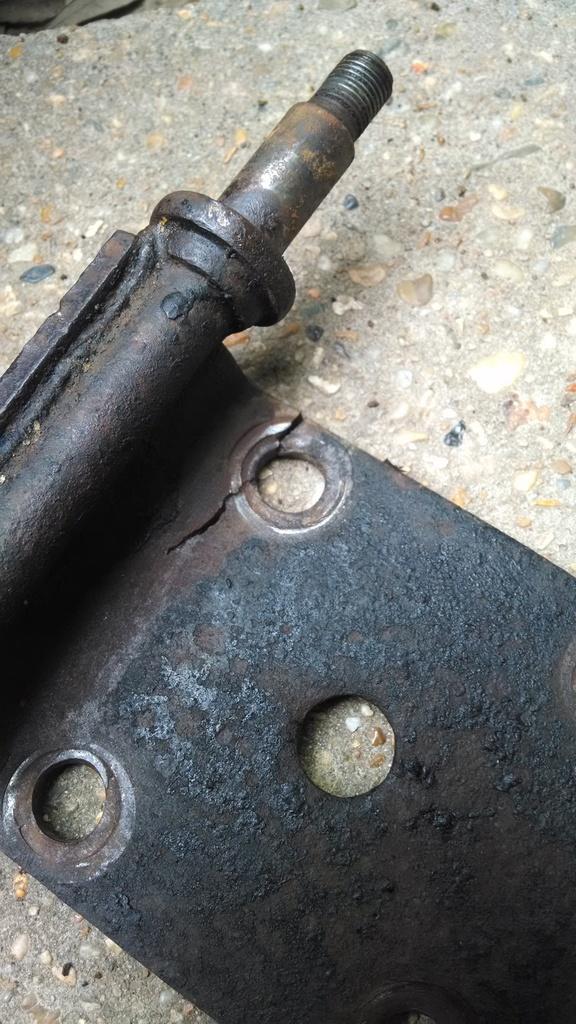
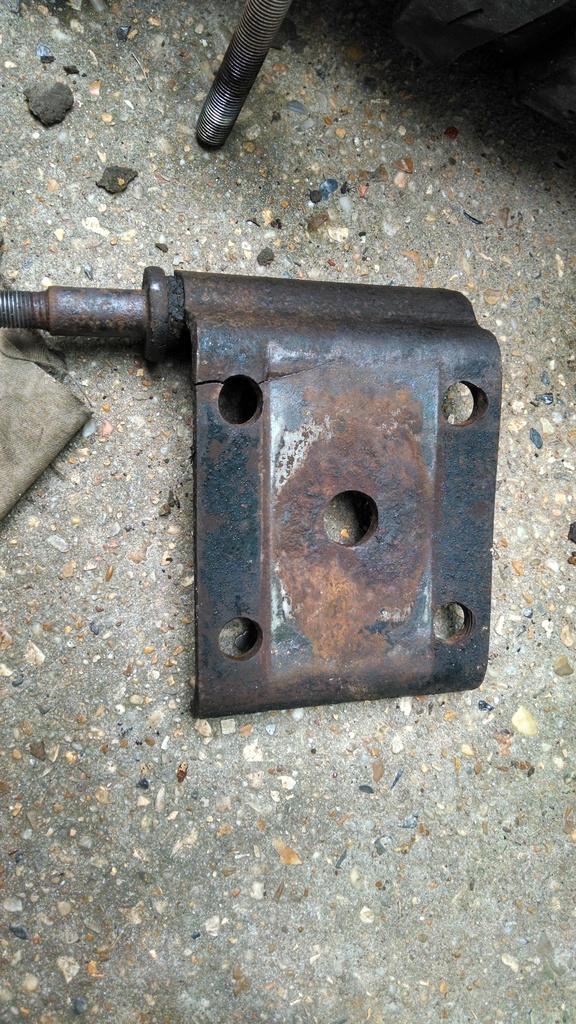
Found the source of most of the noise:

IMG_20150717_172252755_zpsnl9f7bou-1.jpg


IMG_20150717_172325587_HDR_zps3gnmkpri-1.jpg


My good buddy Chris F welded this back up for me, so should be good to go. I forgot how flimsy these stock plates are.

One "in progress shot":


IMG_20150717_174544342_HDR_zps1ufoclvi-1.jpg


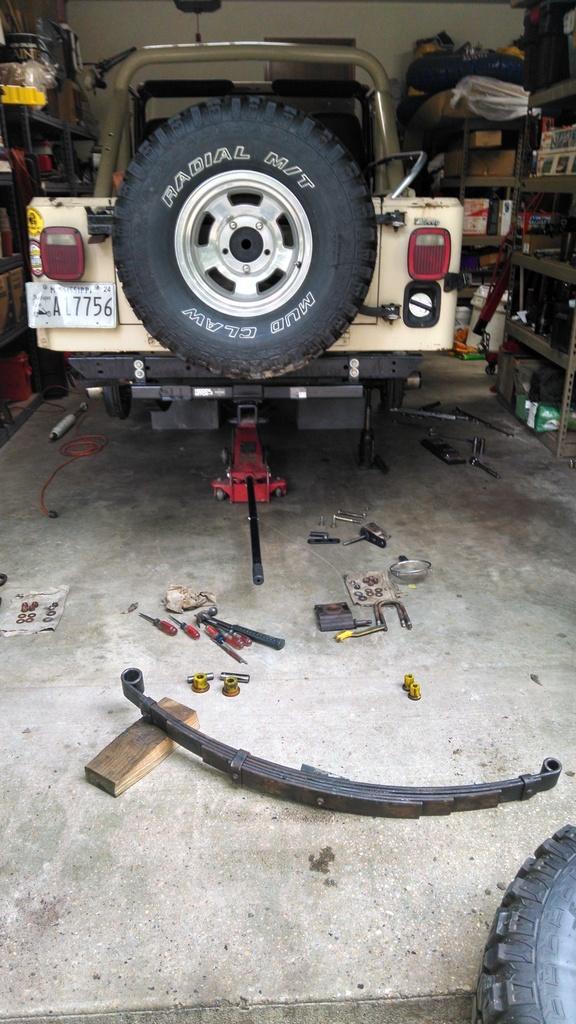
I did not find any more problems with the suspension, except all the bushings were bone dry. So, I removed and greased all the leaf spring bushings, shackle bushings, shock bushings, and sway bar bushings.

Before "re-torqueing" the shackle/main eye bushings, I drove the Scrambler around my drive way. It rode much smoother with the main eye bushings finger tight. I then properly torqued the leaf spring bolts, 24 lbs on the shackles, 100lbs on the main eyes. It rides almost as firm as before.

My question - I am using the stock steel spacers inside the main eye bushings, is it really necessary to torque these bolts to 100lbs? The spacer keeps the bushing from getting squeezed out, but with 100lbs of clamping force on these bushings, they can not move at all? I might back these nuts back off and torque them at 50lbs with metal self locking nuts to see if the ride improves.
 
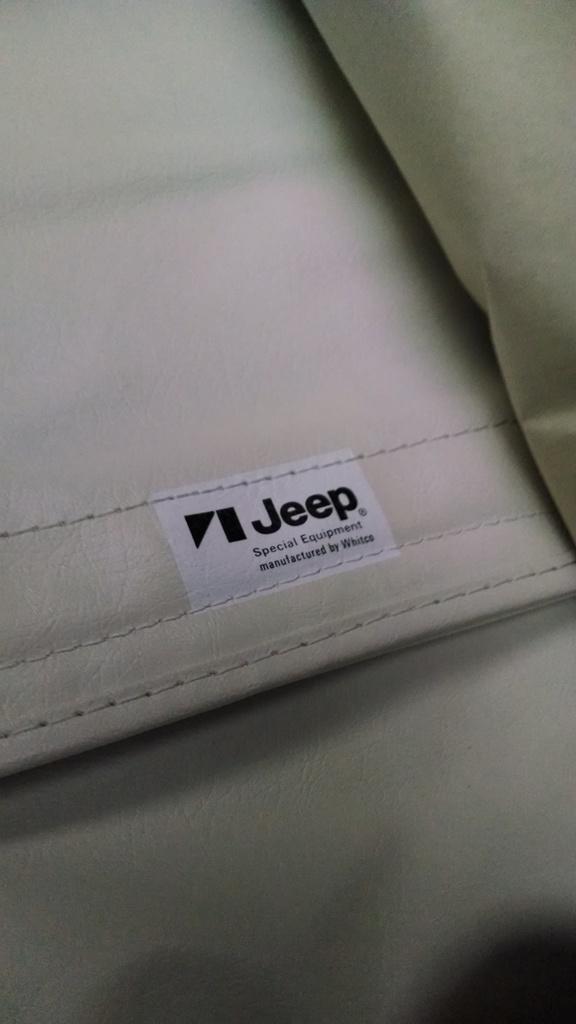
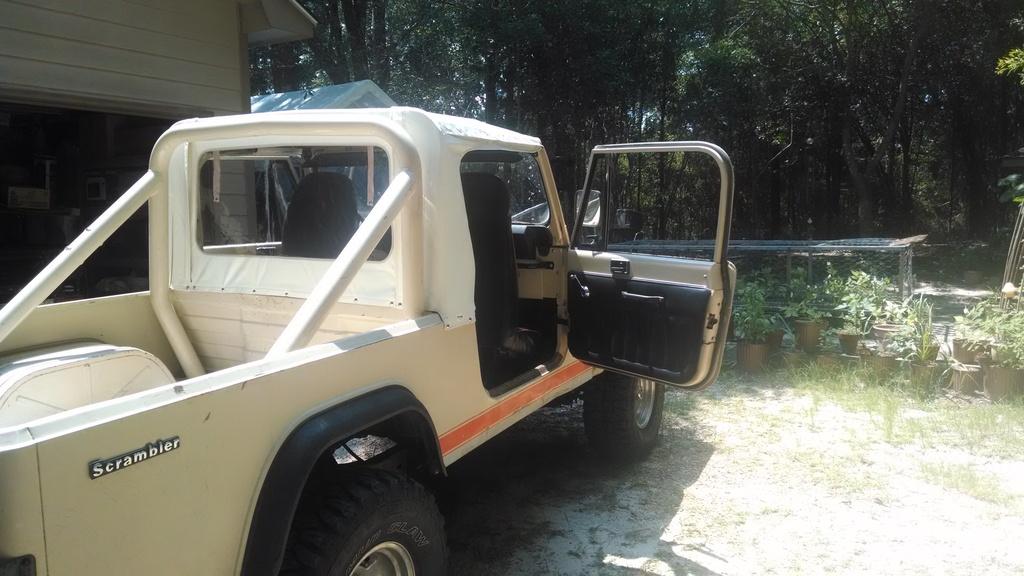
The suspension work took all of Friday night/Saturday. In hind sight, I should have bought new springs. So, since Sunday was just as sunny and hot as Saturday, I installed the Whitco 1/2 soft top. I detailed the install of one of these stock 1/2 soft tops pretty good in my red Scrambler thread, so no reason to rehash it here. One installed picture, before the rain came down:

IMG_20150719_143100184_zpspxfy2syy-1.jpg


The other Whitco top I installed was for an 81-early 82 model with lap belts. This works fine in my red Scrambler since the shoulder belts attach to the in cab cage. This Scrambler/Whitco top is "made" for shoulder belts. Since I don't have an in cab cage in this Scrambler, there is an issue. Basically, you have to cut holes in a brand new soft top to install the shoulder belts!!!!!!!!!!!!!!!!!!!

Member "J Allan" posted the Whitco instructions for the seat belt install on this site, I pretty much followed them. This is how I did it:

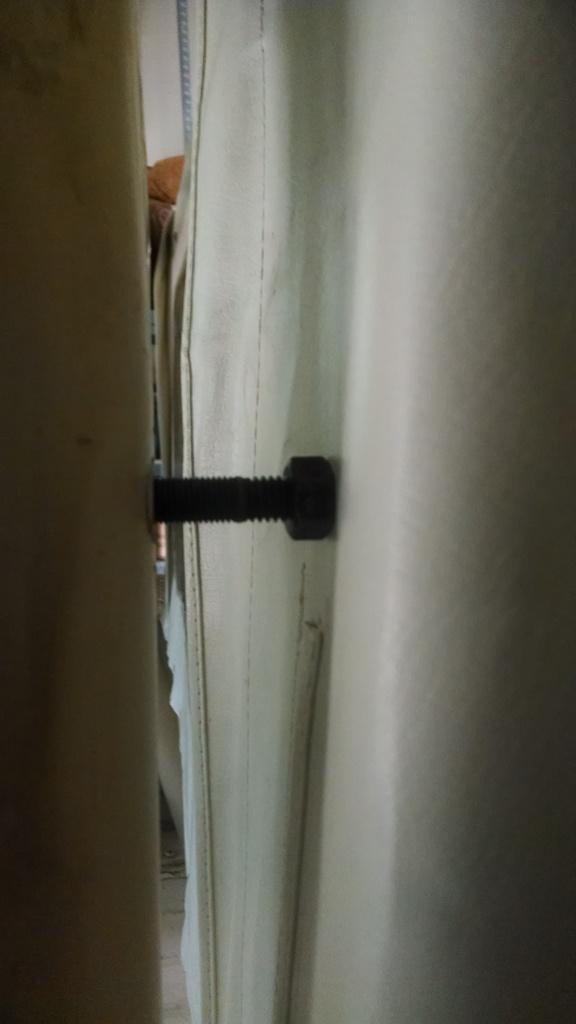
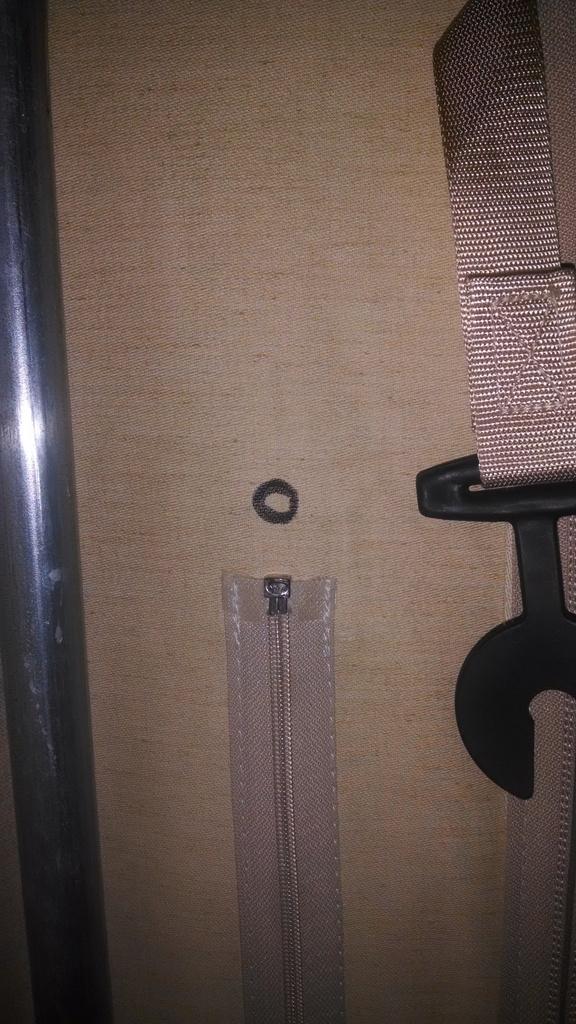
Step 1 - Marking the holes. The instructions say to use the installed seat belt bolt to mark the holes. That would be pretty damn difficult. I found this short, 7/16 stud in my spare bolt box, fine thread on one side, course on the other. I threaded the fine end in the roll bar. I then threaded a nut on the course side, and unthreaded it till it was firm against the soft top.

IMG_20150719_152711070_zpsmjajzrzw-1.jpg


Step 2 - With the nut against the back of the soft top, I went inside the cab and traced an outline of the nut with a permanent marker. this gave me my 1/2" hole outline.

IMG_20150719_152716753_zpsju0w3ehp-1.jpg


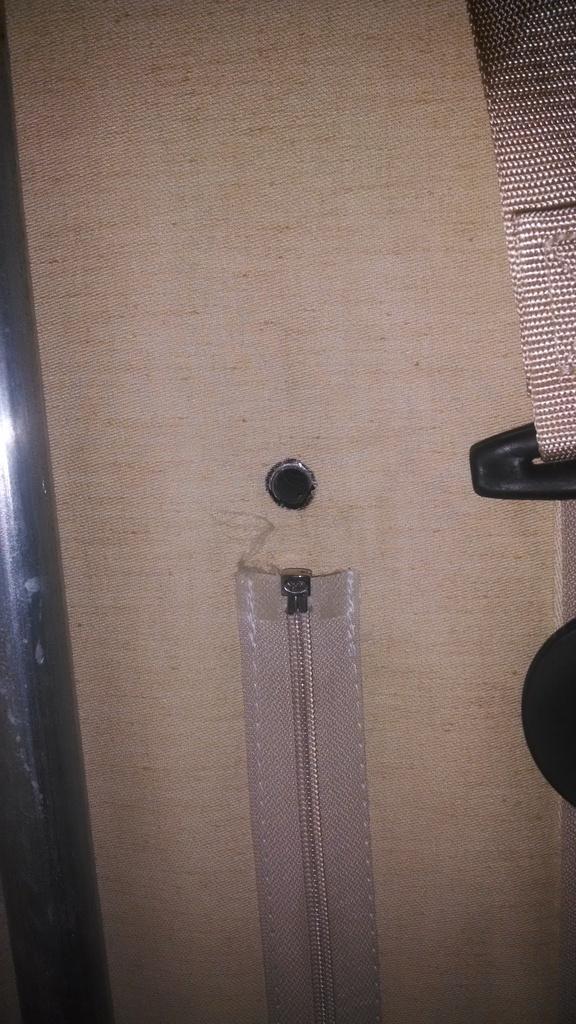
Step 3 - The moment of truth!!!! Using a brand new blade in an Xacto knife, I cut out the holes. As you can see in the picture, my hole in the soft top lines up perfectly with the hole in the roll bar. The little stud/nut trick worked out great IMO.

IMG_20150719_153317566_zps1r6qbrtl-1.jpg


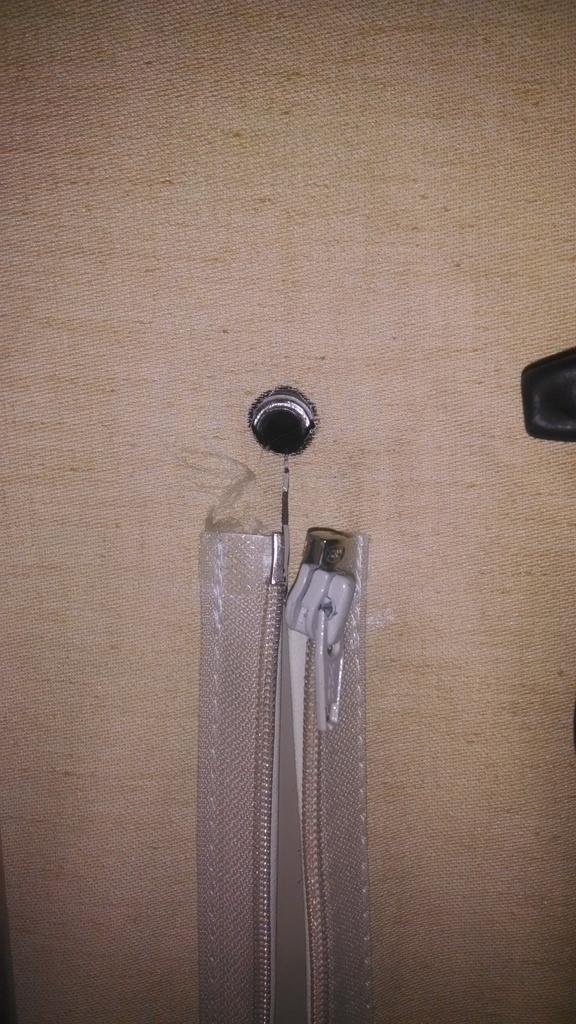
Step 4 - Next, I cut a slice from the new bolt holes to the top of the zipper track. The instruction say to cut the slits first, then the holes. I thought it would be easier to cut the holes first, since the fabric would still be tight, then cut the slits. Anyway, with the slits cut down to the zipper holes, you can see how this works. When you want to remove the soft top, unzip the zippers, pull the top up.

IMG_20150719_153401017_zpsjuukanlm-1.jpg


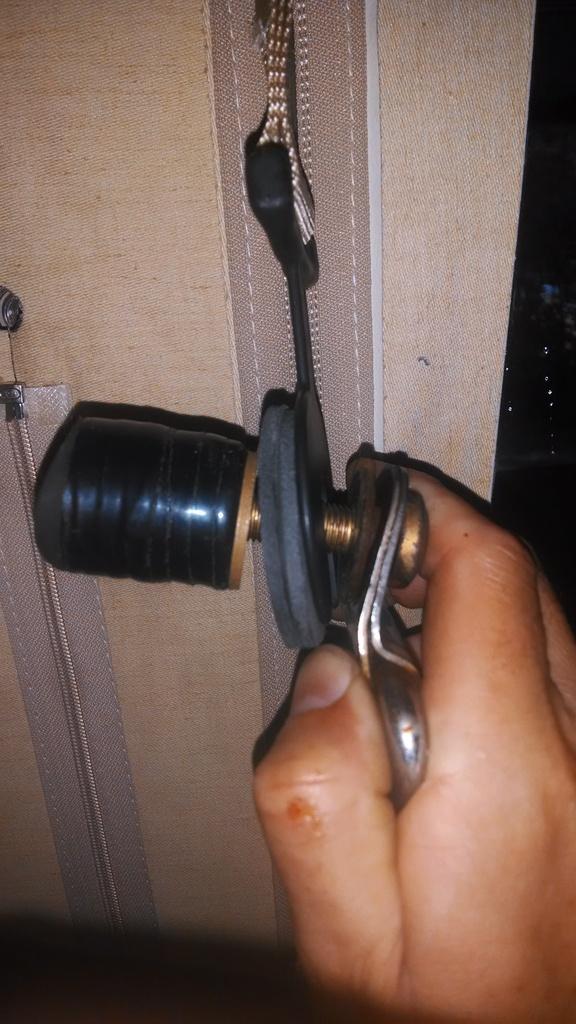
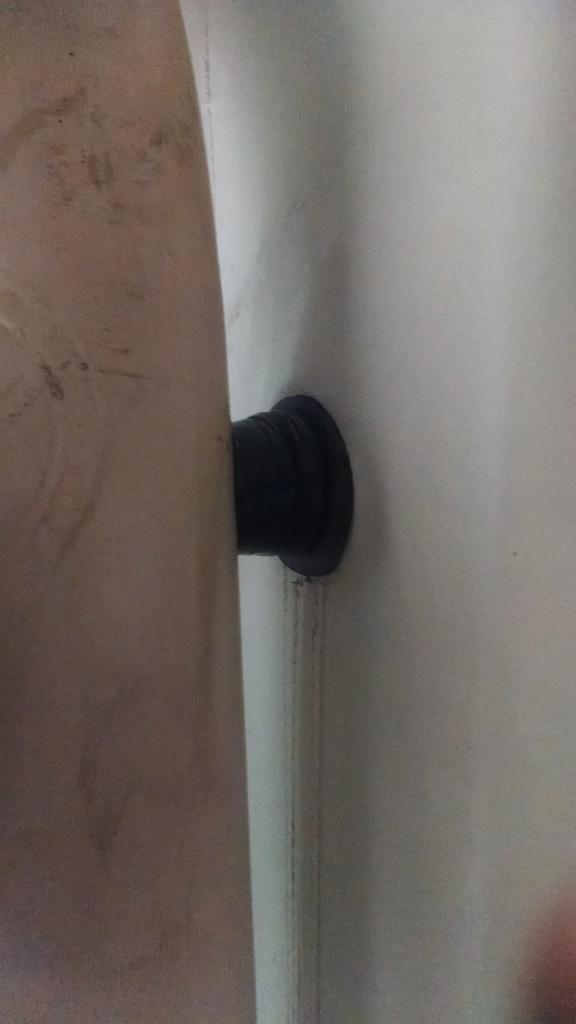
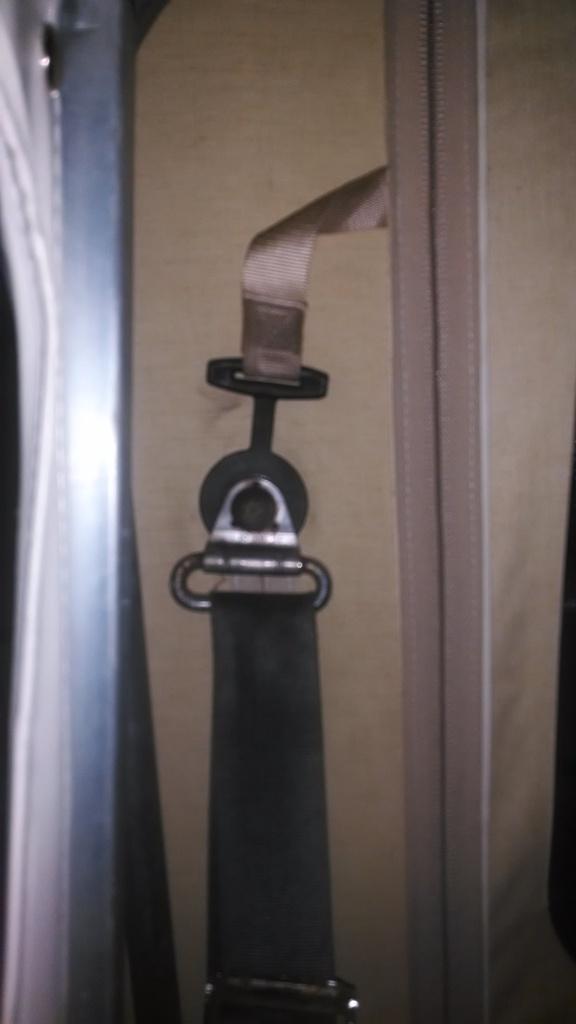
Step 5 - The Whitco instructions/drawing isn't real clear, but this is how I sealed up the soft top hole. From the inside out: seatbelt thing, plastic clip that is attached to soft top, rubber/neoprene washer I bought from Lowes, soft top, another neoprene/rubber washer I bought from Lowes, stock roll bar rubber seat belt thingy. I also installed a fender washer (gold thing) between the stock rubber thingy and the exterior neoprene washer. My stock rubber things are getting gooey, so I also wrapped them in black electrical tape. The washer/tape will hopefully keep the goo from getting on the top.

IMG_20150719_164442802_zpsnu33f3tq-1.jpg


Finally, the installed seat belts:

Exterior shot:

IMG_20150719_165131973_zpsh9rfmk8l-1.jpg


Interior shot:

IMG_20150719_165140064_zpsmrxrn1jc-1.jpg


I hope that this information is useful, that's it for now:wave:
 
Nice write up. They should put it somewhere where it could be easily accessed. Others could use it in future builds.:bow:
 
My question - I am using the stock steel spacers inside the main eye bushings, is it really necessary to torque these bolts to 100lbs? The spacer keeps the bushing from getting squeezed out, but with 100lbs of clamping force on these bushings, they can not move at all? I might back these nuts back off and torque them at 50lbs with metal self locking nuts to see if the ride improves.

I use nyloc bolts on my suspension bushings. I "torque" them to a point where they are tight but loose enough that the entire bolt will rotate easily with a wrench. Don't know if I'm explaining that right. I found when I torqued the bolts to spec, the Jeep would ride like crap since the suspension had to fight the tight bolts. Also, with the bolts torqued, I found the Jeep would develop the gangster lean to one side or the other.
 
Nice write up. They should put it somewhere where it could be easily accessed. Others could use it in future builds.:bow:

Appreciate it:cheers: Hope the information is helpful to others, the Whitco instructions were not the easiest to follow, well, it was 118 with the heat index figured in when I installed it, too:evil:

I have added this great write-up to the 1/2 Soft Top install info in the Tech Library (https://www.cj-8.com/content.php?38-OEM-Whitco-1-2-Soft-Top). Thanks for more great info Raymond! :cheers:

I hope this helps others, nothing like putting a knife through a NOS Whitco top:evil::thumbsup::wave:
 
I use nyloc bolts on my suspension bushings. I "torque" them to a point where they are tight but loose enough that the entire bolt will rotate easily with a wrench. Don't know if I'm explaining that right. I found when I torqued the bolts to spec, the Jeep would ride like crap since the suspension had to fight the tight bolts. Also, with the bolts torqued, I found the Jeep would develop the gangster lean to one side or the other.

I went back and loosened the shackle bolts, then just snugged them up. Rides a bit better. I am using metal locking nuts, so not too worried about the bolts backing off:thumbsup:

I might go back and do the same with the spring eyes, 100 pounds of torque on those bolts, even with the internal steel spacer sleeve, has got to be seizing up the bushing/assembly:shrug:
 
Back
Top