• Notice for iPhone users: DO NOT use the image size reduction option when uploading photos to the forum. This causes portrait images to post as landscape. We have added a warning to the image insert pop-up as well.

The beginning.. the end.... and a fresh start

I'm going to spray the frame inside and out with Southern Polyurethane Epoxy Primer. It's great stuff I've sprayed on a bunch of different projects. It's a self ecthing, corrosion preventative epoxy primer that seals as well as paint if left as-is. That will work the best inside the frame and will be a great primer coat for the paint on the outside of the frame.

I get it at my local NAPA.
I used it to prime the engine in the previous pics.
http://www.southernpolyurethanes.com/


I've also used their clear on my Z car that I had, and on the engine in the previous pics.
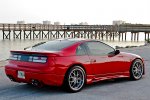
Z1.jpg
Shiny!
 
Last edited:
That engine is a work of art...
 
Had the frame out and back for sandblasting yesterday. Gave it a good coat of epoxy primer inside and out this morning. The new rear crossmember arrived just as I was leaving for work so I'll get that primed and mounted tomorrow. I have some pics if I get time tomorrow. Sandblasting is the way to go... as long as someone else is doing it :smokin: The guy did a great job too. He said having the frame mounted on the stands was a big help which saved time... and time is money.
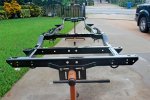
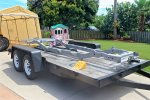
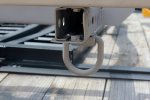
Also ordered the 4" lift kit from BDS suspension this morning so I'll have to start cleaning up the axles next.
 
Last edited:
Your poor man's rotisserie is friggin brillant too, BTW. Very inspiring. Looking forward to pics of the frame progress. That paint looks fancy, might have to spray that on the J-20.
 
Thanks,
The frame looks great just in primer. It's the same primer I used on the engine back in the first couple pages.

The stands are Harbor Freight el cheapos which I bought just for that purpose. I think they were around $80 for both.

The frame will get a single stage black polyurethane enamel as well as the axles when I get to them. I also mentioned in an earlier post that I was going to clean up the springs and reuse them. After removing them it was apparent they had seen better days so I opted for a new set. The front frame shackles were cracked and the skid pan was bent. The rear spring shackles were bent at the shock mounts so I'll be using the ones off my old CJ8. It looks like this old Jeep did a lot of bottoming out over rocks and such.

Plus the new springs are 4" lifts vs the 2.5" that came off.
 
Last edited:
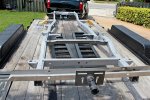
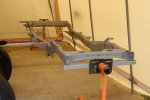
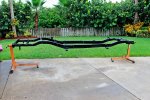
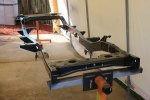
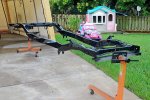
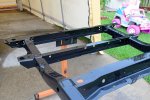
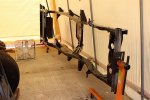
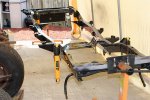
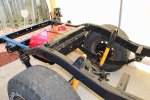
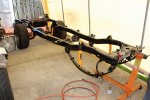
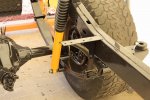
The frame is done. I had it sandblasted and they did a bang up job. Even getting up in the rear frame rails completely. Back on the stands, primed and painted. Also installed the new rear crossmember from CHIEFWAHOO. That thing is worth every penny. I rolled the axles out this morning and degreased/pressure washed them. The springs should be here later this week so I want to get the housings cleaned up and painted. I plan on pulling the brake assemblies along with the axles and giving them a once over but for now I need to get them so I can at least mount the springs. On to the pics
 

Attachments

  • frame9.jpg
    frame9.jpg
    116.8 KB · Views: 602
  • frame1.jpg
    frame1.jpg
    158.2 KB · Views: 605
  • frame2.jpg
    frame2.jpg
    62.8 KB · Views: 600
  • frame3.jpg
    frame3.jpg
    163.7 KB · Views: 603
  • frame4.jpg
    frame4.jpg
    85.6 KB · Views: 601
  • frame6.jpg
    frame6.jpg
    177.2 KB · Views: 596
  • frame5.jpg
    frame5.jpg
    91.1 KB · Views: 598
  • frame7.jpg
    frame7.jpg
    146.9 KB · Views: 594
  • frame8.jpg
    frame8.jpg
    112.5 KB · Views: 593
Last edited:
I know it's a ton of work and all, but I get so jealous when I see someone starting from the ground up to do it all the right way :bow: :drool:
 
The spring kit arrived this morning so I guess I'll work on getting the axles and springs ready for paint this week. That way I can set her back on the ground.
 
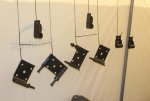
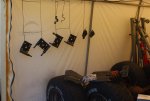
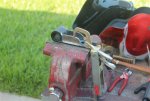
Since the springs arrived I started to get all the hangers and plates out. The pieces that were on the new CJ8 were shot. Mine were straight but had some rust issues. I started to grind, sandblast and clean them and after 5 minutes in the 100degree plus heat I had enough. I threw a bunch of stuff in a box and headed to the sandblaster. I forgot a few things in my hurry so I'll make another run this week. It's well worth the time and money to let them deal with it. Everything comes back clean to the bone. Here they are primed. frame resto 014.jpgframe resto 012 (Large).jpg

I also did a little fabbing on the shackle hangers with some bracing. Better than paying $50+ a set.
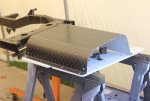
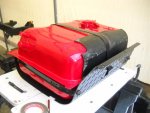
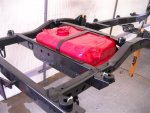
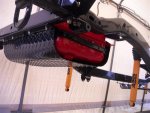
My aluminum gas tank skid plate was corroded too so I had it sandblasted as well. I plan on painting that black too. Just for a little bling I'm going to paint the fuel tank RED and get some "flamable" stickers for the sides below the strapes.
frame resto 011 (Large).jpg
frame resto 013 (Large).jpg
The BDS springs will get a coat of black gloss paint too. The one thing I'm still thinking about are the spring and shackle bushings that come "blue" from BDS. That's the only choice. They did give me a color choice on the shock boots so I went black. I'll probably source a set of black bushings too since I'll need pretty much a complete kit.
frame resto 010 (Large).jpg
 
I've been busy working on painting the springs, the gas and trans skid plates, and a few misc pieces. The weather stopped me for a couple days with all the rain from the tropical storm.
I ended up ordering a complete Energy Suspension Hyper Flex kit in black so I should have that this week. Also as I pulled out my fuel tank and started cleaning it up I found a couple small rust spots that had gone through the metal. So another item on order which will be here this week too. At least it will save me prep time. Nothing like new parts... except the price. I've mounted the frame shackles and sway bar brackets.
I'll get a few more pics up this week.
 
OK... picture time
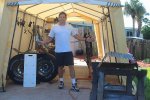
yours truly.. I was painting the gas tank skid pan.
paint 1.jpg

The frame skid pans are done and loosely fitted with new hardware.
paint 3.jpg

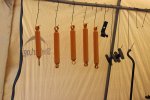
Painted the shocks this morning Jeep Dozer Yellow. Same yellow that is on the motor and will be in the stripes. Base coat / clear coat. They will get the black boots and bushings and the BDS stickers.
paint 2.jpg

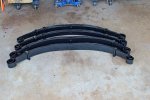
Springs are painted same black as the frame.
paint 4.jpg

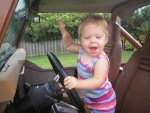
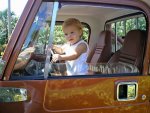
And some good reasons for making it happen

aubree.jpg
aubree 2.jpgaubree 1.jpg
 
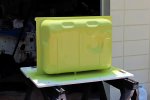
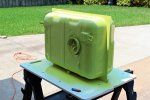
Got a little more accomplished this week. The new tank arrived so it got primed and painted. The green is airplane epoxy primer. Thought I had a pic of the tank painted red but I guess I'll have to take another.
gas tank  2.jpggas tank 1.jpg

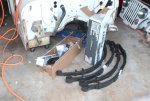
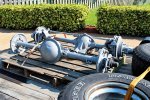
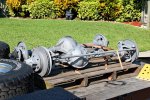
Took the axles and a bunch of other misc parts to sand blasting. I'll take a few more pics this week of the finished products. I had them primed the same day I brought them home, and have since painted them. The folks at East Coast Ornamental Welding do a great job sand blasting and are very reasonable on the price. Sand blasting is absolutely the way to go.

sand blast 2.jpgsand blast 1.jpg

Had my daughters help putting the bushings and shocks together. Finally feels like progress now that stuff is getting put back on the frame.
installed 1.jpg
 
Last edited:
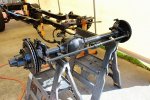
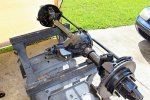
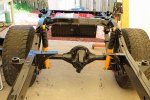
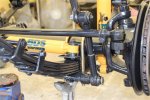
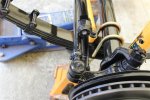
Got a little more done this week. Got the axles painted and managed to get the rear axle installed. No brake hardware or drums are installed yet, but I did get the rollers on so I could set the rear on the ground. Also need to clean up the front and rear stainless diff covers from my old Jeep. I'll eventually change out the gears but for now the 2:72's will suffice. I'll also be changing out the rotors, drums calipers and wheel cyl's. Basicaly all new brake hardware. Tomorrow I'll get the front axle installed.
Next on the list are the brake and fuel lines, and the parking brake cables. All that stuff is in good shape so I'll just clean it up, treat em and reinstall them.
axles8.jpgaxles1.jpgaxles2.jpgaxles3.jpgaxles6.jpgaxles7.jpg

Also installed the steering box, cross brace, and drop pitman arm that came in the lift kit.axles5.jpg
 
Last edited:
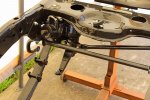
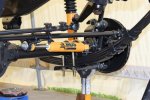
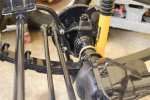
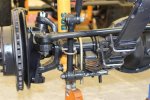
Got the front axles installed and everything hooked up. Discovered I'll need to lengthen the sway bar quick disconnects or just find a longer set. These were for a 2.5" lift. With the suspension fully extended the connect interferes with the drag link.

Also installed the tie rod flip kit from OK4wd, I really like the corrected symmetry and I was able to adjust the steering link so that the steering went from stop to stop just right. . Also need to get a shock boot for the steering stabilizer. Next on the list is to install the engine/trans/transfer case.

I'm swapping the D300 transfer case from the white Jeep onto my set up as it only had 39k miles. I opened up the lower access plate to take a look inside and the case looks like the day it was made. No residue on the pan or anything else. I did the same to my old case out of the copper Jeep and it had normal signs of wear and tear but nothing wrong. And of course everything is getting a freshin up paint job so when I get it all put together I'll take some pics.

Jeep resto 003.jpgJeep resto 004.jpgJeep resto 005.jpgJeep resto 006.jpgJeep resto 001.jpgJeep resto 002.jpg
 
Last edited:
That sure is pretty... I remember when mine was so clean you could eat off of it... but time has a way of making fools of us all ;)

cb
 
Yeah I know, but ya gotta start out right. Where it goes from there is a Jeeps life.
 
Thanks,

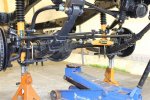
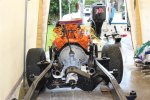
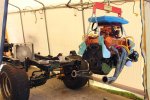
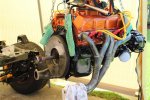
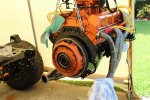
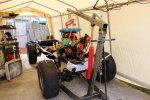
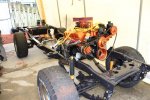
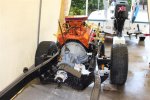
Sunday afternoon and Monday morning I managed to get the engine and trans together and install them.
An old input shaft from a T-5 came in handy. The Centerforcr clutch set up is at least 10 years old and showed hardly any wear as did the flywheel after I cleaned it up.. So that saved me some $$$

It's really nice to work with nothing in the way as in the body. It makes getting to everything and lining up stuff real nice.


Jeep resto 016.jpgJeep resto 007.jpgJeep resto 011.jpgJeep resto 012.jpgJeep resto 013.jpgJeep resto 014.jpgJeep resto 015.jpgThanks,
 
Last edited:
Back
Top