• Notice for iPhone users: DO NOT use the image size reduction option when uploading photos to the forum. This causes portrait images to post as landscape. We have added a warning to the image insert pop-up as well.

The beginning.. the end.... and a fresh start

Thanks...
Nah, I aint that picky.
I thought I was going to get more done last week but I've been out numbered by Christmas chores. The Jeep can wait a bit.
 
Thanks, I've gotten more accomplished over the past few weeks and will have some pics to show this weekend. I have the pics uploaded to Snapfish but my work computers are now blocking the site so I'll post them when I get a chance this weekend.
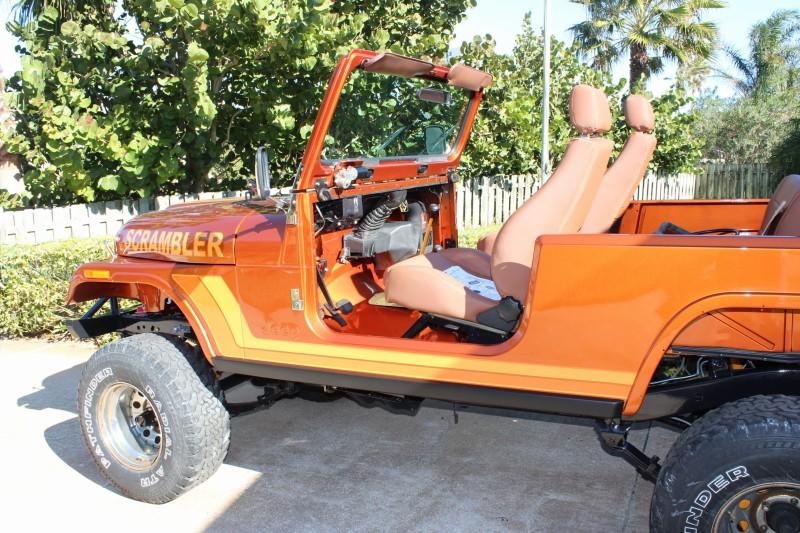
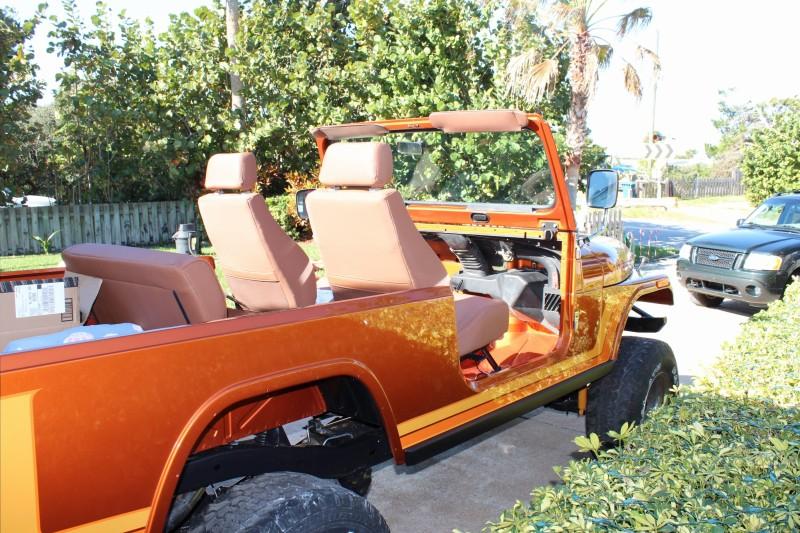
I've bolted the seats down.
Painted and installed the body side trim aluminum valance thing I forget what it's called..
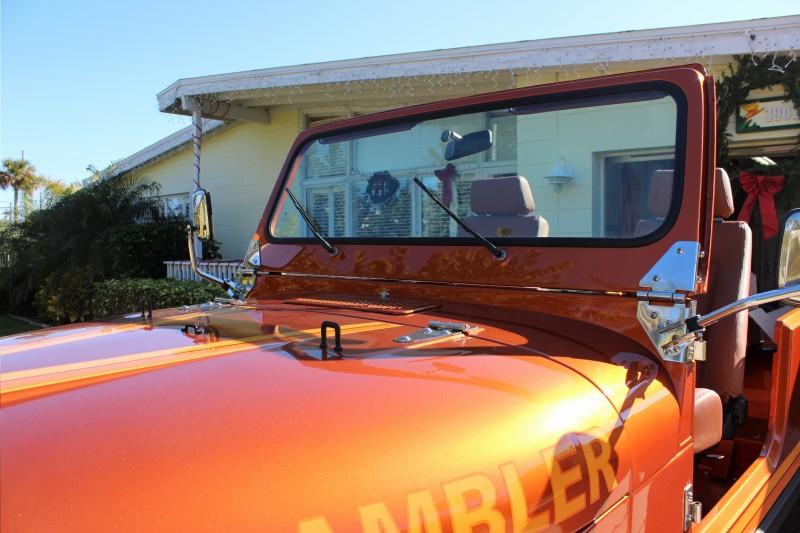
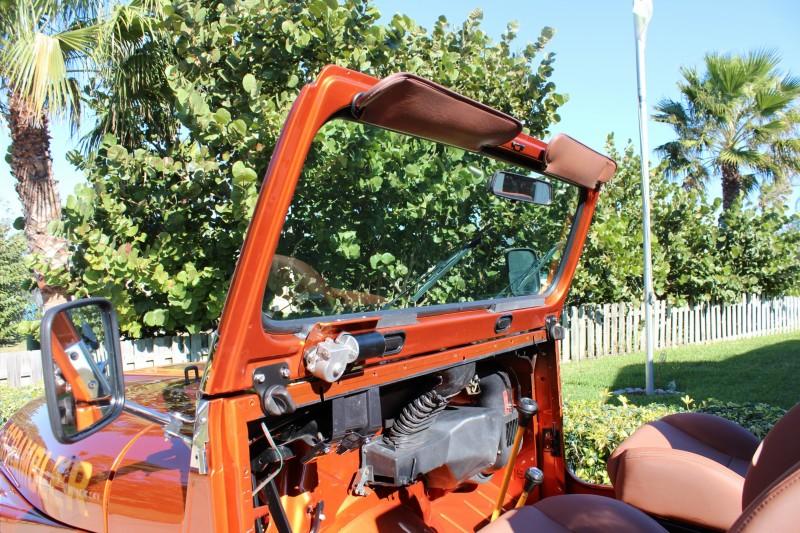
Installed the windshield frame and glass.
Currently working on the engine side wiring harness and ignition system.
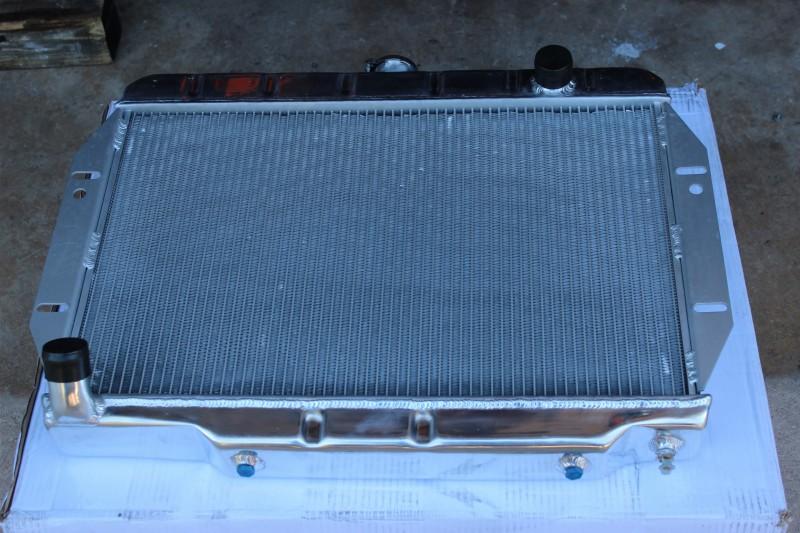
Also received and installed an aluminum radiator.
 
Ok here's some update pics

Got the stainless polished for the w/s frame. Got a new glass and seal. Swapped everything over and blacked out the wiper arms and all the little trim pieces. Still need to buy the cowl rubber and get my drivers side visor fixed.
2323232327Ffp932323Euqcshlukaxroqdfv3553-1.jpg


Also went back to the oem interior w/s brackets. The stainless were just too thin.
2323232327Ffp932323Euqcshlukaxroqdfv9373-1.jpg


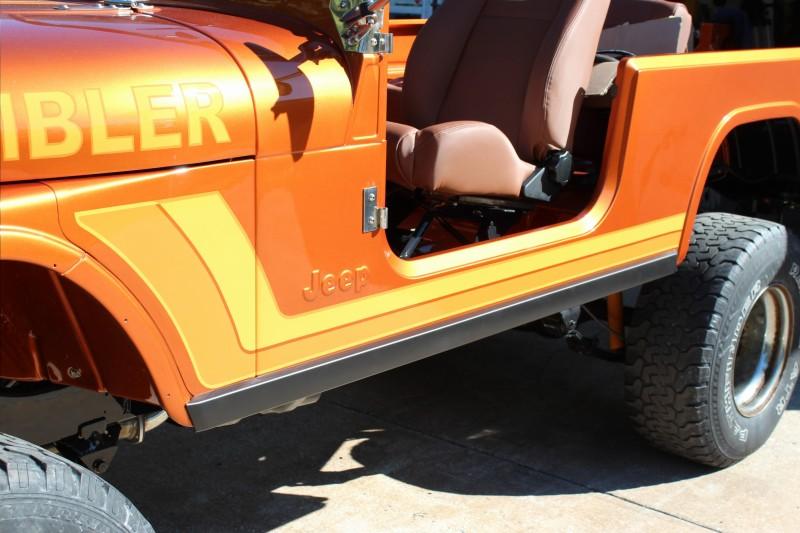
Blacked out the body side moulding in satin. Once I get the new fender flares the satin lines will fill in. The mouldings were too dinged and scratched to try and polish out so I decided on the black look.
2323232327Ffp932323Euqcshlukaxroqdfv3A65-1.jpg


2323232327Ffp932323Euqcshlukaxroqdfv83C3-1.jpg

2323232327Ffp932323Euqcshlukaxroqdfv3B73-1.jpg
 
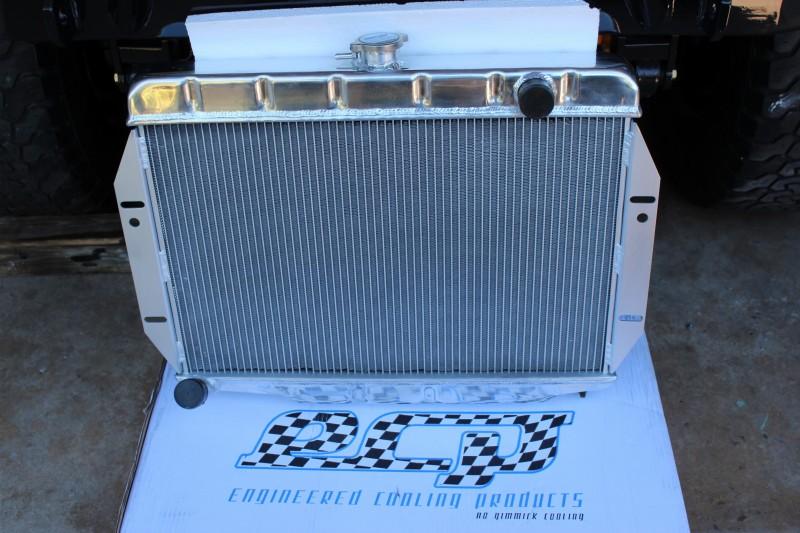
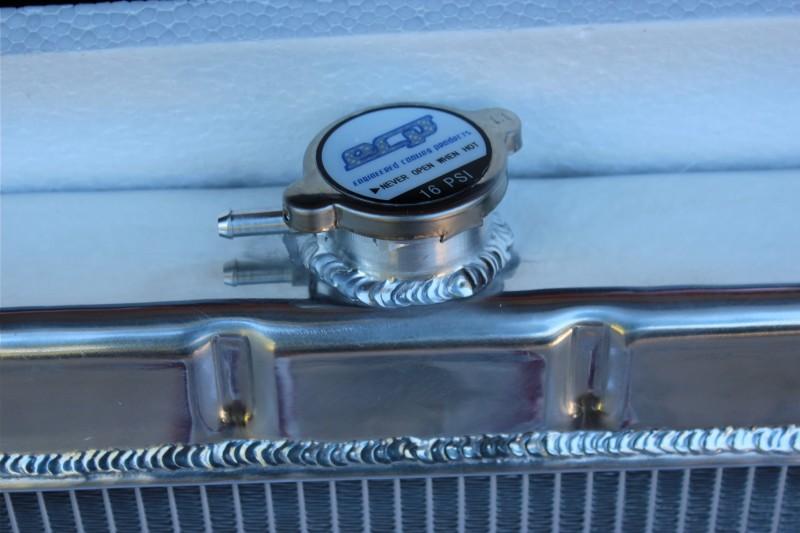
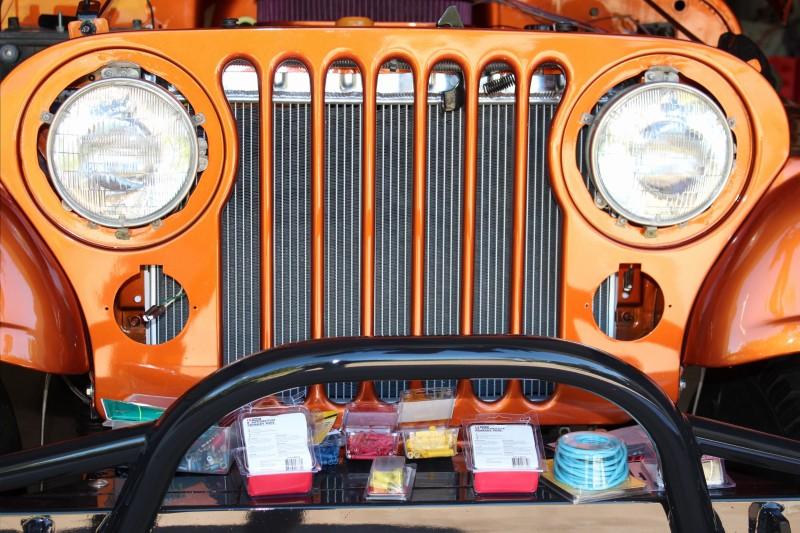
Also got a new radiator. Went with a company out of Chicago called Engineered Cooling Products that I found searching the web. They made a beautiful radiator with stamped tanks vs the squared welded together jobs mostly available on ebay and performance sites. My intentions were to paint the upper tank Black when it got here as I'm not looking for the aluminum look, but the radiator was so freaking nice I couldn't bring myself to cover it up. So I'll have a little silver under the hood for now.

2323232327Ffp932323Euqcshlukaxroqdfv3B3B-1.jpg
2323232327Ffp932323Euqcshlukaxroqdfv4488-1.jpg
2323232327Ffp932323Euqcshlukaxroqdfv9673-1.jpg
2323232327Ffp932323Euqcshlukaxroqdfv3773-1.jpg
2323232327Ffp932323Euqcshlukaxroqdfv3B46-1.jpg


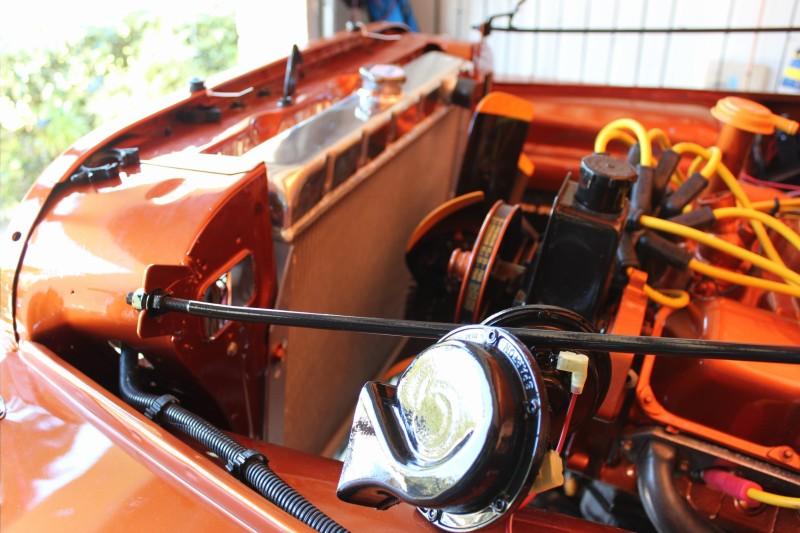
Also as you can see in front of the radiator is a bunch of wiring stuff. I started wiring up the engine bay last week. I'm pretty much done now so I'll take some pics of that too and have those for ya'll later
 
Looking damn good. Really like the radiator. Fine job for an aircraft mechanic I guess :cheers:
 
Coming along nicely. Look forward to seeing it. :thumbsup: :wave:
 
Looks every good as bit as good as I expected from your prior work! Two questions:

1) Did you consider painting the heater box the body color?

2) When you did the wet sanding, did you just hit the flat body panels, or did you do the smaller seams and ridges. Everything I've read says stay away from the edges to prevent burn thru. However, I'd like to do the ridge around the bed as the orange peel is visible there.

Thanks and can't wait to see it finished.

Chris V.
 
Coming along nicely. Look forward to seeing it. :thumbsup: :wave:
Are you heading down here soon? It's gotta be freezing you out up there. I spent the day with my daughter riding bikes on the beach as she's out on Christmas break. The water is pretty cold now but she braved it.
 
You will love the aluminum radiator... I never had one up until recently and I can't believe how cool it runs.

cb
Thanks, that's what I was hoping for. I'm not doing an electric fan this time because IF my wife decides to take it for a spin I need to know the cooling side is always working. Along with power steering and brakes to make it girlie friendly.
 
Last edited:
Looks every good as bit as good as I expected from your prior work! Two questions:

1) Did you consider painting the heater box the body color?

2) When you did the wet sanding, did you just hit the flat body panels, or did you do the smaller seams and ridges. Everything I've read says stay away from the edges to prevent burn thru. However, I'd like to do the ridge around the bed as the orange peel is visible there.


Thanks and can't wait to see it finished.

Chris V.
1. I considered painting the heater box a satin black to freshin it up but once I cleaned it up it looked almost new.

2. Every ridge and flat gets sanded and polished especially those along the upper edge around the bed. Be careful with the sanding process and use foam pads with a variable speed polisher. Most of the work is done in the sanding stages. 1000 grit then 1500 was enough when followed by polishing compound and swirl remover. I could have gone to 2000 grit and it would almost look polished prior to the actual polishing. Even as careful as I was I still burned a couple edges that require touch-up.
 
I respect the detail that you work. I'm sure you have been in aviation for many years. I have been in it for 16 years. I have learned that there are parts changers and then there are detail oriented mechanics. We all know what category you fall under. It's great to see such fine work and respect towards there project.
 
Are you heading down here soon? It's gotta be freezing you out up there. I spent the day with my daughter riding bikes on the beach as she's out on Christmas break. The water is pretty cold now but she braved it.

Sending you a PM.
 
Back
Top