

You are using an out of date browser. It may not display this or other websites correctly.
You should upgrade or use an alternative browser.
You should upgrade or use an alternative browser.
The "Once in a while" 1983 Scrambler Laredo Build
- Thread starter 53D Scrambler
- Start date


- City
- Claflin
- State
- KS
For not wanting show quality paint and specifically telling the shop that, it sure came out nice!!!! Its always nice when you can find someone local to do that sort of quality work. Just curious with your cost, how much of that was labor if you don't mind me asking?

- City
- Hampstead
- State
- NC
For not wanting show quality paint and specifically telling the shop that, it sure came out nice!!!! Its always nice when you can find someone local to do that sort of quality work. Just curious with your cost, how much of that was labor if you don't mind me asking?
Thanks, I was very happy with the "thoroughness" of the painting. About the labor costs, I am not quite sure. I will have to ask the shop tomorrow when I get a chance.
- City
- Hampstead
- State
- NC
Tub is back on.
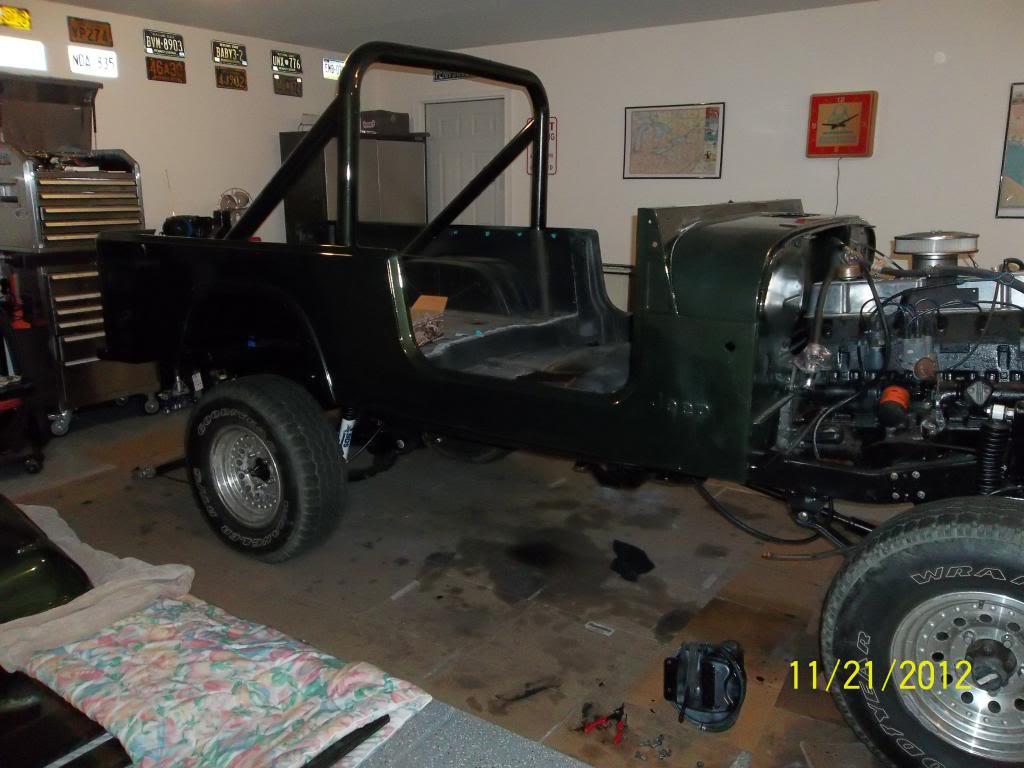
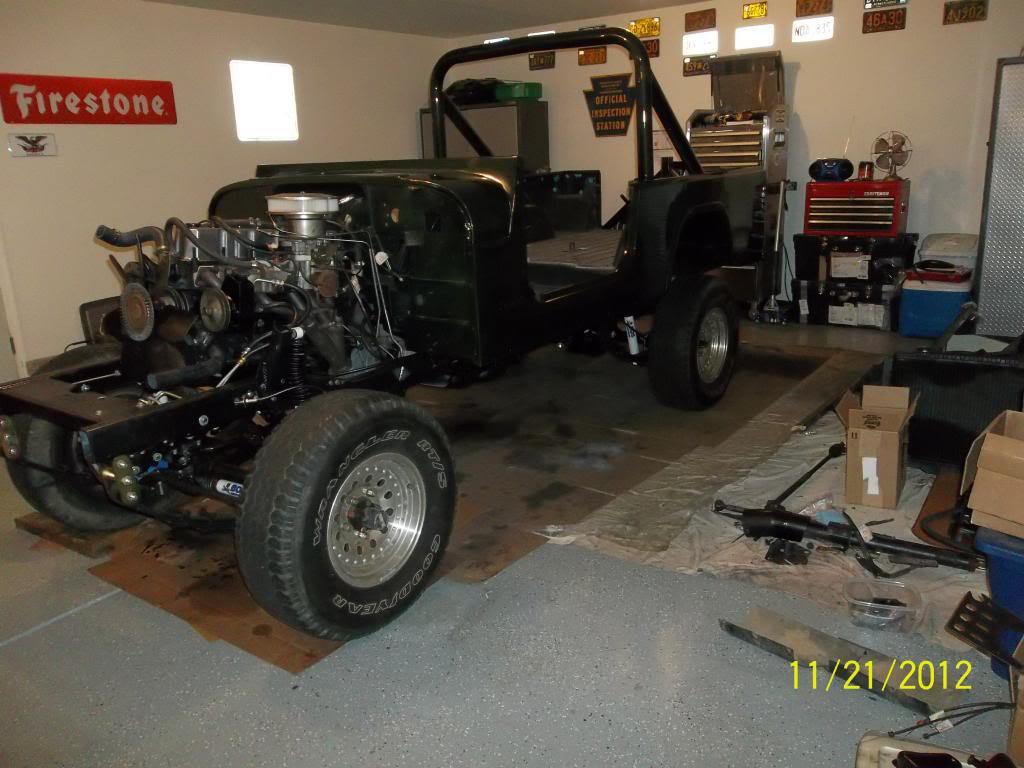
So a couple weeks ago my Dad came down to help with the build...it's a good thing too because we needed all the manpower we could get to put the body back on. With the help of OneTon and a couple others we were able to get the body back from the painters and put it on the chassis with NO damage
I debated heavily wether or not to take the chassis on the trailer to the painters, but opted instead to just pick the tub and pieces up with the trailer and bring them back to the house. We set everything on thick moving blankets. We then rolled the chassis(with Daystar body mount pucks installed) down to the bottom of my driveway with the rear bumper facing the trailer. Then 4 of just lifted the tub off the trailer and walked it onto the chassis. It was a delicate process using moving blankets on parts of the chassis to prevent scratches when we set down to reposition, but the whole thing only took about 15 min.
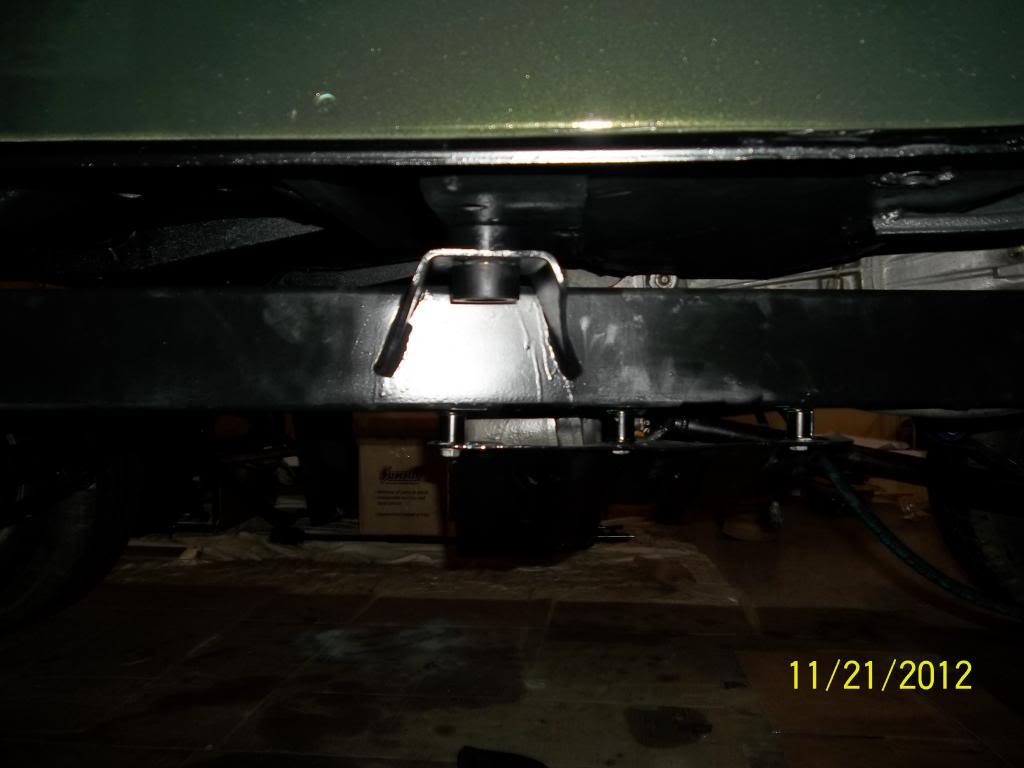
This picture doesn't really look like much, but it was significant as it was the first item I screwed back into the body. It's really hard putting something metallic and sharp into the new paint but it has to be done. I didn't state it earlier in the thread but every bolt is either Grade 8 where necessary or stainless(bolts and screws). Everything going through the body is stainless with anti-sieze in the never ending battle against rust.
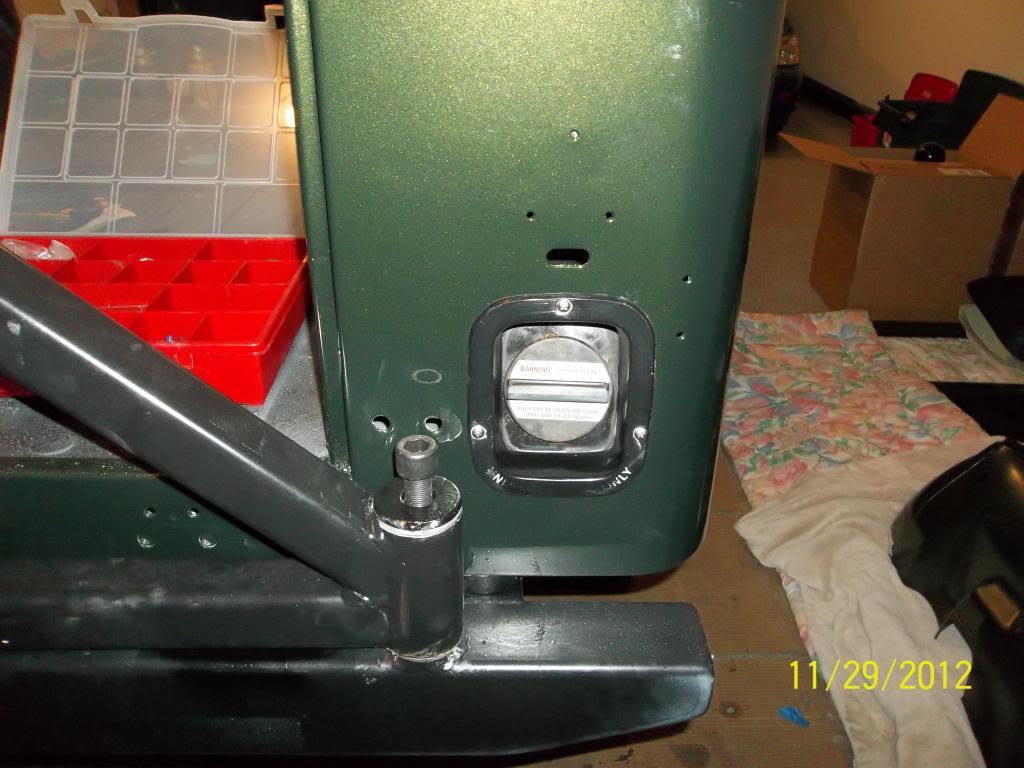
You can probably tell in the picture that the bolt to secure the swing-out tire carrier isn't tightened because I don't have an allen key big enough. Also the grey smudges are anti-sieze that I am constantly cleaning off. That stuff gets everywhere
I am also re-using a lot of the stock pieces that may not be in perfect condition. I don't feel the need to make everything look brand new...if it's aged but I can clean it up and re-use it I am.
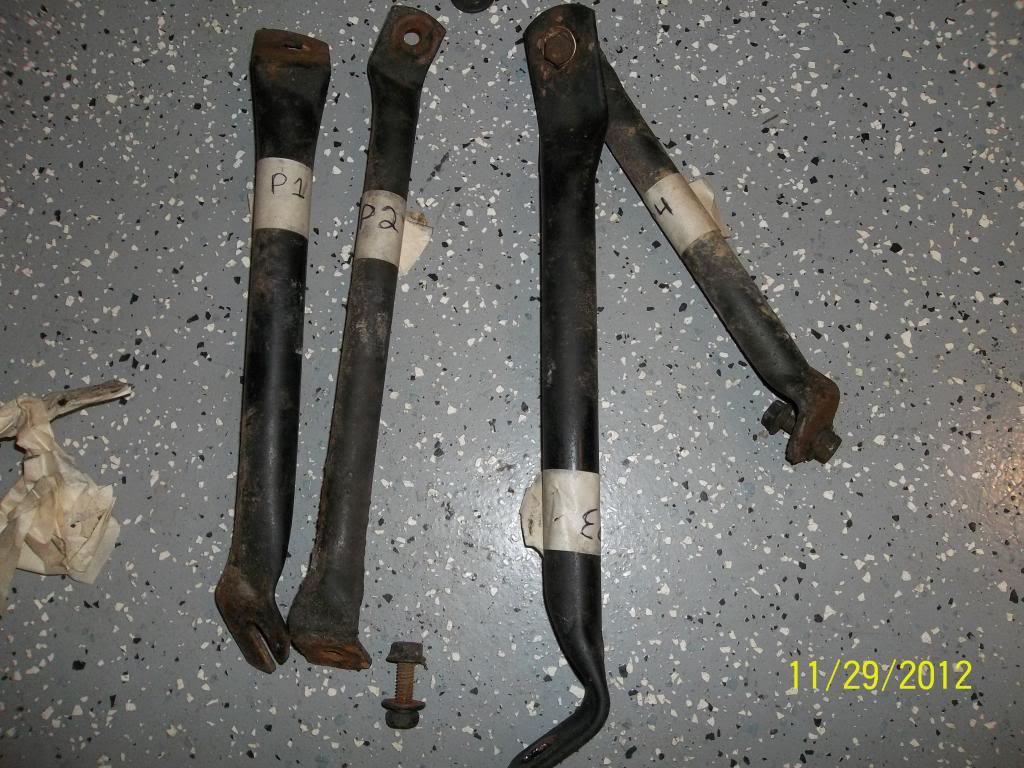
Next up I am going to sand/POR/re-paint the fender supports and start preparing to install the front clip!
So a couple weeks ago my Dad came down to help with the build...it's a good thing too because we needed all the manpower we could get to put the body back on. With the help of OneTon and a couple others we were able to get the body back from the painters and put it on the chassis with NO damage
I debated heavily wether or not to take the chassis on the trailer to the painters, but opted instead to just pick the tub and pieces up with the trailer and bring them back to the house. We set everything on thick moving blankets. We then rolled the chassis(with Daystar body mount pucks installed) down to the bottom of my driveway with the rear bumper facing the trailer. Then 4 of just lifted the tub off the trailer and walked it onto the chassis. It was a delicate process using moving blankets on parts of the chassis to prevent scratches when we set down to reposition, but the whole thing only took about 15 min.
This picture doesn't really look like much, but it was significant as it was the first item I screwed back into the body. It's really hard putting something metallic and sharp into the new paint but it has to be done. I didn't state it earlier in the thread but every bolt is either Grade 8 where necessary or stainless(bolts and screws). Everything going through the body is stainless with anti-sieze in the never ending battle against rust.
You can probably tell in the picture that the bolt to secure the swing-out tire carrier isn't tightened because I don't have an allen key big enough. Also the grey smudges are anti-sieze that I am constantly cleaning off. That stuff gets everywhere
I am also re-using a lot of the stock pieces that may not be in perfect condition. I don't feel the need to make everything look brand new...if it's aged but I can clean it up and re-use it I am.
Next up I am going to sand/POR/re-paint the fender supports and start preparing to install the front clip!
- City
- Colorado Springs
- State
- CO
You may consider wrapping the body in blankets or painters paper while you working on everything. All it takes is one "whoops" as a wrench or tool slips and gouges a nice scratch in the fresh paint. Sure puts a dark mood on working on it once you do that. 

- City
- stafford
- State
- va
You may consider wrapping the body in blankets or painters paper while you working on everything. All it takes is one "whoops" as a wrench or tool slips and gouges a nice scratch in the fresh paint. Sure puts a dark mood on working on it once you do that.
Yep , might as well make it a trail rig !!


- City
- Biloxi
- State
- MS
Yep , might as well make it a trail rig !!
Yep, that's what I did with my red Scrambler


The green looks great, just like the one in my garage and the one in the yard, my favorite CJ color

- City
- stafford
- State
- va
Yep , one Really purty trail vehicle !!
Last edited:
- City
- Hampstead
- State
- NC
Yep , one Really purty trail vehicle !!
Ha.... It will see off road time. Not rock crawling mind you but some trails for sure.
You may consider wrapping the body in blankets or painters paper while you working on everything. All it takes is one "whoops" as a wrench or tool slips and gouges a nice scratch in the fresh paint. Sure puts a dark mood on working on it once you do that.
I am definitely using that advice. There are blankets everywhere. I have had one little nick that I was able to touch up, that was liberating actually. I just don't want a bunch more!
- City
- Hampstead
- State
- NC
Pluggin Along
I thought for sure the body mount captured nut for the Grille was going to me. But sure enough, the bolt went right in and tightened down. I mocked up the grille and fenders all with a couple bolts, just to get them in place and stable for the time being.
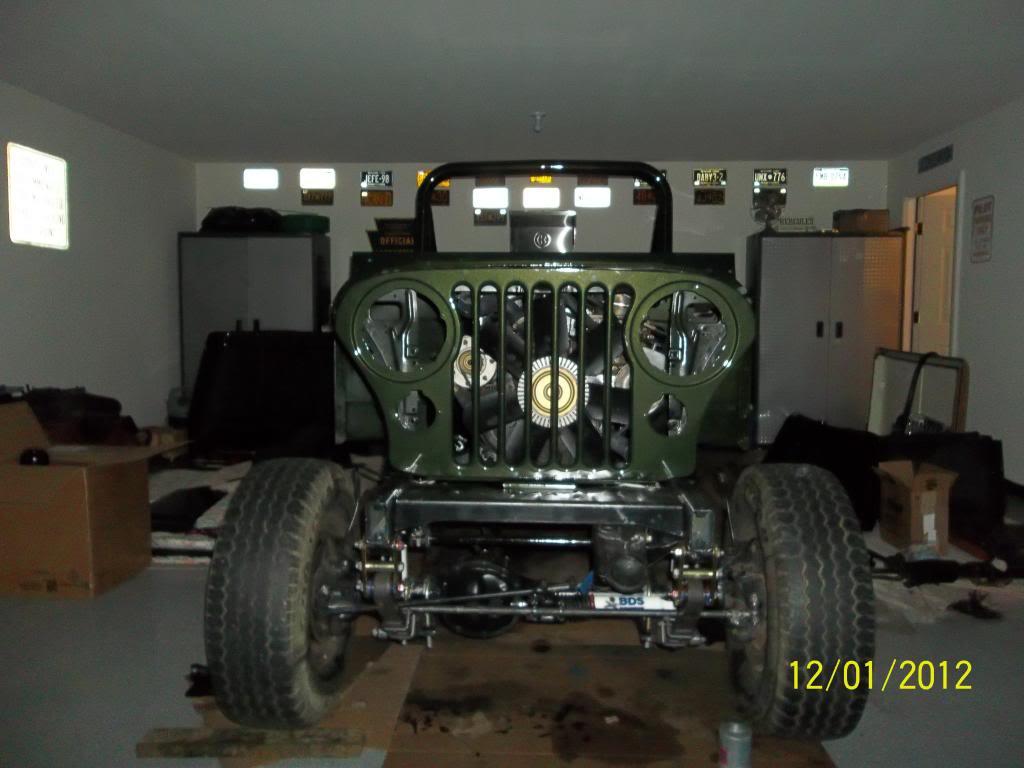
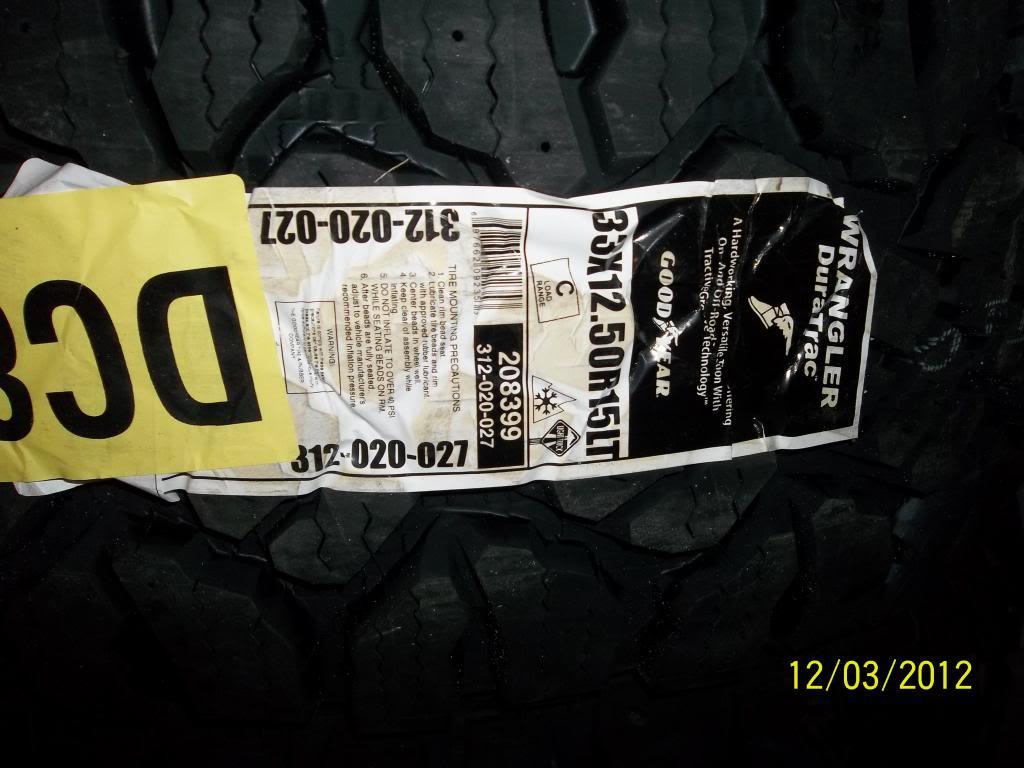
The tires and wheels that are on it now are 15x7 with 31x10.50's aired down just to use as rollers. The stance looks a little high with them on, I will eventually be running 15x8 wheels with 33x12.50 tires. They should fill up the fender gaps a little more. I also think that once the seats/full size spare are on the Jeep it will settle a little more. The lift is a 4" BDS lift with MORE shackles that are 1/2" taller than stock.

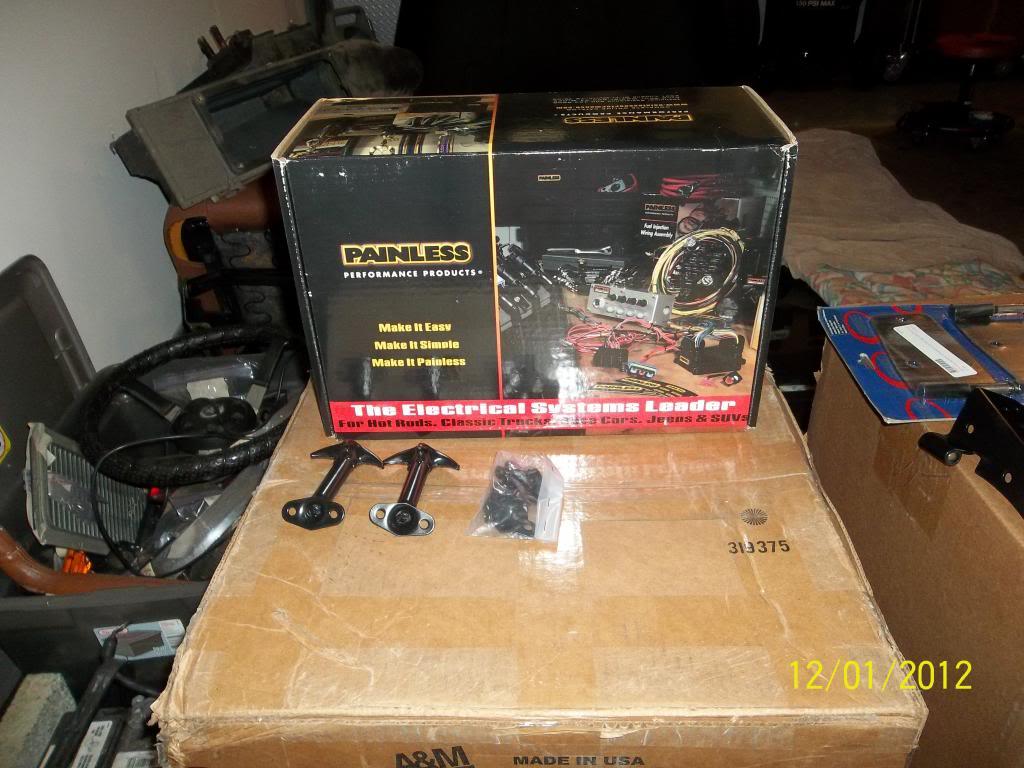
This was a good day....the Scrambler seemed almost like a whole Jeep again, and some GOODIES arrived.
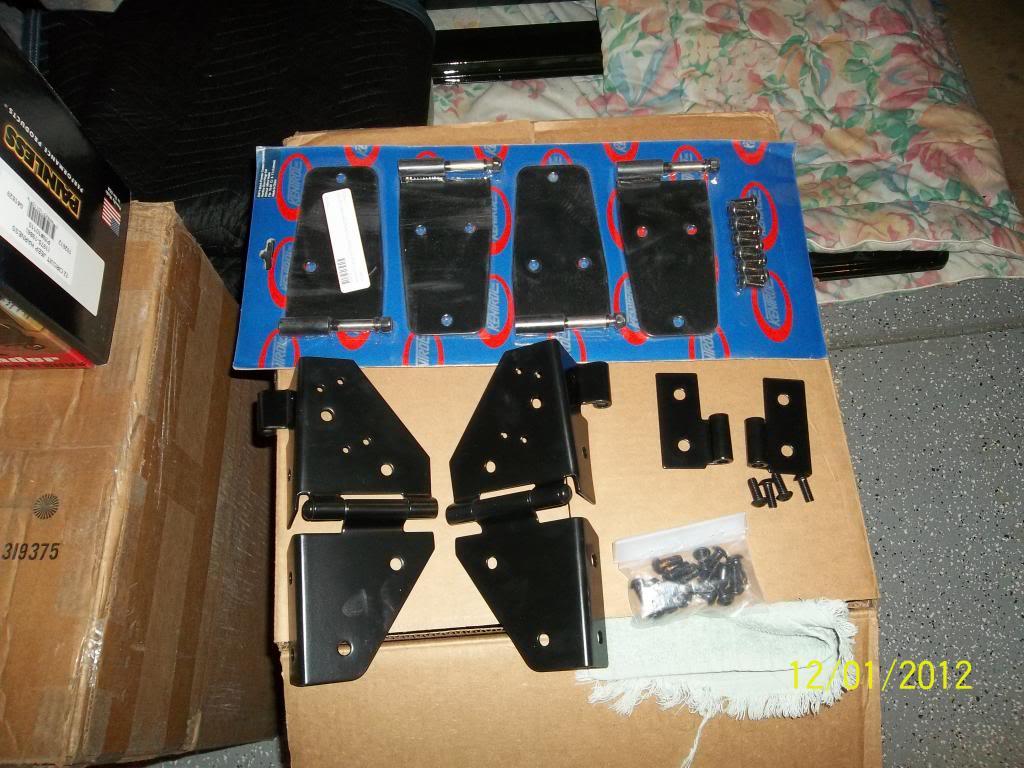
The Painless wiring harness will be the next hurdle to overcome. I get double the spaghetti because I also ordered a new Howell EFI harness.
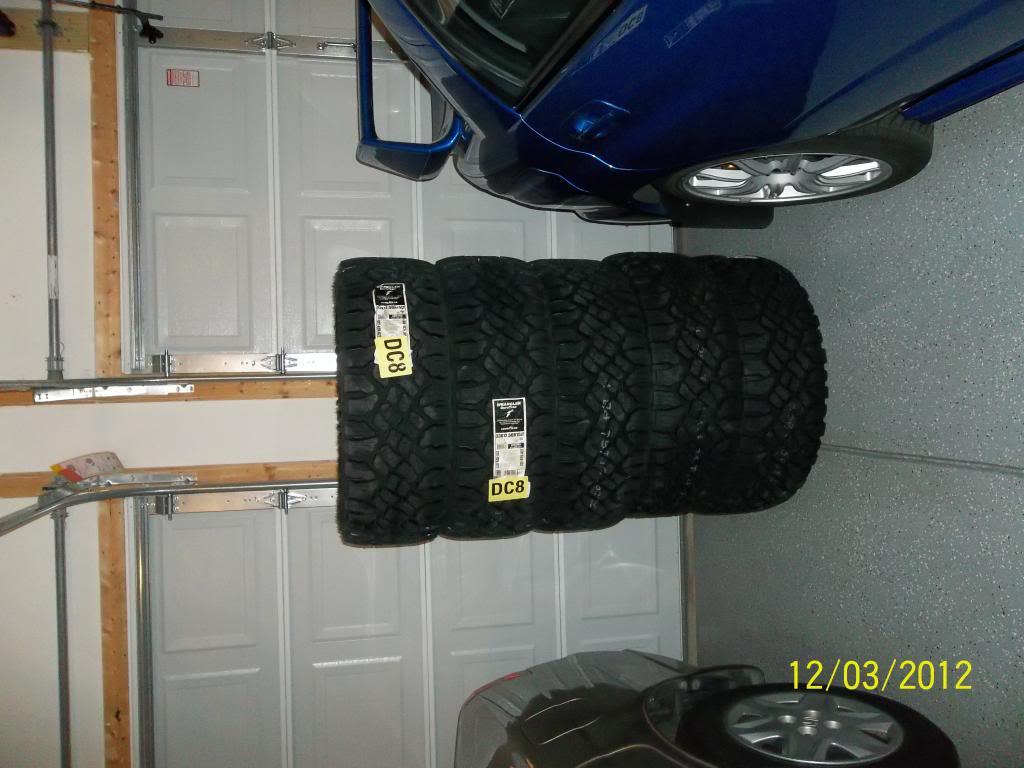
I thought for sure the body mount captured nut for the Grille was going to
me. But sure enough, the bolt went right in and tightened down. I mocked up the grille and fenders all with a couple bolts, just to get them in place and stable for the time being.
The tires and wheels that are on it now are 15x7 with 31x10.50's aired down just to use as rollers. The stance looks a little high with them on, I will eventually be running 15x8 wheels with 33x12.50 tires. They should fill up the fender gaps a little more. I also think that once the seats/full size spare are on the Jeep it will settle a little more. The lift is a 4" BDS lift with MORE shackles that are 1/2" taller than stock.
This was a good day....the Scrambler seemed almost like a whole Jeep again, and some GOODIES arrived.
The Painless wiring harness will be the next hurdle to overcome. I get double the spaghetti because I also ordered a new Howell EFI harness.

- City
- Hampstead
- State
- NC
You're going to love those tires!
That is what I hear from all the reviews online. Not to mention your posts about them. I really think they were the best option for a good driving all/mud terrain tire that is good in the rain or snow. I should be mounting them this weekend.

- City
- stafford
- State
- va
Looking good Luke !!
- City
- Colorado Springs
- State
- CO
Looking great! Hope the tires don't look small...
*subliminal whisper*
35s35s35s35s35s35s35s35s
*subliminal whisper*
35s35s35s35s35s35s35s35s
- City
- Hampstead
- State
- NC
Looking great! Hope the tires don't look small...
*subliminal whisper*
35s35s35s35s35s35s35s35s
Oh God, I hope not...I don't want to have to go to 35's.

- City
- stafford
- State
- va
Well, it's going to be a trail rig anyway, so just go straight to 37's
- City
- Hampstead
- State
- NC
Well, it's going to be a trail rig anyway, so just go straight to 37's
Why don't we stop beating around the bush....I will just slap a 6" body lift on it and throw some 44's under there.
- City
- Colorado Springs
- State
- CO
I thought 42s were the "New" 33s?
Mooahahahahaha!
Mooahahahahaha!