• Notice for iPhone users: DO NOT use the image size reduction option when uploading photos to the forum. This causes portrait images to post as landscape. We have added a warning to the image insert pop-up as well.

TrebleHook's 1983 Scrambler Laredo

Very nice. Are both bumpers from Eddie? I like the JEEP above the fairlead.


Dain
 
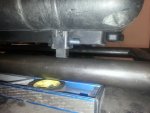
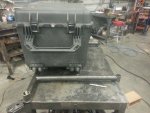
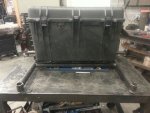
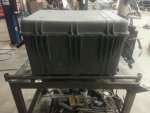
Looks awesome! Glad you're happy with the final result. The polishing was the hardest part of the whole build. Building the crate was second. Thanks for posting up some pics of the crate... I forgot to take pictures before shipping it and I was really happy with how it came out.
 
Last edited:
Very nice additions to the Scrambler. Looks like you're getting ready for Moab?
 
So I owe y'all the whole story on how this thing came together. It's a bit of a tale...

I originally planned to have a local fab shop (15 miles away) do the full cage. I emailed back and forth with the owner and we shared plans, etc. I finally visited his shop but left without that warm-fuzzy you like to have when you know someone's going to be doing a major project. They built a lot of buggy cages but there wasn't much going on in the shop. A lot of dusty "projects" and I was pretty concerned that I would end up with a cage that had all the tell-take "monkey bars" that you see on buggies. Not that they're not strong, but I wanted something that was both protective AND kept some of the classic Scrambler lines. Even so, I made an appointment to drop-off the Scrambler...

Then, I happened across the Facebook page for Chaos Fabrications in Winchester, Virginia. It's about 2.5 hours away, but I figured I'd shoot them and email and see what they had to say. Boy, was THAT a great decision. The owner, AK Whatley, is a life-long wheeler who has built and plays with off-road toys that are FAR beyond anything I would desire. After 10 minutes on the phone with him, I was sold. First, he is a genuinely nice guy. More over, he had a real enthusiasm for the idea of working on my Scrambler and COMPLETE dedication to do whatever it took to meet my expectations. AK agreed that in the end, we wanted a strong cage that didn't molest the body too much or take away from the classic Scrambler concept. We exchanged some pictures of my ideas and his work and that was that...

I cancelled my local appointment (a little awkward, but necessary) and loaded up the Scrambler for a trip to Chaos. When I arrive, the entire Chaos team was gathered and just dove into their ideas, listened to and made notes of my ill-articulated ideas, and promised to pour themselves into the project. I have never been a fan of leaving my toys with other folks...but I knew it was in goods hands.

**Two week BREAK for the birth of a perfect baby boy! PERFECT TIME TO BE WITHOUT A JEEP DISTRACTION!**

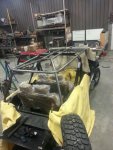
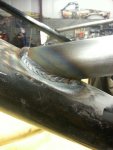
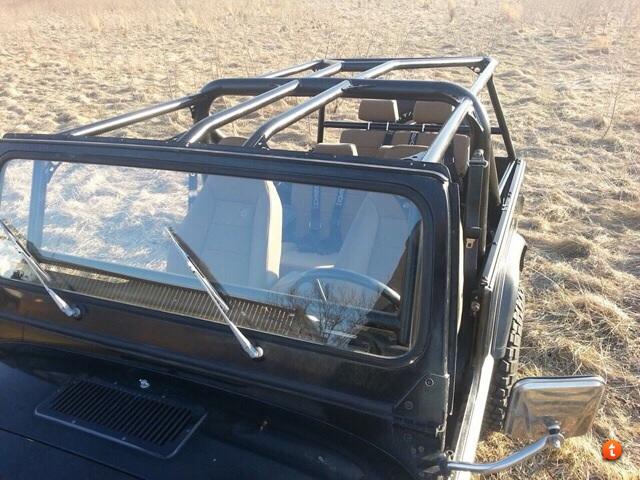
I got regular text message pictures of the progress and it was clear that they were executing my intent perfectly. So here's what they did:

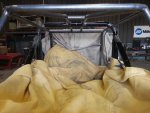
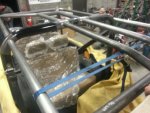
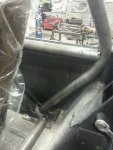
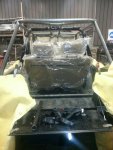
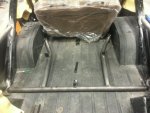
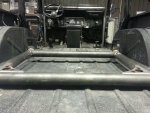
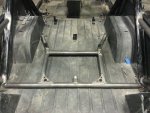
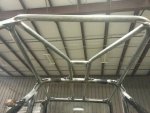
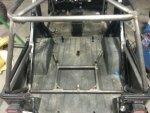
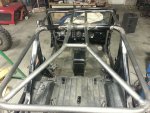
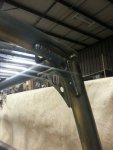
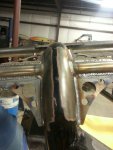
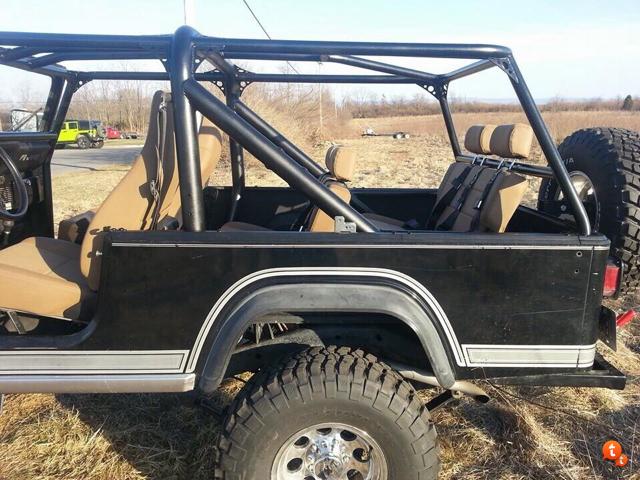
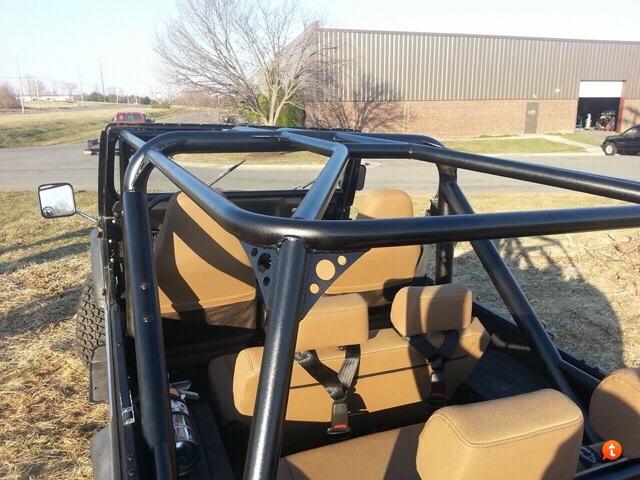
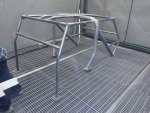
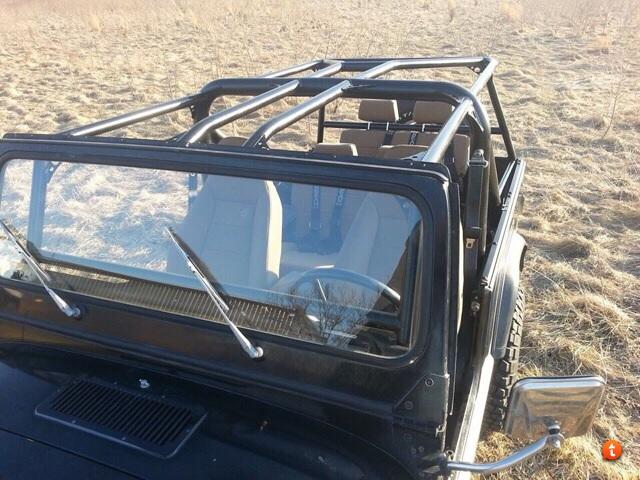
I asked them to fab the third-row seat so that it was removable. I also wanted it "stadium" style so that it was a bit higher than the second-row seat. The result was a DOM tube bracket that bolts through the original roll bar mounts in the rear and through two new holes into the body in the front/middle of the bed. The second row seat is located in the stock holes - but for the center latch for the flip-n-fold.

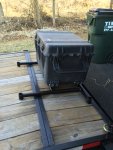
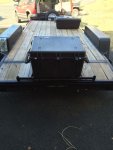
I also asked them to make it possible to mount my Pelican case where the third row seat was located for use when that seat was removed. Their solution was a bracket that matches the mounting of the seat-bracket and they mounted the Pelican case to that bracket. Even better, that bracket bolts down perfectly on the back of the trailer when required. Pure genius...on their part!

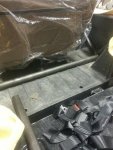
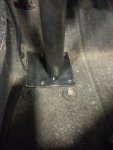
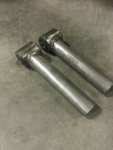
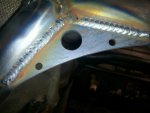
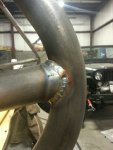
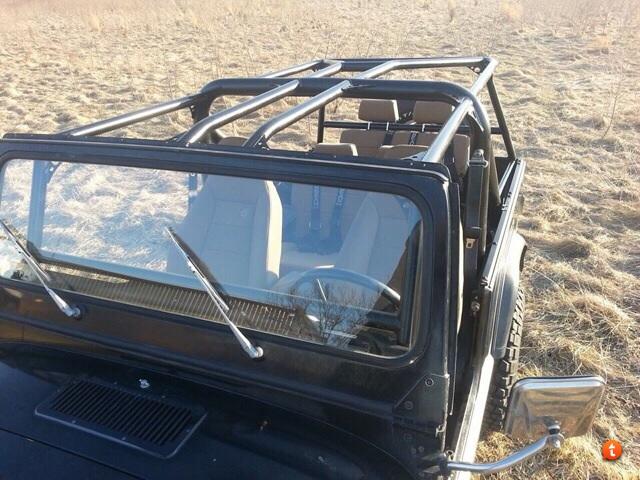
They used gussets at all the necessary point to increase strength but didn't go overboard. They used grade-8 allen-head bolts through the mounting points. The front hoop is sandwiched to the body and tied into the frame with a custom bushing set-up.

I drop-shipped them Corbeau three-point harnesses for the rear seats and they incorporated them into the mounting systems. The rear seat is as far back as possible - the headrests just BARELY touch the rear soft-top window - PERFECT. That left significant foot room between the 2nd/3rd row seats although I doubt many adults will be sitting back there.

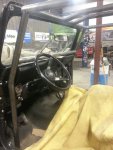
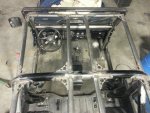
They media-blasted the entire cage and painted it gloss black. It retained a light texture from the blasting that I LOVE. The uniform look wouldn't have been possible if they'd have just painted it because they had to remove factory paint from the roll bar and it would have shown differently when painted. This was all on them...I didn't have to ask. That's just the level of detail they demand from themselves. They also rolled the e-brake handle vertical so I can actuate it around the cage. The e-brake pedal is still pretty easily accessible so I didn't have them bend it inboard. The leather wrapped stock grab bar (in FANTASTIC condition - for SALE!) was removed and I don't plan to remount it - the cross bar at the dash panel is a much better place to hold onto and I like the new leg/knee room.

I (well...Jeeprdd!) moved the glove-box over 2" inches and I (well...Jepprdd probably will!!) will fab up a fill-piece out of an old glove-box to fill the gap. [For the record, Jeeprdd has expended more wrenching calories on this Scrambler than I have...he's been the SKILLs behind the bills on this one! - Much thanks, Dustin!]

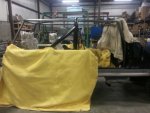
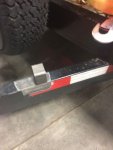
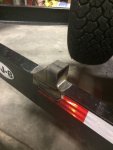
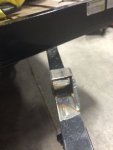
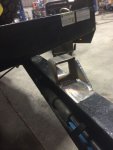
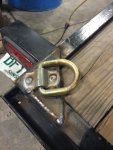
The night I drove up to pick it up was amazing. It was EXACTLY what I had been thinking and more. When I loaded it on the trailer, and despite the fact that it was 1130pm, AK took one look at the way I had it strapped down and he insisted on welding custom-fit bracket and D-rings to the trailer and then he custom-fit the straps. That's just how they are - if it's not PERFECT, it doesn't leave the shop.

I'll let the pictures tell the rest of the saga...More to follow.....
 

Attachments

  • 1962680_221026268097210_1711297024_n.jpg
    1962680_221026268097210_1711297024_n.jpg
    76.8 KB · Views: 262
  • IMG_0620.jpg
    IMG_0620.jpg
    52.3 KB · Views: 261
  • IMG_0621.jpg
    IMG_0621.jpg
    44.4 KB · Views: 261
  • IMG_0622.jpg
    IMG_0622.jpg
    58.4 KB · Views: 262
  • IMG_0623.jpg
    IMG_0623.jpg
    56.3 KB · Views: 263
  • IMG_0624.jpg
    IMG_0624.jpg
    58.8 KB · Views: 264
  • IMG_0625.jpg
    IMG_0625.jpg
    51.6 KB · Views: 263
  • IMG_0626.jpg
    IMG_0626.jpg
    56.2 KB · Views: 262
  • IMG_0628.jpg
    IMG_0628.jpg
    54 KB · Views: 263
  • IMG_0627.jpg
    IMG_0627.jpg
    40.5 KB · Views: 262
  • IMG_0629.jpg
    IMG_0629.jpg
    62.4 KB · Views: 264
Last edited:
More build pics....
 

Attachments

  • IMG_0647.jpg
    IMG_0647.jpg
    61.9 KB · Views: 264
  • IMG_0648.jpg
    IMG_0648.jpg
    62.7 KB · Views: 262
  • IMG_0649.jpg
    IMG_0649.jpg
    46.2 KB · Views: 261
  • IMG_0650.jpg
    IMG_0650.jpg
    44.9 KB · Views: 263
  • IMG_0651.jpg
    IMG_0651.jpg
    52.8 KB · Views: 263
  • IMG_0652.jpg
    IMG_0652.jpg
    50.2 KB · Views: 263
  • IMG_0654.jpg
    IMG_0654.jpg
    55.8 KB · Views: 261
  • IMG_0653.jpg
    IMG_0653.jpg
    53.9 KB · Views: 262
  • IMG_0655.jpg
    IMG_0655.jpg
    53 KB · Views: 262
  • IMG_0656.jpg
    IMG_0656.jpg
    52.3 KB · Views: 262
  • IMG_0657.jpg
    IMG_0657.jpg
    52 KB · Views: 263
  • IMG_0658.jpg
    IMG_0658.jpg
    69.9 KB · Views: 262
  • IMG_0659.jpg
    IMG_0659.jpg
    63.4 KB · Views: 264
  • IMG_0660.jpg
    IMG_0660.jpg
    49.1 KB · Views: 264
  • IMG_0663.jpg
    IMG_0663.jpg
    55.5 KB · Views: 265
  • IMG_0662.jpg
    IMG_0662.jpg
    51.9 KB · Views: 262
  • IMG_0661.jpg
    IMG_0661.jpg
    44.8 KB · Views: 261
  • 1003228_221596534706850_1956020103_n.jpg
    1003228_221596534706850_1956020103_n.jpg
    34.8 KB · Views: 259
Last edited:
A few more to round out the story! I primed and painted up the trailer mounts the next day.....
 

Attachments

  • IMG_0709.jpg
    IMG_0709.jpg
    37 KB · Views: 264
  • IMG_0711.jpg
    IMG_0711.jpg
    44.7 KB · Views: 263
  • IMG_0712.jpg
    IMG_0712.jpg
    33.2 KB · Views: 260
  • IMG_0713.jpg
    IMG_0713.jpg
    41.5 KB · Views: 261
  • IMG_0714.jpg
    IMG_0714.jpg
    56.3 KB · Views: 263
  • IMG_0734.jpg
    IMG_0734.jpg
    67.1 KB · Views: 260
  • IMG_0735.jpg
    IMG_0735.jpg
    54.5 KB · Views: 262
WOW!!! :drool:

Nice "ark" crate for the winch too. Thats awesome!
 
Looks great!! Thanks for the update. I have a few shops close to me as well, but I'm not sure they have Jeep experience either. So, I'm going to use these guys as well. Unfortunately, they are a couple hours away from me as well. I'm currently thinking of having them do a cage inside the half cab. This might push me over to a full top, though.

One question. You kept the original roll bar. Did your discussions consider removing it and going with a completely new cage?

Thanks,
Chris V.
 
Looks greaat. Does all the top bows clear? :wave:
 
Awesome cage! Did you purposefully slant the rear to accommodate a super top?

Sorry for the delayed response. They did fit the cage inside the SuperTop (and a hard top if needed) but it's not really slanted in the rear - it's level. In the best of all worlds I would have the rear angle up for effect....but I think it turned out perfect for my needs.

Cheers,
Dylan
 
One question. You kept the original roll bar. Did your discussions consider removing it and going with a completely new cage?

We did decide to keep the original roll bar. Two reasons: 1) doing so retained more of the classic look and 2) that roll bar is VERY strong despite the legends that tend to haunt the interwebs. It's just not designed for multiple roll-overs (i.e., roll it, flip it over, drive away, repeat) due to its diameter. I figured that if I did roll over the Scrambler - I'd have bigger problems than replacing the roll cage...so I kept it. Very happy I did so.

Cheers,
Dylan
 
Looks greaat. Does all the top bows clear? :wave:

The top fits great...but I haven't checked whether the bows will clear the rear when folding down/back....I'll let you know when the weather gets nice enough to yank the top!

Cheers,
Dylan
 
There's some final shots a couple of pages back...but I know this is all out of order so I happy to oblige!!
tu5aryne-1.jpg
una6ute7-1.jpg
y4yzu7u6-1.jpg
a8a6e4aq-1.jpg
ajeqerud-1.jpg


I (well...Jeeprdd!) moved the glove-box over 2" inches and I (well...Jepprdd probably will!!) will fab up a fill-piece out of an old glove-box to fill the gap. [For the record, Jeeprdd has expended more wrenching calories on this Scrambler than I have...he's been the SKILLs behind the bills on this one! - Much thanks, Dustin!

"SKILLs behind the BILLS" :thumbsup: Thats pretty good!

No problem, I've enjoyed rolling under a jeep and not having east coast rust fall in my eyes every time I touch something. Its equally as nice when bolts come out and not ring off. :cheers:
 
Is that why I keep getting rust in my eyes and mouth Dustin? It is just an East Coast thing? I need to move to the west so I don't have to deal with that anymore.


Dain
 
This is a GREAT thread. Hopping in here for the subscription.
Lots of good ideas.
That winch Randy did - WOW!
Warn outha hire him full time!
 
This is a GREAT thread. Hopping in here for the subscription.
Lots of good ideas.
That winch Randy did - WOW!
Warn outha hire him full time!

Thanks for the positive words. I'm doing another black on black one for Tom's Scrambler right now. I need to find more to build...my local supply of reasonably priced winches has dried up...


The design and execution on the cage is awesome. Top shelf build!:bow:
 
Last edited:
Back
Top