• Notice for iPhone users: DO NOT use the image size reduction option when uploading photos to the forum. This causes portrait images to post as landscape. We have added a warning to the image insert pop-up as well.

What did you do with your Scrambler today?

Status
Not open for further replies.
Well. Update on yesterday's fun... Yer right, I don't think I'll move north from here when I retire. :) The '82 started fine at the house this morning, headed off with laundry etc for The Creek. Ferried all the stuff over and darn if the '81 will start. Haul the battery out of the 82 only to find I need cables too as the 81 has marine/commerial studs rather than posts. Wire those on and still no start. Go to get the bigger battery out of the broken rice-burner and it has those funky Japanese sheet metal metric post clamps. Walk back and get vice grips because they're too tight for an end wrench. Decide on the way that the best course is to drive back to the house for warm batteries. So, battery and cables back across The Creek and into the 82. Get stuff from the house, and two batteries with jumper cables finally make it go... then out to town for my trailer and back to load the tires from the back of the Nissan that a guy is driving 3 hours to get at noon. Whew! Stop by the Service Station and Junior just laughs when I tell him where my broken truck is. Maybe in the spring. :) Now the 81 Scrambler is parked in the trail next to the Nissan in case I have to jump start in the morning at -15 degrees. At least the Creek is going down and I might can drive it again next week, not have to wade with batteries and propane cylinders.

I tried to read all of that.. but I kept going back to driving off with laundry. :crazy:

I'm googling this place... seems like an adventure where you live!
 
Drove mine today for the first time in over a month, it felt real good.
 
Spent half an hour jump starting the 81 Scrambler this morning. The 82 started ok. -13 on the bank sign when I went by a bit ago. If you're googling, I'm on the extreme SE corner of Drummond on Little Shelter Bay. Far from the pavement. :)

Sent from my BlackBerry 9700
 
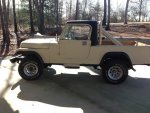
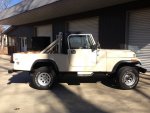
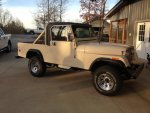
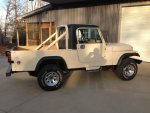
Put the car seat in cause my boy begged and pitched a fit to ride in it......so I abliged!
 
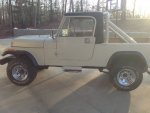
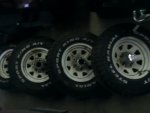
I finally got around to installing my 15x8 chrome wheels. Following are some before and after pictures. I have a couple of the original Jeep center caps but need some more to make a complete set. The center caps I have are in decent shape, some pitting and most of the black paint worn off but will still look good since this is not a show jeep. If anyone has a front cap and one or two rear caps for sale I am interested. I have one good front cap, one good rear cap and another rear cap with the screws broken off flush.

Before, with the painted steel wheels:
IMG_0030.JPG

IMG_0031.JPG

After, with the chromes:

IMG_0042.JPG

IMG_0040.JPG

IMG_0038.JPG

I think it looks better and my wife thinks I'm nuts for paying it so much attention.
 
If anyone has a front cap and one or two rear caps for sale I am interested. I have one good front cap, one good rear cap and another rear cap with the screws broken off flush.

Funny, I just picked up a set of white waggies today at the junk yard and they had caps on them... they are original steel wheels, but they have been repainted unforutnately. The caps are decent, if it doesn't work out with everyone, the fronts are nice, the rears have the black missing off the caps for the most part, but not a ton of pitting, which is surprising.

cb

whitewaggies.jpg
 
Last edited:
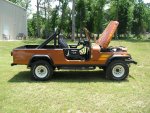
Temp got up to 85 today so I took the topless Scrambler for a ride.
 

Attachments

  • 122.JPG
    122.JPG
    879.1 KB · Views: 126
Temp got up to 85 today so I took the topless Scrambler for a ride.

Man that Scrambler looks nice. Jealous of the weather. We are under a winter weather warning in NE Georgia through tomorrow with the threat of freezing rain and sleet.
 
Man that Scrambler looks nice. Jealous of the weather. We are under a winter weather warning in NE Georgia through tomorrow with the threat of freezing rain and sleet.

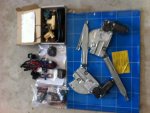
I do the exact opposite of everyone else, In the winter I take my top off and the summer I put it back on. I also have the hard doors with electric window, door locks and remote entry. This is the kit I used
 

Attachments

  • Kit.jpg
    Kit.jpg
    537.3 KB · Views: 151
Temp got up to 85 today so I took the topless Scrambler for a ride.

85! Thats not fair! It was 8 degrees here last night so right now my heater is struggling to keep the garage above 50 but I am working on the A/C rebuild/underdash mods tonight. Wintertime here in NJ is when I get the most actual work done.
 
I do the exact opposite of everyone else, In the winter I take my top off and the summer I put it back on. I also have the hard doors with electric window, door locks and remote entry. This is the kit I used

Dennis - can you let me know how your hard doors with electric windows turned out if you have done them already? Any issues with clearance inside the door? I have a kit for the Overlander I was going to put in the left side door for paying tolls and going through the gate at work - but didnt get around to it yet. Perhaps a thread on your install ? :fingerscrossed:
 
Before Pull.JPGP1010857.JPGP1010859.JPGDoor Lock.JPGFinished.JPG
Dennis - can you let me know how your hard doors with electric windows turned out if you have done them already? Any issues with clearance inside the door? I have a kit for the Overlander I was going to put in the left side door for paying tolls and going through the gate at work - but didnt get around to it yet. Perhaps a thread on your install ? :fingerscrossed:

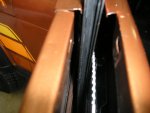
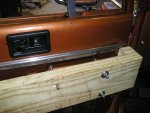
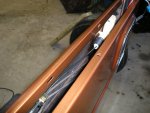
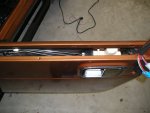
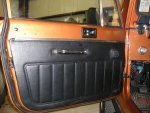
I think I bought this kit from A1 Electric and it came with everything I needed to install the Keyless entry, the electric windows and the electric locks. there is a slight clearance problem that is easily fixed by pulling the inside door panel out by about 1/4of an inch. One of my pictures shows my homemade door stretcher. when your done it doesn't even show and this is in the instructions that came with the kit. I have had this kit installed for almost 3 years now and it is working flawlessly. I hightly recommend it and it's not very hard to install. The small crack in the door was there before i started.
 
Uurrgghh!!

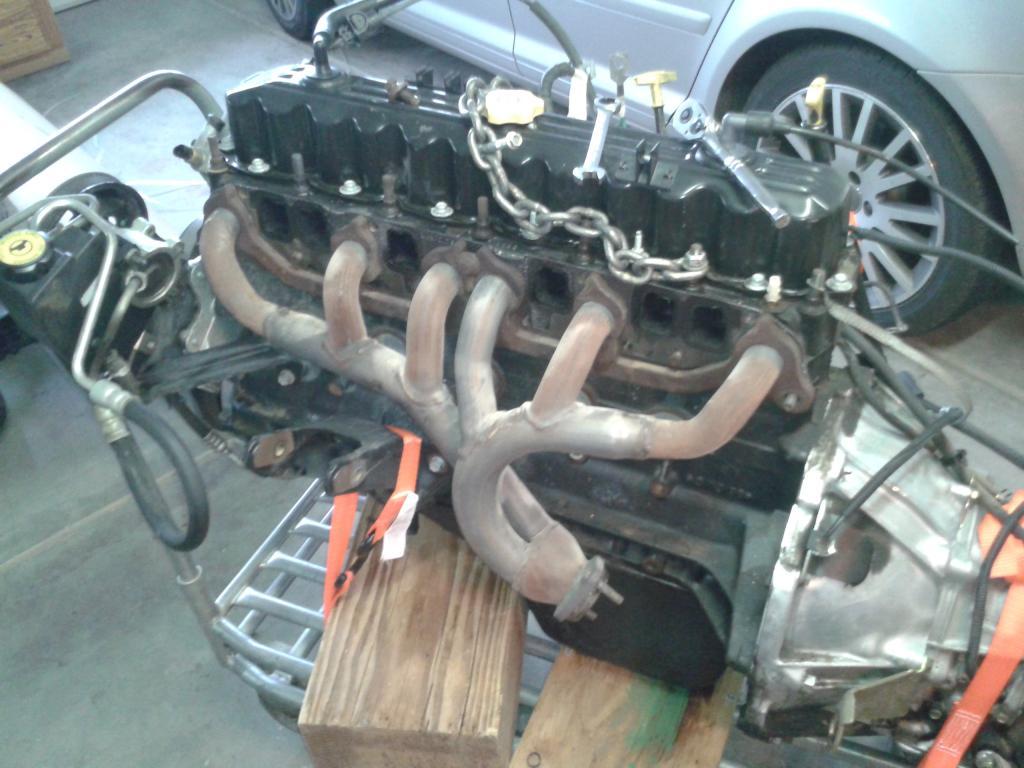
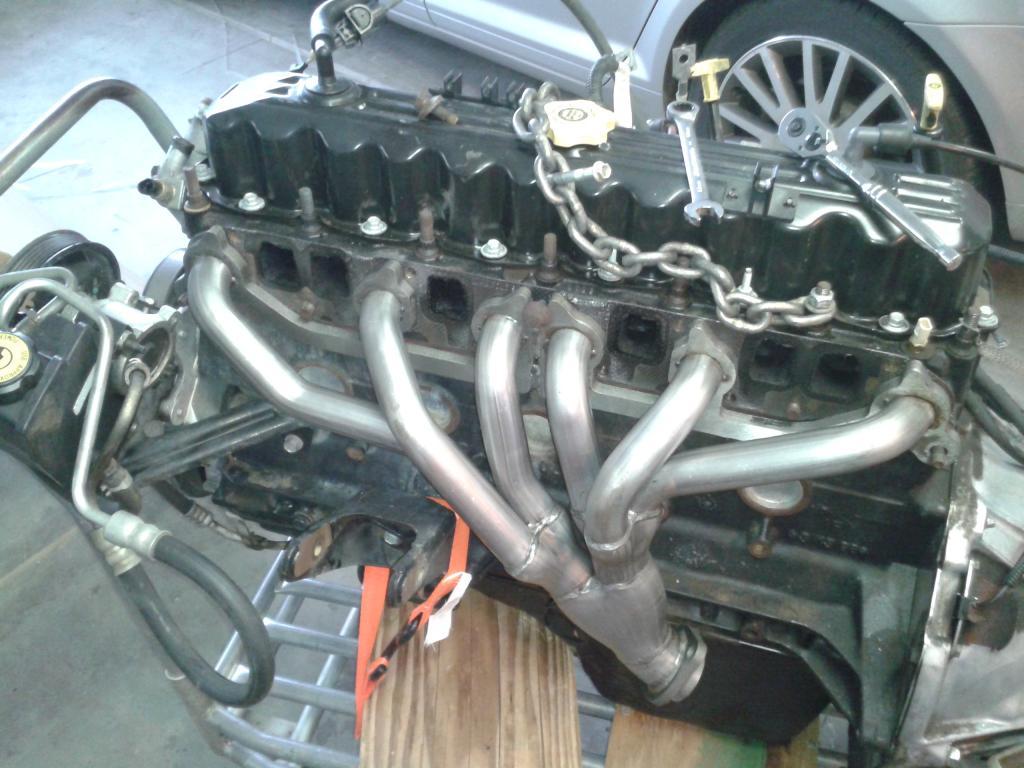
Well...to go from this
20130125124606_zps41b794e9-1.jpg


to this
20130125124729_zps8767d2a8-1.jpg


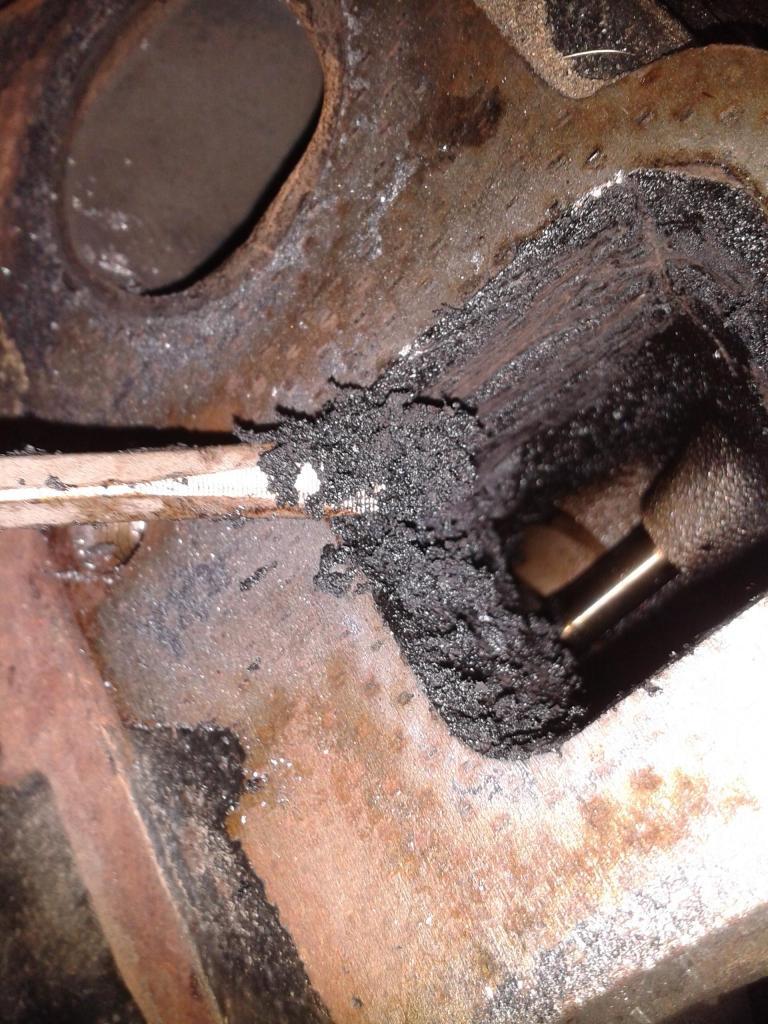
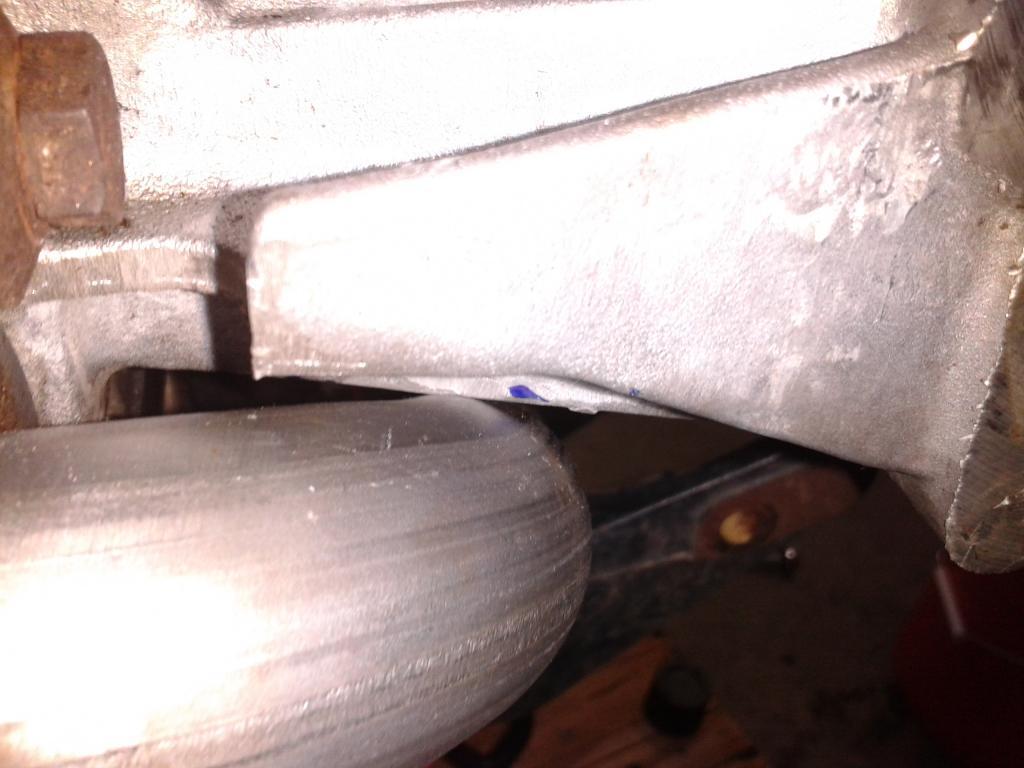
required cleaning up a whole lot of this
20130125130304_zps607b07fe-1.jpg


seems like this engine was only driven a mile to church on sundays....and never above 1500RPM with the cheapest fuel possible!!

and of course any time you screw with OEM...
20130125163523_zps89474782-1.jpg


...especially with "rice" steel headers...the grinder has to come out...or maybe the BFH.
 
Last edited:
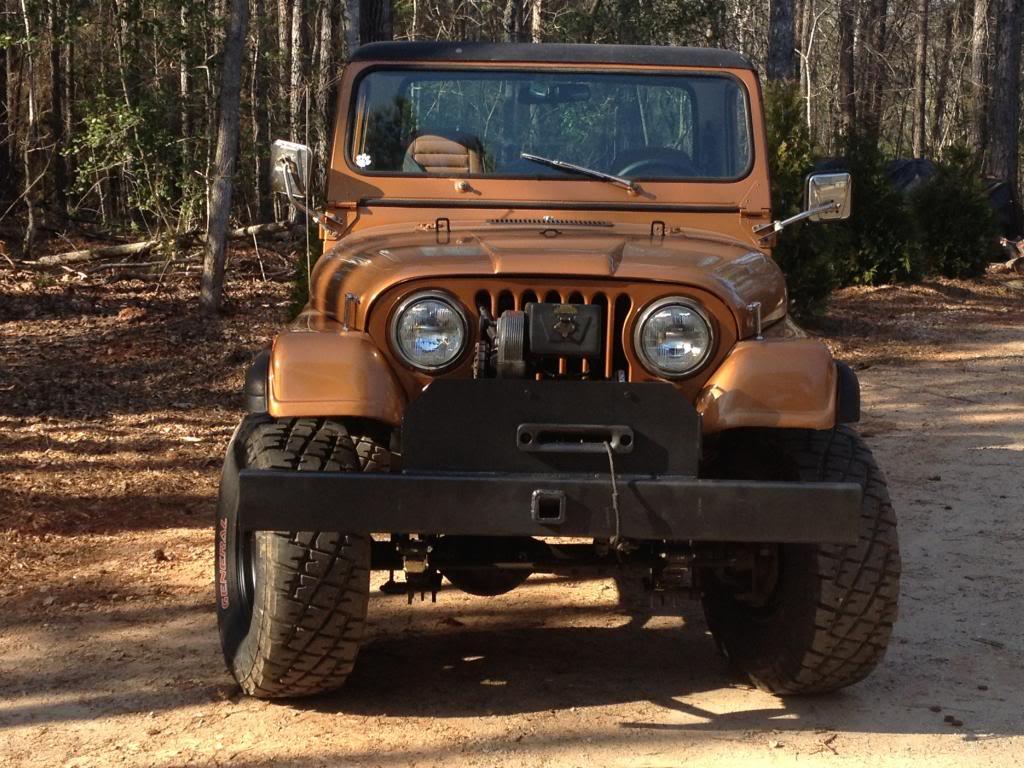
fabbed up winch bracket w/ bent plate bumper...mounted the 1976 8274 i pulled off my FJ40 before i sold it... wont win any cosmetic awards but should get the job done...
IMG_1865_zpsde2c7295-1.jpg
 
Well, not exactly only today,more like over the last couple of weeks...

I designed and machined the mounting of the hydro-boost pump onto the Mercedes turbo-diesel (below the power steering pump) and mounted the hydro-boost with reservoir and return lines. Inside the cab is the new (to me) stock brake/ clutch pedal assembly that were sold only on 4-cylinder CJ's. Next to the hydro-boost you will see the new NOS jeep clutch master cylinder.

maya_boost.jpg

I also am working with a TOP-NOTCH Bosch "pump house" to convert my electronic injection pump to strictly mechanical. Yesterday I got a call from "the Guru" and he told me that the conversion would be impossible because there was interference between the roller body and the governor weight assembly. So I drove down to the shop to see what the issue was and came up with a solution... I'll just machine the roller body like a mechanical one! So I machined a fixture to hold the little bugger and "single pointed" it. BUT! DANG was the material HARD... I went through 4 Kennametal inserts!

IP_gutmill.jpg
 
Last edited:
Status
Not open for further replies.
Back
Top