• Notice for iPhone users: DO NOT use the image size reduction option when uploading photos to the forum. This causes portrait images to post as landscape. We have added a warning to the image insert pop-up as well.

What's on your Work Bench?

Awesome, thanks. He thought that they used mostly wagoneer stuff and set the chevy body on. Couldn't find anything to match that emblem though. I was sure someone on here would know what it was. I'll get a pic of the truck so you all can see it. It is really cool.
 
A couple days away from assembly

d8a4ebe8206f46f7ac3f59417bb3d995-1.jpg


cb
Sent from the garage
 
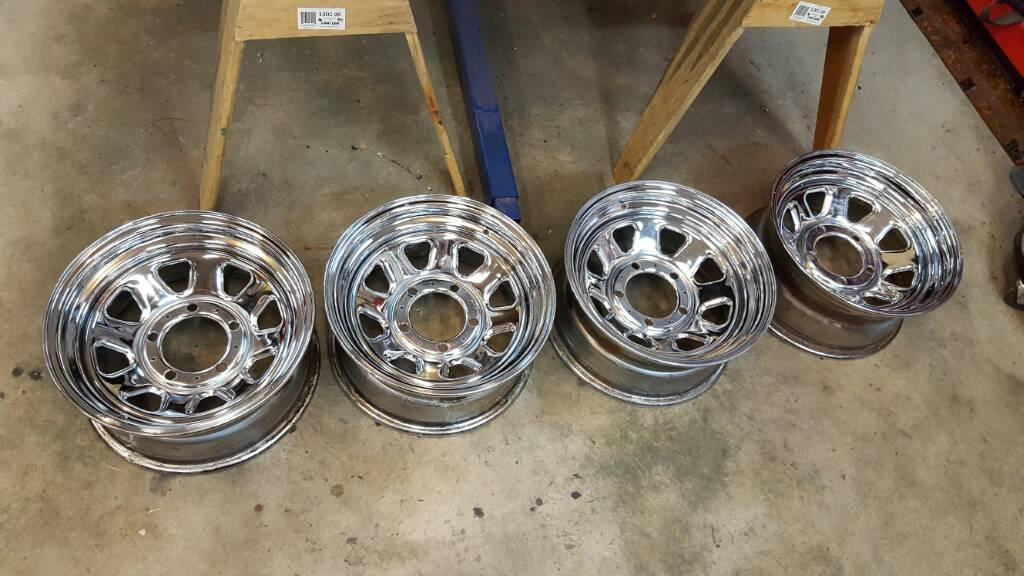
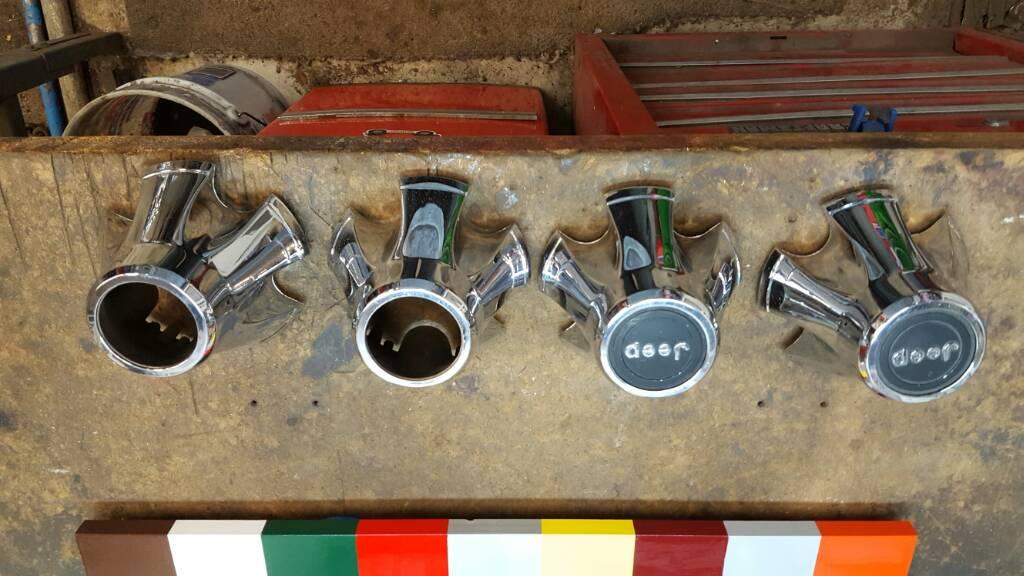
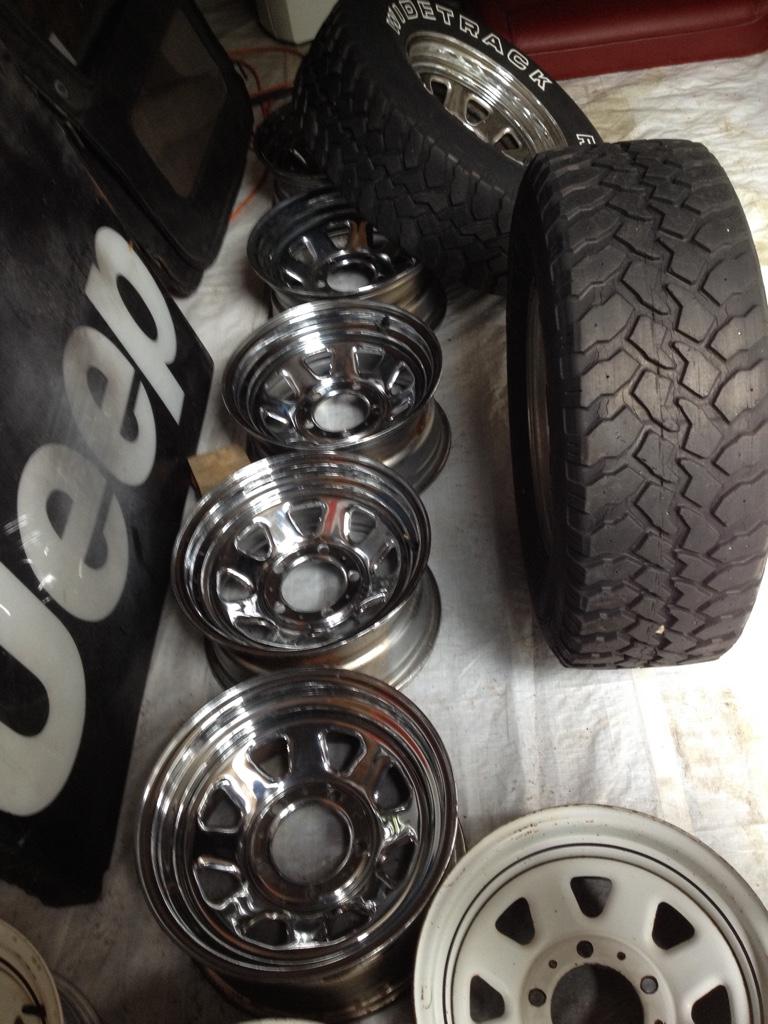
Very very nice set of chromies and center caps

08cb90fbbc4ff69a0f6cf08bfadb6ecb-1.jpg


bdeb4fb23310307f046e0f02ff6fb29c-1.jpg


0903b3fbcc404bb87666bacd901de7bf-1.jpg


dd61f30366fdf12d05bca4939f96a966-1.jpg


bb67d850d1f819f84708a66875e6162f-1.jpg


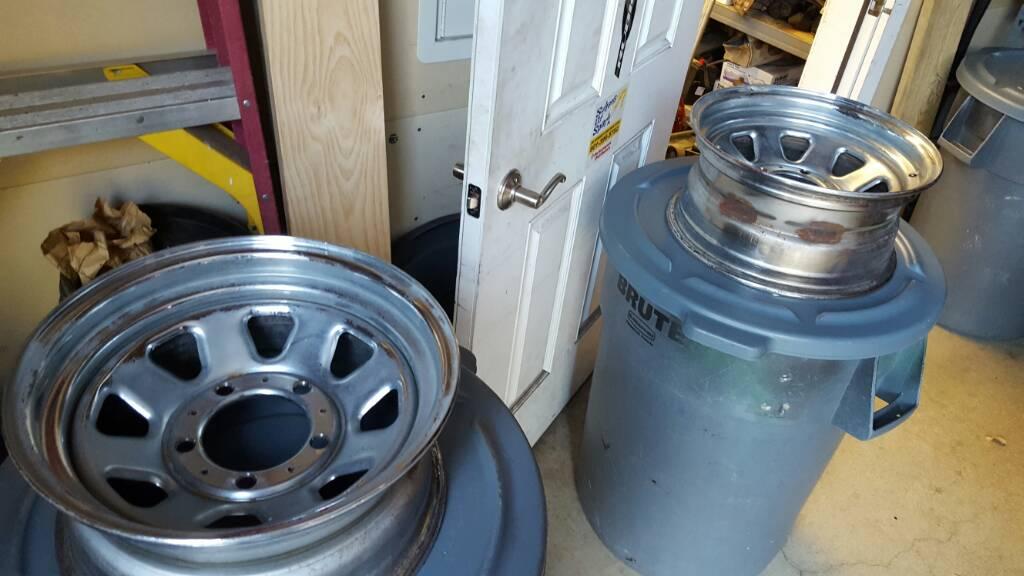
All stripped of clear coat next up polishing

cb
Sent from the garage
 
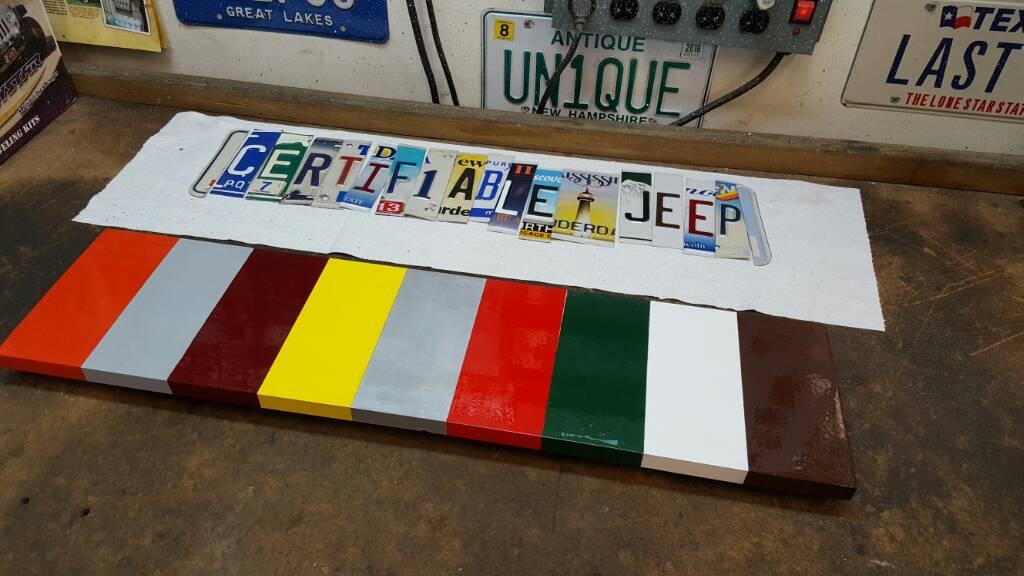
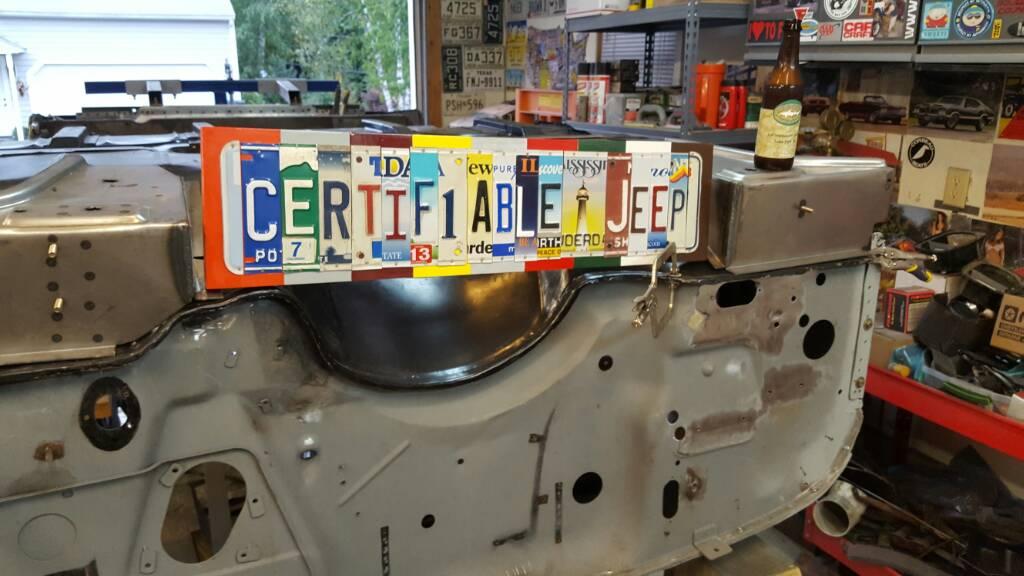
Yeah, past, present and future... current Scrambler will be white/garnet combo, the next one will be Brown.

cb
 
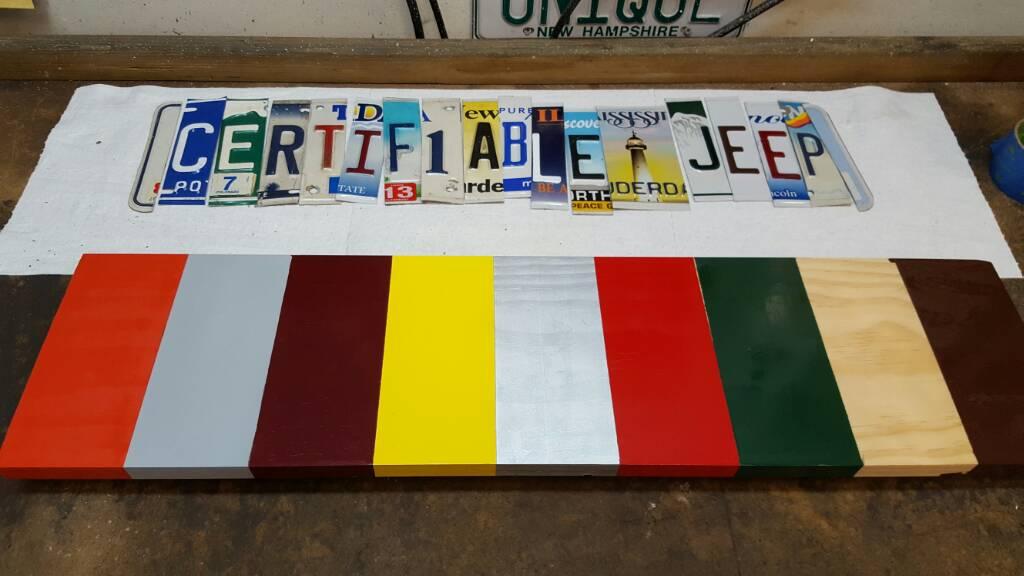
Base is done and cleared

4c5ed0b6585f432107f90f10a2be6578-1.jpg


cb
Sent from the garage

I have a few New York Liberty plates for you the next time I come up there. I will check to see if there are is an "I" in there among them.

This is Dom, by the way (formerly '81-Eight).
 
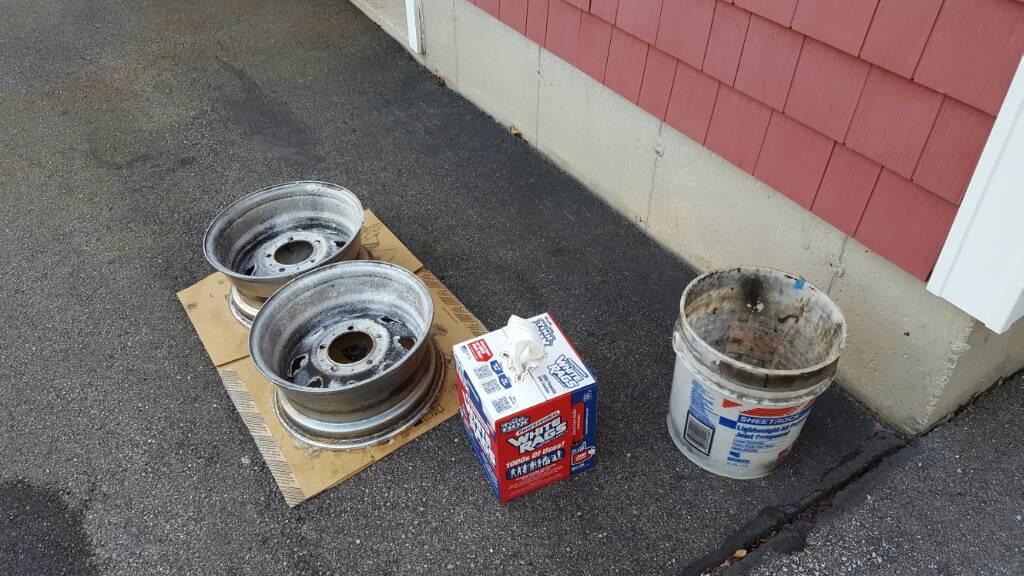
I have explained it before, but it is a lot of elbow grease, scrubbing, some combination of paint stripper and goof off, orange cleaner and windex.
You just can't leave anything on there for very long and it is a very long and tedious process.

cb
You weren't kidding about the long and tedious process! I'm trying to get the stripper off as quick as possible but it seems to be leaving some streaking on the nutmeg. It goes away with armour all, etc but returns with drying. Any proven remedy? Your price on these stripped pads now looks like a deal! Thanks-IMG_2123.jpgIMG_2125.jpg
 
Unfortunately you can't hurry the process... someone put that on there thick it looks like and probably never thought it would be coming off.
Just take your time and keep soaking it afterwards... if you are using that goof off stripper to do it, it will definitely dry it out big time.

cb
 
Hmmmm, apparently one too many good beers... didn't even post up a picture of the stripped/steel wooled wheels and caps... next up is the mother's ball for that last little bit of micro polishing.

These caps are pretty nice... usually we don't get a lot of nice ones around here, they are usually pitted.

cb

20160914_192012_resized.jpg
20160914_192019_resized.jpg
 
I have a set of 4 on the jeep waiting for me to build a workbench to put them on to strip and clean. ;)
 
Stripper works better outside with the overspray killing things in the environment rather than making a mess of that new bench.... :headbang:
 
Unfortunately you can't hurry the process... someone put that on there thick it looks like and probably never thought it would be coming off.
Just take your time and keep soaking it afterwards... if you are using that goof off stripper to do it, it will definitely dry it out big time.

cb

What about coating the crap out of it with armor all or similar (like dripping wet) then wrapping in saran wrap and setting it out in the sun?

I did something similar to my old 4runner's leather seats after I bought it. Slathered them down with conditioner and then wrapped the seats in saran wrap and left the rig out in the sun. The saran wrap kept the stuff from evaporating/drying out, and the heat seemed to make the leather soak the stuff up better.
 
Getting started on my front bumper....

I'll do a short build thread on this when I get further along, and have more photos... it will be meaningless to the fab gurus on this forum, but it's a great beginner project, and I'd have loved to look at a build thread the first time I built one!

bumper1 - 1.jpg
 
Back
Top