• Notice for iPhone users: DO NOT use the image size reduction option when uploading photos to the forum. This causes portrait images to post as landscape. We have added a warning to the image insert pop-up as well.

Scrambler on a budget

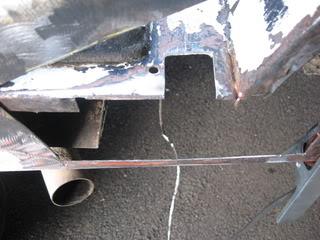
nice long weekend for doing some more body work. snow flurries and all.

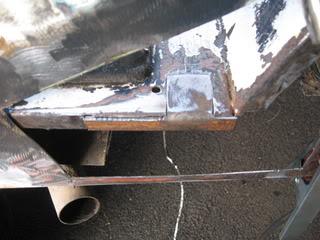
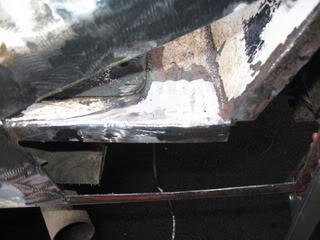
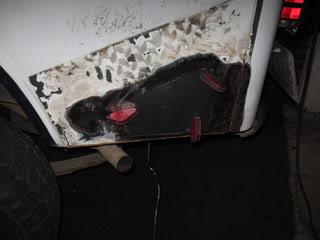
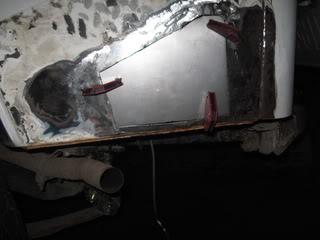
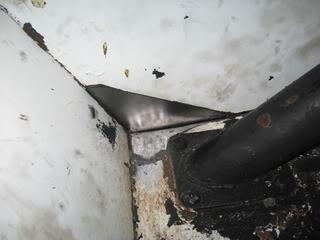
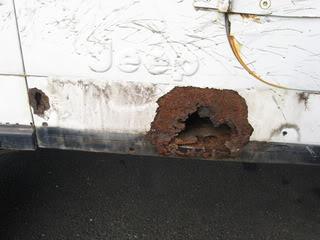
the biggest hole so far :banghead: is the LR quarter panel. this wouldn't be here if the PO put in a good bed liner.

it was a good time out in the cold once i got it started.
cj82g058-1.jpg


cj82g057-1.jpg


cj82g059-1.jpg


cj82g060-1.jpg


cj82g061-1.jpg


cj82g062-1.jpg


cj82g063-1.jpg


ran out of light so i'll finish up on sunday
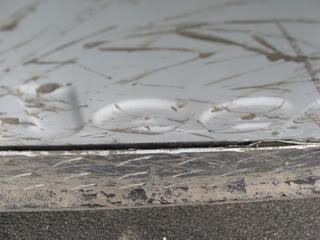
 
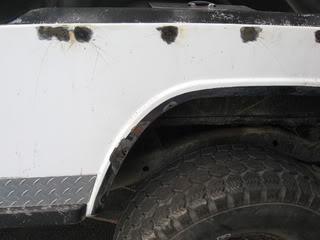
less diamond plate = more rust

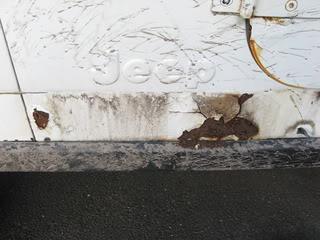
i knew this side was bad when i got it so i wasn't very surprised. i figured i would do the worst first.

cj82g068-1.jpg


cj82g069-1.jpg


cj82g070-1.jpg


cj82g071-1.jpg


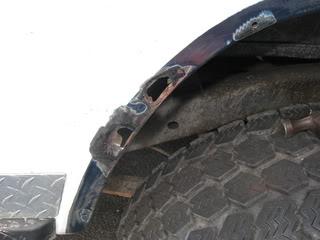
i decided to perminately remove the flairs so i welded up the holes and cut out more rust

cj82g067-1.jpg


cj82g066-1.jpg


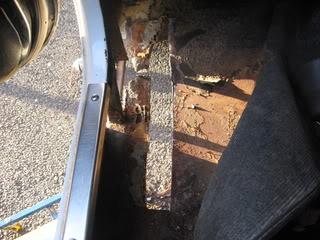
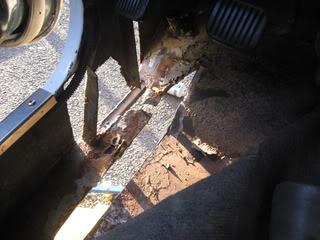
the floors were shot the PO did a crappy job so this is why i had to redo them

cj82g072-1.jpg


cj82g073-1.jpg
 
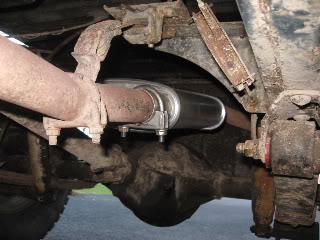
i wanted to do more body work but on the way home the muffler finally gave out.

im surprised it lasted this long. the pipes are good till the next boulder gets in the way.

picked up a thrush turbo and it sounds good. and 25 bucks you cant go wrong :D

82cj8004-1.jpg


cj82g-1.jpg
 
more body work :crazy:

cj82g0051-1.jpg


cj82g0061-1.jpg


cj82g0071-1.jpg


cj82g0021-1.jpg


cj82g0031-1.jpg


cj82g0041-1.jpg


the floorboards are giving me some trouble. i dont want to make it look bad but i dont have a metal brake and my metal is 16ga or thicker.
any ideas? anyone????
 
Great work. Used floorboards may be available, or parts of floorboard, in Savannah from Salvage Jeep. But your patches look good and they are 'fun' to do when they are ground down and 'invisible'. Keep at it.
 
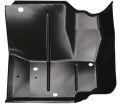
with all the cash i've saved i decided to buy a new floorboard from quadratec
$75 delivered. this way i can look down and be happy


125400th-1.jpg
 
UPS came and i have my floor pan so after work i went to work LOL

cj82g0101-1.jpg


cj82g0111-1.jpg


cj82g0121-1.jpg


cj82g0131-1.jpg


after tearing the PO glue in installation out i had to get the carpet out of the way. thats when i found out why my seat never stayed put. the weld in nuts and the mounts for them were rotted and loose.

cj82g0081-1.jpg


cj82g0091-1.jpg
 
i welded in a large patch on the worst mount and then welded in some of my old body mount washers. i think it will be a good fix when its all finished

cj82g0141-1.jpg


cj82g0181-1.jpg


cj82g0161-1.jpg


cj82g0171-1.jpg


cj82g0151-1.jpg


cj82g019-1.jpg


the floor pan is goin to be a pita because i have to somehow cut out the factory spotwelds on the lip and im not sure how. i could mess up the outer rocker

ANY IDEAS ARE WELCOME !!!!!!!!!!!!!!!!!!!!!!!!!!!!!!!!!!!!!
 
the floor pan is goin to be a pita because i have to somehow cut out the factory spotwelds on the lip and im not sure how. i could mess up the outer rocker

ANY IDEAS ARE WELCOME !!!!!!!!!!!!!!!!!!!!!!!!!!!!!!!!!!!!!

It would probably be worth the trouble to remove your pedals to give you more room to work. You could leave the spot welds, trim the pan and attach to the floor if that is in good shape. There would be a couple of different ways that it could be done. One is to glue it in with a panel adhesive like in this thread. Do a search and the specs are amazing on the strength. If done right the metal will fail before the joint would.
https://www.cj-8.com/forum/showthread.php?t=24933&highlight=carpet

Another way would be like I did, that is prime with a weldable primer and combination of spot and stitch welds. Used sheet metal screws to get everything tight and then just removed one screw at a time and spot welded it. I turned the tub over and stitch welded followed by seam sealer to make sure it was sealed up.

I think the most important thing is make sure there is no way for water to collect whenever you lap metal. The panel adhesive would have an advantage there and take care of that if done right.
 
tkx
the panel i got is like the orig. not like the 1 in that post. its full sized. i have to remove floor up to the firewall. :( it has a hole for the e-brake cable

i did learn a few things from it.
i'll look into that panel adhesive and the pedal removal is g. idea
ttul
 
tkx
the panel i got is like the orig. not like the 1 in that post. its full sized. i have to remove floor up to the firewall. :( it has a hole for the e-brake cable
i did learn a few things from it.
i'll look into that panel adhesive and the pedal removal is g. idea
ttul

Really interested in how close and well the panel fits. This is a fairly new offering from Quadratec.

If you read on the adhesive it is not that much lap that is required for the strength in the testing they are doing. I believe most car manufacturers are using it now with only welds in strategically structural locations.

If I had to do it all over again and the metal on the floor where it attaches to the side panel and firewall with spot welds were in good shape, I would leave an inch or two of the floor around the perimeter and use the panel adhesive. If you trim the edges on the new pan all the way up to the corner, you would not even see that. This would avoid the unforeseen things that happen to metal from the heat and welding, especially on the side panel. There are a few spot welds where the floor attaches to the support that will need be removed and I myself would spot weld that back protecting the adhesive from heat.
 
i got a little time to work on the floor pan. FYI i removed the lip with an old chisel and hammer. it worked great , didn't bend anything and was fast.

cj82g021-1.jpg


i cut out more metal and did a few test fits. it needs more metal removed tomorrow and i think it will fit real good

cj82g0241-1.jpg


cj82g0231-1.jpg


cj82g022-1.jpg
 
too cold to work with the rust preventer spray it says 60 + degrees so i think i'll have to fix my submarine heater.
my welding helmet came in so now i can hold the copper behind the weld and see what i'm doing.
up until now i was just closing my eyes and hoping to get it right :crazy::crazy: i put more than a few holes in the body :banghead:

under $50 trying it out on wed.

http://www.northerntool.com/shop/tools/product_200311850_200311850

1649902_lg.jpg
 
welding helmet is awesome i finally ran out of the wire that came with my welder. it was .030 and now that i purchased some .035 Lincoln wire i can weld really good :cheers::cheers:
the .030 was making me feel like i was a beginner welder. what a difference

it finally warmed up for a day so i got the floor board in and the side patch tacked on. finished welded on the wheel lip and rear 1/4 panel.

before
a>


a>


a>


a>
 
This is looking really good. I'm just starting my research on the CJ8 and this thread really hammers home the point that there is always something to work on with them.

In a couple years (once I get the wife happy and save up a bit) I'll be buying a Scrambler to work on. I might have to pay for the work since I've never worked on anything and I don't have the tools. Good place to turn to! Thanks guys
 
I might have to pay for the work since I've never worked on anything and I don't have the tools. Good place to turn to! Thanks guys
I didn't let either of those stop me :D
 
Well i got some time to work on the toy:

You jeepers probably know this but i didnt being a former corvette guy :confused:

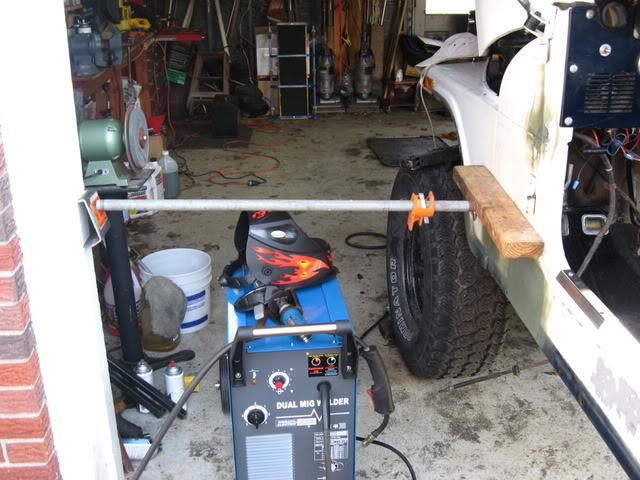
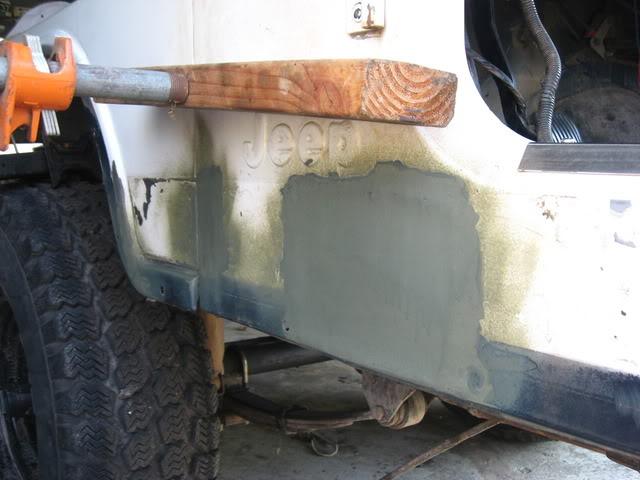
the flat sides will warp a LOT when welding in metal

i was very careful and just did small spot welds waited to cool and everything.

BUT it warped anyway :banghead:

the rear Q. panel will have to be redone completely due to thin metal and warpage

i cut the crap out of it and on sat i'll start on it

31811006-1.jpg


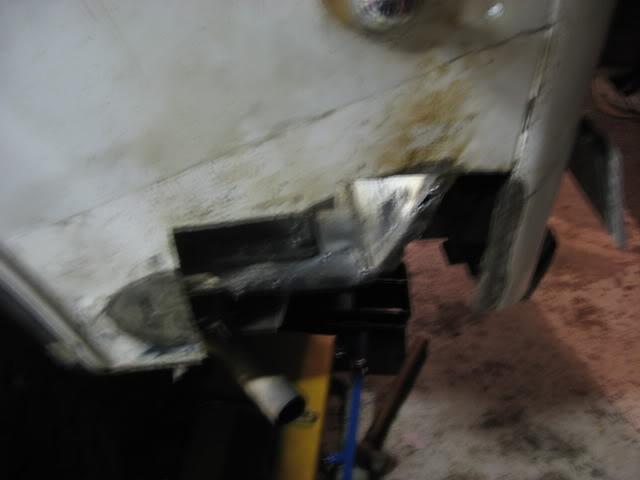
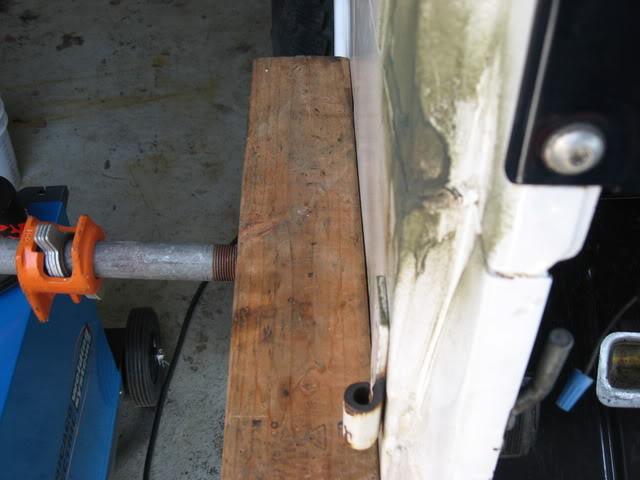
the front tub location was easier to fix

i cut the top radiator support from my sons XJ and welded it in place while pushing in the metal to meet it. he'll never miss it :rotfl:

31811002-1.jpg


31811003-1.jpg


31811004-1.jpg


here is the inside and i have 2 places to bolt some grounds

31811005-1.jpg


now its straight and only needs a small amount of filler and a good longboard sander

31811007-1.jpg
 
Back
Top