• Notice for iPhone users: DO NOT use the image size reduction option when uploading photos to the forum. This causes portrait images to post as landscape. We have added a warning to the image insert pop-up as well.

Another Scrambler Purchase/Road Trip - UPDATE- BODY ON FRAME AGAIN

Update from this past weekend.

These are my driveshaft dimensions/issues. These are the stock driveshafts for a 1983 Scrambler with a T-176 4 speed. I took the time to write all dimensions down so that I could evaluate if I was going to need new driveshaft’s after putting the RE 4.5” lift on the Scrambler.

*ALL DIMESIONS WERE TAKEN FROM THE OUTSIDE OF THE METAL CIRCLE THAT HOLDS THE U-JOINT CUP TO THE OUTSIDE OF THE METAL CIRCLE THAT HOLDS THE U-JOINT CUP* I think the correct way to measure is from center of cap to center of cap, but it was easier for me to measure from outside of circle thing to outside of circle thing. All measurements were taken this way, so at least everything is consistent.

REAR Driveshaft
Running length before lift = 36” (measurement taken without body tub on)
Running length after lift = 36 7/16”
Collapsed length = 34 ¼”
Extended length = 36 ½”
Before the lift, I had 1 ¾” of collapse and ½” to extend.
After the lift, I have 2 3/16” of collapse and 1/16” to extend.

FRONT Driveshaft
Running length before lift = 32 1/2” (measurement taken without body tub on)
Running length after lift = 33 1/4”
Collapsed length = 31 ¼”
Extended length = 33 3/4”
Before the lift, I had 1 1/4” of collapse and 1 ¼”” to extend.
After the lift, I have 2” of collapse and 1/2” to extend.


Basically, my stock driveshafts are almost all the way extended as it sits. But, my springs are still sitting at full droop and the shocks are all the way extended, even though the body and power train have been sitting on the springs for several months. With use, the springs will settle and the stock driveshafts should be OK. I am going to use my stock driveshafts for now, but I will probably flex the thing all the way out with a forklift after I get it running to make sure these shafts aren’t too short. If they are, I will get some new ones built.

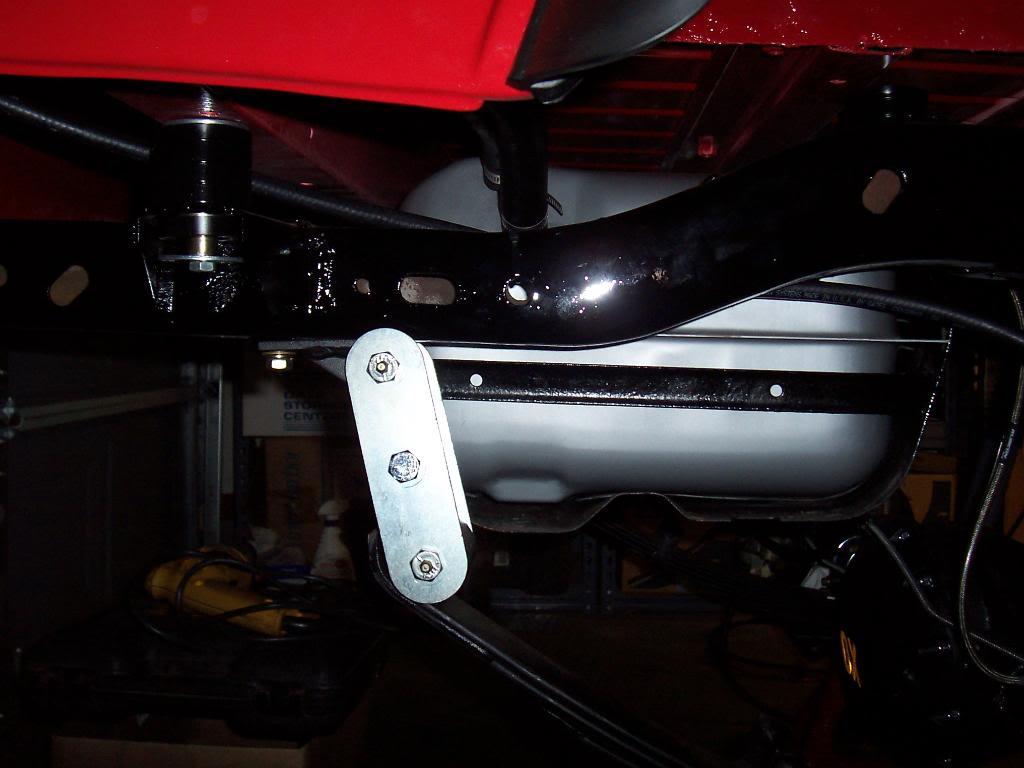
Picture of rear shackle, as the Scrambler sits currently. The shackle is actually pointing toward the front, not the rear like it is supposed to. These springs have not settled any. I might put 5 bags of quickrete in the back to kind of speed up the whole spring settling issue.
100_5582-1.jpg


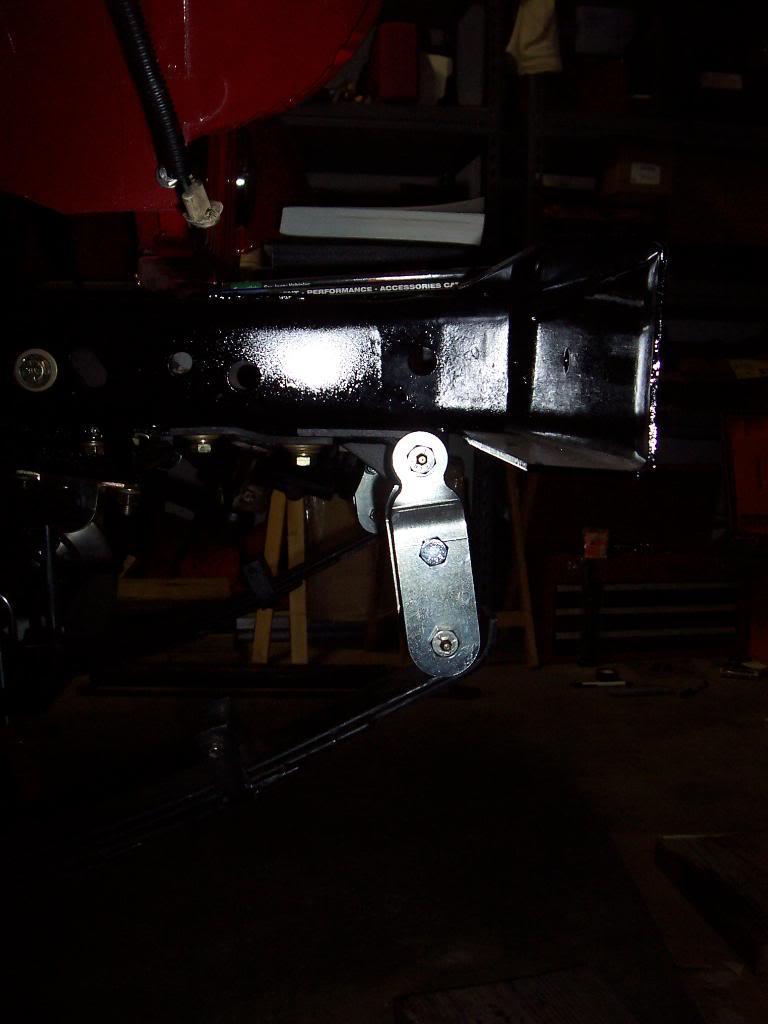
Picture of front shackle, as the Scrambler sits currently. This shackle is at least vertical, but it should be facing outward. The engine and powertrain weight are helping this spring settle more then the back end.
100_5584-1.jpg


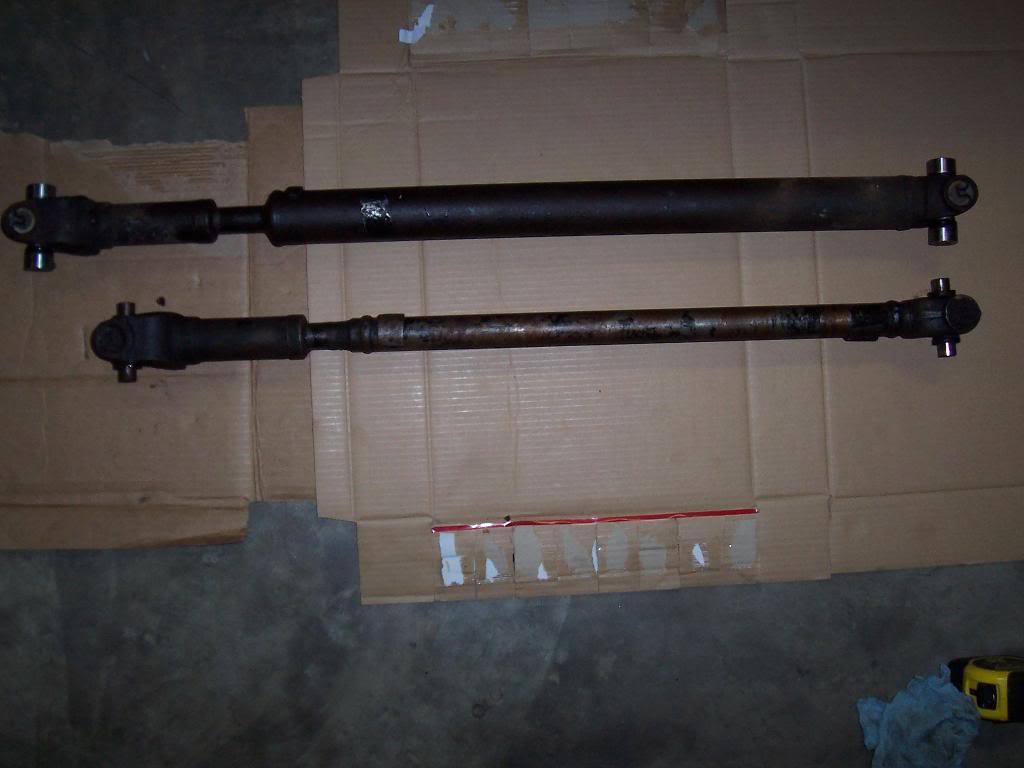
Picture of the dirty driveshafts. They are still in good shape, tight at the slip joints and no dents, bends, etc.
100_5581-1.jpg


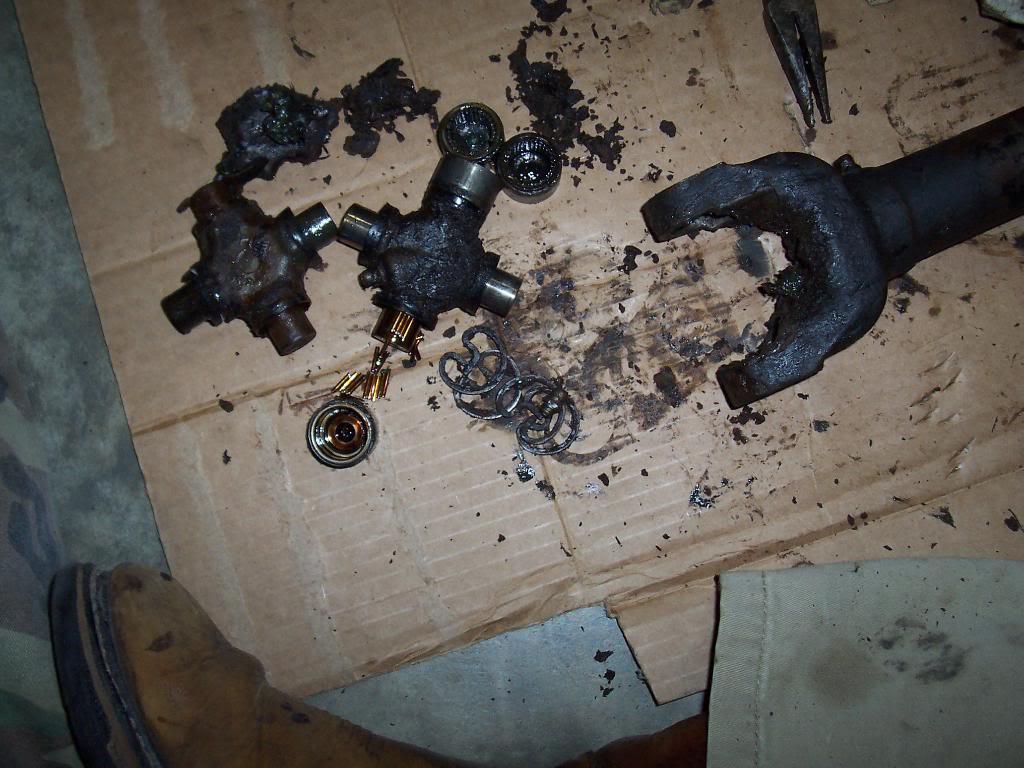
Picture of one of the old u-joints. I forgot what it was like to be working on dirty parts, been awhile.
100_5583-1.jpg


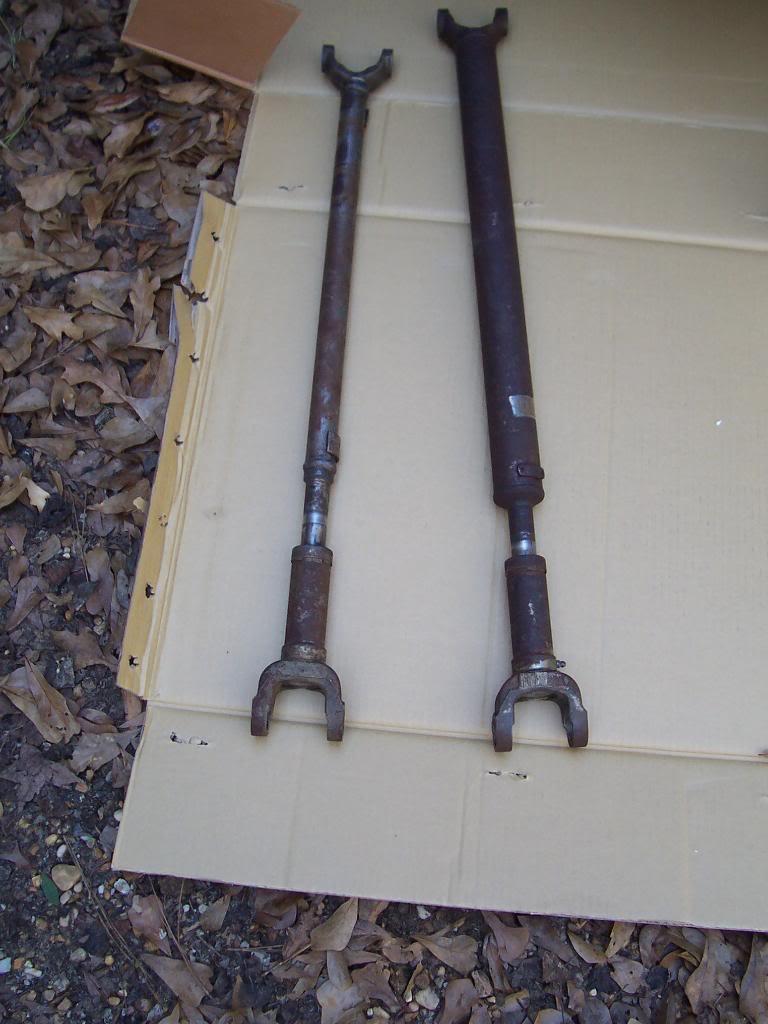
After steam cleaning the driveshafts. I love the steam cleaner!
100_5588-1.jpg


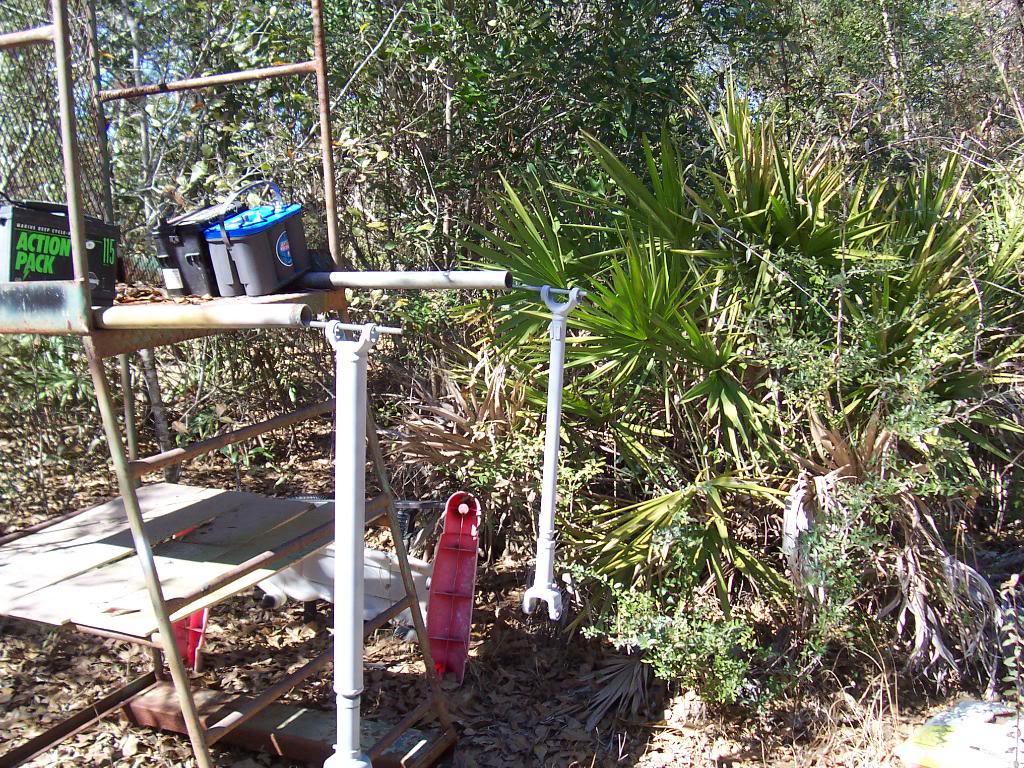
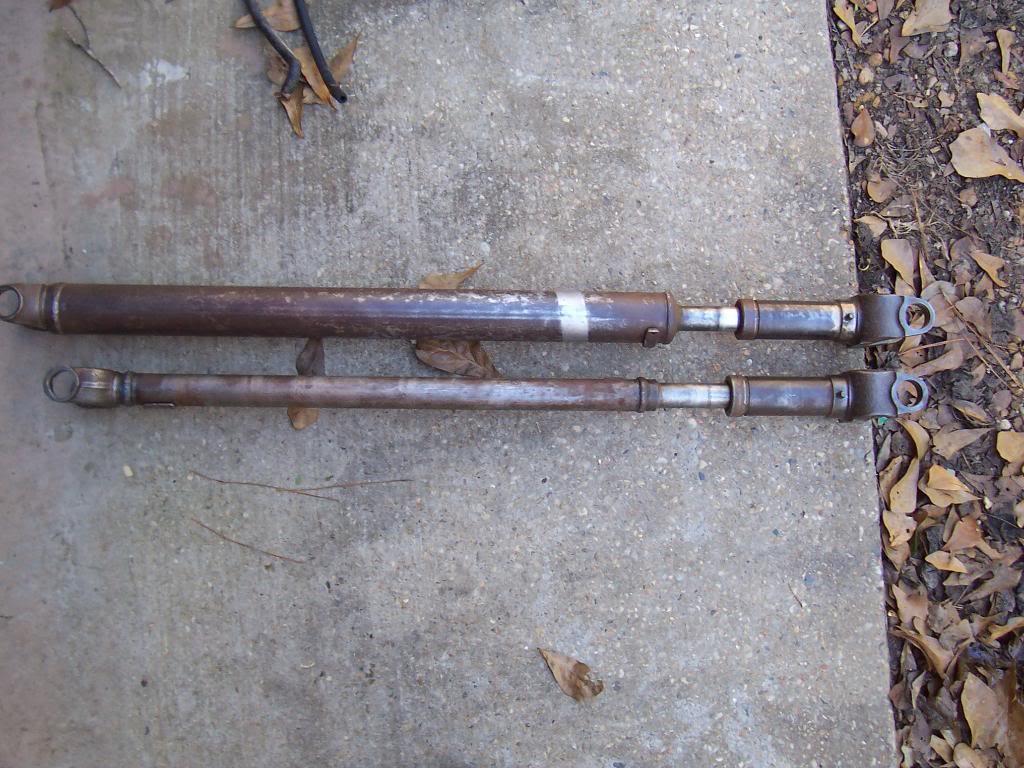
Ready for paint. I polished off most of the surface rust off of the slip shaft area to prevent seal damage.
100_5589-1.jpg


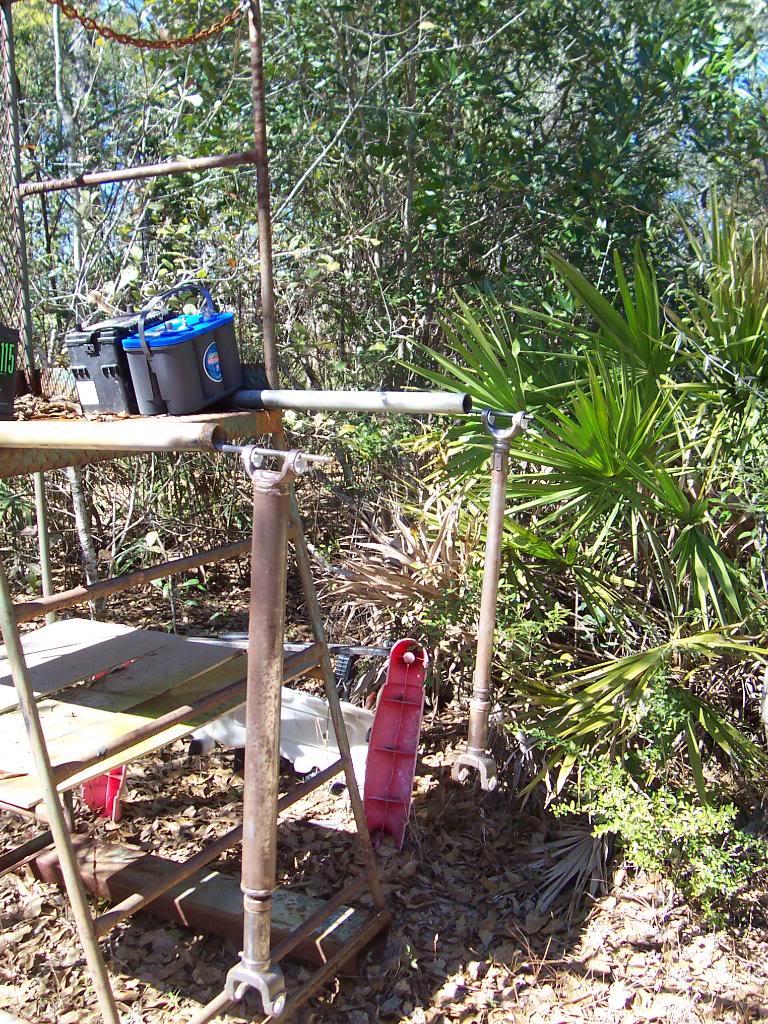
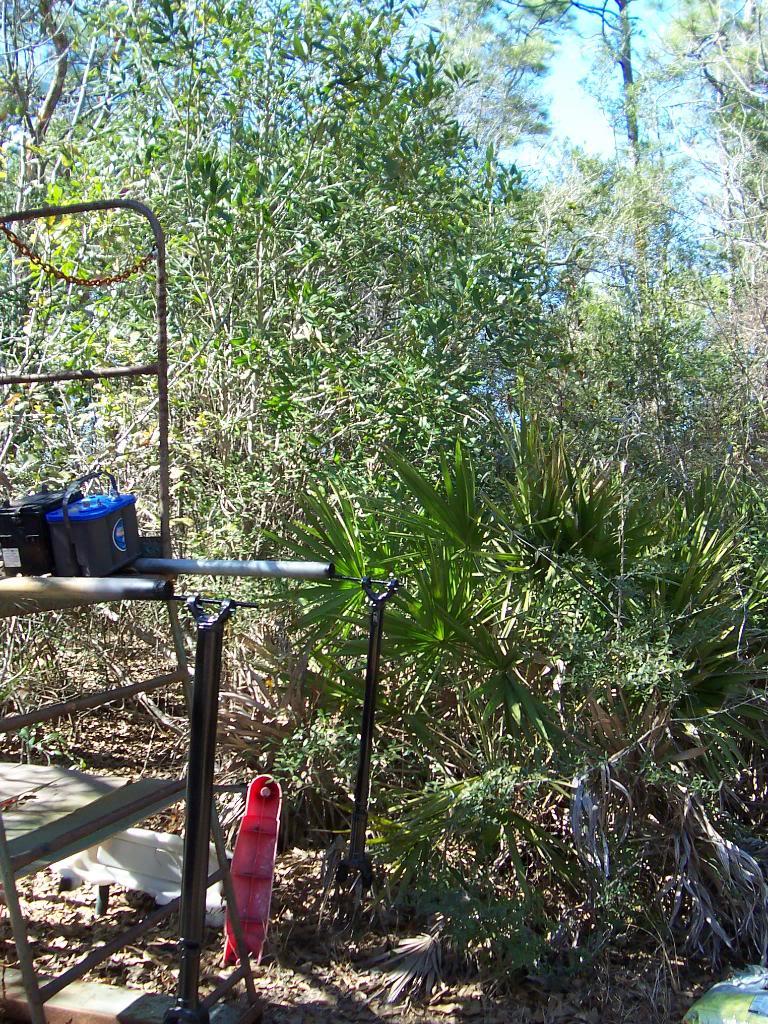
Driveshaft painting rig.

100_5591-1.jpg


Primed and painted.


100_5592-1.jpg


100_5593-1.jpg


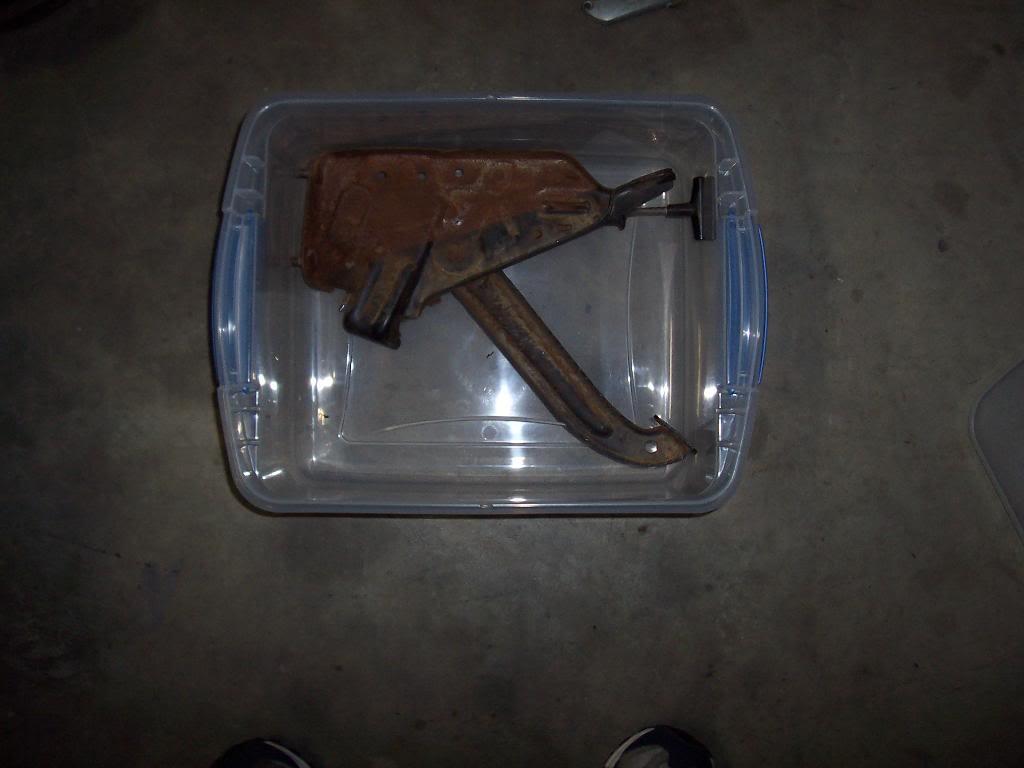
Running out of rusty parts to clean and reuse. Went to Walmart and bought this container to hold the parking brake pedal assembly. Been soaking it with the Evaporust stuff.
100_5586-1.jpg
 
Last edited:
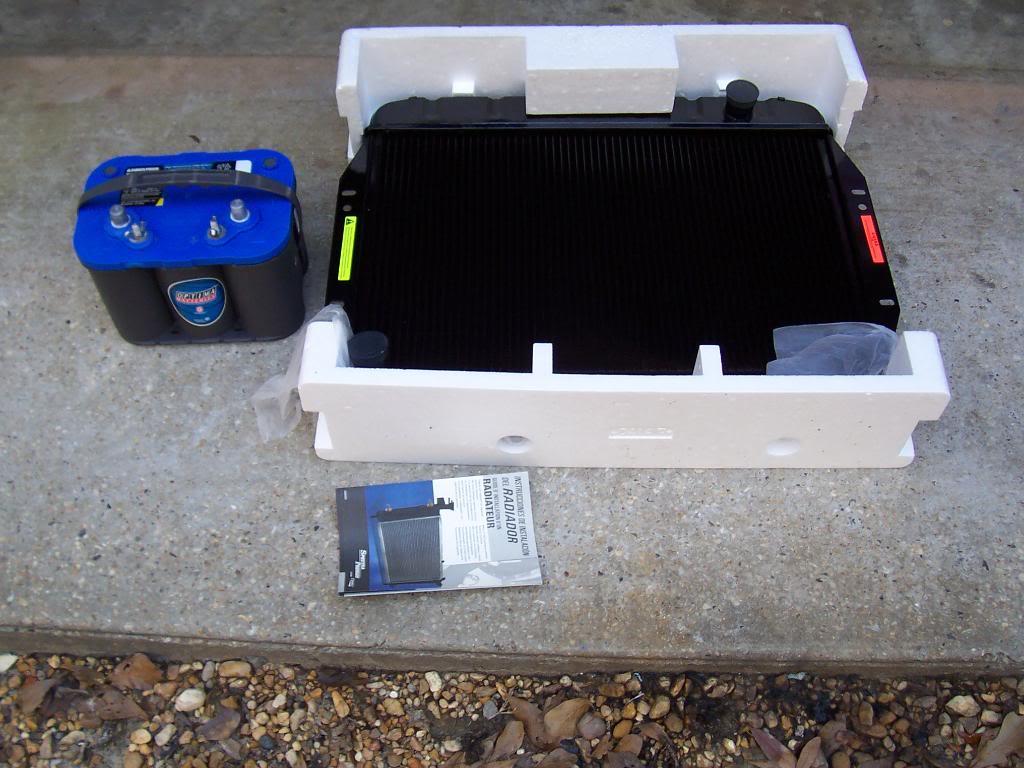
Picked up my radiator on Saturday. I bought the radiator from NAPA, 3 core, lifetime warranty, about $220. While I was there, I picked up the Blue Top Optima battery for $10. Some guy brought it in for a core along with another Optima that went bad. This battery is about 1 year old, still looks new, holds over 12 volts, and has 1067 CCA under a load test. All they wanted was $10 to cover the core charge. Right place at the right time!

100_5587-1.jpg


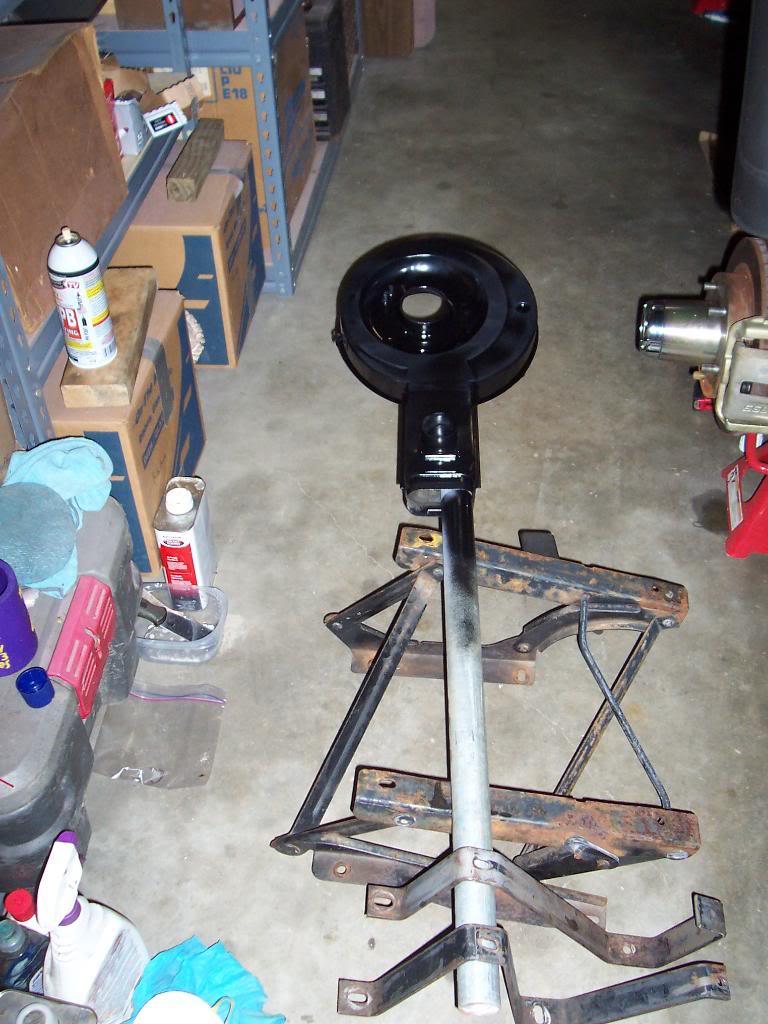
Decided to paint the factory air cleaner housing, too. Even though I wont be able to use this piece once I put on the fuel injection, I couldn't bring myself to bolt it on due to how it looked.

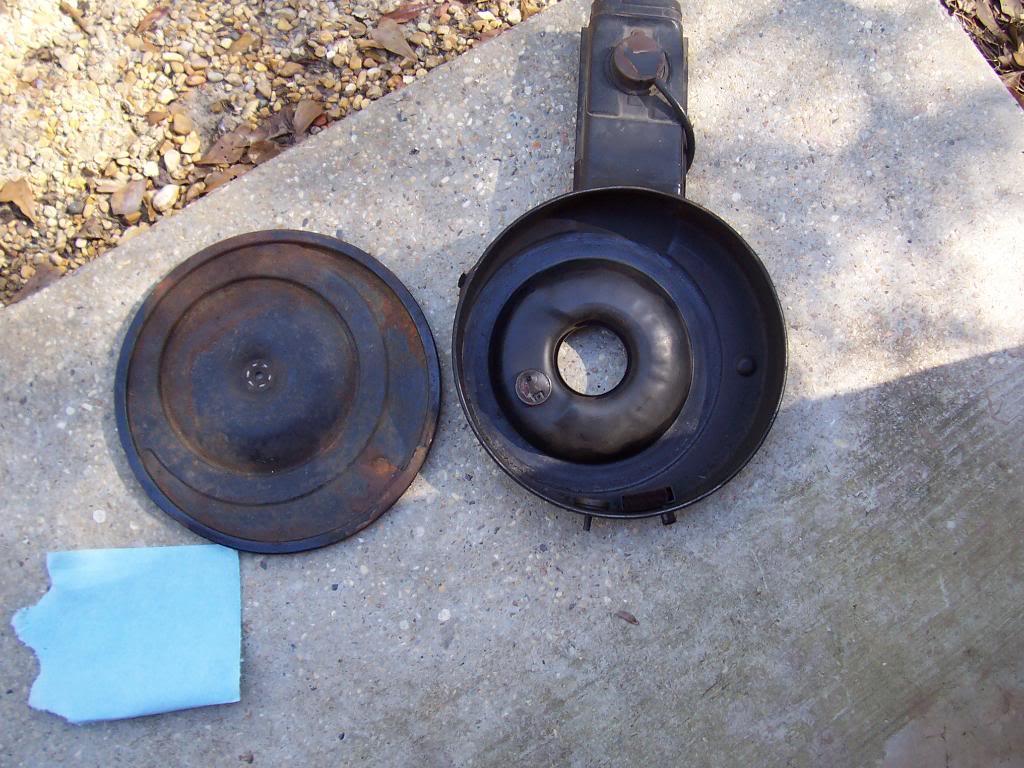
How it looked. Overall in good shape, surface rust and some slight pitting on the lid, the housing was in good shape, just a little chipped paint. I did not paint the inside of the air cleaner assembly, the existing paint was in good shape. About time I found an original part with no rust!

100_5590-1.jpg


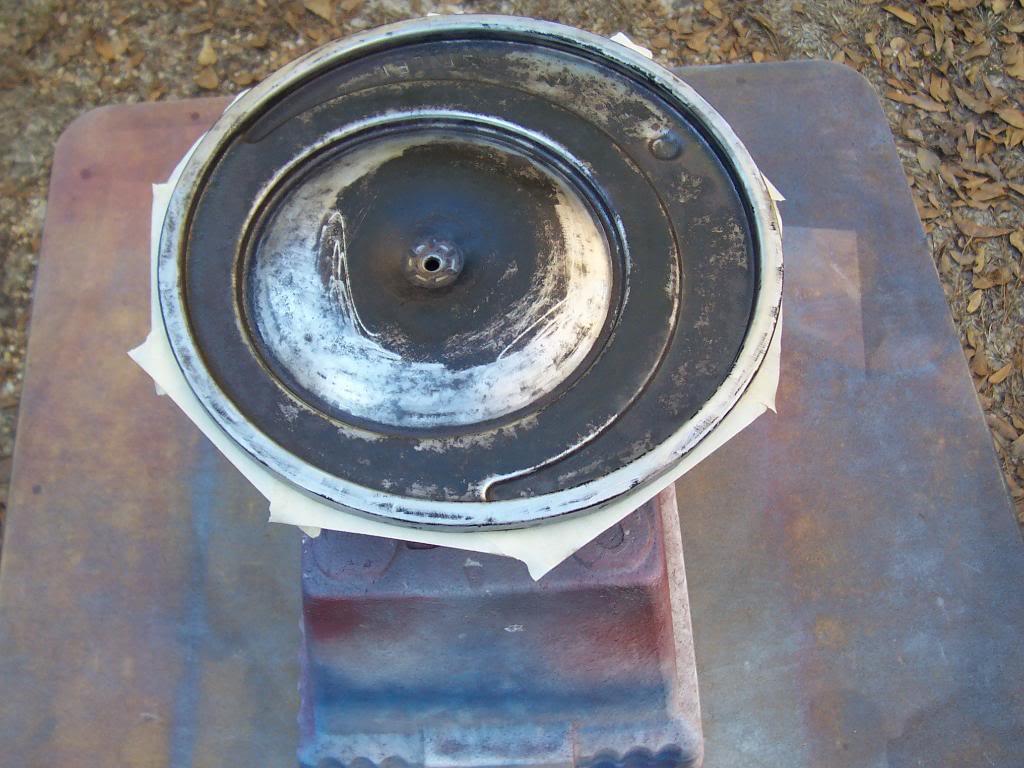
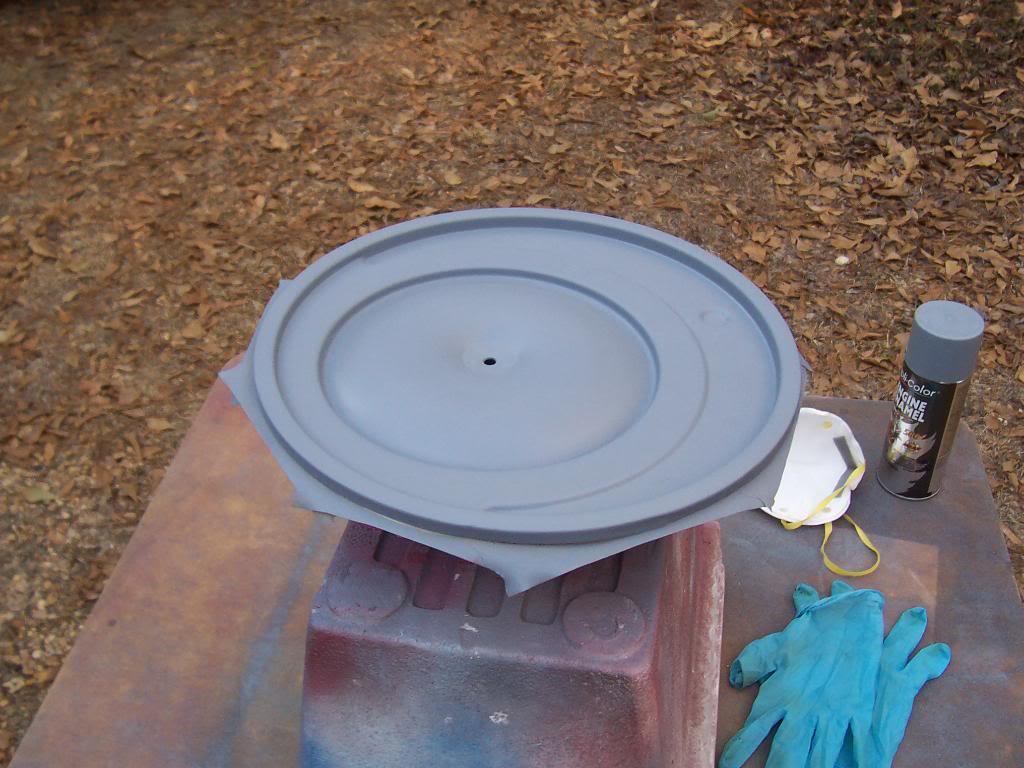
Cover ready for paint.

100_5594-1.jpg


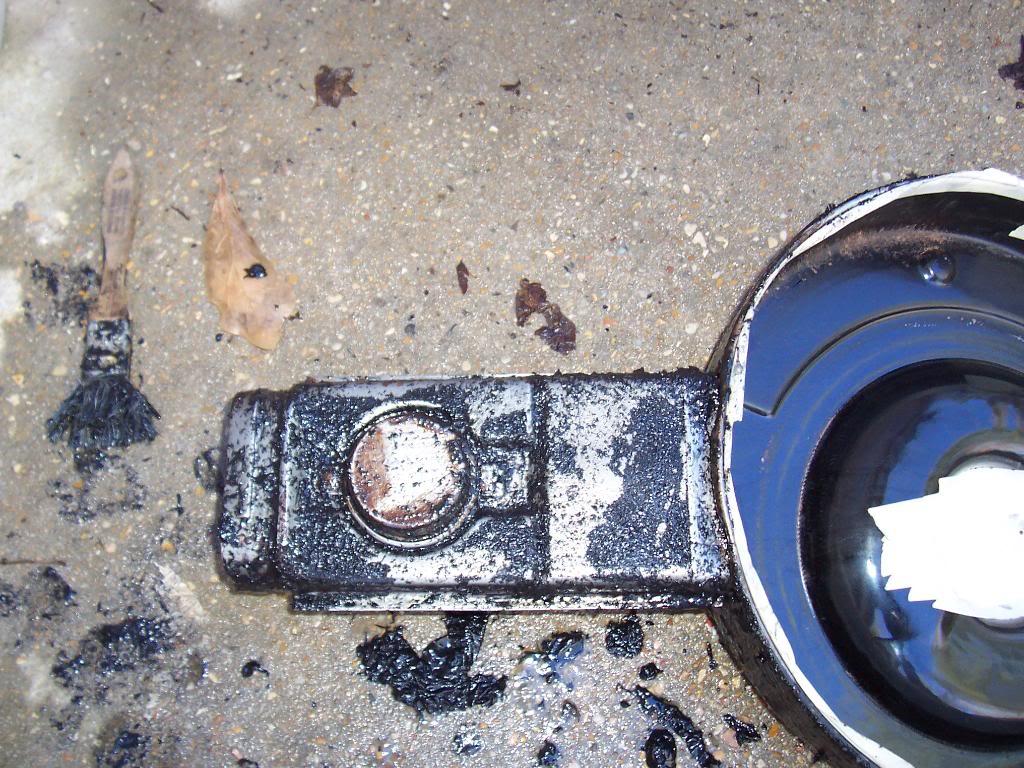
I was just going to lightly sand the surface rust off the housing and repaint it, but every time I would wipe it down with Acetone, the paint would bubble a little and start to flake. Well, after wasting about an hour and a half, I decided to strip it. The paint on the cleaner housing must have been some how defective, the stripper stuff immediately ate right through the old paint.Picture of the housing with the paint stripper in action.

100_5595-1.jpg


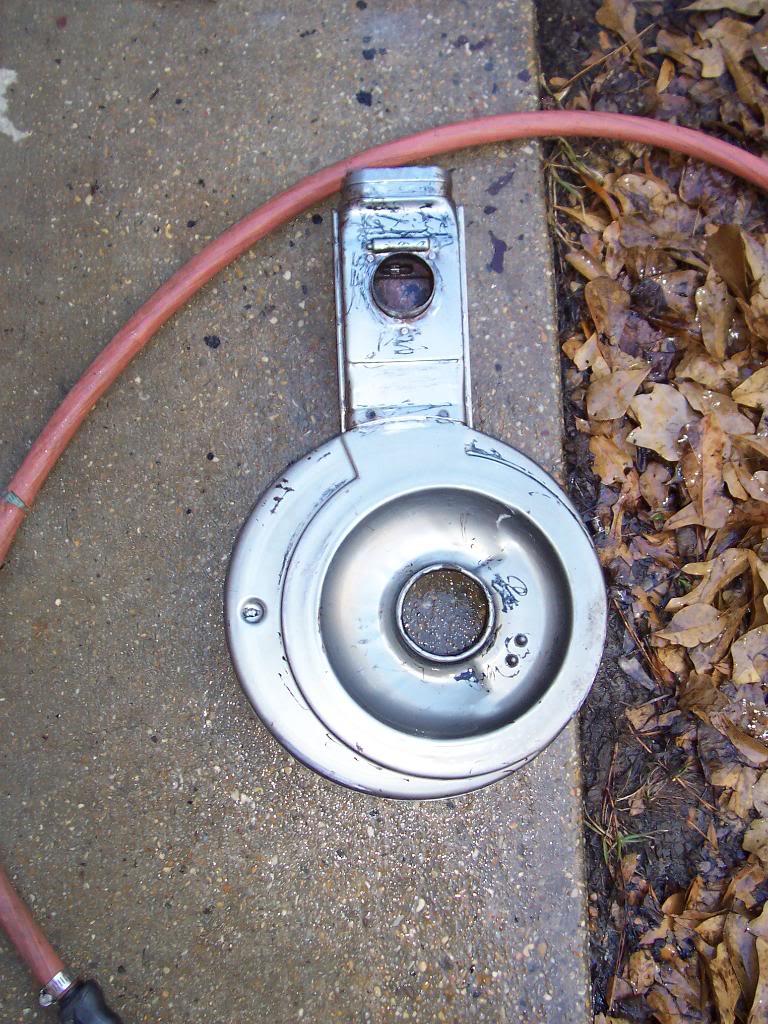
Bare housing ready for paint.

100_5596-1.jpg


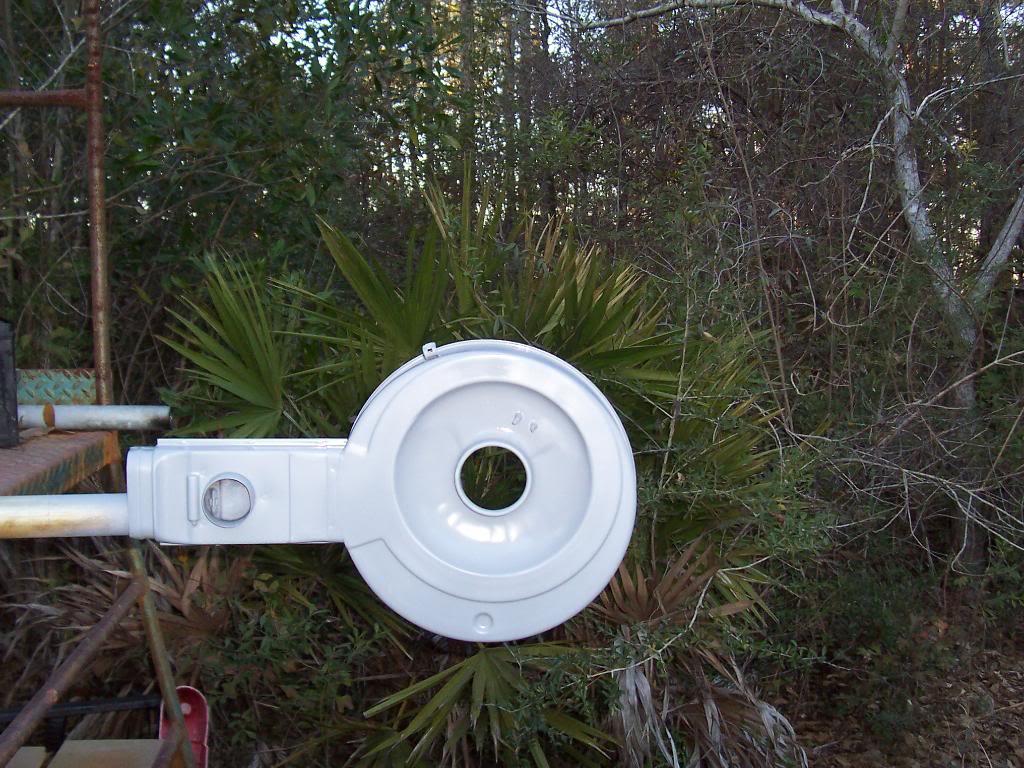
Lid and housing primed.

100_5597-1.jpg


100_5598-1.jpg


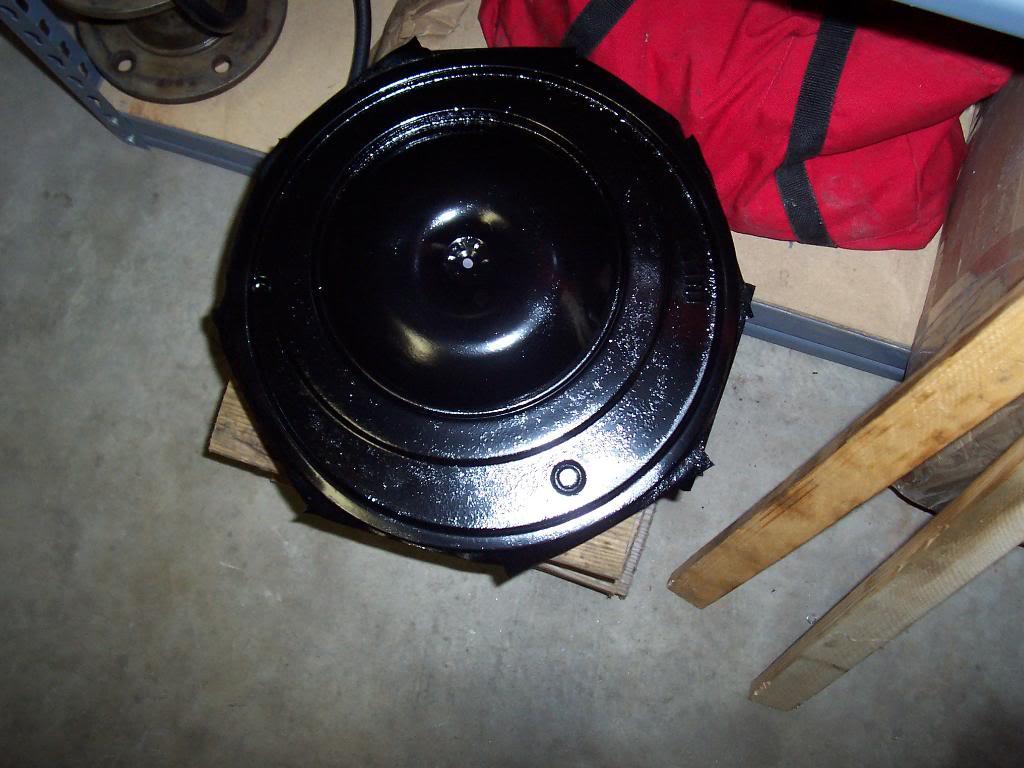
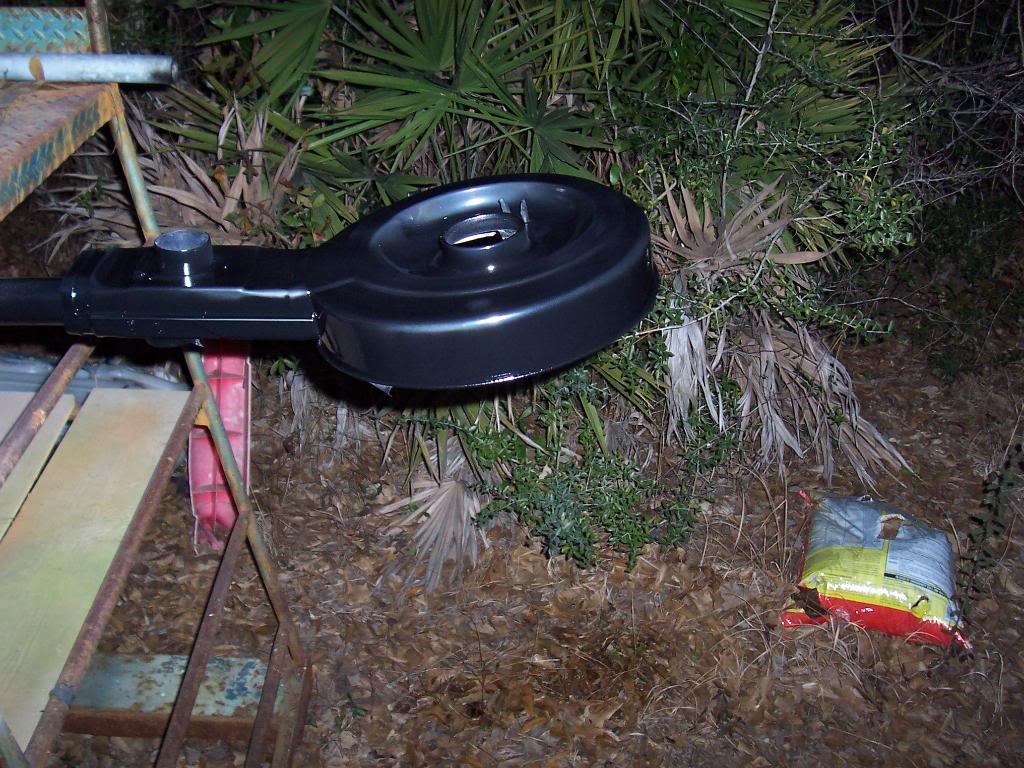
And painted.

100_5601-1.jpg


100_5599-1.jpg


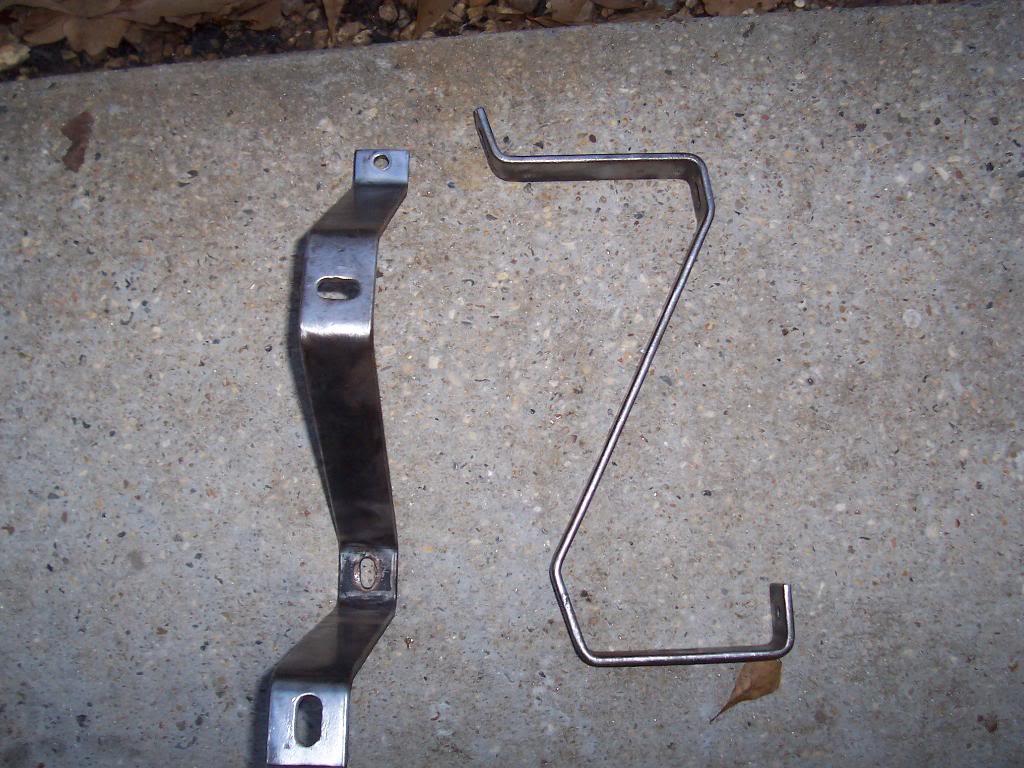
Using the seat brackets, which I still need to clean and paint, to help hold the housing up while it dries.

100_5600-1.jpg


That's it for now.
 
Update from this past weekend.

These are my driveshaft dimensions/issues. These are the stock driveshafts for a 1983 Scrambler with a T-176 4 speed. I took the time to write all dimensions down so that I could evaluate if I was going to need new driveshaft’s after putting the RE 4.5” lift on the Scrambler.

*ALL DIMESIONS WERE TAKEN FROM THE OUTSIDE OF THE METAL CIRCLE THAT HOLDS THE U-JOINT CUP TO THE OUTSIDE OF THE METAL CIRCLE THAT HOLDS THE U-JOINT CUP* I think the correct way to measure is from center of cap to center of cap, but it was easier for me to measure from outside of circle thing to outside of circle thing. All measurements were taken this way, so at least everything is consistent.

REAR Driveshaft
Running length before lift = 36” (measurement taken without body tub on)
Running length after lift = 36 7/16”
Collapsed length = 34 ¼”
Extended length = 36 ½”
Before the lift, I had 1 ¾” of collapse and ½” to extend.
After the lift, I have 2 3/16” of collapse and 1/16” to extend.

FRONT Driveshaft
Running length before lift = 32 1/2” (measurement taken without body tub on)
Running length after lift = 33 1/4”
Collapsed length = 31 ¼”
Extended length = 33 3/4”
Before the lift, I had 1 1/4” of collapse and 1 ¼”” to extend.
After the lift, I have 2” of collapse and 1/2” to extend.


Basically, my stock driveshafts are almost all the way extended as it sits. But, my springs are still sitting at full droop and the shocks are all the way extended, even though the body and power train have been sitting on the springs for several months. With use, the springs will settle and the stock driveshafts should be OK. I am going to use my stock driveshafts for now, but I will probably flex the thing all the way out with a forklift after I get it running to make sure these shafts aren’t too short. If they are, I will get some new ones built.

I don't have any input on if the length will eventually work out.
However, I did have to get new driveshafts made for my buddies, don't remember the reason. Anyhow, we had the rear cut down to replace the front one. It is a little more HD and had plenty of clearance on his 8.

HTH

As already said; great build/thread.
 
great work !!!
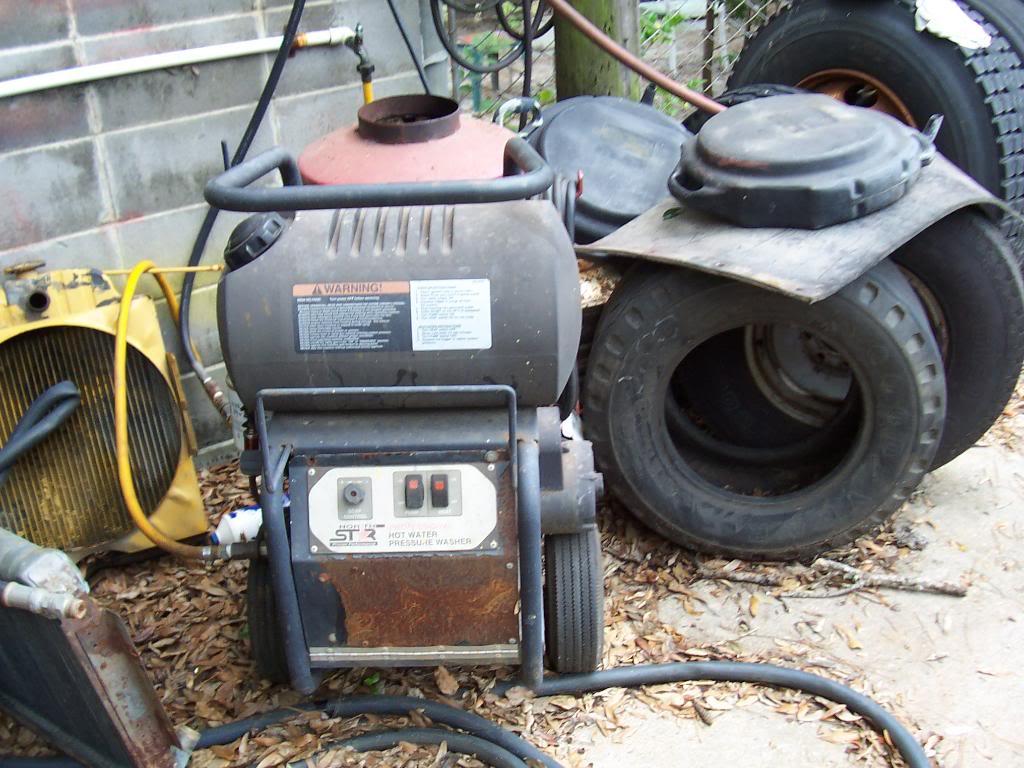
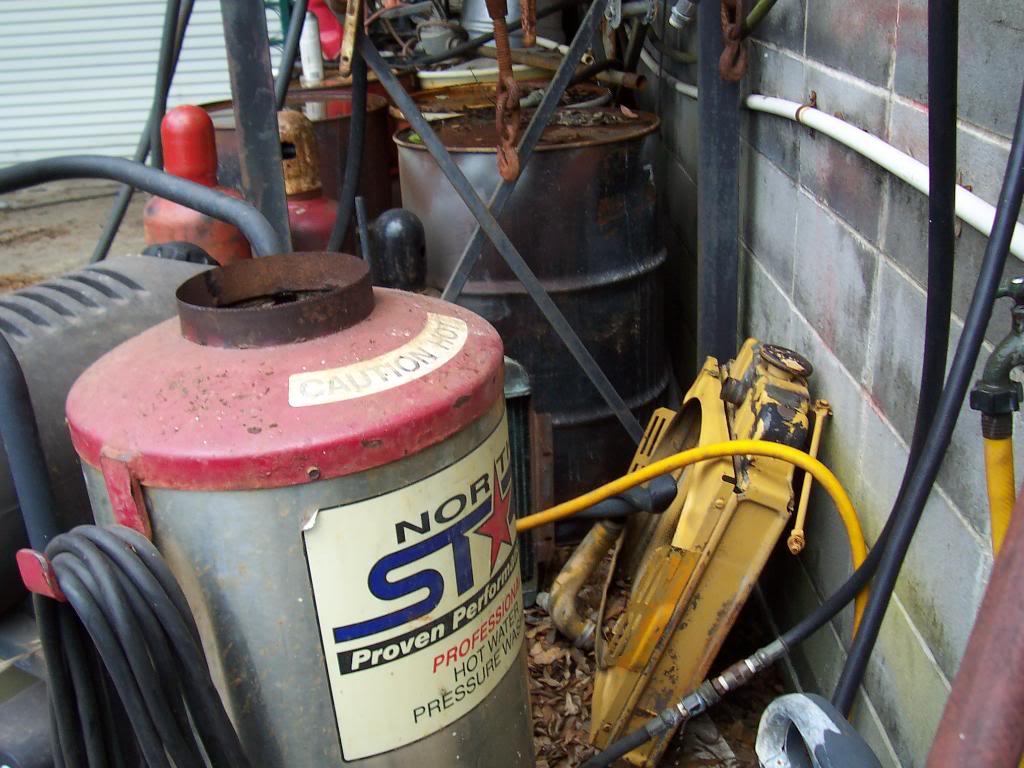
what is this "steam cleaner " you speak of ????

Appreciate it, your build is looking great, too:cheers:

Pics of the Steam Cleaner:thumbsup:

100_4546-1.jpg


100_4547-1.jpg


I work for a construction company and our mechanics shop has the steam cleaner. Basically, it is a super high pressure pressure washer with a built in diesel powered burner. The water circulates through coils in the burner before heading down the hose to the hand held wand. The super heated water comes out of the nozzle as a high powered stream of steam/water. It is great for cleaning greasy old parts, but it will take paint off of stuff, too.
 
I don't have any input on if the length will eventually work out.
However, I did have to get new driveshafts made for my buddies, don't remember the reason. Anyhow, we had the rear cut down to replace the front one. It is a little more HD and had plenty of clearance on his 8.

HTH

As already said; great build/thread.

I think my shafts might work out, I will just have to wait and see. Appreciate the compliments:cheers:
 
if you put one of Polarfire's 12000 pound wenches in there, that might settle your springs a bit

interested to see how this works out since I added about 3.5 of lift but never checked total travel on my shafts..
 
if you put one of Polarfire's 12000 pound wenches in there, that might settle your springs a bit

interested to see how this works out since I added about 3.5 of lift but never checked total travel on my shafts..

That would probably break the AMC 20 axle housing clean in half:rotfl:

I will let everybody know once I get the Scrambler drive-able if the stock shafts are going to work out for me:fingerscrossed:
 
Update on all the little odds and ends I have been working on this week.

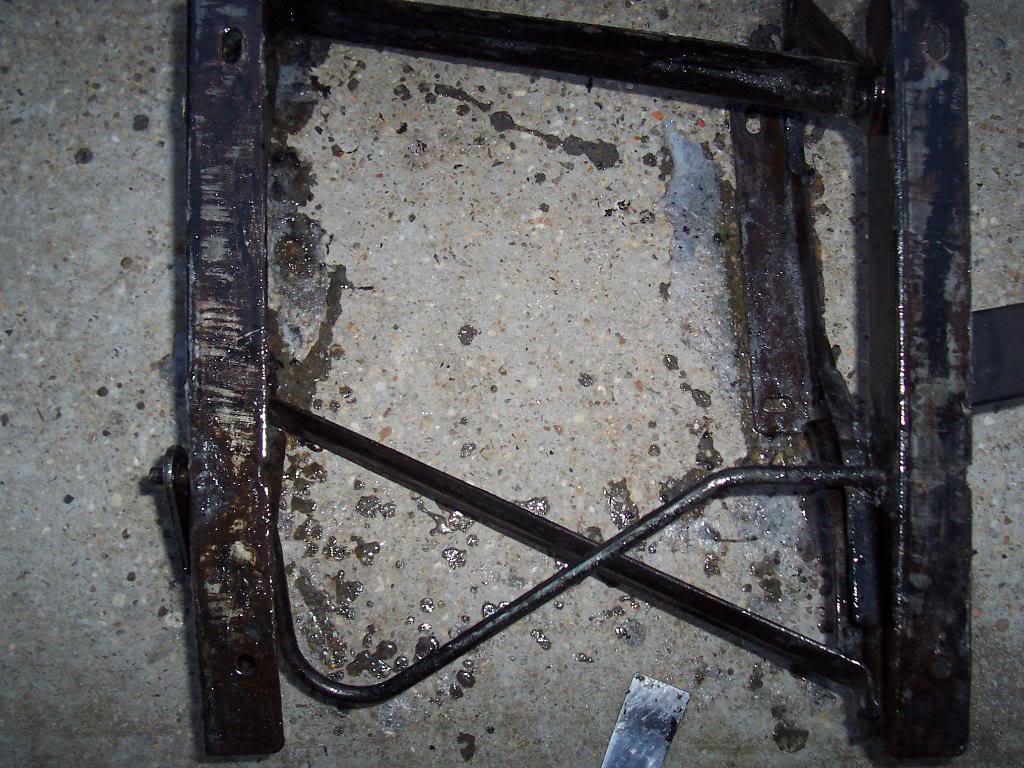
Started to clean rust off of and strip paint from the seat brackets. Drivers seat brackets cleaned up really well with a wire brush attached to my trusty old Dewalt drill.

100_5602-1.jpg


Still working on passenger seat frame. I ran out of the good paint stripper so I have using some not as effective paint stripper. Trying to use up the stuff I have so I don't end up with a garage full of half empty containers of chemicals. It is slowly working, might have to go visit Mr. Steam Cleaner.

100_5603-1.jpg


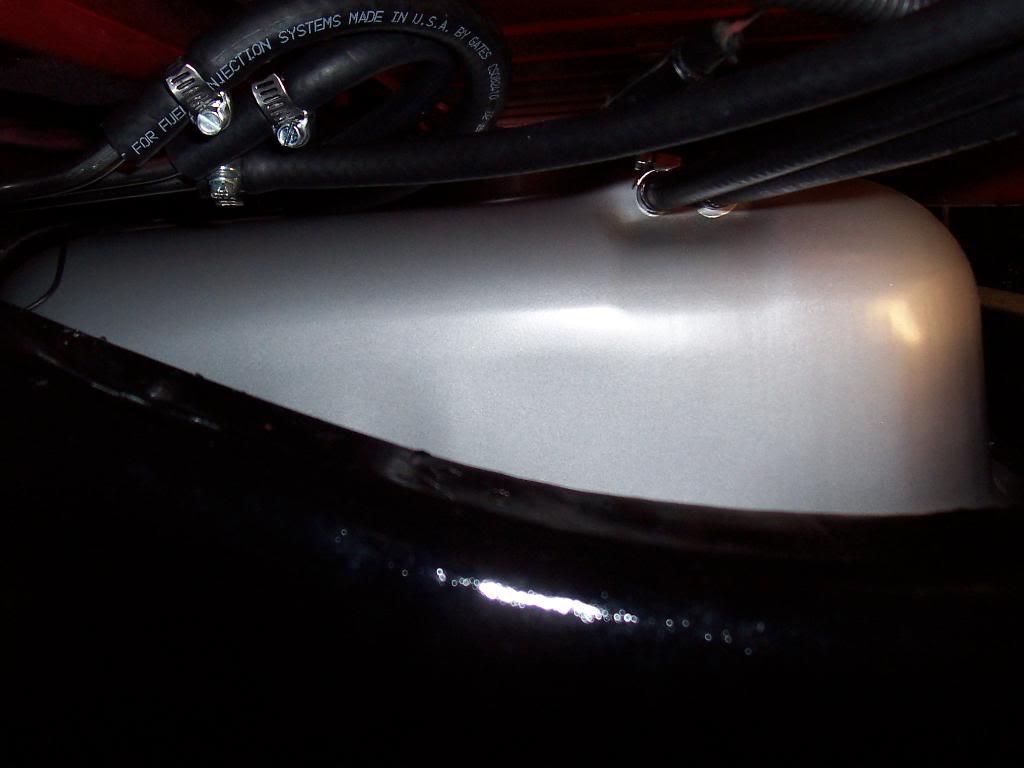
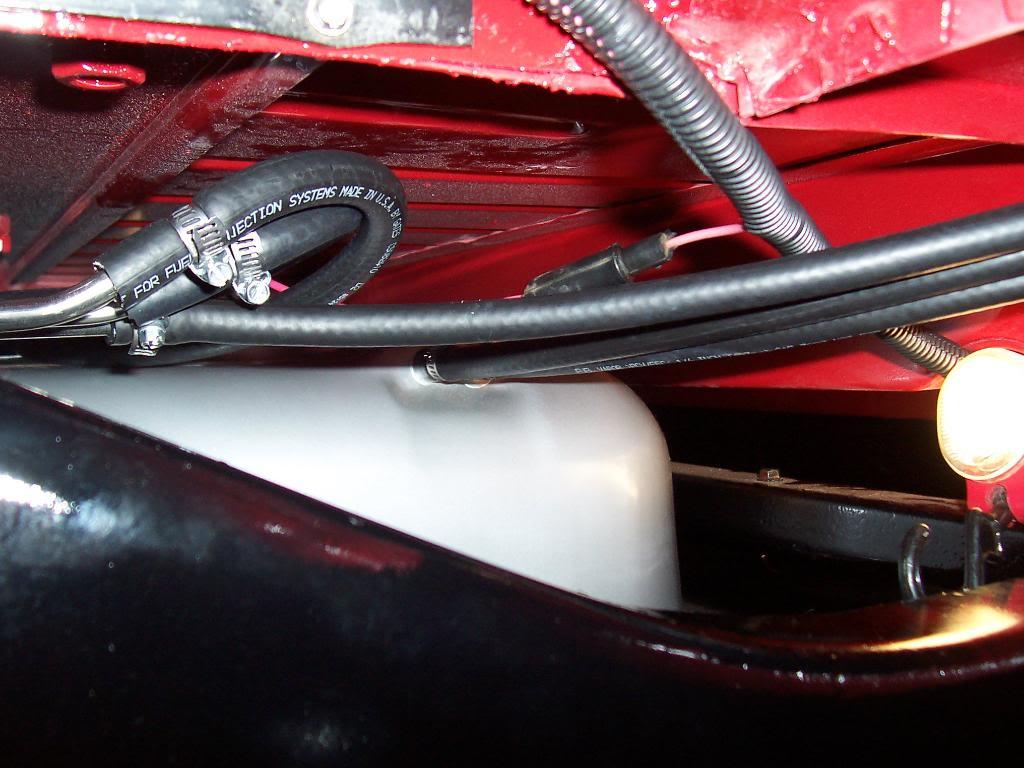
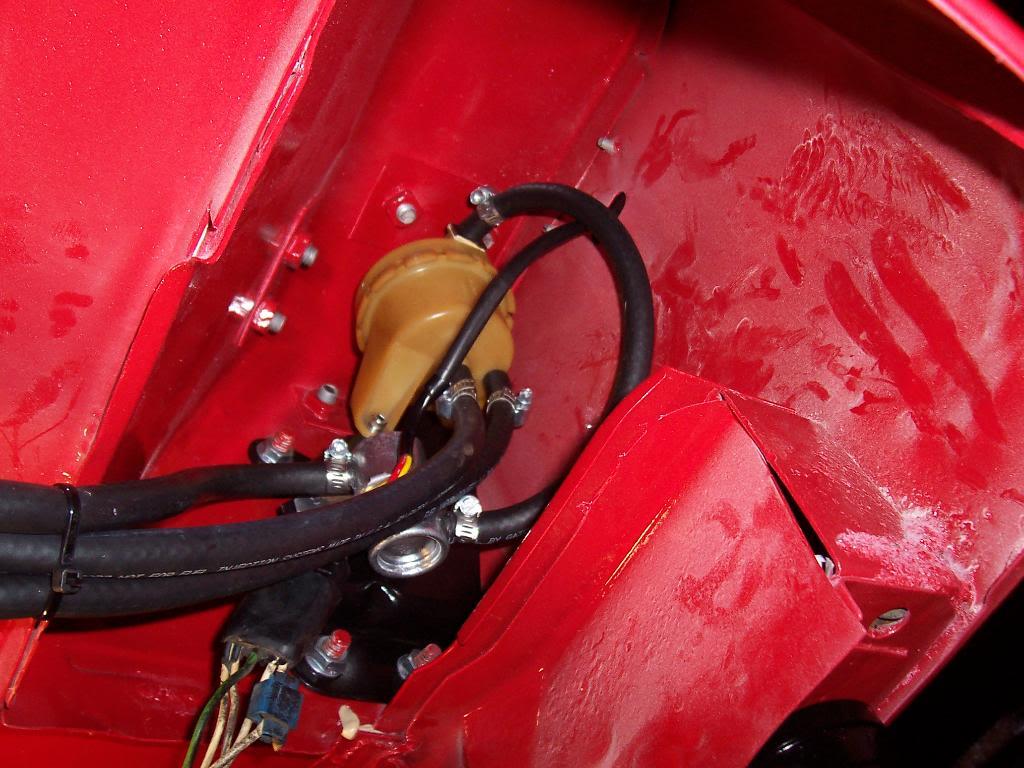
Hooked up all of my fuel lines: line to tank, return line, and all the vent lines.

100_5604-1.jpg


100_5605-1.jpg


100_5606-1.jpg


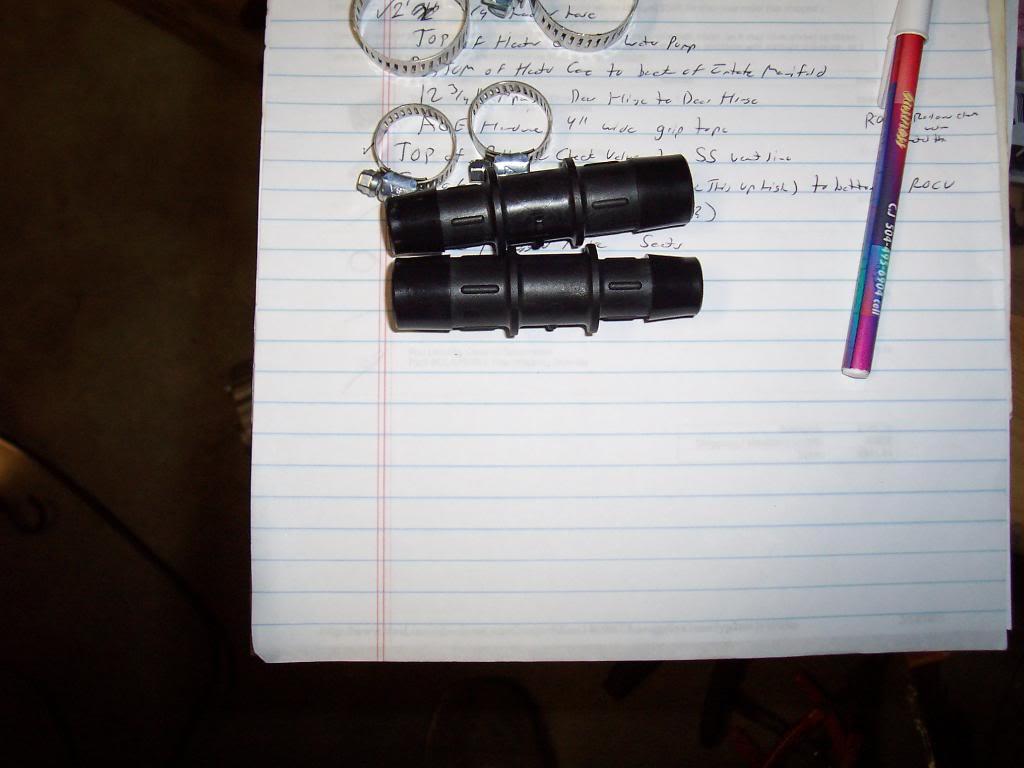
Finished up all the radiator and heater hose installations. Radiator hoses are pretty simple. The heater hoses have one minor issue. The water pump and thermostat housings have 3/4" outlets. The heater core and intake manifold have 5/8" outlets. You can physically force a 5/8" hose over the 3/4" fittings, but I was scared the hoses would break from being stretched so much. Found these handy dandy heater hose adapters at NAPA. They allow you to run 3/4" hose off the water pump and thermostat housing, insert the adapter in the hose, and then run 5/8" hose to the heater core and intake manifold.

Pictures of adapters.


100_5607-1.jpg


100_5608-1.jpg


Not as eloquent as the factory molded hoses, which I couldn't find, but it solves the problem.


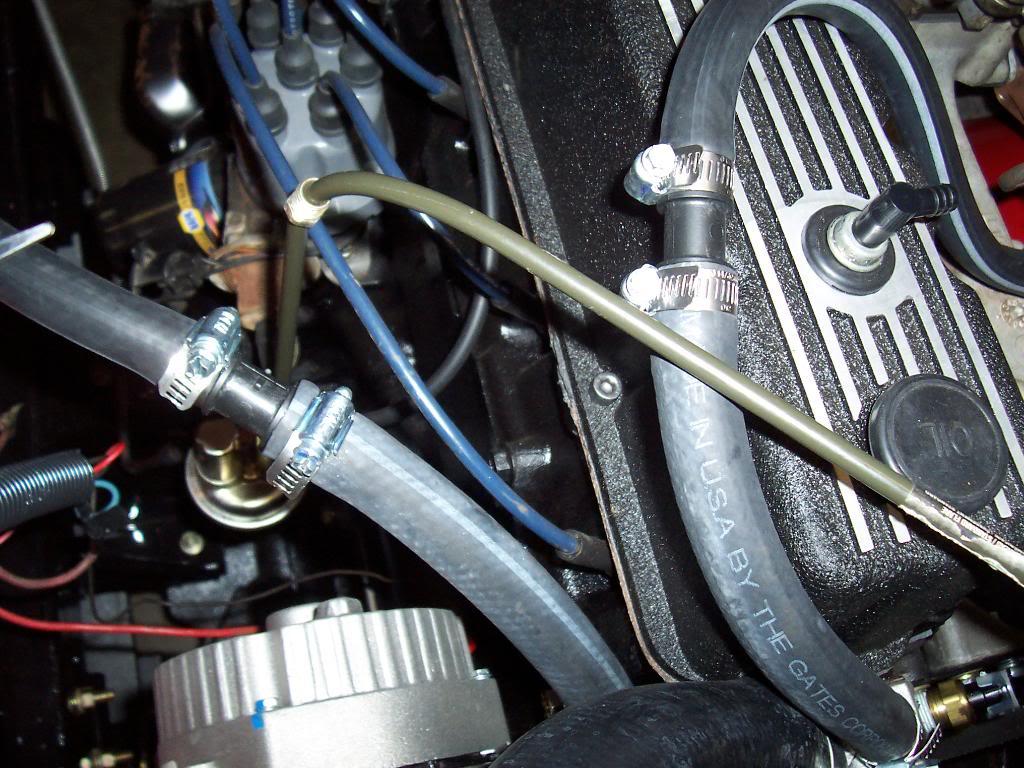
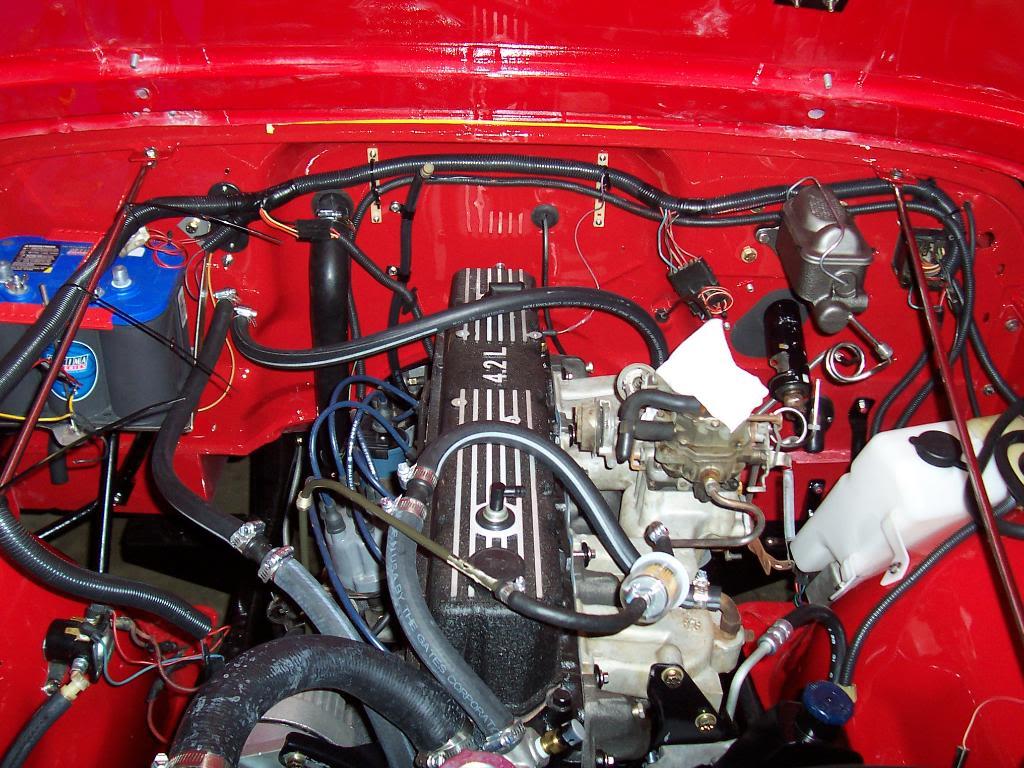
Overview shot of all the under-hood "plumbing".

100_5609-1.jpg


Temporarily installed air cleaner. I still need to hook up all the PCV hoses and vacuum lines. Almost finished under the hood.

100_5611-1.jpg
 
Last edited:
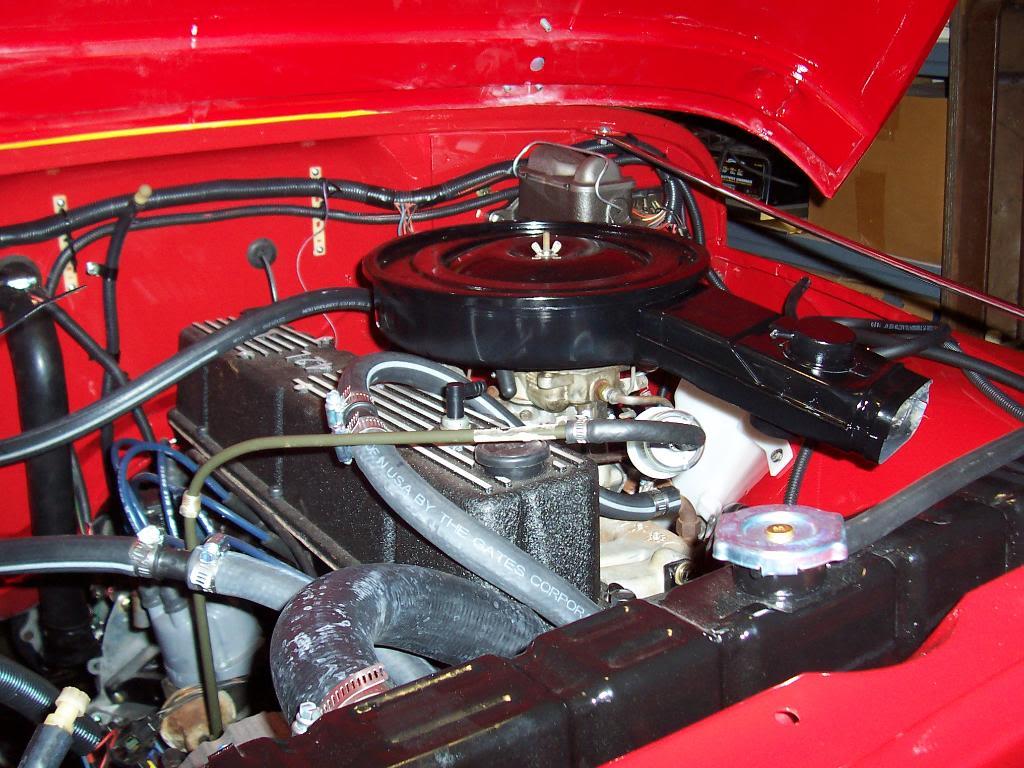
Fed Ex dropped off one of my rims the other day. I am not too sure where the other 4 are?

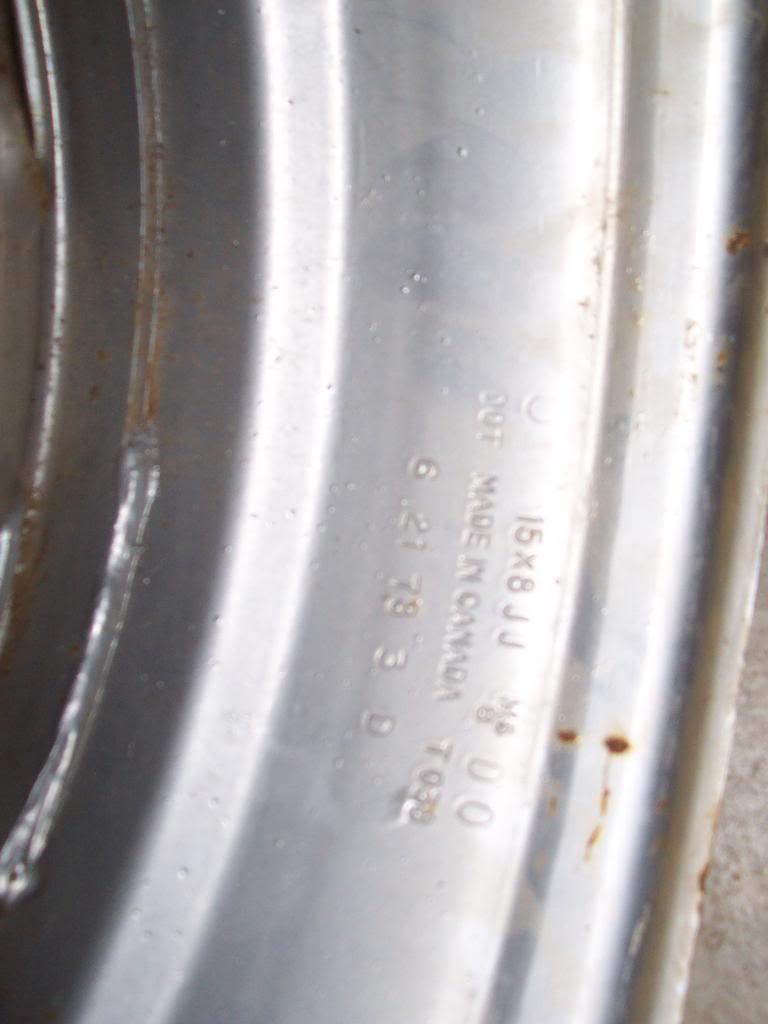
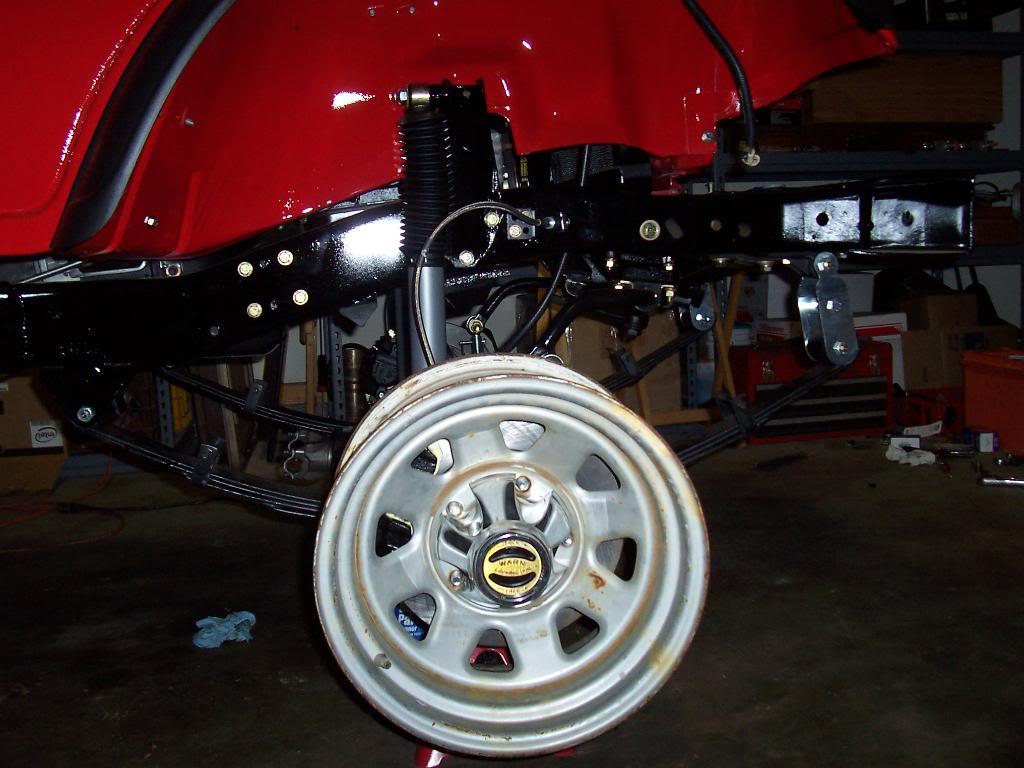
Factory 15x8 steel wheel. I am going to have to drill holes in these rims for the factory center caps, but that shouldn't be too difficult. I also need to get them blasted and painted, once I receive the other 4.

Picture of the rim size stamp located on the inside of the rim.

100_5613-1.jpg


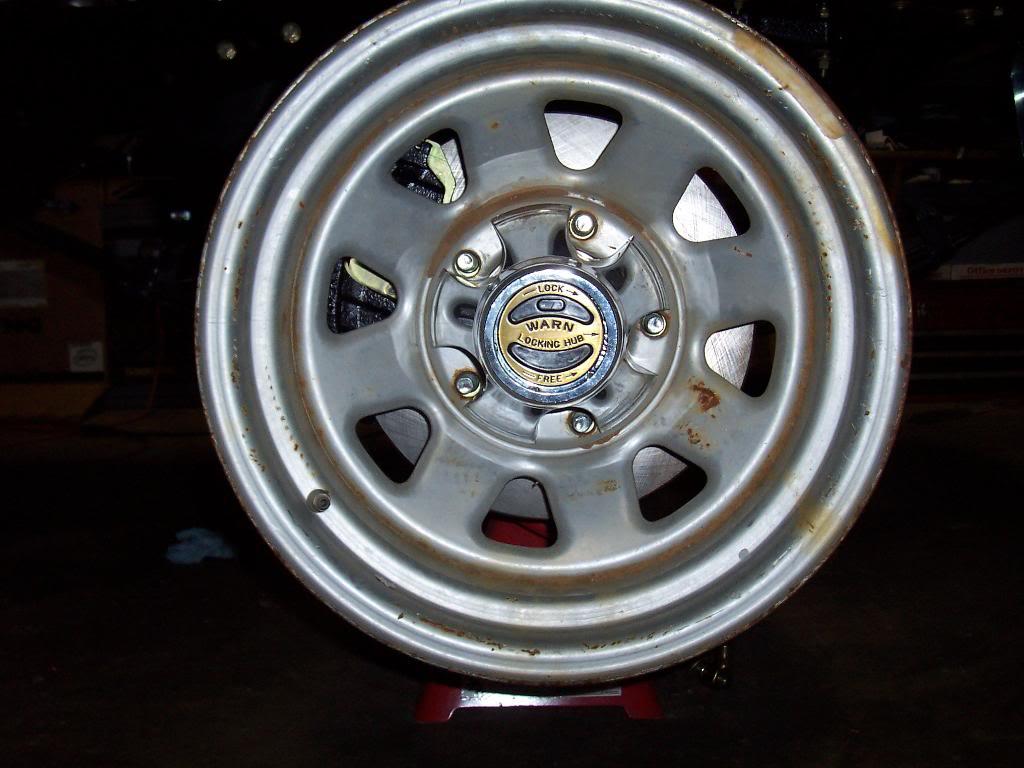
And threw the rim and center-cap over a front wheel hub. The factory center-caps will work with the large Warn hubs that I am running. I have 4 open center-caps due to the fact that I have lock in hubs on all 4 wheels.

100_5615-1.jpg


100_5616-1.jpg


That's it for now.
 
I never realized that the heater hoses were different sizes at each end.. good to know!

what's your plan on the wheels.. paint, powdercoat, re-chrome...? I need to do mine also (they're white but crusty) and interested to see your approach..
 
Hooked up all of my fuel lines: line to tank, return line, and all the vent lines.

100_5604-1.jpg

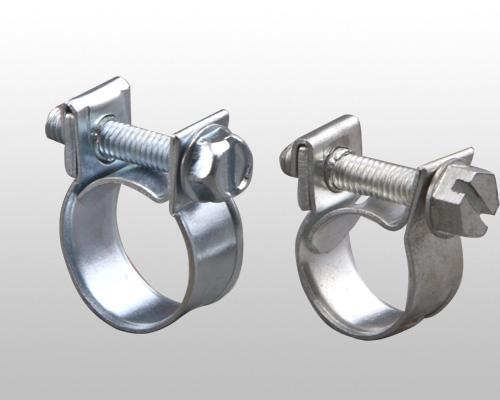
if you are planning on running fuel injection, you might want to change out those hose clamps for "fuel injection" hose clamps. They tighten evenly around the hose unlike the worm gear clamps. better seal and they dont cut into the hose like the worm gear clamps. I'd only worry about the pressure and return lines, vent lines are fine with the worm gear clamps... unless you want all the clamps to be the same (like i did on my fuel system.)

like these
2008_11_13_23488_152452-1.jpg
 
if you are planning on running fuel injection, you might want to change out those hose clamps for "fuel injection" hose clamps. They tighten evenly around the hose unlike the worm gear clamps. better seal and they dont cut into the hose like the worm gear clamps. I'd only worry about the pressure and return lines, vent lines are fine with the worm gear clamps... unless you want all the clamps to be the same (like i did on my fuel system.)

like these
2008_11_13_23488_152452-1.jpg


I planned on running the fuel injection clamps on the lines downstream from the fuel pump. I might need to change the clamps on the return line at the tank. Thanks for reminding me:cheers: I imagine the line that runs from the tank to the pump will be fine with normal clamps because it wont be pressurized:shrug: How much pressure is in the return line?

For now it will be fine with the regular clamps and a carb, but when I switch to the MPI I might just go ahead and change all the clamps:thumbsup:
 
I never realized that the heater hoses were different sizes at each end.. good to know!

what's your plan on the wheels.. paint, powdercoat, re-chrome...? I need to do mine also (they're white but crusty) and interested to see your approach..

I plan on getting the wheels blasted and repainted white. I thought about powder coating, but i dont think the powder coat will go into the seam at the wheel center to wheel outer junction:shrug: Paint will probabbly be a little cheaper, too:thumbsup:
 
I planned on running the fuel injection clamps on the lines downstream from the fuel pump. I might need to change the clamps on the return line at the tank. Thanks for reminding me:cheers: I imagine the line that runs from the tank to the pump will be fine with normal clamps because it wont be pressurized:shrug: How much pressure is in the return line?
For now it will be fine with the regular clamps and a carb, but when I switch to the MPI I might just go ahead and change all the clamps:thumbsup:

I ran all the same clamps... just so when i have to take stuff apart i only need one tool instead of 2 or more. gotta think ahead!!! :D

from tank to pump will be low pressure so worm gear clamps are fine. return line... i have no idea what pressure is in it. I would think it could be as much as the feed line. If the pressure regulator failed and stuck open the pressure would, in theory, be the same as the feed line. (makes sense in my head, dunno if that is reality)
 
I ran all the same clamps... just so when i have to take stuff apart i only need one tool instead of 2 or more. gotta think ahead!!! :D

from tank to pump will be low pressure so worm gear clamps are fine. return line... i have no idea what pressure is in it. I would think it could be as much as the feed line. If the pressure regulator failed and stuck open the pressure would, in theory, be the same as the feed line. (makes sense in my head, dunno if that is reality)

Makes sense to me:thumbsup:

Since I will have to do some modifications to the fuel lines once I hook up the Mopar MPI, I will change all the clamps at that time to the fuel injection rated ones. I hope my fuel gauge works, but if it doesn't, well that gives me a reason to drop the tank and change those clamps, too:rotfl:
 
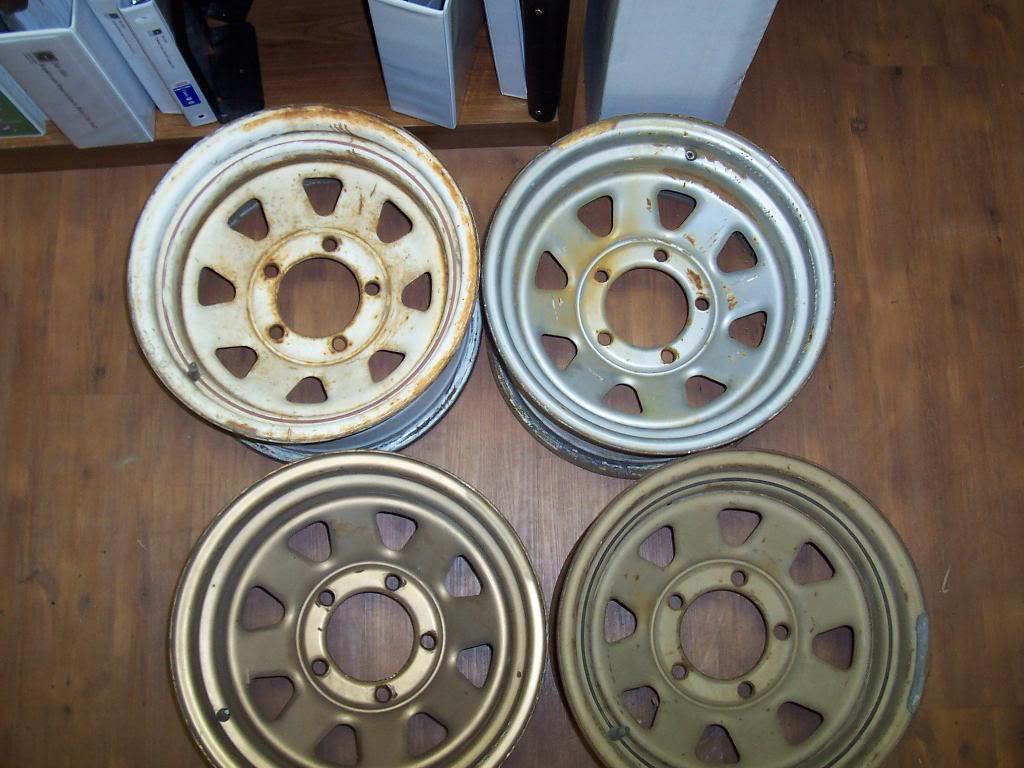
My four other factory 15x8 steel wheels showed up today. I will probably steam clean them before I take them to the painter. Overall, they look to be in very good shape with just very light surface rust in places.

100_5617-1.jpg


Need to get off my butt and make a "centercap mounting hole drilling template".
 
I would be interested in how you make your template as I have some wheels I need to do the same thing to.
 
Once I get off my butt and make a template I will post some pics:thumbsup:

Once again, amazing work, photo documentation, and attention to detail. :bow:

From your pics I have determined that a dangly hose + cap is my tcase vent, it *should* mount to the firewall, and it's too short to do that right now. Another chore looms!

So you *are* going to take this on a nataionwide member-by-member visitation tour once you're finished, right? Seafood and beach await you in Virginia! :D
 
Back
Top