• Notice for iPhone users: DO NOT use the image size reduction option when uploading photos to the forum. This causes portrait images to post as landscape. We have added a warning to the image insert pop-up as well.

Another Scrambler Purchase/Road Trip - UPDATE- BODY ON FRAME AGAIN

Appreciate it guys:thumbsup:

I hope all the pics are useful reference material for others:cheers:

I can't wait to get it drivable, too:D I think we all know that they are never "finished":thumbsup::rotfl::cheers::wave:
 
Spankrjs, have thought about a hydraulic clutch? I put one in mine and it was easy and works great. No issues with any lift either. About $125. Looks good too BTW.
 
Spankrjs, have thought about a hydraulic clutch? I put one in mine and it was easy and works great. No issues with any lift either. About $125. Looks good too BTW.

I have been thinking about converting to a hydraulic clutch, but I also love the simplicity of the mechanical clutch linkage. The body lifts do become an issue with the mechanical linkage, but those issues can be overcome with a few simple modifications to the linkage and bracket locations. I even got the mechanical linkage to work on my old CJ7 with a 3" body-lift, it would only feel "weird" when the jeep got really crossed up, almost like it was about to run out of travel and not be able to disengage the clutch, almost. I am pretty confident the hydraulic parts would eliminate this issue, so I might upgrade to a the hydraulic clutch setup when I upgrade to power brakes, when funds allow:thumbsup:

NOTE - I did not like the 3" body lift on my CJ-7, throws too much stuff out of whack. It was on my list of things to swap out, but I sold the jeep before I got around to that mod:shrug:
 
I didn't have any problems with the stock mechanical clutch and just a 1" BL. Sam did the hydraulic clutch when he swapped out his T-5 for a NV3500. He likes it. Got the parts from partsmike.com, IIRC.
 
I didn't have any problems with the stock mechanical clutch and just a 1" BL. Sam did the hydraulic clutch when he swapped out his T-5 for a NV3500. He likes it. Got the parts from partsmike.com, IIRC.

Good to know the 1" body lift didnt cause any issues:thumbsup: Thanks for the link to the hydraulic clutch parts:cheers:
 
Update from this past weekend. Due to the good weather, I was able to knock out a bunch of painting work.

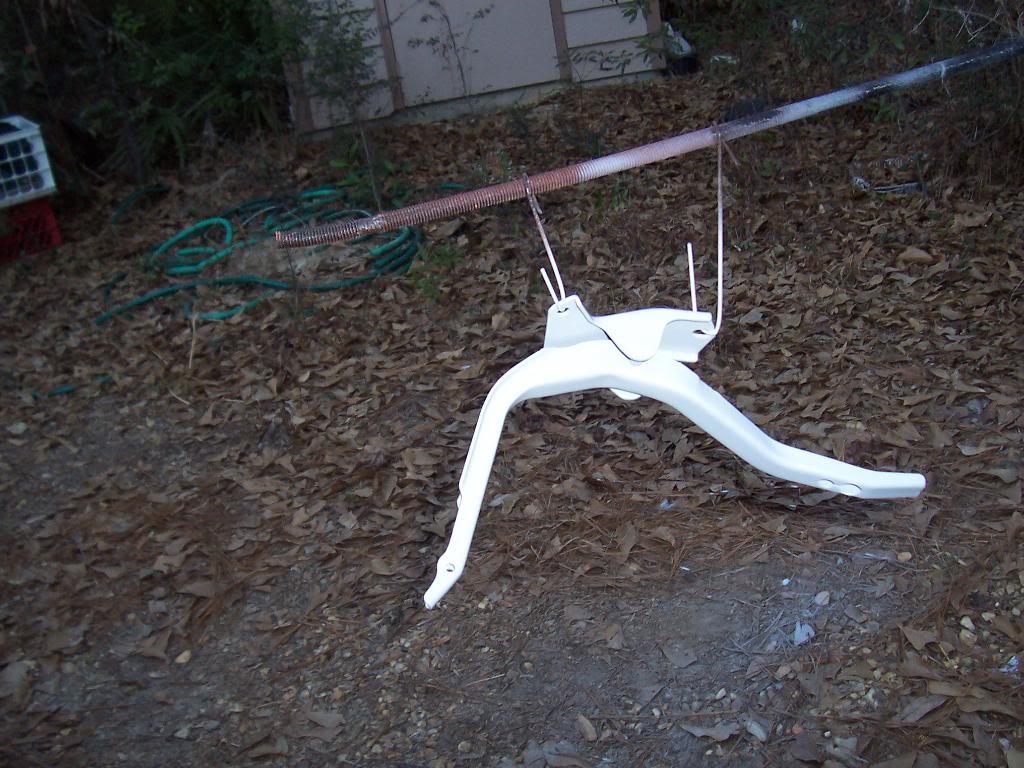
Gas pedal primed.

100_5482-1.jpg


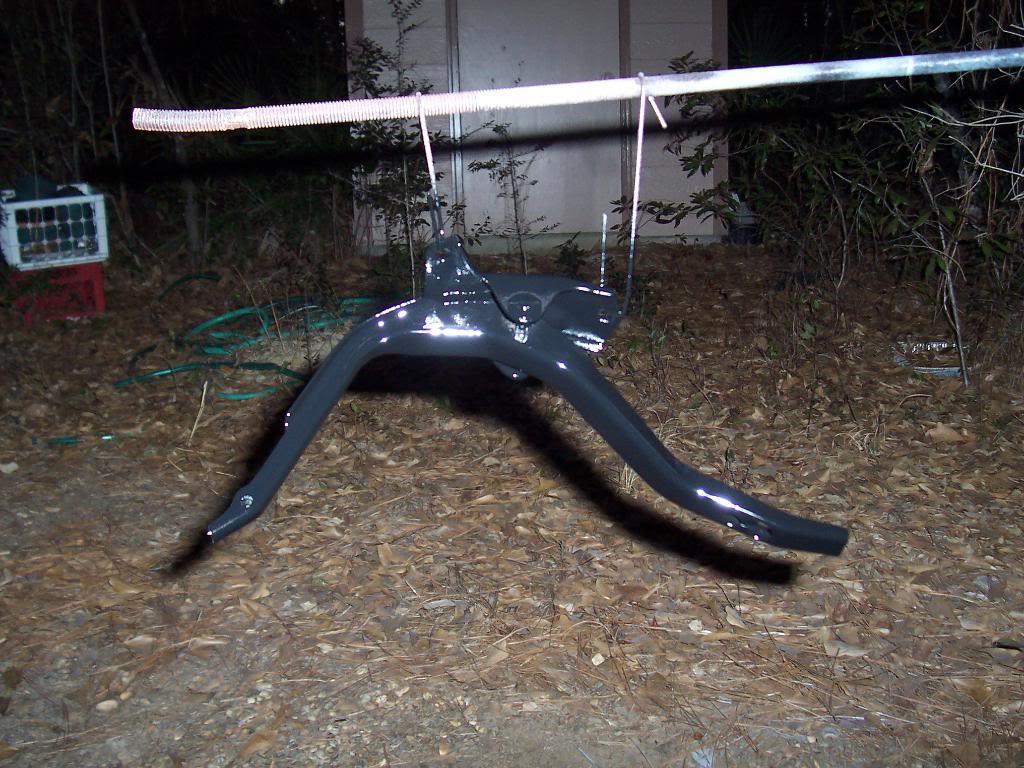
Gas pedal painted. It was tricky to paint, but I got the whole thing painted without any runs.

100_5485-1.jpg


100_5486-1.jpg


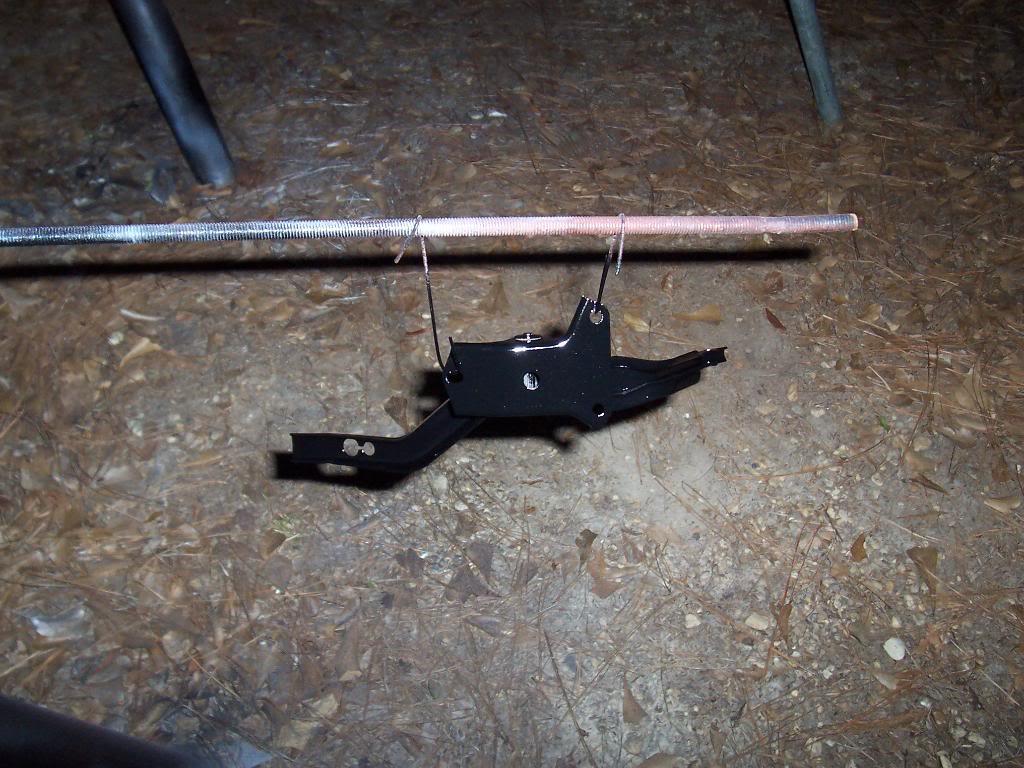
Rollover check vale thing primed.

100_5483-1.jpg


And painted.

100_5484-1.jpg


Hood release lever ready for paint. Soaked it in evapo rust for 2 days, stripped all the light rust off.

100_5502-1.jpg


And painted. It is definitely bright, shouldn't have a problem finding the release lever.

100_5504-1.jpg


Mounted up the door strap things. I had to pull rhino liner off of them, but underneath the liner they were in great shape.

100_5509-1.jpg


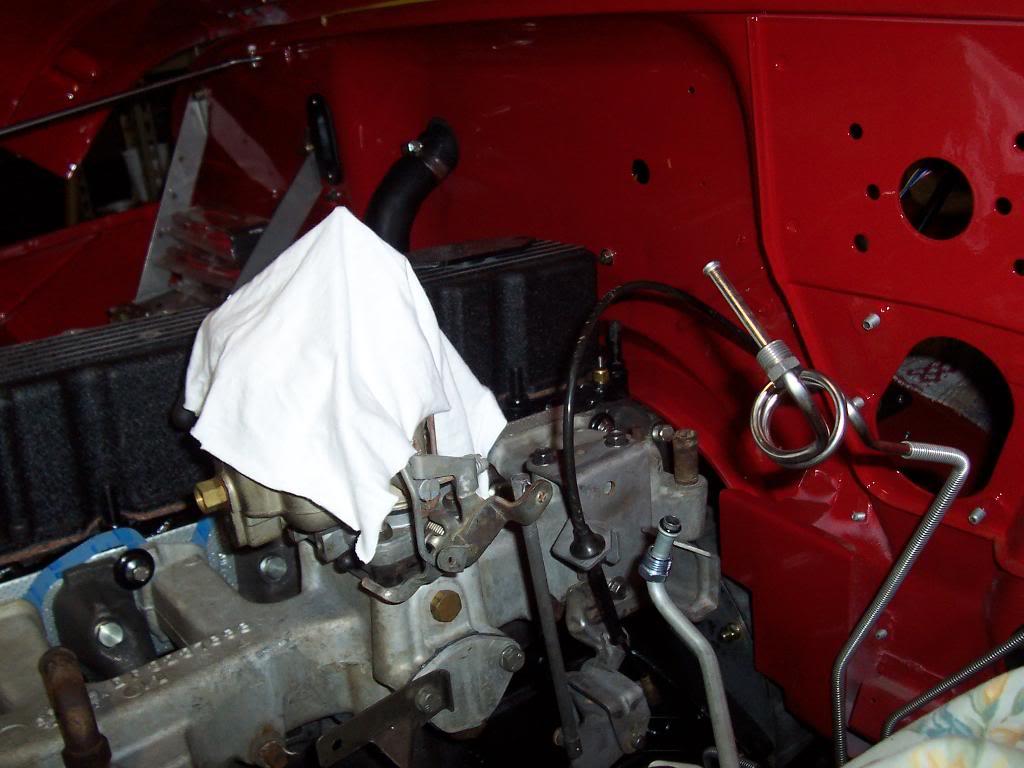
I also soaked the accelerator cable brackets that mount to the intake manifold in the evaporust. It removed the light rust from them. It kinda bugged me that they were rusty while everything else was clean, even though I wont be using these parts too much longer.
100_5508-1.jpg


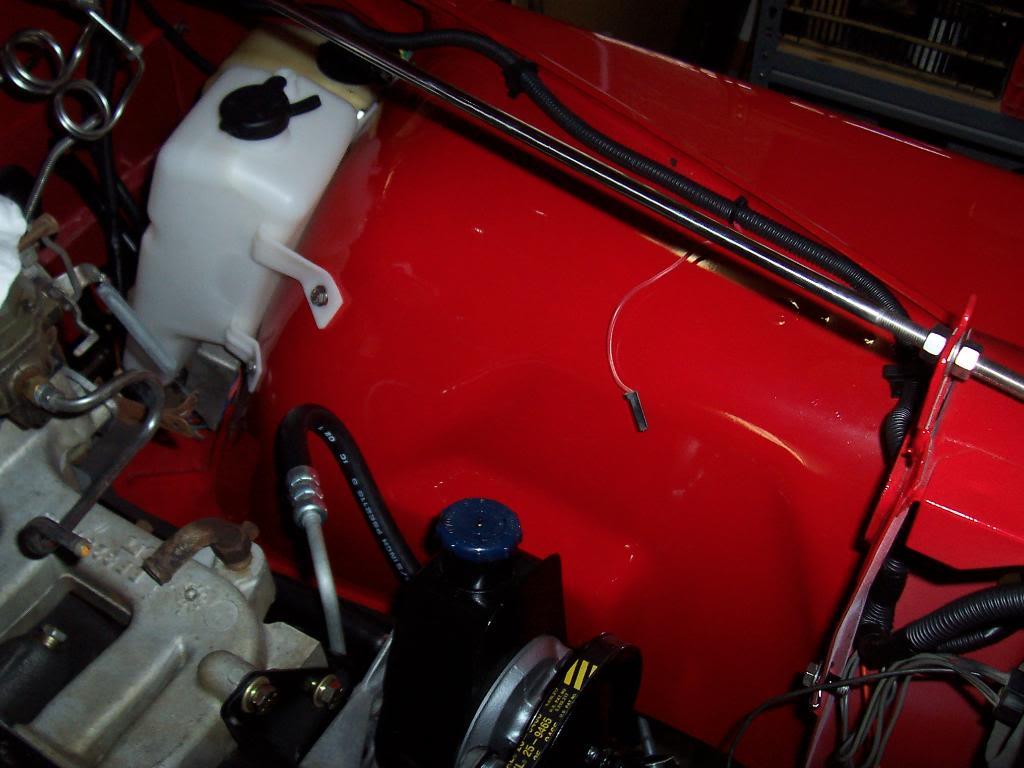
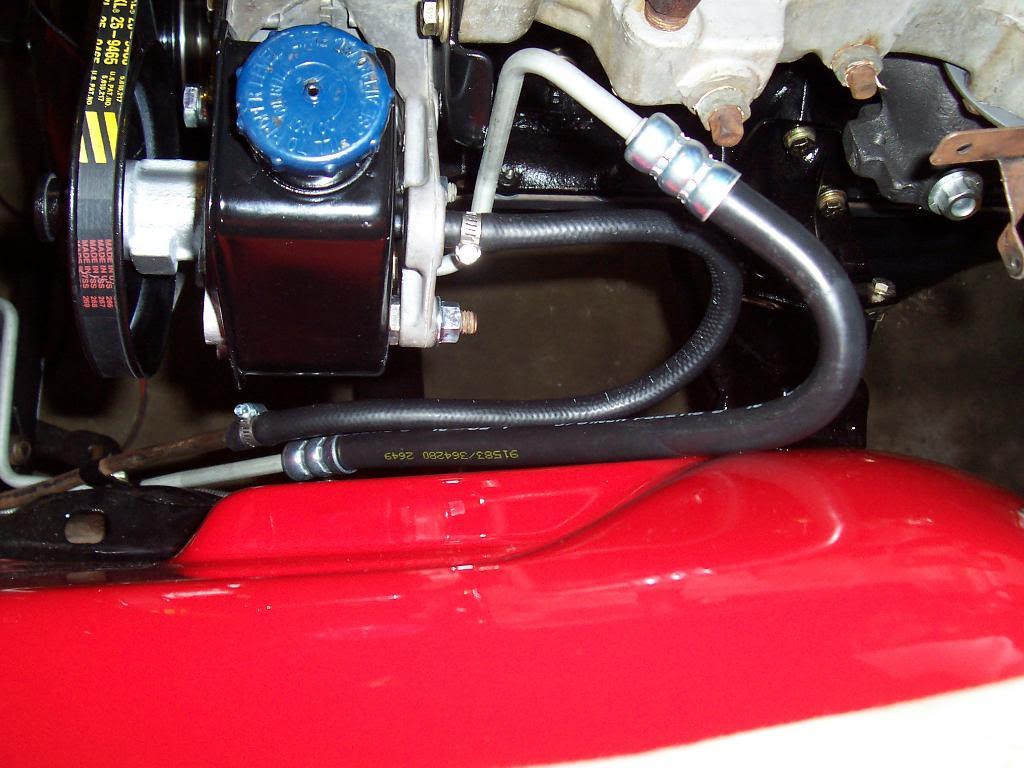
I also hooked up the new PS pressure line and the old return line. Cleaned all the rust off the return line with evapo rust, polished it up with steel wool.

100_5510-1.jpg
 
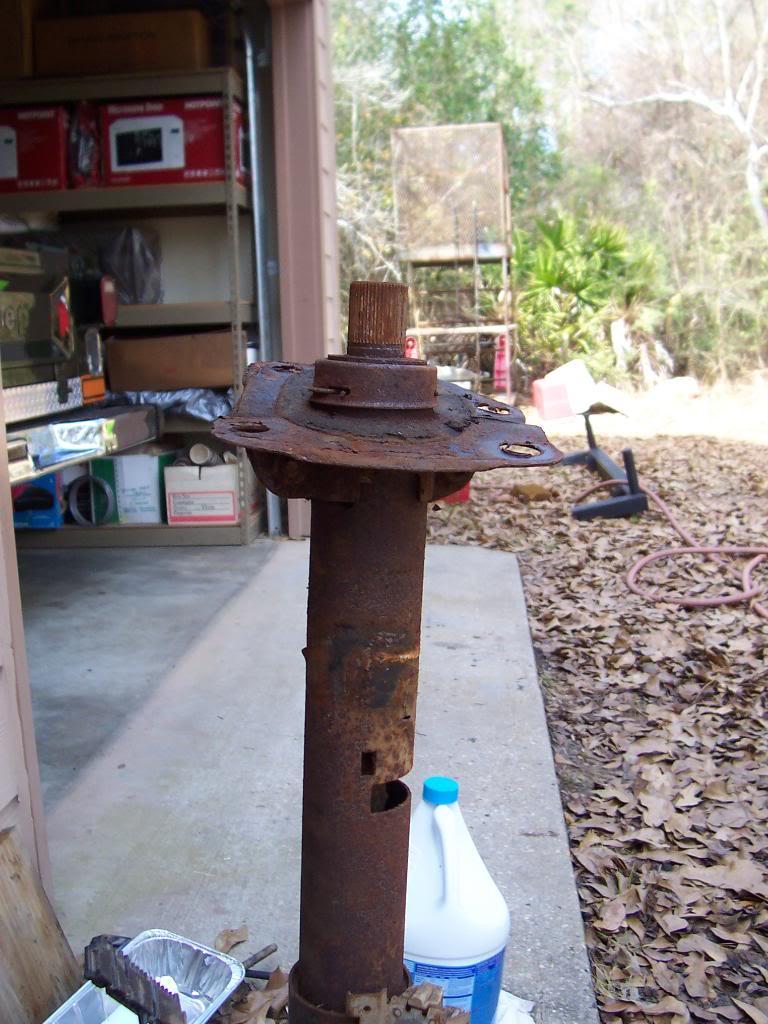
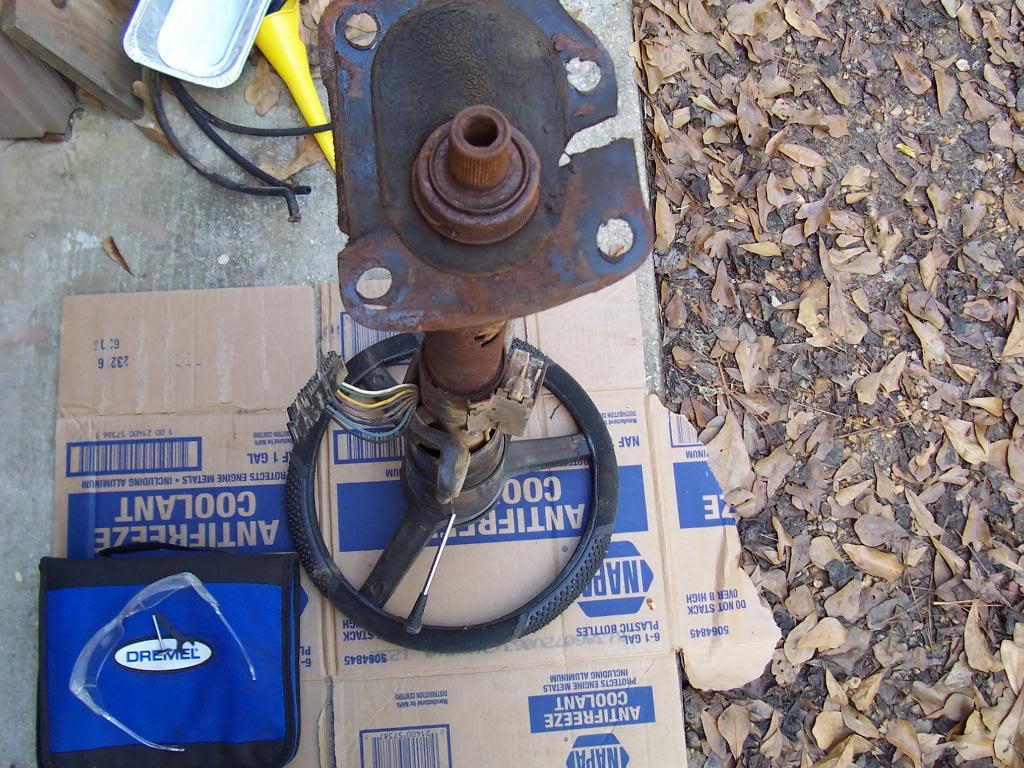
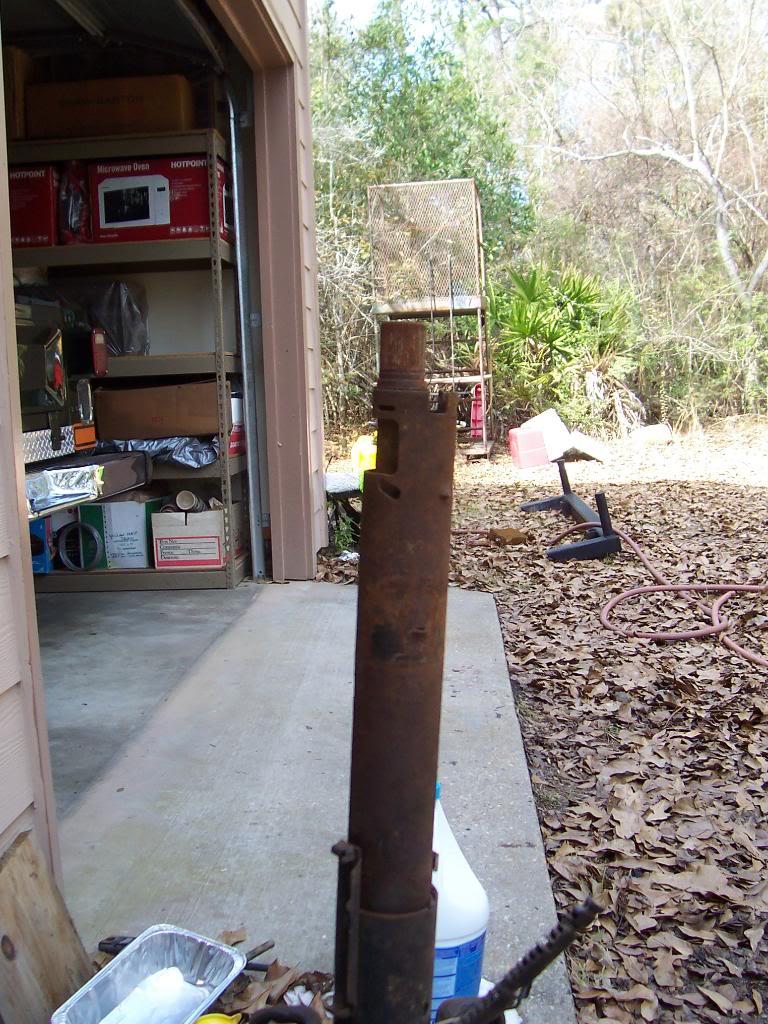
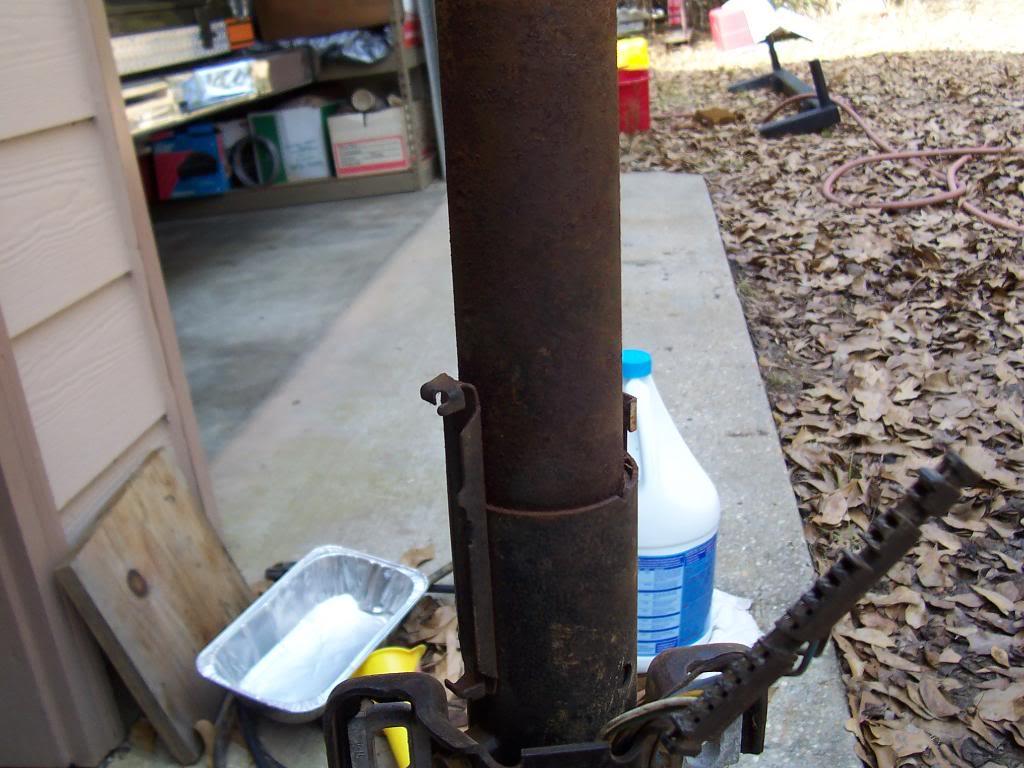
Pictures of the rusty steering column.

100_5492-1.jpg


100_5493-1.jpg


100_5494-1.jpg


100_5495-1.jpg


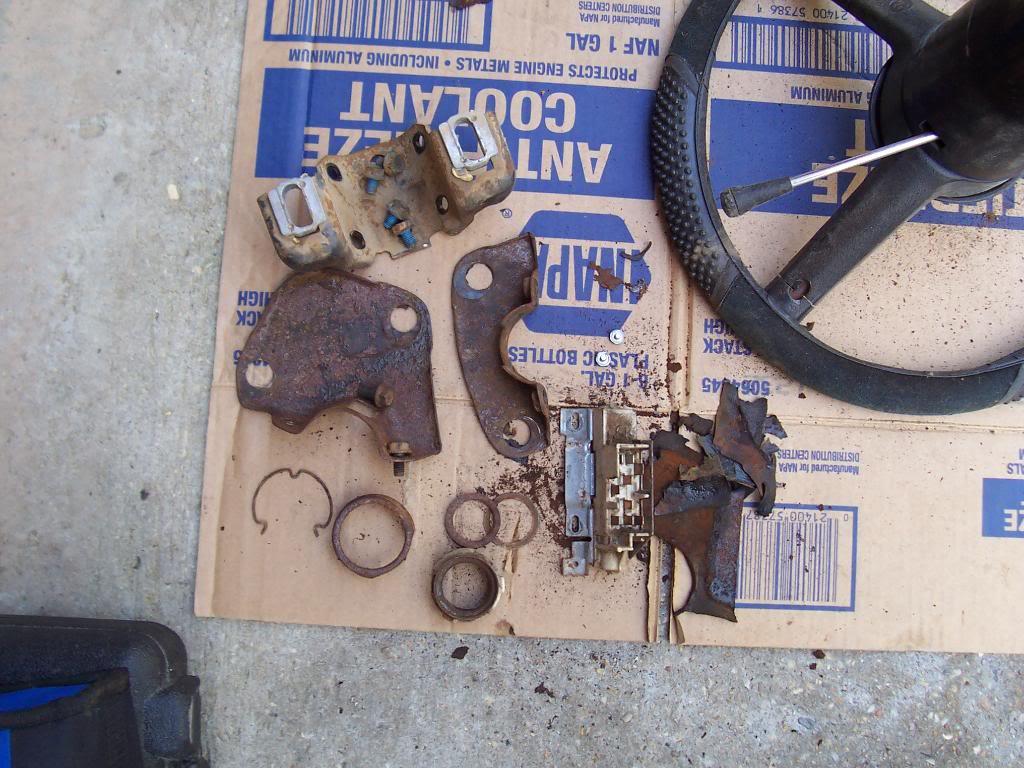
Picture of the rusty brackets that hold it to the body, lower bearing parts, what is left of the steering column to firewall seal, etc.

100_5496-1.jpg


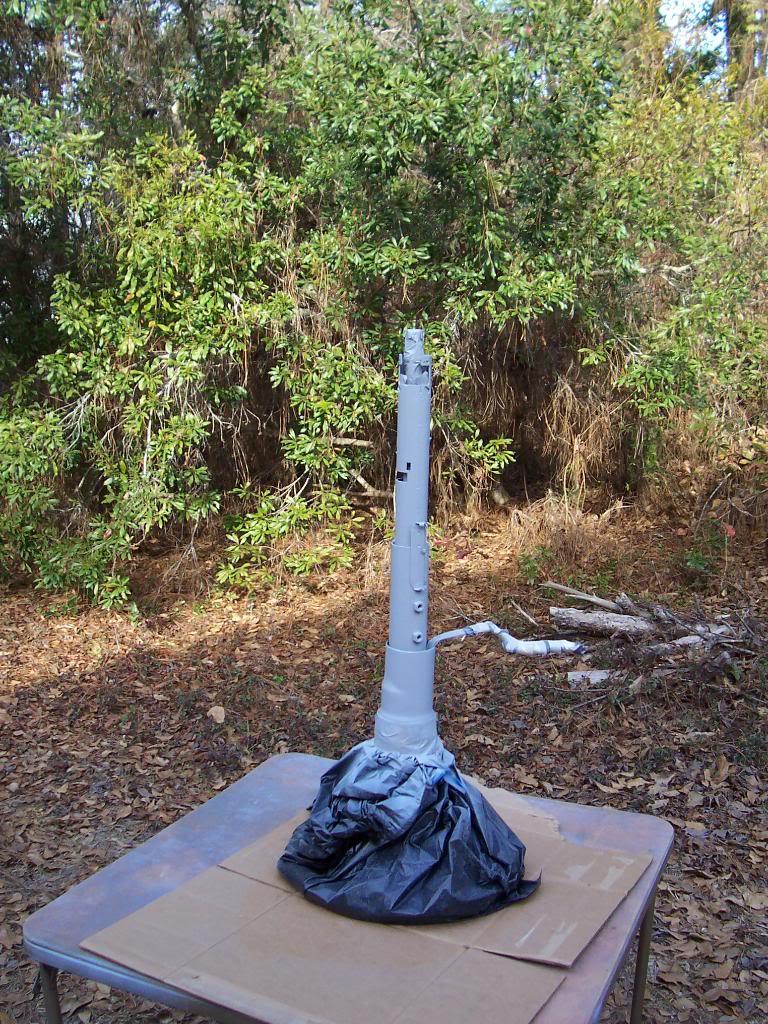
After a couple of hours of sanding, ready for paint.

100_5500-1.jpg


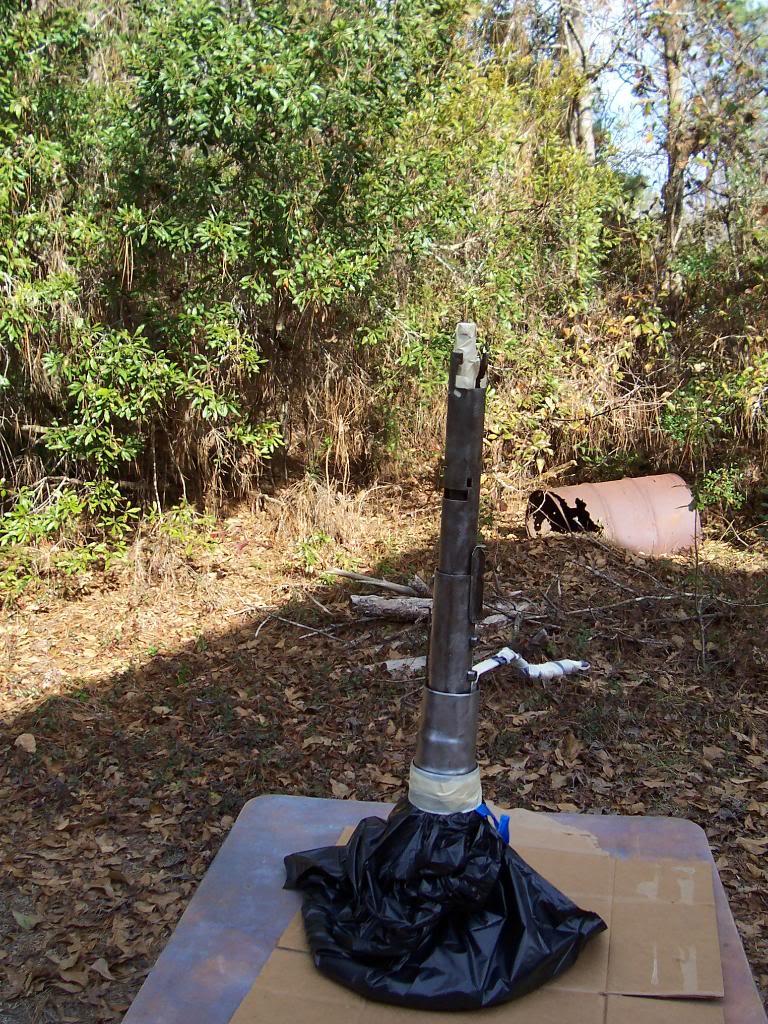
Primed.

100_5501-1.jpg


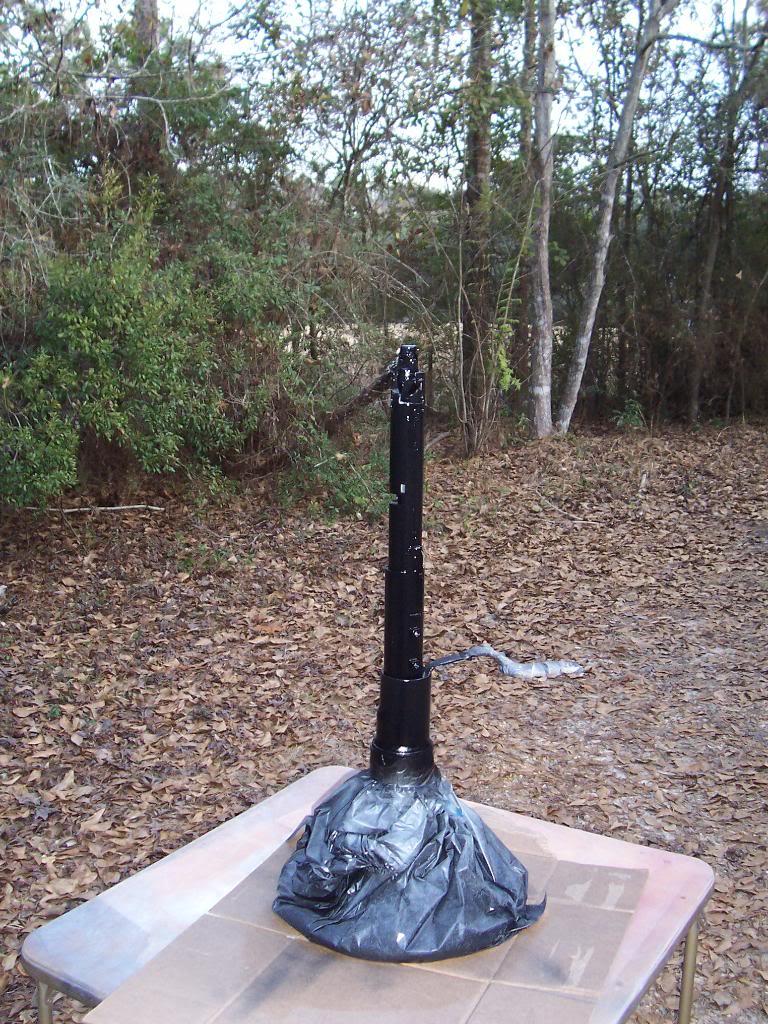
And painted. Looks much better.

100_5506-1.jpg


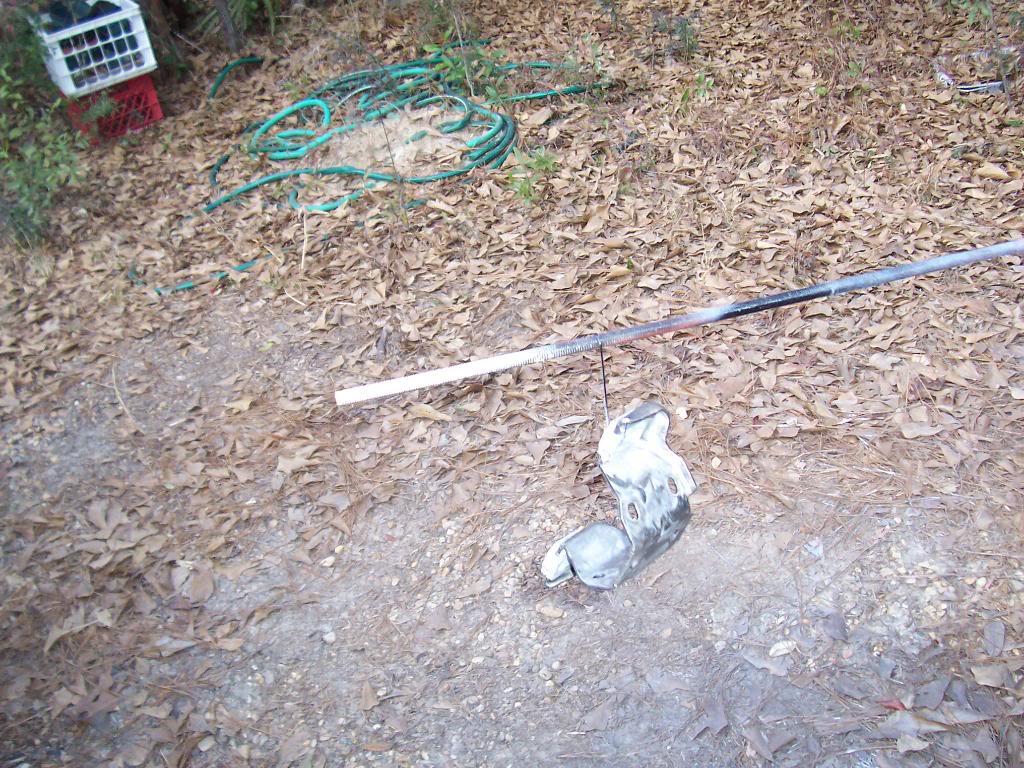
One of the brackets ready for paint.

100_5503-1.jpg


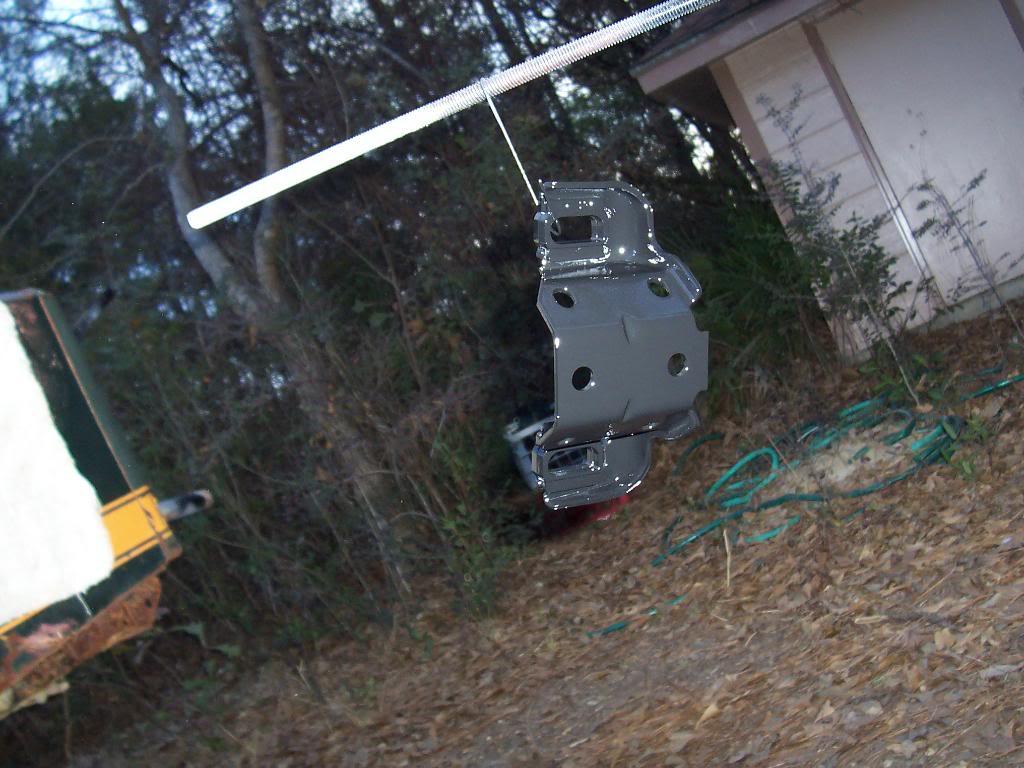
And painted.

100_5507-1.jpg
 
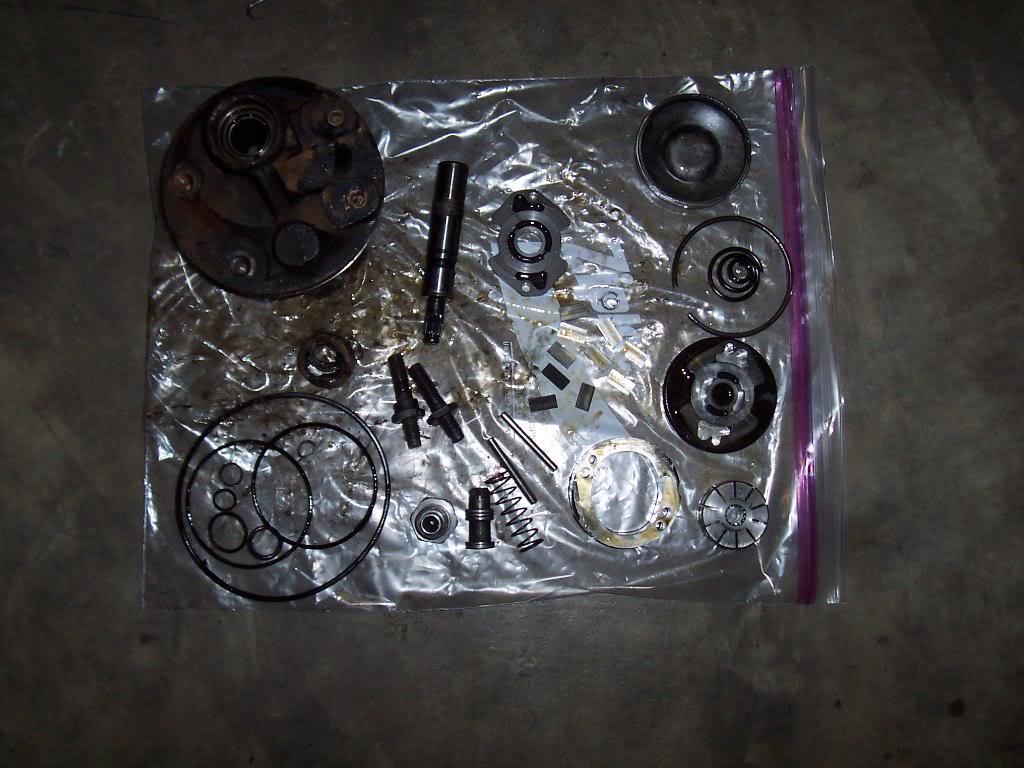
Disassembled the power steering pump. It is fairly easy to rebuild the PS pump, so I wont go into too much detail. Hardest thing is removing the pulley, and make sure you put the vanes in the correct way.

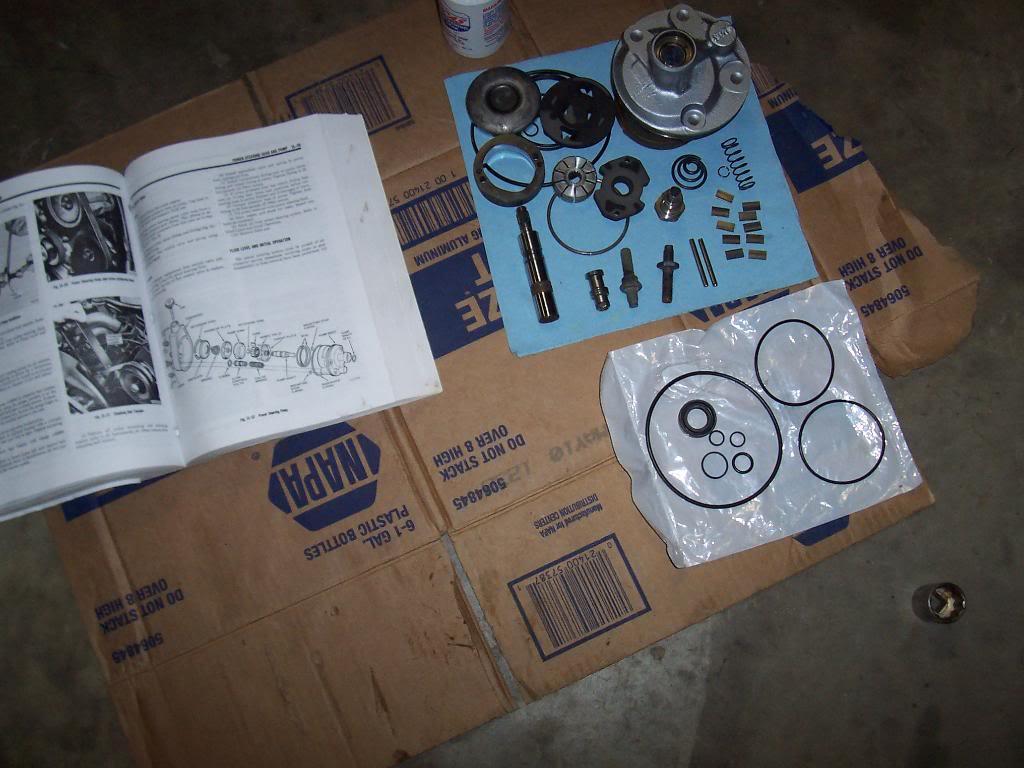
PS pump disassembled.

100_5487-1.jpg


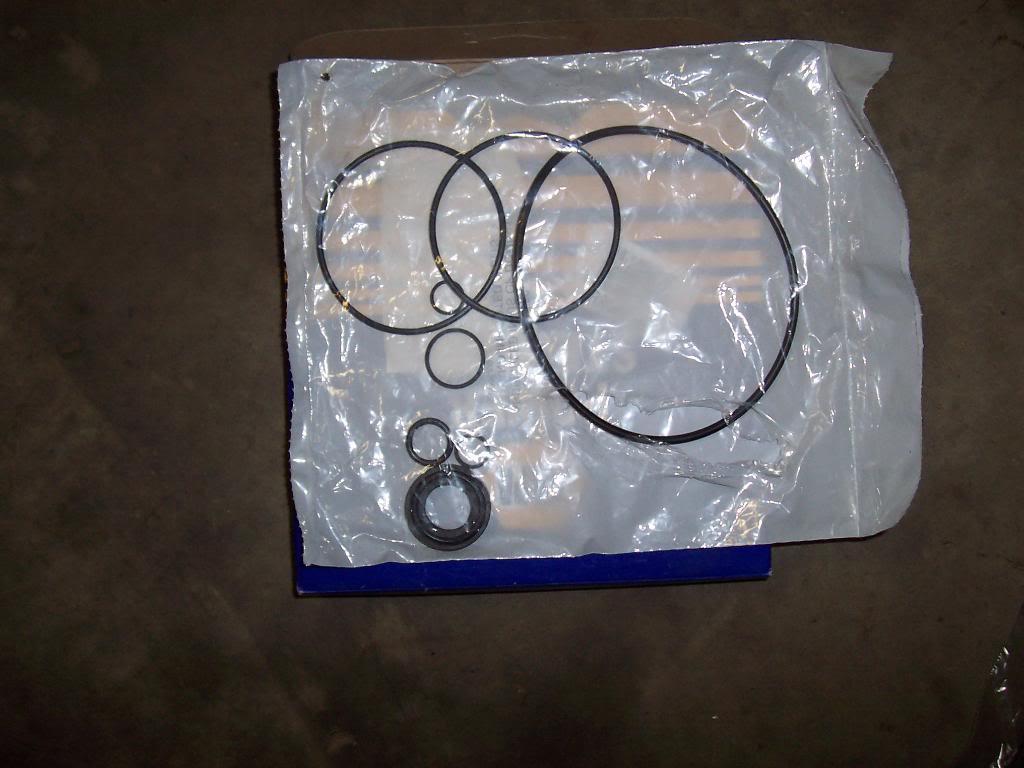
PS pump rebuild kit. Not much too the pump, mainly just seals and o-rings.

100_5488-1.jpg


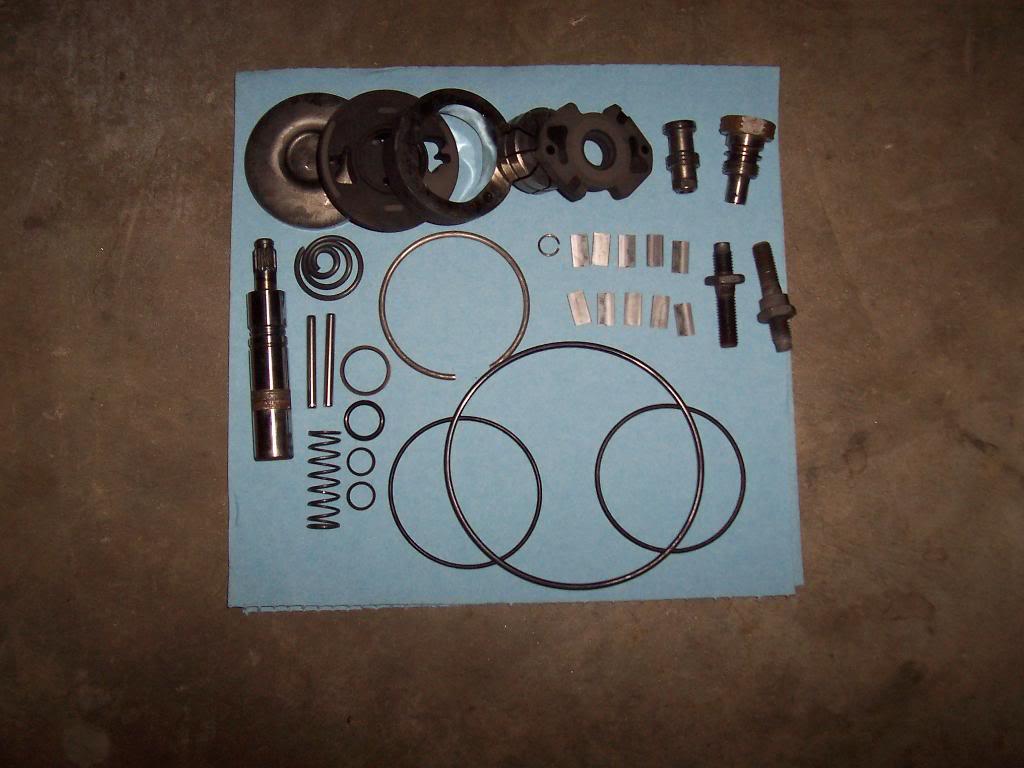
PS pump parts after initial cleaning.
100_5489-1.jpg


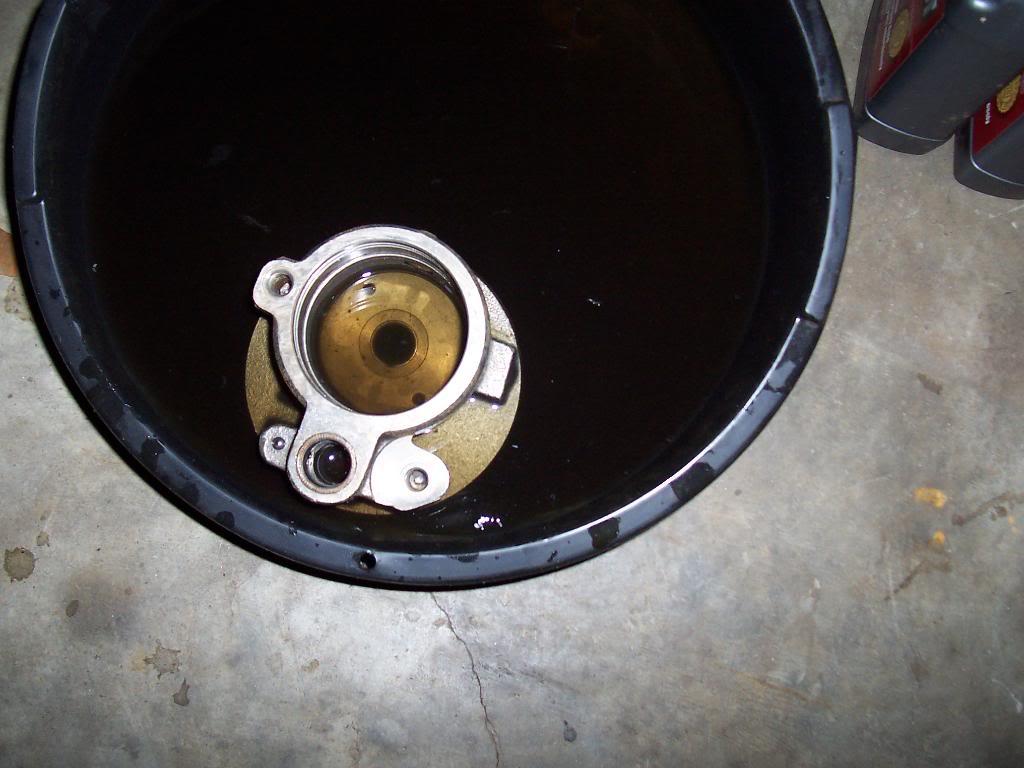
Soaked the face of the PS pump in evaporust to remove the rust.

100_5490-1.jpg


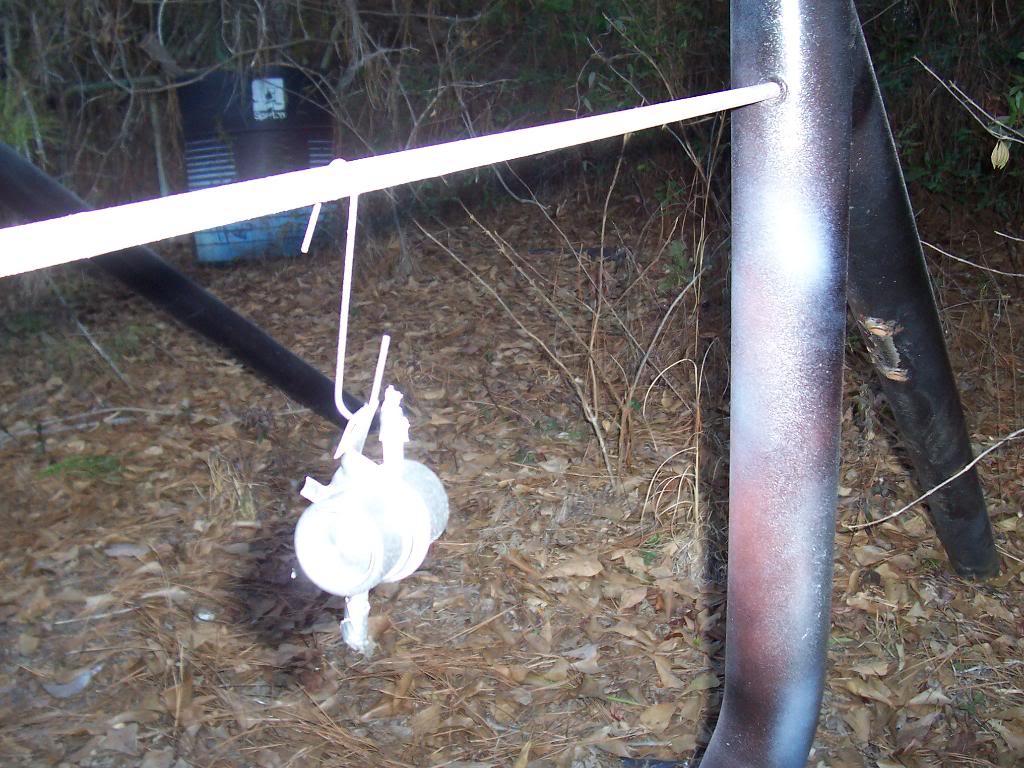
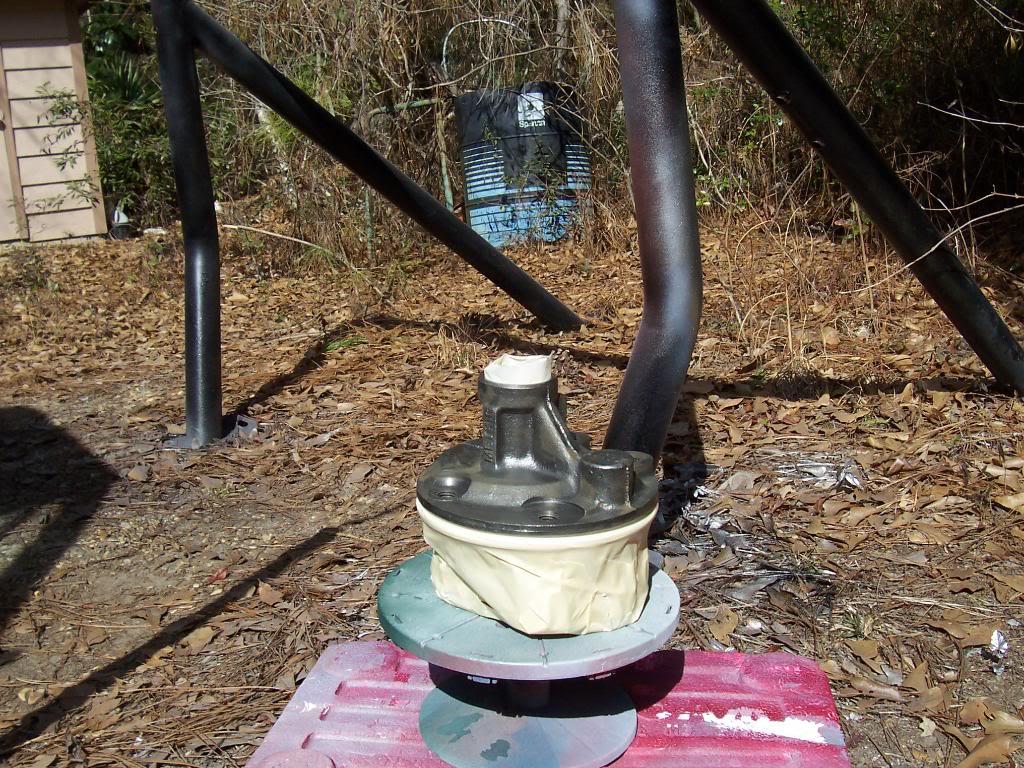
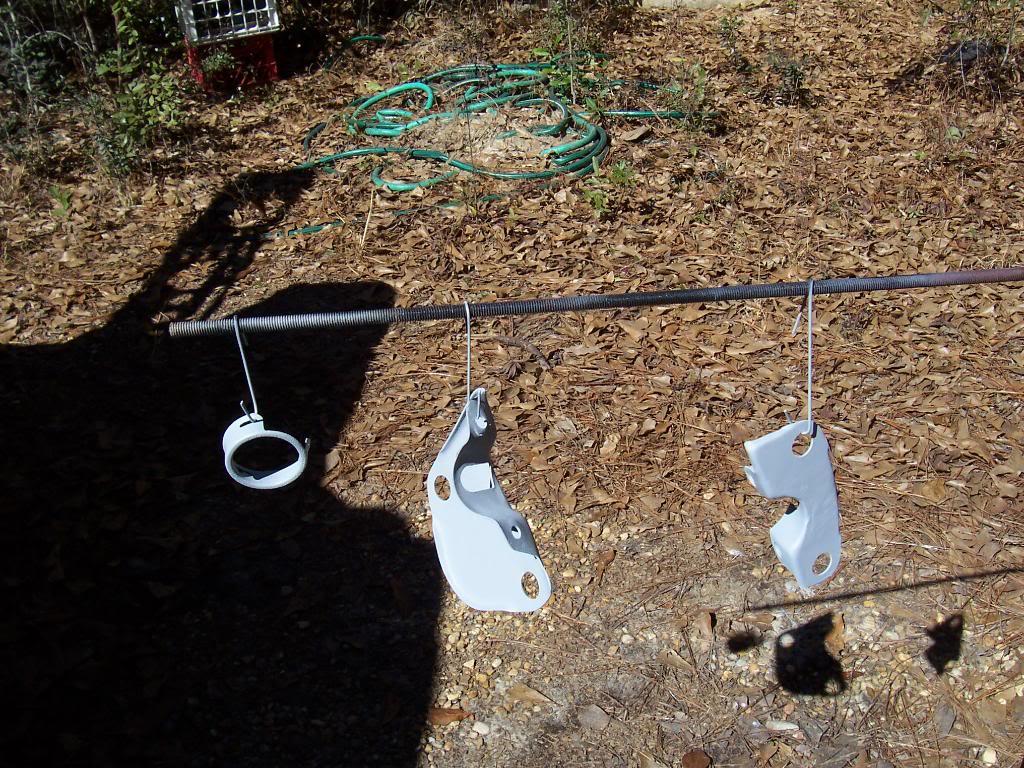
PS pump ready for paint. Note the little turn table it is sitting on.

100_5497-1.jpg


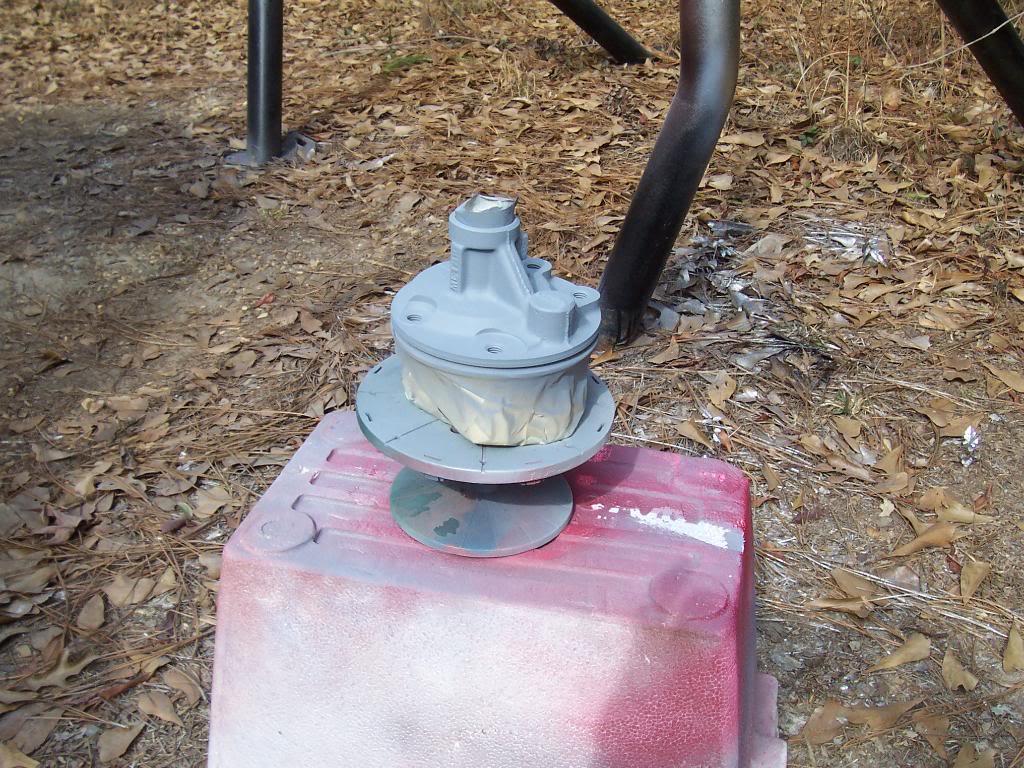
PS pump primed.

100_5498-1.jpg


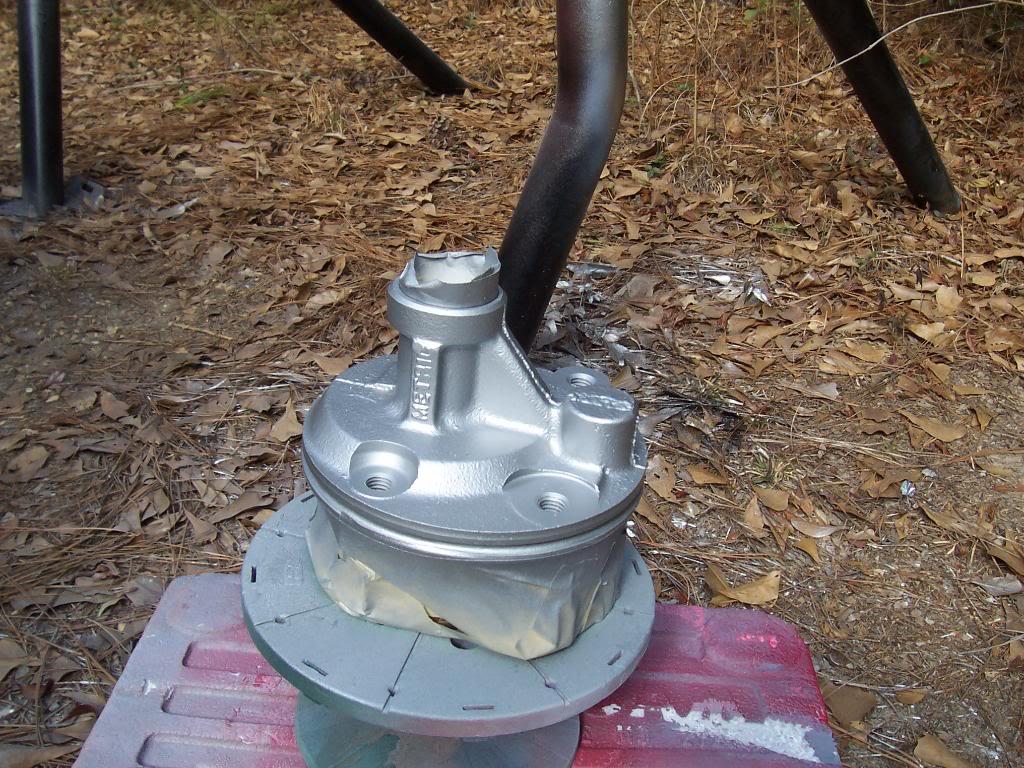
PS pump painted. Painted it aluminum to help break up all the black under the hood.

100_5499-1.jpg


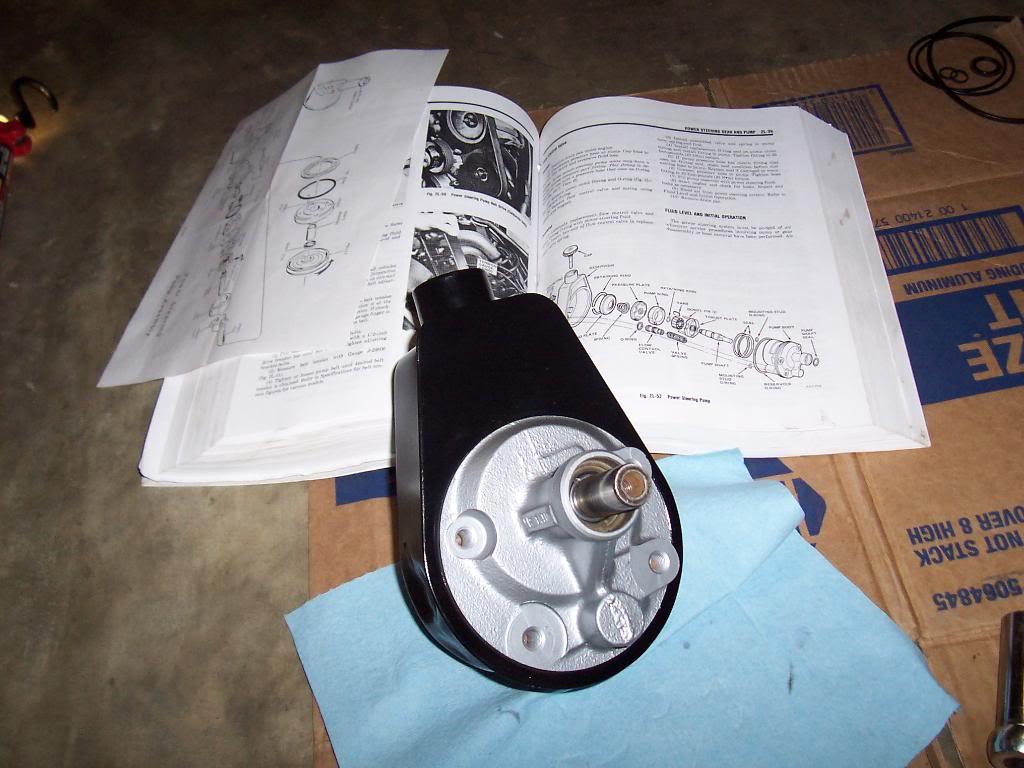
PS pump ready to rebuild. Fairly simple, the FSM makes it a piece of cake.

100_5512-1.jpg


And the front of the assembled PS pump. Still need to install front seal and pulley.

100_5513-1.jpg


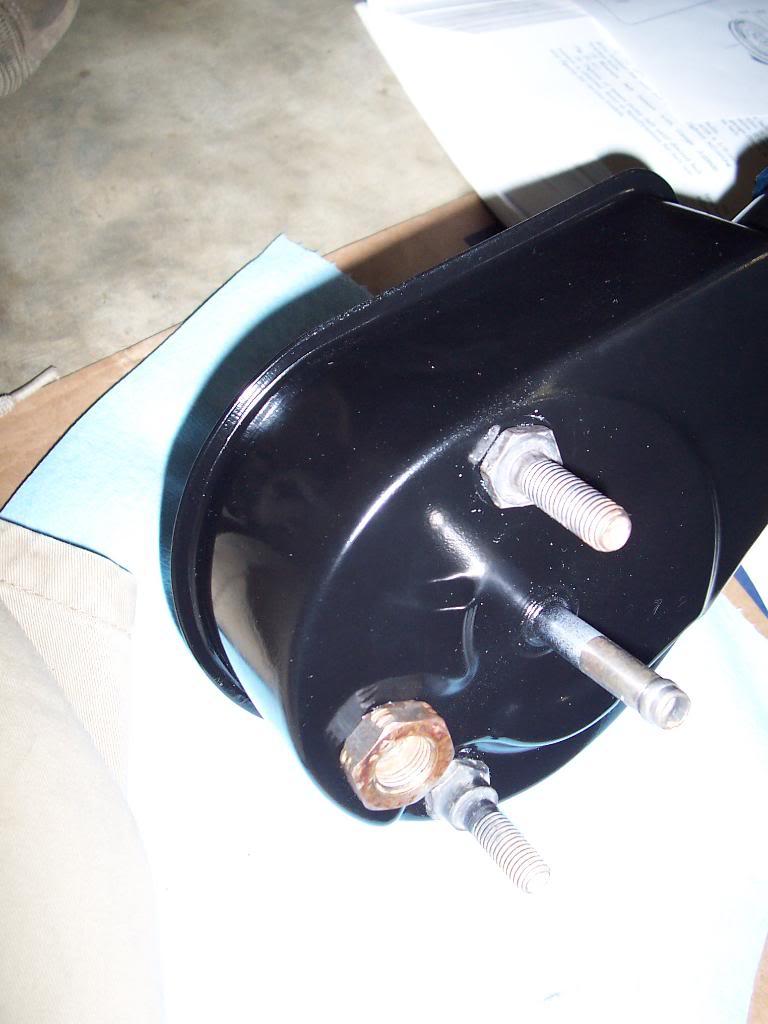
And a pic of the rear. Note which stud goes where.

100_5514-1.jpg


That's it for now.
 
Finished installing the PS pump, brackets and lines last night.

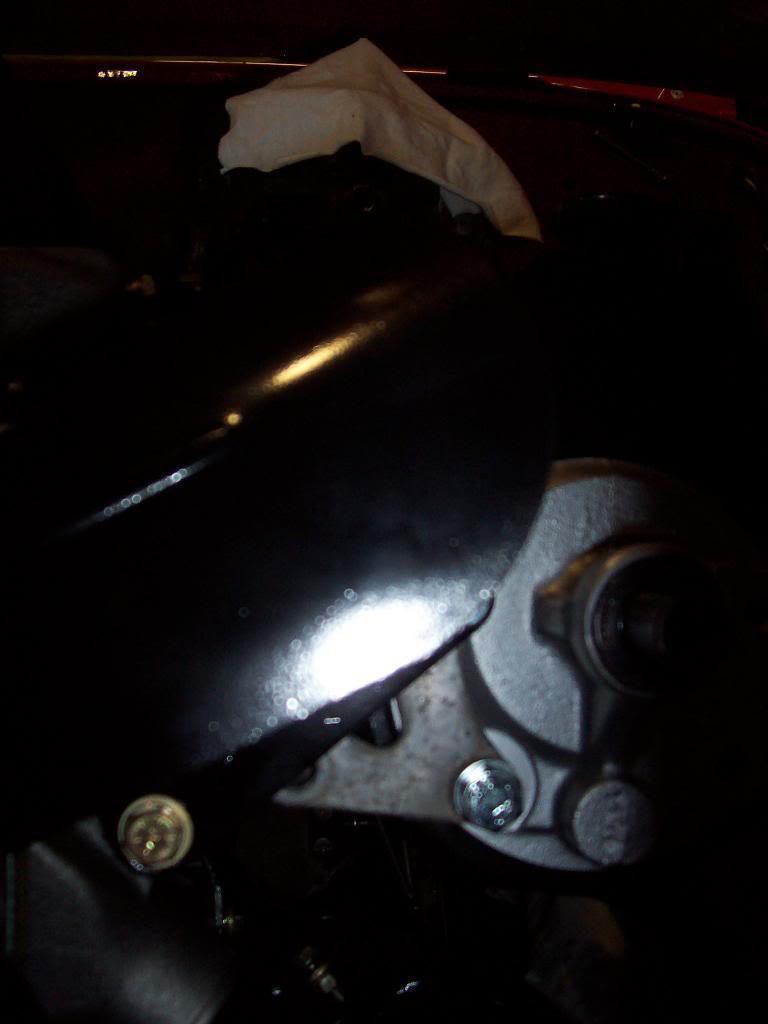
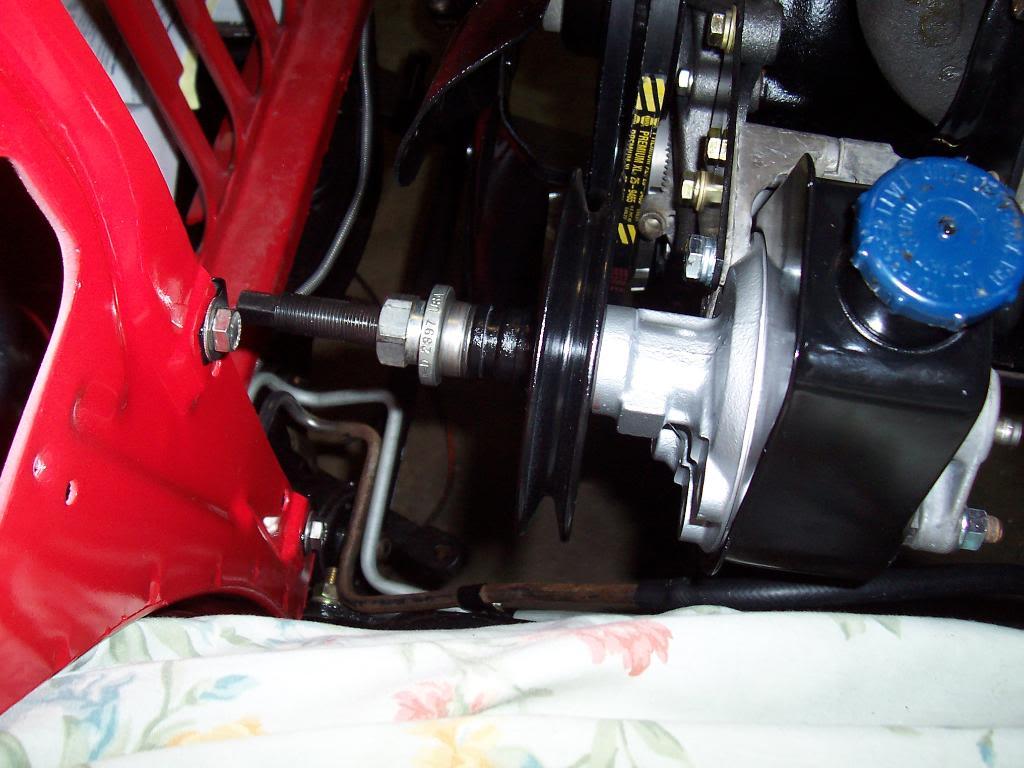
Installed front seal after mounting the pump in its brackets. I used a large socket as a seal driver, worked perfect. If your radiator is installed, you might be better off installing this seal and the pulley before mounting the PS pump to the engine.

100_5517-1.jpg


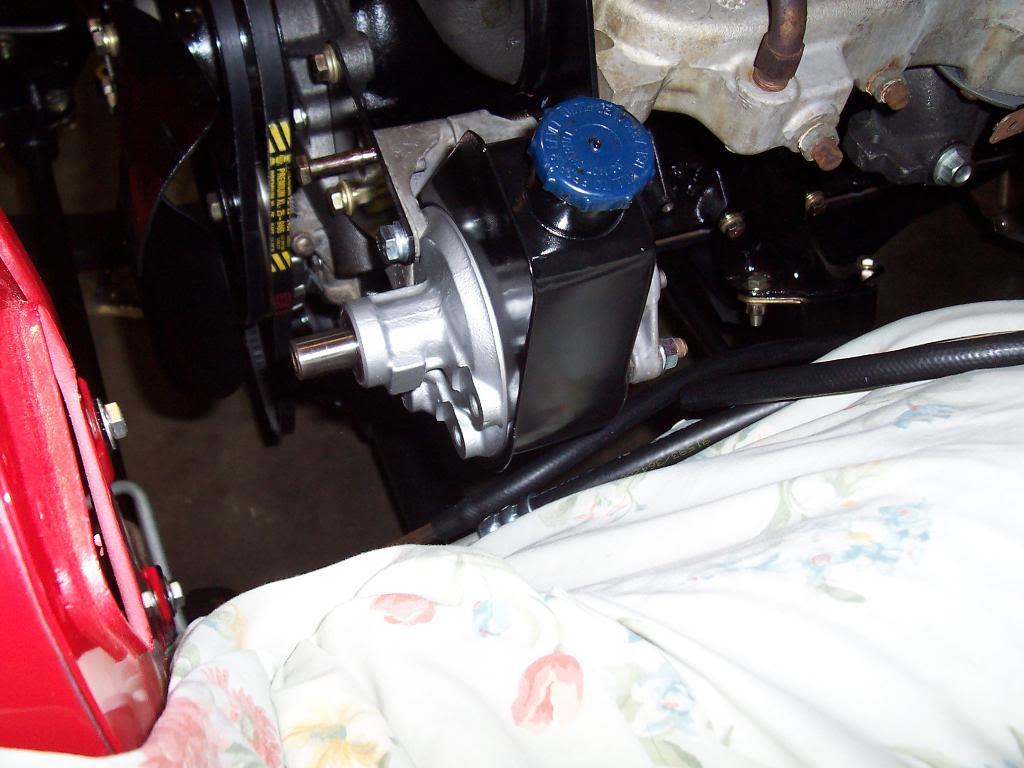
Picture of the PS pump installed into its mounting brackets.

100_5518-1.jpg


Picture of the pulley puller/installer tool in use pressing on the pulley.

100_5519-1.jpg


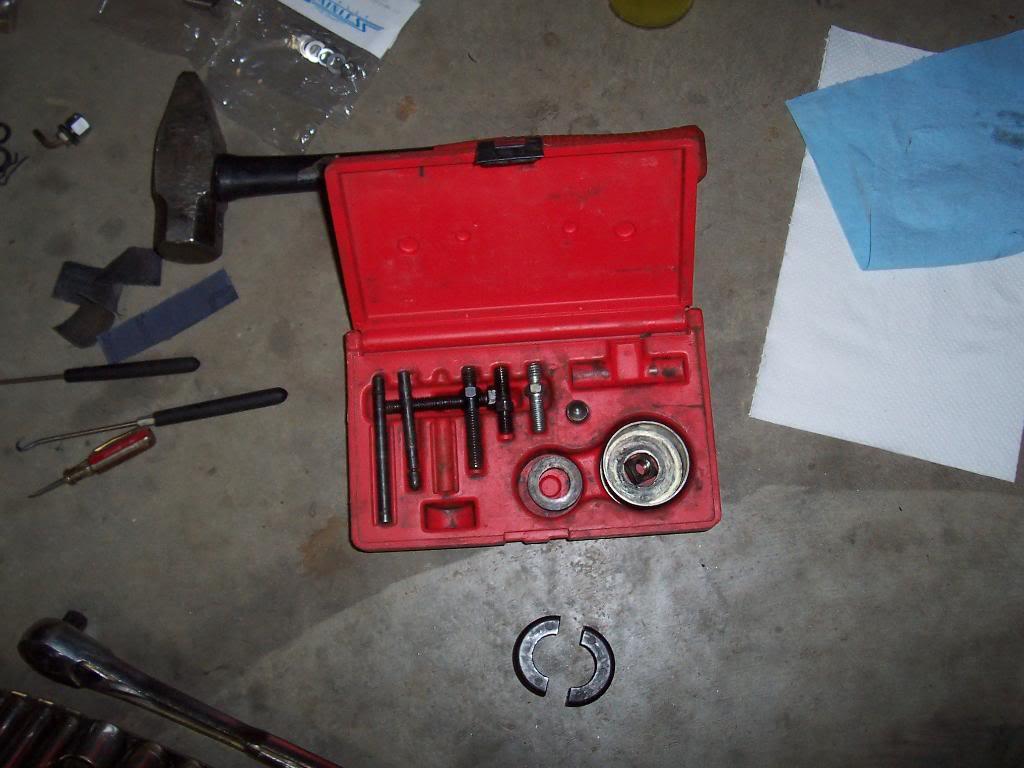
Picture of the rest of the pulley puller/installer tool. The two half circle pieces on the ground are the pieces you use to camp around the pulley snout when you want to pull the pulley off. For reference, I used a "KD Tools Pulley Remover/Installer Set" #K-D 2897.

100_5520-1.jpg


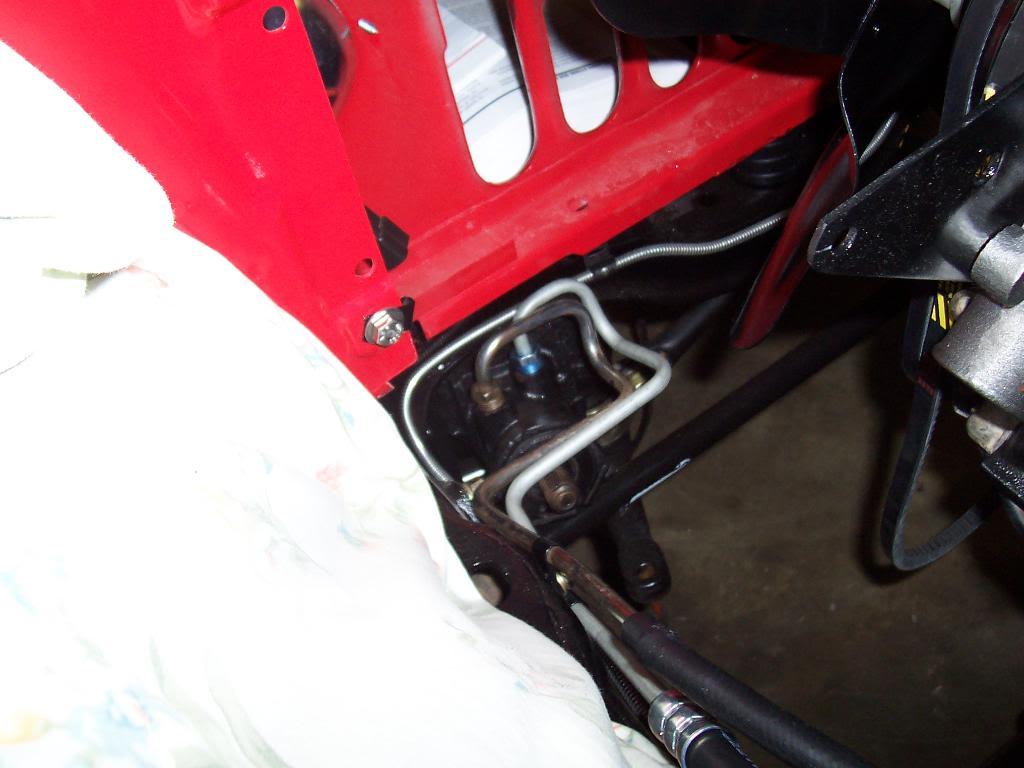
Installed the pressure and return lines. I need to wrap the pressure line in a piece of foam/rubber where it is making contact with the inner fender to keep it from rubbing a hole through itself.

100_5521-1.jpg


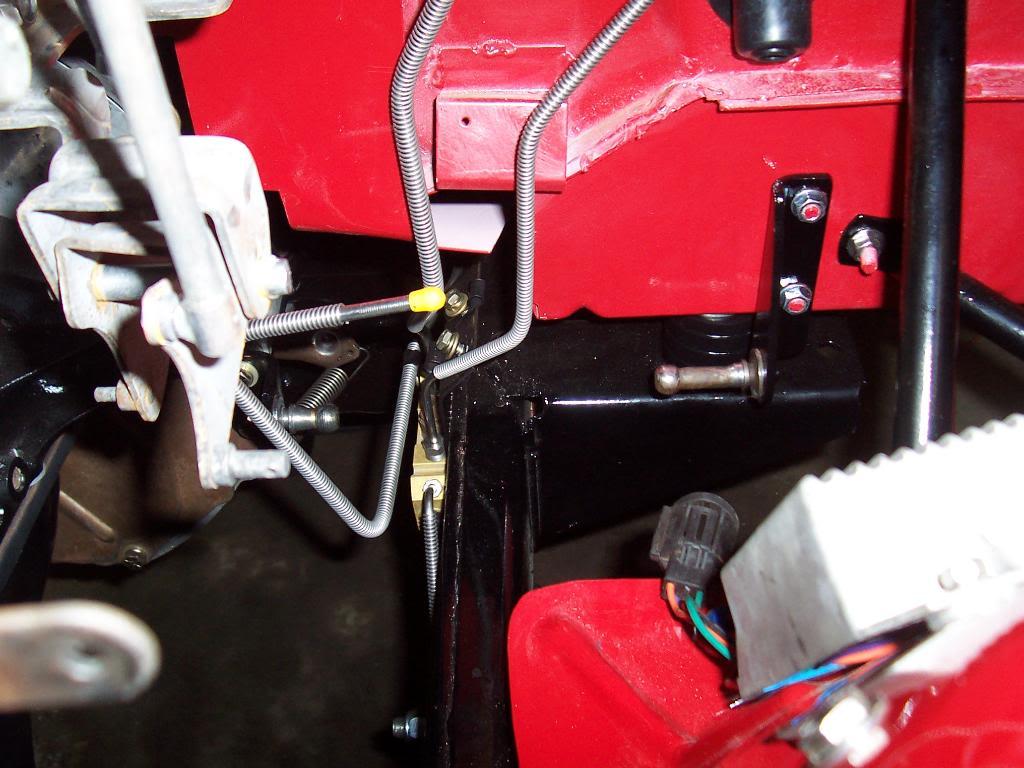
Picture of the clutch linkage "issue". The bracket that bolts to the body (in the right of the pic) sits 1" higher then the bracket that bolts to the bell housing (in the left of the picture).

100_5522-1.jpg


This 1" difference might not be enough to cause any issues, but it still bugs me. Thought of an easy solution to fix this issue, though.


Drill a new hole 1" above the existing lower hole in the bracket that bolts to the body.
Slide new hole over the existing lower stud that passes through the body.
Bolt bracket up using this new hole and existing stud.
Drill a new hole in the body where the existing upper hole in the bracket sits.
Bolt existing upper hole in bracket using a nut and bolt through the new hole in the body.

That is an easy, bolt on fix to this issue. That will get the clutch tube bracket sitting level again, but it could create a new problem. By lowering the tube bracket down 1", the factory clutch rod might not be long enough to reach. If that is the case, I will upgrade this piece with an aftermarket clutch rod linkage setup. I think Class M makes a kit, I installed one previously on my CJ-7 that had a 3" body lift, worked perfectly, very beefy parts, they have spherical bearings in the rod ends, etc.

That's it for now.
 
I had some oral surgery work performed last week, so I was not able to get too much work done on the Scrambler.

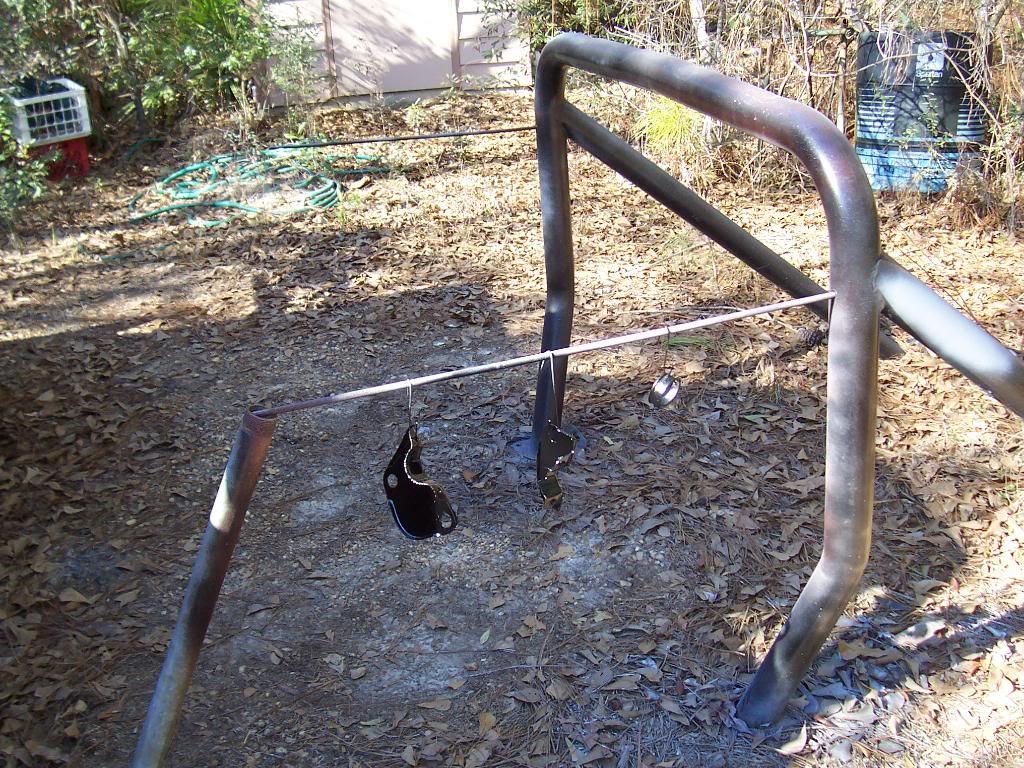
Painted a few pieces, steering column brackets and lower steering column bearing retainer.

100_5523-1.jpg


100_5524-1.jpg


Running out of things to paint, finally. Only items left to paint:

seat brackets
parking brake pedal mechanism plate thing
 
I was also able to complete some more less strenuous work.

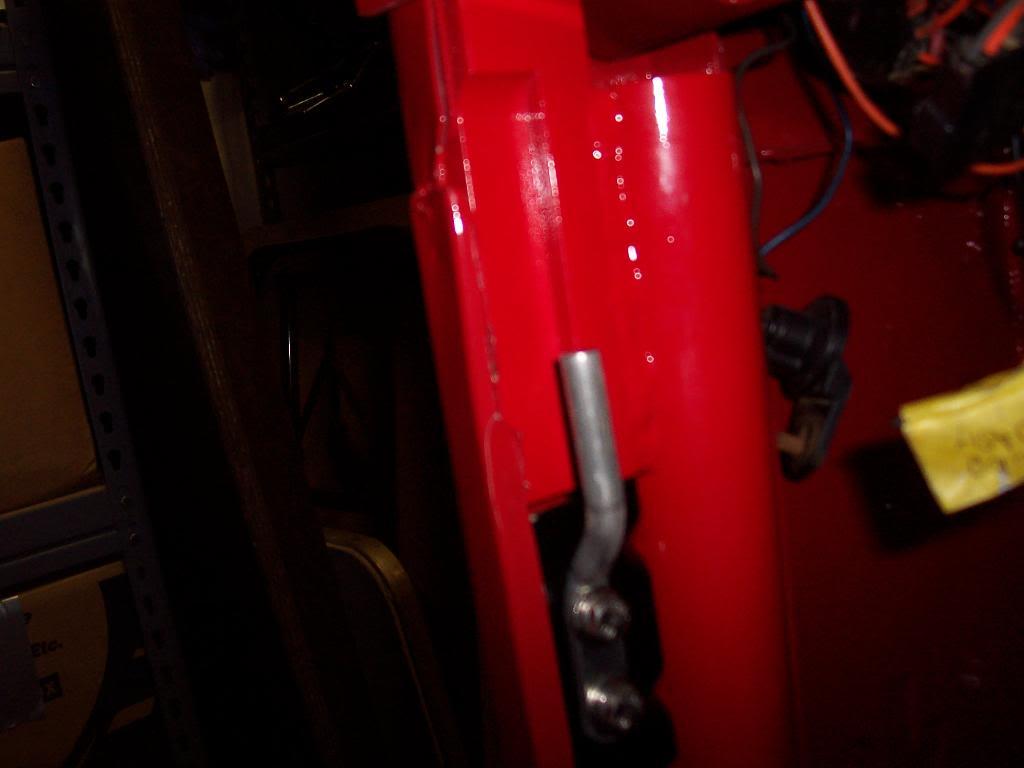
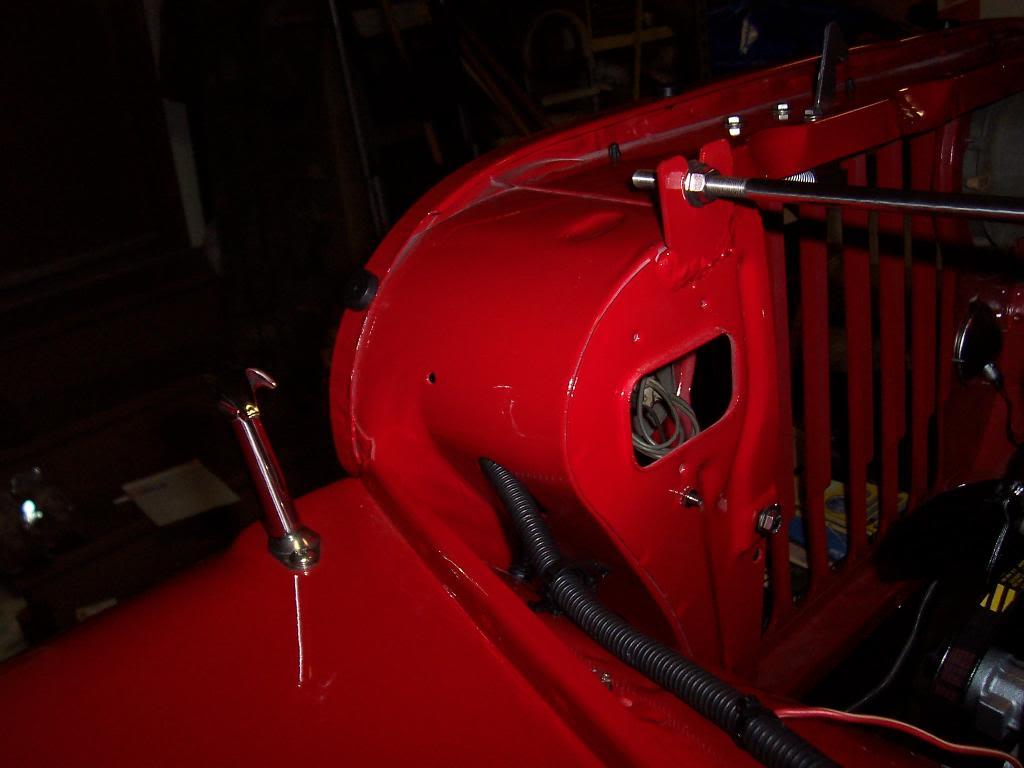
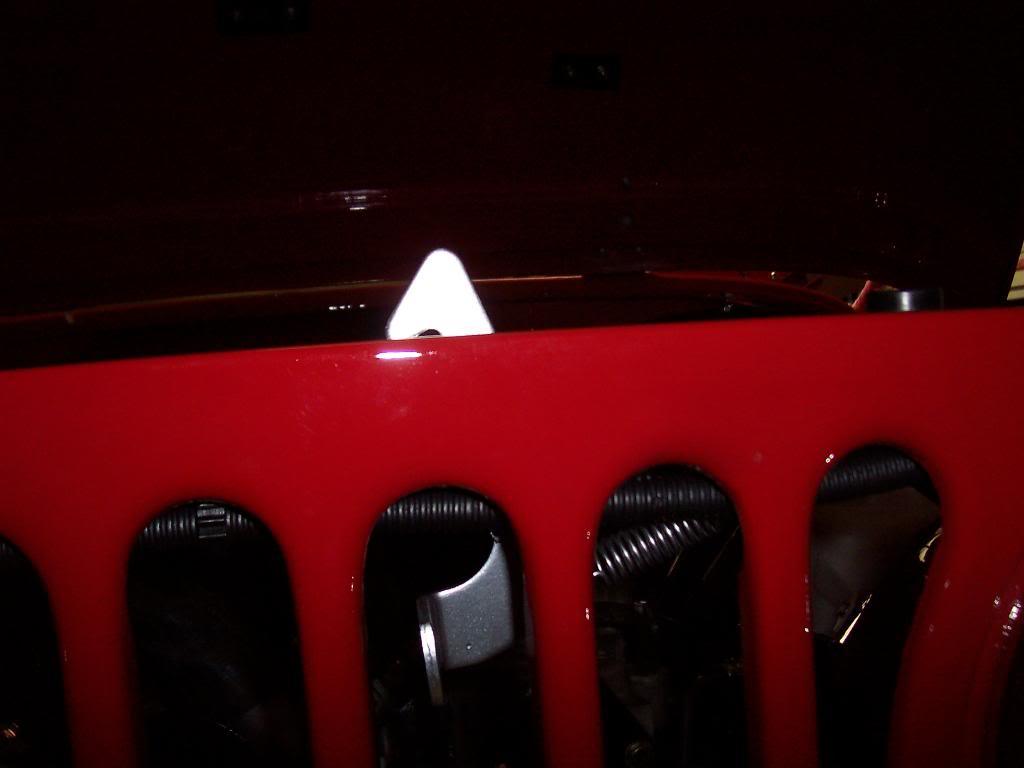
Mounted up the hood catch thing. I painted it silver so it would be easier to see the little lever when you go to open the hood. I was worried about it being too bright, but since all you see is the little lever, it doesn't bother me.

100_5525-1.jpg


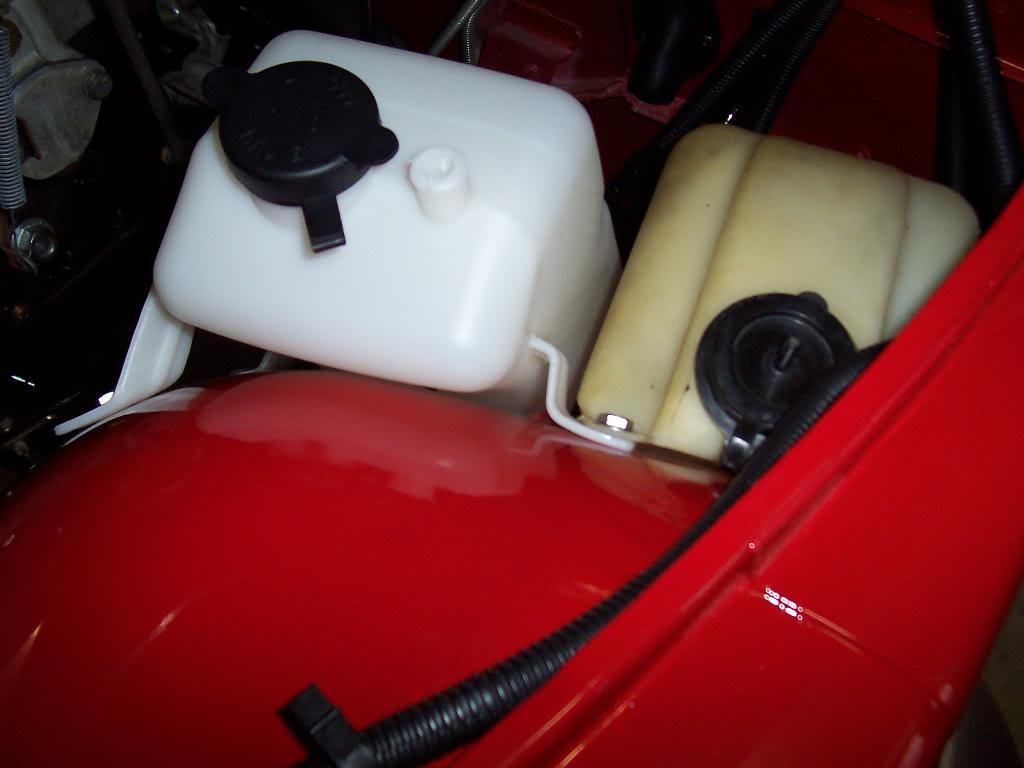
Mounted up a coolant overflow bottle.

100_5526-1.jpg


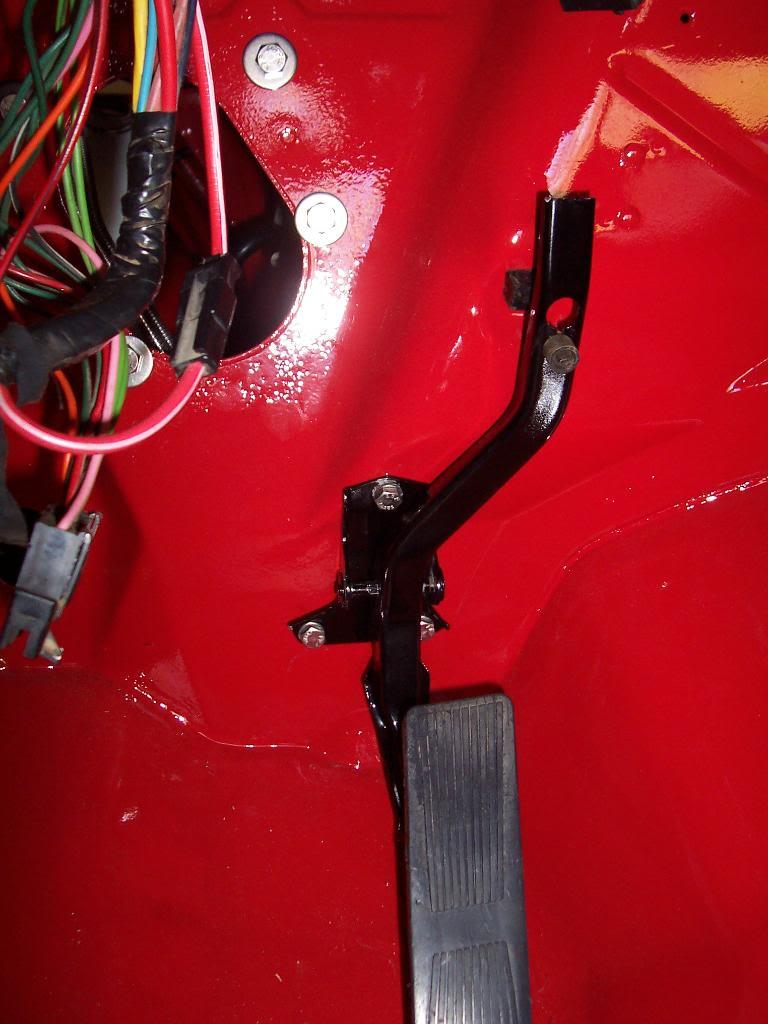
Reassembled and bolted up the gas pedal.

100_5527-1.jpg


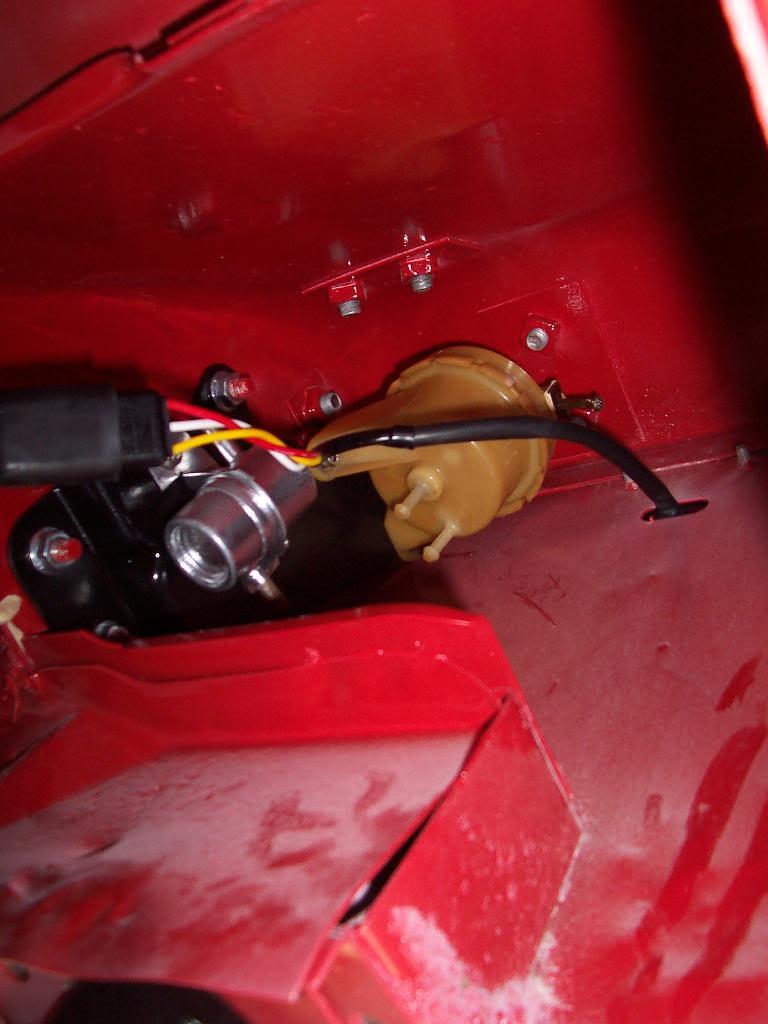
Mounted up the rollover and liquid check valve to their corresponding mounting plate and bolted them up.

100_5528-1.jpg


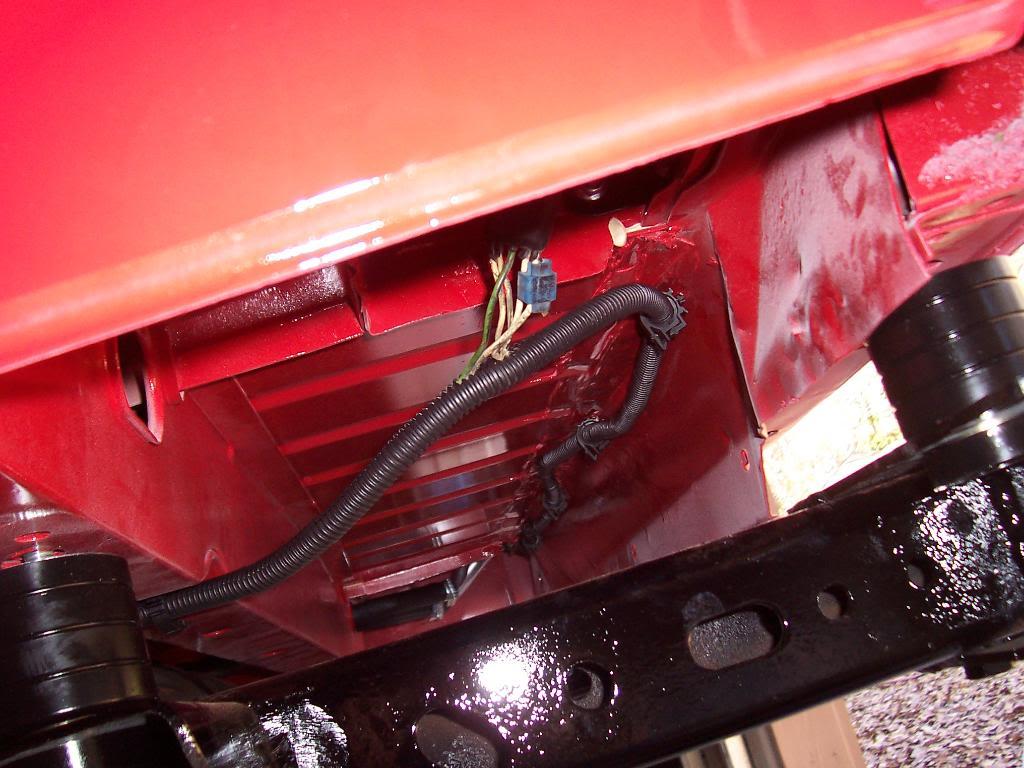
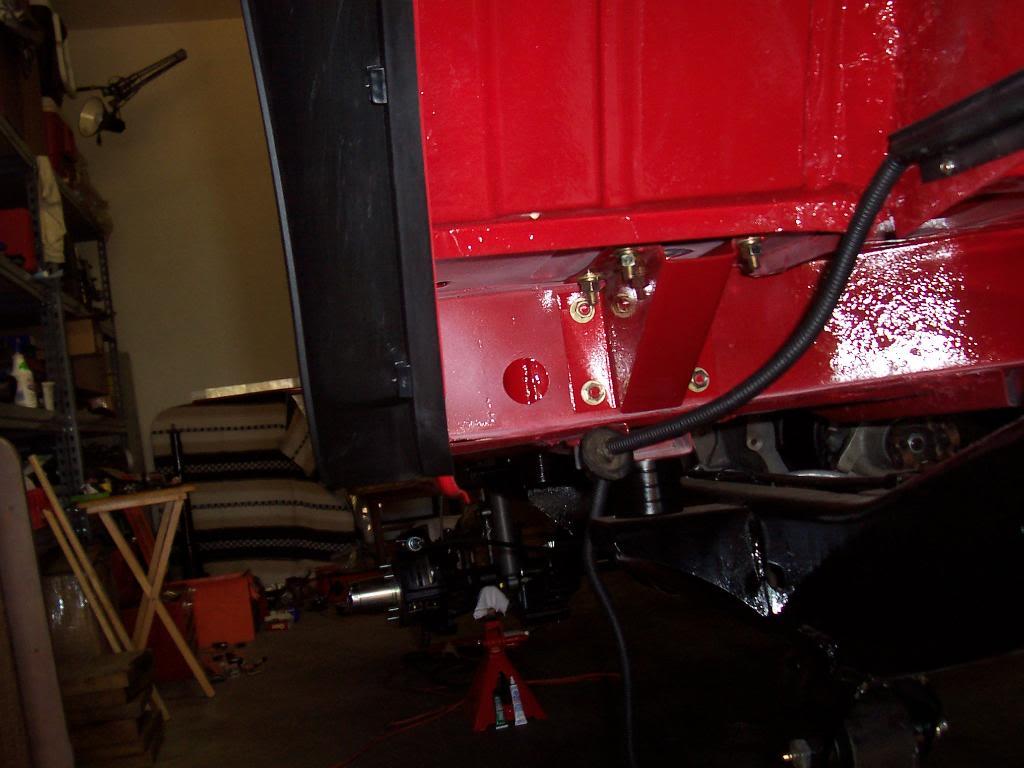
And ran the rear wire harness.

100_5529-1.jpg


Had to stop here, the Rockhard cage plate covers the original hole that the wire harness uses to pass into the cab. Just need to drill another hole.

100_5530-1.jpg


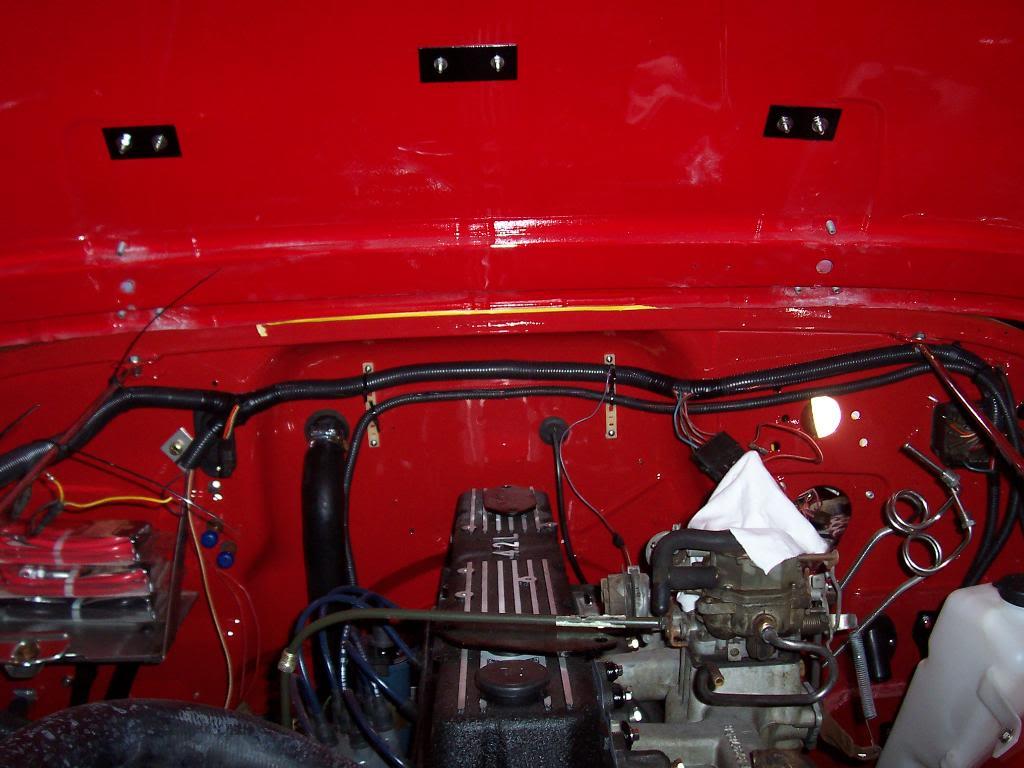
And mounted up and ran the under hood and headlight harnesses. Still have some more clean up to do on these harnesses.

100_5531-1.jpg


100_5532-1.jpg


100_5533-1.jpg


100_5534-1.jpg


I have to get some stitches pulled out this week, so that will probably slow me down again. But, my pile of parts that I need to install is getting smaller.
That's it for now.
 

on both my Jeeps (CJ-7 & CJ-8) the wiring harness goes through the oval hole on the side of the grill. :)

I had dental surgery last week too... had a skin graft on my lower gums. they took the chunk of skin from the roof of my mouth. awesome. my stitches come out next week. fun.

keep up the good work!!! :D
 
on both my Jeeps (CJ-7 & CJ-8) the wiring harness goes through the oval hole on the side of the grill. :)

I had dental surgery last week too... had a skin graft on my lower gums. they took the chunk of skin from the roof of my mouth. awesome. my stitches come out next week. fun.

keep up the good work!!! :D

Glad you pointed the wire harness routing issue out, I had it running through the air intake port thing LOL:thumbsup: I will go back and reroute it, damn pain medicine:rotfl:

I had a bone graft on my lower jaw, they used some kind of synthetic stuff to graft with, then sewed some kind of mesh over the graft, yep, you said it, fun:(:(


Appreciate the compliments, your build is coming along very nicely, too :-)
 
More simple little thing that I needed to do to get this thing closer to the finish line.

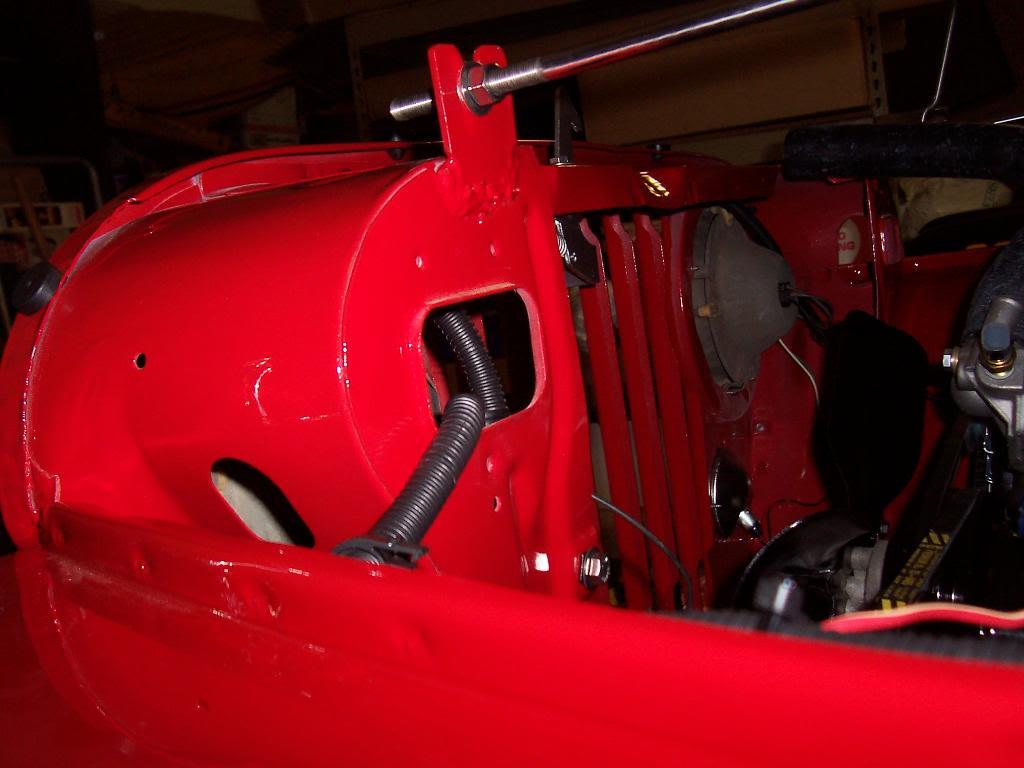
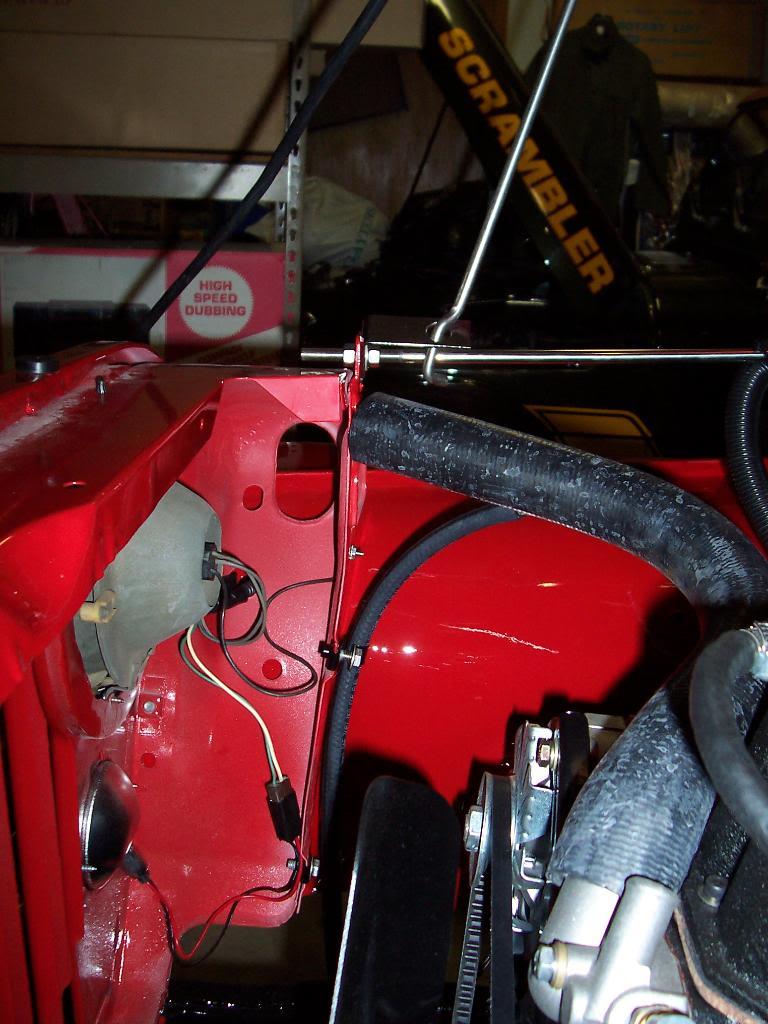
Reinstalled the front lighting wire harness, this time through the correct hole. It laid out much better and everything lined up much better once I ran it through the correct hole in the side of the grill.

100_5535-1.jpg


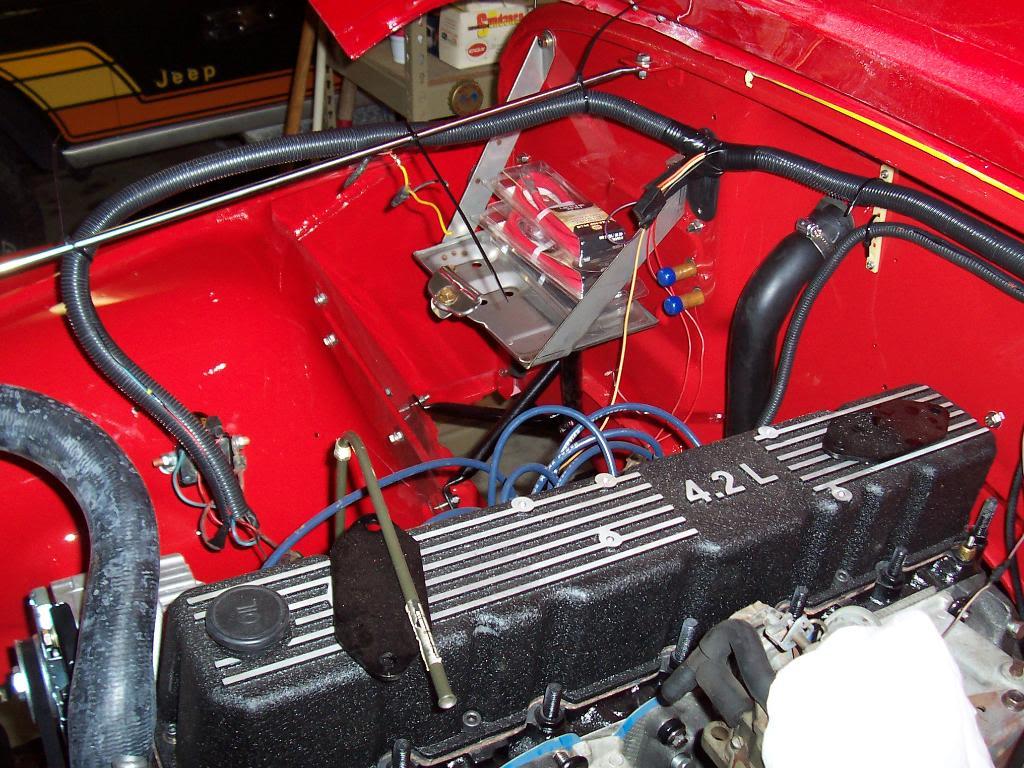
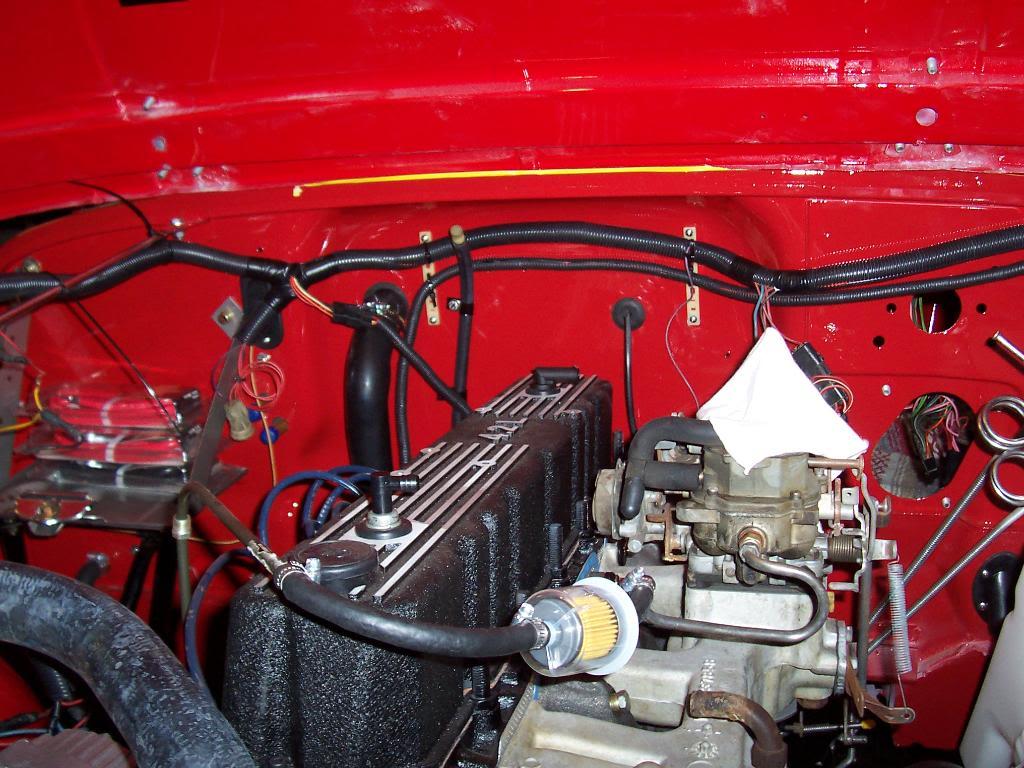
Finally installed the front PCV valve and the rear breather hose grommet into the valve cover. Put the two steel plates that I had been using to cover these holes in the valve cover on the shelf.

100_5536-1.jpg


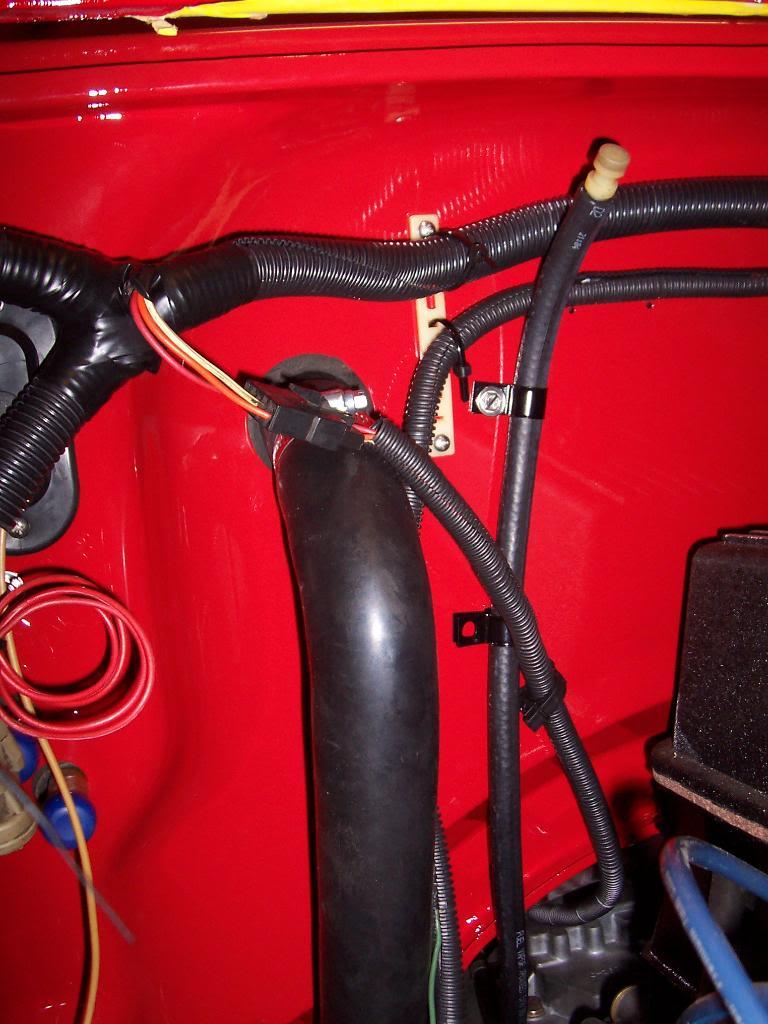
Hooked up the transfer case vent line and ran it up the firewall. Still need to install a screw into one of the clamps that hold it in place. I also ran and hooked up the reverse light/4wd indicator light mini harness to the main harness.

100_5537-1.jpg


Ran the front axle vent line.

100_5538-1.jpg


And the rear axle vent line, which is approximately 10' long LOL.

100_5540-1.jpg


100_5541-1.jpg


Not terribly exciting stuff, but I am getting closer to finishing this thing.
 
This thread makes me feel like a total slack bastard.... :banghead:


:rotfl:
 
This thread makes everyone feel like a slack bastard. The rate of progress on this jeep has been amazing and then some.
Yeah, speaking of... has anyone seen this thing in person??? ;) I wonder if he's been at it for two years and just saved up the pictures to post one after the other to make us all feel slack :rotfl:


This is great stuff, pictures are fan-tastic, way to raise the bar on build threads :D
 
Nope. This cannot be a re-build. He's copying photos, AWESOME paint, and details from some other site & people, and copying and pasting here.

Unless he is super-human, it cannot be....:drool:

Just kidding, Spankrjs.

Unreal progress and sweet detail. I for one, have used your photos to help in my re-build. Thank you.

And I am guessing you work out of the house? How in the heck does a fella find time to make SO much progress? I am envious... :(
 
:needpic:

Just thought it would be funny as heck to post the above emoticon....considering this thread has some of the most detailed and explanatory photos ever! I love it! Keep the photos flowing! Greatness! (disclaimer: the photo's help me in my frame-off restoration...."hey, I don't need a note of that, or a pic of that...I will remember where that goes".....yep, I was wrong!

That's why these pics are priceless to my re-build! Again, thanks!
 
Back
Top