

You are using an out of date browser. It may not display this or other websites correctly.
You should upgrade or use an alternative browser.
You should upgrade or use an alternative browser.
Scrambler on a budget
- Thread starter ExhaustDemon
- Start date


ExhaustDemon
Legacy Registered User
- City
- newton
- State
- nj
went out and worked today on the worst section. it never ends this
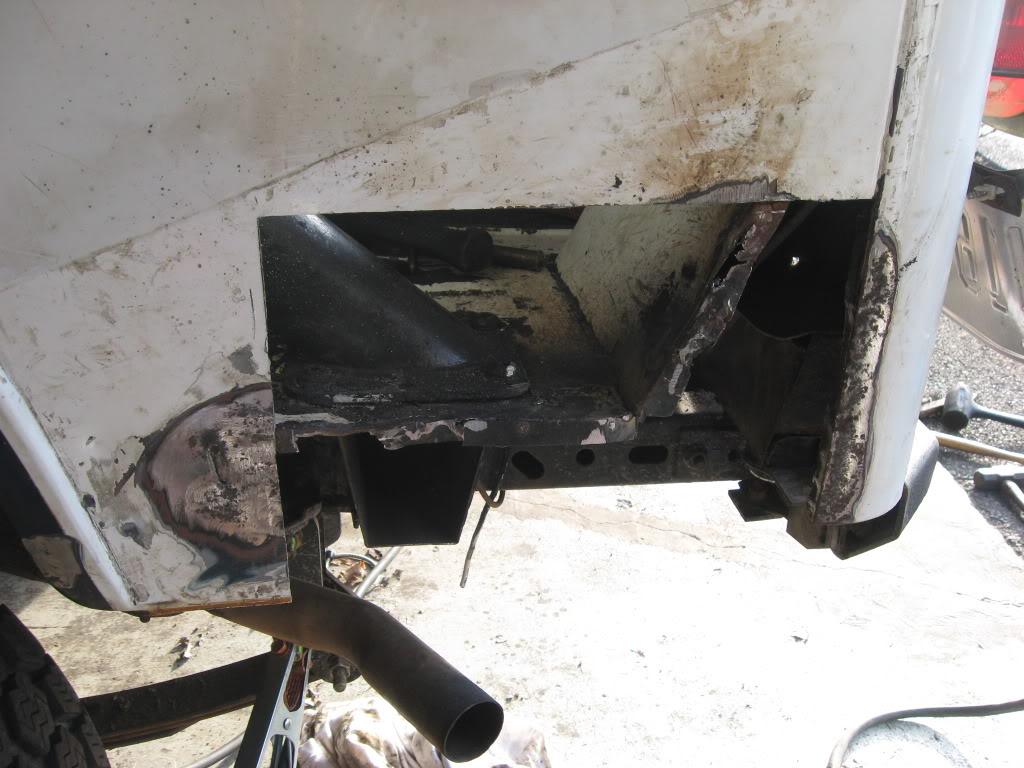
Q, panel
i cut it as square as possible and now the metal is thick all around
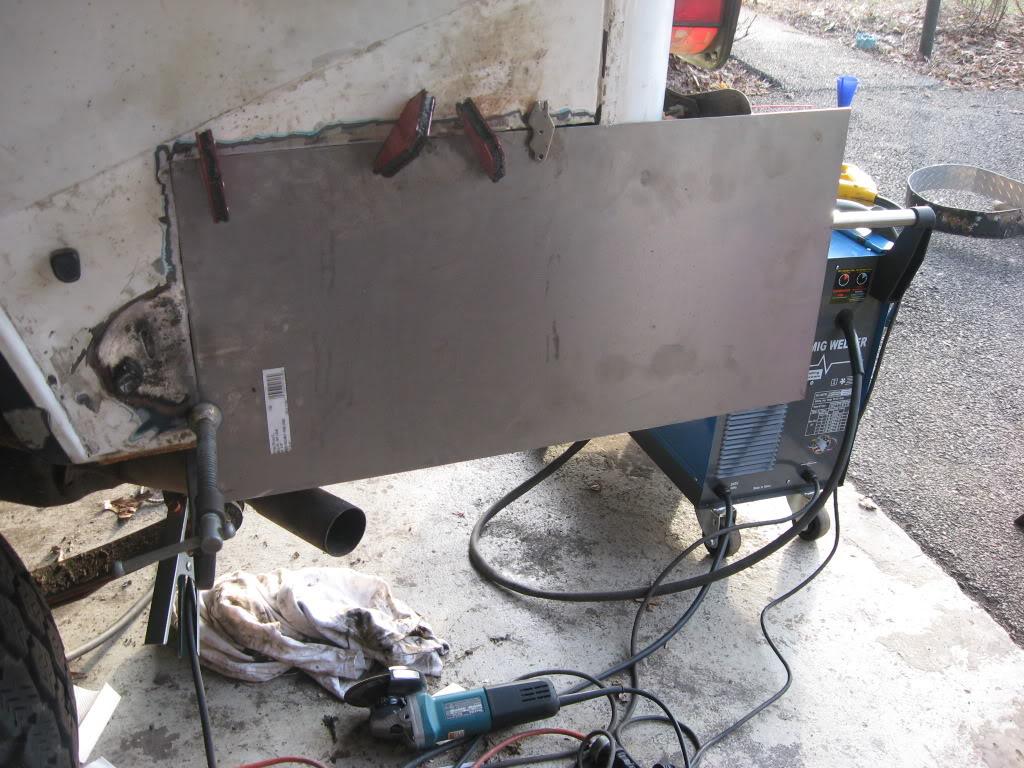
then measured it as best i could. this is always the hard part
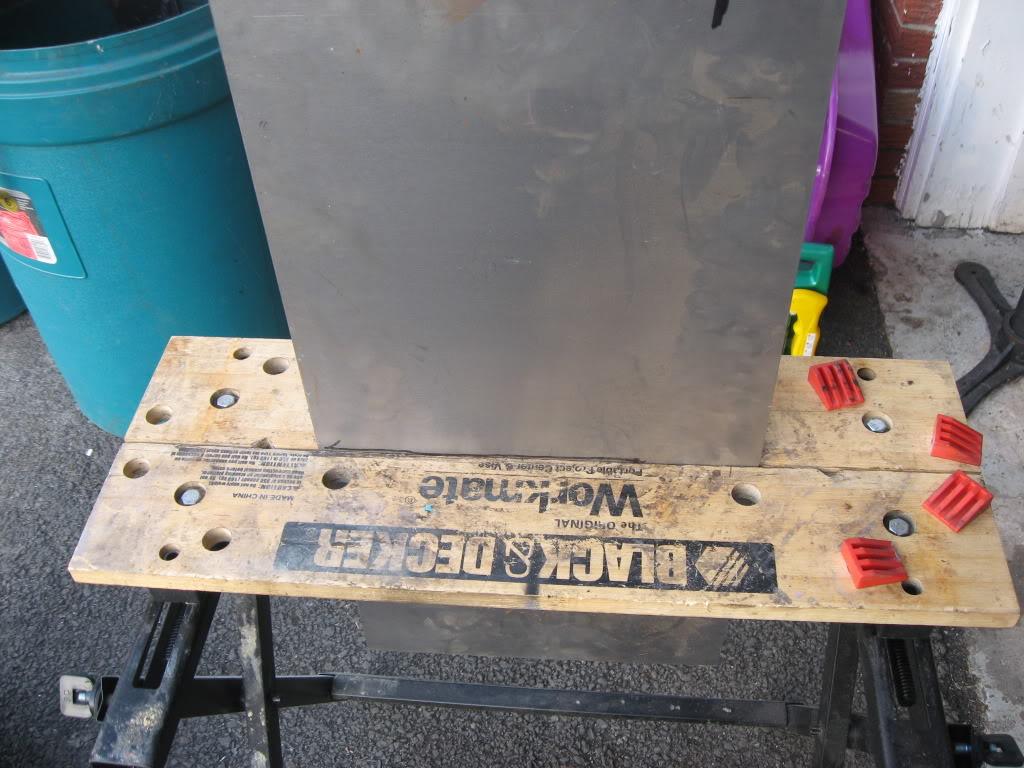
this is my metal brake. if i had a real one it would look so much better. but i plan on putting some corner guards on it so it doesnt have to be perfect
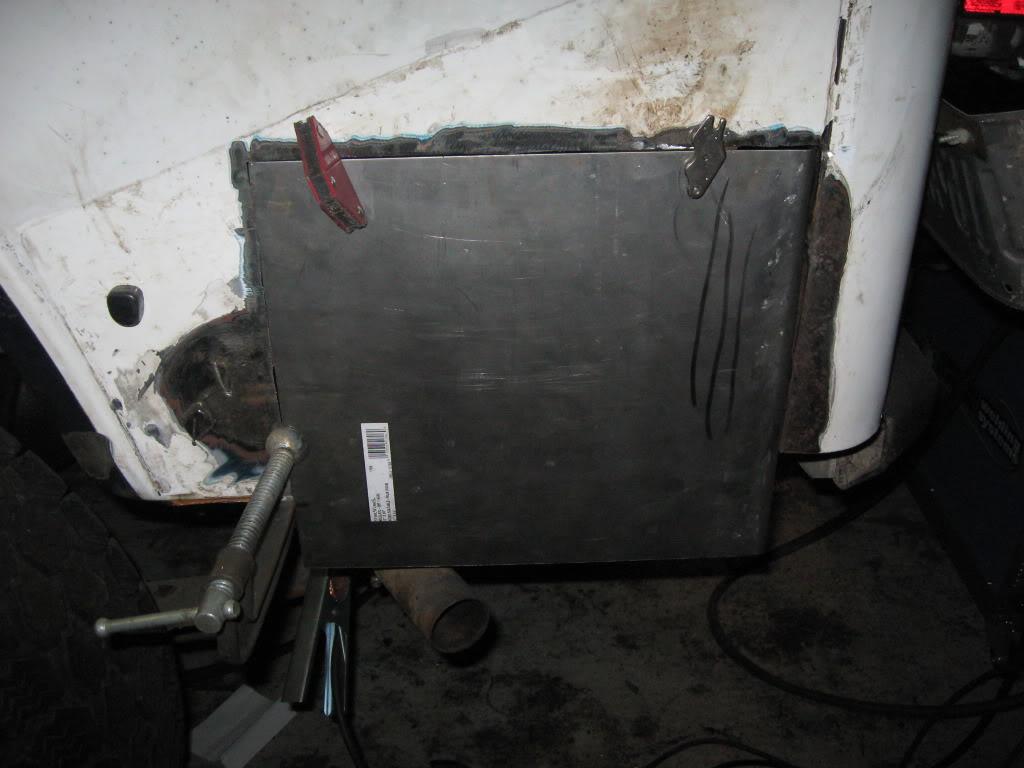
it came out better than i thought using the workmate. but the bottom lip will be impossible to do without one. i think i might visit a body / metal shop
Q, panel
i cut it as square as possible and now the metal is thick all around
then measured it as best i could. this is always the hard part
this is my metal brake. if i had a real one it would look so much better. but i plan on putting some corner guards on it so it doesnt have to be perfect
it came out better than i thought using the workmate. but the bottom lip will be impossible to do without one. i think i might visit a body / metal shop
ExhaustDemon
Legacy Registered User
- City
- newton
- State
- nj
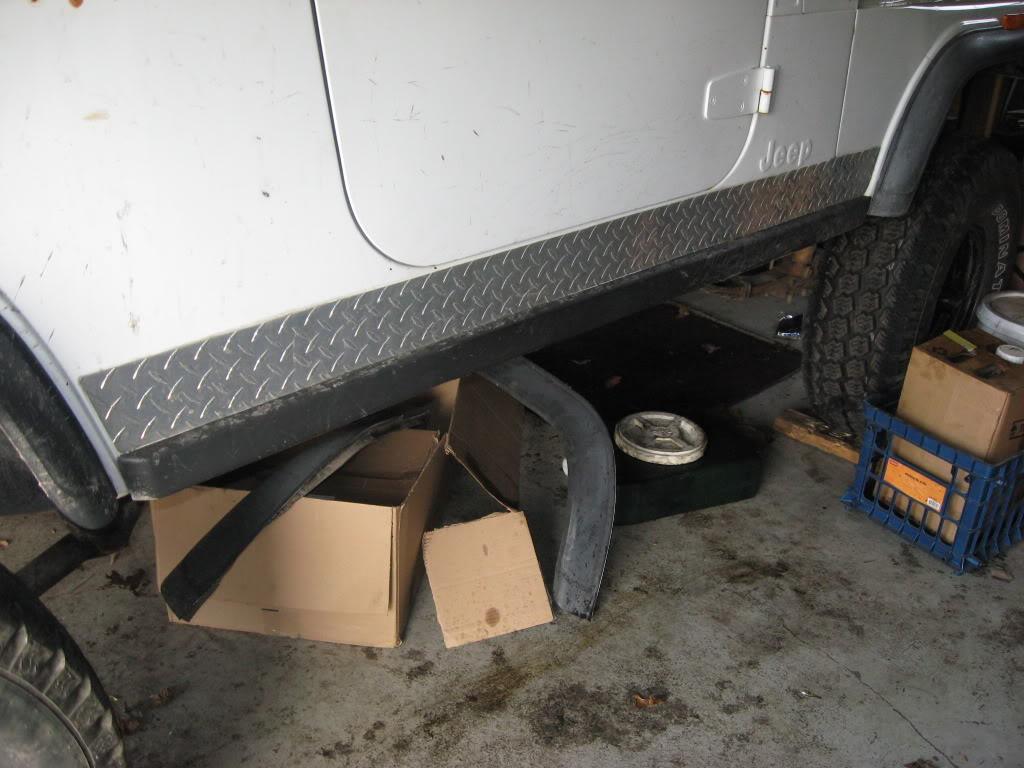
i started on the pass side today. rid the jeep of all diamond plate 
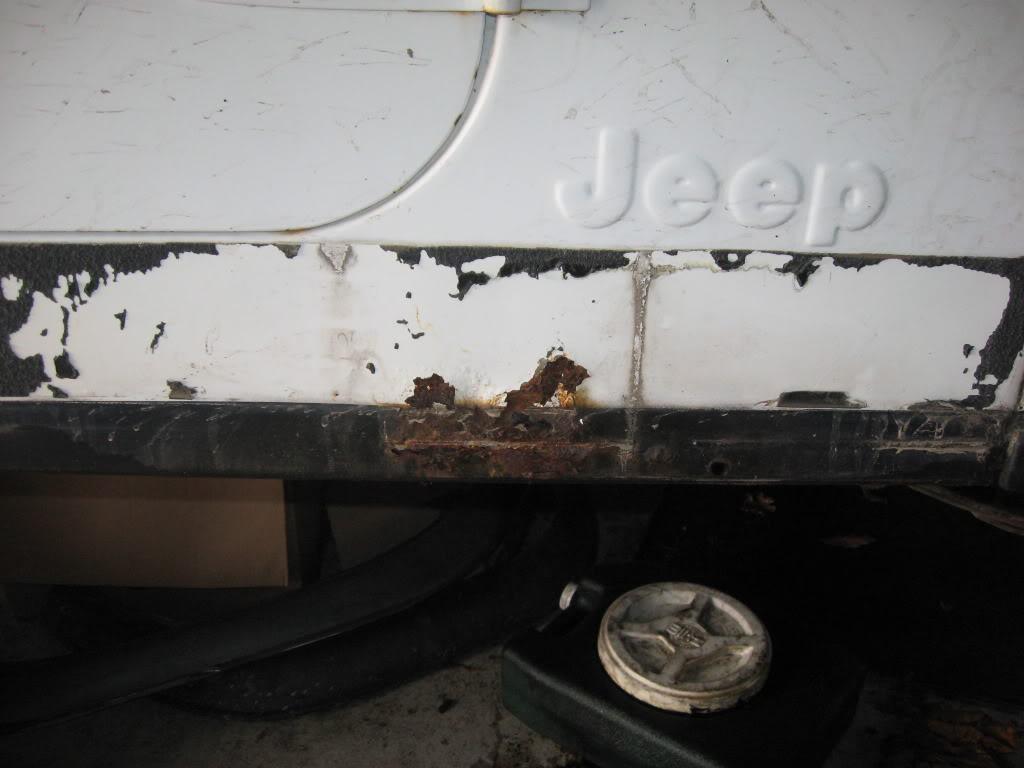
ground and cut out all the rust. this side is sooooo much better than d. side
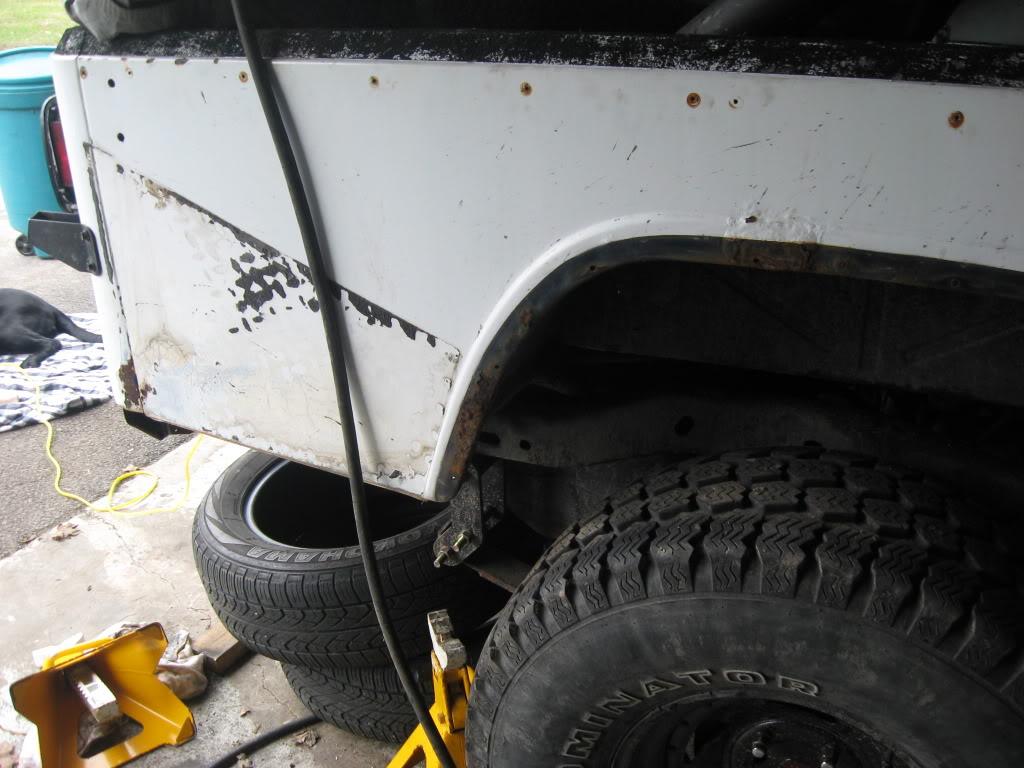
http://i867.photobucket.com/albums/ab235/richclan/1982%20CJ-
8/IMG_2221-1.jpg
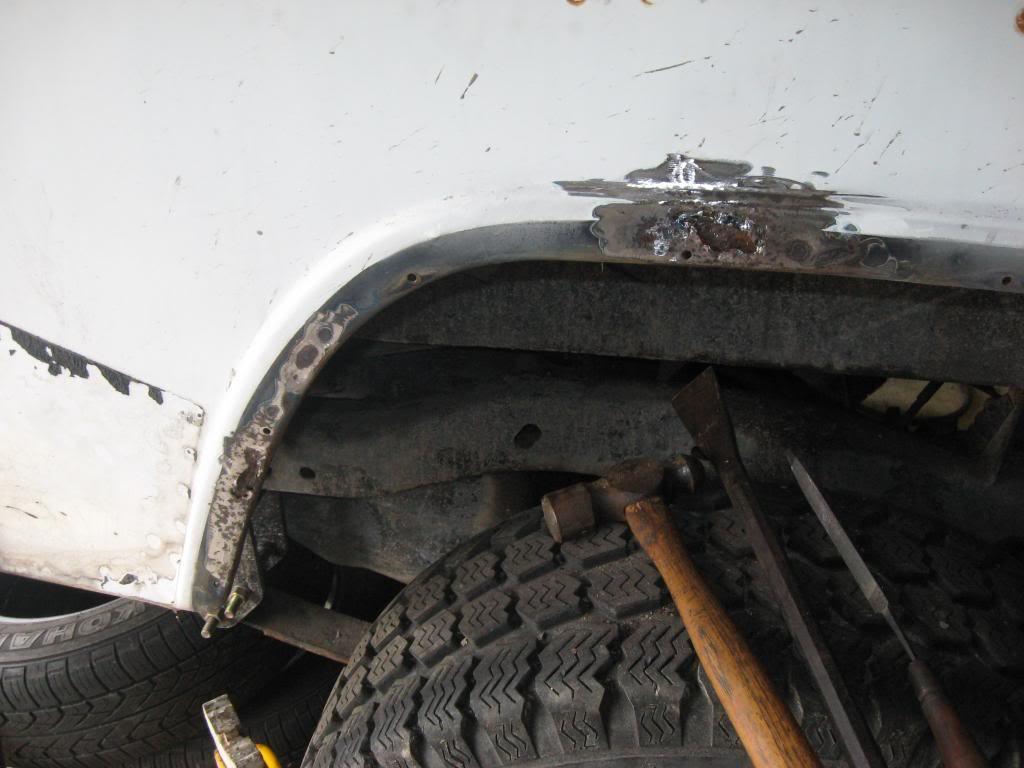
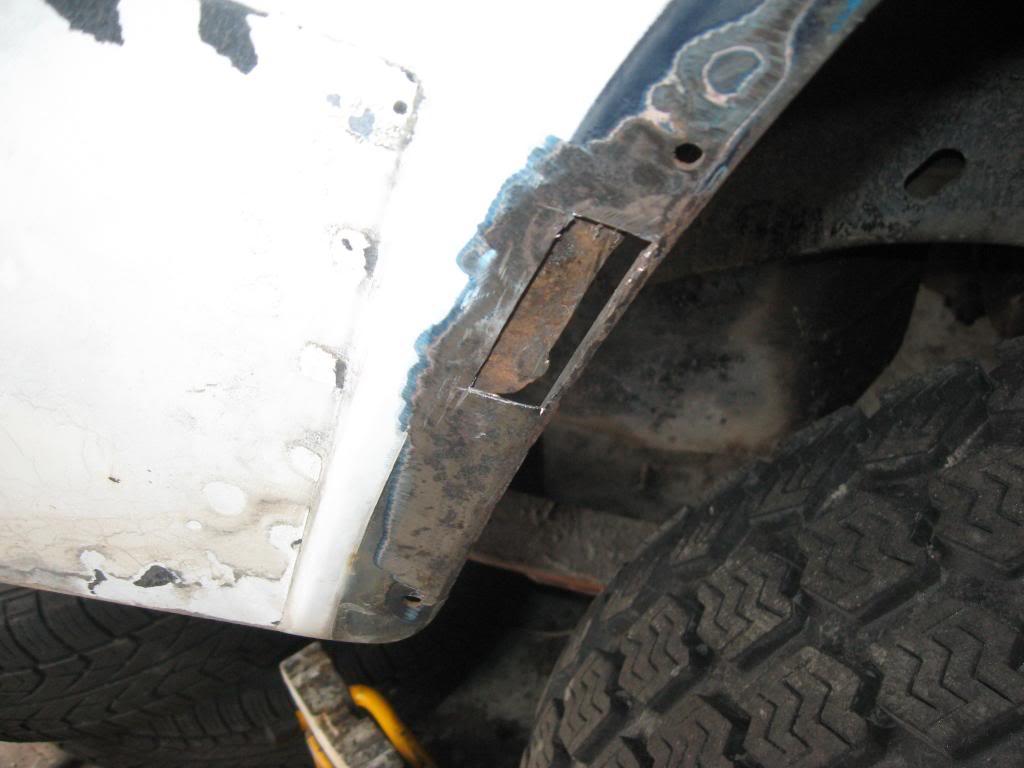
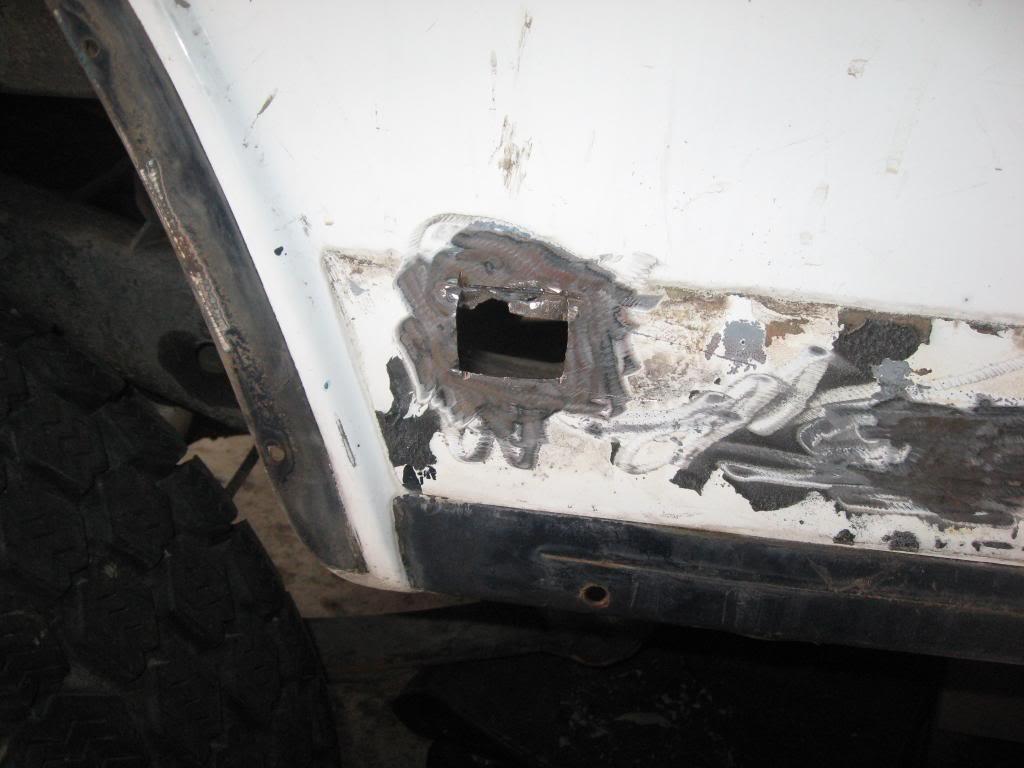
ground and cut out all the rust. this side is sooooo much better than d. side
http://i867.photobucket.com/albums/ab235/richclan/1982%20CJ-
8/IMG_2221-1.jpg
ExhaustDemon
Legacy Registered User
- City
- newton
- State
- nj
then cut and ground new metal to fit in
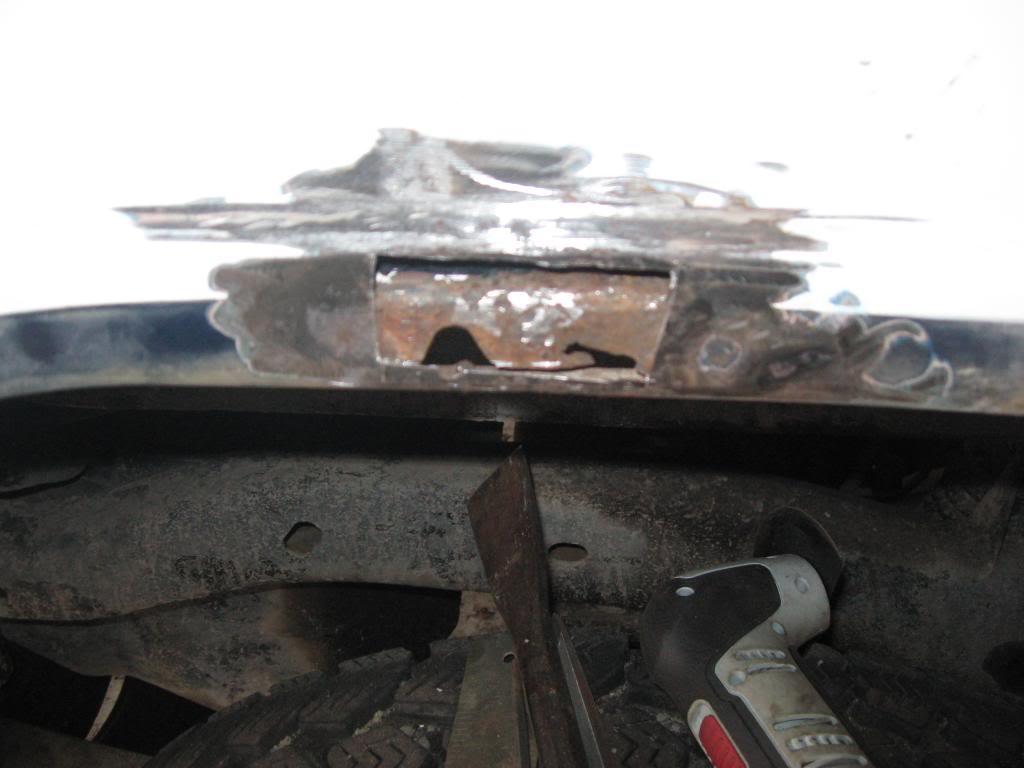
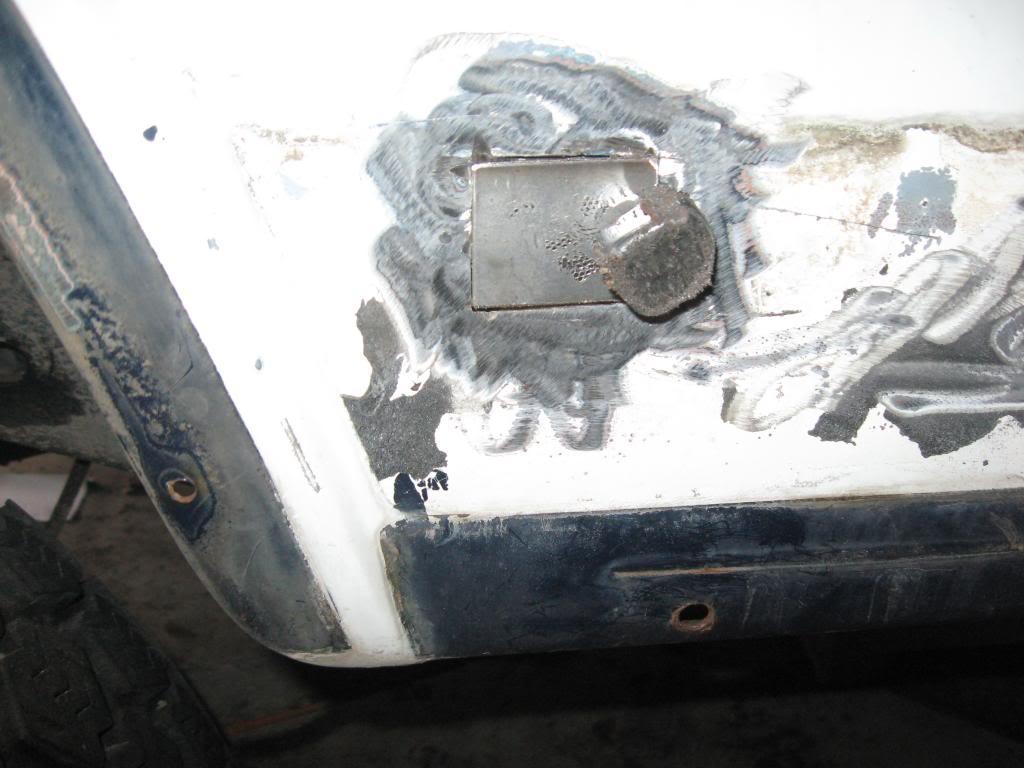
the floorboard was not bad at all so i welded onto the PO repair job.
it was a cake job
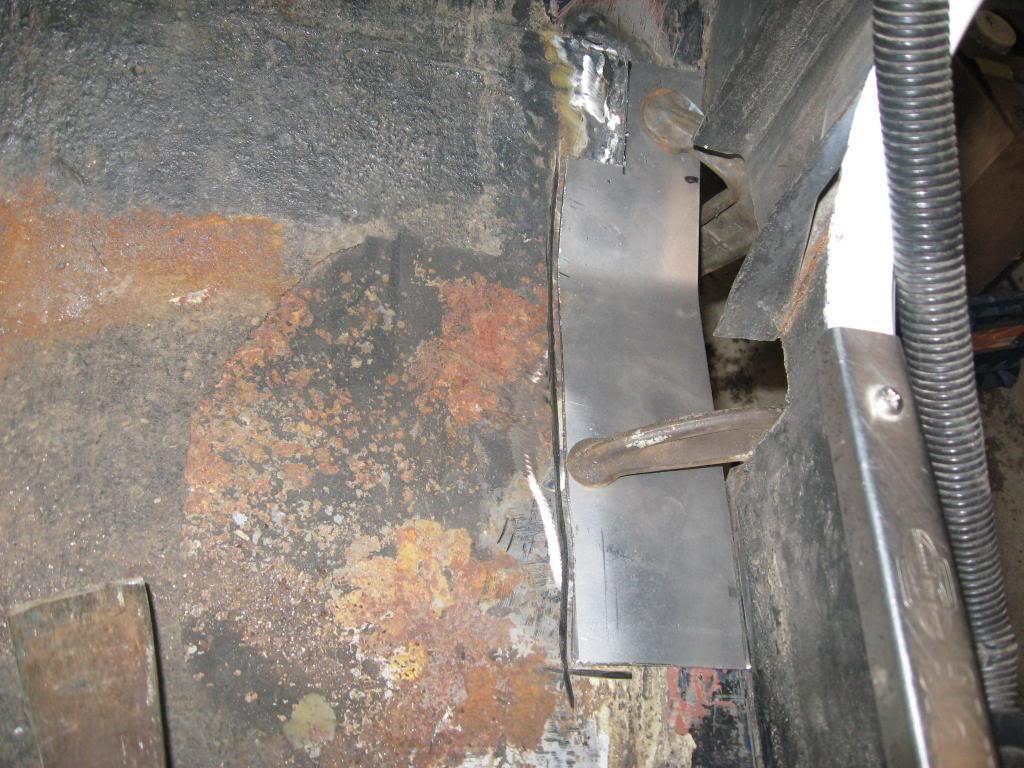
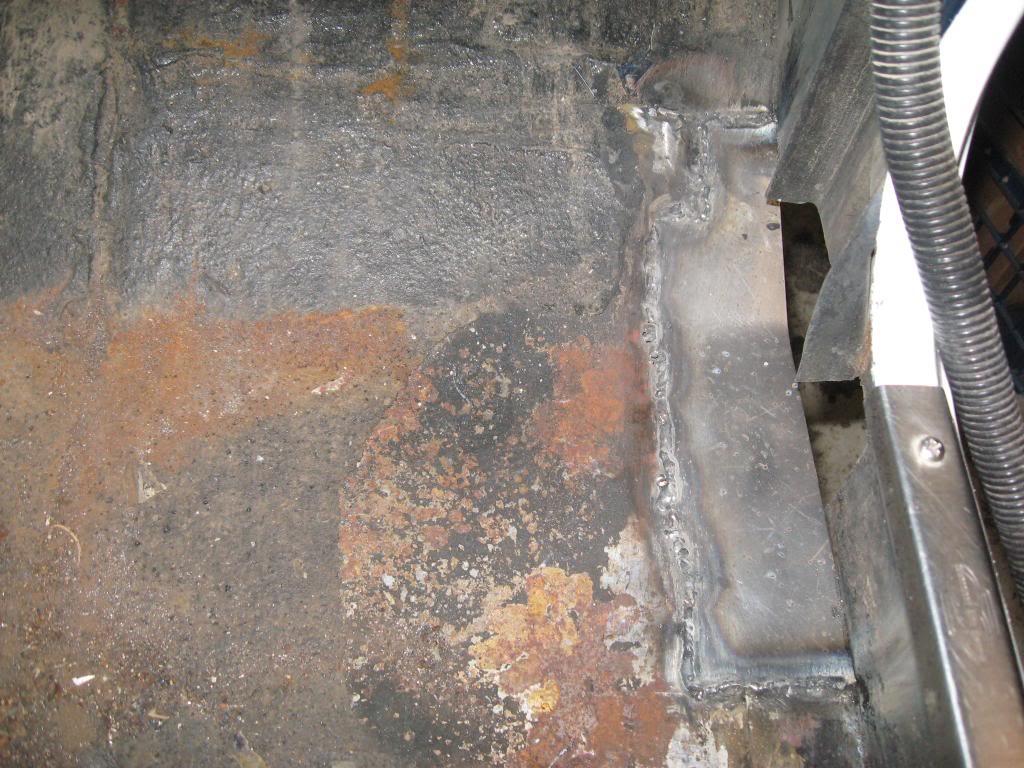
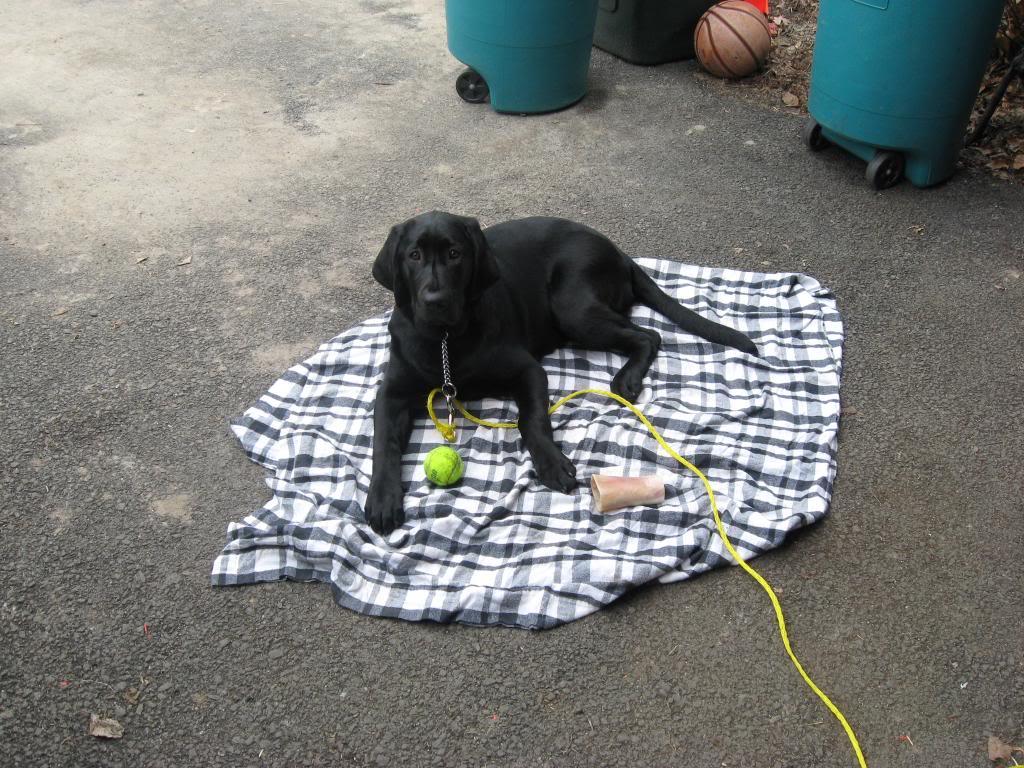
smokey keeps me out of trouble: good dog
the floorboard was not bad at all so i welded onto the PO repair job.
it was a cake job
smokey keeps me out of trouble: good dog
ExhaustDemon
Legacy Registered User
- City
- newton
- State
- nj
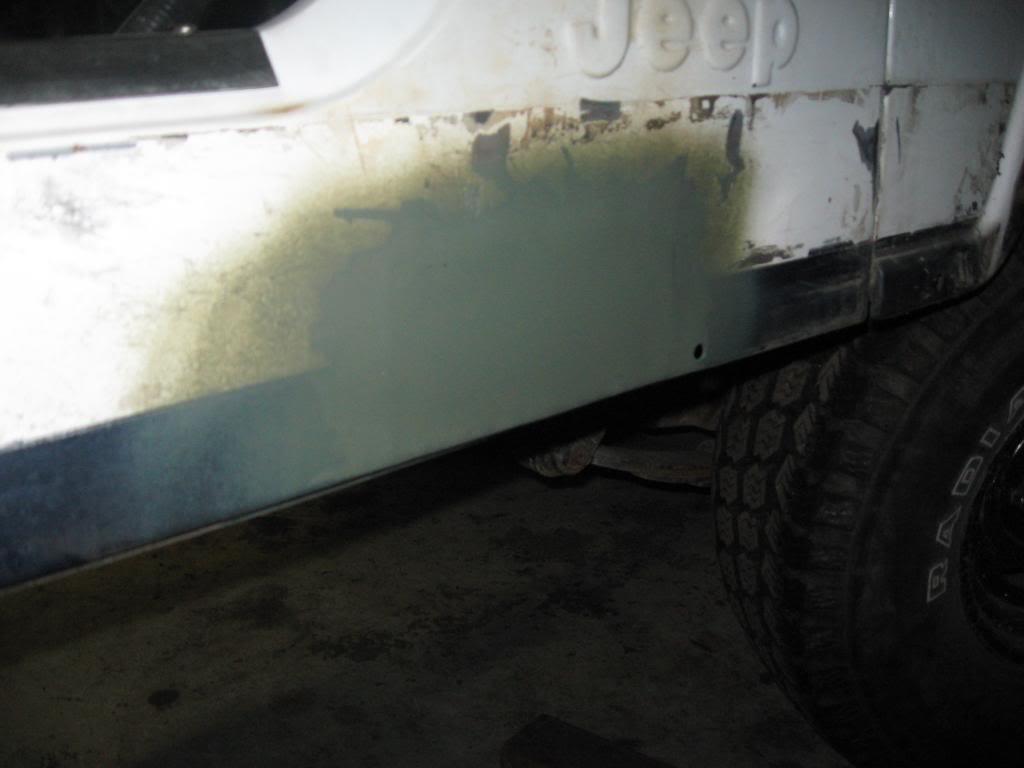
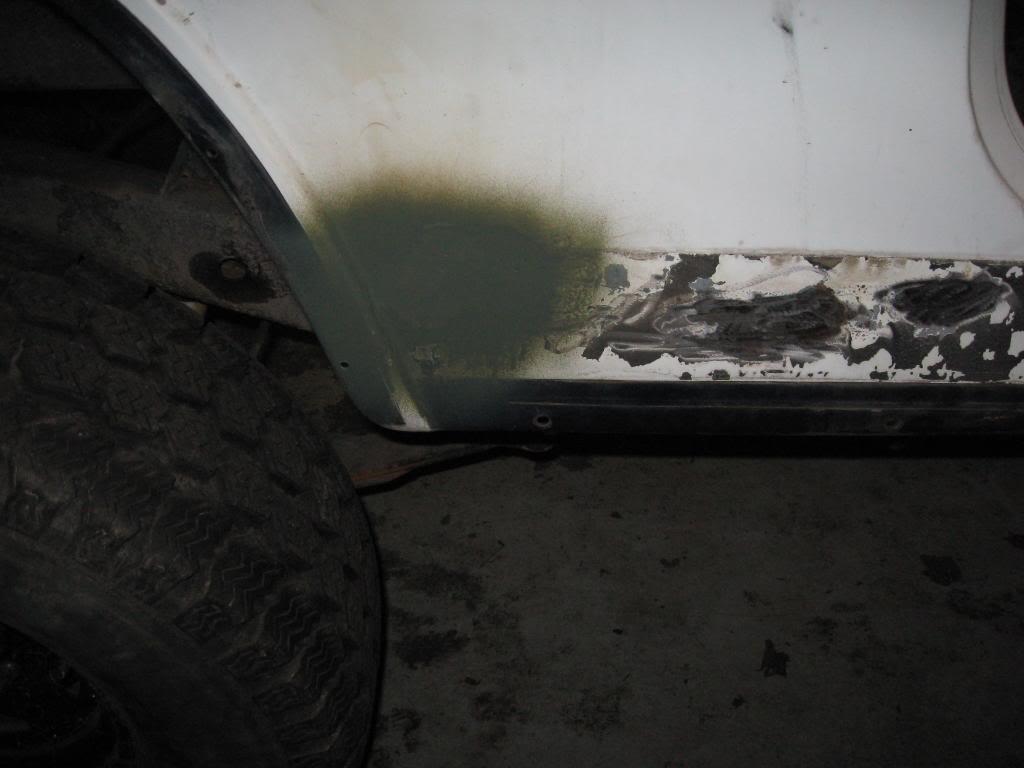
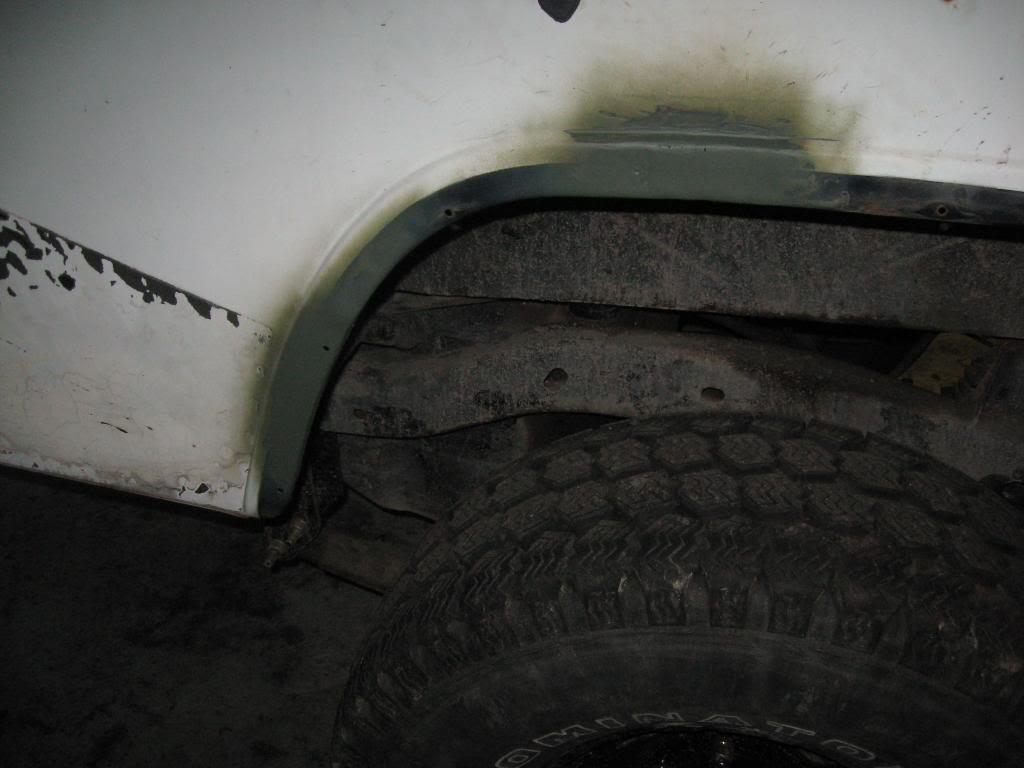
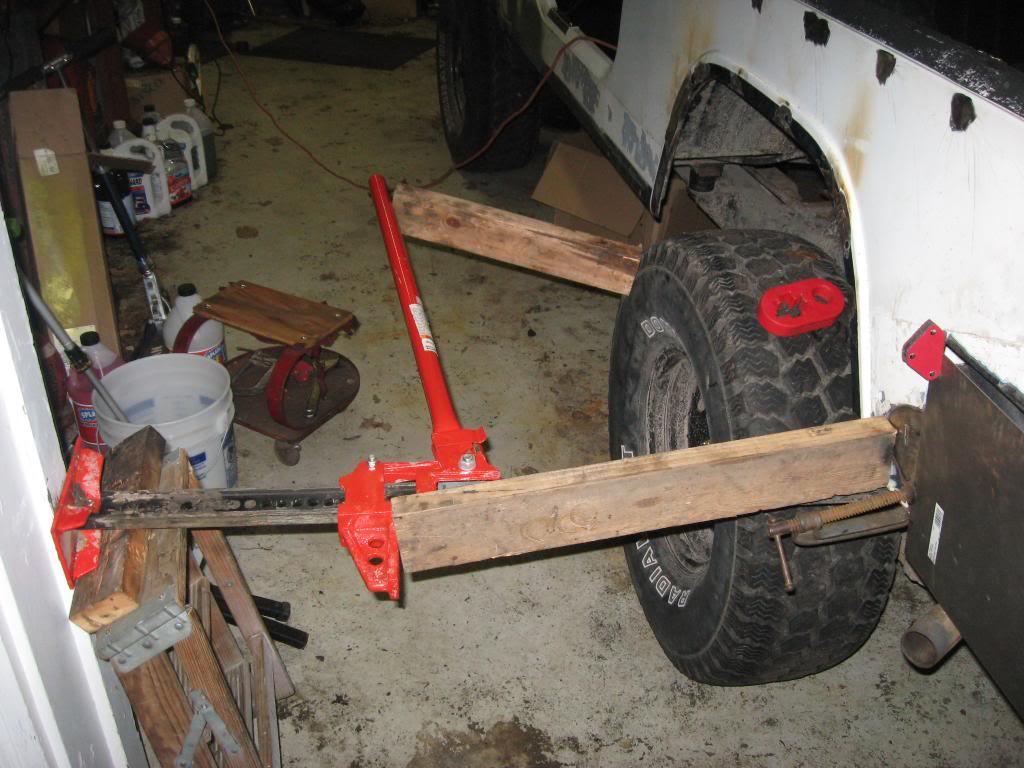
there was a large bulge and dent on this side.
so working alone i figured out a jack was the best way of pushing it in.
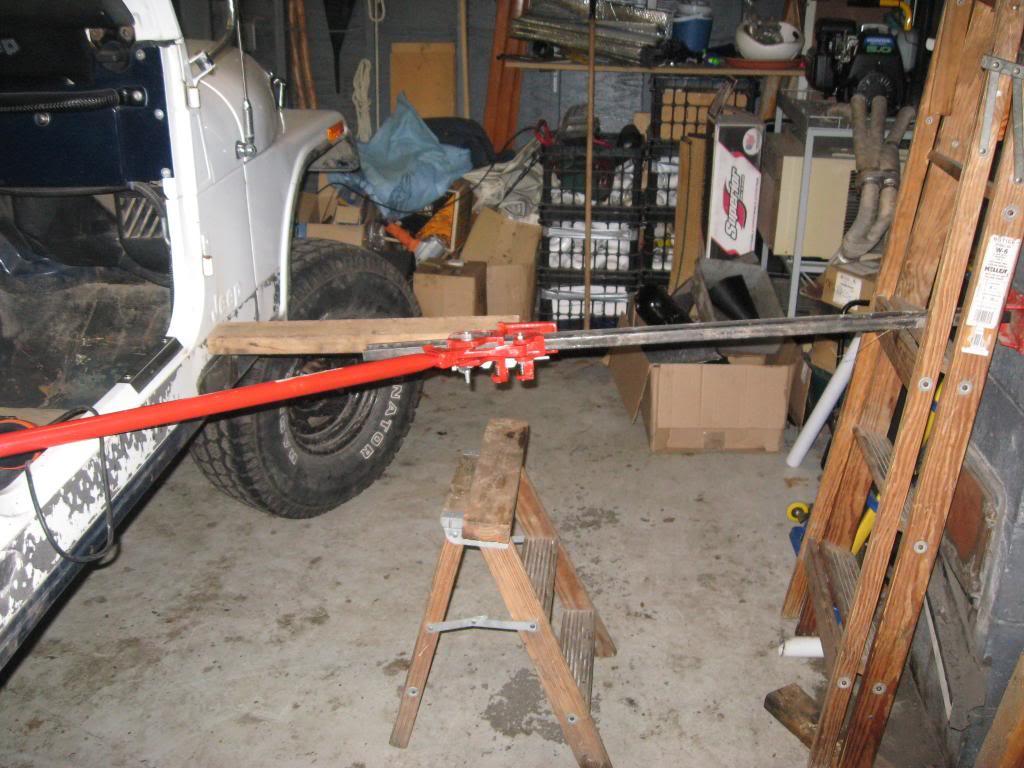
this is after all the pounding and jacking, it came out pretty straight
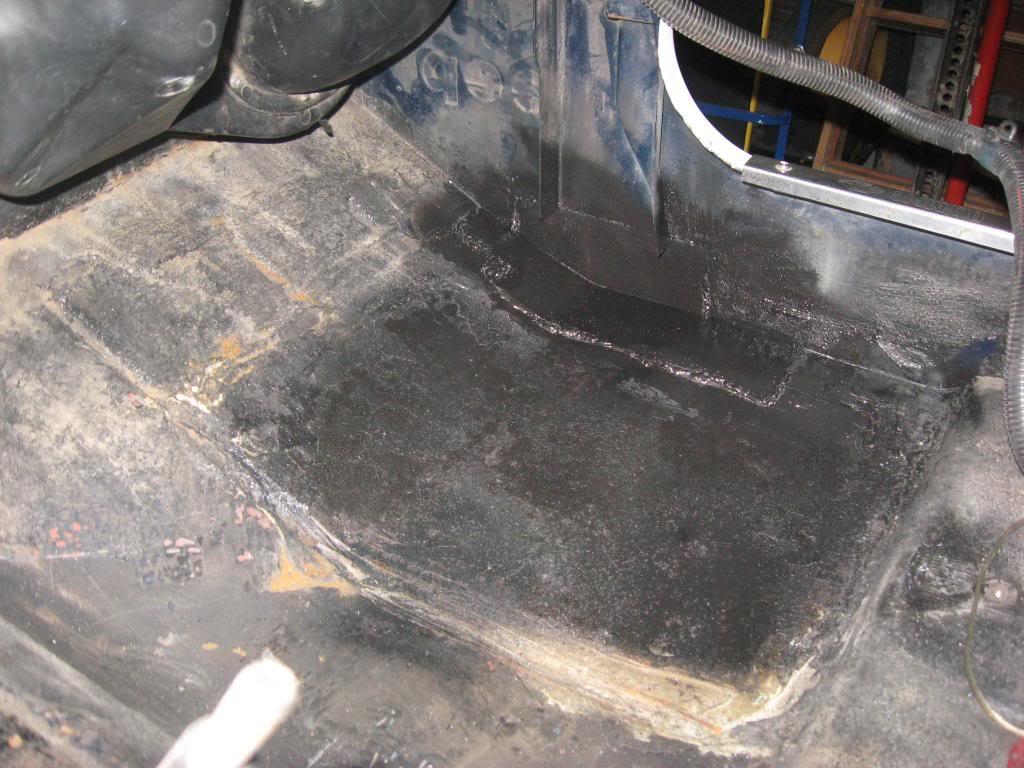
the floorboard is ready for some rhino liner now
again back to this q. panel. i jacked it flush and welded it in place .
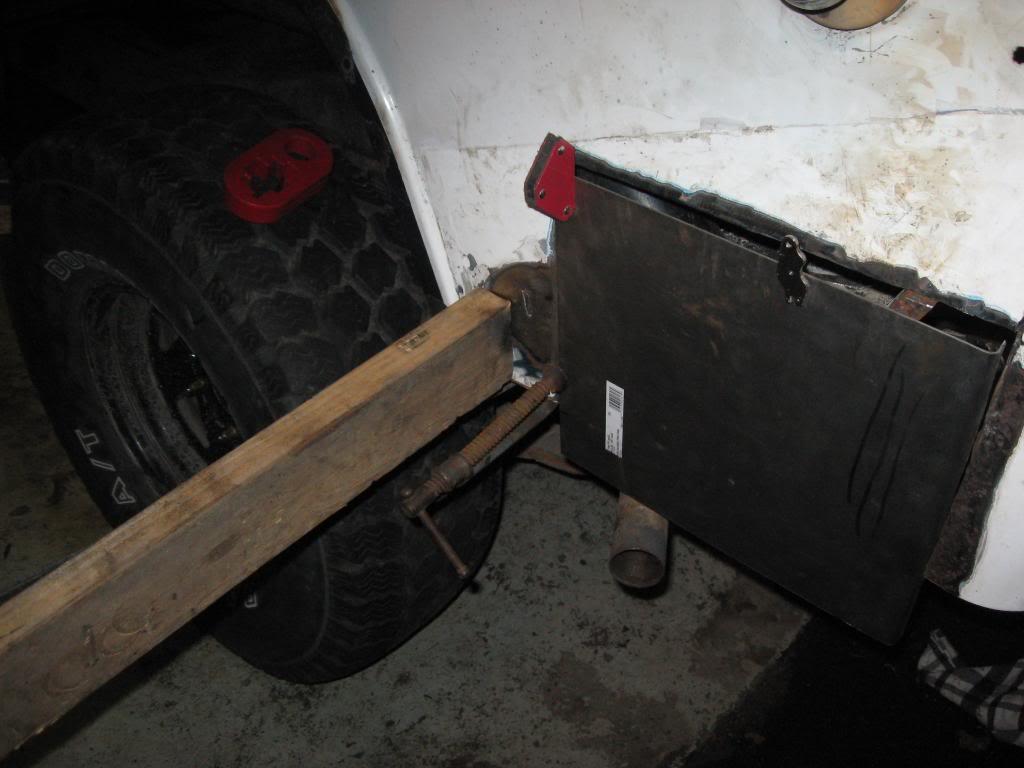
now hopefully it will weld without warping
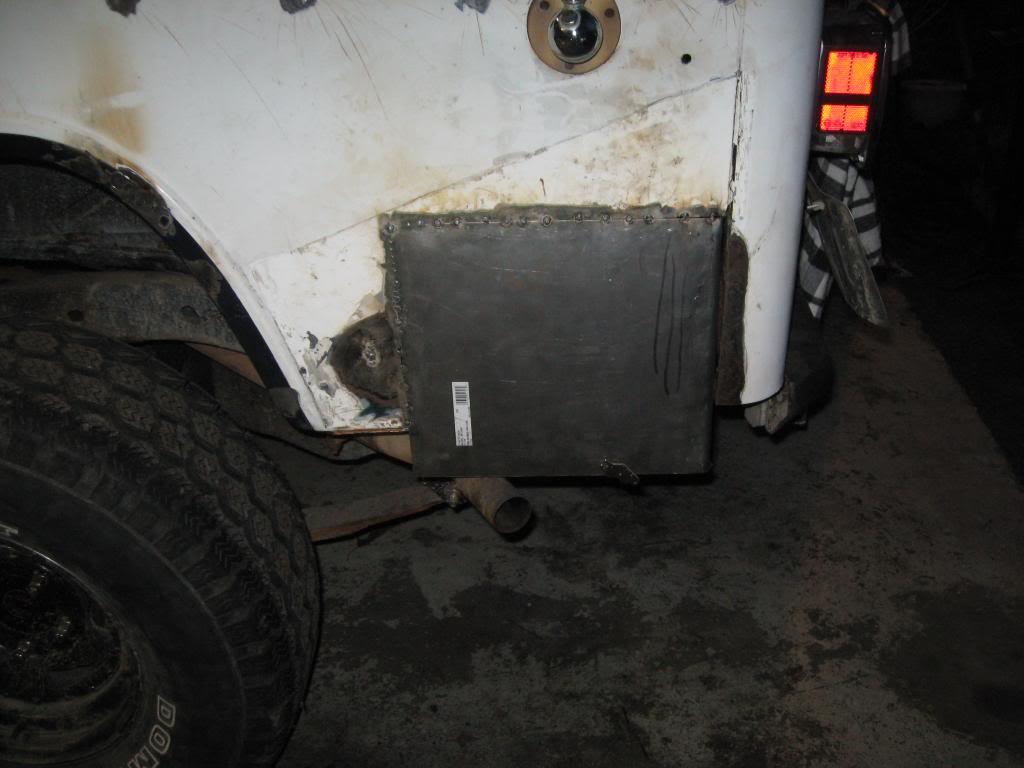
so working alone i figured out a jack was the best way of pushing it in.
this is after all the pounding and jacking, it came out pretty straight
the floorboard is ready for some rhino liner now
again back to this q. panel. i jacked it flush and welded it in place .
now hopefully it will weld without warping
ExhaustDemon
Legacy Registered User
- City
- newton
- State
- nj
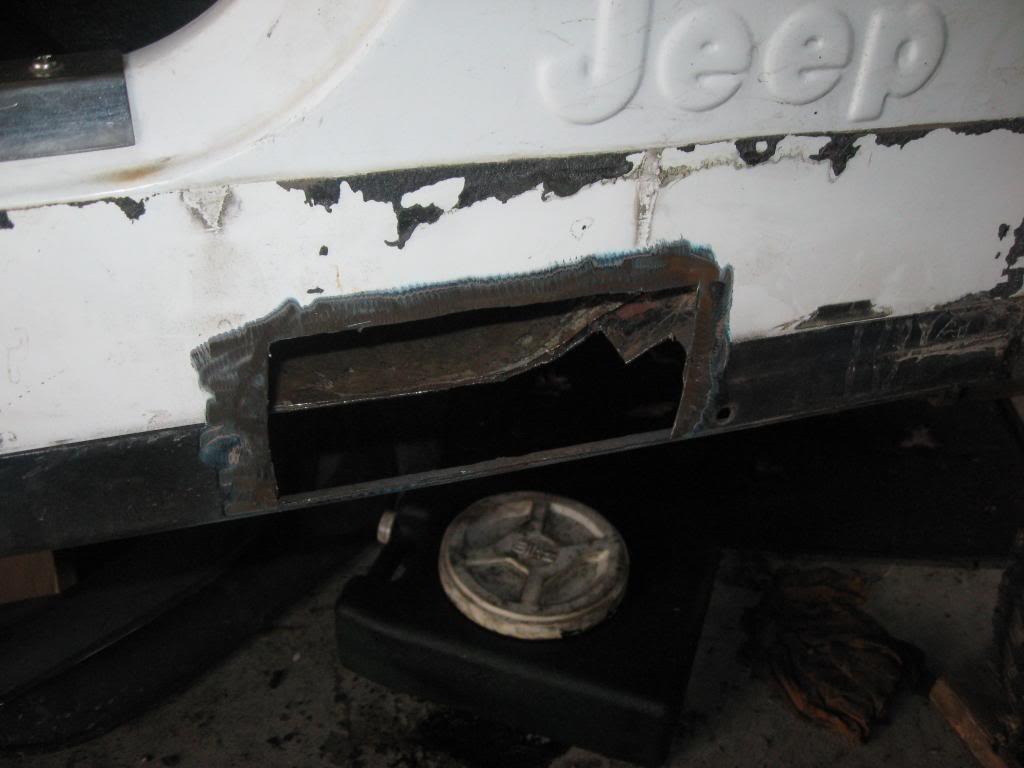
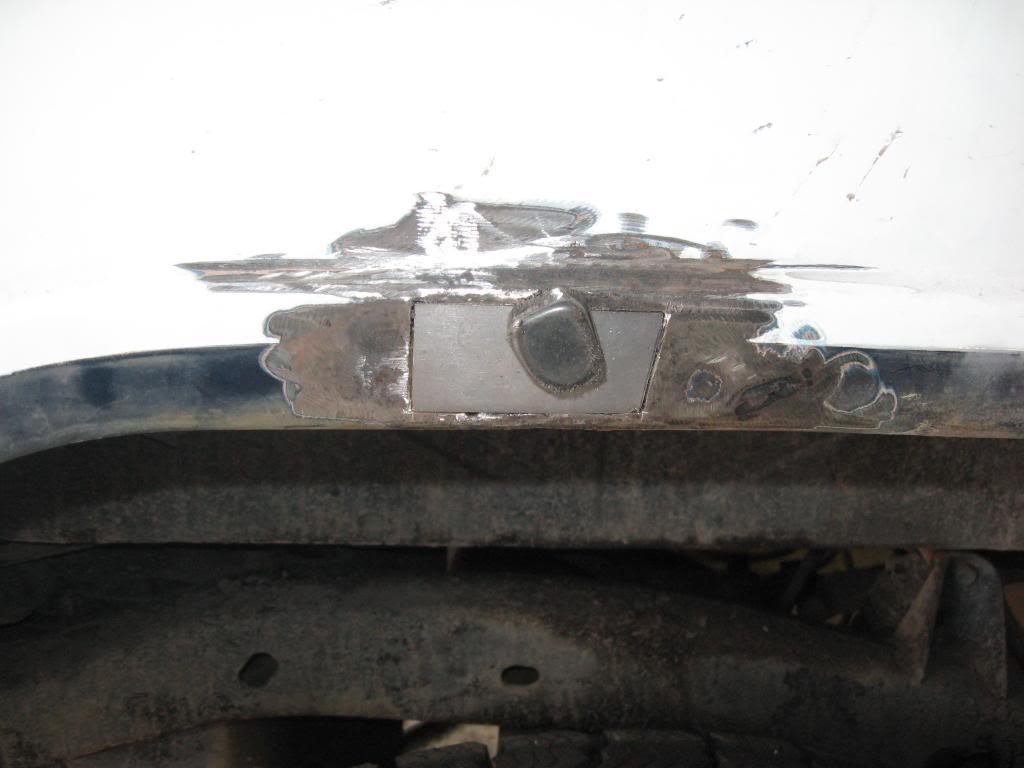
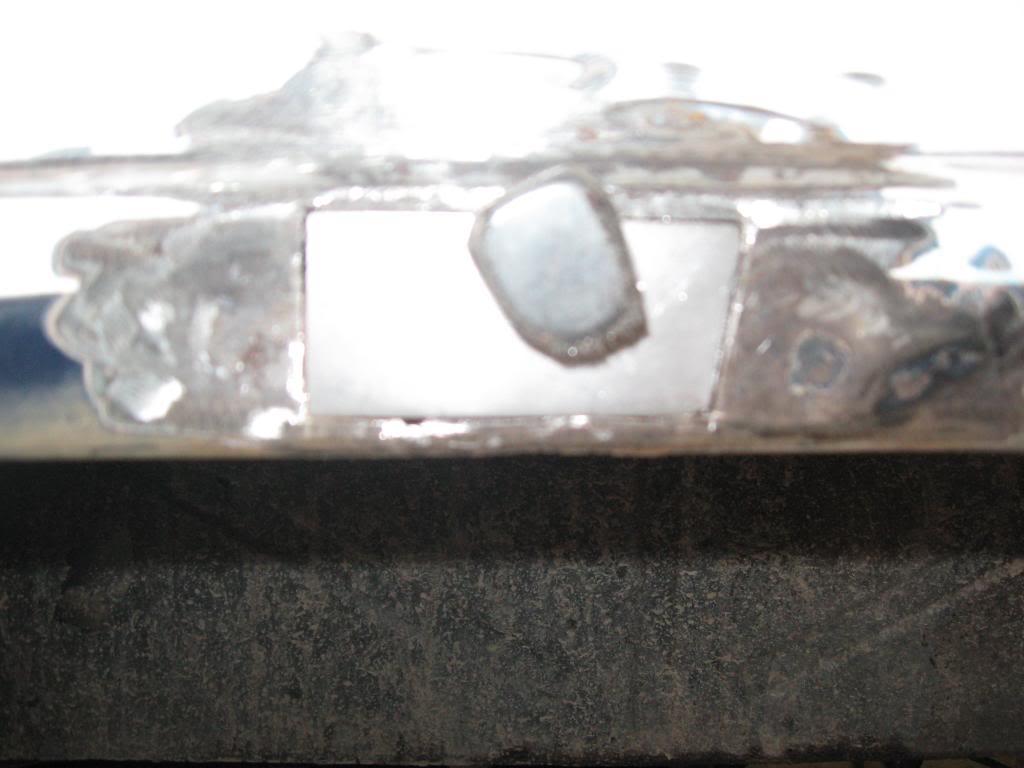
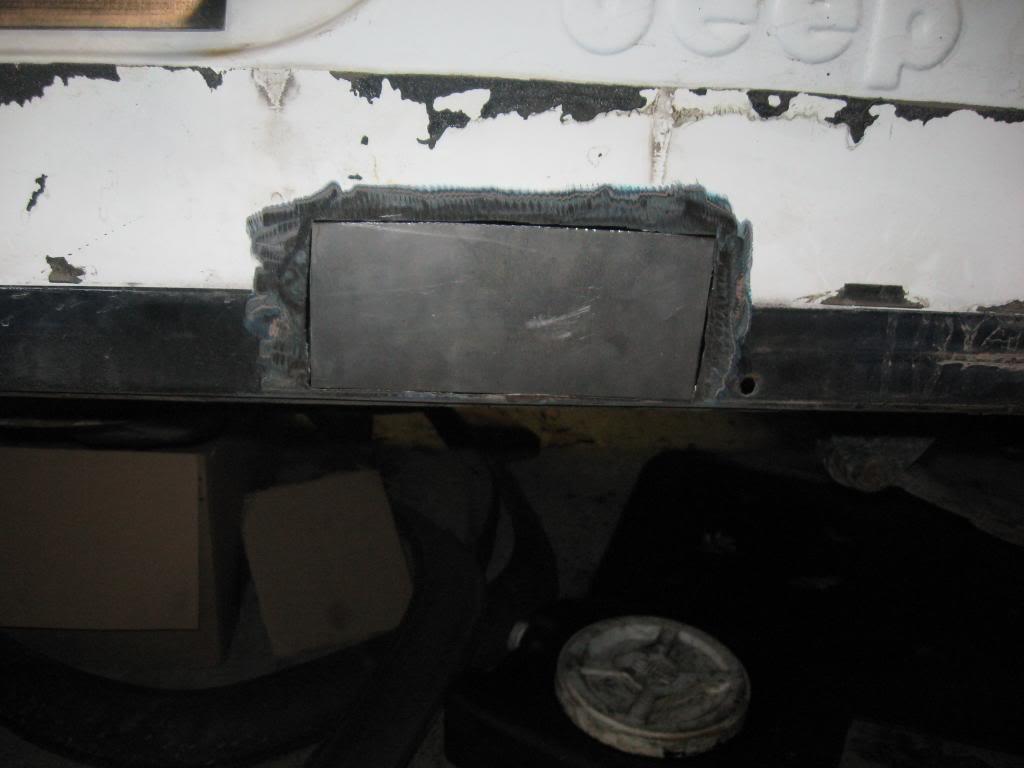
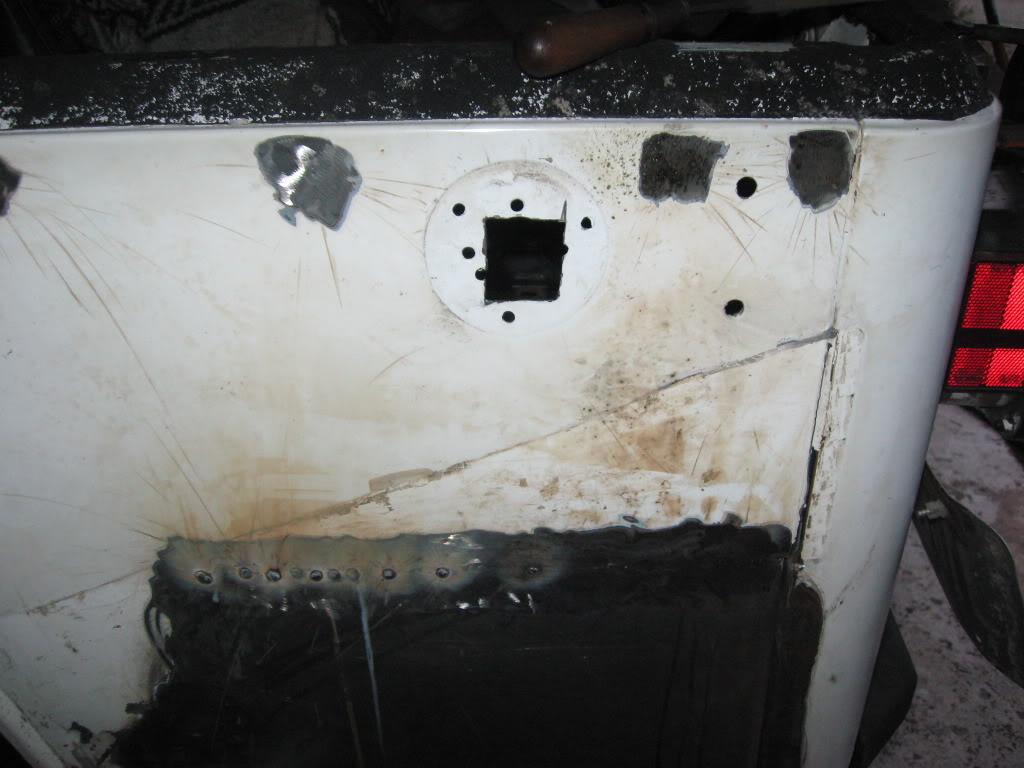
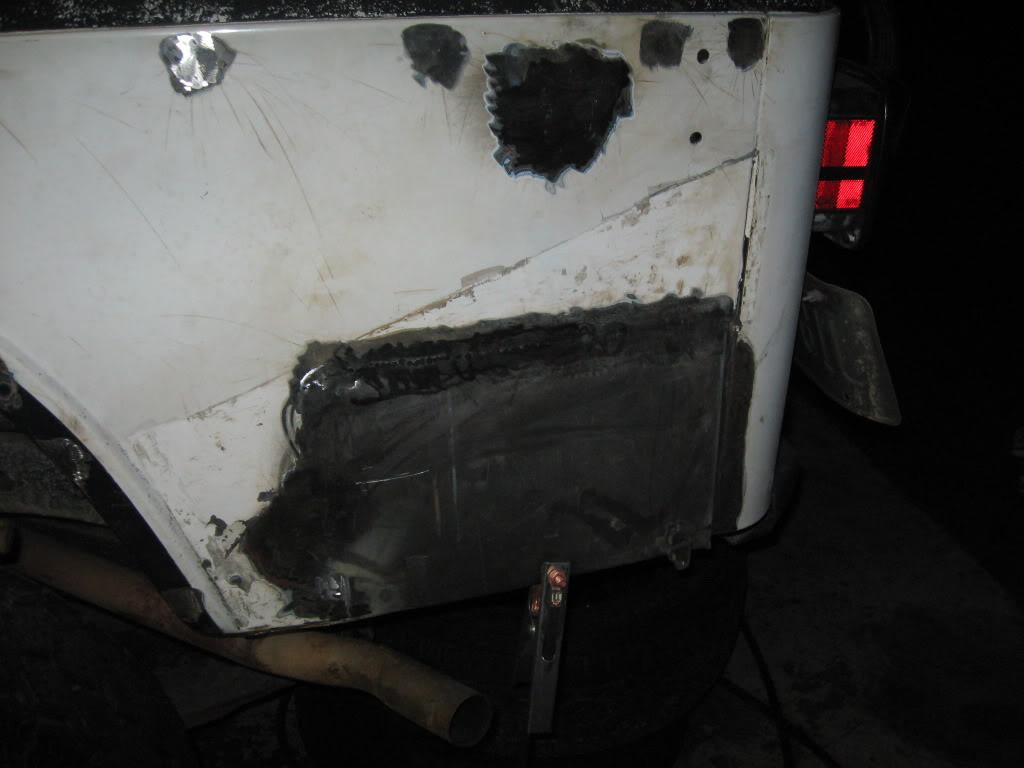
removed the antenna mount and got a surprise. this q. panel sucks
cut the hole square and welded yet another patch
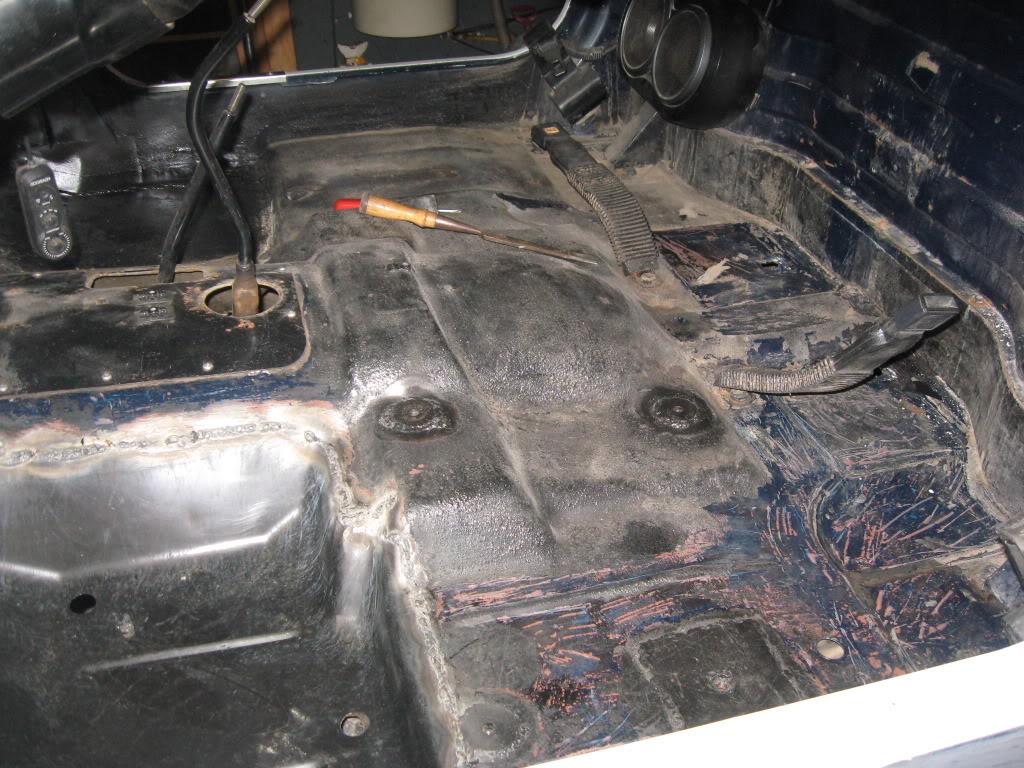
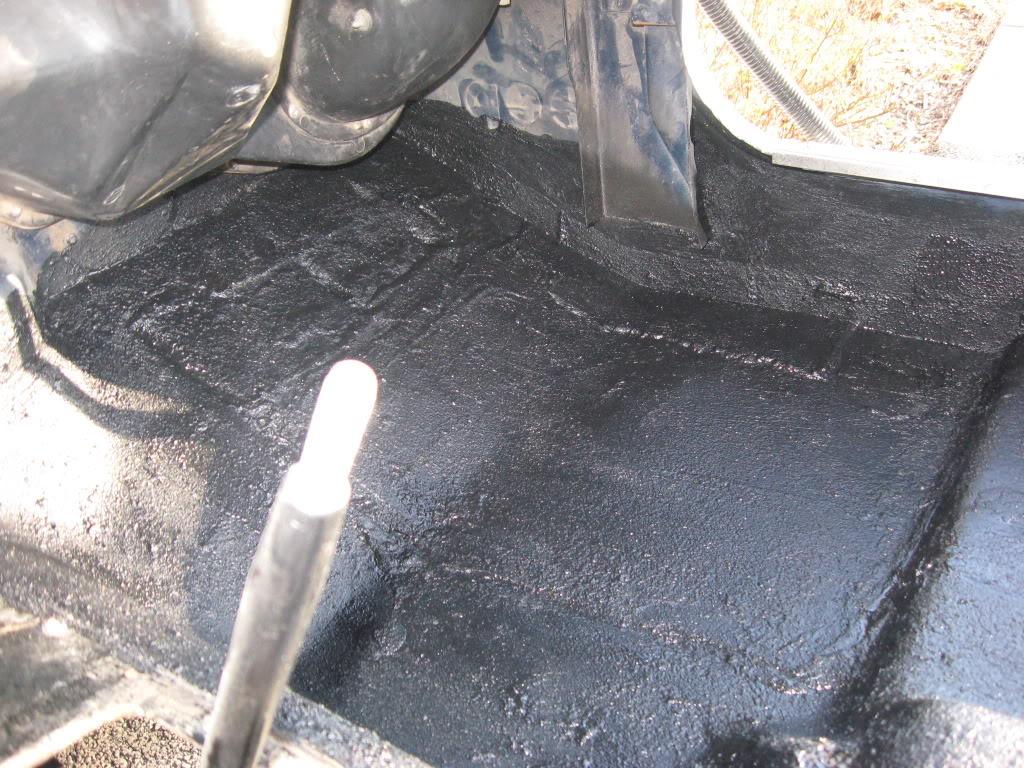
picked up some duplicolor bed armor on sale. the 1 gal kit and 1 gal of bondo came to $87 cant beat that deal.
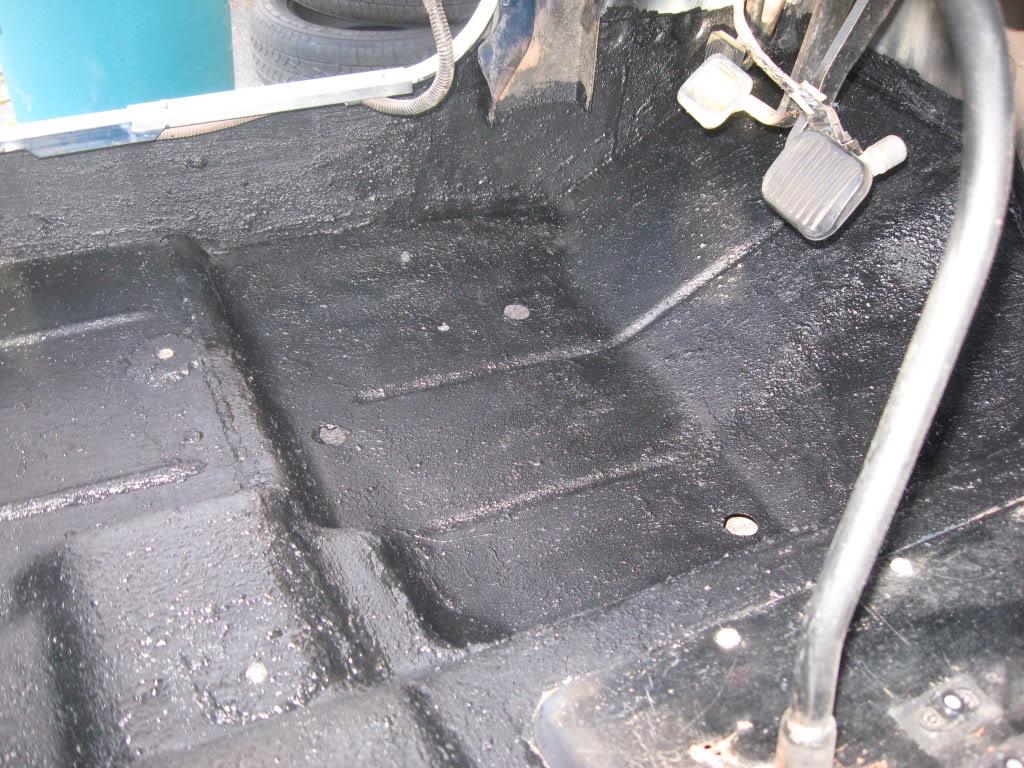
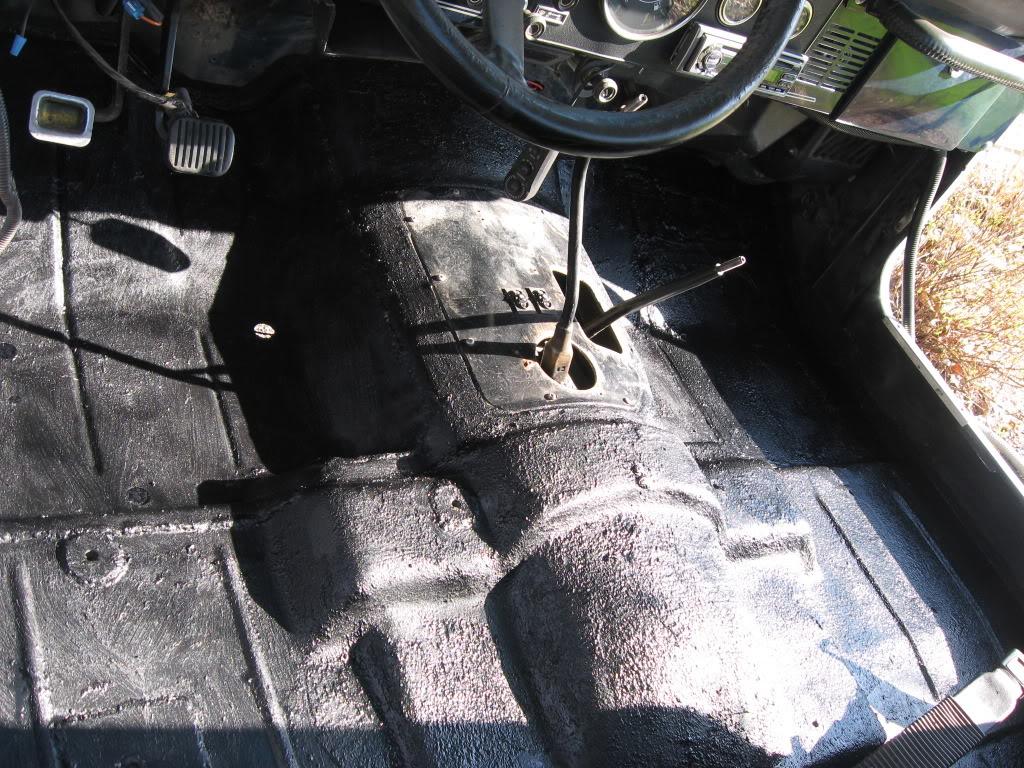
2 coats on it.
cut the hole square and welded yet another patch
picked up some duplicolor bed armor on sale. the 1 gal kit and 1 gal of bondo came to $87 cant beat that deal.
2 coats on it.

Will_Texas
Legacy Registered User
- City
- Longview
- State
- TX
Bodywork looks great! 
ExhaustDemon
Legacy Registered User
- City
- newton
- State
- nj
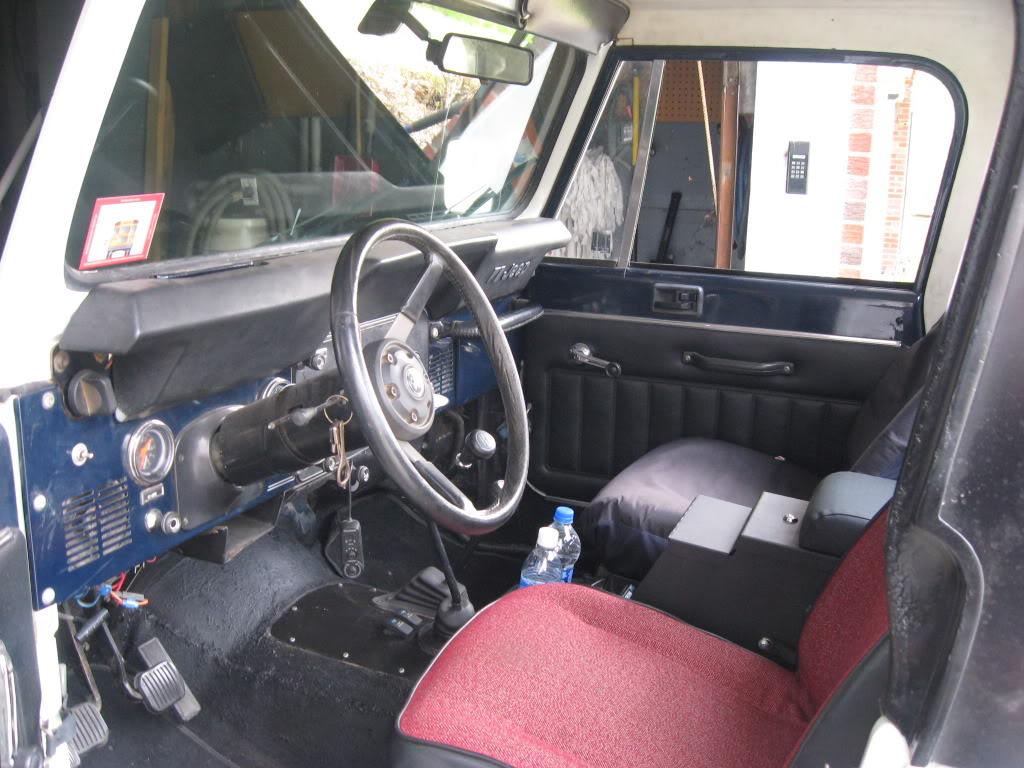
i fixed the wiring to my ARB front locker switch
resealed the air compressor, O ring was leaking.
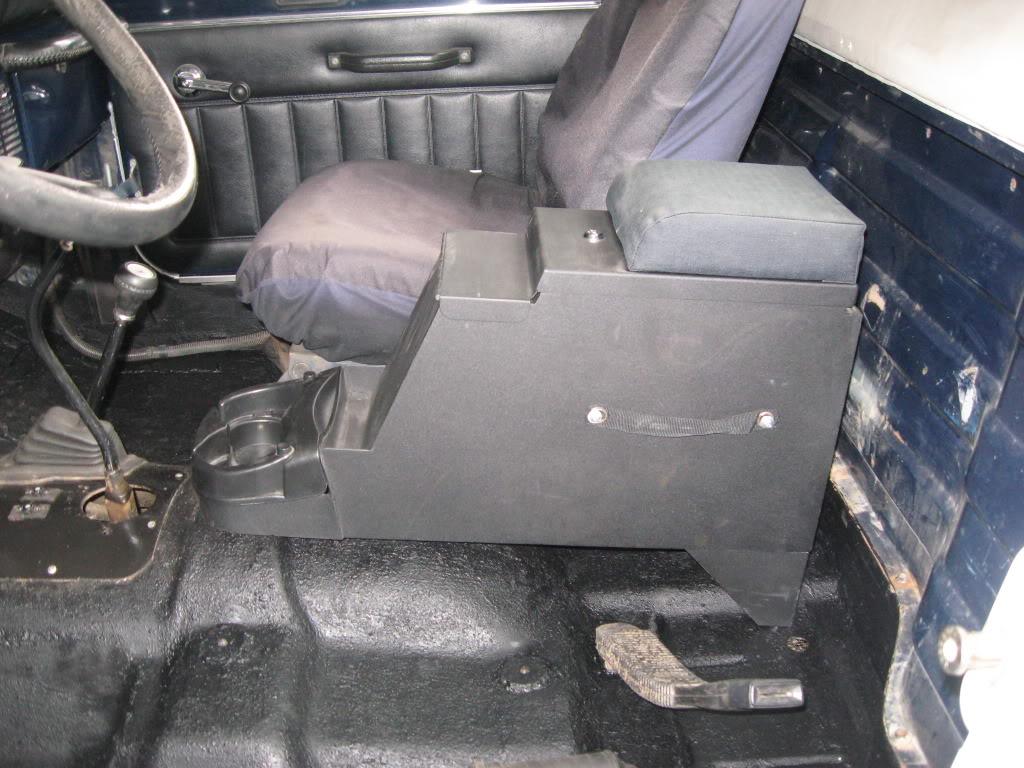
bolted down the Smittybuilt metal console. i like this product. my CB radio fits in it and its got a great cushion.
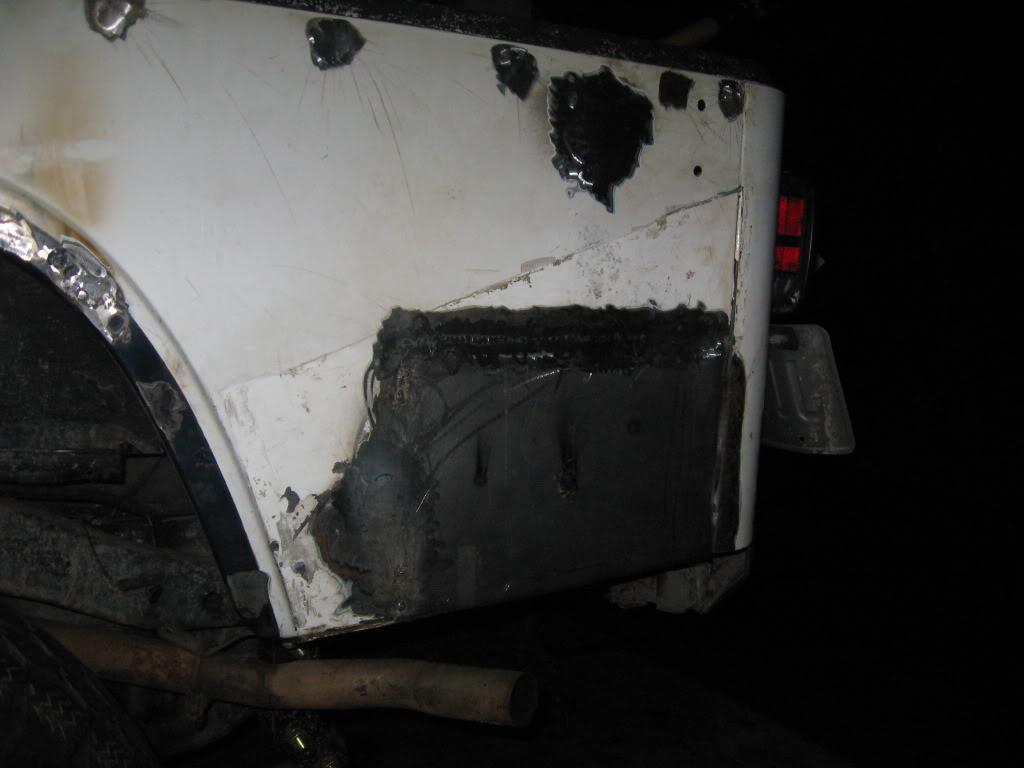
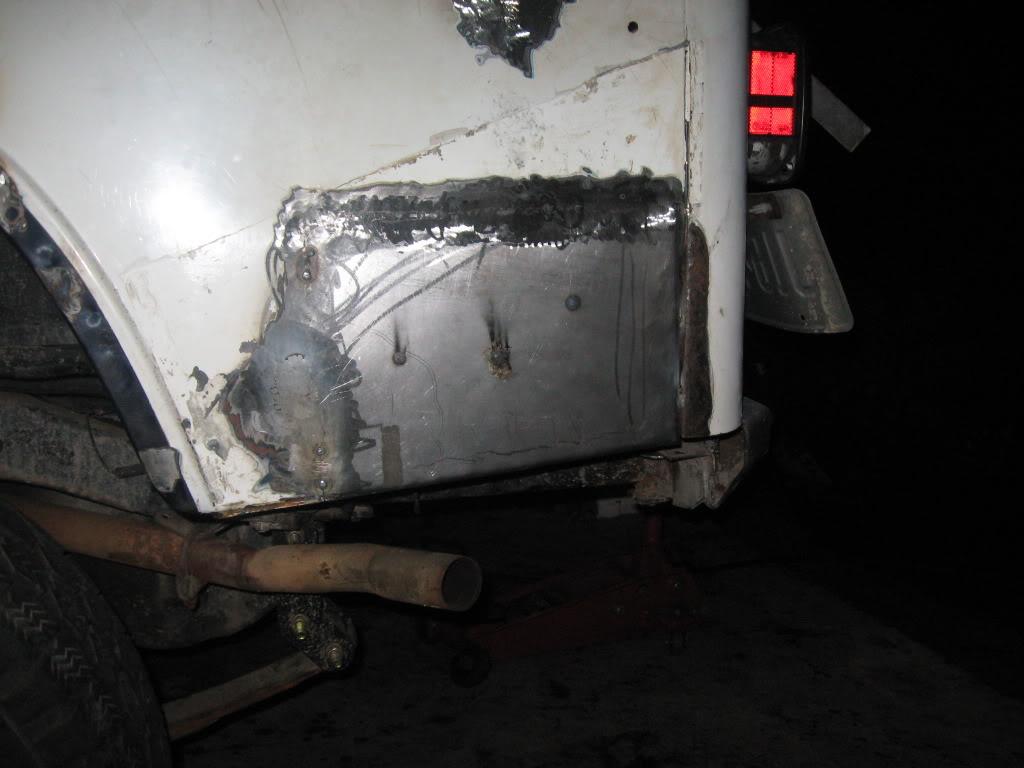
90% finished with this panel; a couple more welds and some grinding and the nightmare will be over.
resealed the air compressor, O ring was leaking.
bolted down the Smittybuilt metal console. i like this product. my CB radio fits in it and its got a great cushion.
90% finished with this panel; a couple more welds and some grinding and the nightmare will be over.
ExhaustDemon
Legacy Registered User
- City
- newton
- State
- nj
finally finished the outside tub
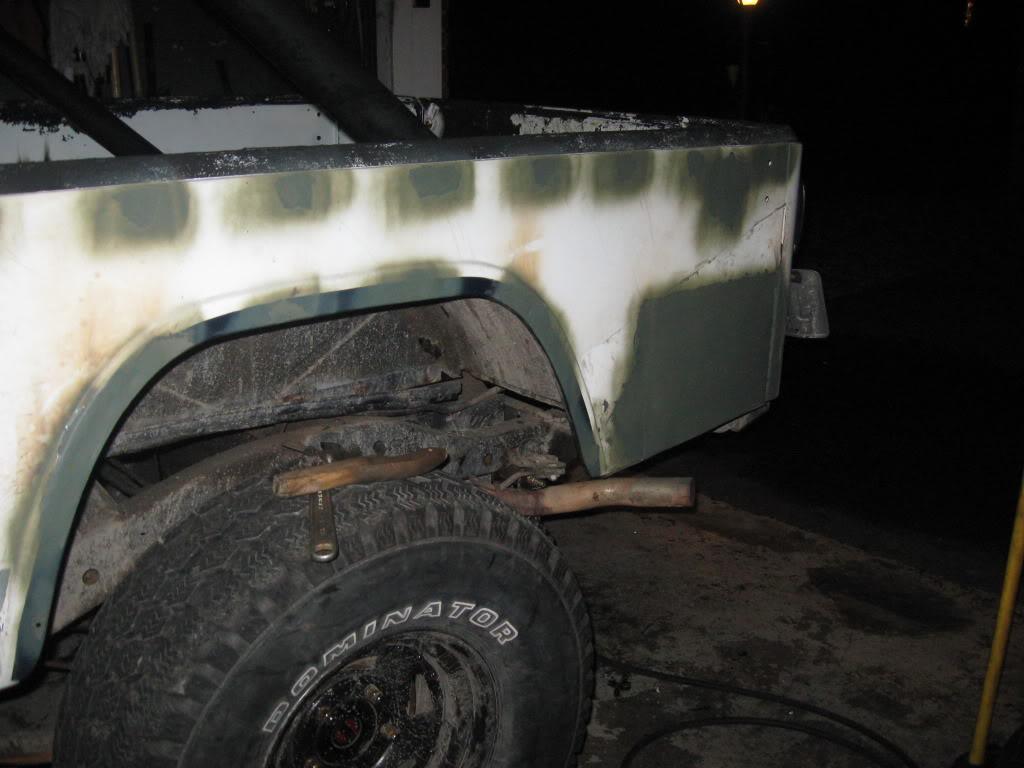
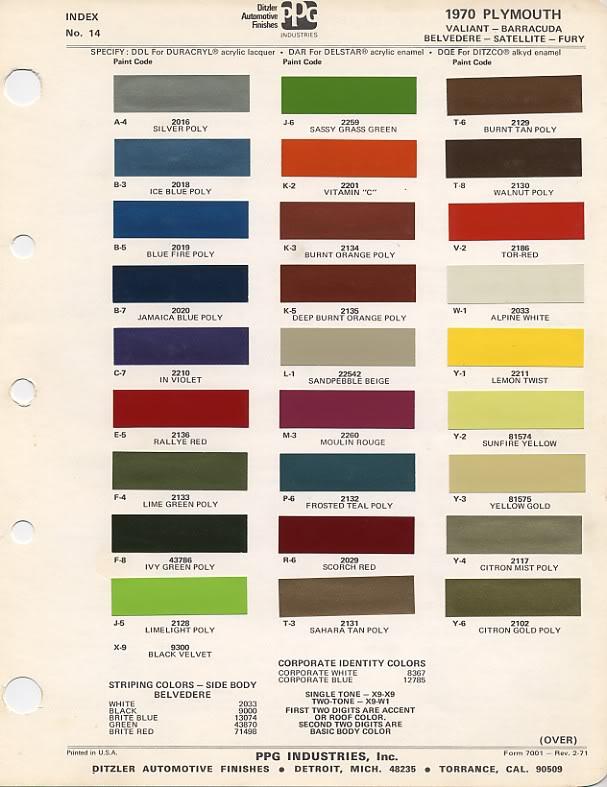
later i will strip the paint off then bondo and prime it. i decided on Sassy Grass Green for the color
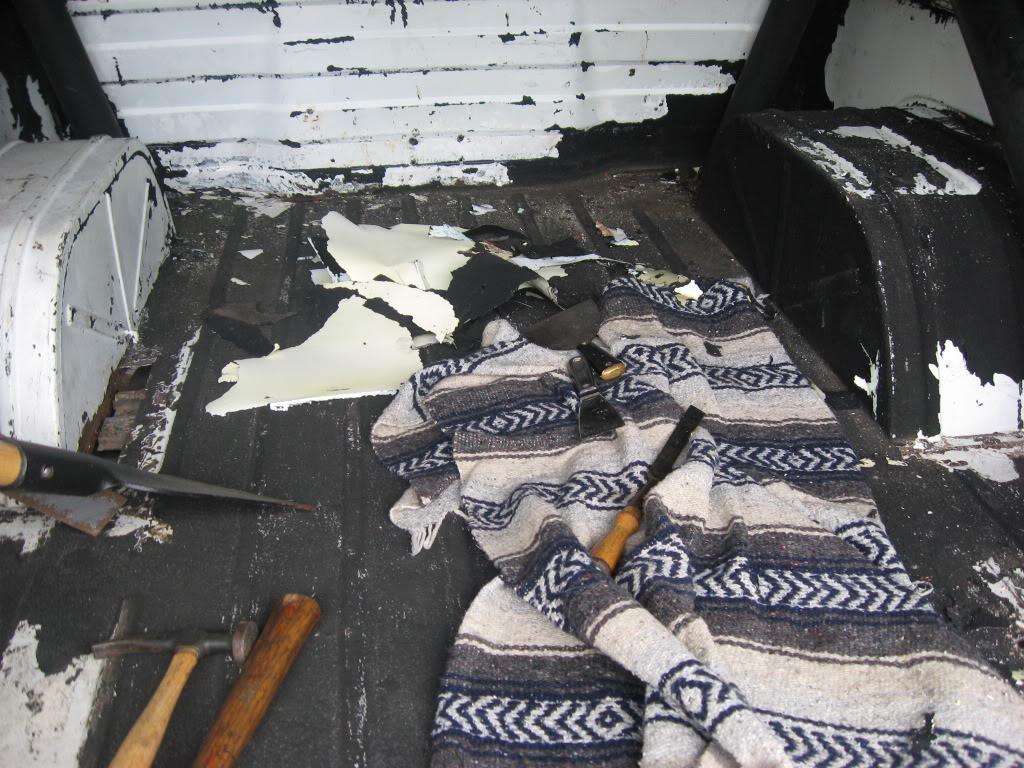
Now the bed !!!
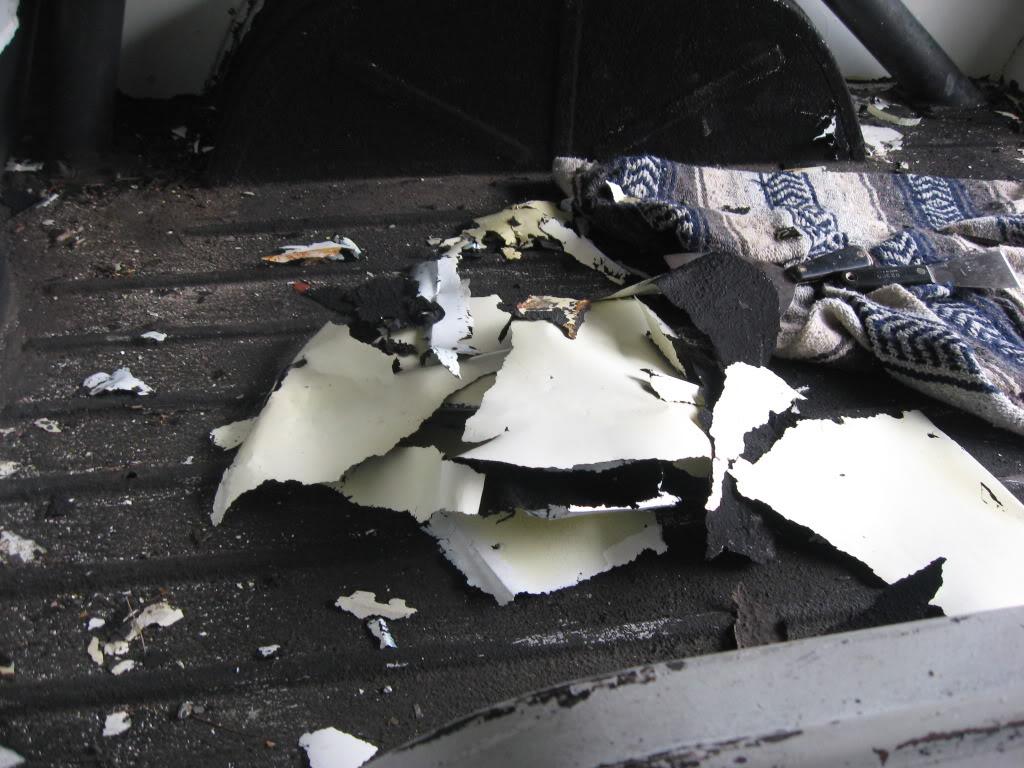
this scraping sucks but luckily most of the sides came off in large sheets
the bed bottom will need a lot more effort
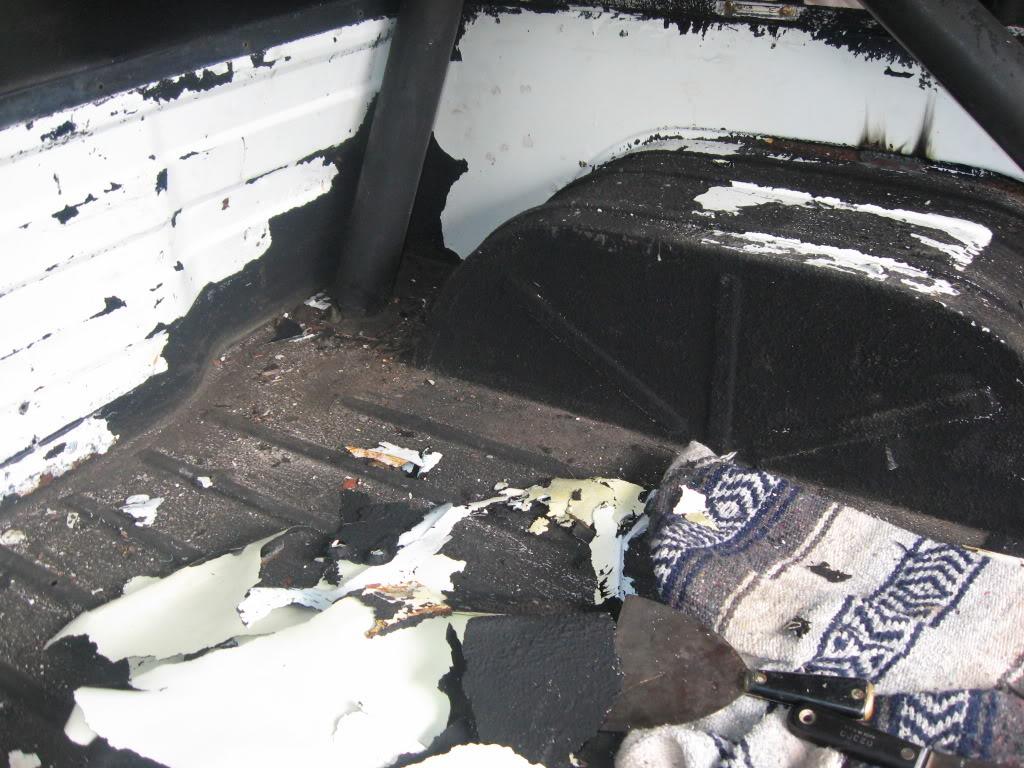
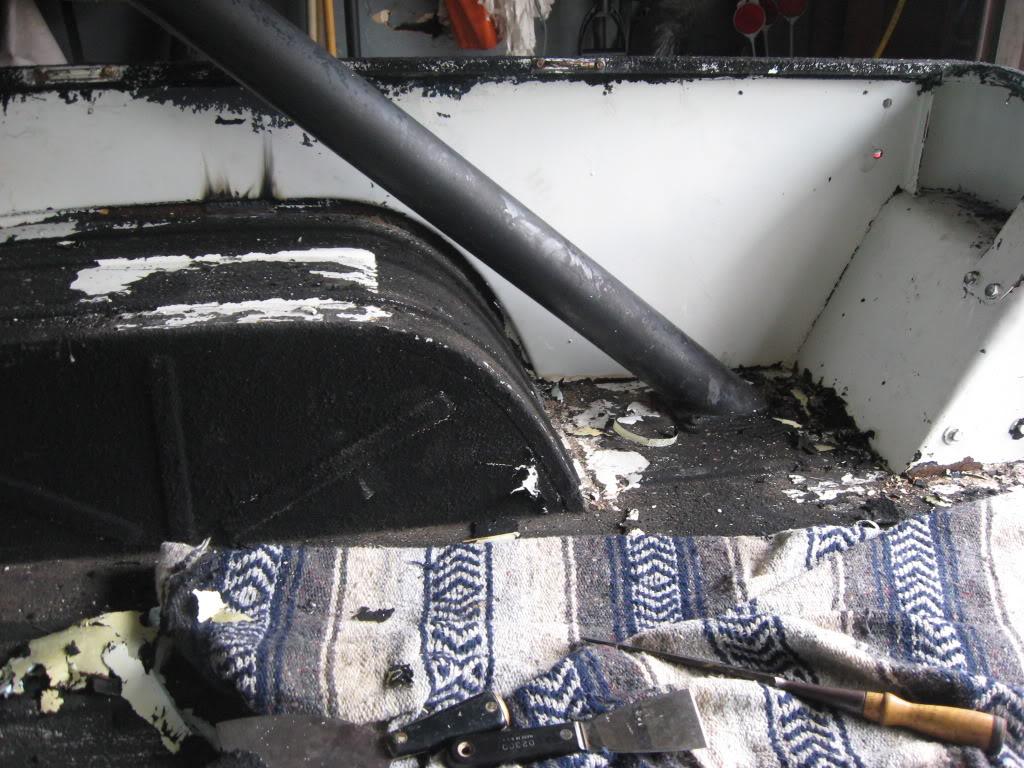
later i will strip the paint off then bondo and prime it. i decided on Sassy Grass Green for the color
Now the bed !!!
this scraping sucks but luckily most of the sides came off in large sheets
the bed bottom will need a lot more effort

ExhaustDemon
Legacy Registered User
- City
- newton
- State
- nj
no i haven't, i would have to rent one.
i started using a power tool with a scraper attachment on the floor , it seems to work ok
here is the tool pictured
i started using a power tool with a scraper attachment on the floor , it seems to work ok
here is the tool pictured
ExhaustDemon
Legacy Registered User
- City
- newton
- State
- nj
great day today. i drove it more than i worked on it
removed the roll bar after a bolt mod. wire welders are awesome.
bulkhead was in great shape no rot anywhere.
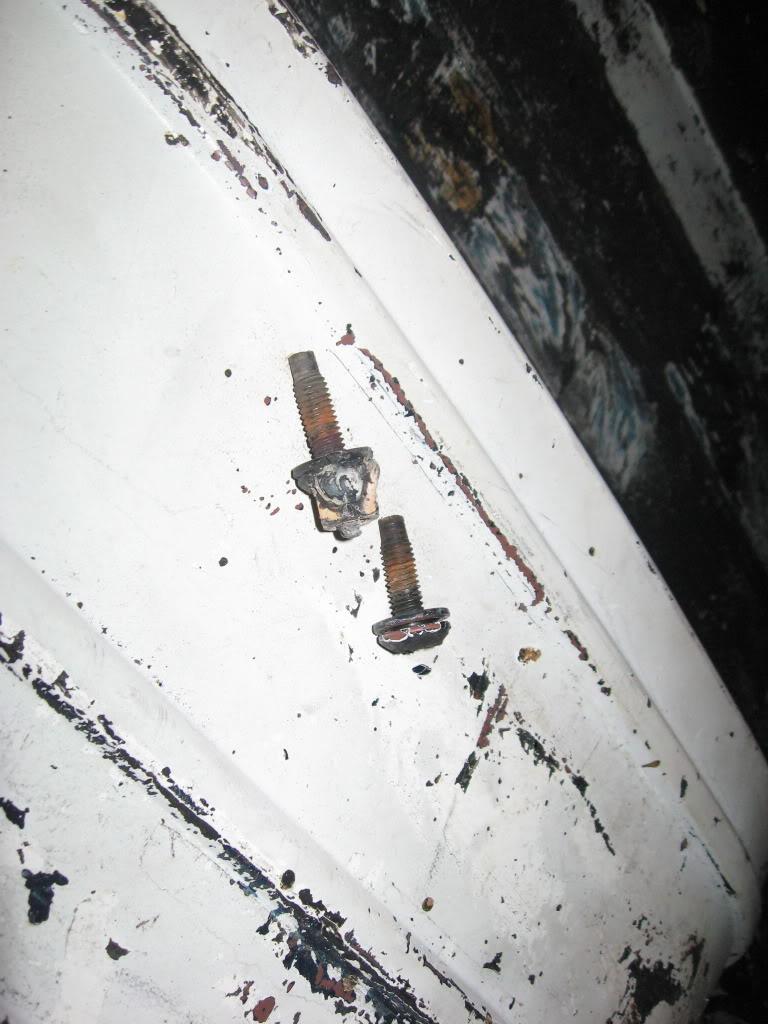
the metal under the pads were just surface rust; no rot
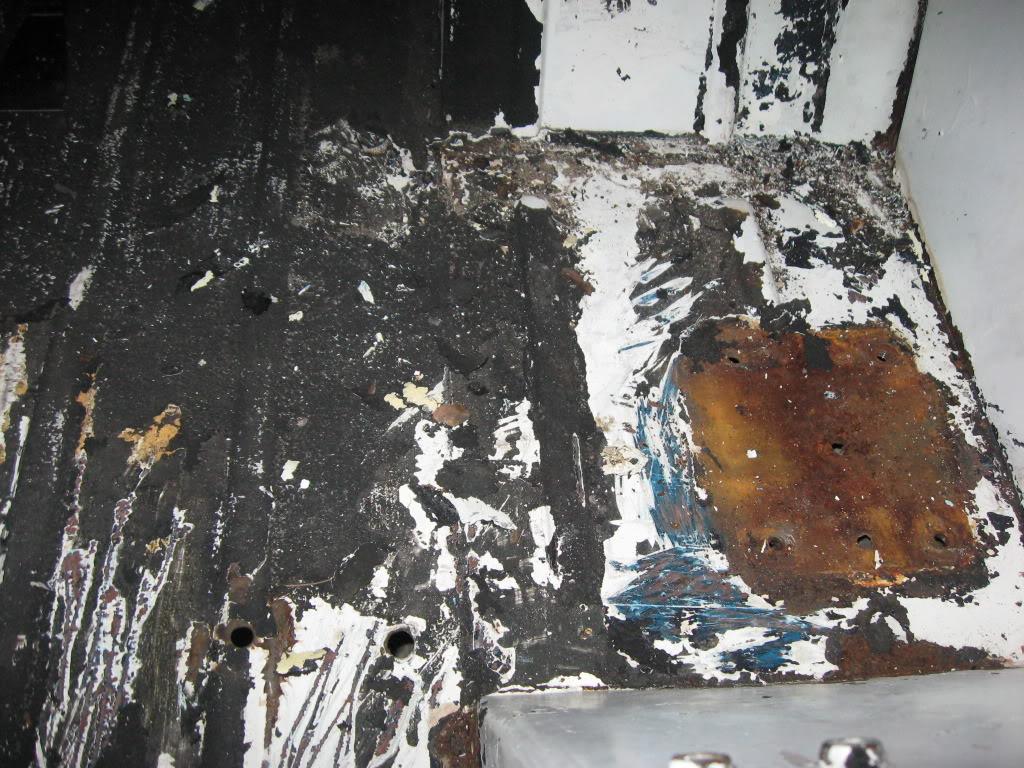
more scraping
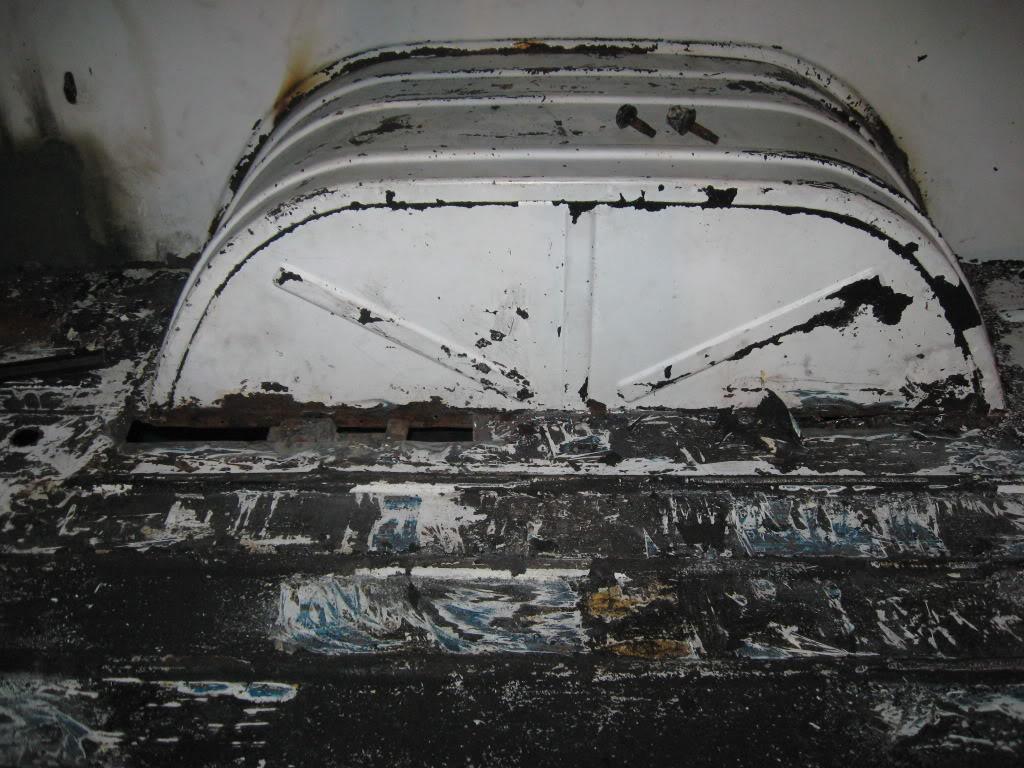
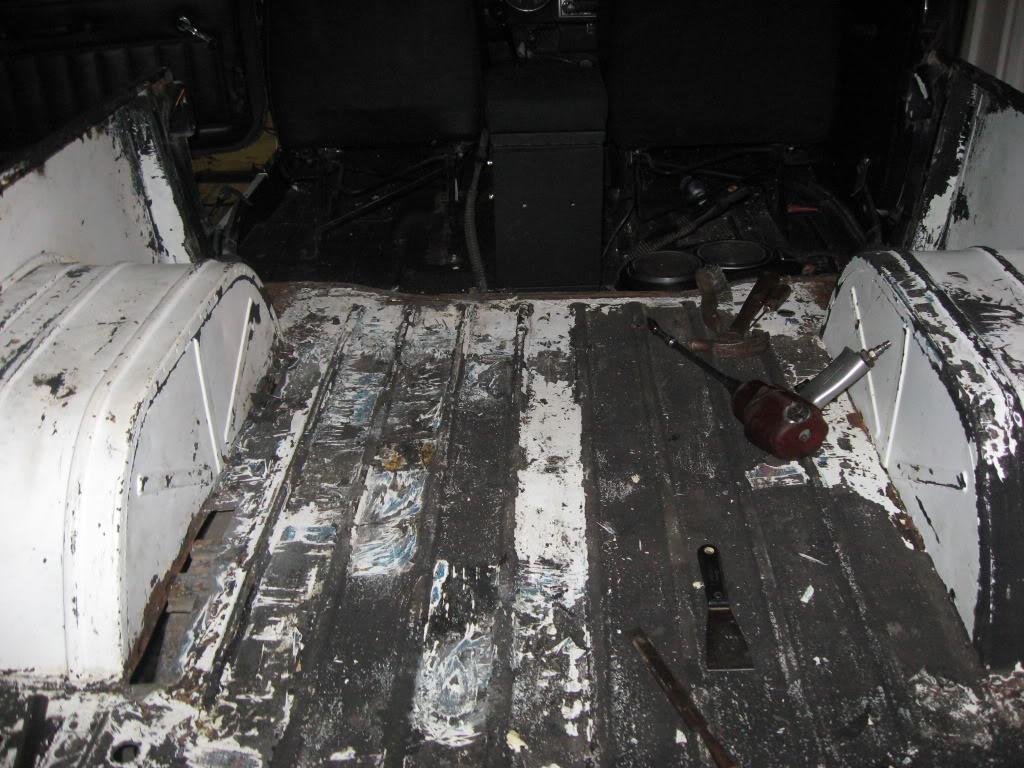
more holes to patch
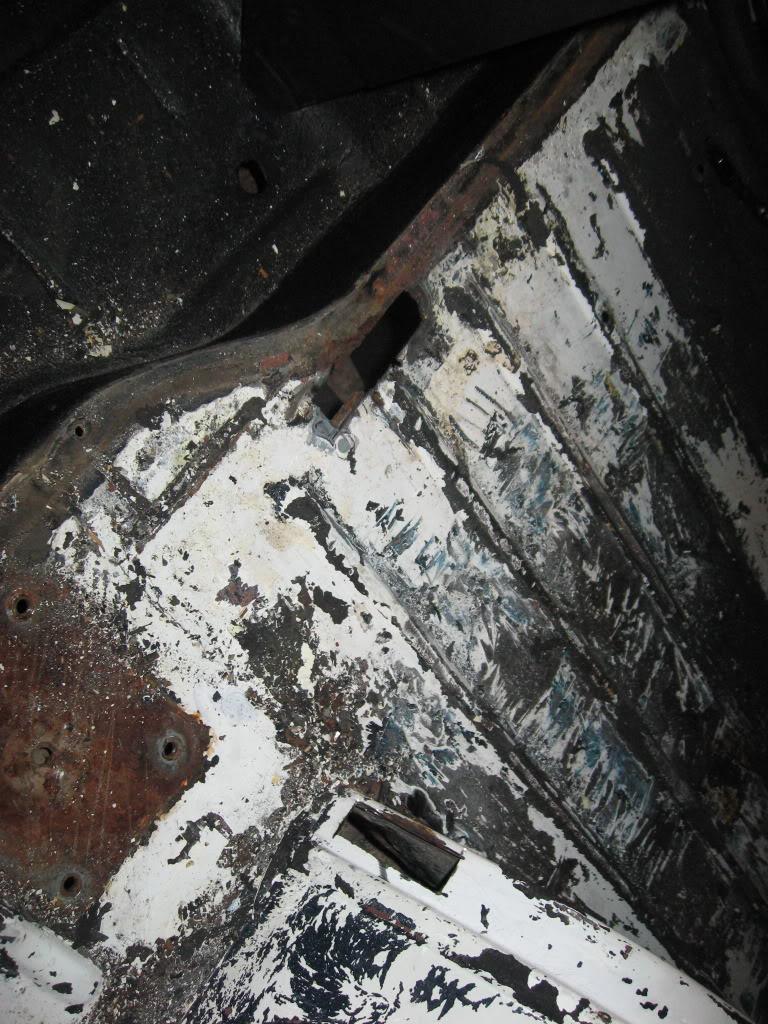
removed the roll bar after a bolt mod. wire welders are awesome.
bulkhead was in great shape no rot anywhere.
the metal under the pads were just surface rust; no rot
more scraping
more holes to patch
ExhaustDemon
Legacy Registered User
- City
- newton
- State
- nj
i finished all the holes in my jeep. no more rust holes
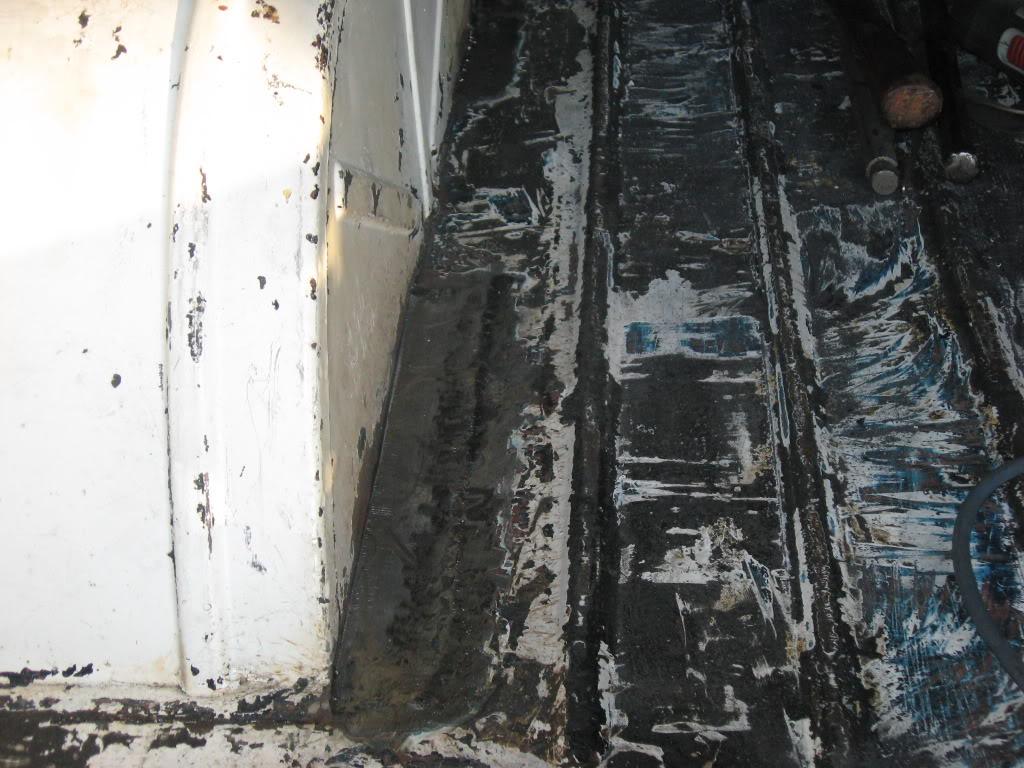
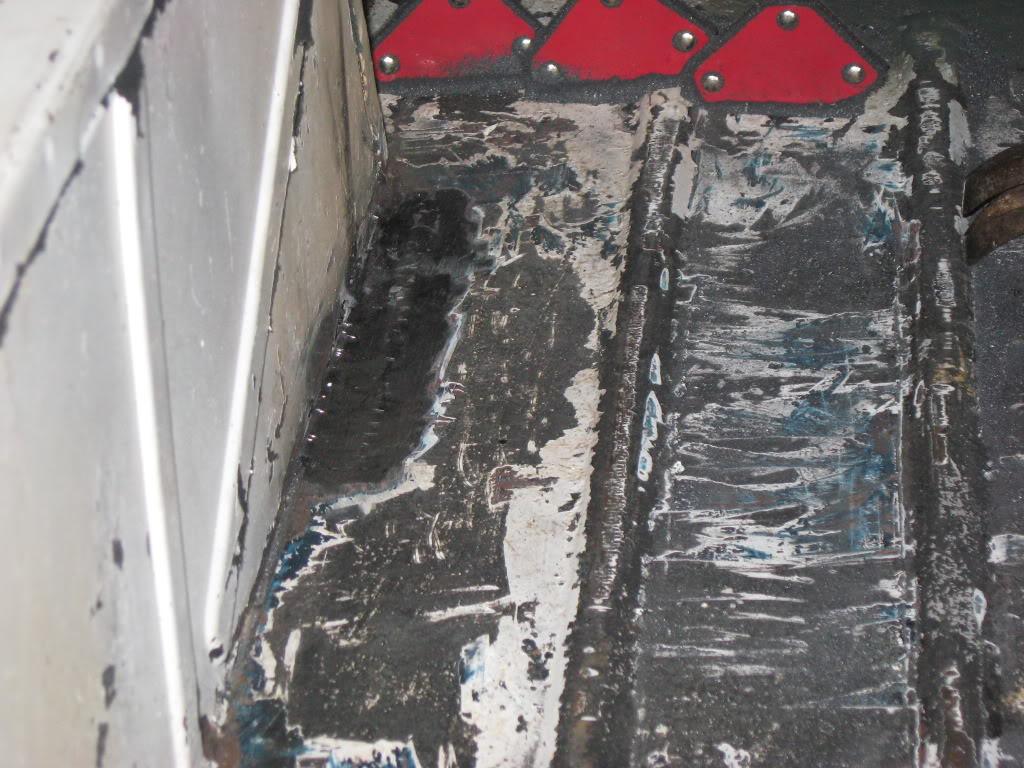
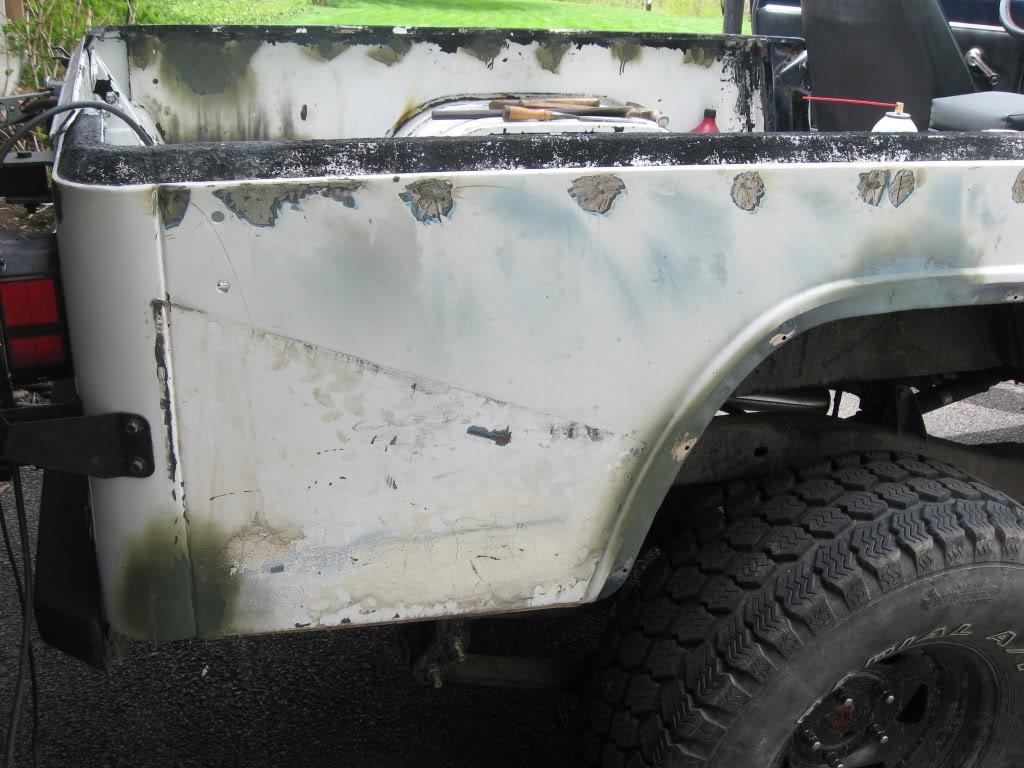
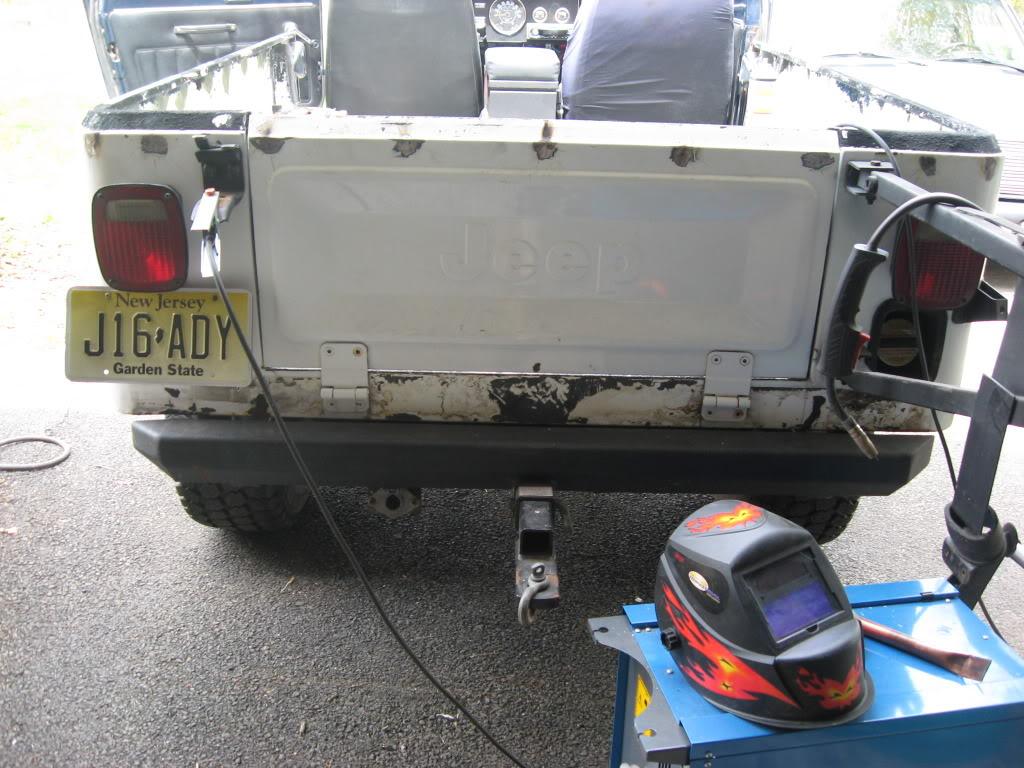
now its time to drive it and save up cash for the paint job.
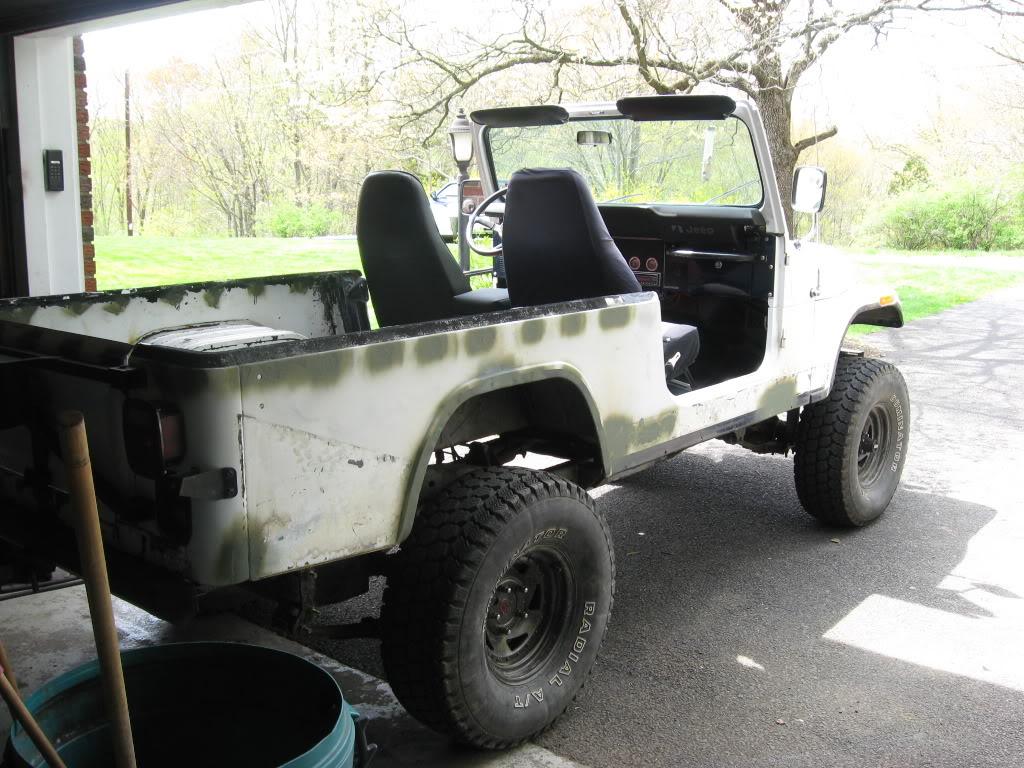
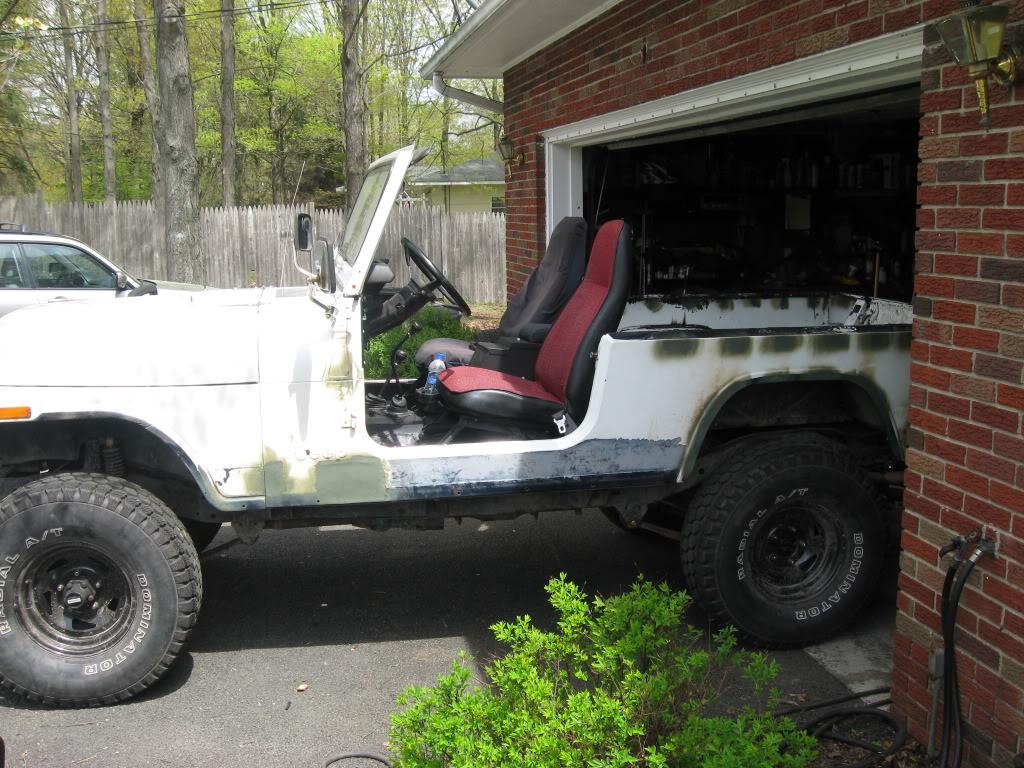
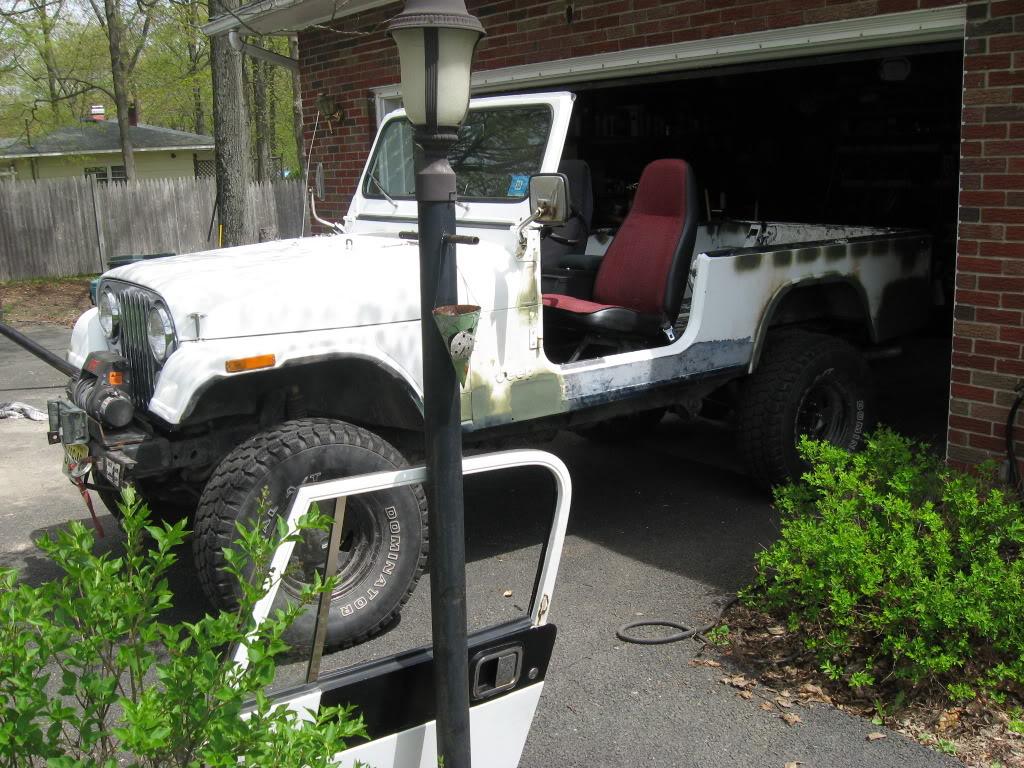
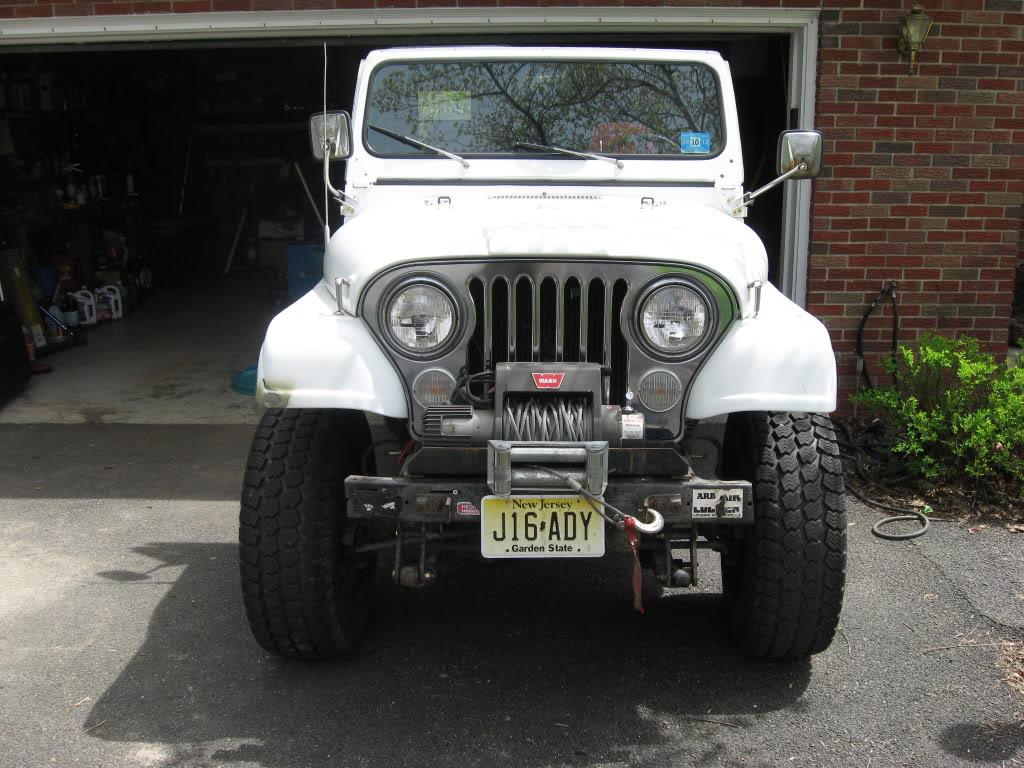
the plan is to remove everything off the tub then drive it to the body shop. they will strip/sand blast all the paint off, prime and paint it. next i'll give them all the other parts to do the same thing. i'll assemble it after i paint the frame engine compartment etc.
now its time to drive it and save up cash for the paint job.
the plan is to remove everything off the tub then drive it to the body shop. they will strip/sand blast all the paint off, prime and paint it. next i'll give them all the other parts to do the same thing. i'll assemble it after i paint the frame engine compartment etc.
Last edited:

- City
- Redmond
- State
- OR


ExhaustDemon
Legacy Registered User
- City
- newton
- State
- nj
Nice work! I'm not looking forward to scraping the old bedliner out of my tub!
i got lucky mine came off in sheets on the sides.
the bed floor was a btich. i used a craftsman vibrating scraper, it helped but the best tool was a thin wood-working chisel
you can see it in the pictures.
ExhaustDemon
Legacy Registered User
- City
- newton
- State
- nj
the bulkhead has alot of holes put in by the PO's.
welded them closed tonight.
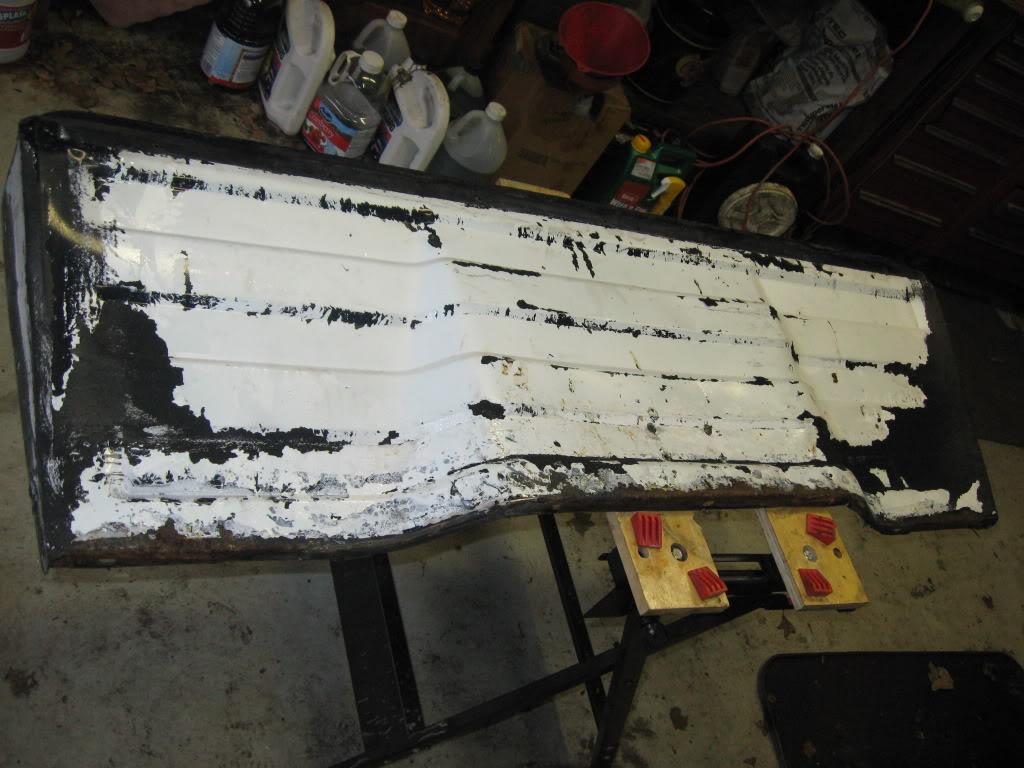
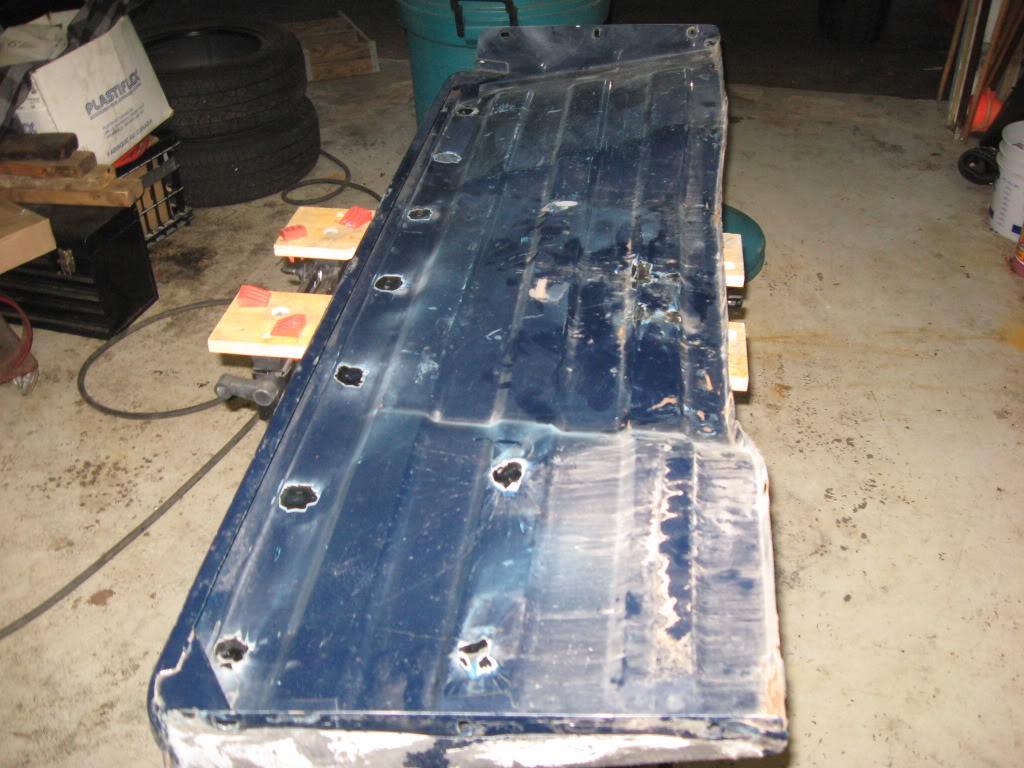
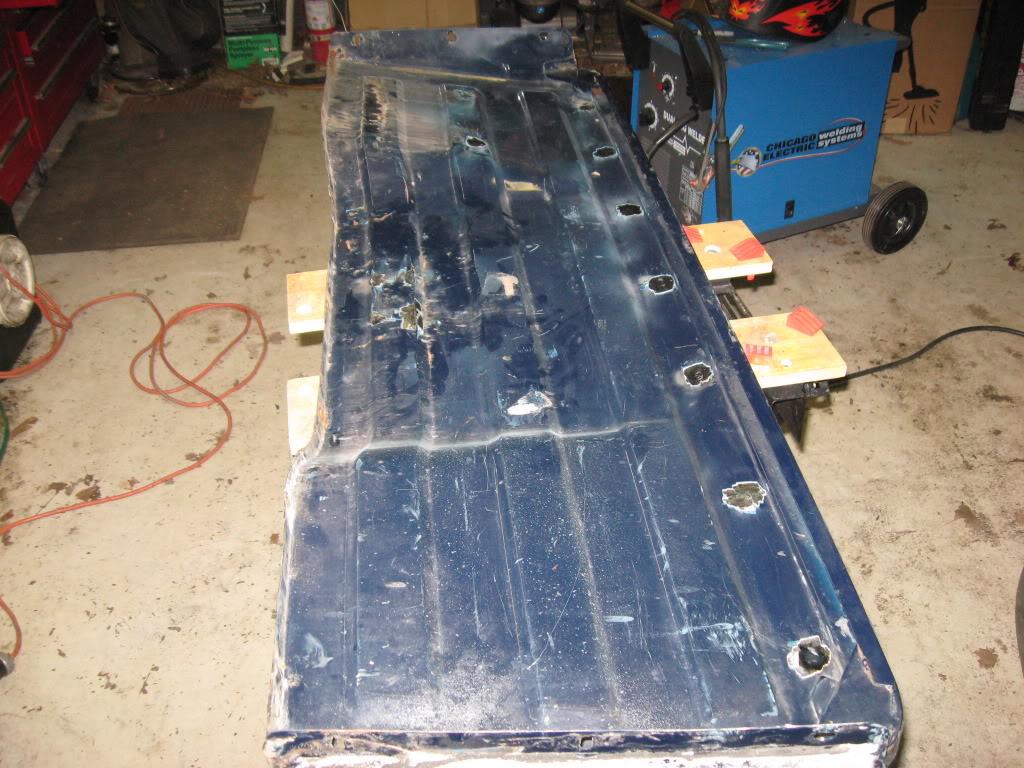
after its all painted and protected the next phase is the engine/trans.
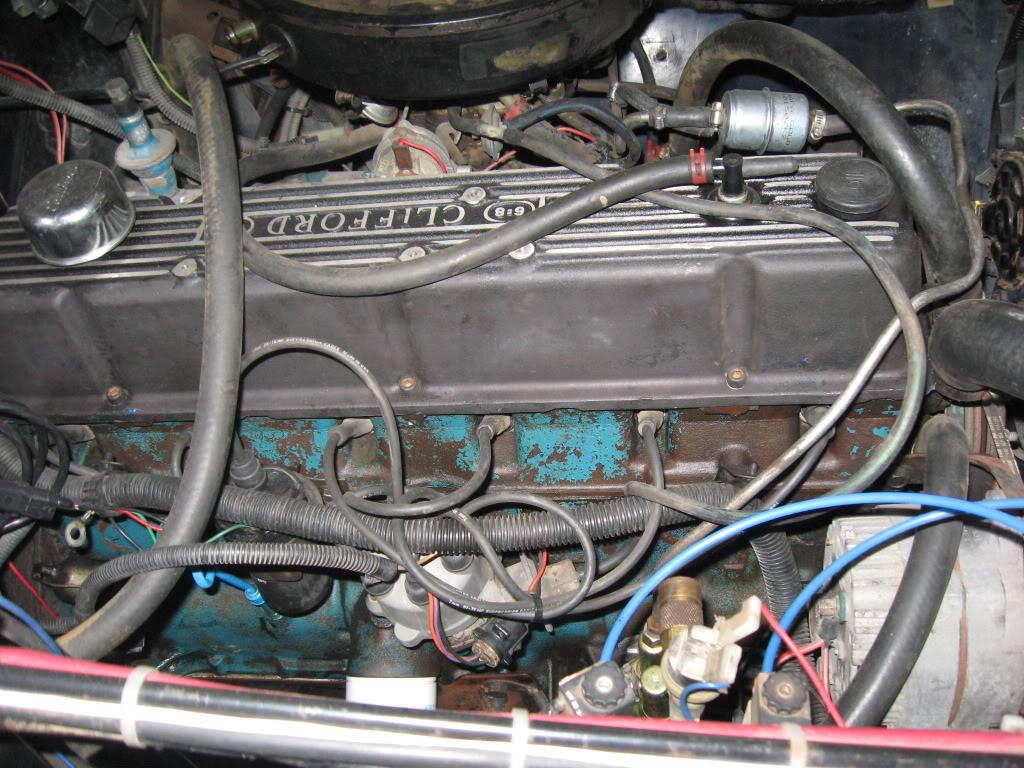
this 258 is a great engine. i like it however it runs on the wrong fuel.
gas is getting way to $$$$$$ so im going to put in a OM617 mercedes engine and run it on a two tank WVO setup.
i need a donor car, 94 and up ax15 and the adapter setup from Koch http://mercedesdiesel4x4.com/default.aspx
i figure its about a year away unless i hit the lottery sometime soon.
from this:
to this
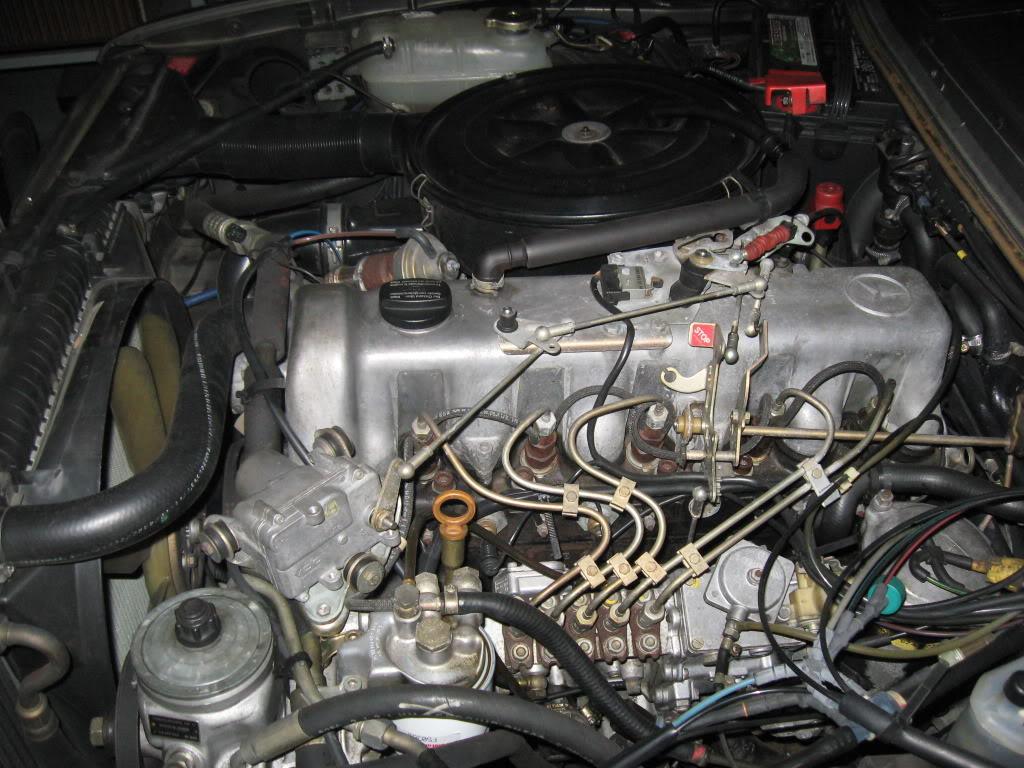
welded them closed tonight.
after its all painted and protected the next phase is the engine/trans.
this 258 is a great engine. i like it however it runs on the wrong fuel.
gas is getting way to $$$$$$ so im going to put in a OM617 mercedes engine and run it on a two tank WVO setup.
i need a donor car, 94 and up ax15 and the adapter setup from Koch http://mercedesdiesel4x4.com/default.aspx
i figure its about a year away unless i hit the lottery sometime soon.
from this:
to this
Will_Texas
Legacy Registered User
- City
- Longview
- State
- TX
Sweet!!!
