• Notice for iPhone users: DO NOT use the image size reduction option when uploading photos to the forum. This causes portrait images to post as landscape. We have added a warning to the image insert pop-up as well.

Another Scrambler Purchase/Road Trip - UPDATE- BODY ON FRAME AGAIN

Raymond,

I'm referencing this thread as often (probably more) than my own pics and FSM as I reassemble my truck... thanks again for all your work to document this.

David
I am glad to know that all my pictures and posts are helpful:cheers:
 
Due to some dental surgery, i have not been able to work on my Scrambler until this past weekend.

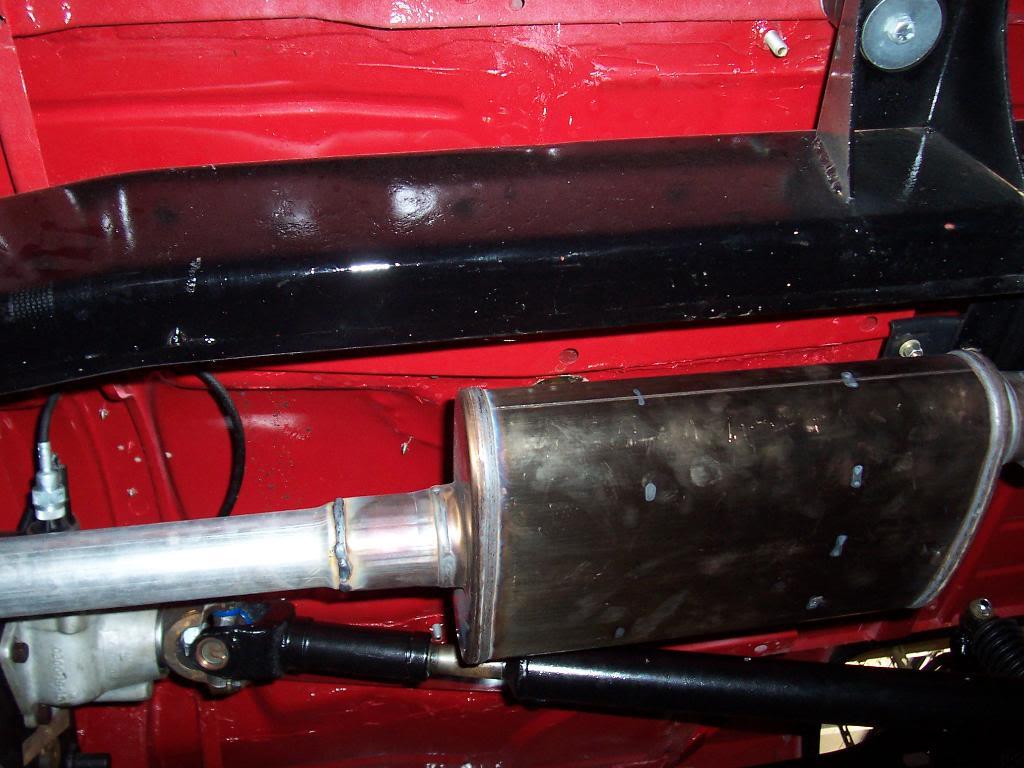
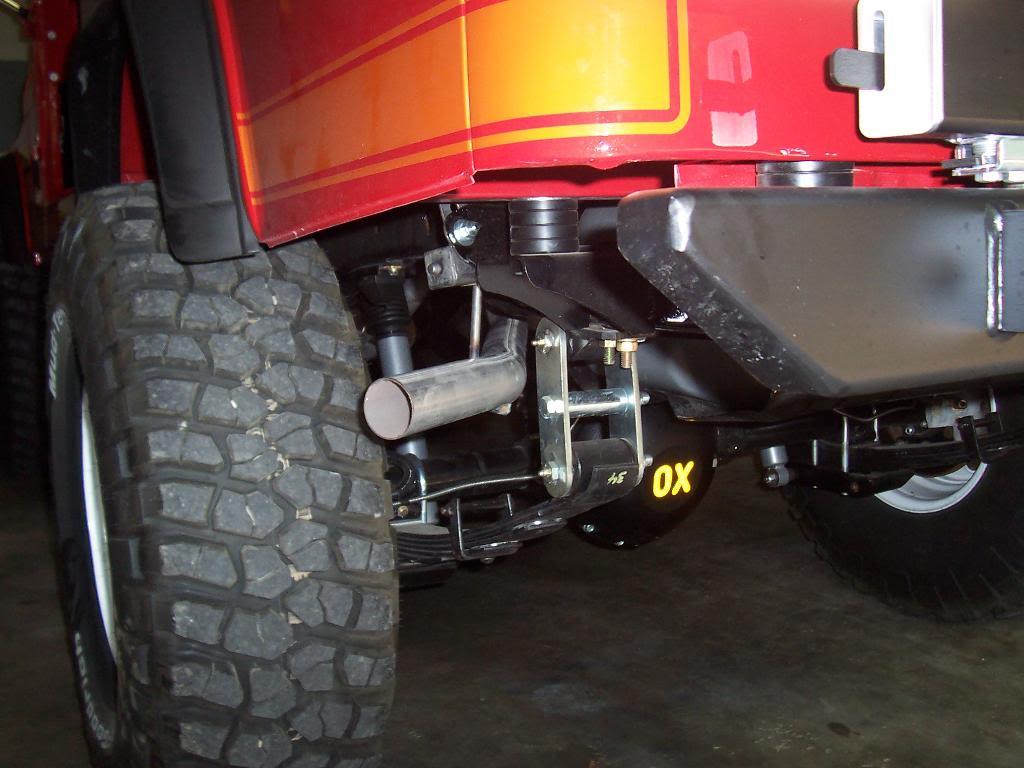
I finally got all new exhaust installed. I let a shop do this. All new pipe and a new muffler. I think the muffler is a Magnaflow? The muffler is one of their "quiet' ones, but it is still too loud for me, I might put a regular muffler back on there.

00129-1.jpg


00230-1.jpg


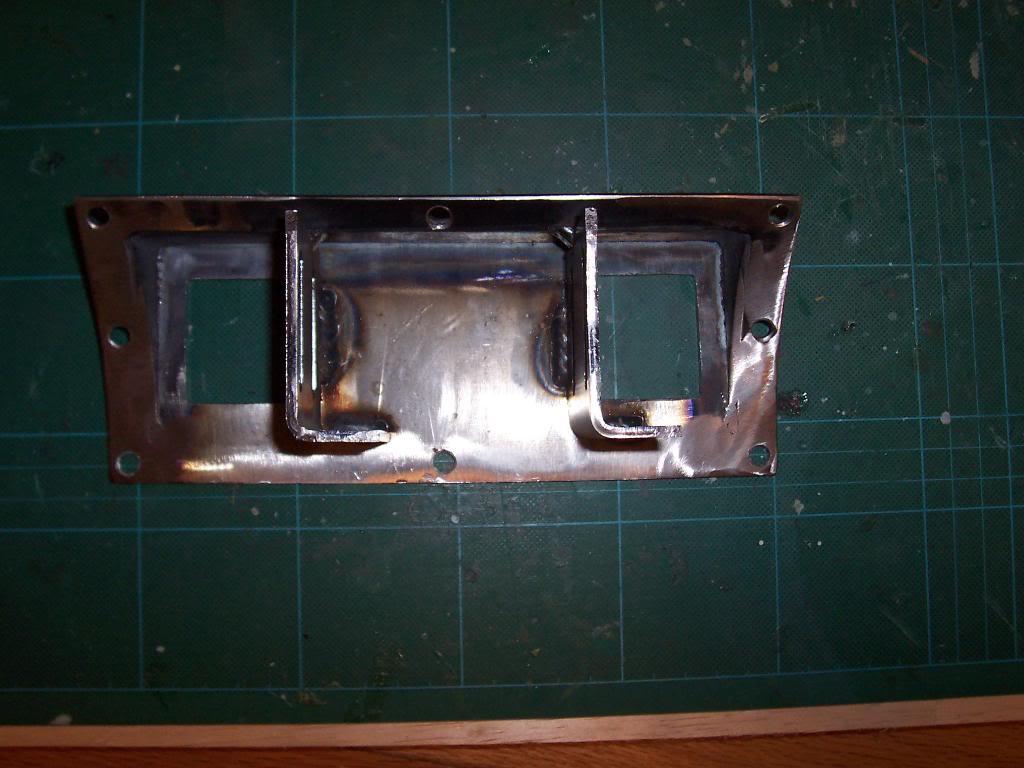
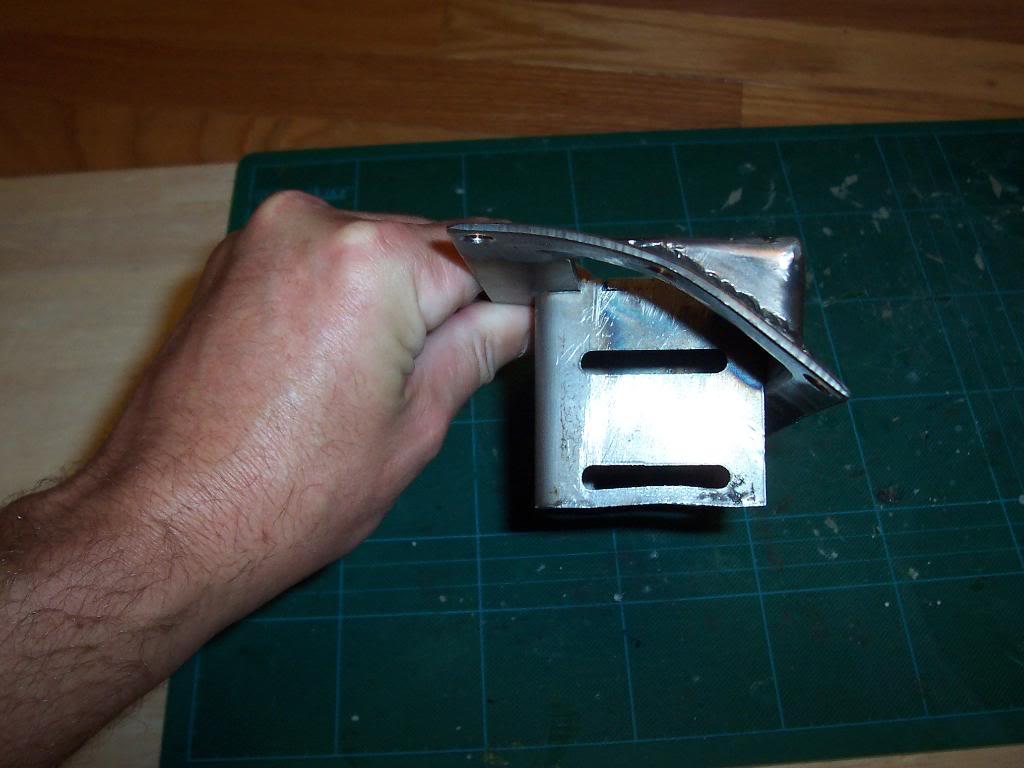
A couple weeks back, Jeepaddict went by Searcher's 4 Wheel Drive in Baton Rouge and picked up one of their dual Ox Locker shifter brackets. I finally got around to installing it.

00326-1.jpg


00427-1.jpg


00525-1.jpg


It is a very nicely made steel bracket. It is designed to be fitted along the side of the transmission tunnel, on the driver side.
 
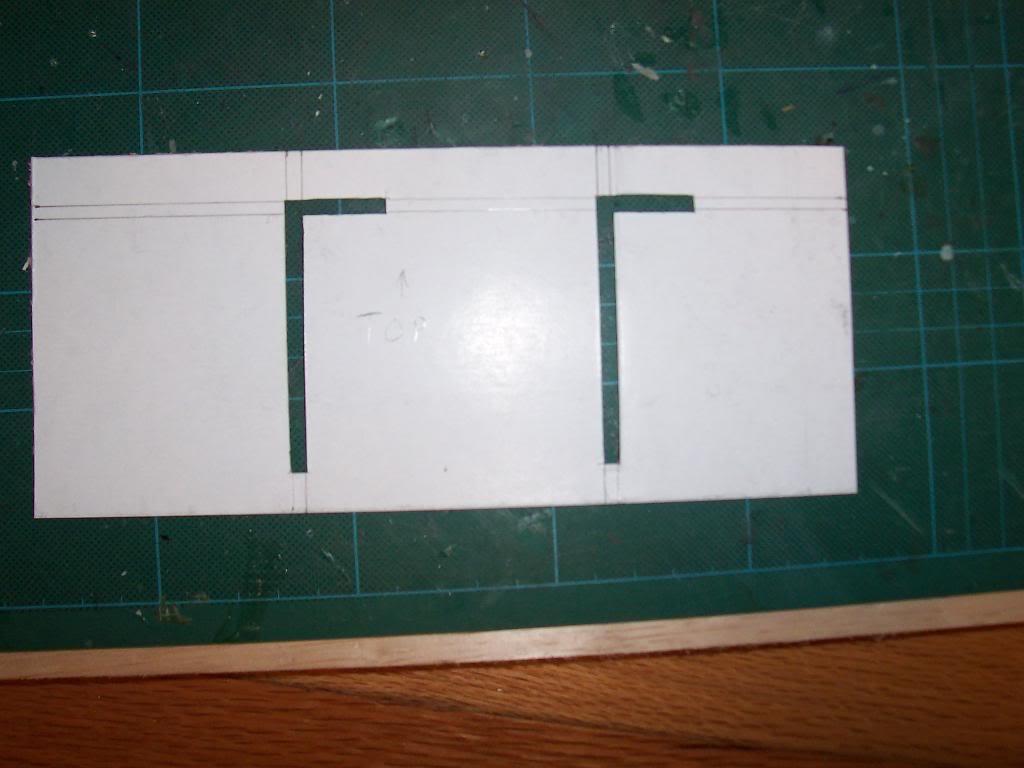
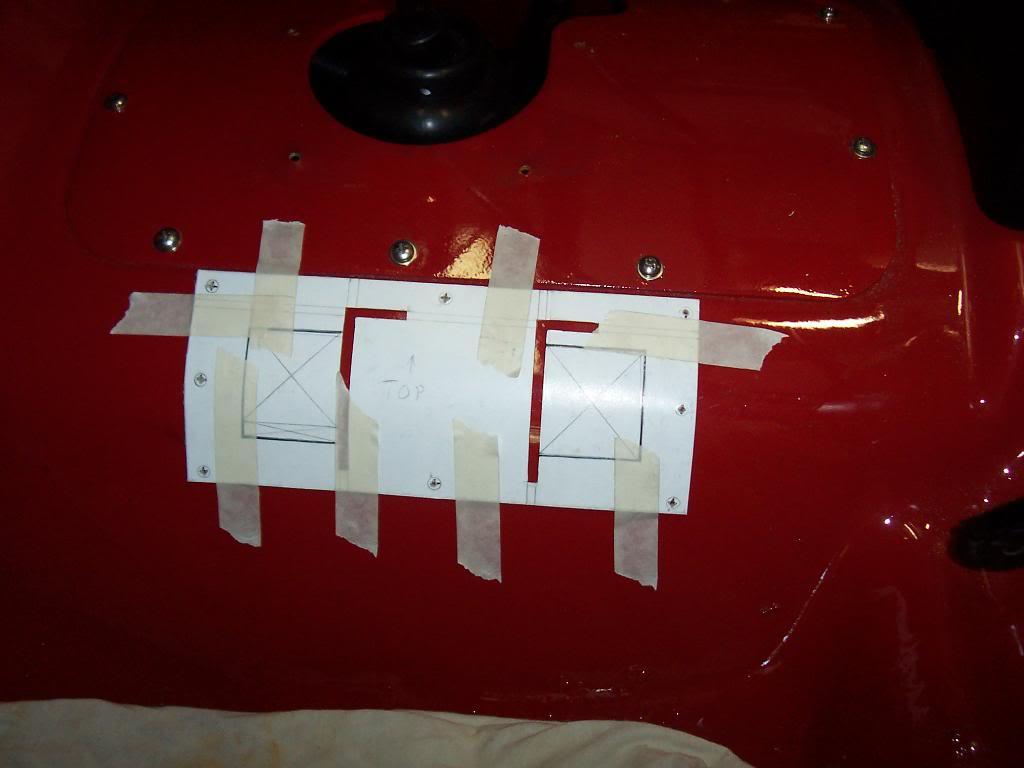
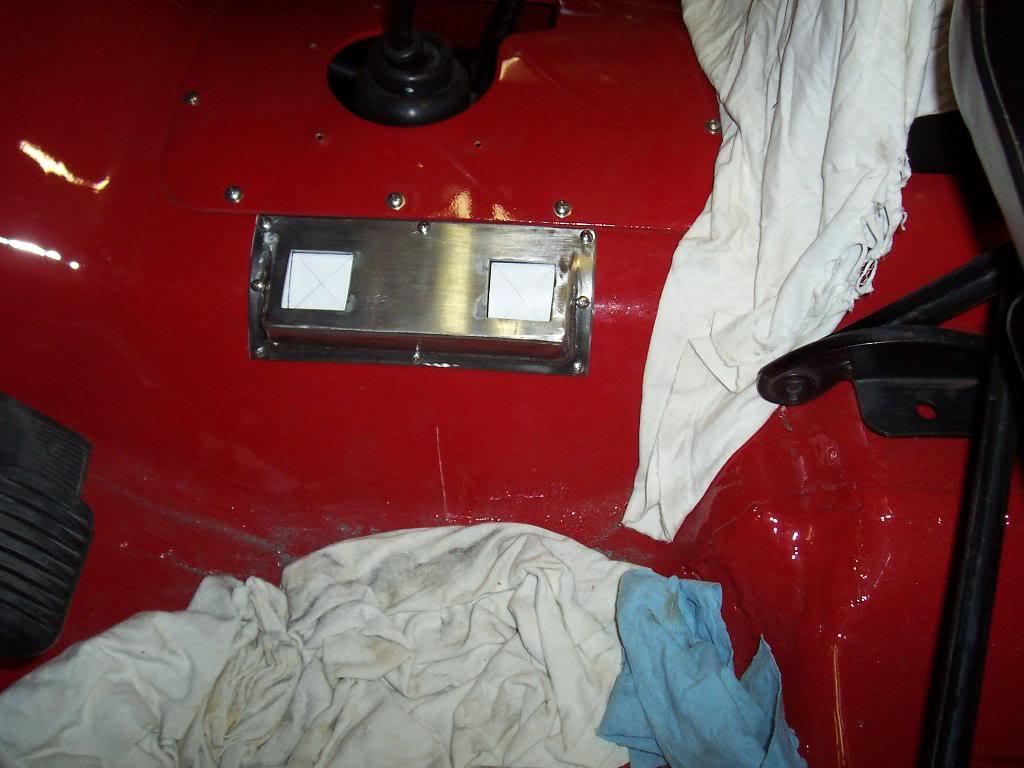
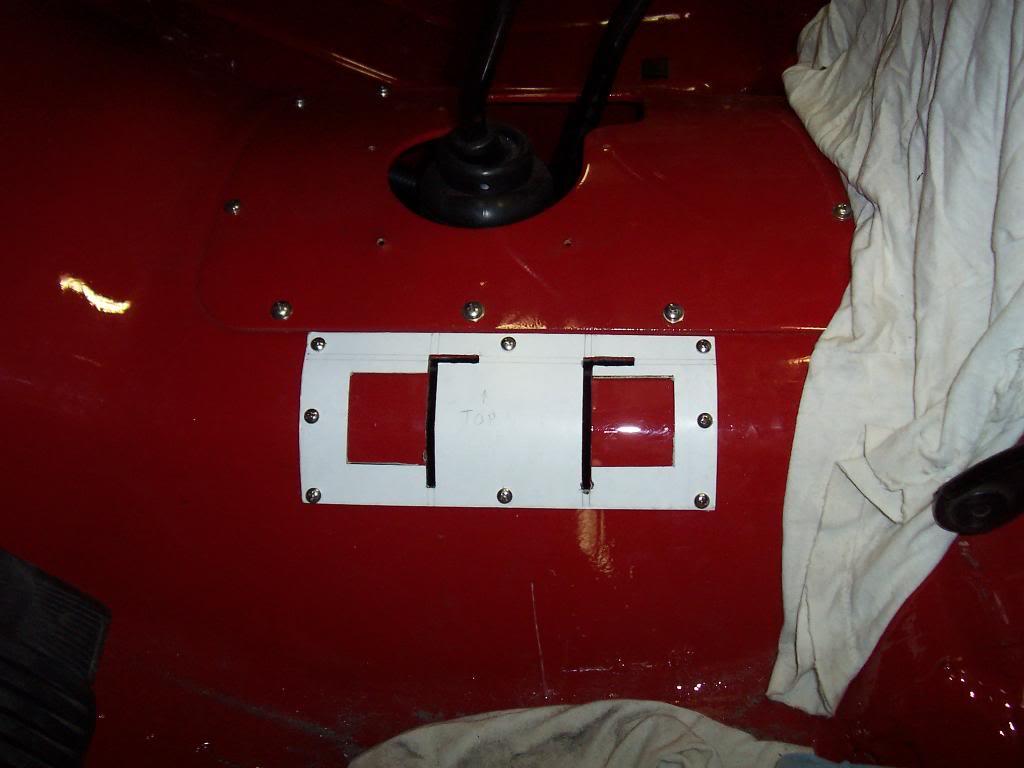
Due to the complex nature of the shifter bracket installation, mainly due to the fact that i am trying to fit a curved bracket onto a curved section of floor, and the fact that i was a little hesitant to start cutting up my floor boards, I took a few minutes and made a cardboard cutting template.

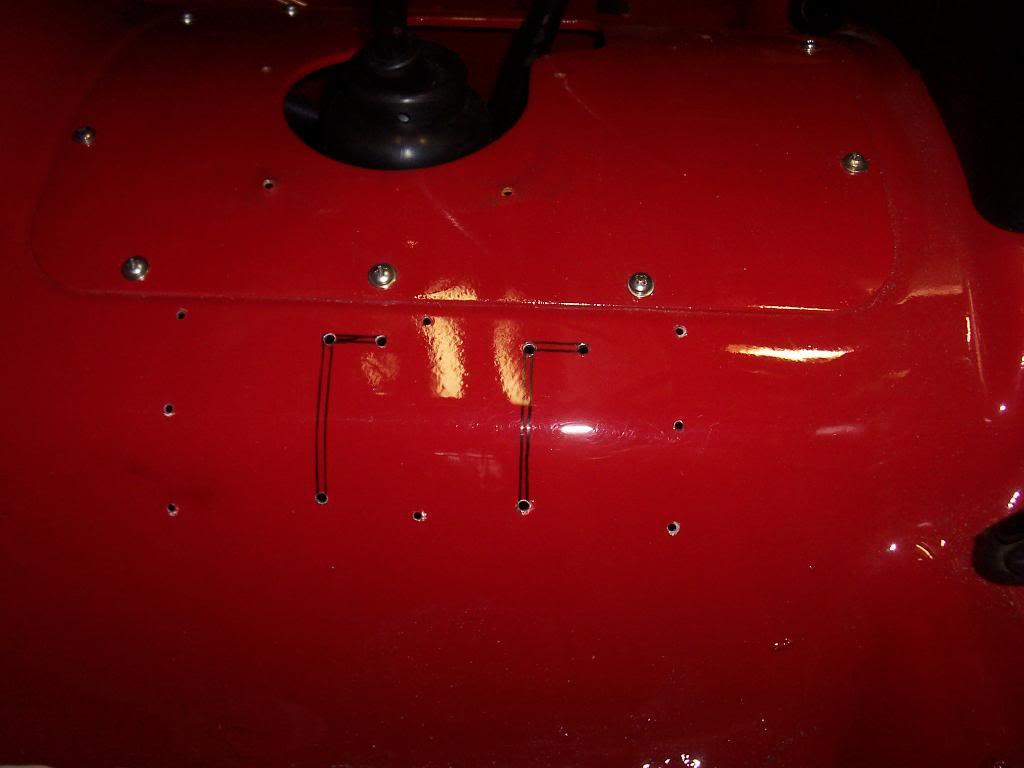
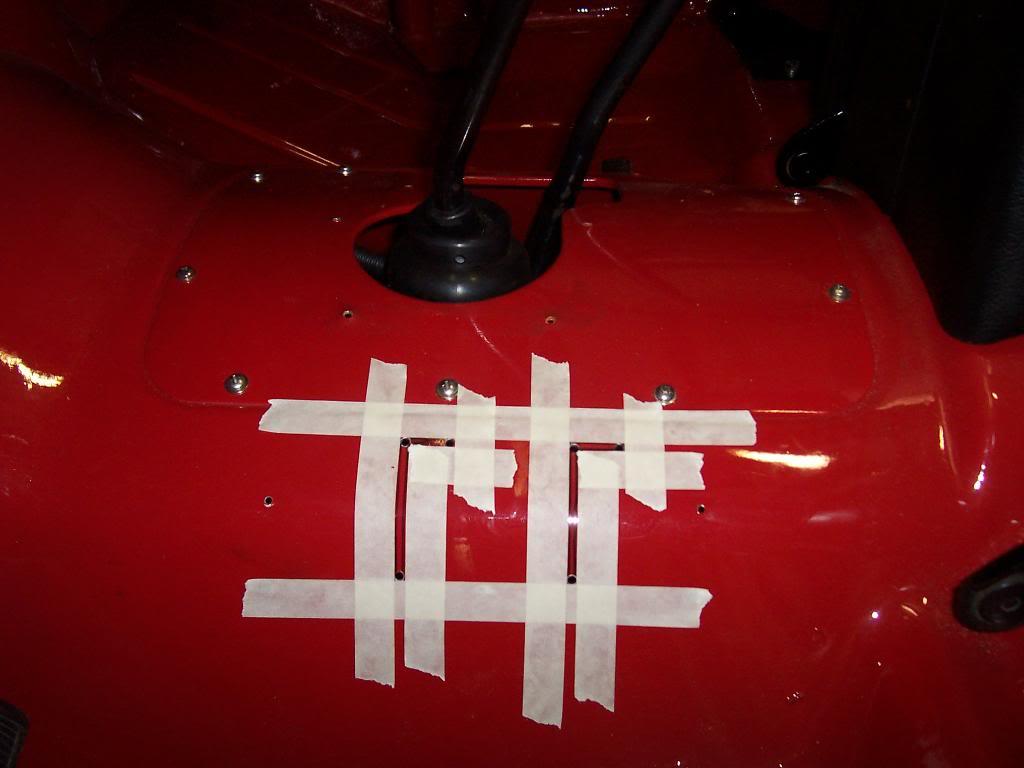
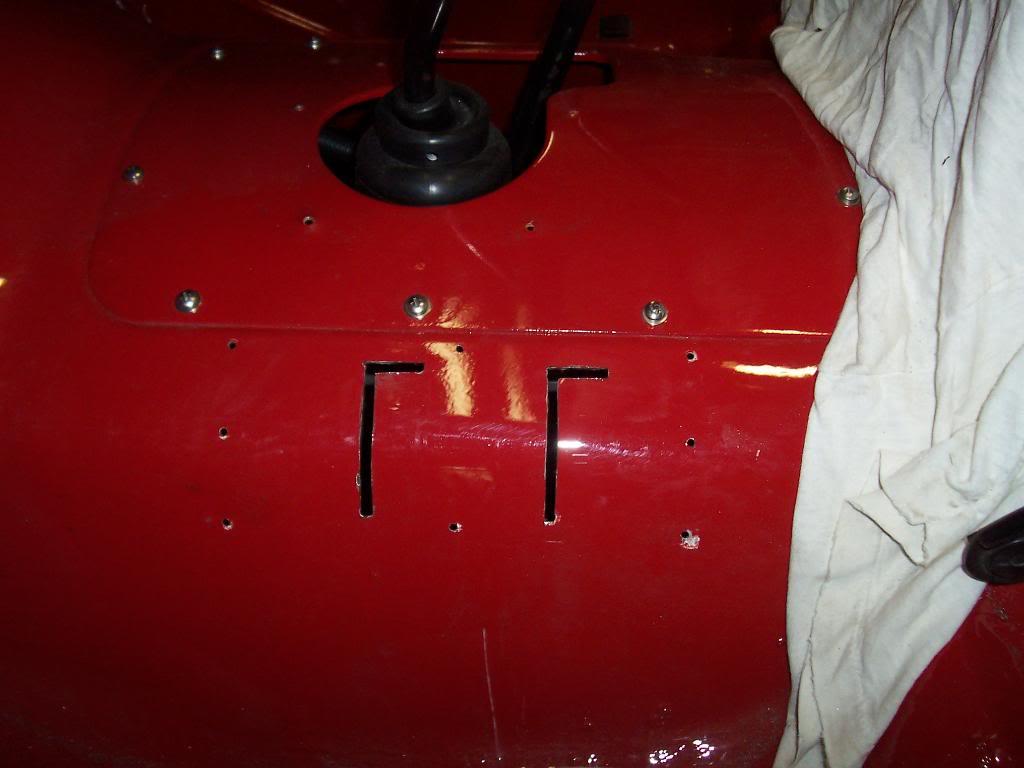
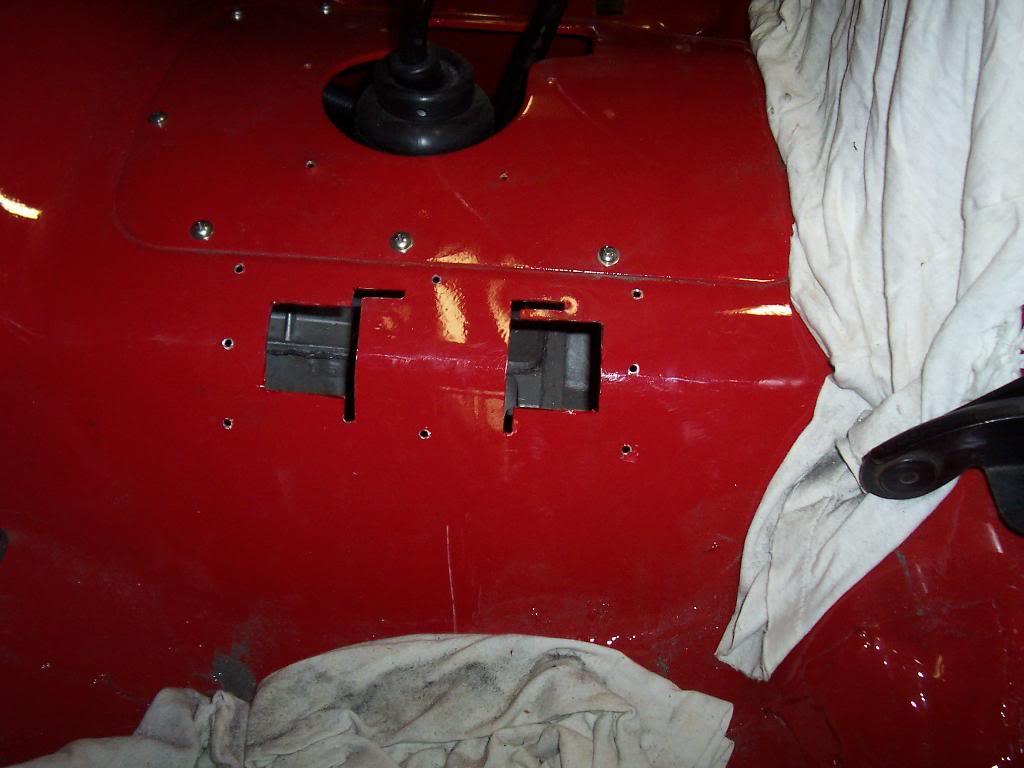
Some pictures of my template and how I used it to cut the holes in my floor.

00619-1.jpg


00718-1.jpg


Taped into place

00817-1.jpg


Marked the floor and drilled the 8 mounting holes.

00915-1.jpg


I used masking tape to help layout where i needed to cut.

01013-1.jpg


And the two "L" slots cut.

01111-1.jpg


And the moment of truth, it fits.

01210-1.jpg


After I made sure the bracket was fitting correctly, I went ahead and laid out and cut the bigger holes.

0139-1.jpg


0149-1.jpg


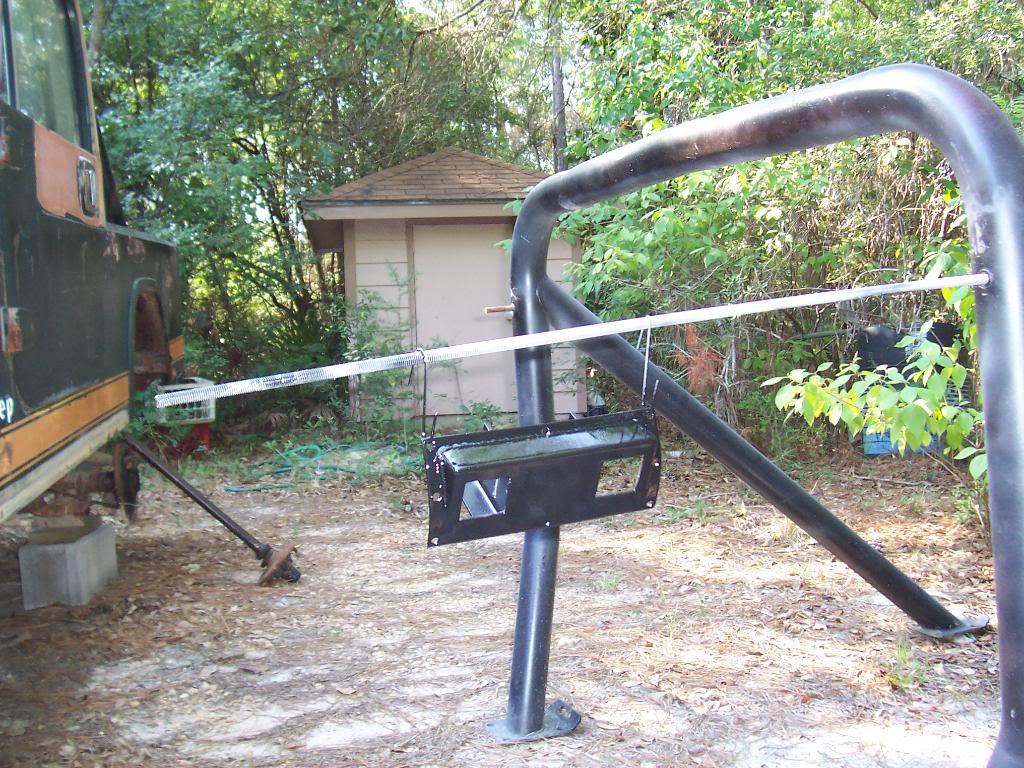
After i made sure the bracket fit correctly, I painted the bracket.

0156-1.jpg


I am going to give the paint a day or two to cure, then I will mount the two Ox shifters into the bracket, install the bracket, and finally measure for my shifter cables.


While I have not been able to work on the Scrambler, I have been driving it. I probably have about 1,500 miles on it. I have not had any real problems with it yet, besides the bent transmission shifter stick cup, it is still running and driving great.

That's it for now.
 
LOVE your aparatus to hang the part by for painting. EXCELLENT!!!
 
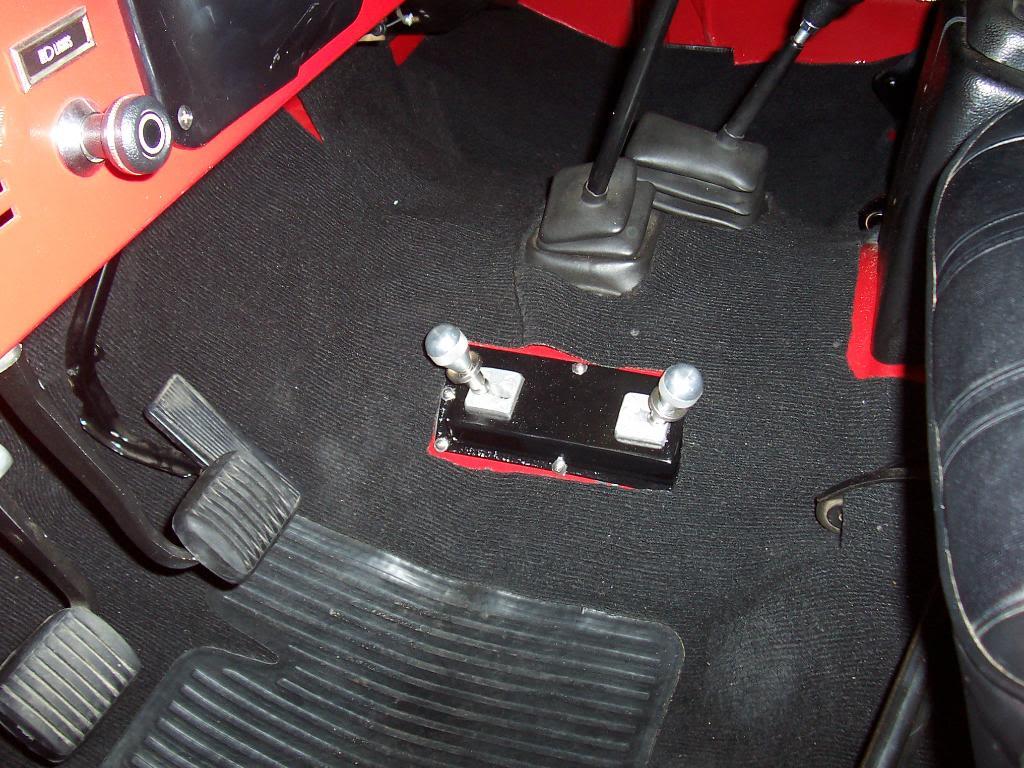
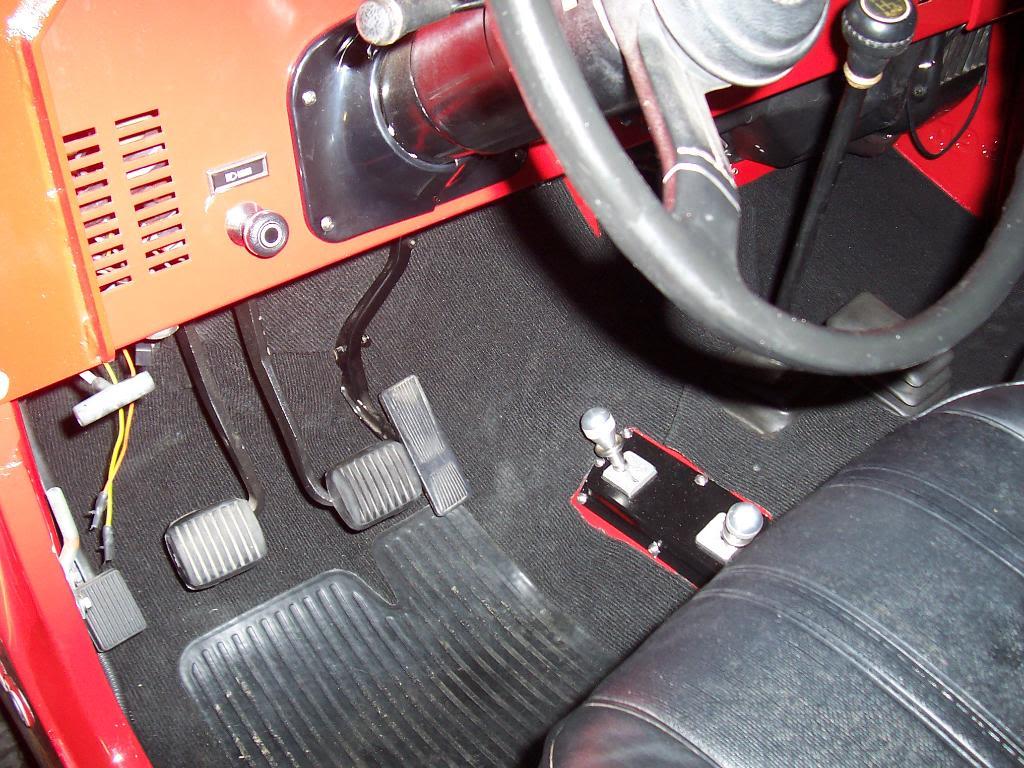
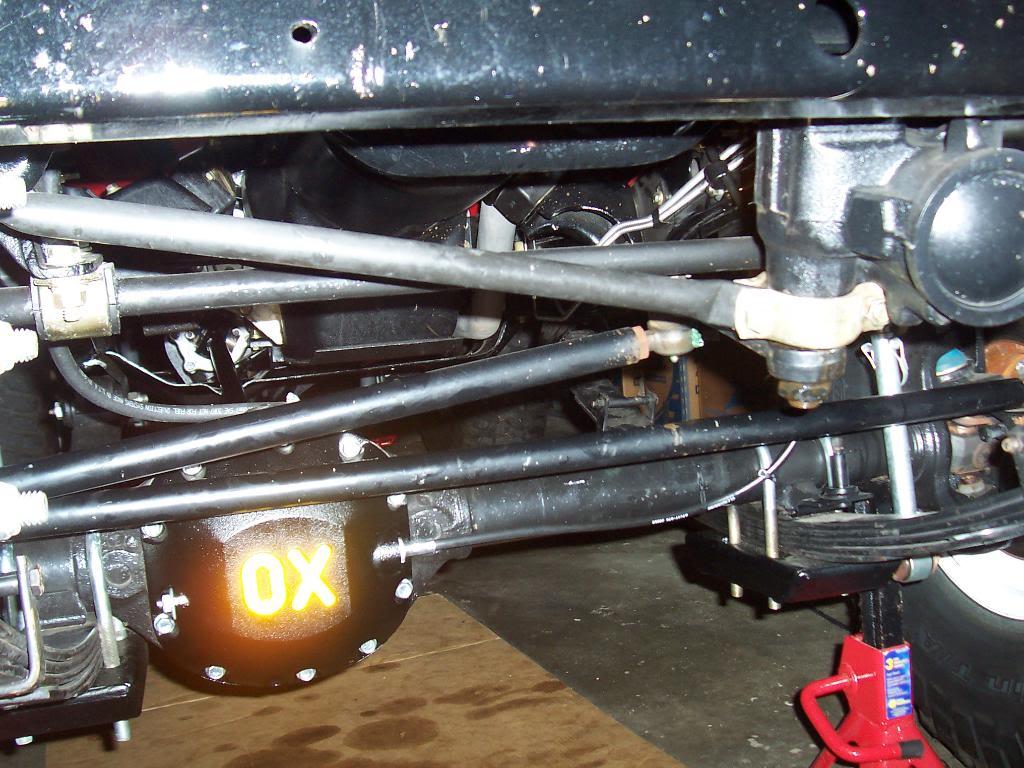
Finally finished installing/hooking up my front and rear Ox Lockers. Took a little time adjusting/hooking up the cables to the shifters, but now that they are adjusted in correctly, both lockers engage and disengage seamlessly. So far, I am very impressed with the Ox Lockers.

Picture of the installed shifters. They don't come close to contacting your leg while driving, the pictures are deceiving.

00130-1.jpg


00231-1.jpg


A picture of the shifters and their holding bracket from underneath the Scrambler. While I love how this bracket keeps the interior of the Scrambler "clean" looking by keeping the cables and shifter bodies underneath the floor, it does have one disadvantage: It is kinda of a pain bolting the shifters to the bracket. Kind of tight on space down there, but they are accessible so that if in the future I need to remove them they can come out easy enough.

00327-1.jpg


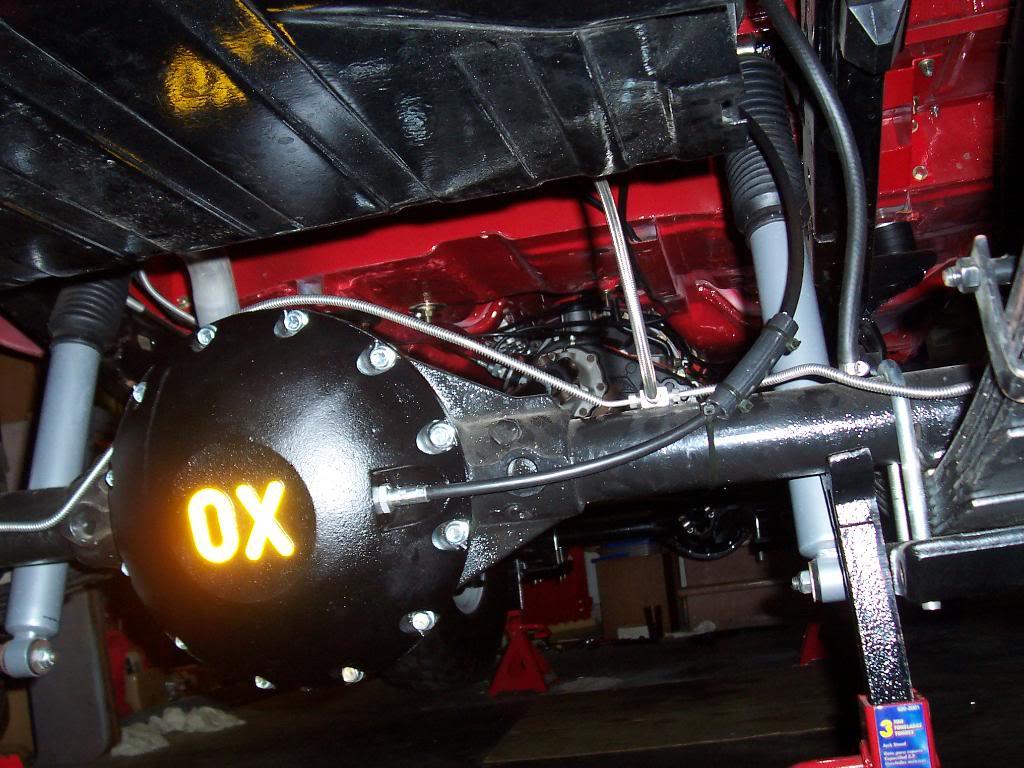
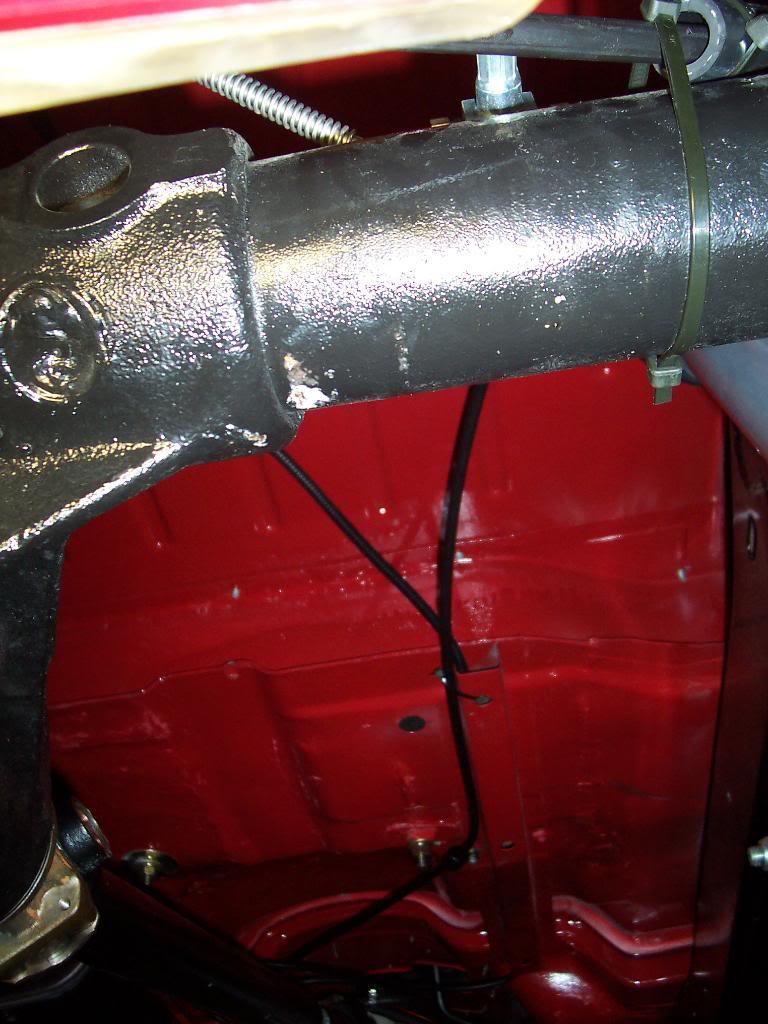
Some pictures of the rear cable routing.

00428-1.jpg


00526-1.jpg


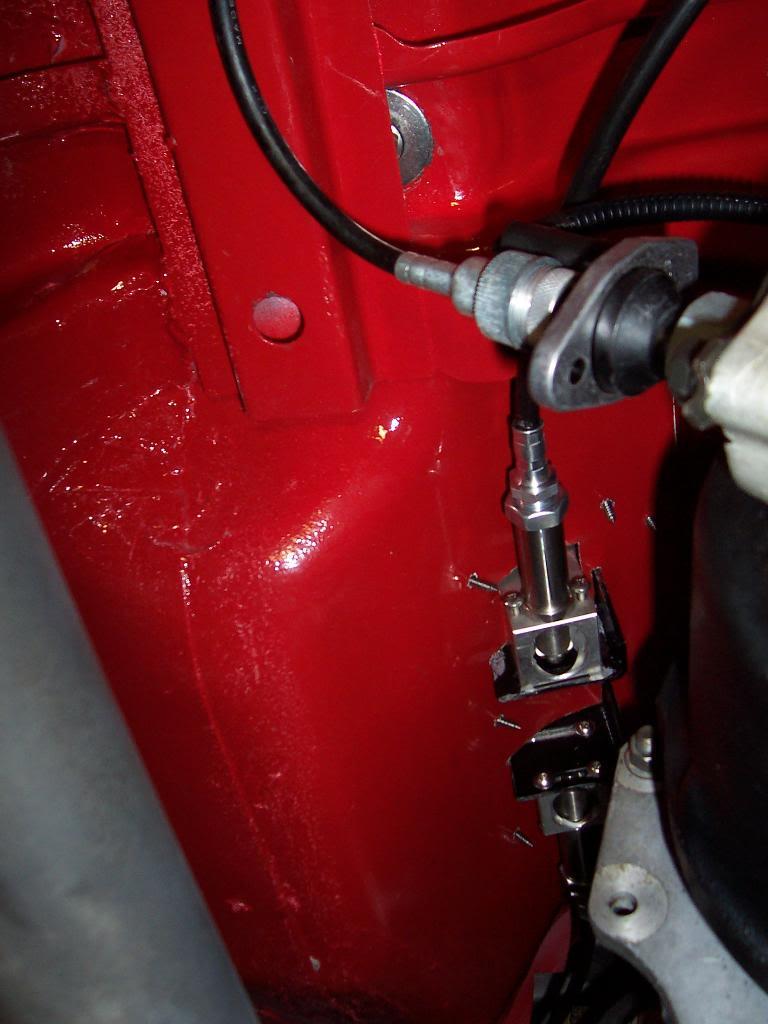
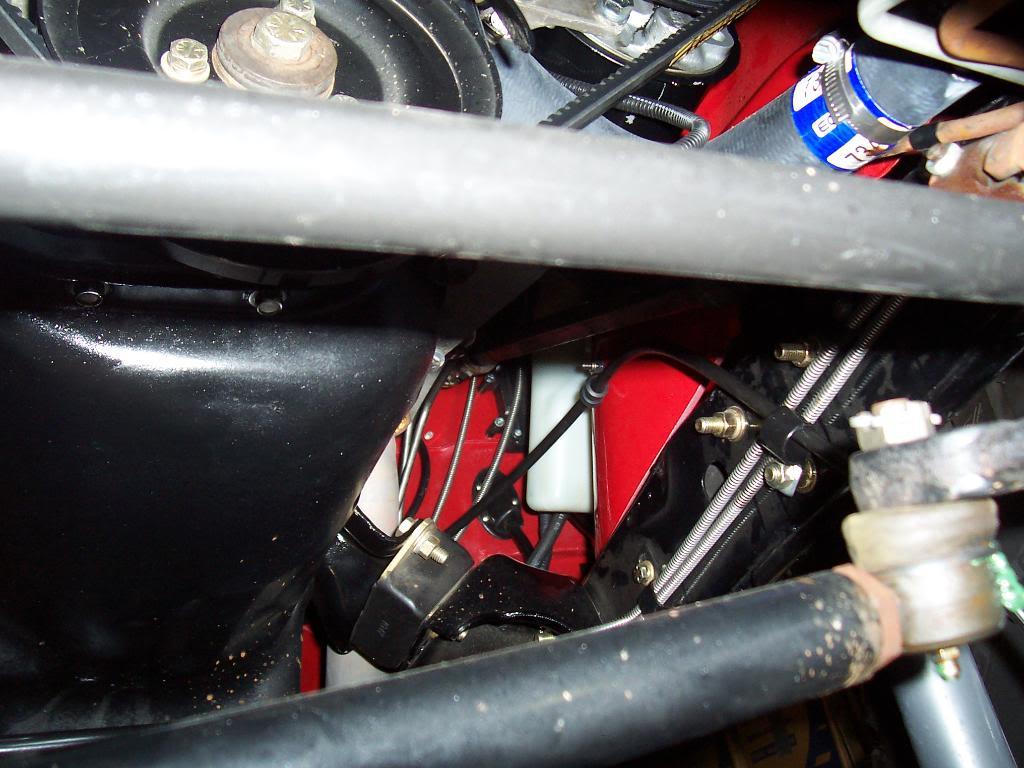
And the front cable routing. I used a 74" long front cable, and it was too long for my original routing plan. As a result, this cable runs straight from the shifter, curves to the driver side inner fender (staying well away from the exhaust), then runs down at the back of the shock tower, then turns to the diff cover. I was worried that my slightly "tight" bends would cause operational difficulties, but the cable locks and unlocks the diff just as smooth as the rear.

00719-1.jpg


00620-1.jpg


The last big ticket items to install, when funds allow:

1) winch (either a Warn 9.5 TI or the other 9.5)
2) some sort of rock rails

That's it for now.
 
nicely done.. looks slick..

I've always been intrigued by the ox locker as an option.. pure mechanical linkage seems more fail-proof to me than air or electric links, and I like that... glad to know they work well
 
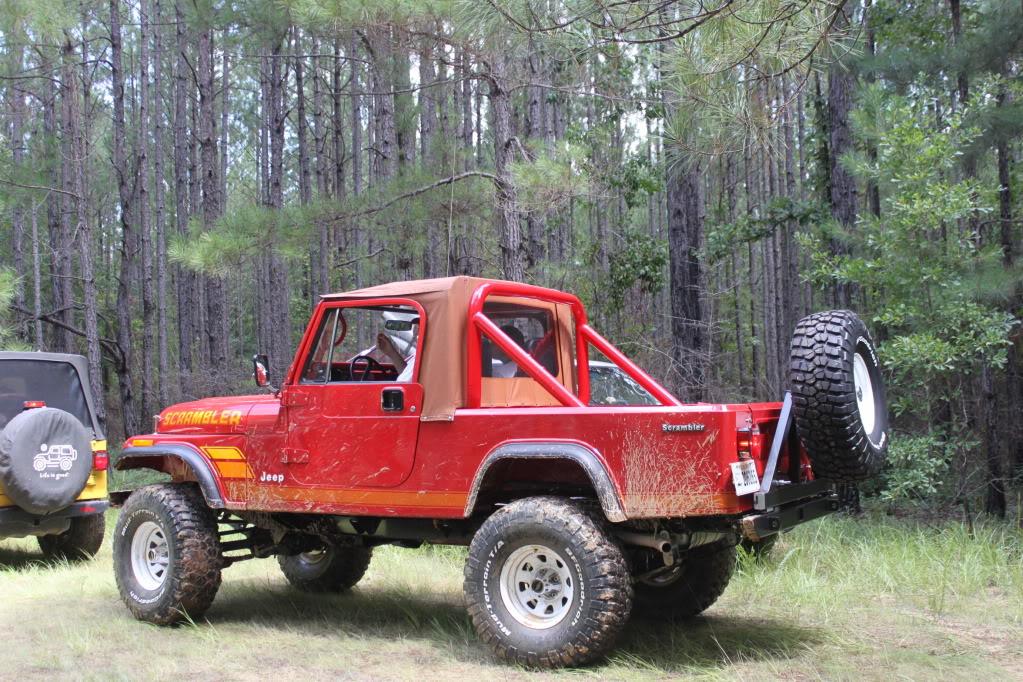
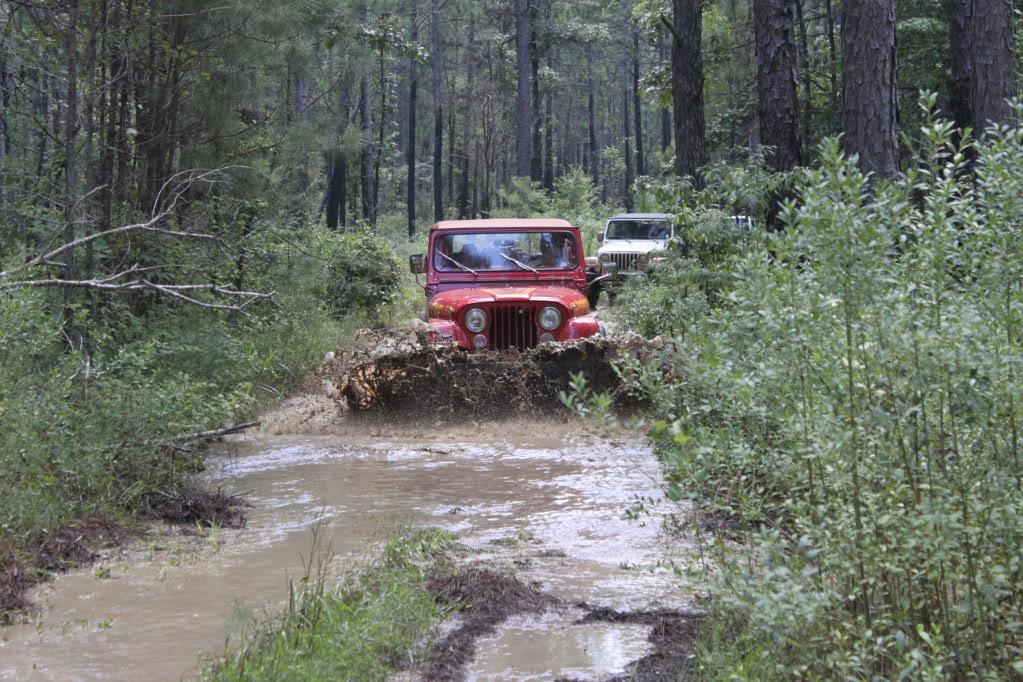
I finally took the Scrambler on its first "real" off-road trip. Went on a semi local ride (about 1.5 hours away near Laurel, MS). Fairly easy trails in Desoto National Forest. No damage or problems, but it did get pretty muddy. Took about 8 hours to get it back clean, but it is now broken in. No turning back now. Have a few clay "stains" on the hood I need to try to get out, but other then that, no problems. I only found 2 pictures of it dirty, but if I find some more I will post them up.

IMAG04041-1.jpg


IMG_42121-1.jpg
 
Last edited:
Thats awesome!!! I love seeing when people take time to build stuff right and aren't afraid to use it!!!
 
Sweet! I'd definitely have left it like that to drive around for a while so everyone knows you put it to use :)
 
Appreciate the compliments:cheers: I did build it to use it, but at the same time i am going to try to keep it looking as good as I can for as long as I can.

One more picture that i found.

IMG_44001-1.jpg
 
Last edited:
Incredibly nice! would you like to take mine and work on it while I drive yours a while??? Please?

I'm wondering if youve done any mileage checking with the EFI install complete and the drive to Laurel for testing? I did the efi with a 4.0 head in March and I agree with your assessment on the throttle response and driveability, I'm running an auto trans and wonder if that's what is impacting my power and mileage to where my overall performance isnt what it might be. I couldnt keep up with a stock TJ yesterday morning and she wasnt even getting into it... Like you I'm running 4.10s and 35s

Thanks
 
Back
Top