• Notice for iPhone users: DO NOT use the image size reduction option when uploading photos to the forum. This causes portrait images to post as landscape. We have added a warning to the image insert pop-up as well.

Scrambler on a budget

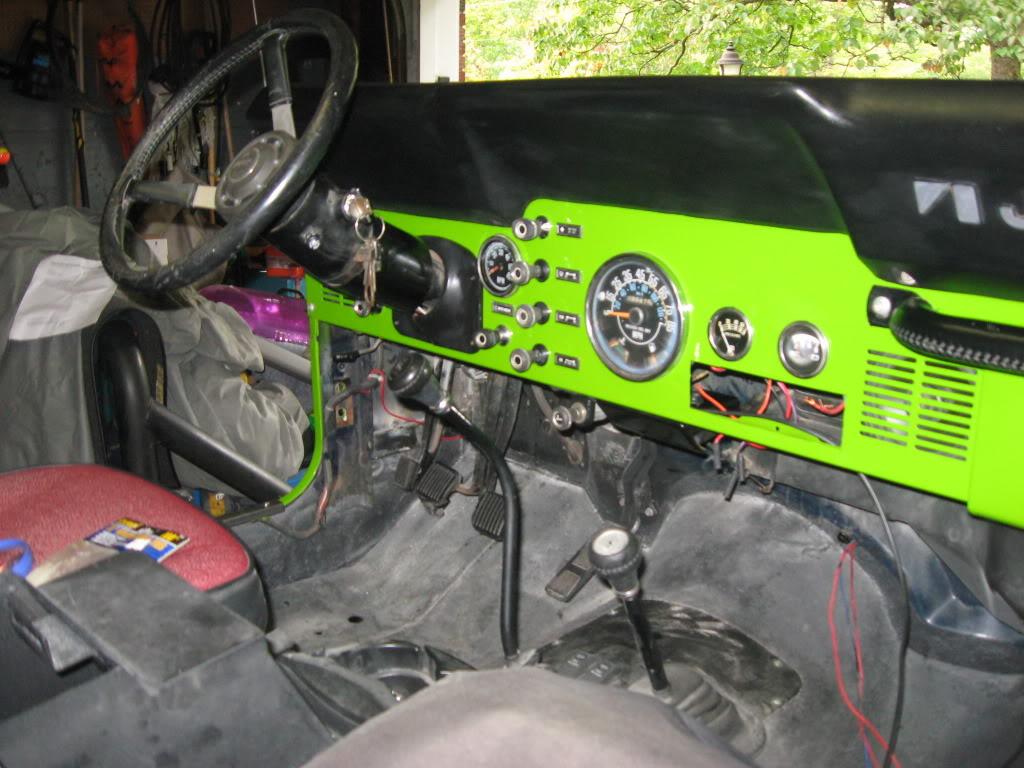
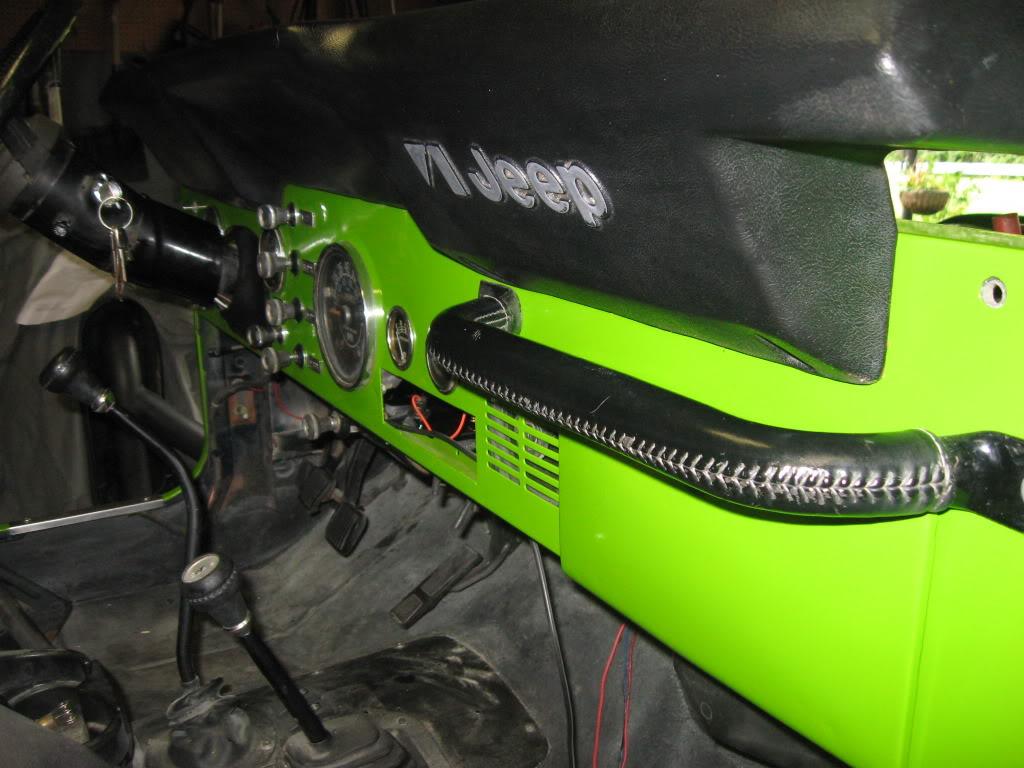
its dash time :woot:
and a nice day to do it on. soon ill be driving it on these beautiful days.
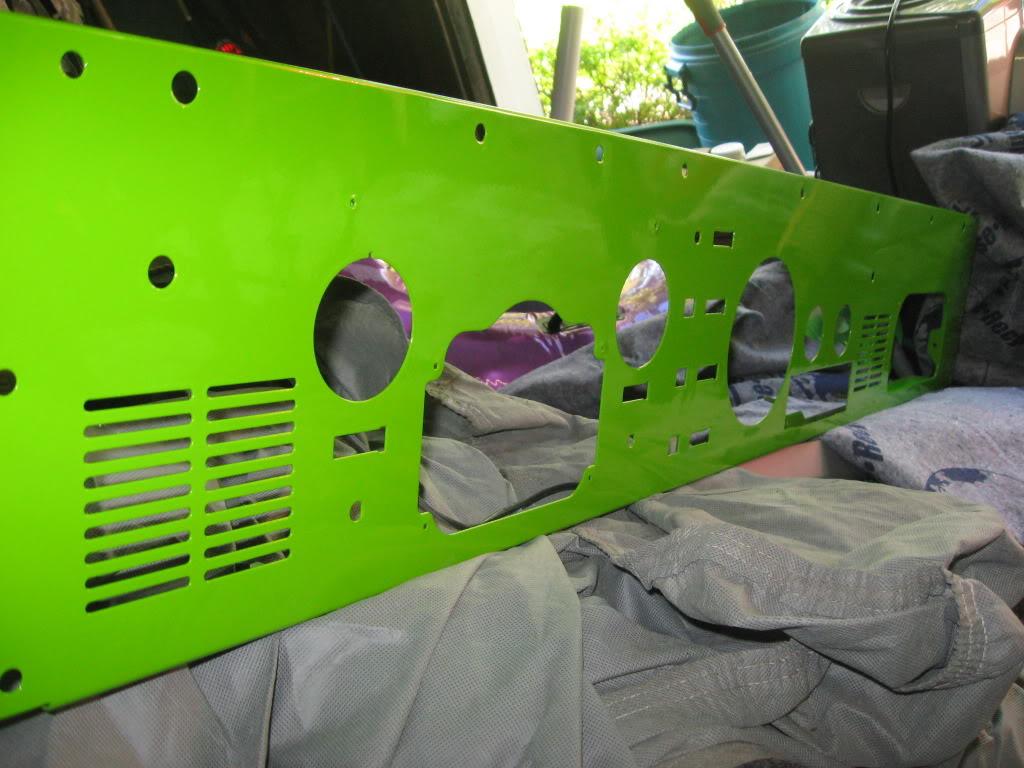
IMG_2497-1.jpg


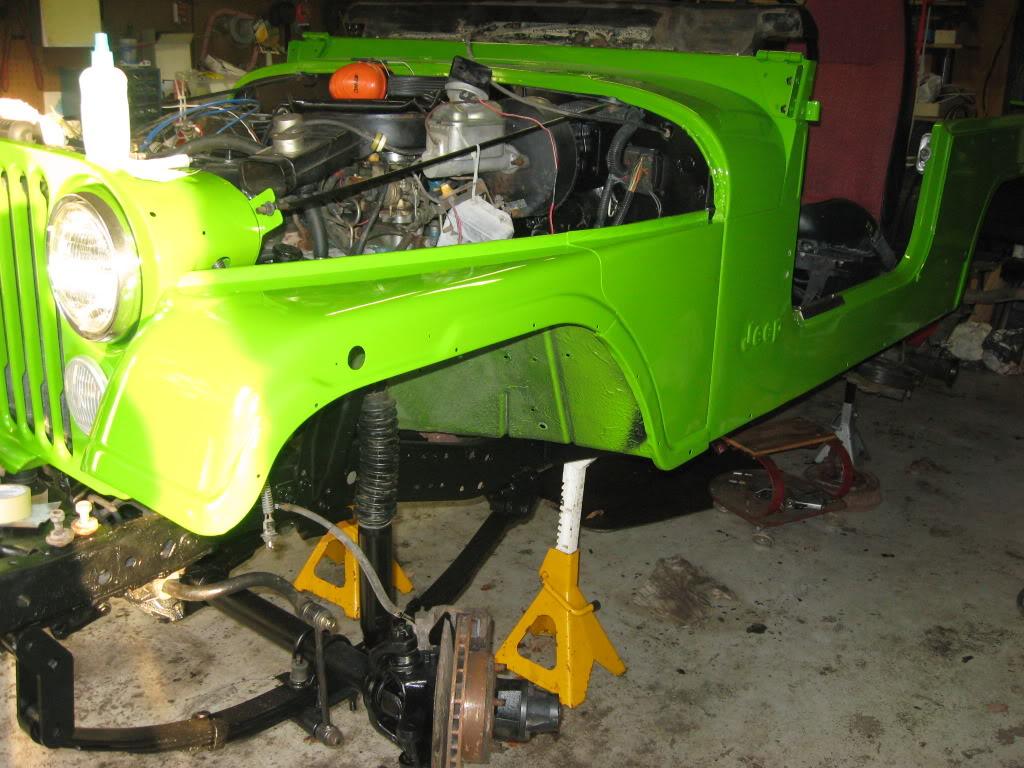
i ground the paint off an put a ground wire that will go directly to the battery. i read so many dash grounding nightmares.
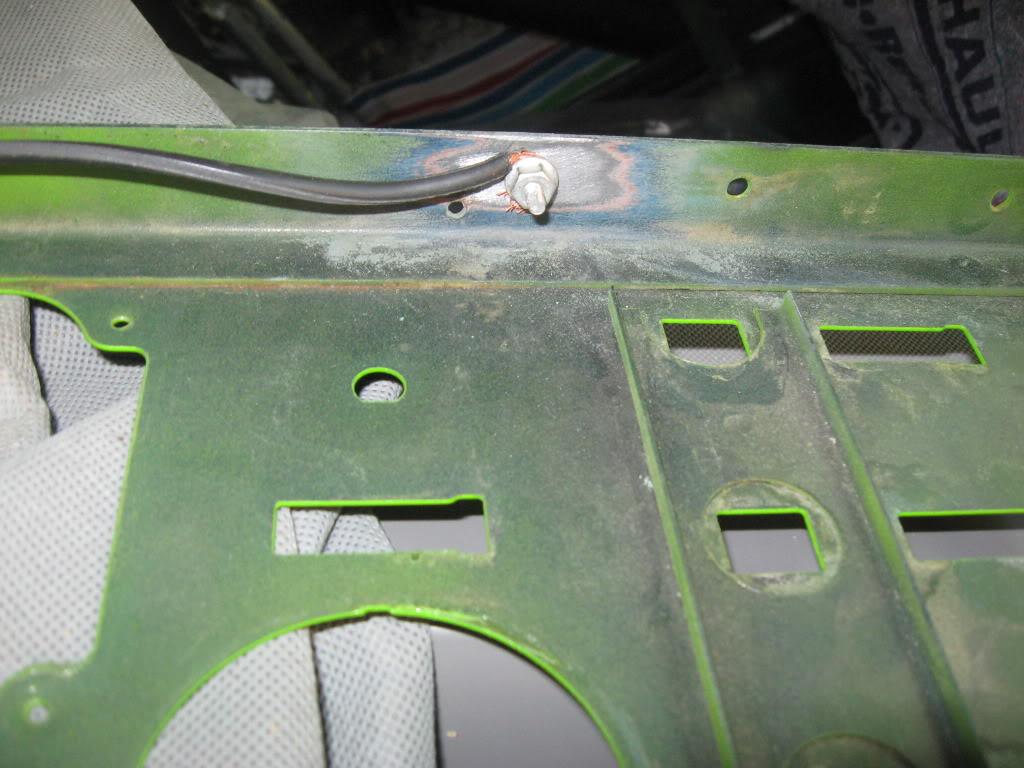
IMG_2496-1.jpg


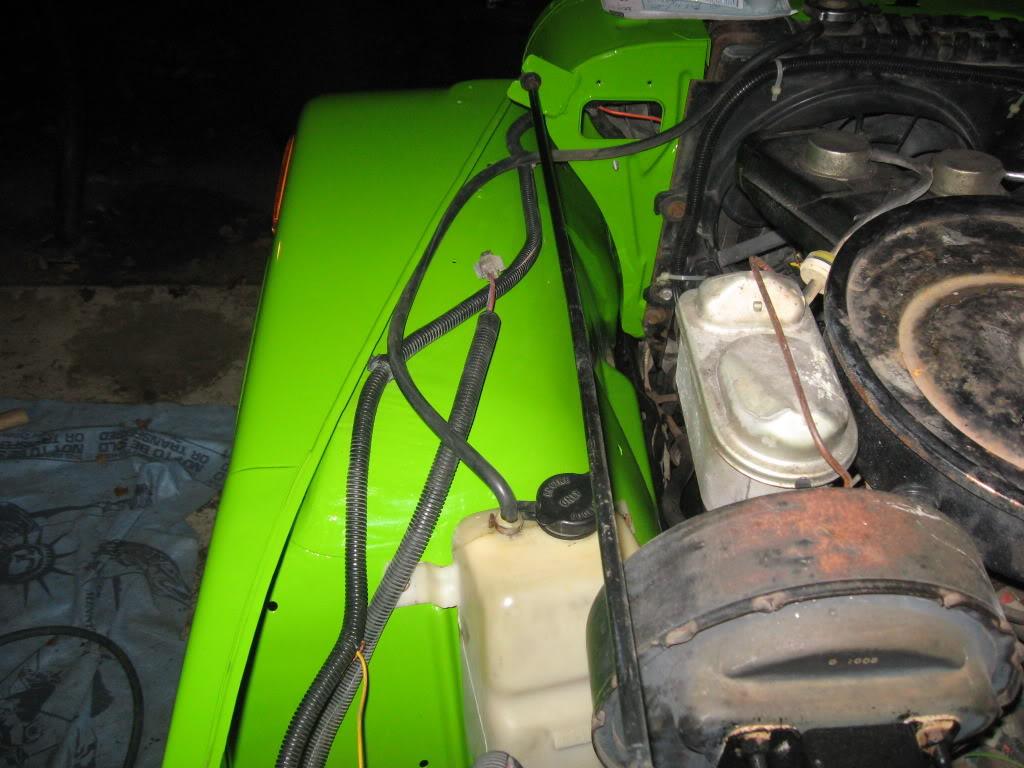
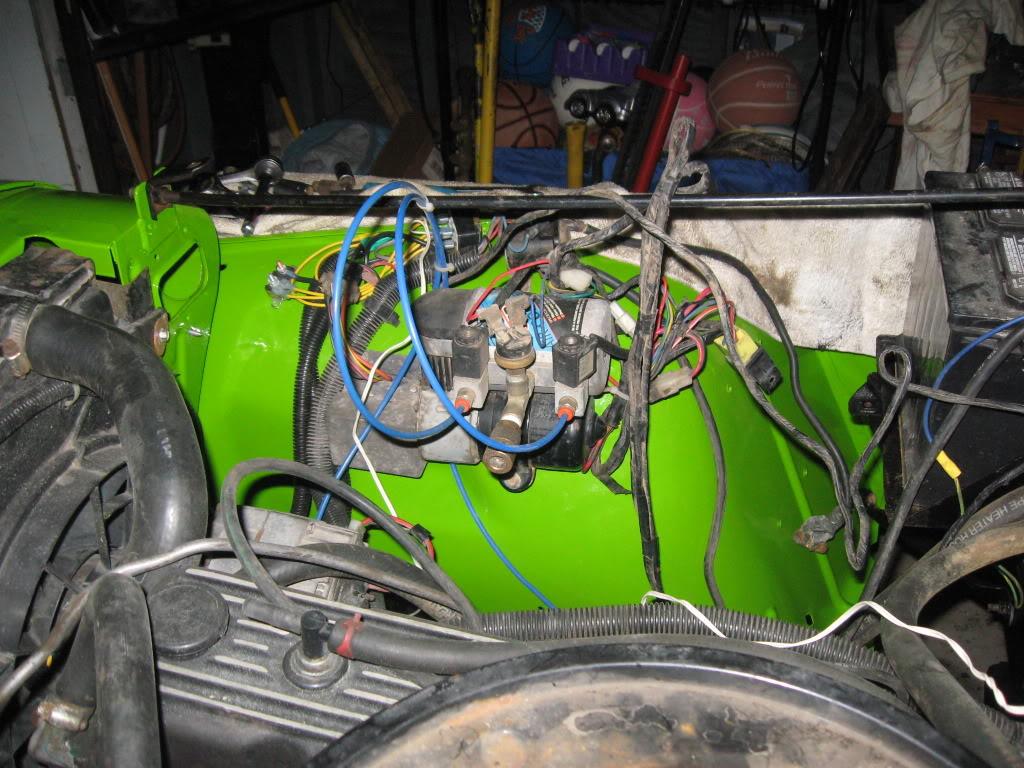
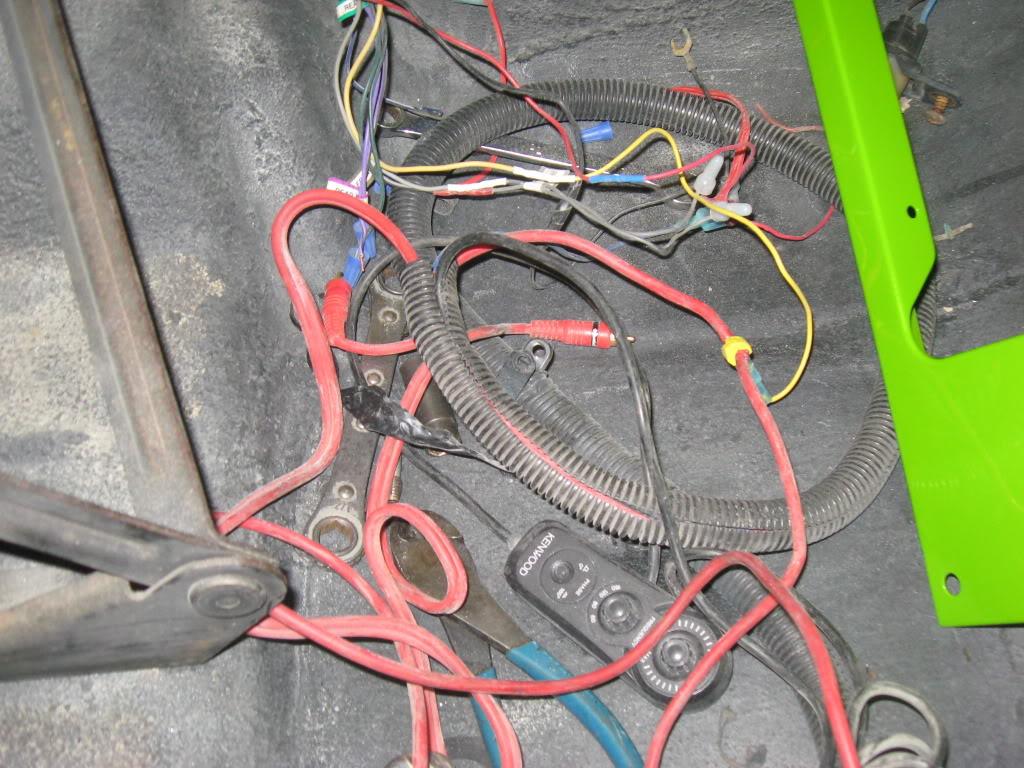
then i removed the PO crappy wiring, it was BAD! this is some of it
IMG_2499-1.jpg


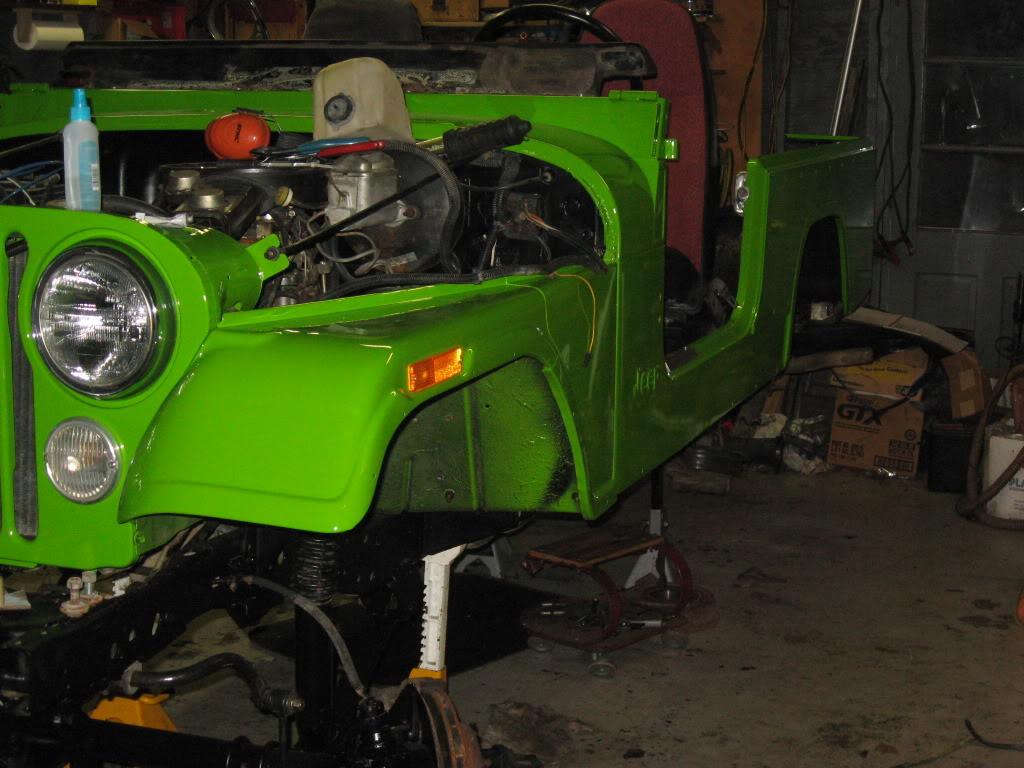
its awkward getting it on without scratching it so i used towels a sponge and a box to keep it in place
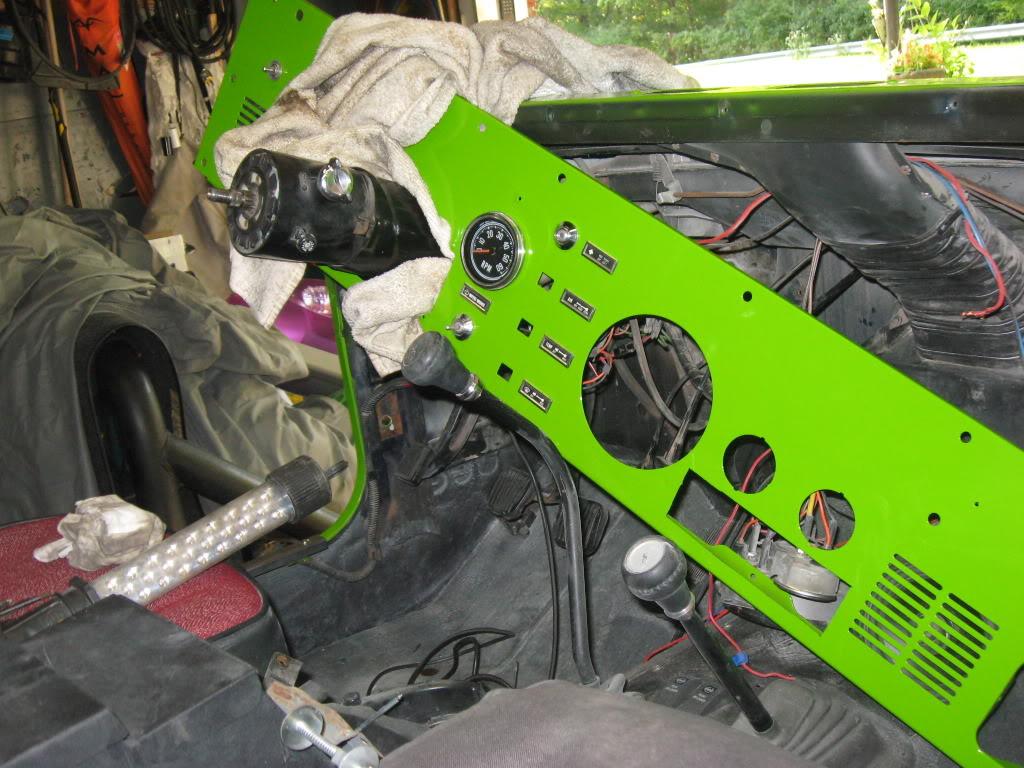
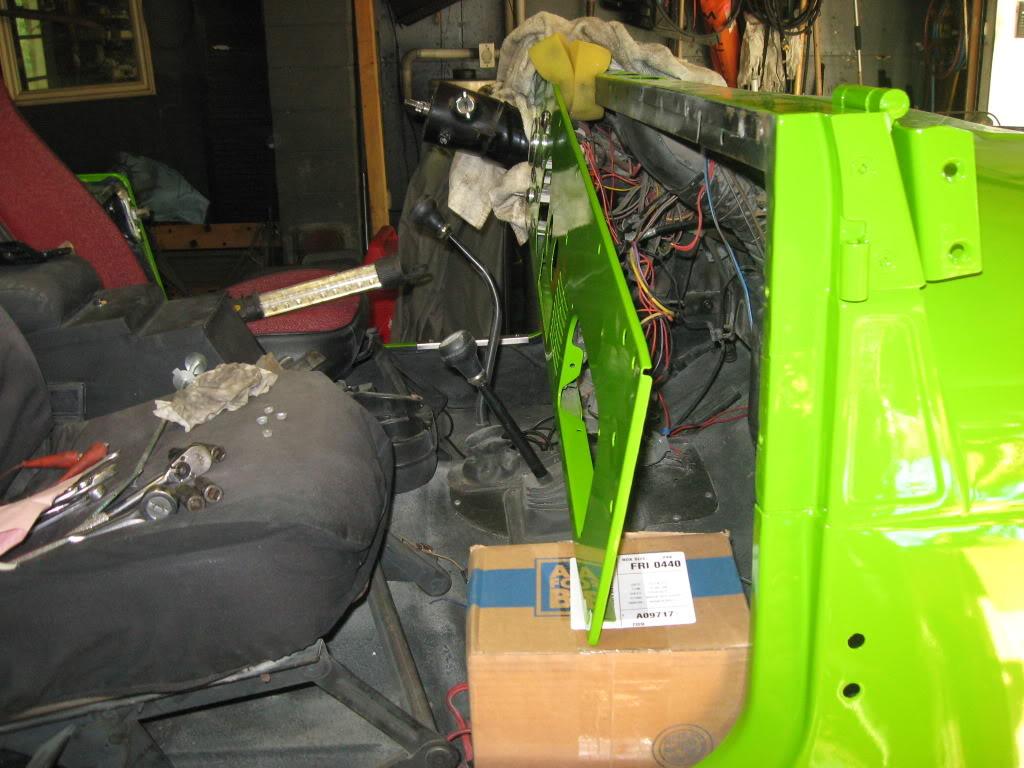
IMG_2498-1.jpg


IMG_2500-1.jpg


i ran out of time and light was fading so i'll finish it up later. i know there are some gremblins in there
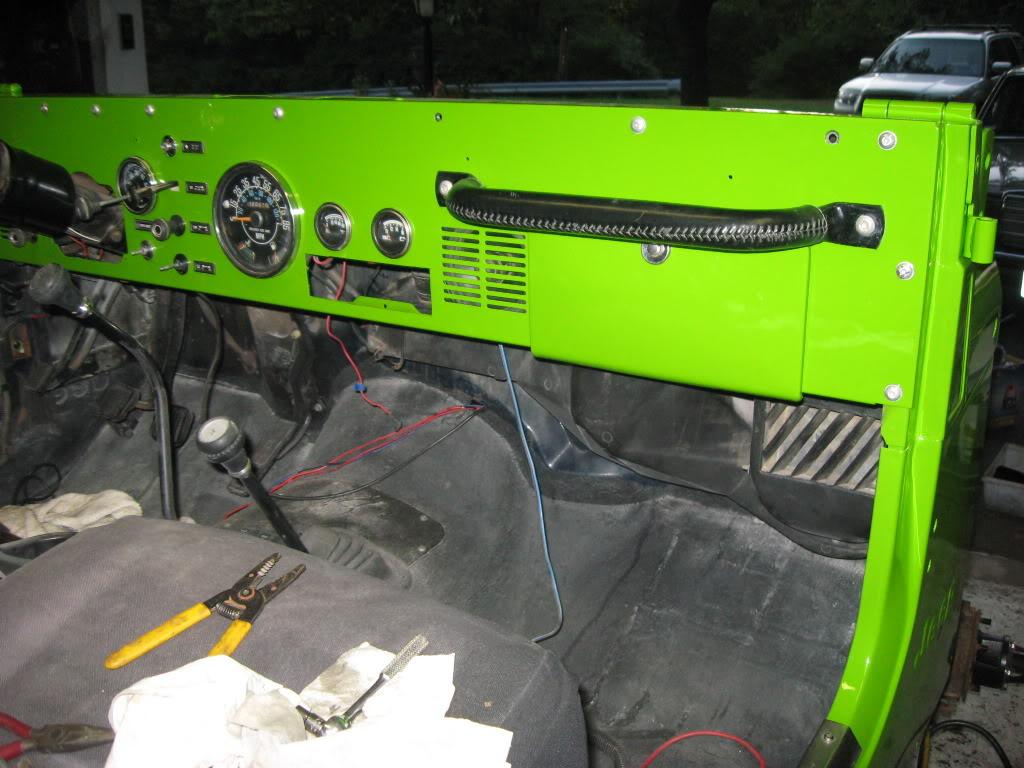
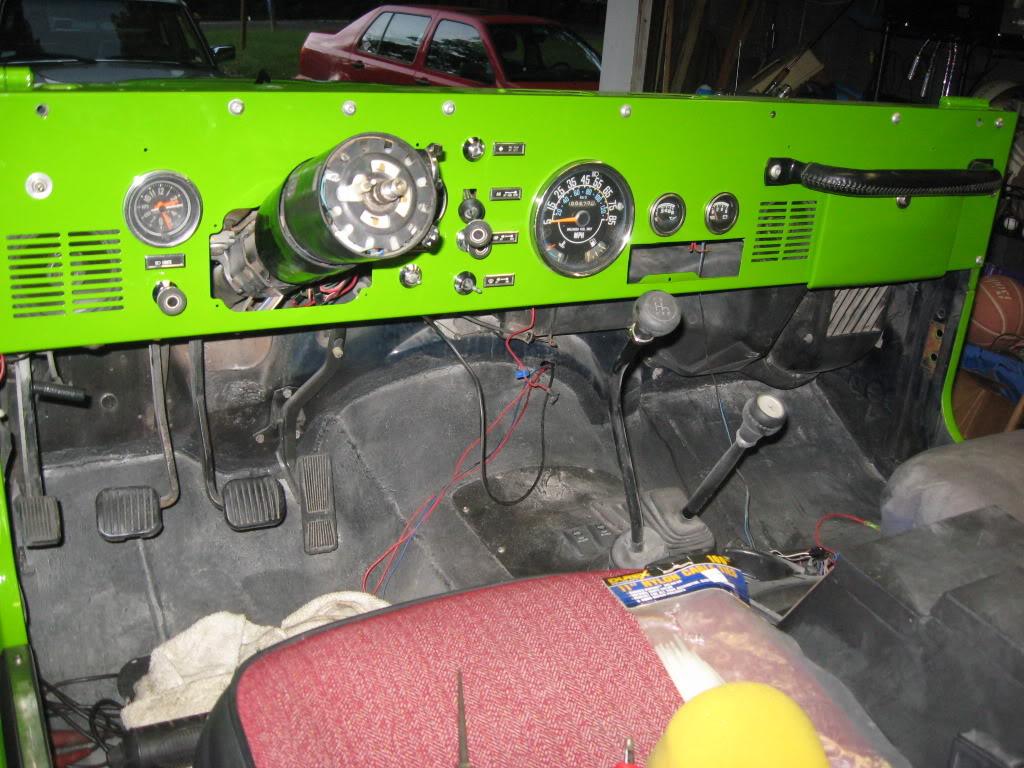
IMG_2501-1.jpg


IMG_2502-1.jpg
 
I love that color. I would prefer you put a crimped eye on that ground cable though.
 
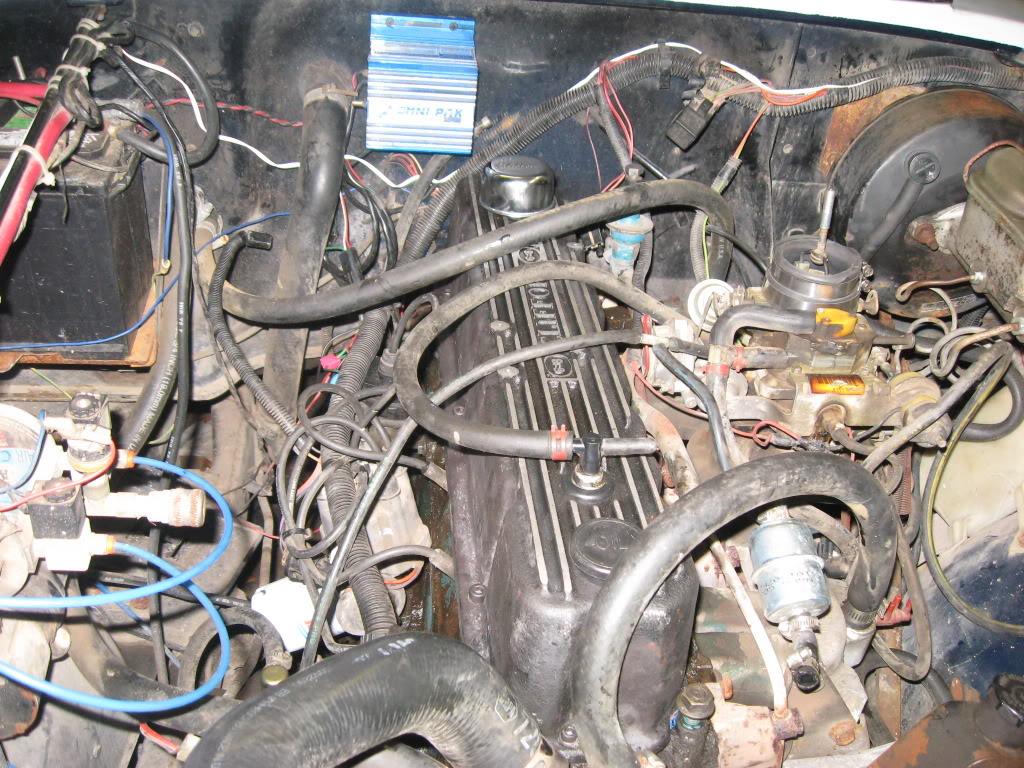
i got a bunch of parts in over past few days
valve cover, gaskets and grommets. got a good deal from fellow jeeper MKNIGHT759 arrived as promised no surprises
i just hope it doesnt leak :popcorn::popcorn:

cj82g051-1.jpg


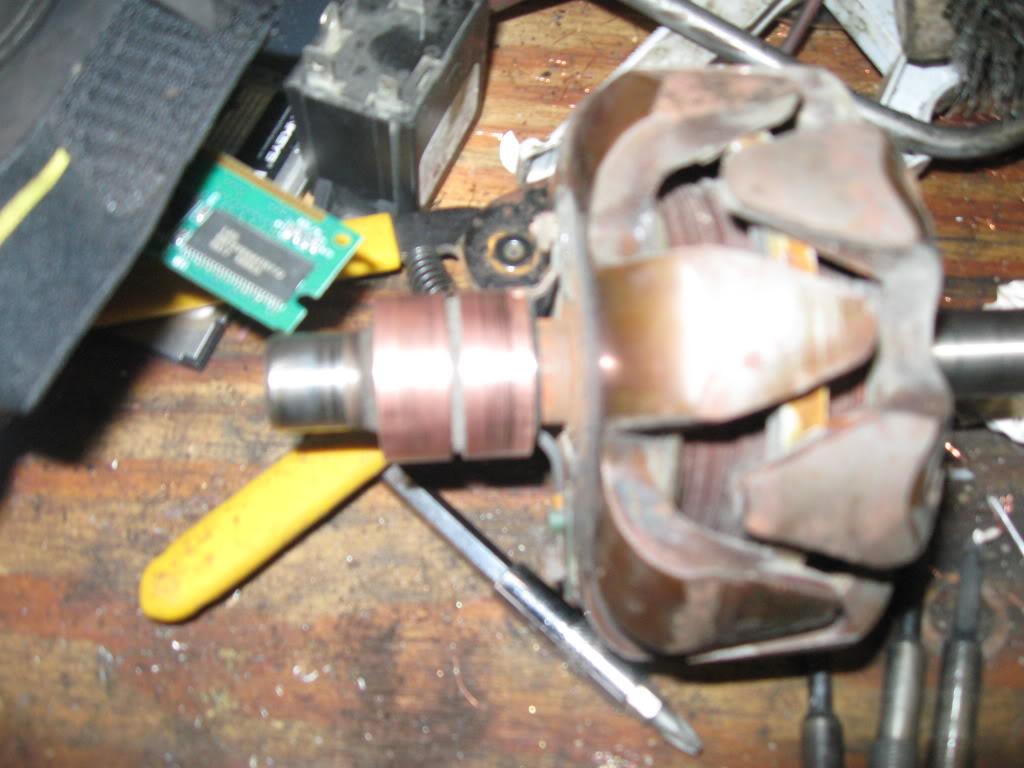
i also need an alternator so i figured out how it works. thanks to youtube.
tore it down and it was the original one. it had a lot of corrosion on the stator
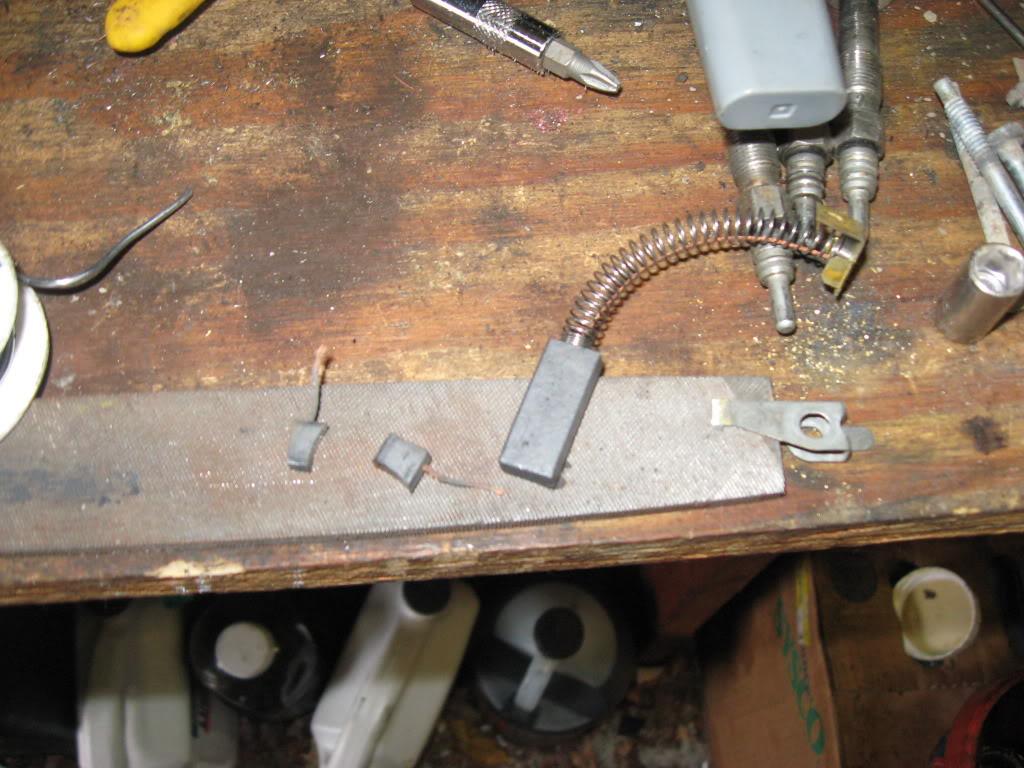
the carbon brushes were shot and the bearing was about to seize (it was screaming)

i found a bearing that fit it buried in my tool box :woot::woot:
i took the carbon brushes out of an old central vacuum i had lying around, filed
them down to fit in the holder. soldered them in. i polished the stator and then
re-assembled it. tossed it on and :cheers::cheers::cheers:
this 65 amp unit will have to go at some point to make way for a 100+ amp unit; but for now on a budget this $0 cost repair will work fine.

cj82g050-1.jpg


cj82g049-1.jpg

Most...impressive...poor-man's fix...EVER. That's the stuff my old neighbor Clarence would do back when he was alive. If you didn't have it, you couldn't afford it, so you made it.
 
i had alot of electrical issues ie: grounds and an ign. switch plug that wasnt making contact.

so after 2 days of screwing around with that, the dash is 95% finished.

the radio was trashed by the sand blasting and i have to open up the speedo and volt meter to get the sand out of them. not fun :banghead:

IMG_2504-1.jpg


IMG_2505-1.jpg


the oil pressure sender was full of oil and i decided to install a mechanical SW gauge. i have had this gauge in a lot of my cars. i got it when i was 16 or 17 yrs old :rotfl: remember never throw anything useful away!!!!!!!
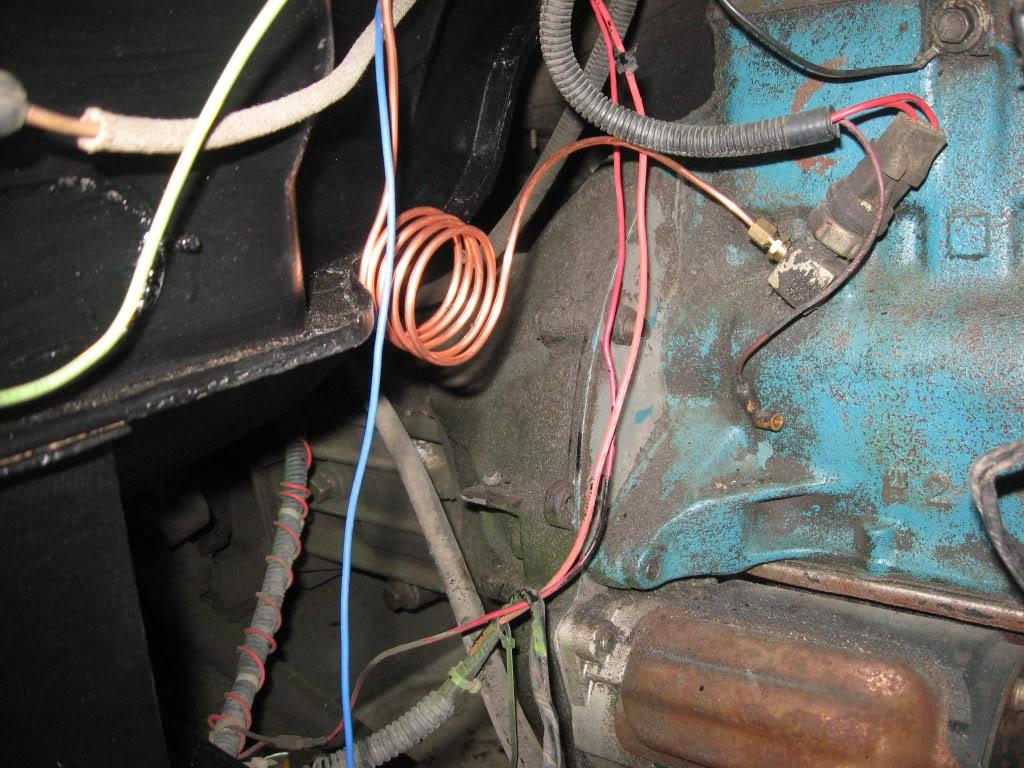
this engine pushes 80psi when oil is cool

IMG_2503-1.jpg


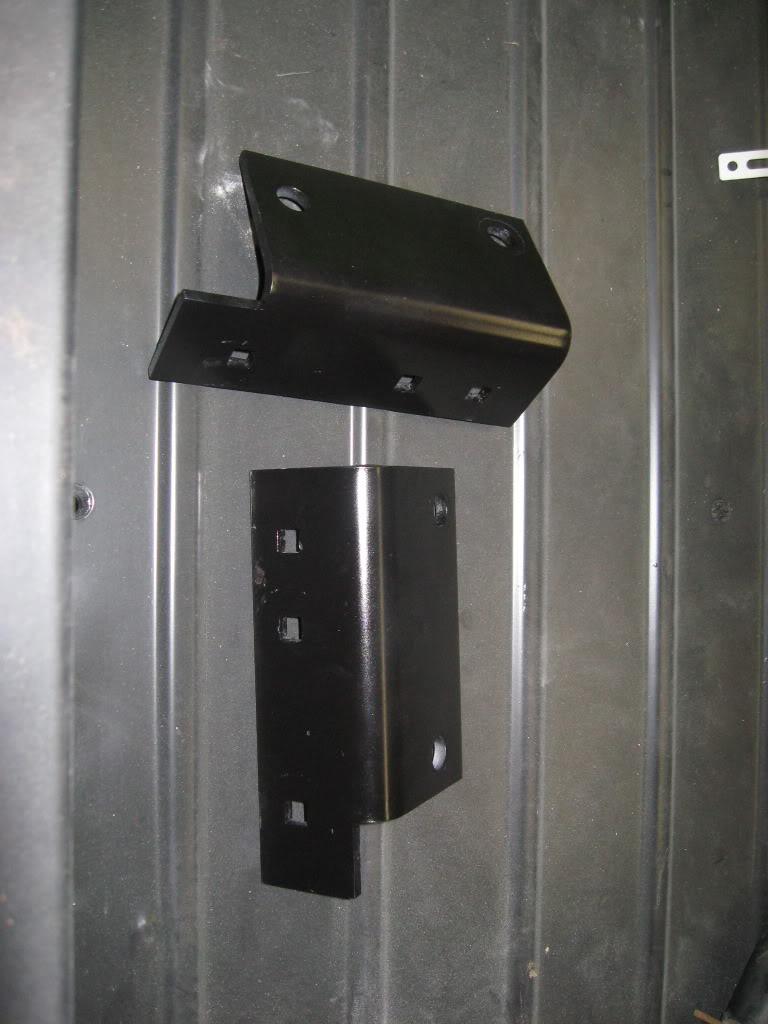
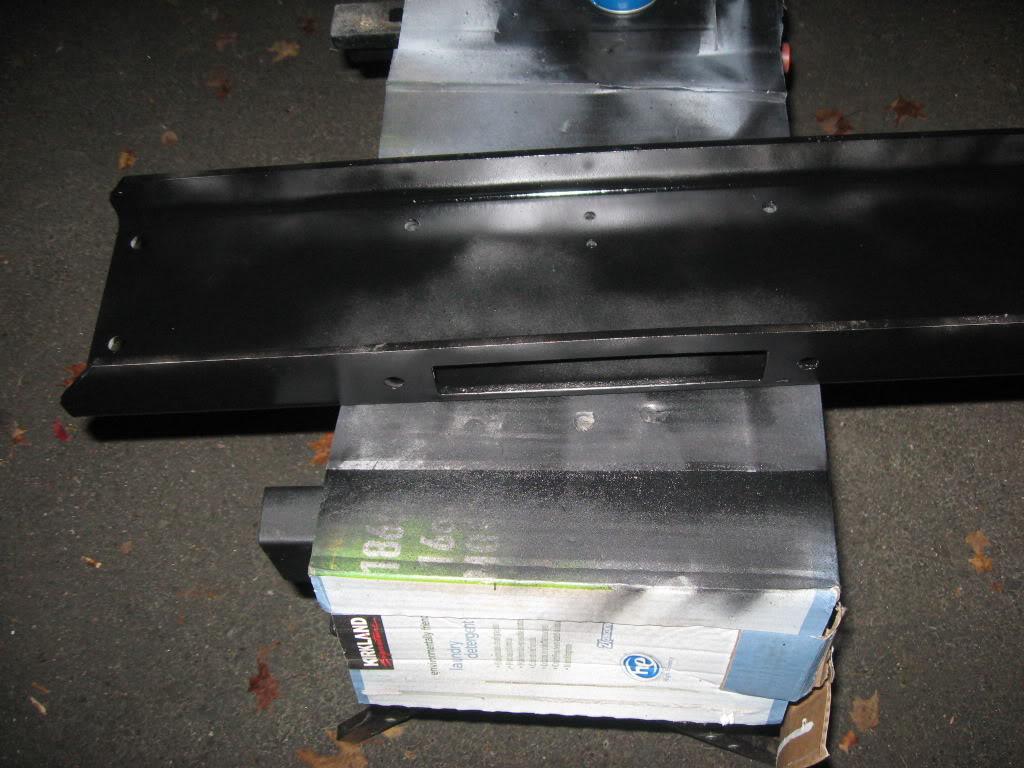
painted up my winch mountings

IMG_2506-1.jpg


IMG_2507-1.jpg
 
a few more setbacks

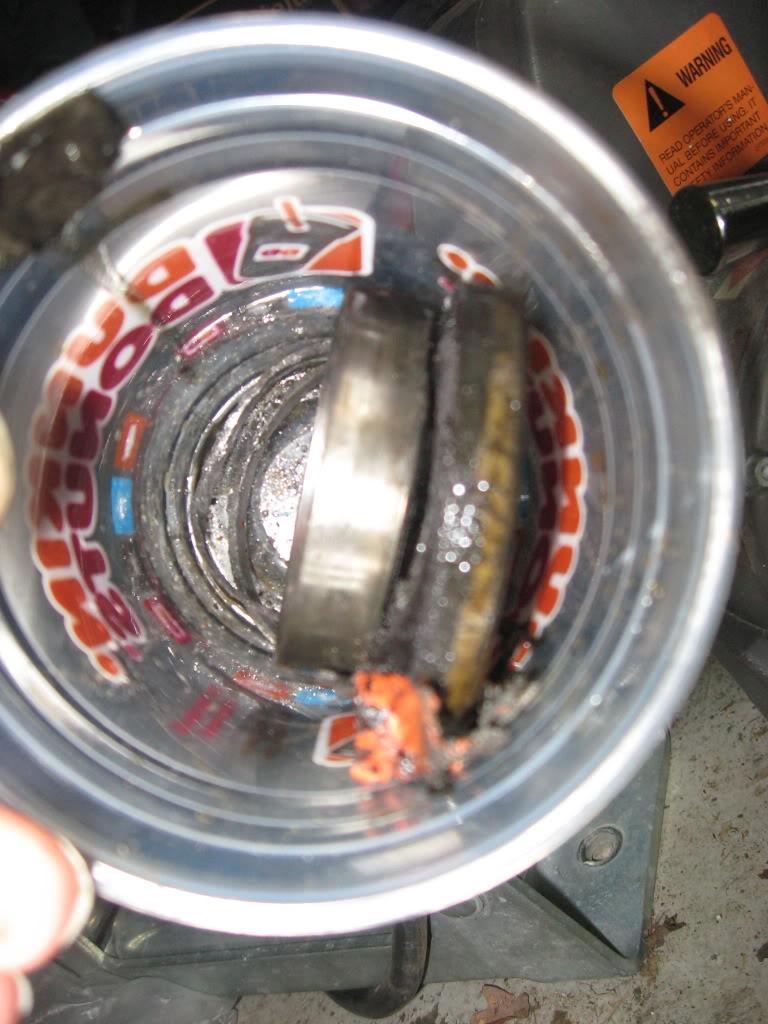
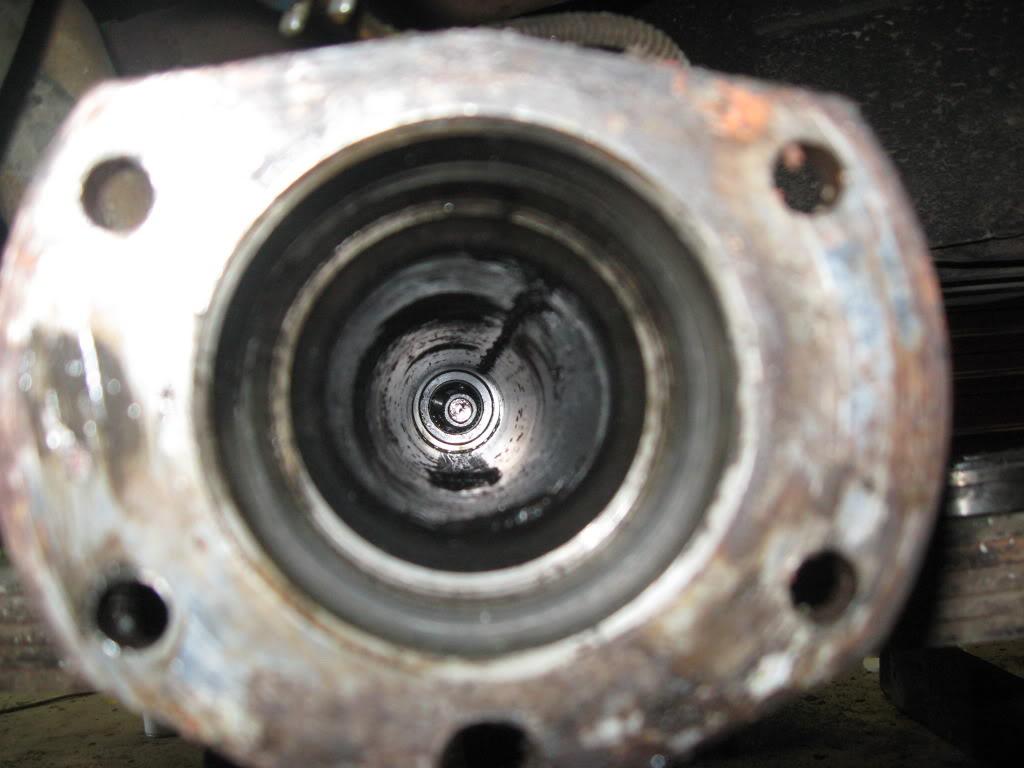
the LR axle bearing after 200 miles or less destroyed itself. i think it was ether the ARB lockers thrust block wasn't letting the bearing seat enough, or not thick enough of a shim to preload it.

IMG_2513-1.jpg


IMG_2512-1.jpg


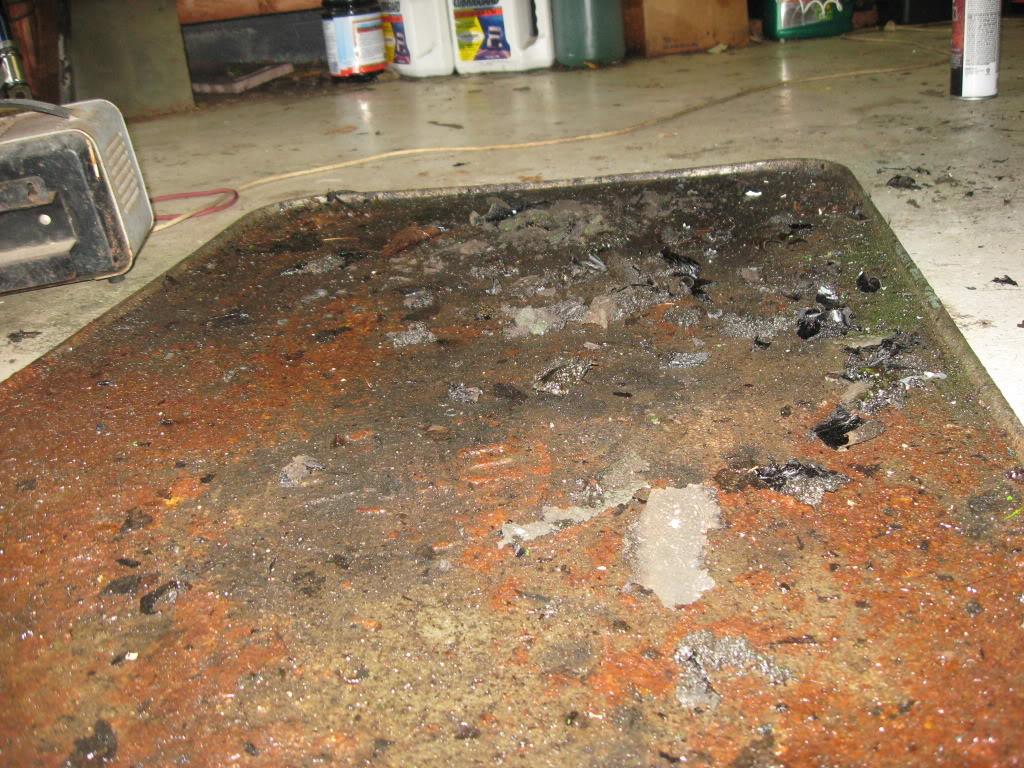
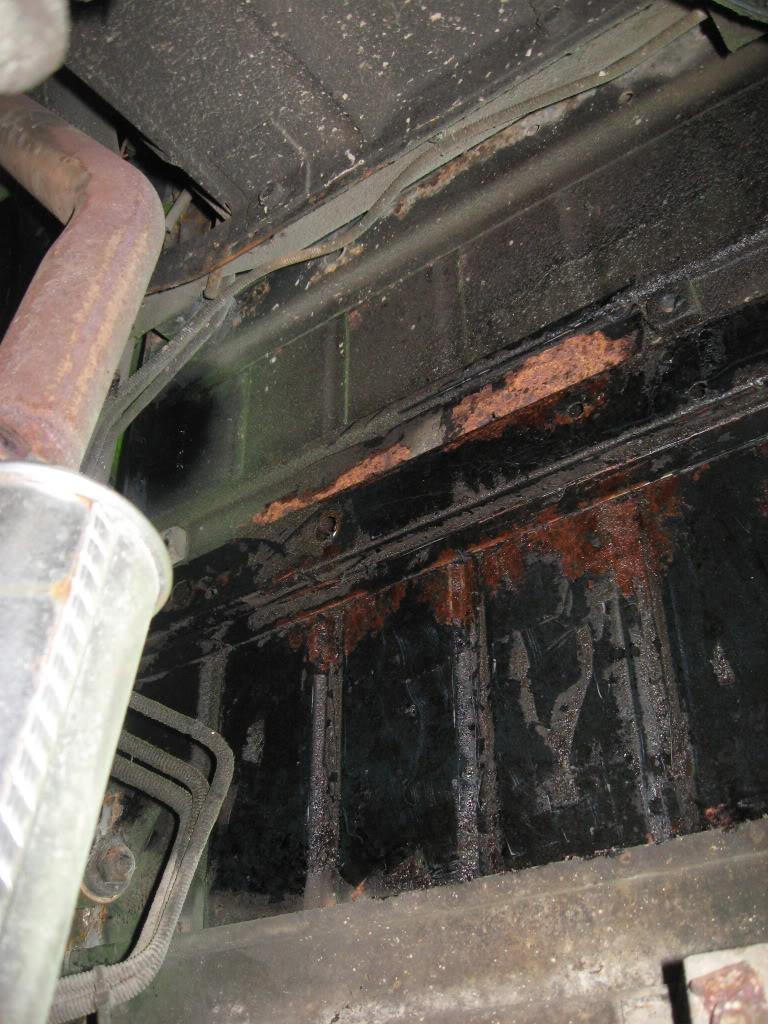
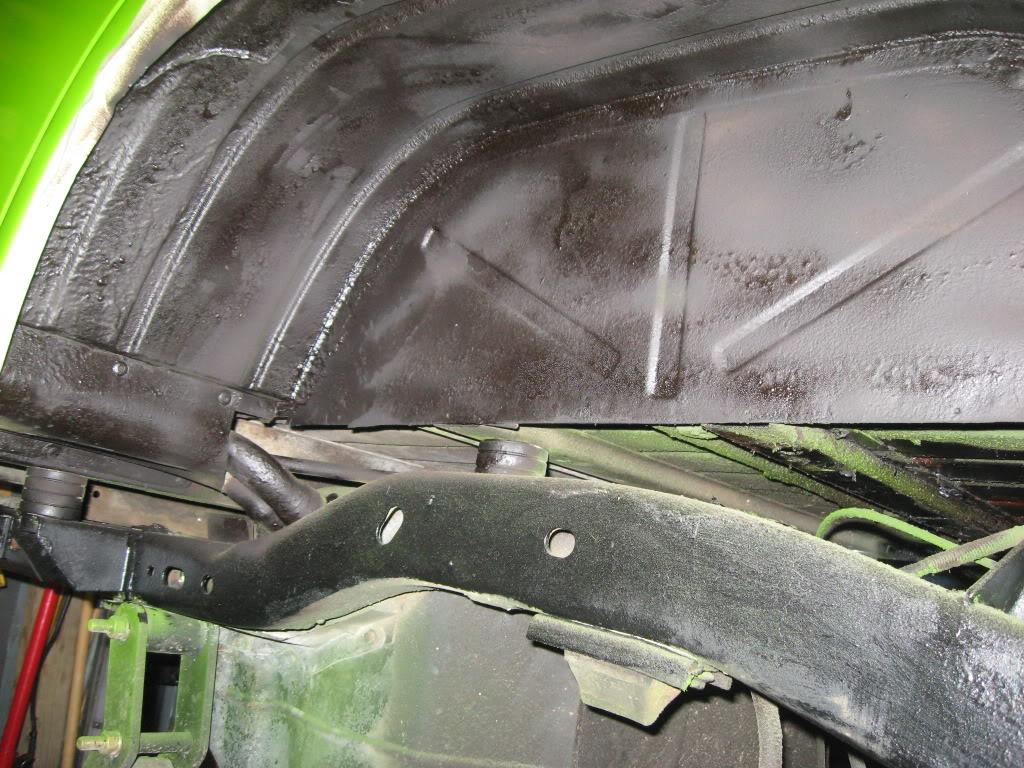
i thought that grease would protect metal from rusting WRONG!!!!.

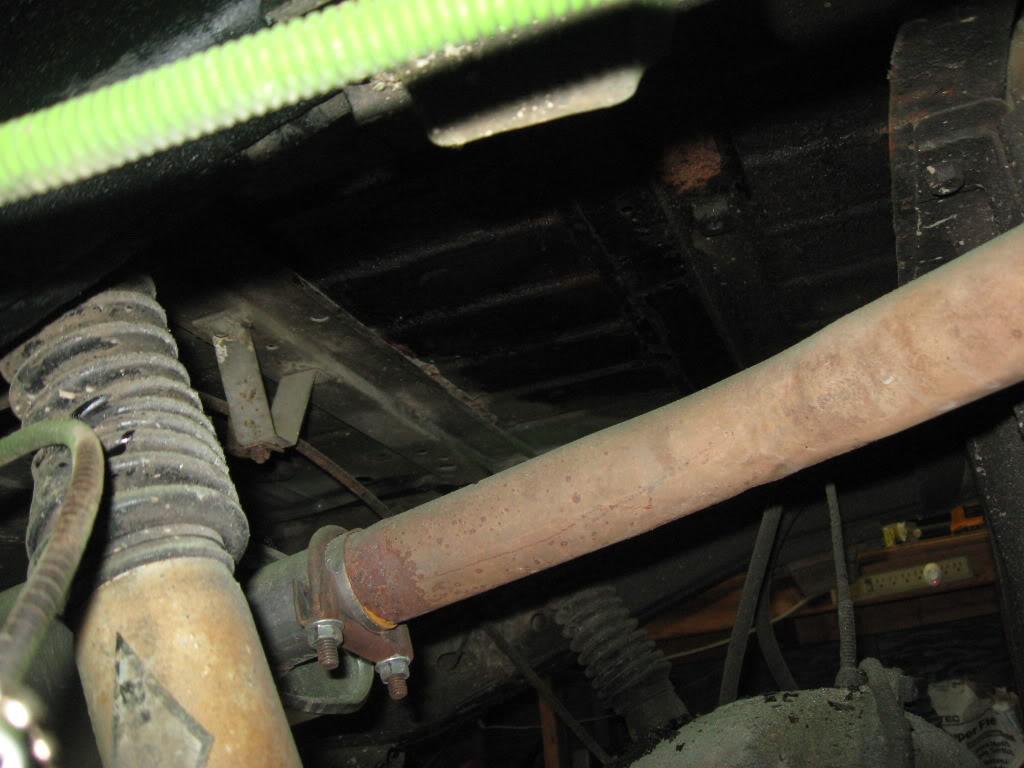
that grease that flings off from a leaking seal and lands on the tub; REMOVE IT!! it seems to hold in the moisture once it destroys the undercoating.

i didnt have a before but here is after scraping off the old grease

IMG_2511-1.jpg


IMG_2509-1.jpg


IMG_2510-1.jpg


sprayed in some rubberized undercoating 3 more to go

IMG_2508-1.jpg
 
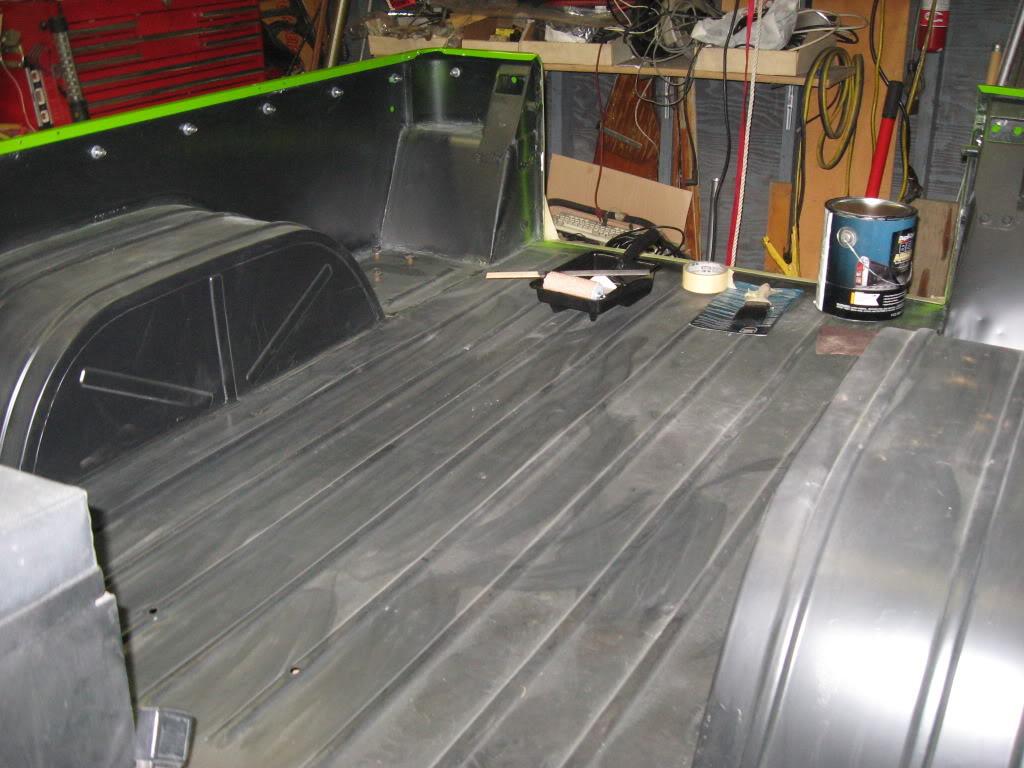
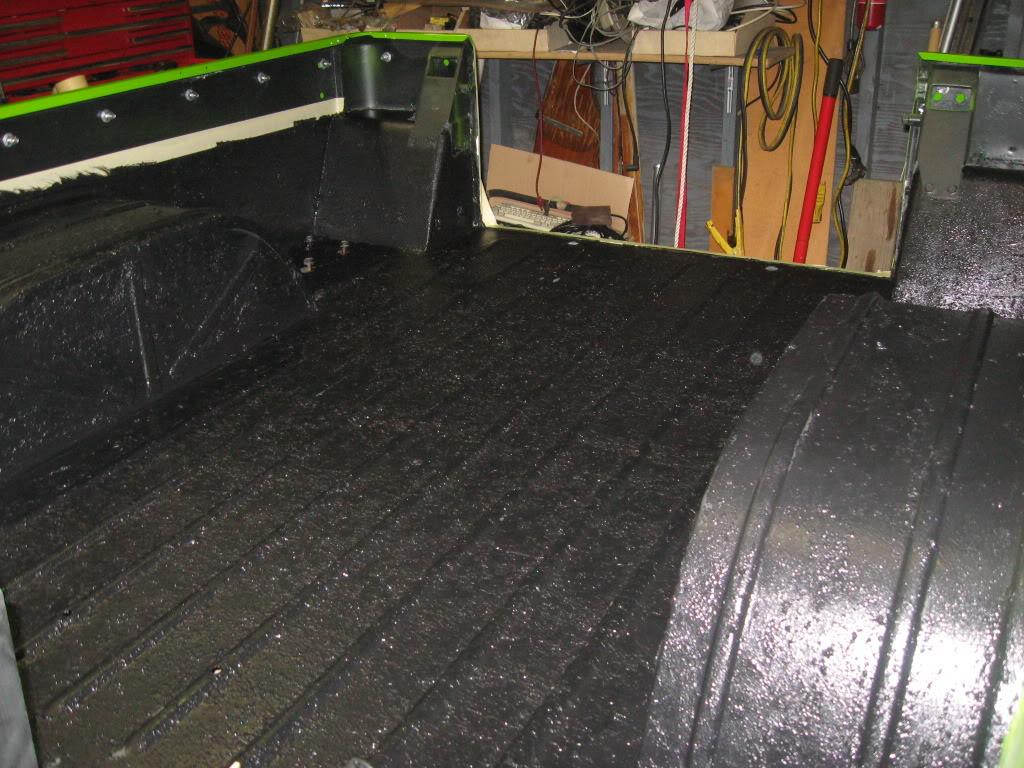
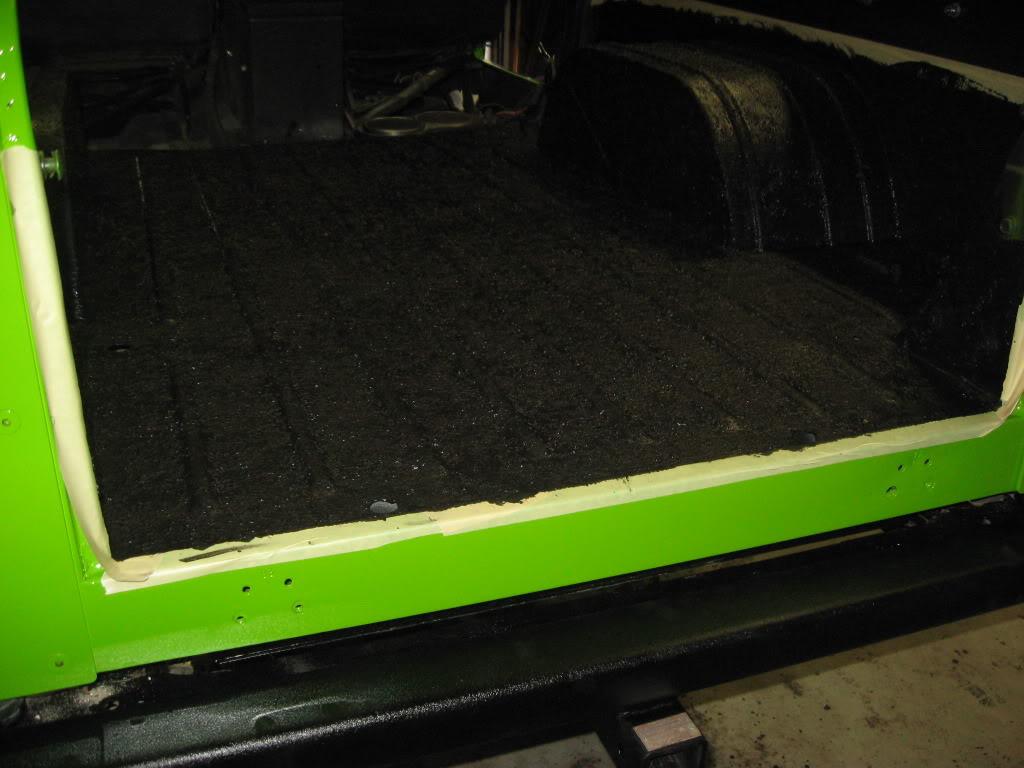
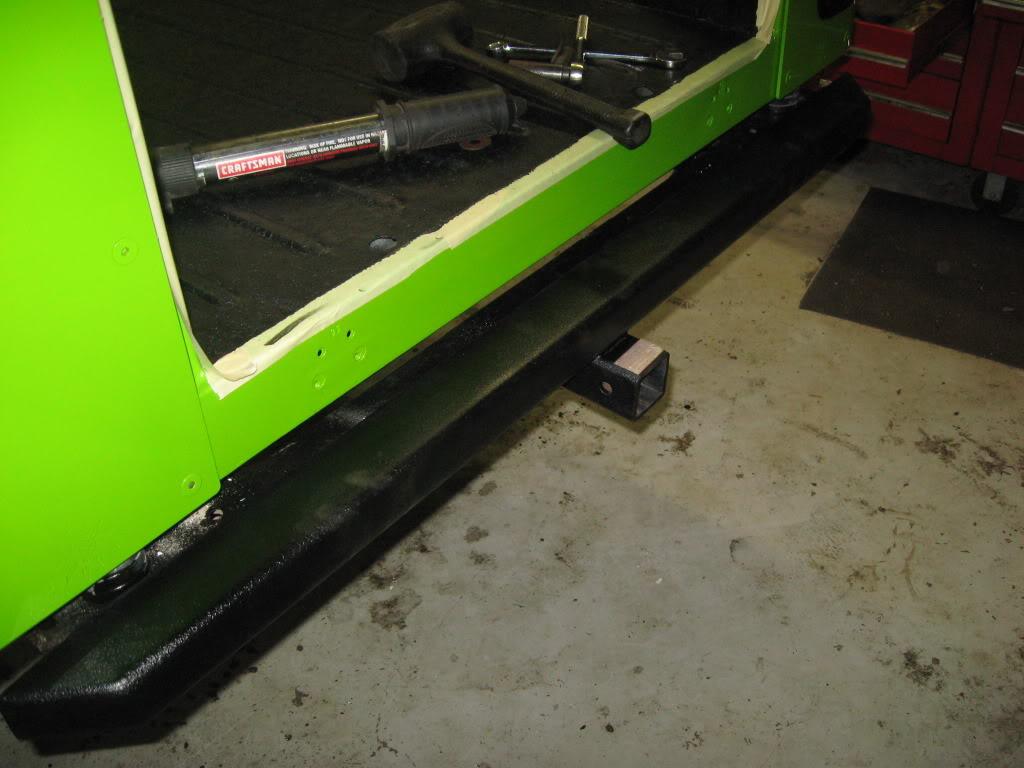
the bed liner was next. i used dupli-color with teflon. i used it first in the cab and seems to hold up ok

IMG_2518-1.jpg


here is with the first coat

IMG_2519-1.jpg


IMG_25201-1.jpg


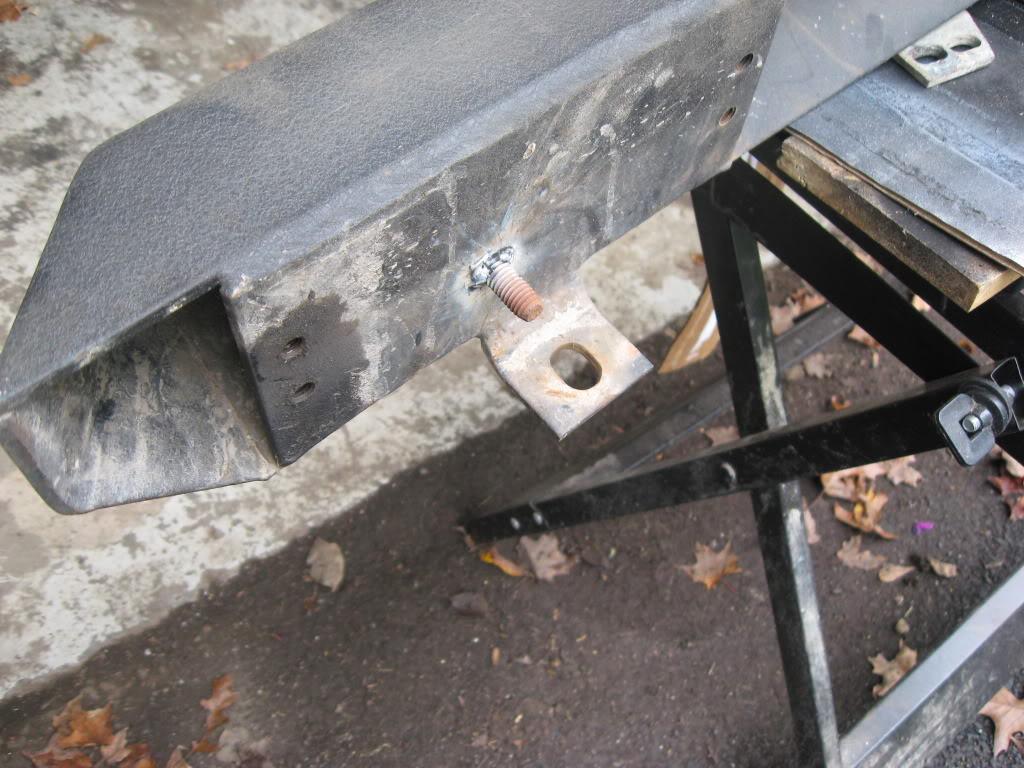
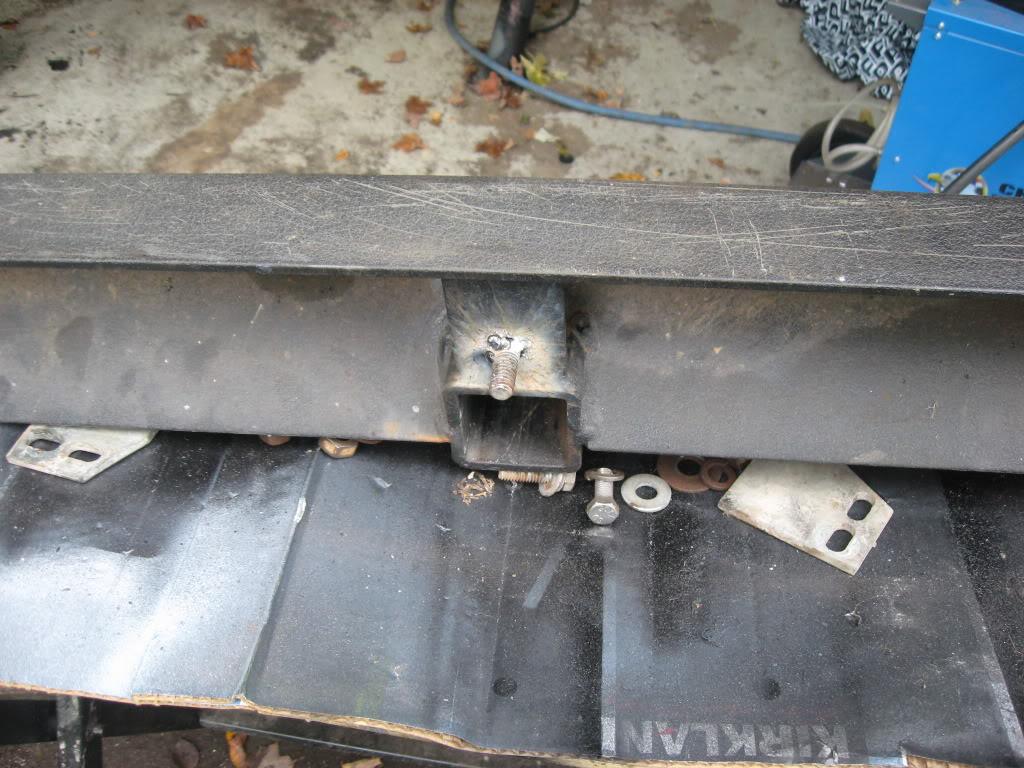
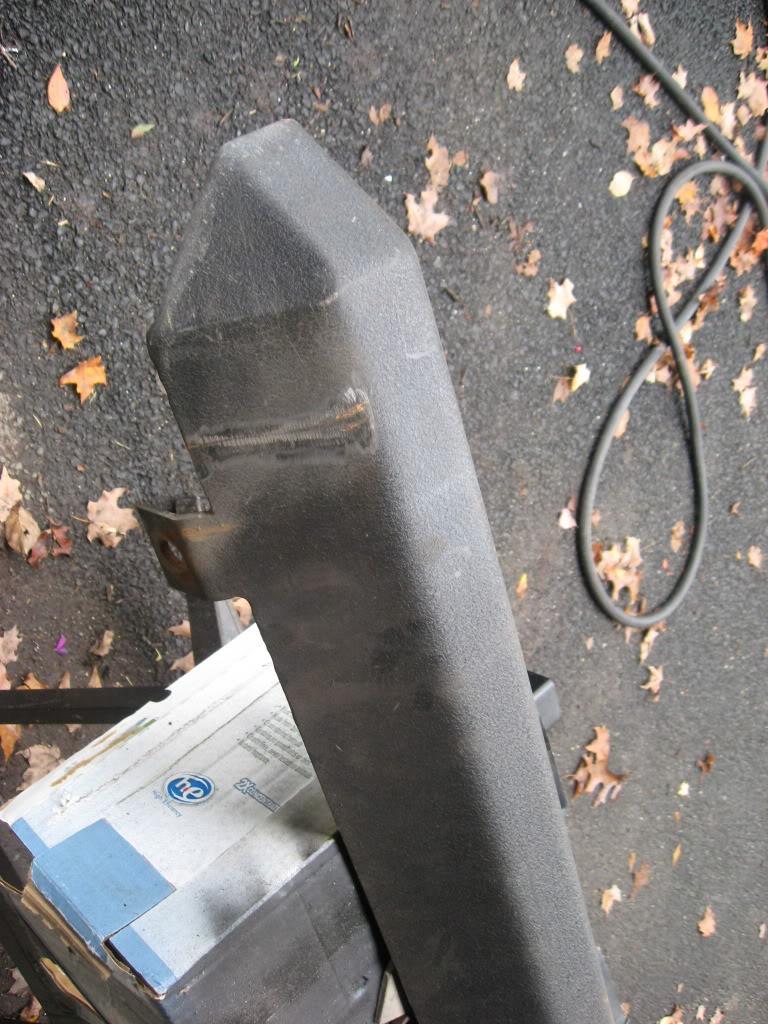
the bumper that came with it wasnt the correct one so i did a mod to it. now it has 3 large bolts and 3 smaller bolts holding it on the jeep. when i got it 2 small bolts were holding it on.

IMG_2522-1.jpg


IMG_2521-1.jpg


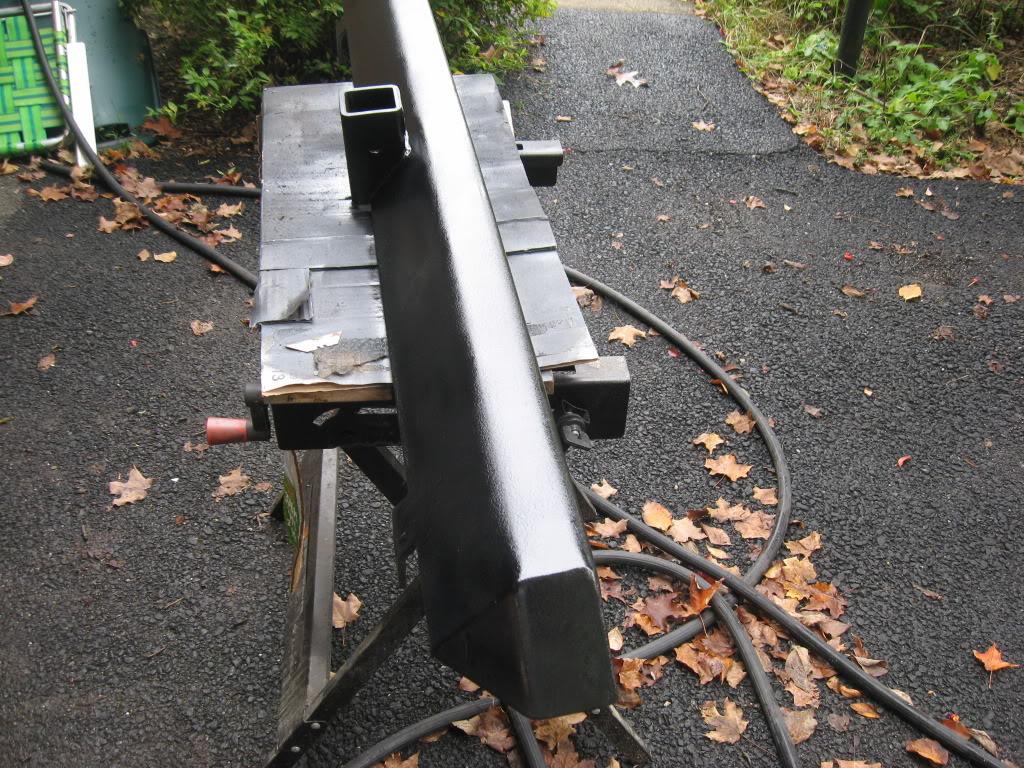
ground off all the rust and painted it. came out pretty good

IMG_2524-1.jpg


IMG_2525-1.jpg


IMG_2527-1.jpg


IMG_2526-1.jpg
 
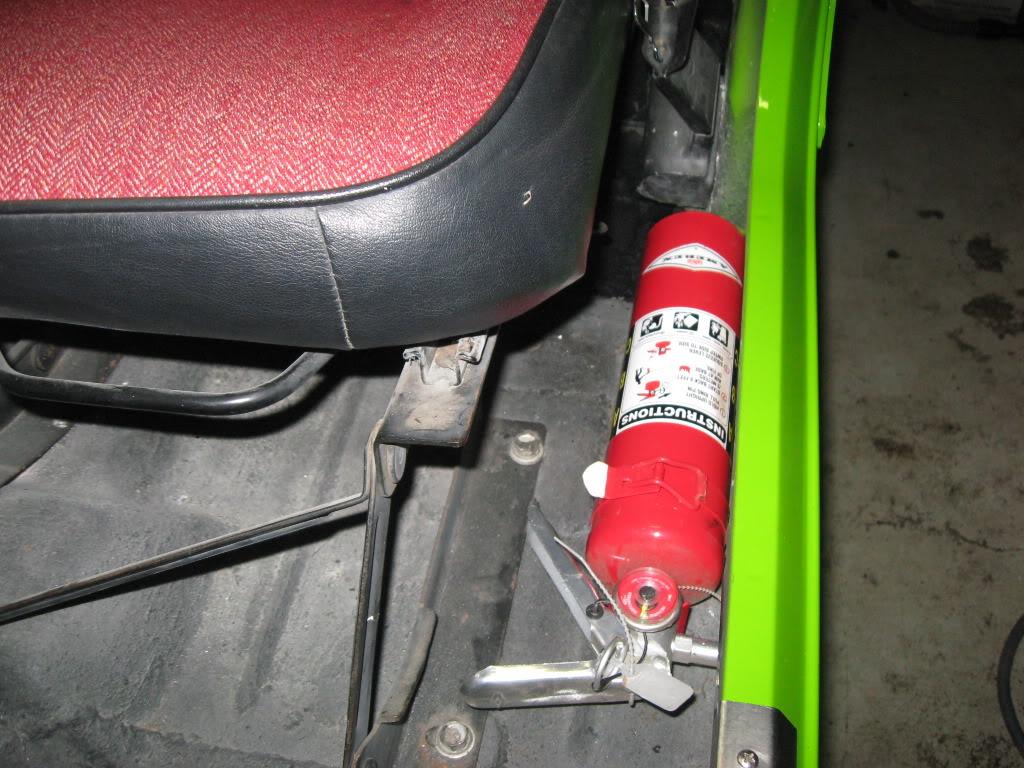
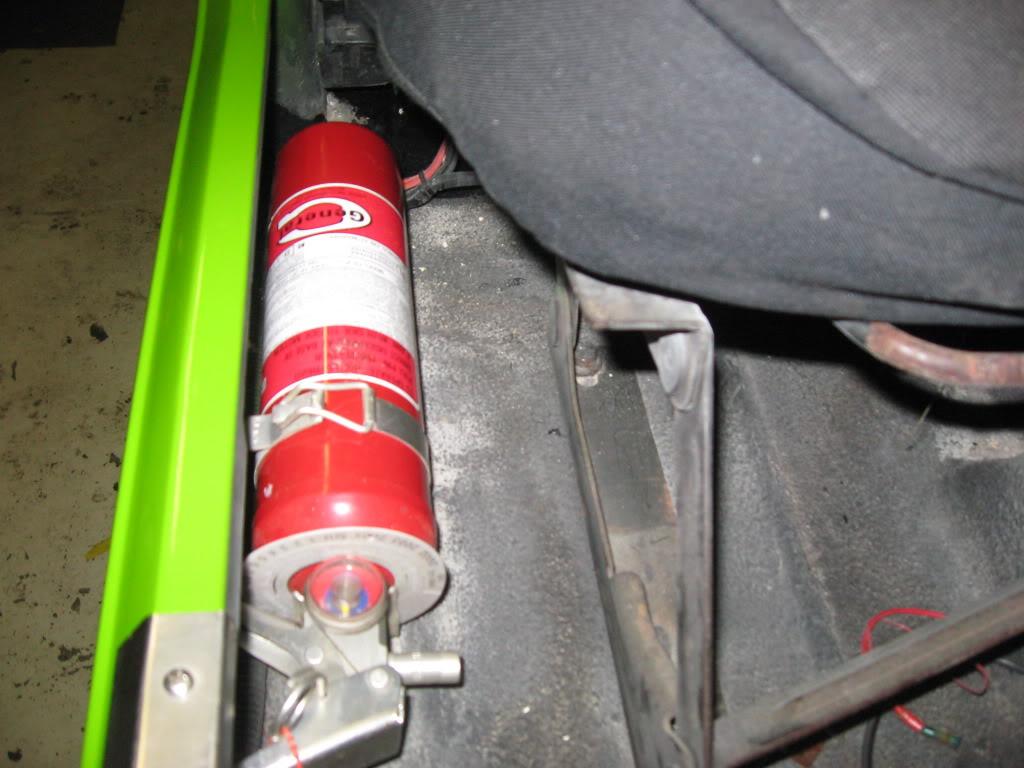
i mounted 2 fire extinguishers next to each seat. i couldnt think of anywhere else to put them.

IMG_2528-1.jpg


IMG_2529-1.jpg


next week the hood fenders and windshield will be done, cant wait :D
 
thanks for the positive remarks :D

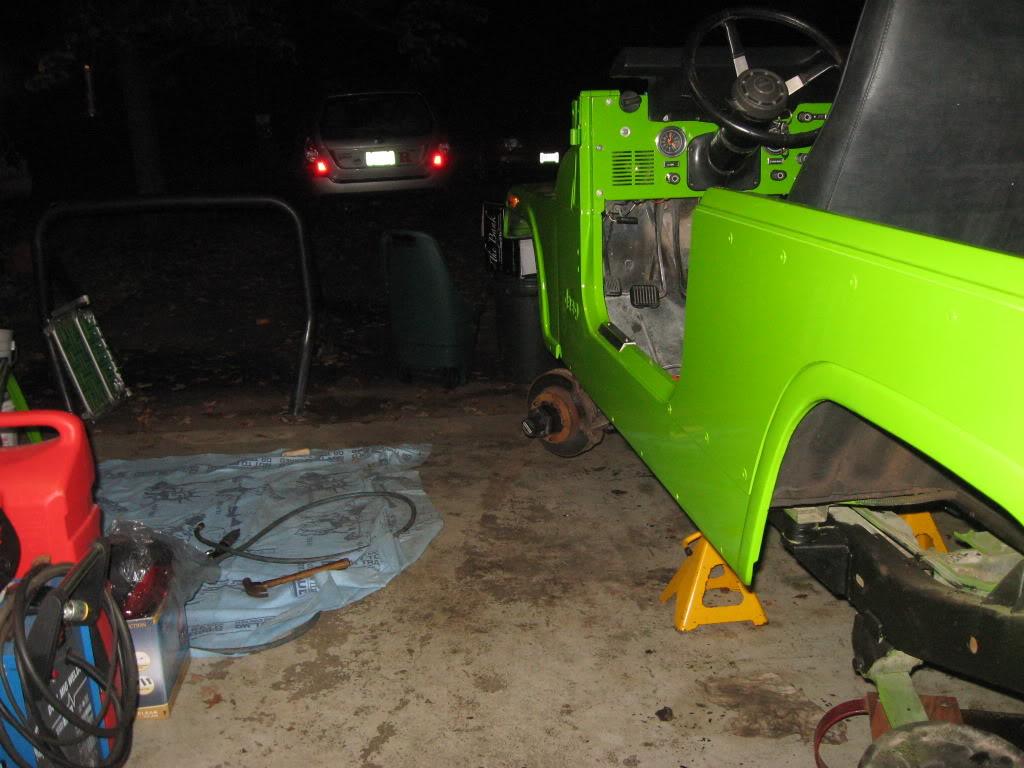
well i got more GREEN parts today :woot:

man do i love the cj fender look, nothing else compares for me

IMG_2530-1.jpg


IMG_2531-1.jpg


IMG_2532-1.jpg


i never had a vehicle this old and this clean

IMG_2533-1.jpg


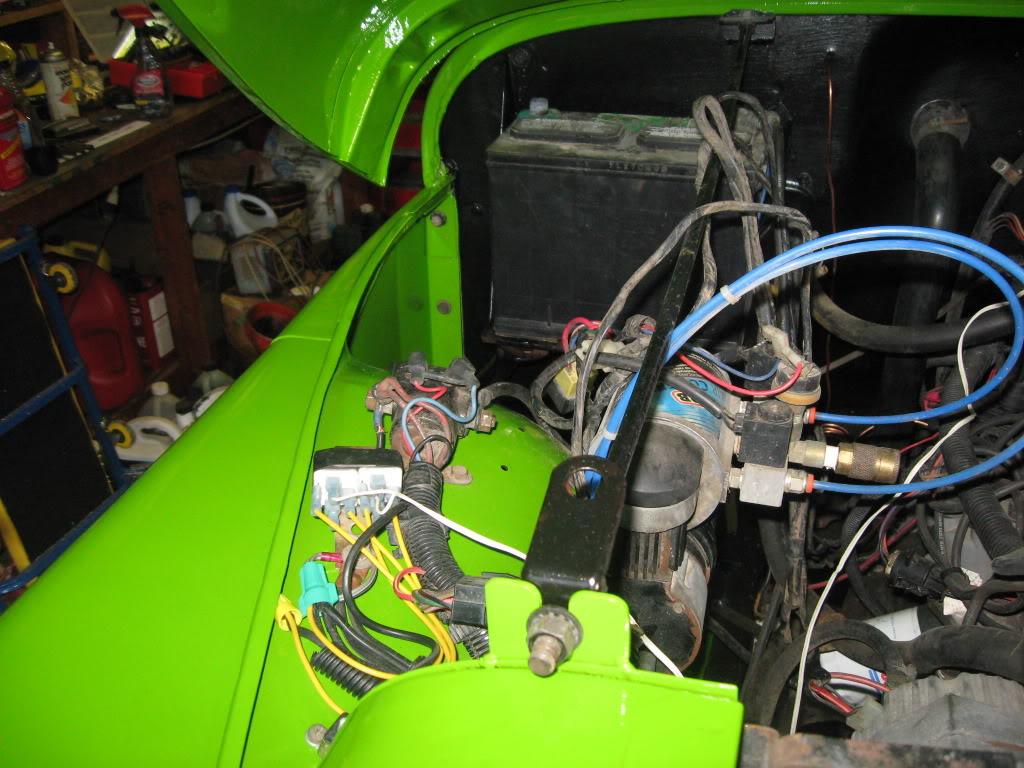
ARB compressor mounted up

IMG_2534-1.jpg


IMG_2536-1.jpg


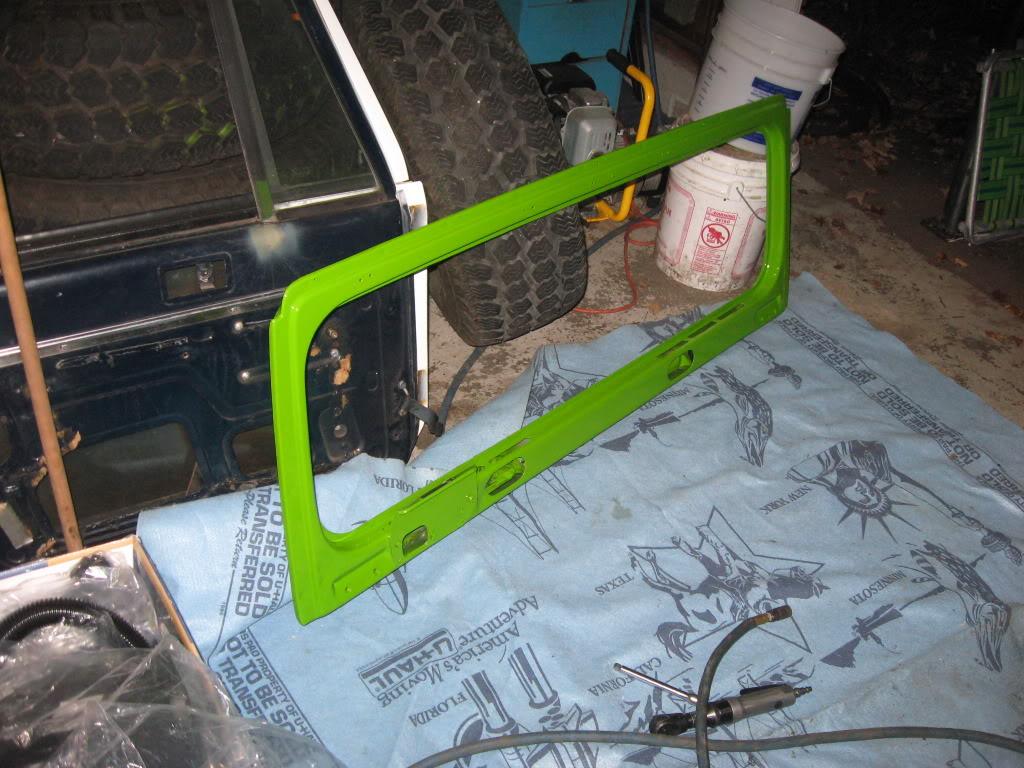
now i need to lookup the best way to install the glass after i pick up the seal

IMG_2537-1.jpg


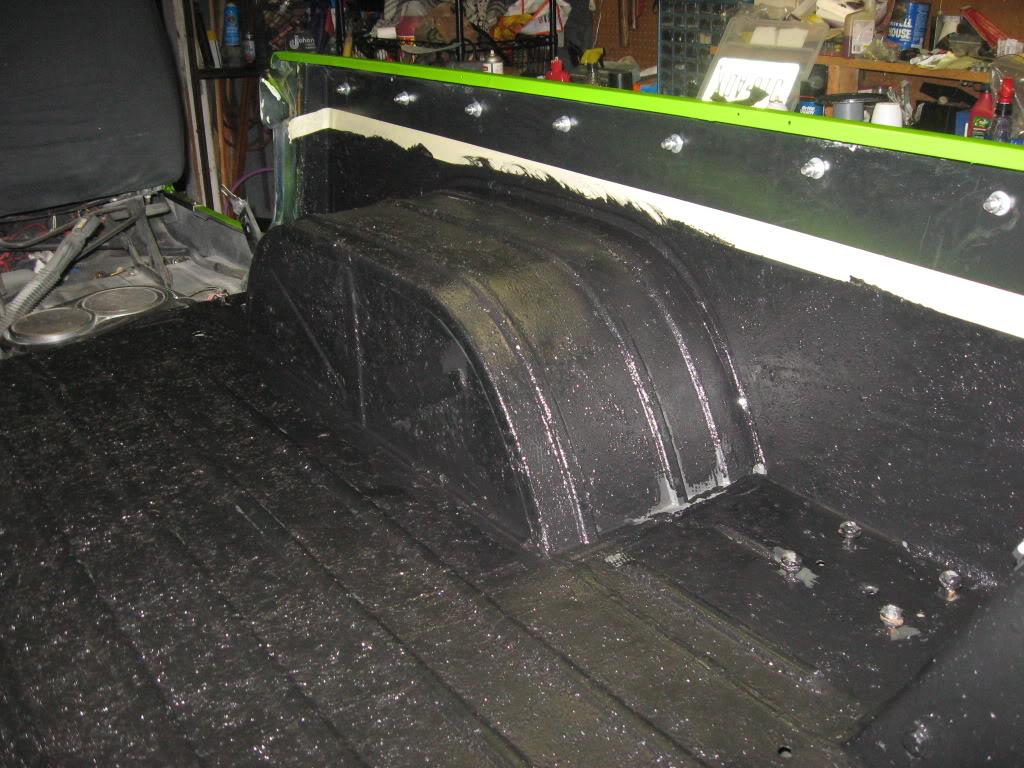
here is the bed with both coats on it

IMG_2535-1.jpg


tomorrow the hood!!!!!
 
now i need to lookup the best way to install the glass after i pick up the seal

IMG_2537-1.jpg

I tried that... once.. and broke my glass. I then took the route of taking it to a local glass place which (a) can do it and (b) warantees against leaks, which you might find useful in the future if you want to re-gasket it on their dime. It may not be as hard as it looked to me, but it's certainly not a forgiving material to work with. :twocents:
 
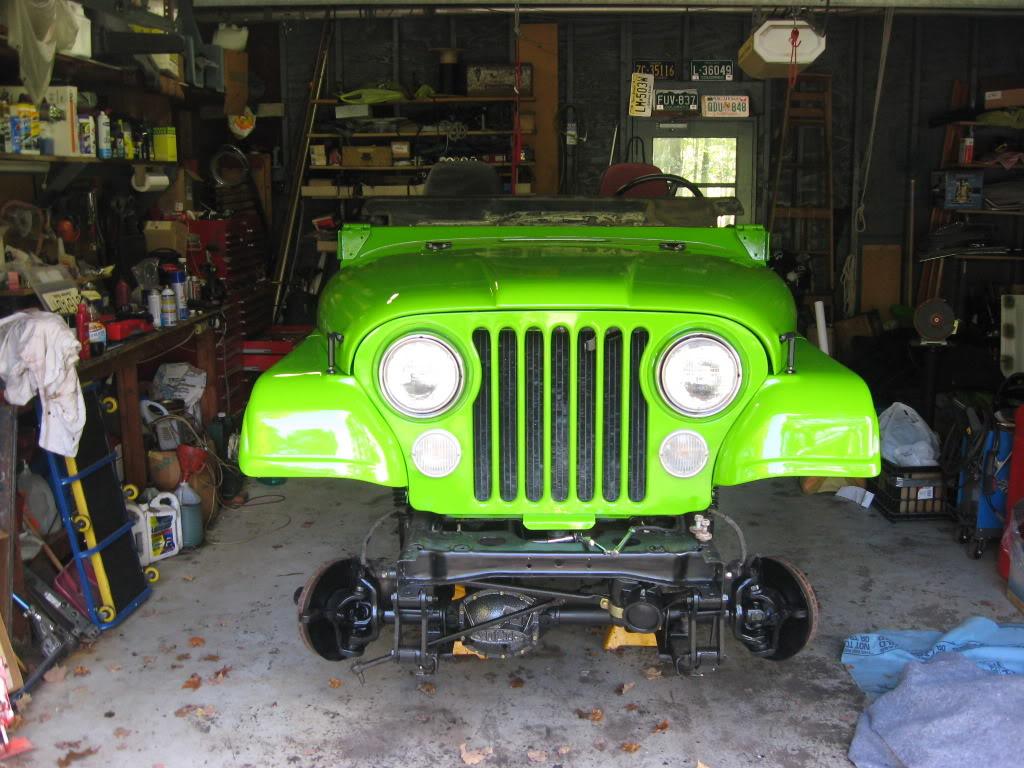
hoods on :woot:

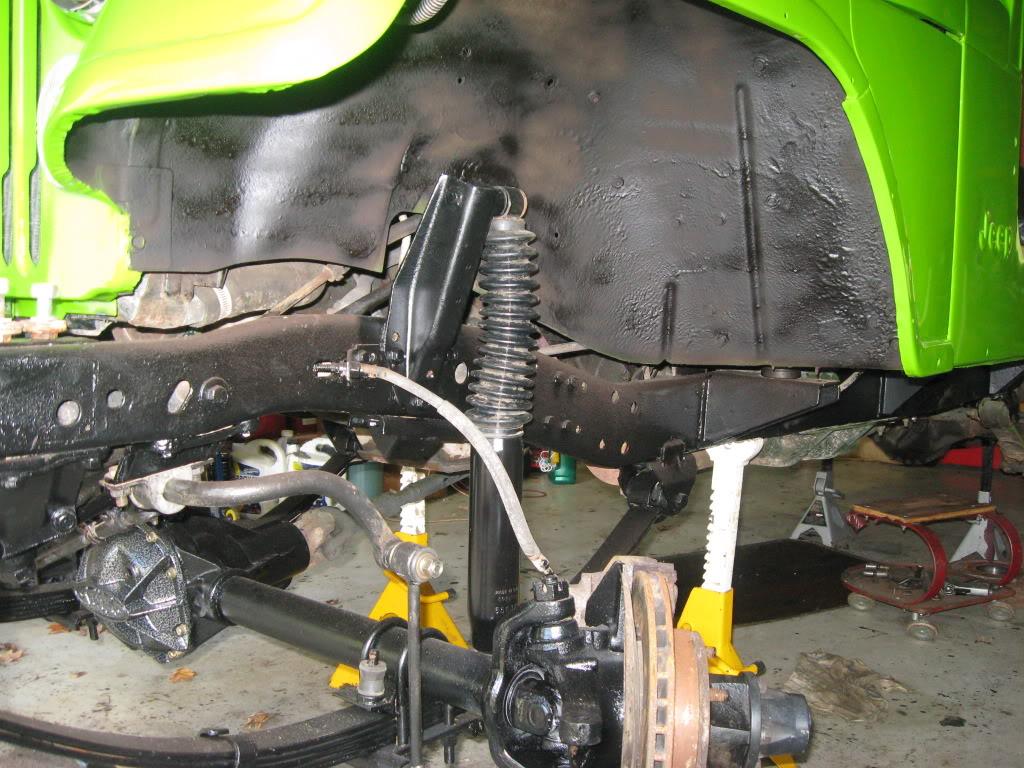
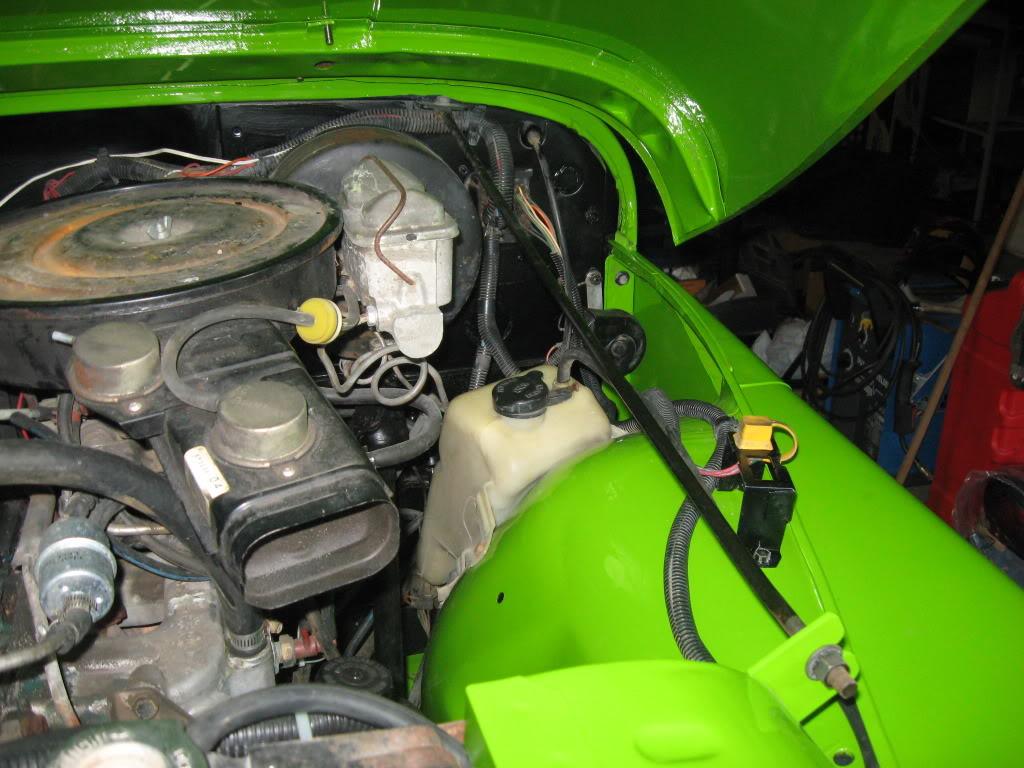
all inner fenders are rubberized. now all the little parts need to be painted next.

IMG_2539-1.jpg


IMG_2538-1.jpg


CANT WAIT TO DRIVE THIS RIG !!!!!!!
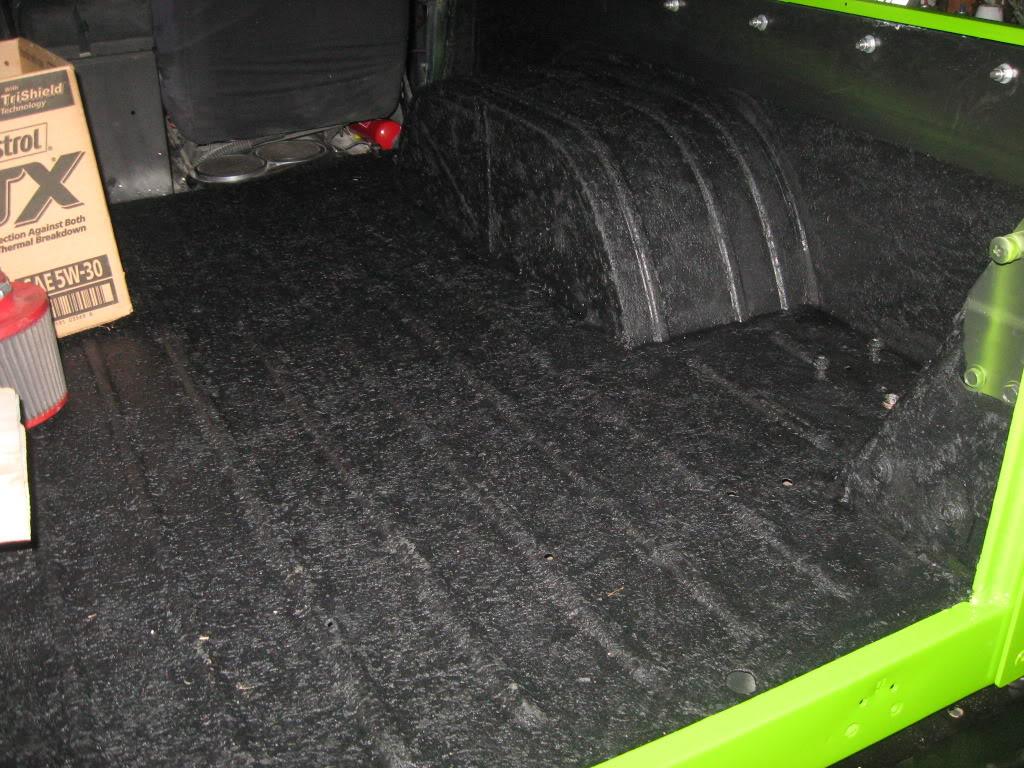
IMG_2540-1.jpg
 
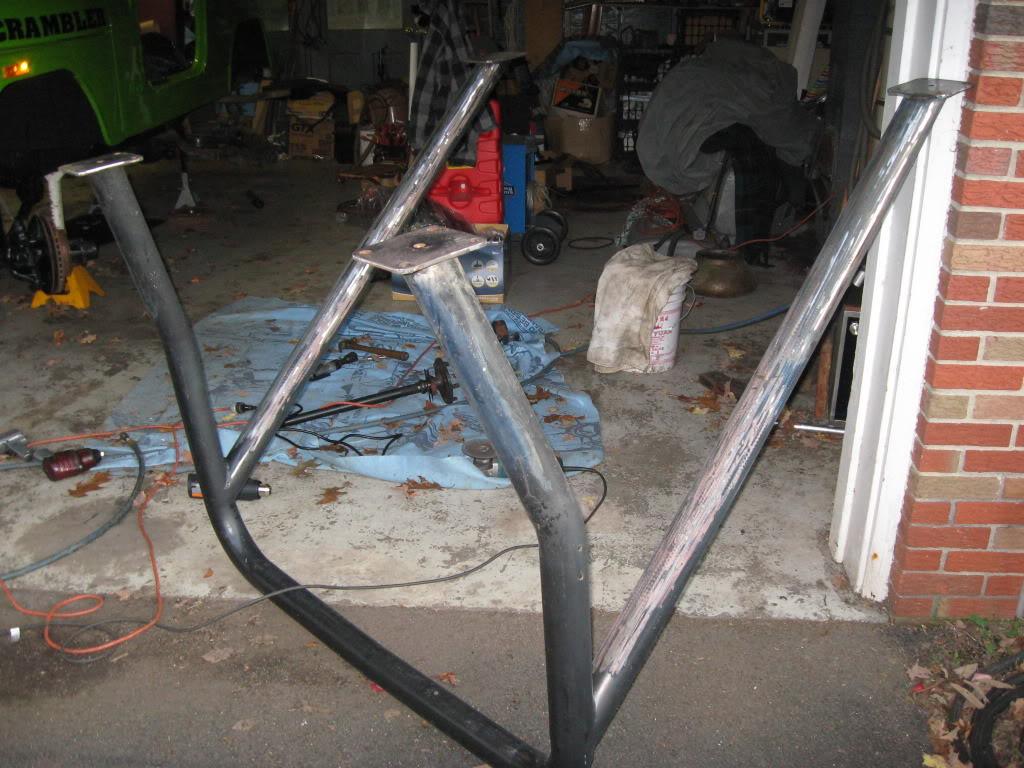
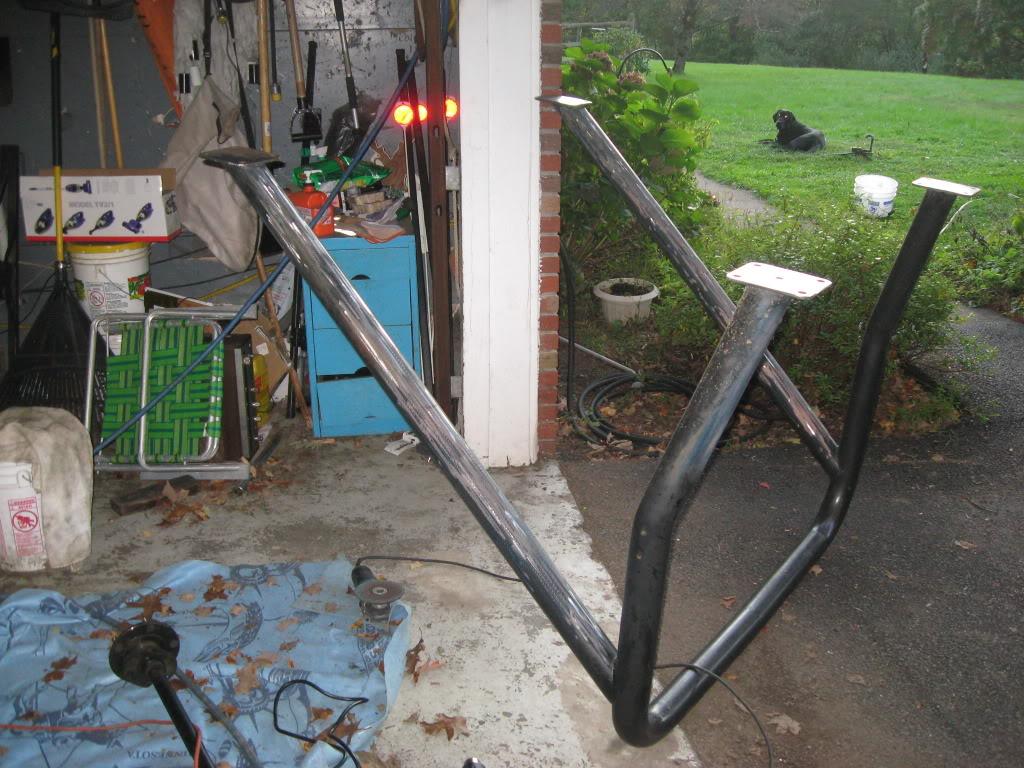
i started on the roll bar today, and i noticed my garage is lookin like i can put my car back in there :D

IMG_2550-1.jpg


IMG_2549-1.jpg


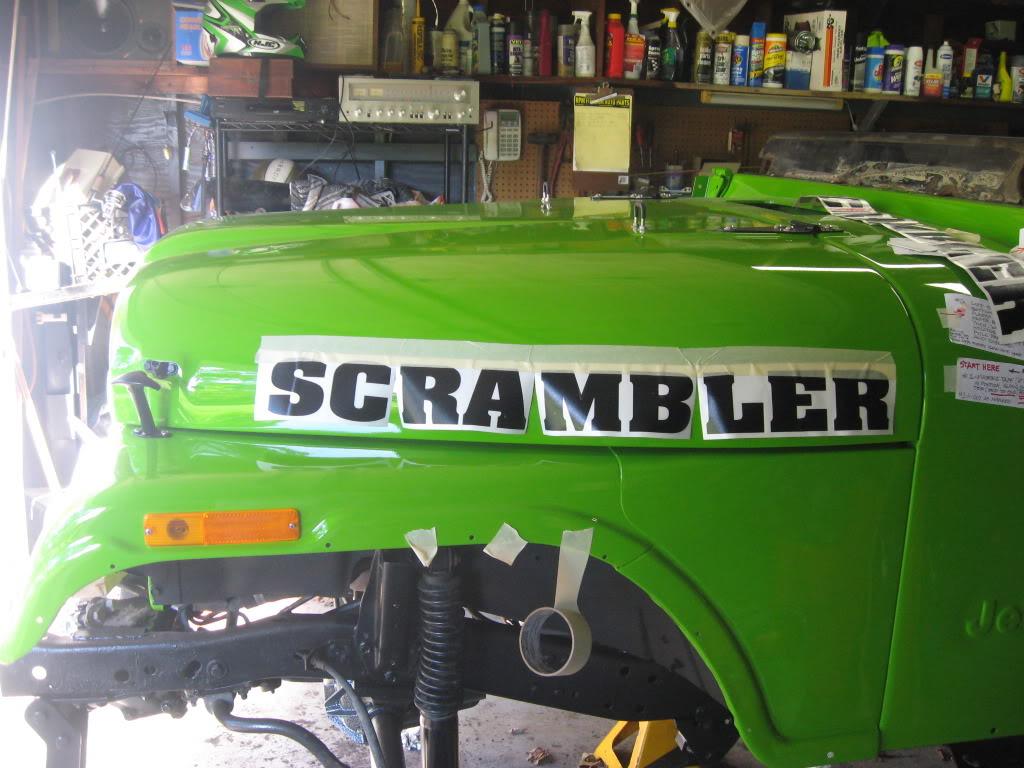
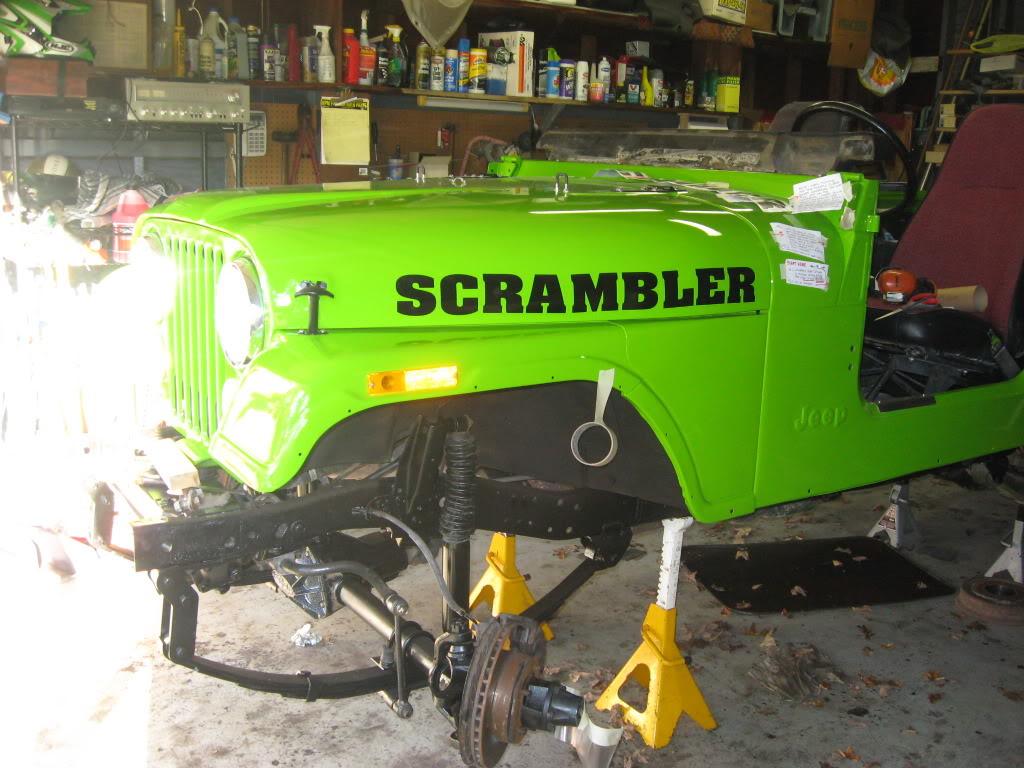
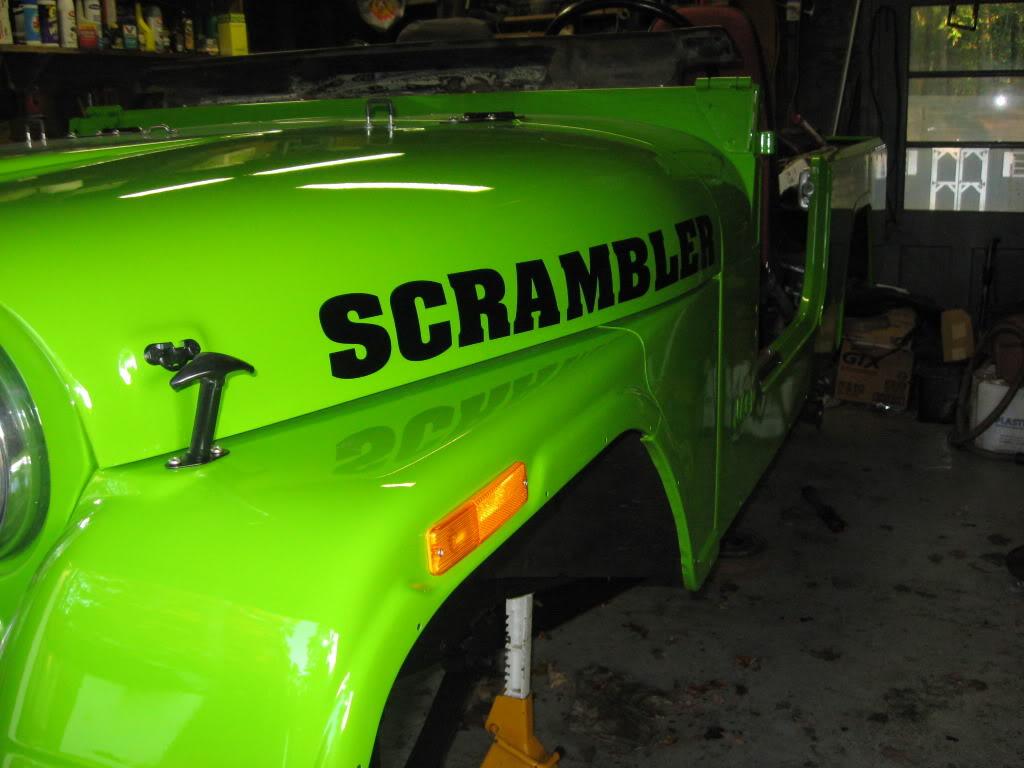
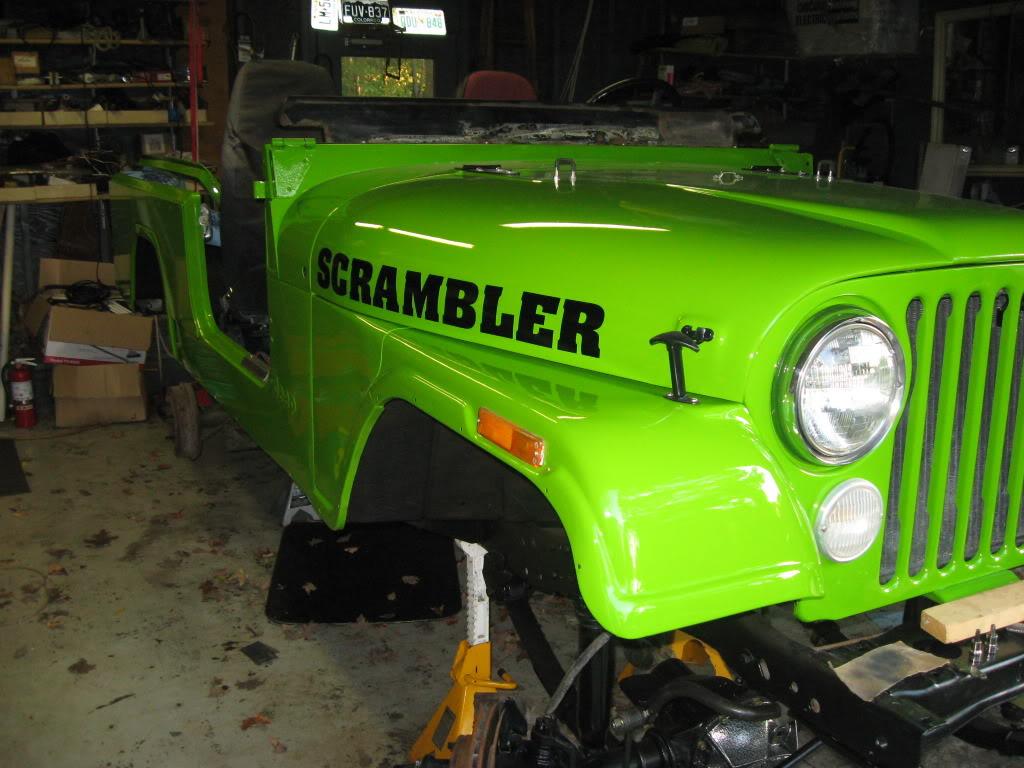
the decal was next. i was sweat-in on this job. if you have a long decal and its on a curve you have to snip it every 4-6 inches or it will buckle and look like siht.

IMG_2541-1.jpg


IMG_2542-1.jpg


IMG_2543-1.jpg


IMG_2544-1.jpg


the LF fender and hood are done inside and out!!!
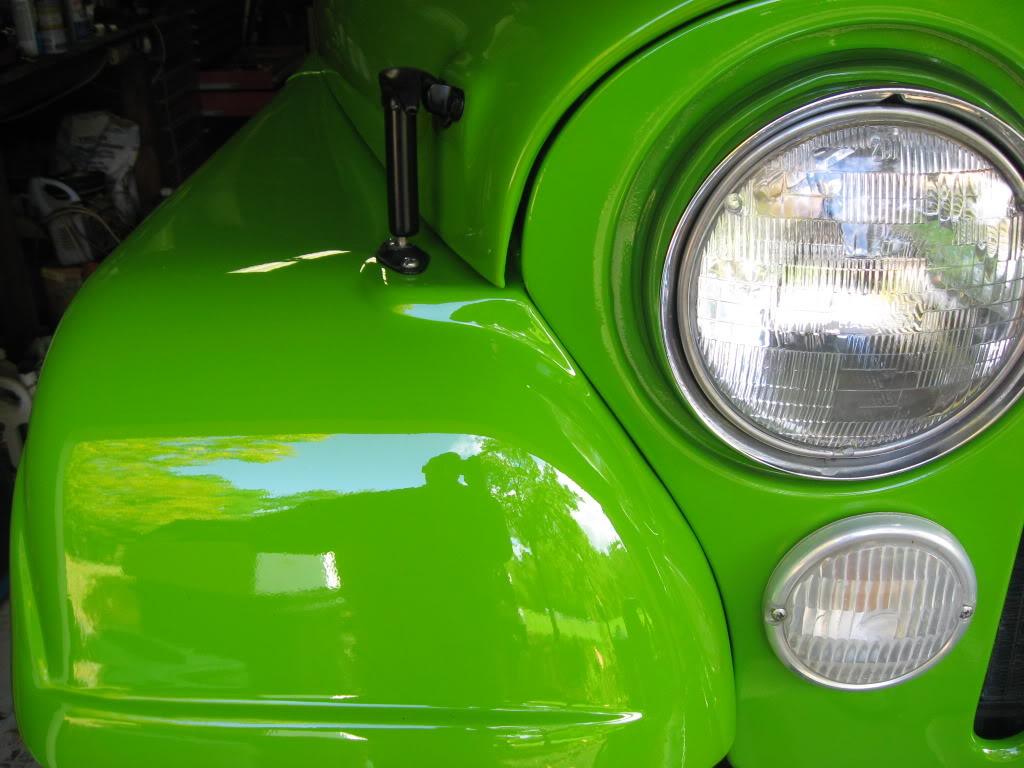
IMG_2545-1.jpg


the pass side needs some wire management done when the winch gets installed

IMG_2546-1.jpg


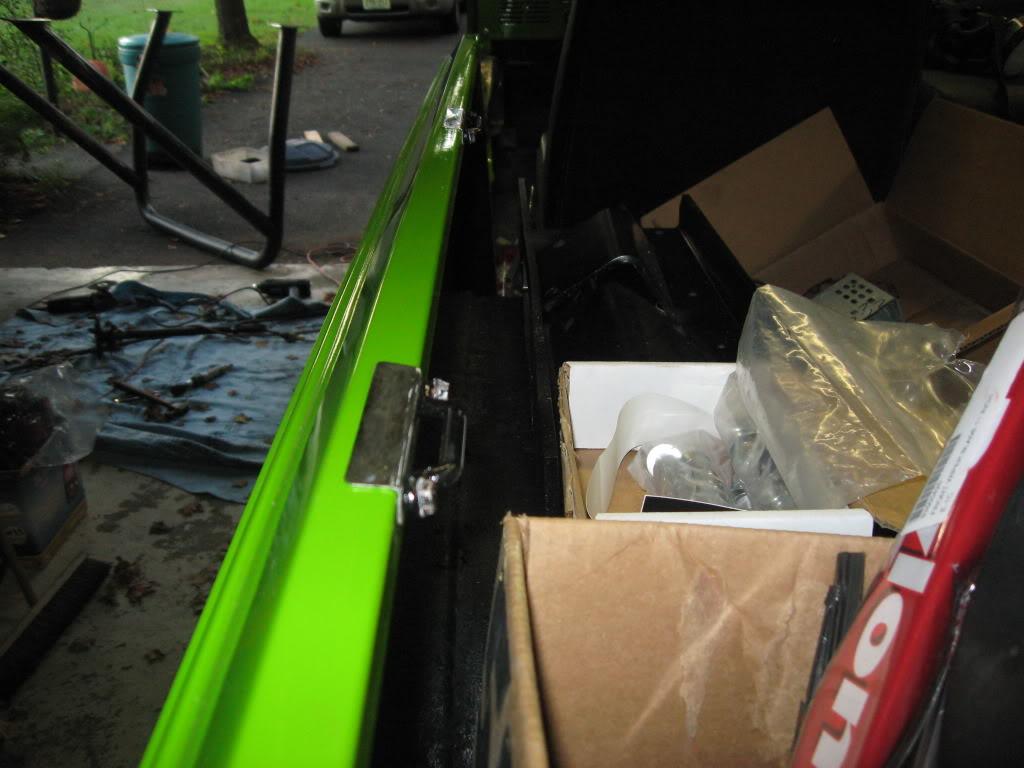
lastly today i put back the tonneau cover cleats, i understand they are wider than the normal ones

IMG_2547-1.jpg
 
Your "sweat-in" on the decals turned out well. Looks great
 
thanks guys
i cant believe how good things have turned out.
its been 1 year since i got it, and never imagined i would have a jeep this nice.
 
Back
Top