• Notice for iPhone users: DO NOT use the image size reduction option when uploading photos to the forum. This causes portrait images to post as landscape. We have added a warning to the image insert pop-up as well.

New To Me 83--Parts Needed

Lookin good! I can't wait for you to show me how to remove strip paint reinstall the motor on red SL before I continue with the build :thumbsup:
 
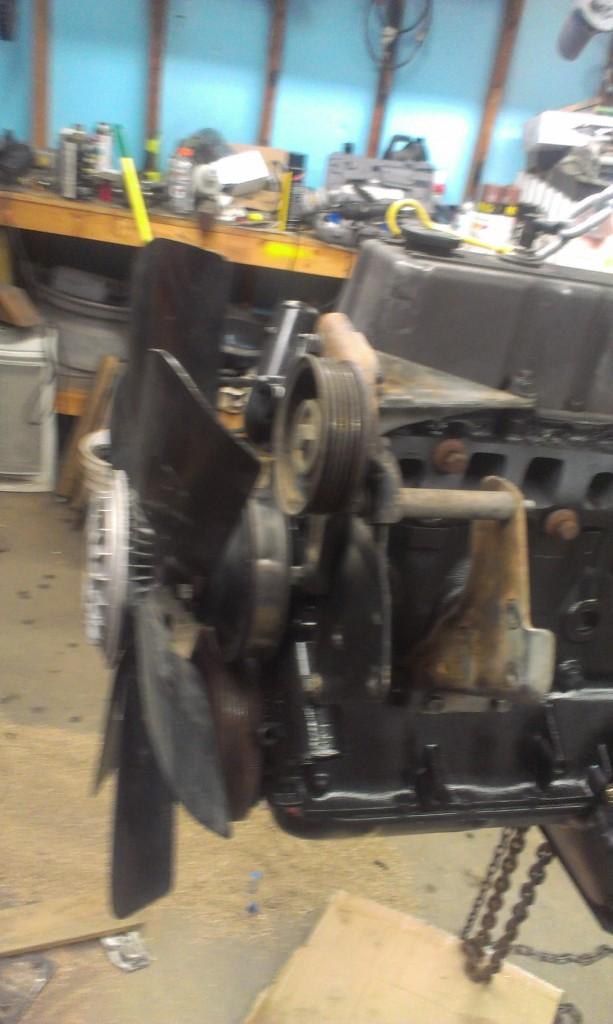
Looks like a California 258 with the serpentine setup. Mine engine is has the same pulleys and belt setup.
 
Looks like a California 258 with the serpentine setup. Mine engine is has the same pulleys and belt setup.

I am glad that you also have this drive belt arrangement, I might need some reference pictures when I go to put this one back together:crazy::thumbsup:

I carefully removed all this stuff and laid it down on the garage floor when I pulled it off the engine. As long as no one kicks the parts all over the place, I should be able to put it back together without too much fuss:fingerscrossed::fingerscrossed:
 
Update from this past weekend.

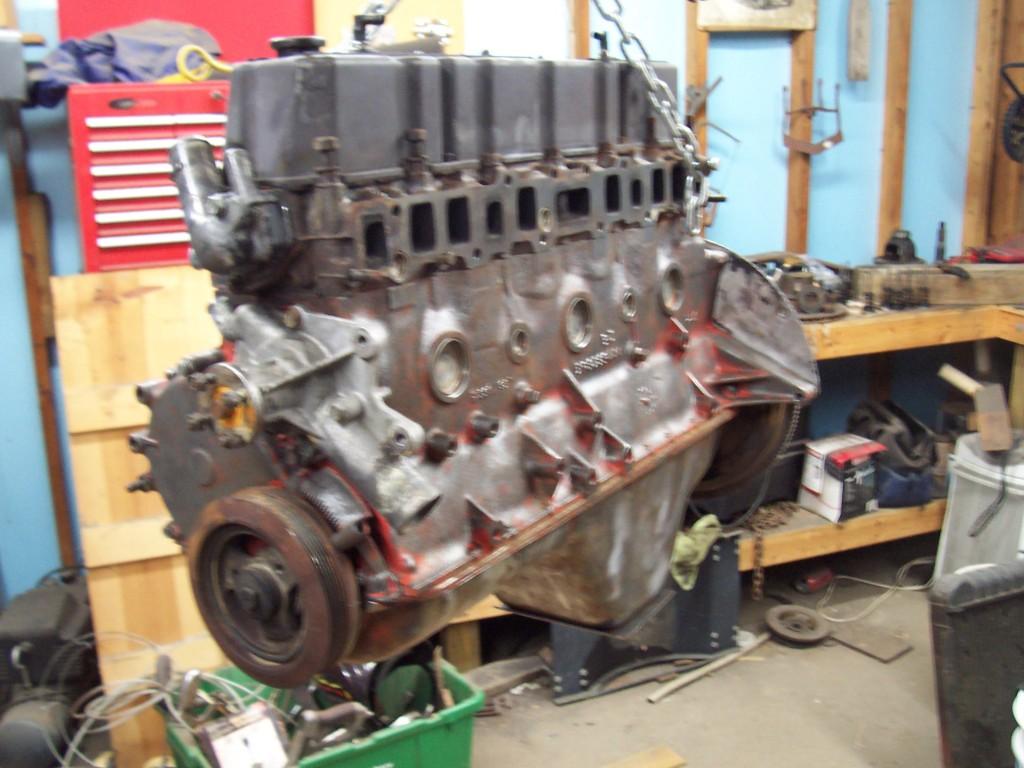
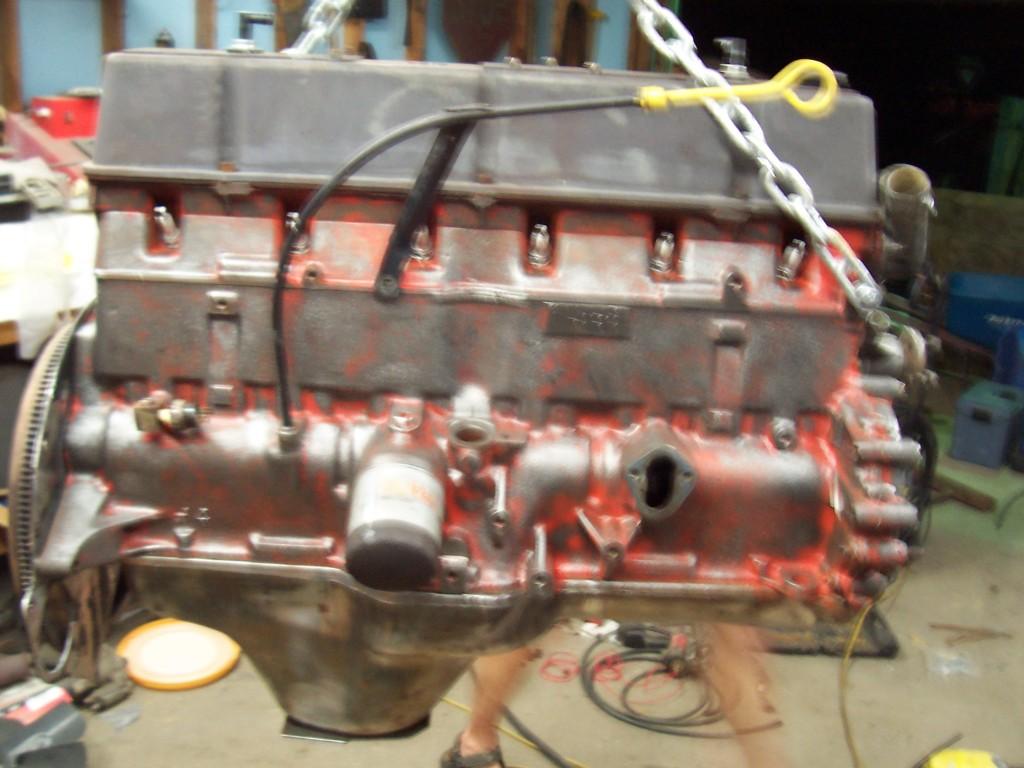
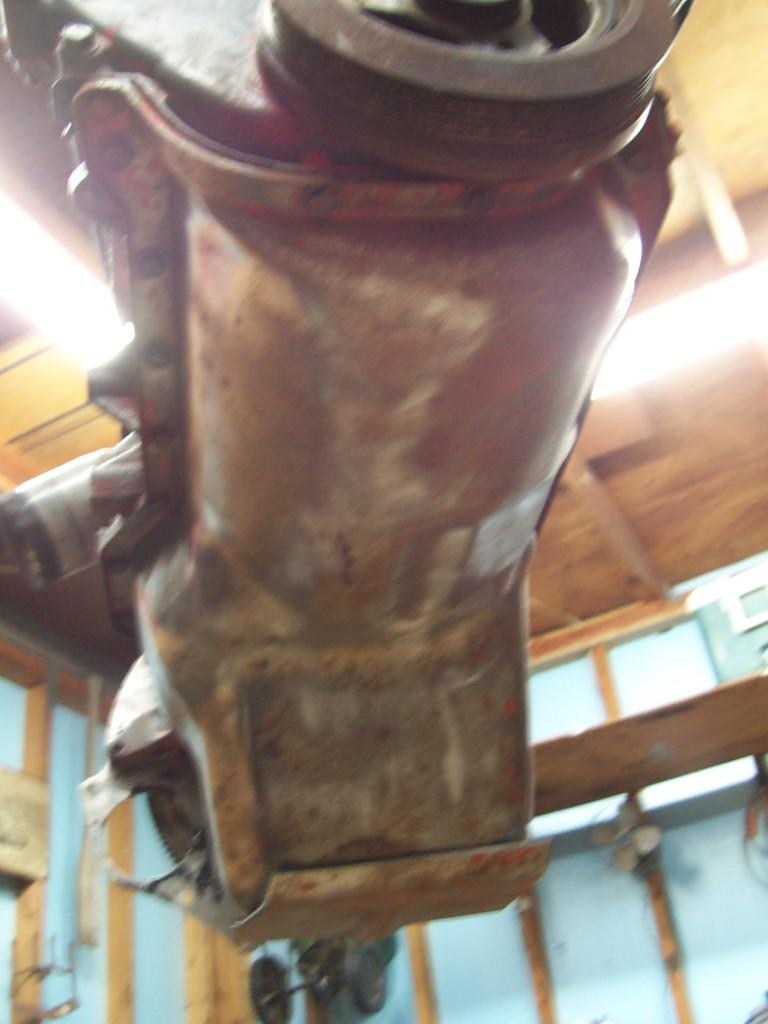
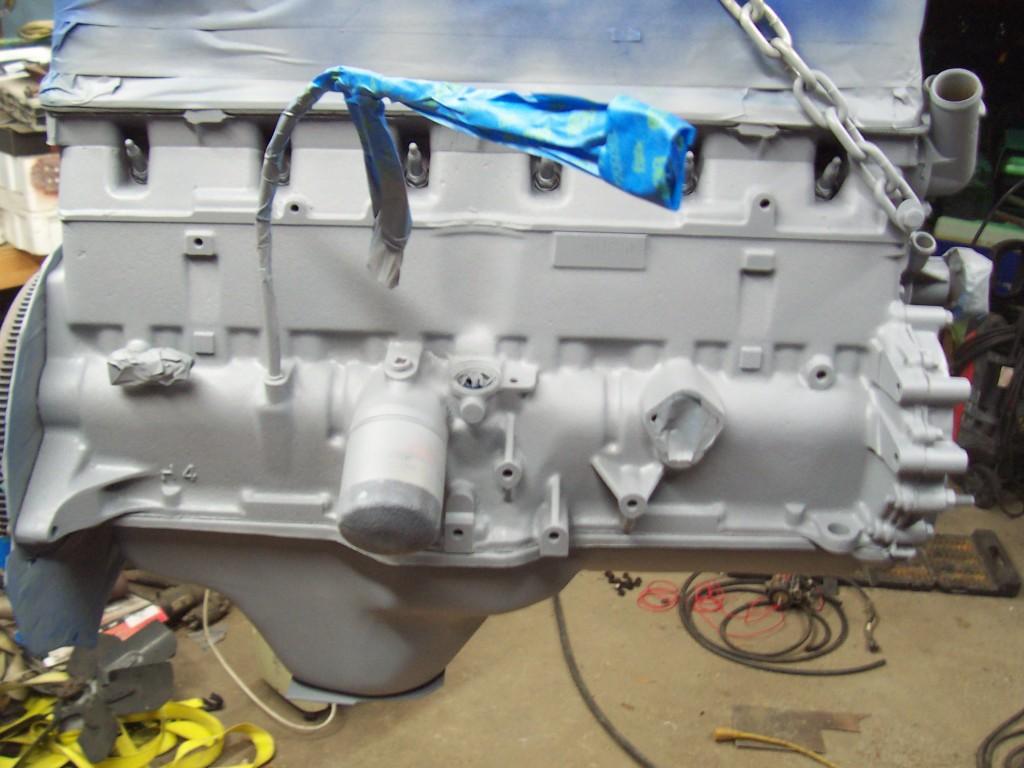
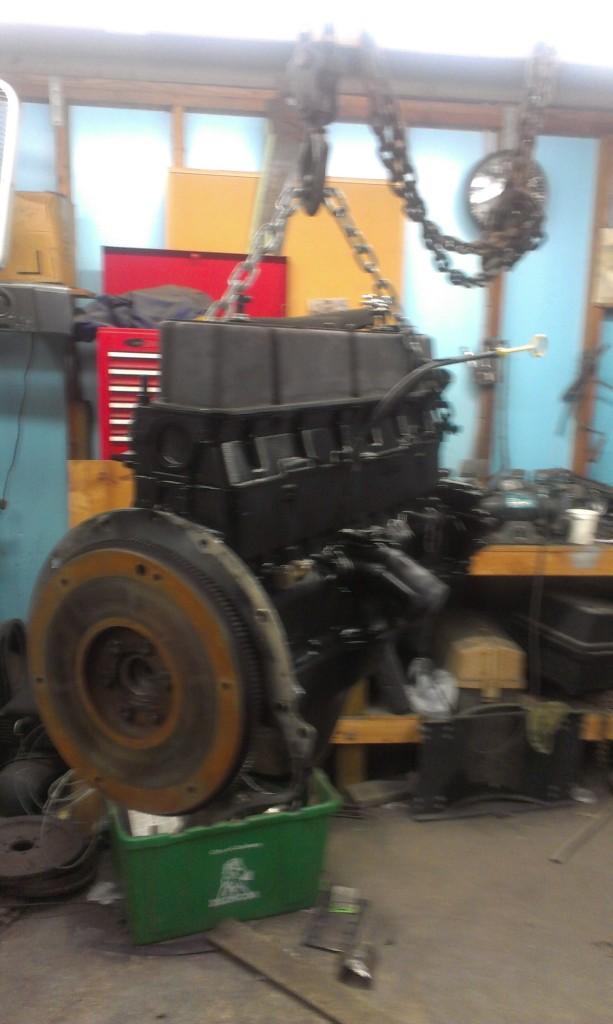
Even though my birthday was on Friday, I decided to spend my time working on "Yard Scrambler". I wanted to repaint the engine, so I needed to remove all the orange paint. After about 3 hours with wire wheels, I got the engine looking like this:

0188-1.jpg


0198-1.jpg


0207-1.jpg


00524-1.jpg


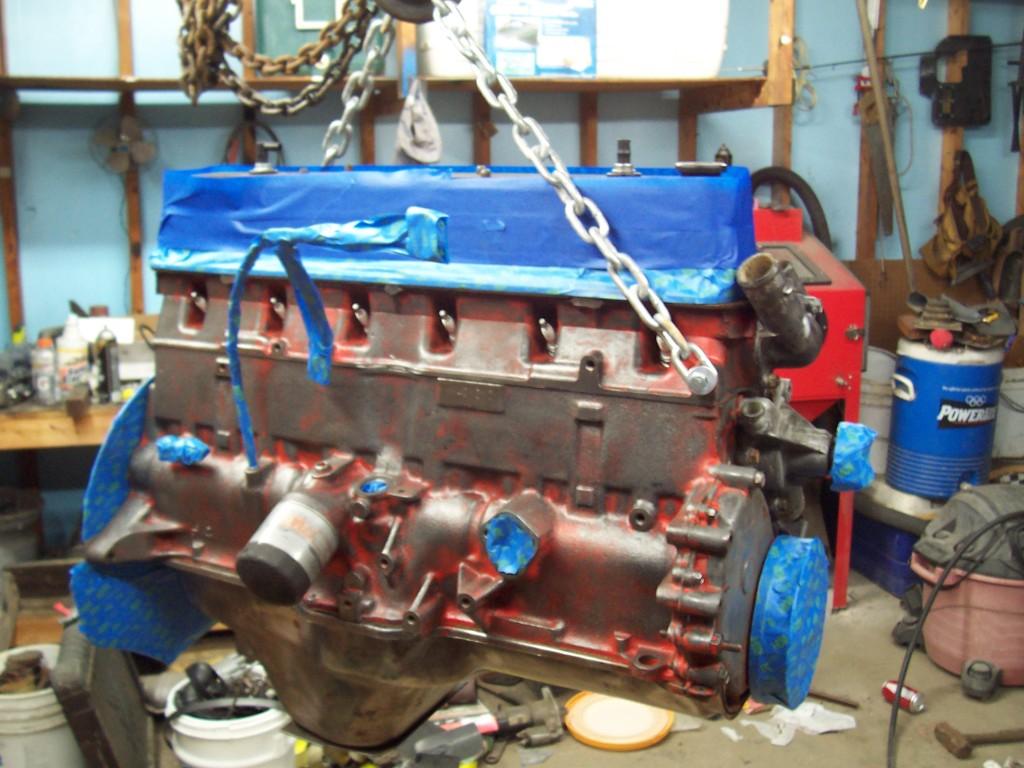
If the orange paint did not come off after all the wire wheeling, it is not going to come off with the technology I have available to me. I then primed the engine with 1 can of engine primer. I figured the primer coat would help cover the left over orange splotches and help the paint coat to adhere better. Most of the old orange paint came off very easily, there was no primer on the engine.

00329-1.jpg


00623-1.jpg


00821-1.jpg
 
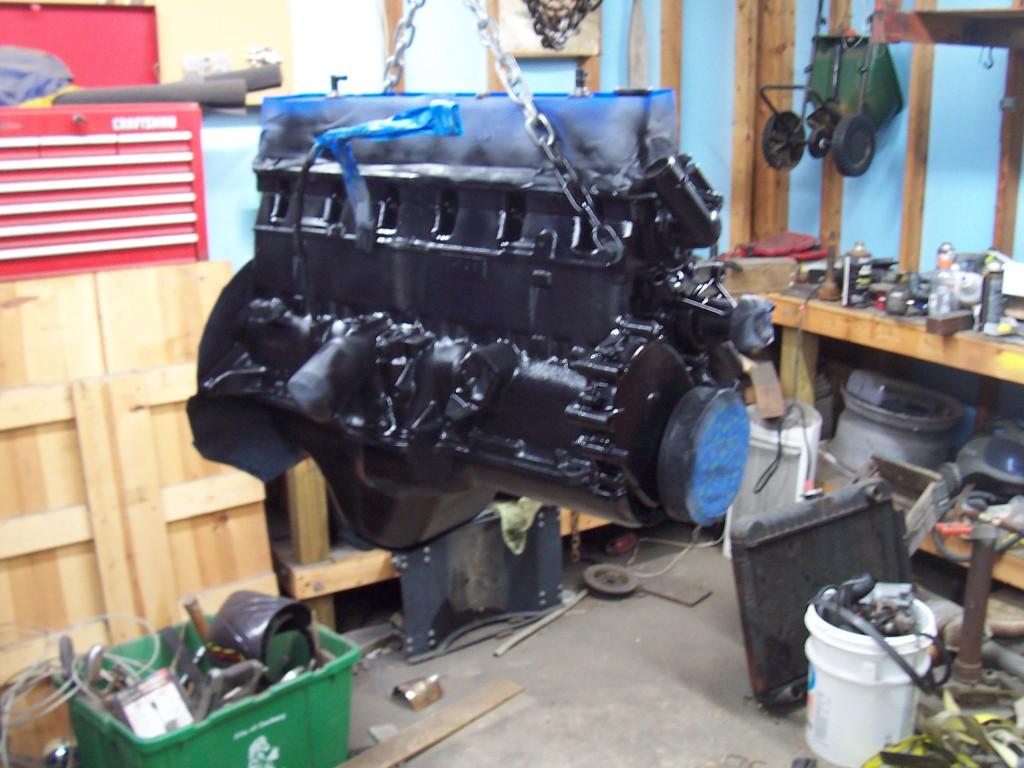
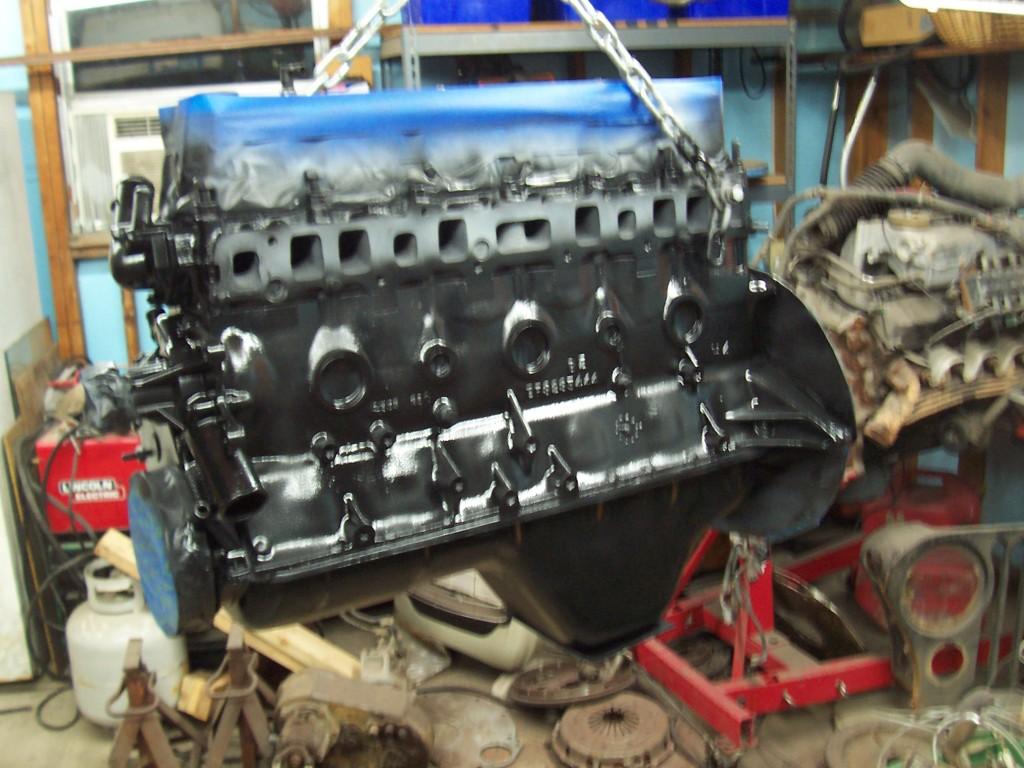
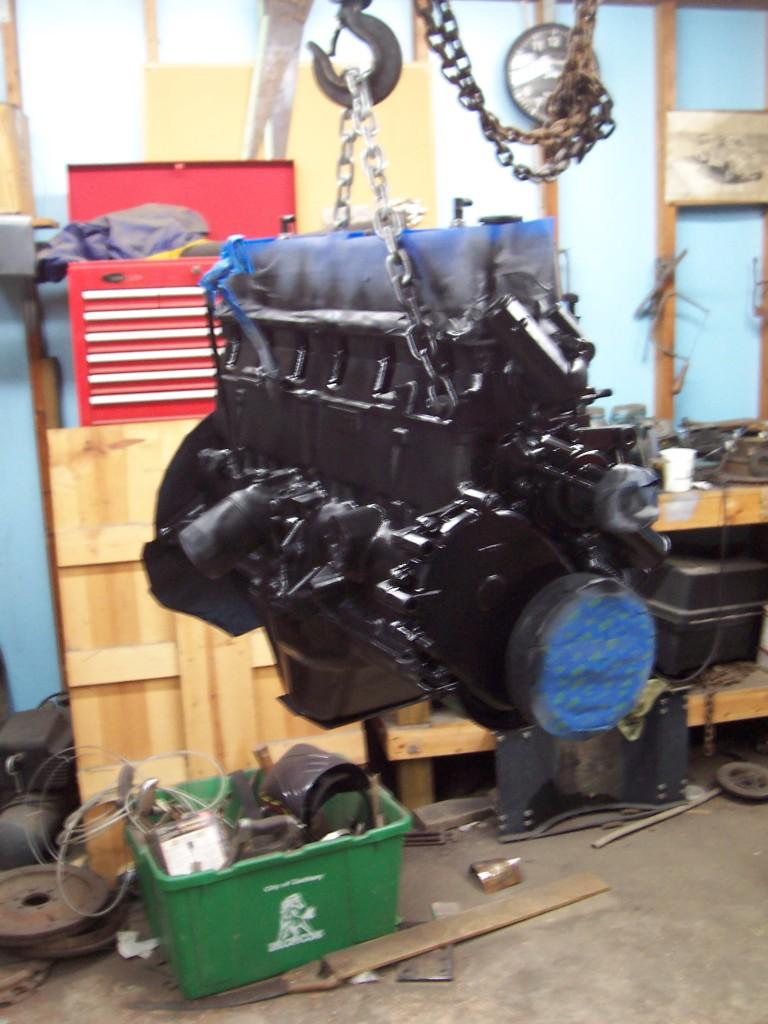
And finally, after 2 cans of black engine paint. I think it looks much better.

01114-1.jpg


01313-1.jpg


01019-1.jpg


00722-1.jpg


00228-1.jpg


This engine already had an aluminum valve cover installed, so I did not paint the valve cover. I need to go back and remove the paint from the intake/exhaust area of the head, it was getting late and I forgot to mask this area up, no big deal. I usually do not paint the timing cover/water pump/thermostat housing, but I did not feel like removing them, so they got painted. All in all, I think the engine looks 1 million times better. Hopefully, it runs!!!!


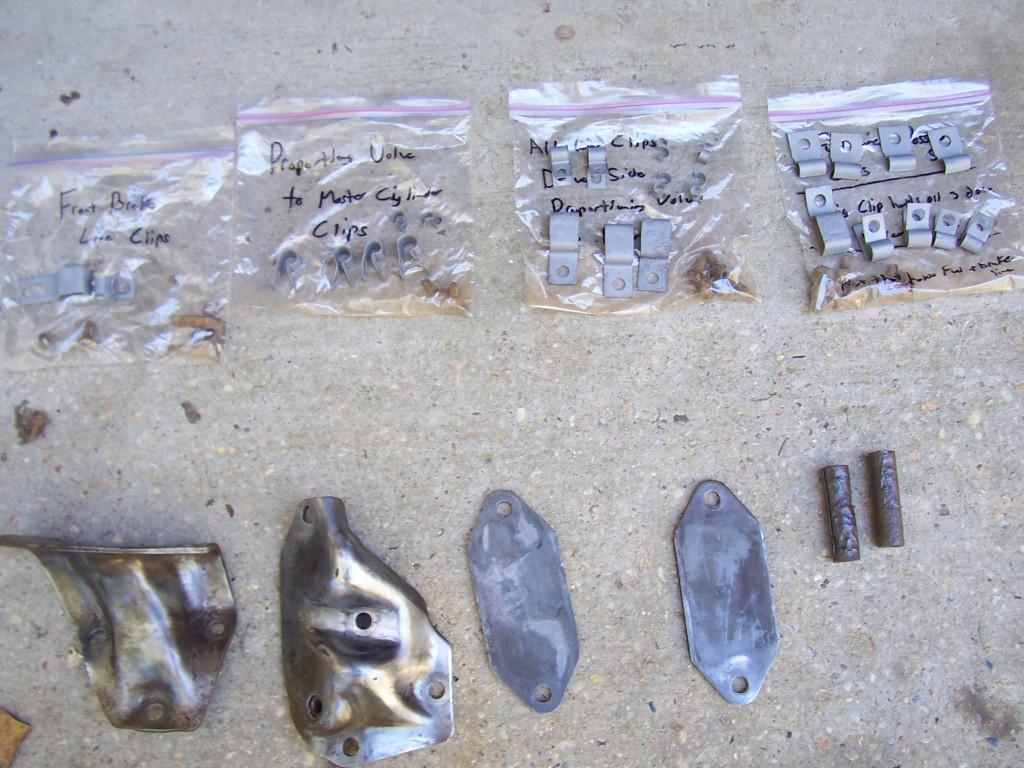
Quick picture of all the little hard line clips, plus the engine brackets, and the two rear frame crush sleeves that I need to paint. I prepped/primed and painted these pieces this weekend.

00919-1.jpg


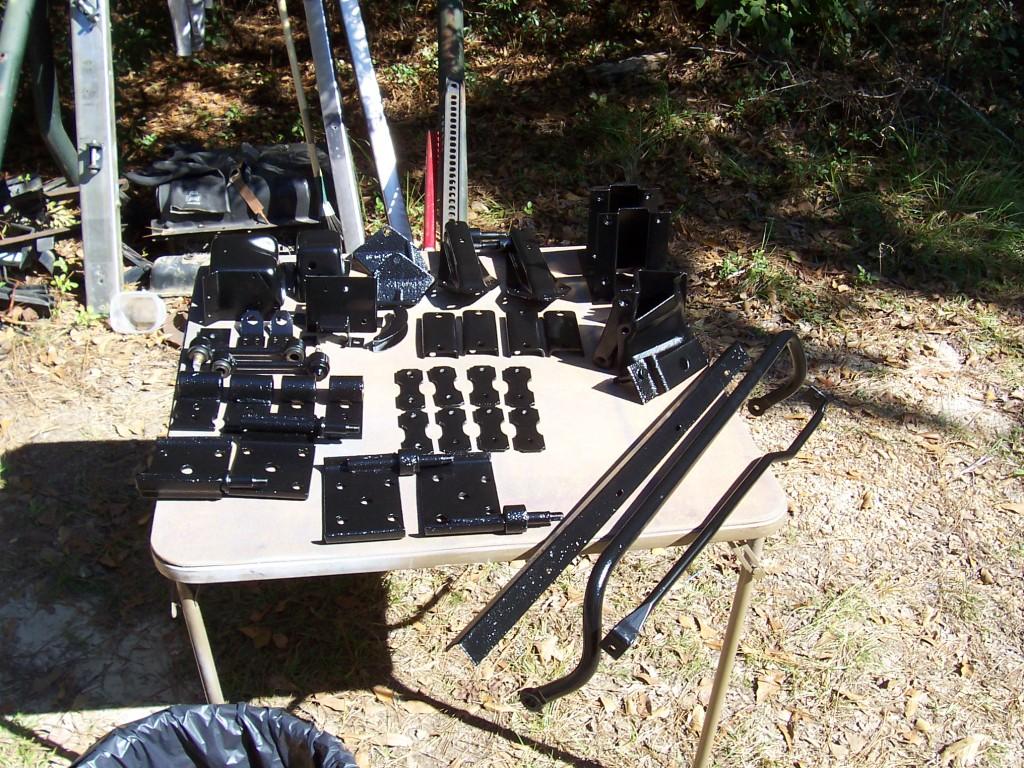
Quick picture of all the previously painted chassis components.

01711-1.jpg


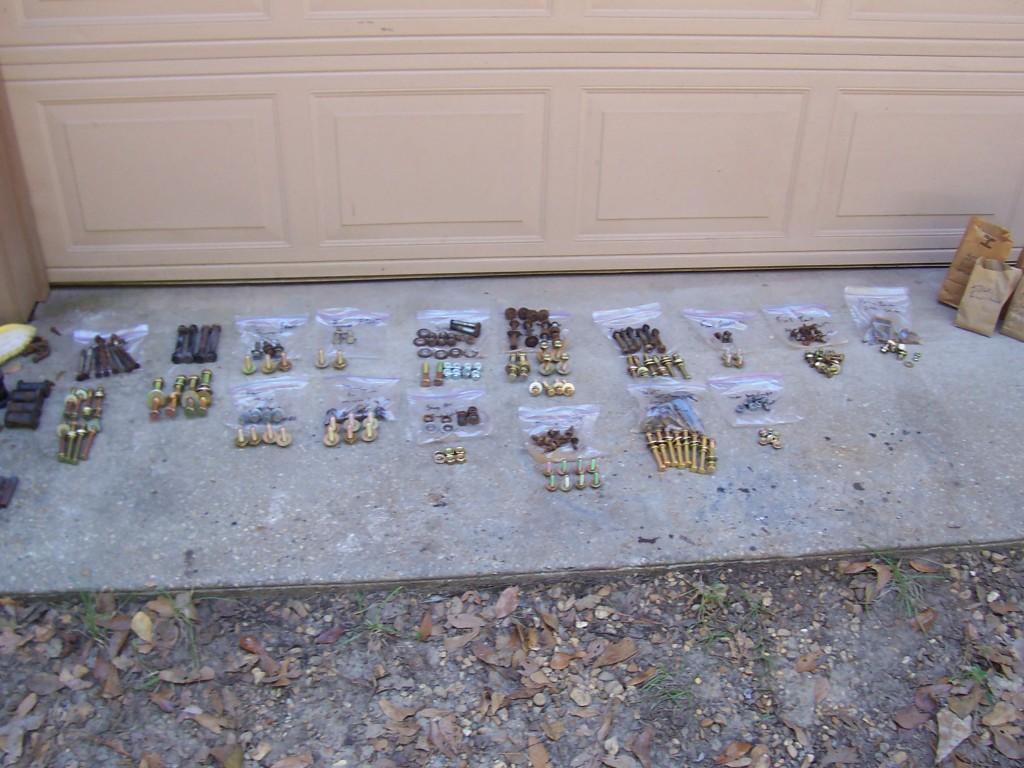
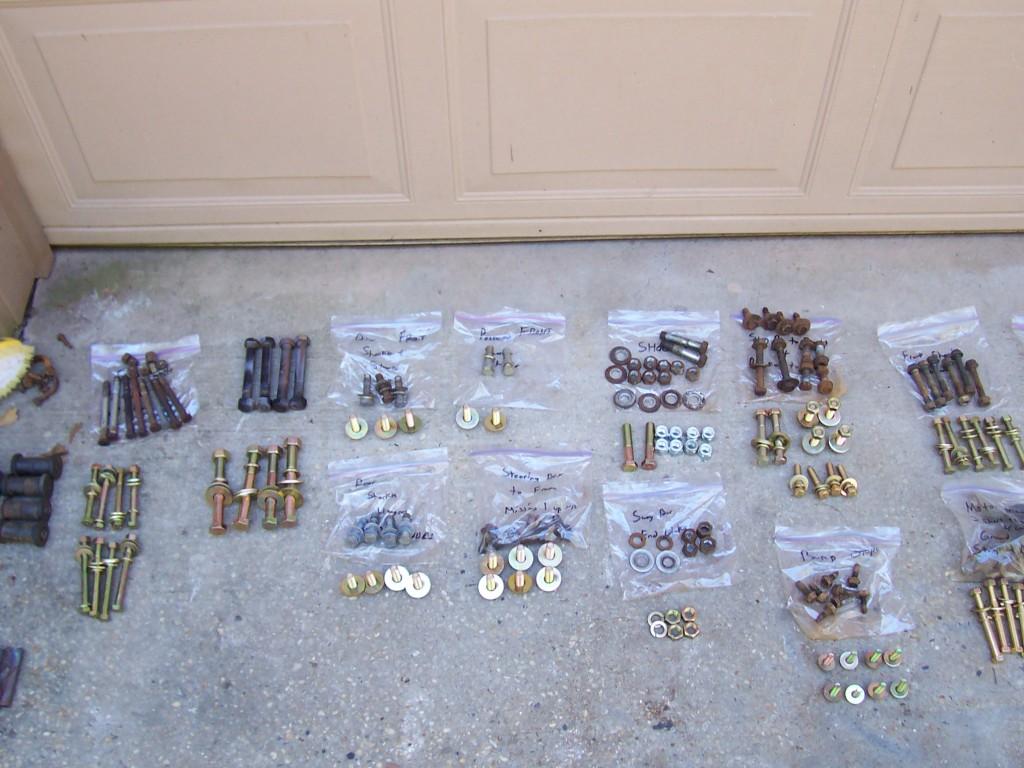
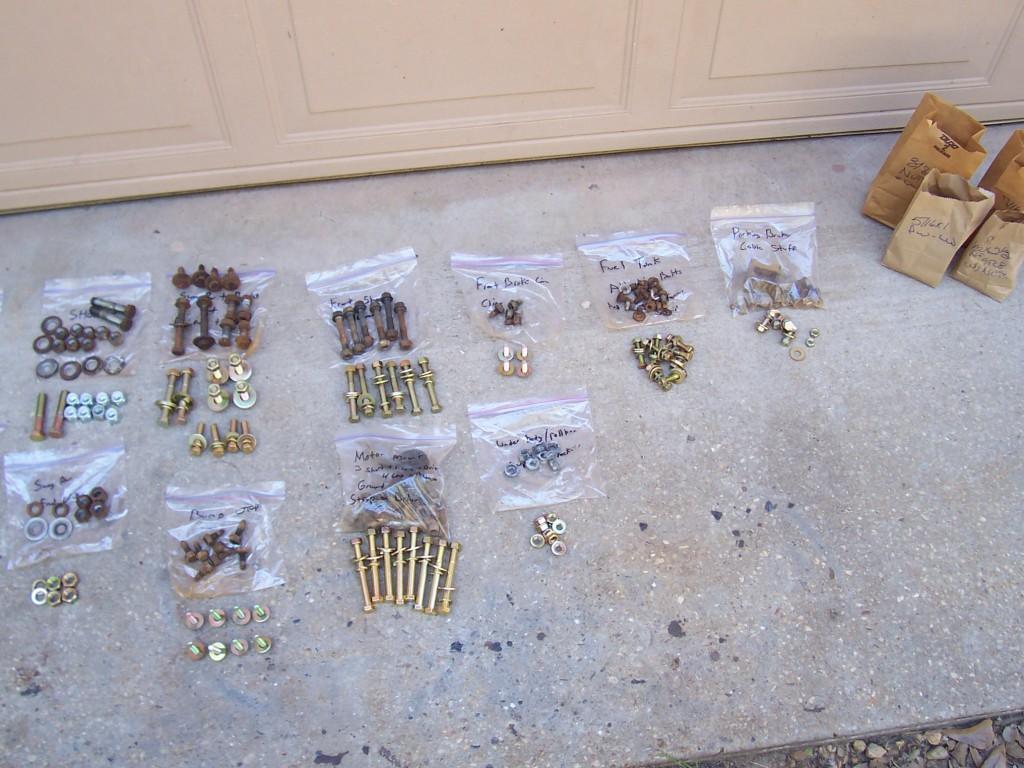
I also bought all new grade 8 hardware to reattach all the various parts/pieces to the frame. I bought all this stuff from a locally owned HW store, only cost $92.00, pretty good deal I thought. Note my ubiquitous "Ziploc bags full of rusty bolts".

01213-1.jpg


01413-1.jpg


01513-1.jpg
 
Quick picture of the freshly repainted front drive shaft. It is missing the dust seal that goes in the front part (next to the u-joint area) of the slip shaft. I should be able to get one from the local drive shaft place. Also, I noticed that the two portions of the drive shaft are slightly "out of phase"; if you put the shaft on the flat ground, when the shaft is assembled, it is about 1/2 a spline out of being perfectly aligned. This is no big deal, I ran a rear shaft like this for years with no ill effect. I am willing to bet that this shaft has a different slip yoke installed then the one it left the factory with, and this is the cause of the slight "out of phase" issue. Since this is a front shaft, I am not worried about this at all.

01612-1.jpg


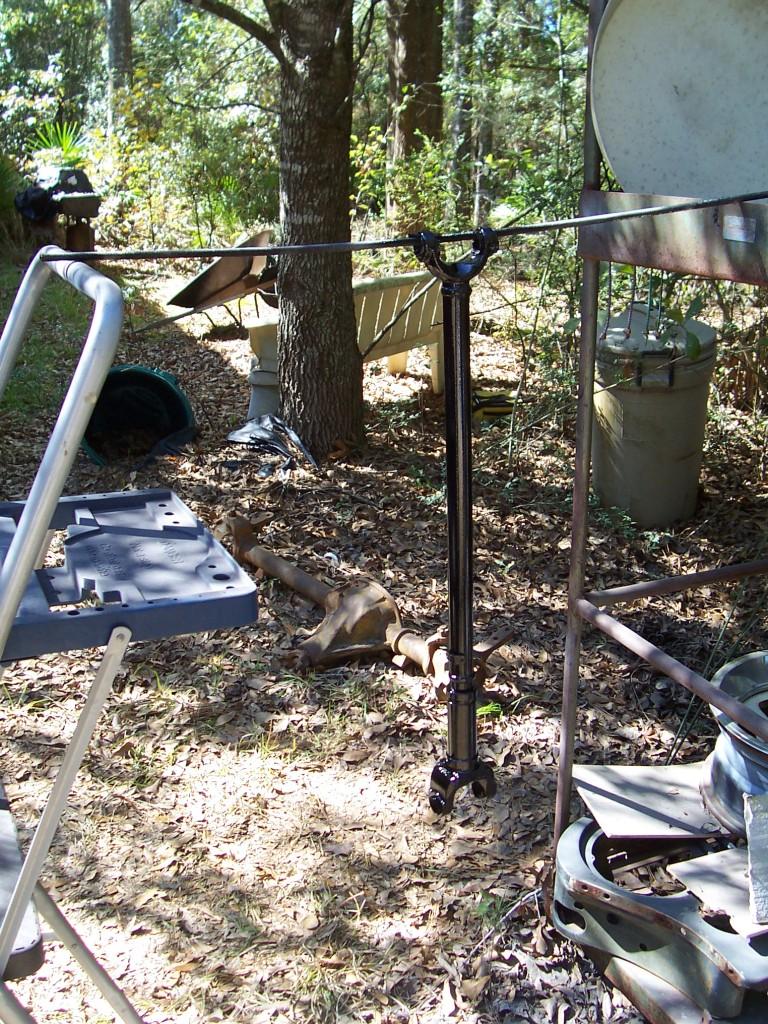
Quick picture of my "main eye hanger spreader tool". I gently spread the main eye hangers so that the leaf springs install easily. This helps to prevent damaging the bushings by beating them in.

00426-1.jpg


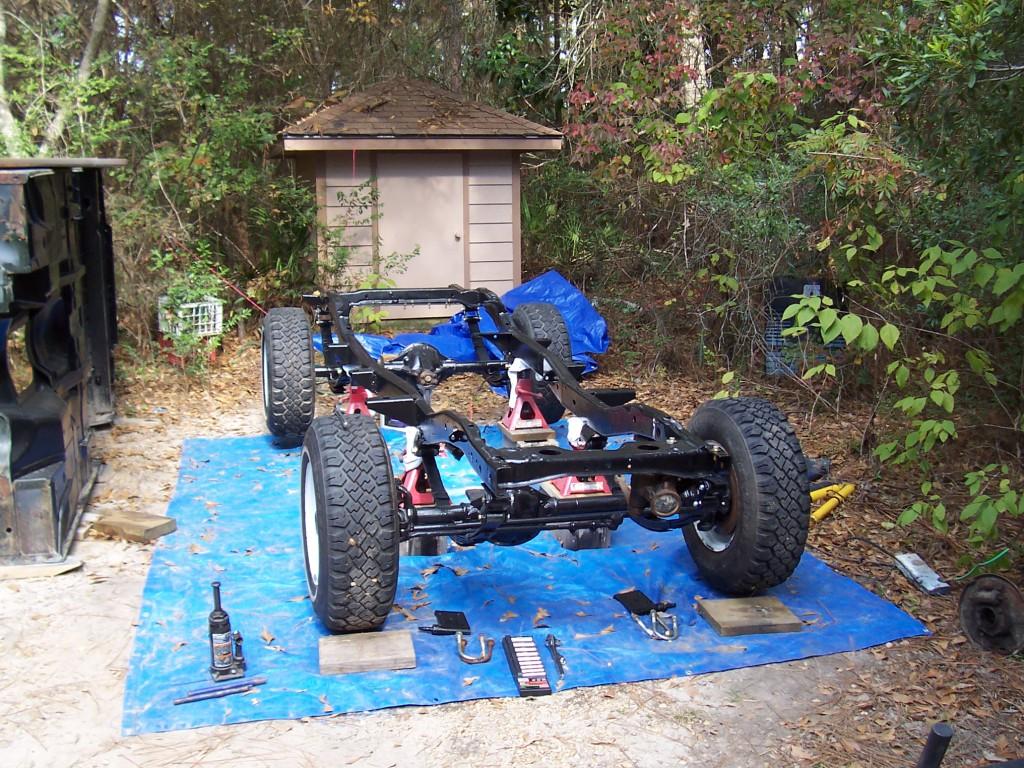
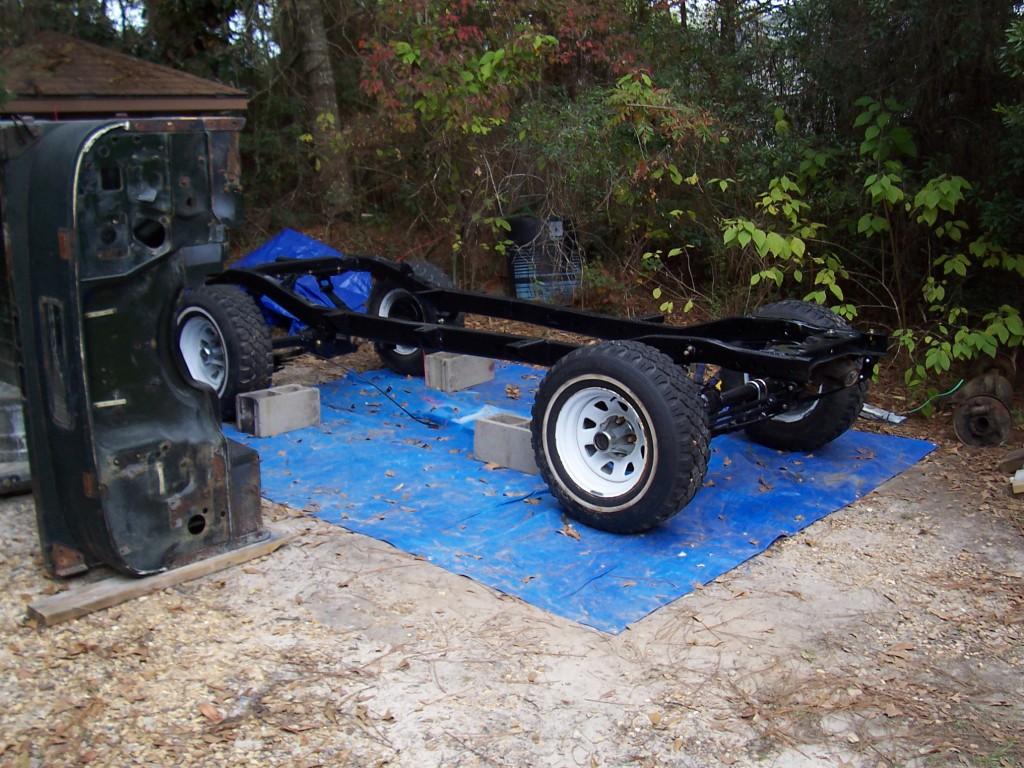
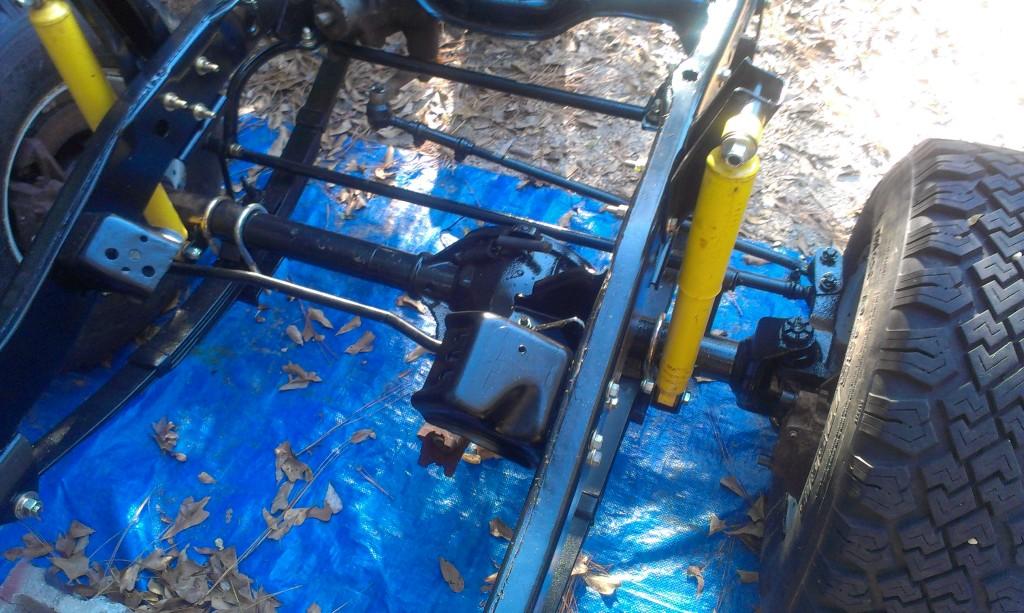
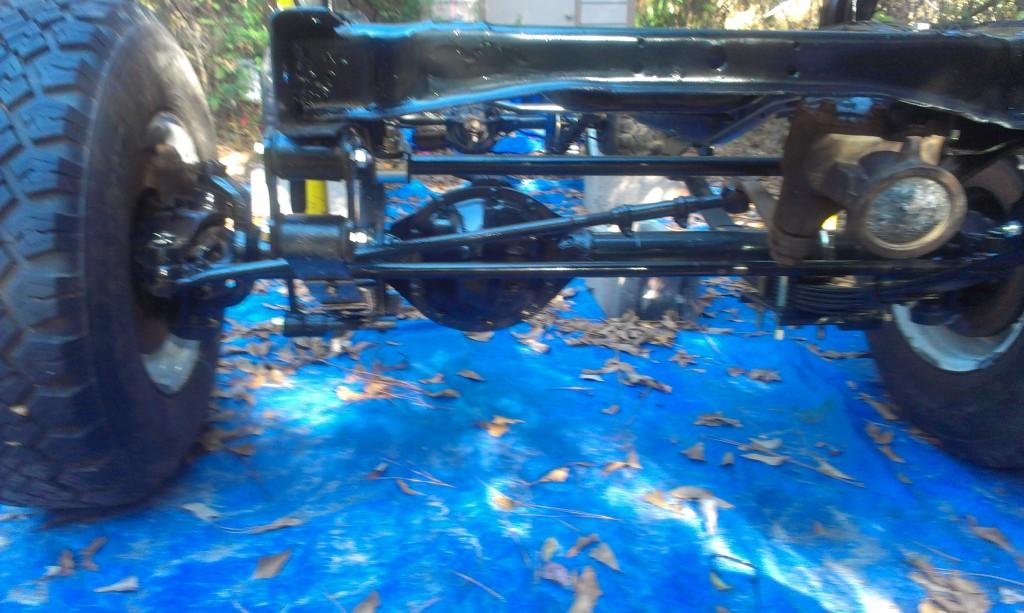
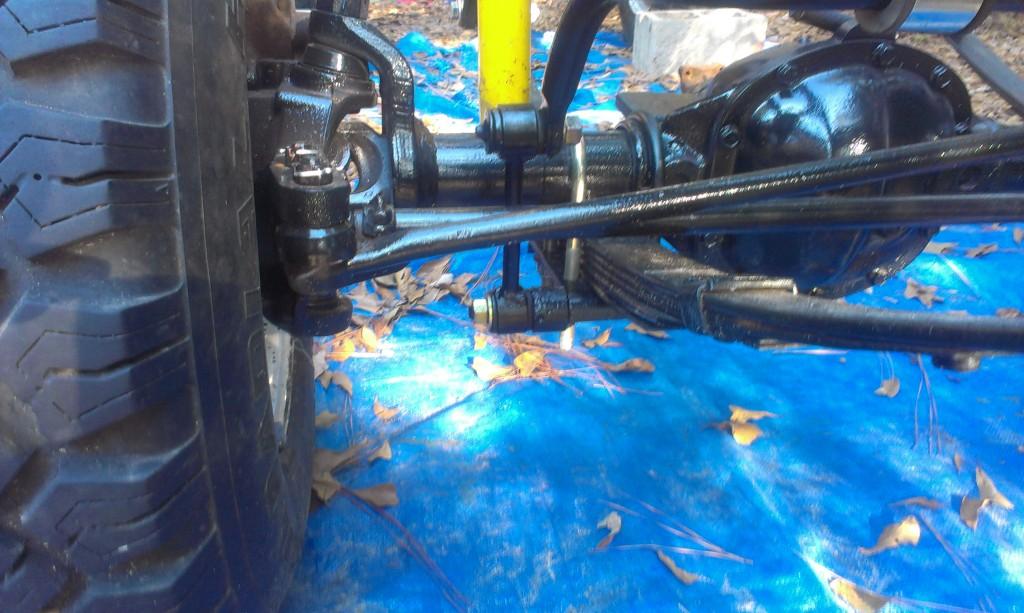
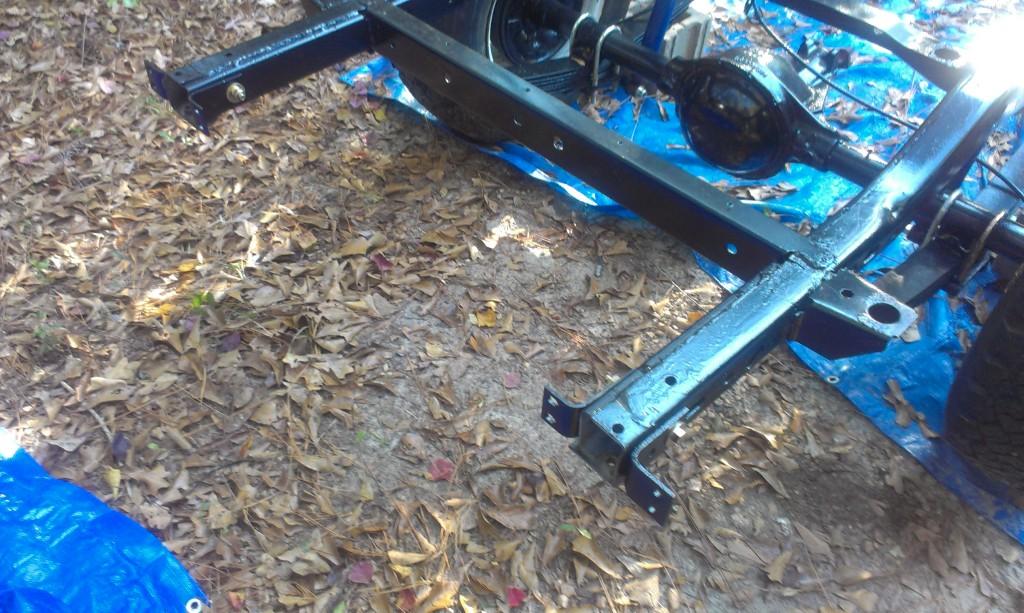
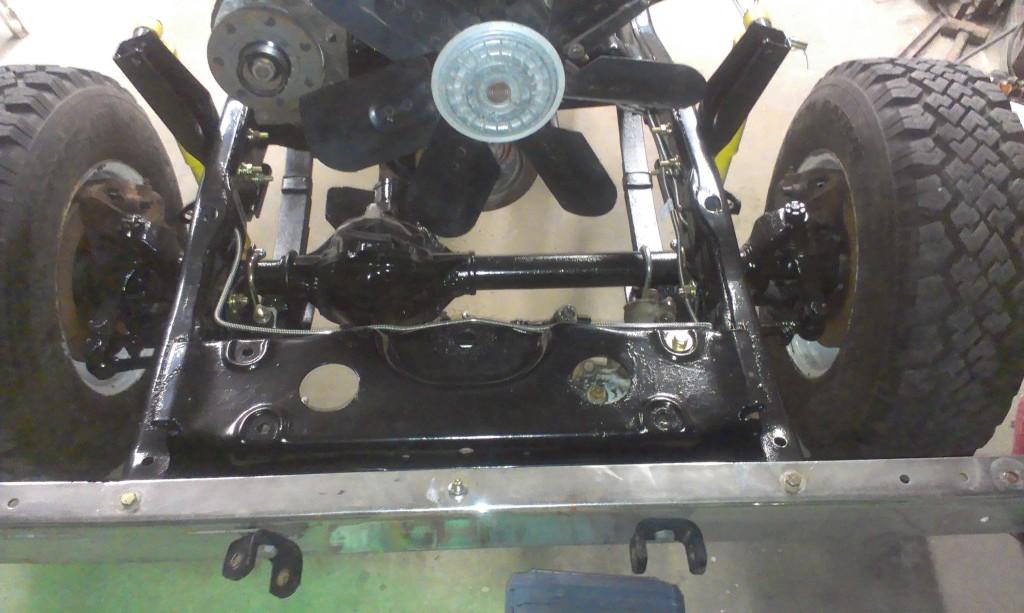
One last picture (I hope) of the chassis on jack stands. All of the suspension is loosely bolted in place.

0216-1.jpg


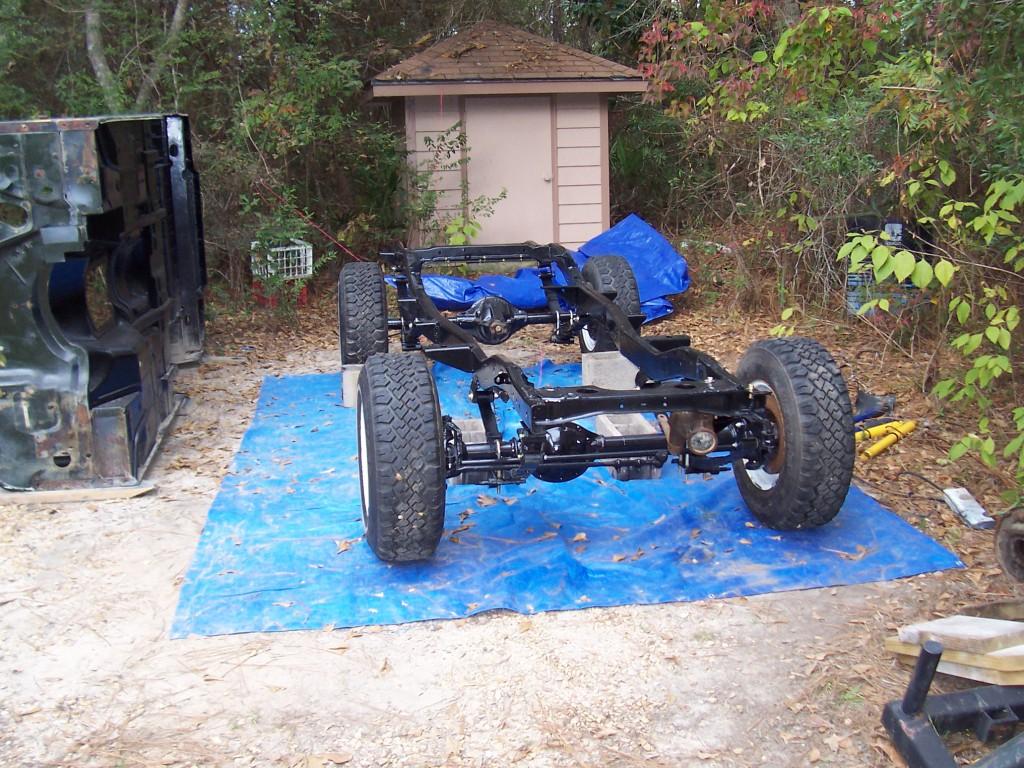
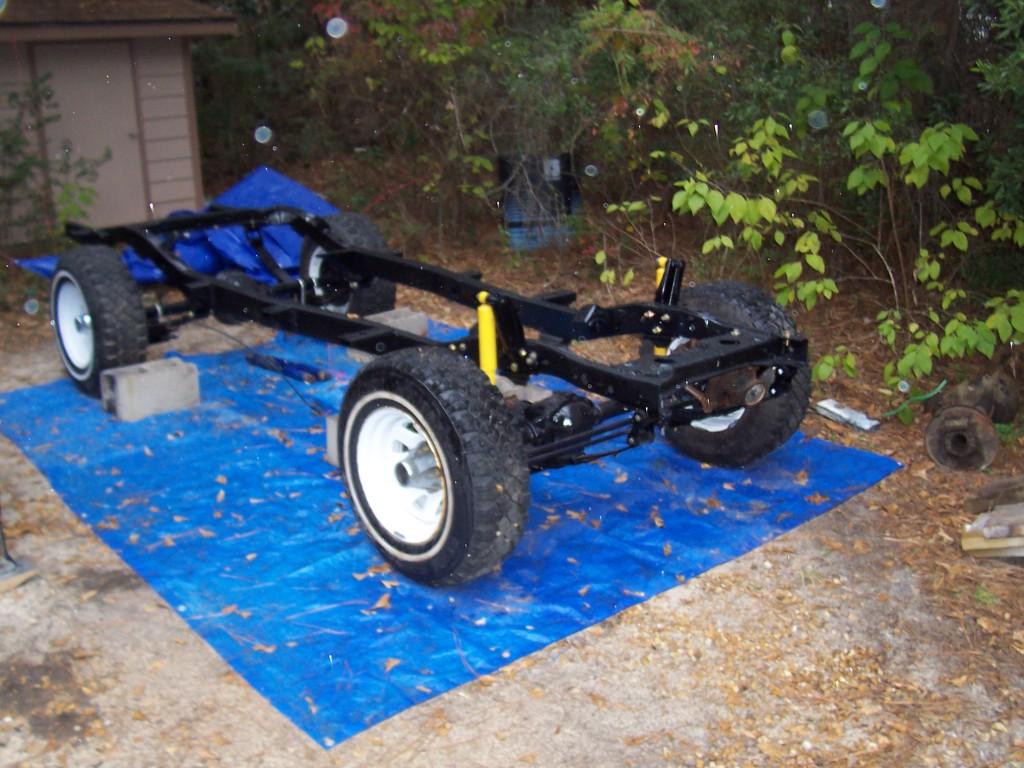
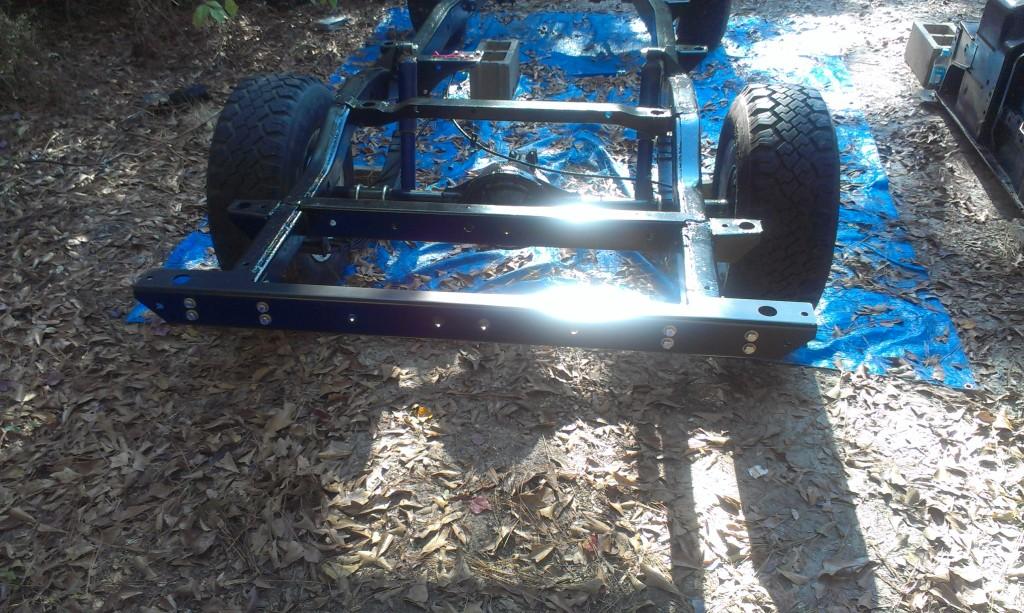
And two quick pictures of the rolling chassis, all suspension hardware torqued down.

0225-1.jpg


0234-1.jpg


One last picture, I was able to get a few more pieces bolted up before the rain came down.

0244-1.jpg


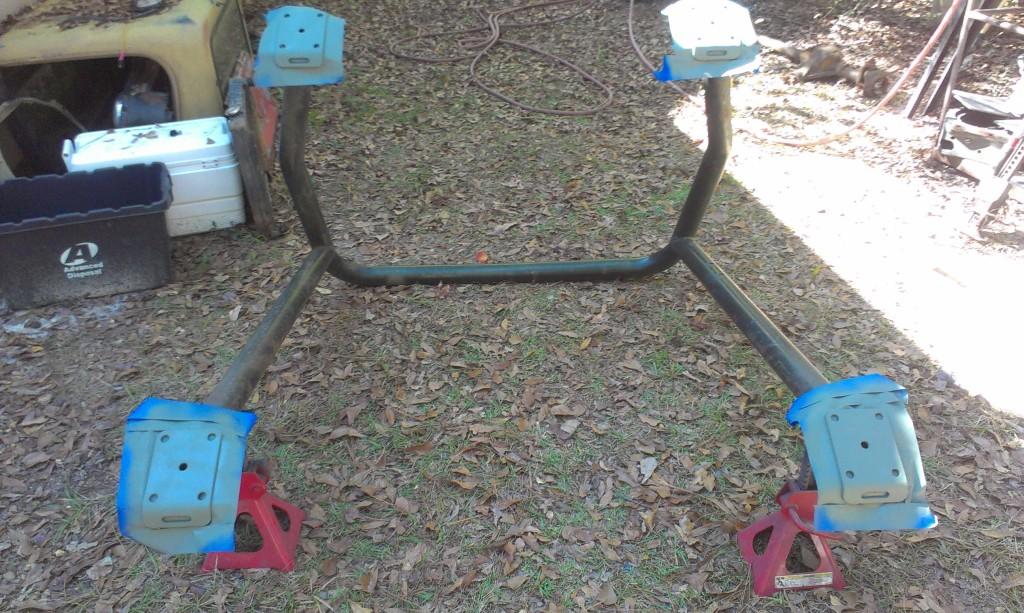
I still need to install: sway bar assembly, motor mounts, bolt/weld on rear cross member, rear shocks, and a few other pieces. I also need to install all the hard lines, once the painted clips cure.

I am also going to install the new clutch/bell housing to the motor, and bolt on the engine block motor mount brackets. I am going jeeping this coming weekend, but I plan on installing the engine/transmission/transfer case the following weekend.


That's it for now.
 
looks great! What's that rusty steering thing on the front,OCD??

I did not paint the steering box because I do not have much confidence in it:confused: I think that since it has been sitting up so long, that the first time I hook it up, power steering fluid is going to blow out of every seal on it:eek: When that happens, I will replace it with an expensive, freshly painted, store bought rebuilt steering box:rotfl:

I also did not paint the bottoms of the rubber bump stops. I had to leave something "original":shrug:

Don't worry, once I get the chassis back together, I plan on leaving lots of "rusty" stuff on the body for Tommy to fix:rotfl::rotfl::rotfl:
 
looks great! What's that rusty steering thing on the front,OCD??
LOL. I noticed that too. The underside of both of my Jeeps look worse than that steering box, but it kinda stands out on that shined up frame and running gear.
 
White wheels and white sidewall tires. YES!!!:thumbsup: :wave:
 
LOL. I noticed that too. The underside of both of my Jeeps look worse than that steering box, but it kinda stands out on that shined up frame and running gear.

The steering box is like a "hood ornament", it needs to stand out:thumbsup:

Don't forget, I am not repainting the body, so the whole thing is probably going to look kind of funny: Nice clean frame/undercarriage (minus steering box:rotfl:) with a heavily "patina'd" body:shrug: My main reason for all the repainting was for rust prevention, cosmetics were a secondary consideration, and I don't think that steering box is going to rust out anytime soon:thumbsup:

Y'all keep talking about the rusty steering box, I am going to have to throw some paint on it, it's giving me a "complex":rotfl:

White wheels and white sidewall tires. YES!!!:thumbsup: :wave:
I noticed the other day the white walls have some heavy side wall cracking, not sure how long they will last:(

But, when they are replaced, white letters out, and the white wheels will stay:thumbsup:
 
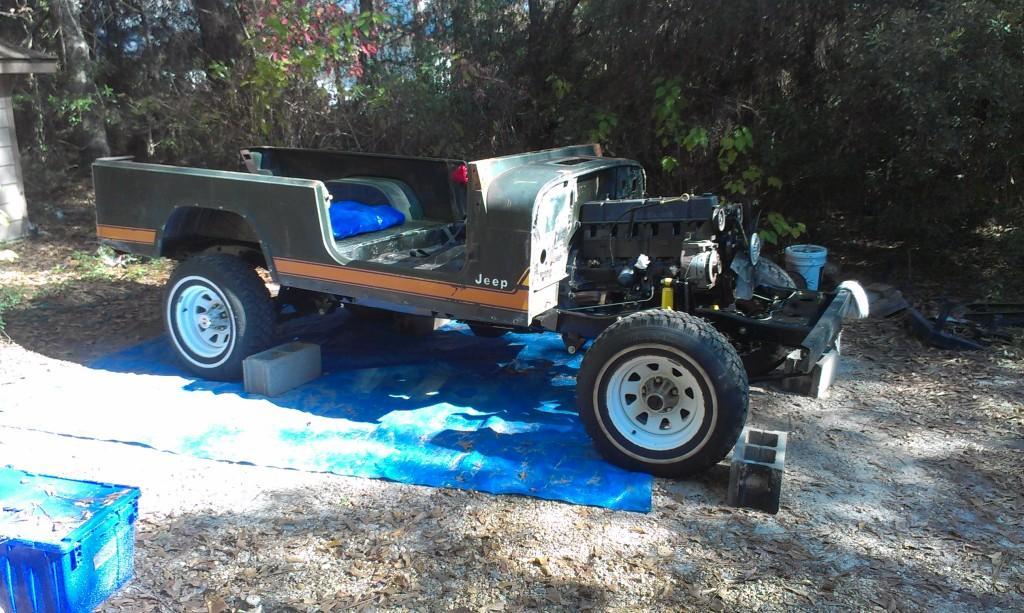
Not too much progress to report lately, day light savings time means I can only work on "Yard Scrambler" during weekends, it is already pitch black outside when I get home :(:banghead:

BUT, I should be able to get the following done this weekend:

1) Assemble engine/bell housing/clutch/transmission/transfer case
2) Run all the hard "plumbing" lines
3) Install drive train into rolling chassis
4) MAYBE get the tub back on :fingerscrossed:

Will update once there is progress, that's it for now:wave:
 
A bunch of progress this past weekend, will let the pictures do the talking.

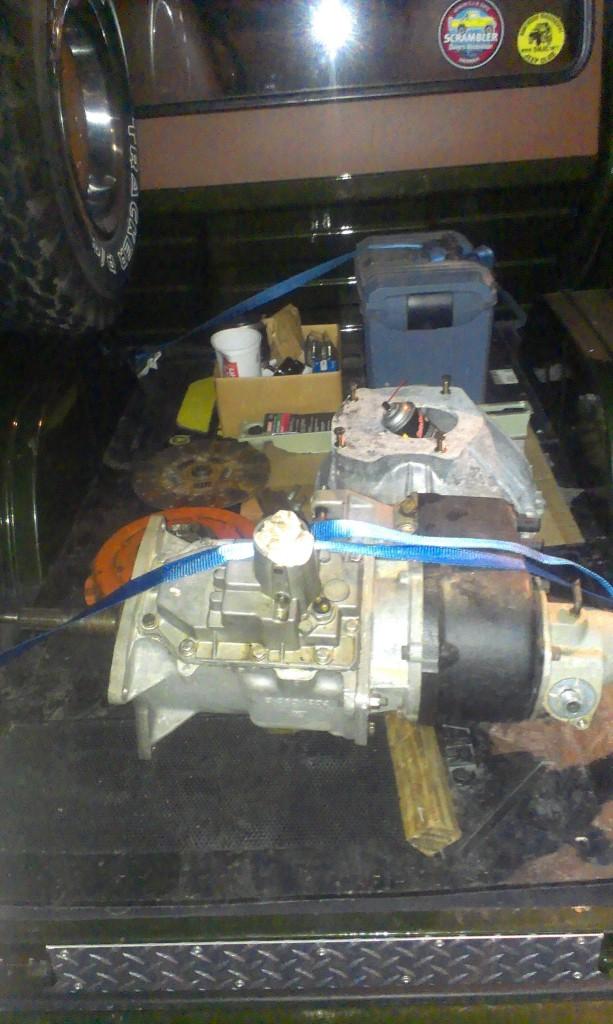
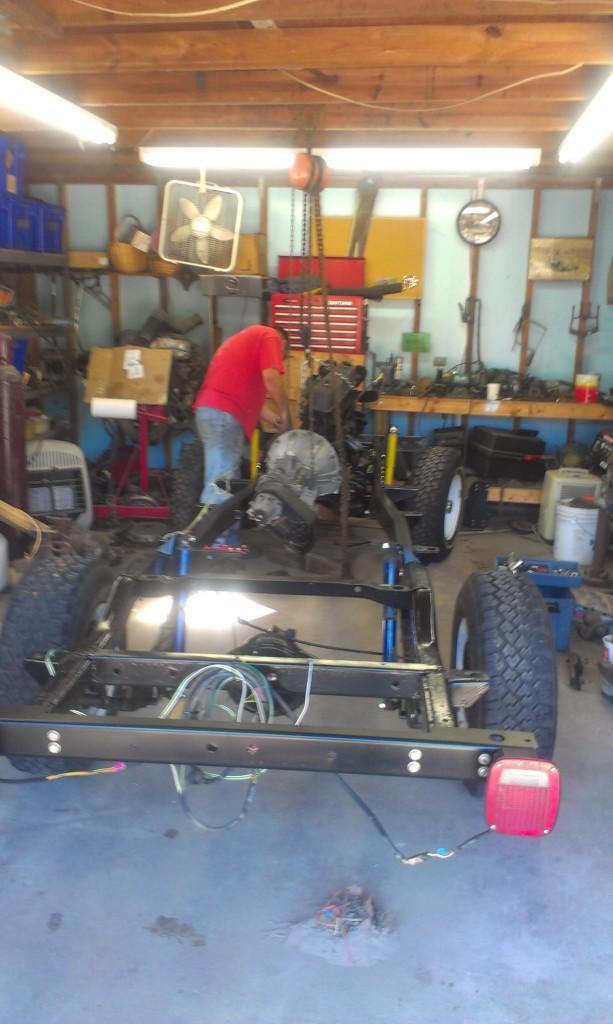
Loaded up the T176, Dana 300, bell housing, clutch, motor mounts, and other associated parts and brought them over to my buddies shop where the engine is.

IMAG0060-1.jpg


What we started with.

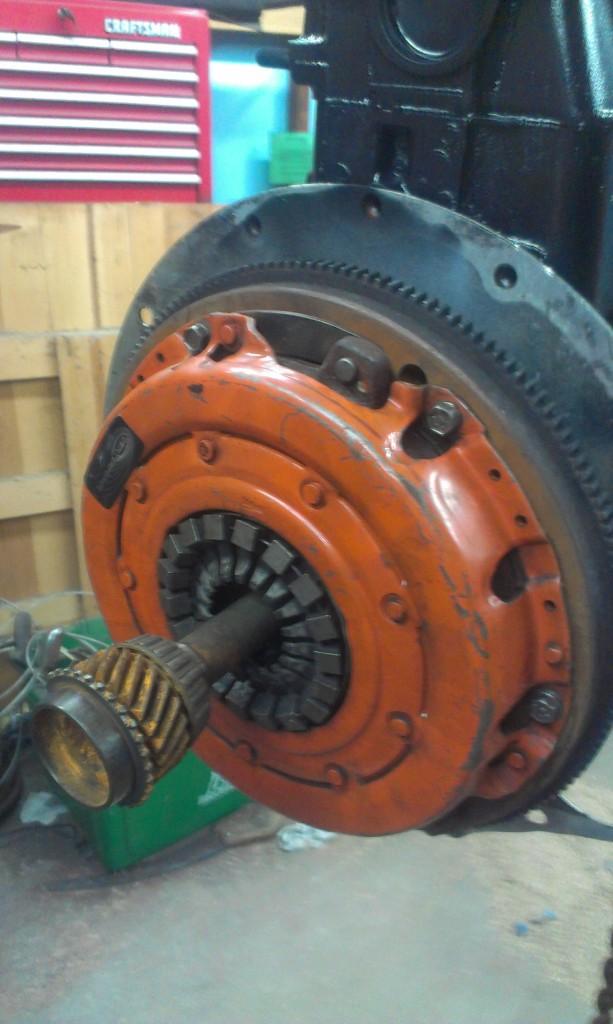
IMAG0061-1.jpg


Using an old T5 main shaft as an alignment tool. I reused the pilot bushing that was in the crank, it was like brand new. We installed a new Centerforce Dual Friction Disc/Pressure Plate, and a new throwout bearing. The clutch components came with all the T5's and T4's I acquired awhile back.

IMAG0062-1.jpg


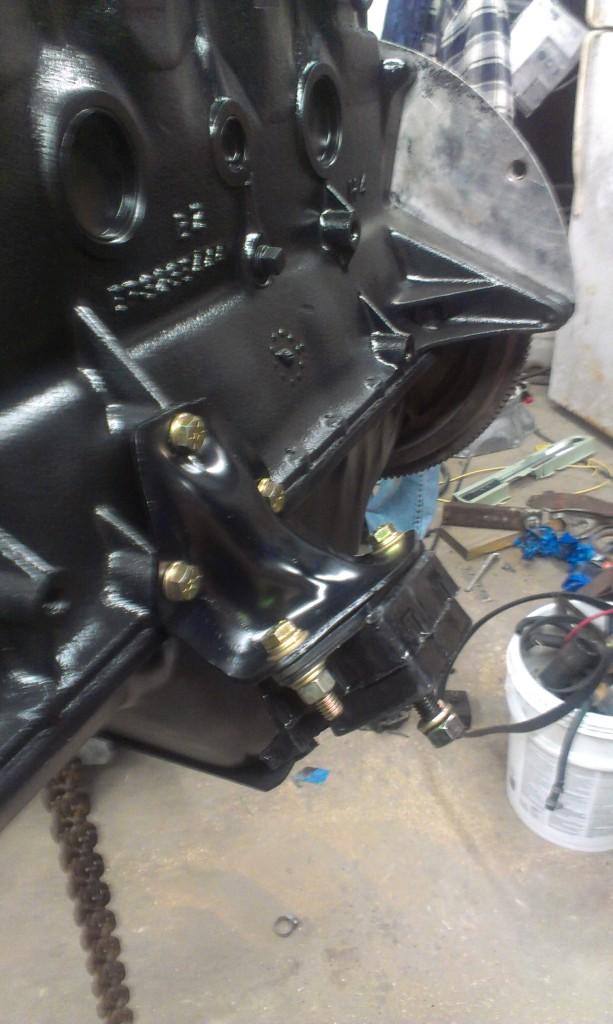
Bolted up the engine mount brackets/mounts to the block.

IMAG0063-1.jpg


IMAG0064-1.jpg


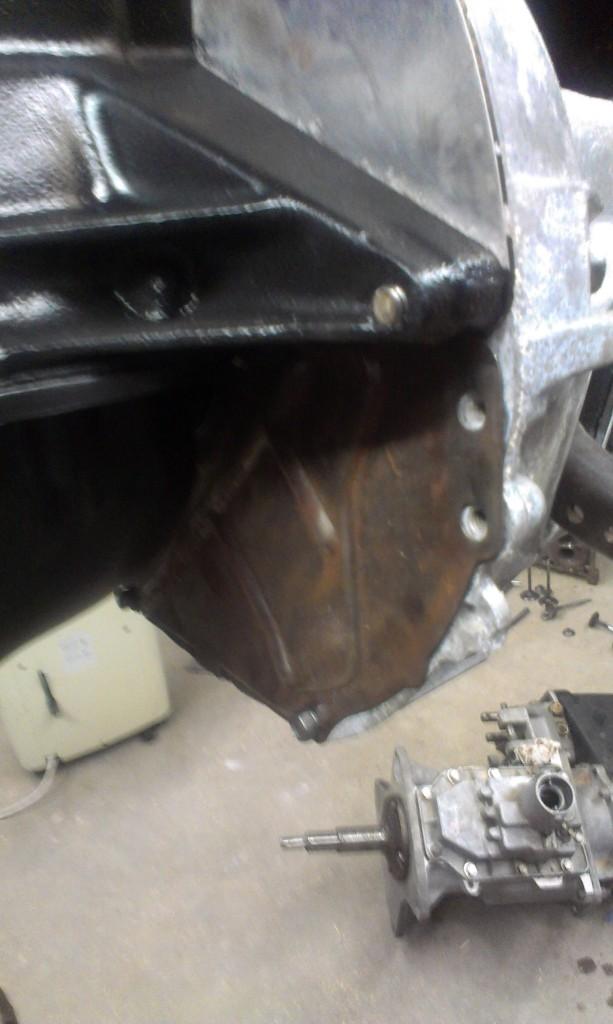
Bolted up the bell housing. Of course, I brought and initially bolted on a T5 bell housing, so I had to go back home and grab a T176 bell housing.

IMAG0065-1.jpg


A few pictures of some other parts bolted back up.

IMAG0066-1.jpg


IMAG0067-1.jpg


IMAG0068-1.jpg


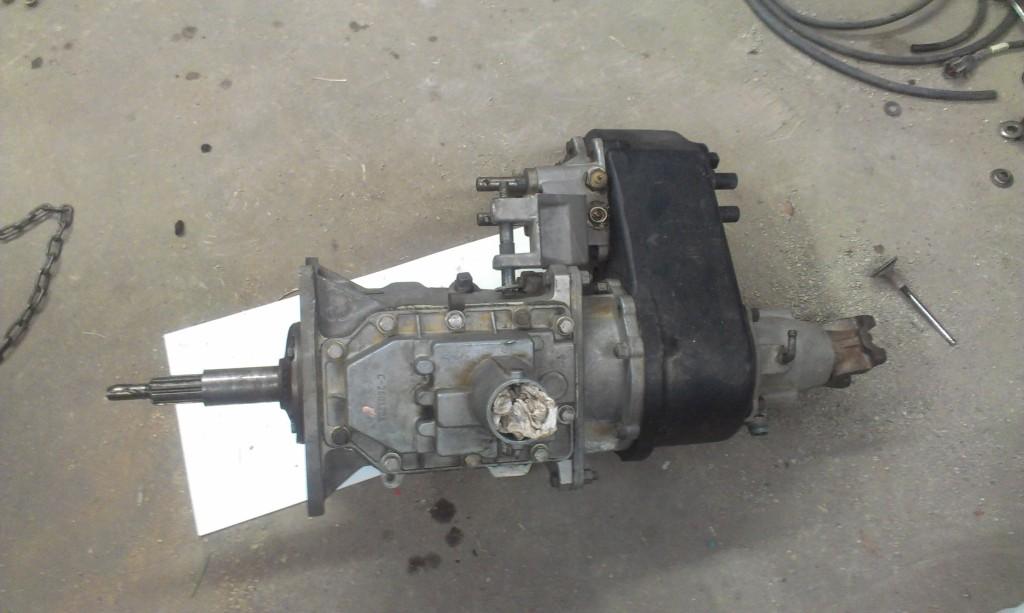
Picture of the T176/Dana 300 combo. These two units were rebuilt and installed in my red Scrambler. I ran them for a few thousand miles before I swapped in a T5/Dana 300 with 4:1 combo in their place.

IMAG0069-1.jpg
 
I also bolted back on the power steering pump brackets, so I would not forget where they go.

IMAG0070-1.jpg


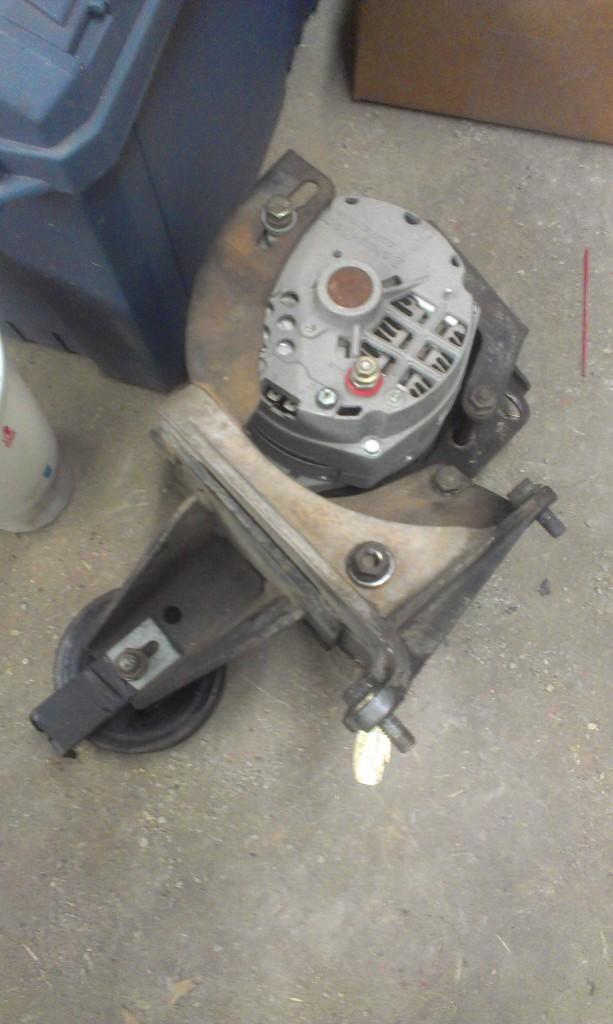
Picture of the alternator assembly on the floor.

IMAG0071-1.jpg


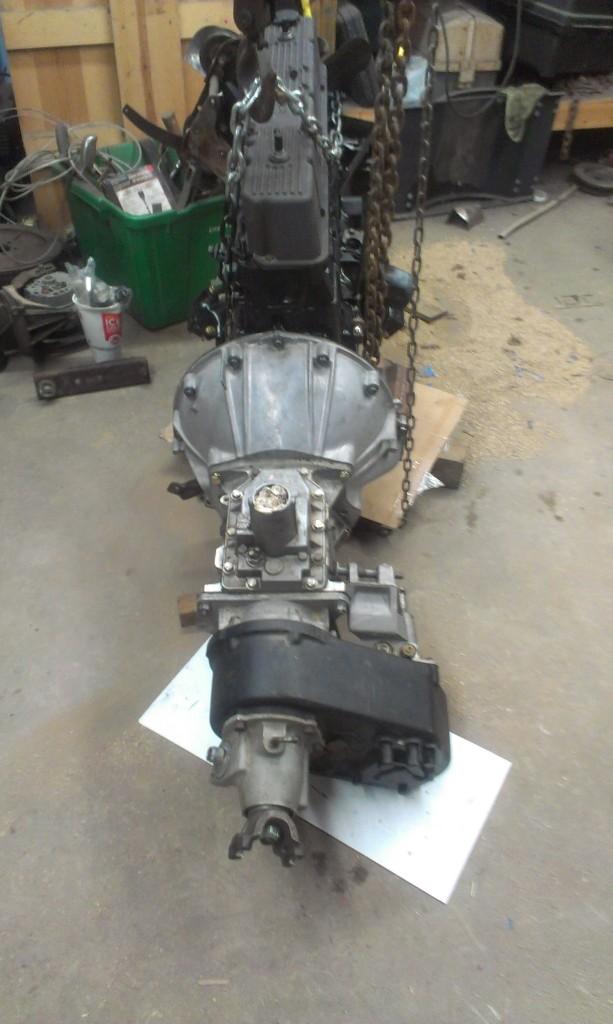
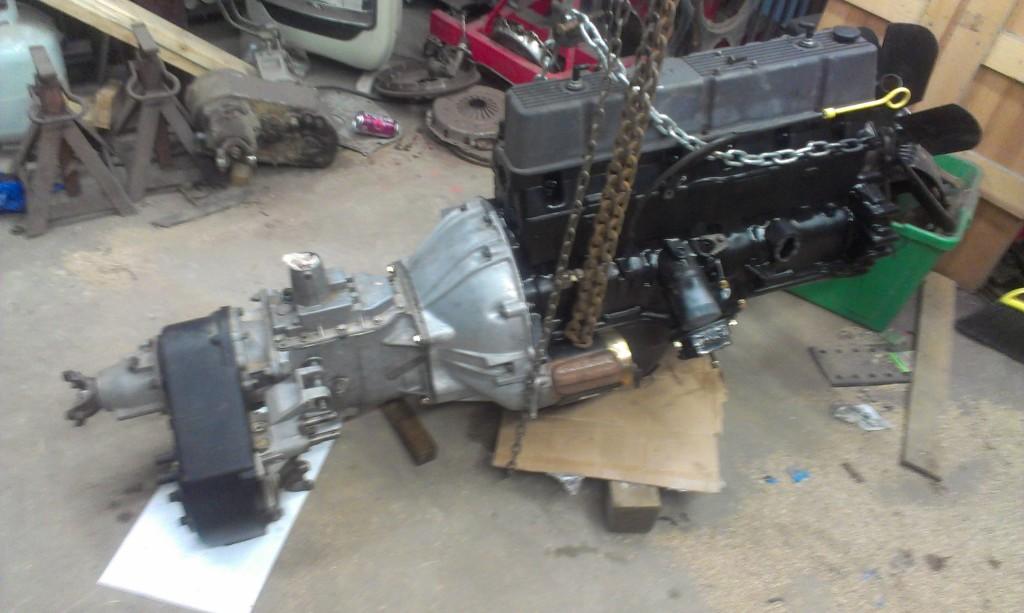
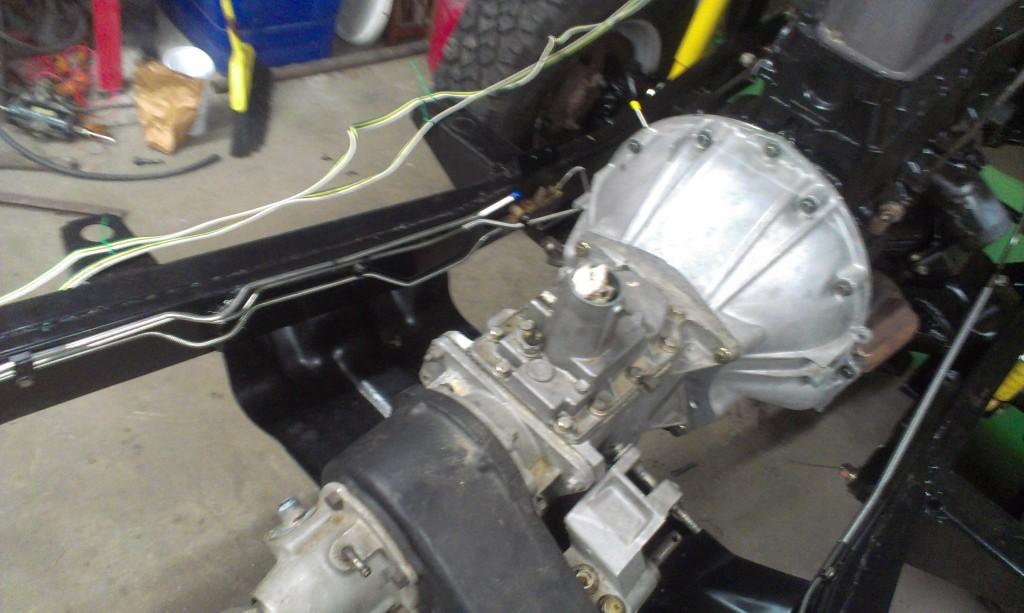
And a few pictures of the assembled engine/clutch/bell housing/transmission/transfer case.

IMAG0072-1.jpg


IMAG0073-1.jpg


IMAG0074-1.jpg


That concludes the Friday night progress pictures.


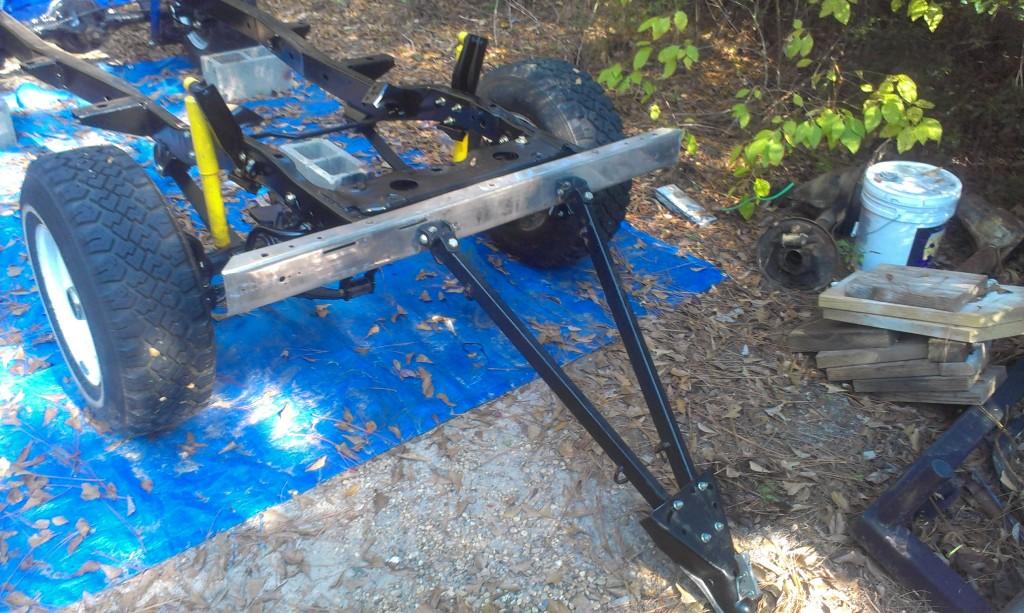
I got up early Saturday morning and got the rolling chassis ready to be flat towed.


Hooked up the steering linkages, and a few pictures of the installed sway bar assembly.

IMAG0075-1.jpg


IMAG0076-1.jpg


IMAG0077-1.jpg


I also bolted up the rear frame/cross member brackets.

IMAG0078-1.jpg


IMAG0079-1.jpg
 
Picture of the draw bar bolted back in place on the front bumper.

IMAG0080-1.jpg


I also bolted the rear cross member in place. I had my buddy weld it into place after we installed the engine.

IMAG0081-1.jpg


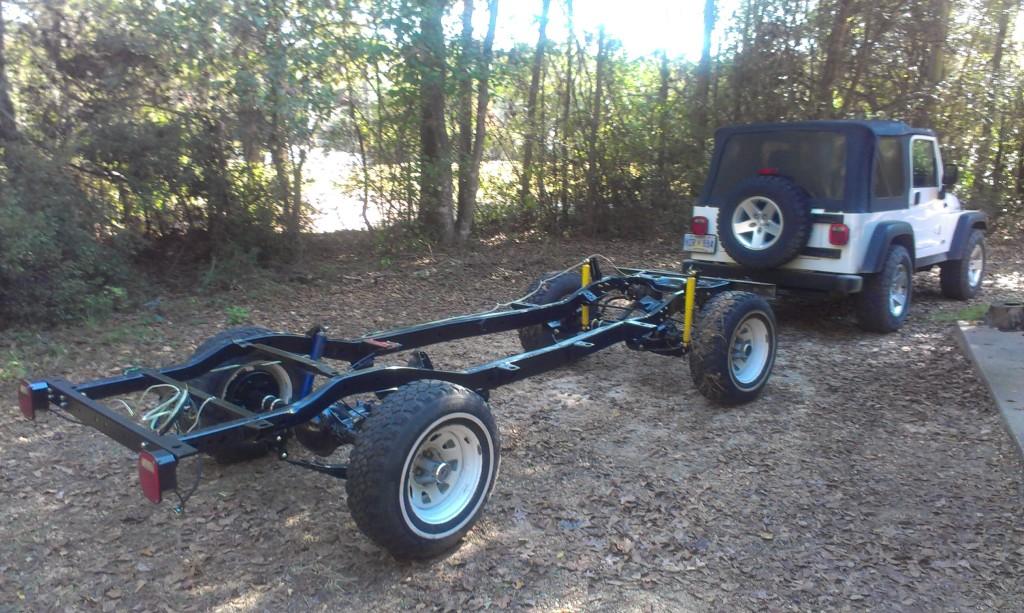
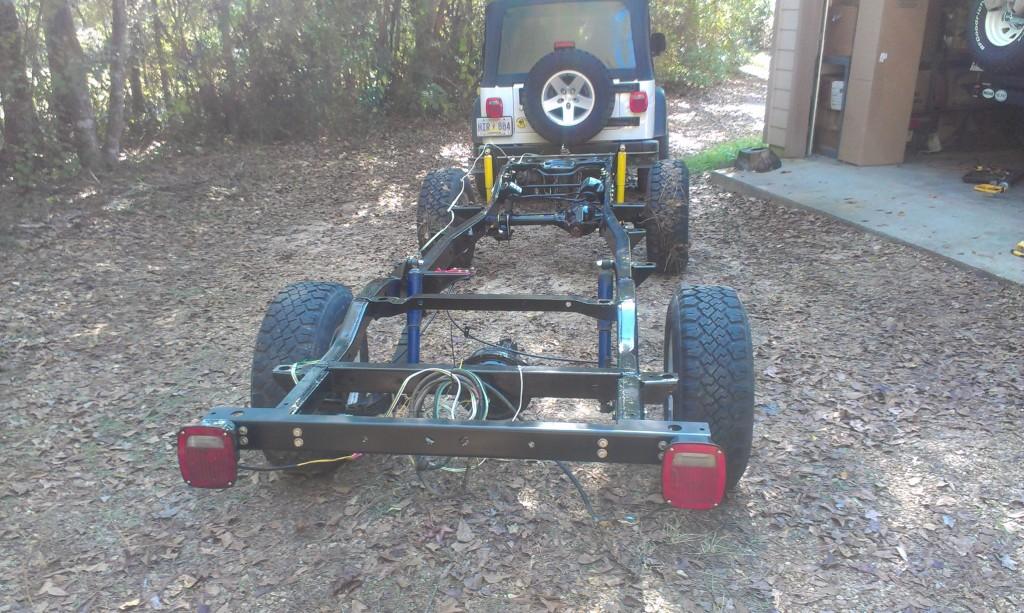
A few pictures of the rolling chassis hooked up behind my "tow rig".

IMAG0082-1.jpg


IMAG0083-1.jpg


A few words on towing the rolling chassis - it sucked. With no weight on the frame, the overly stiff suspension let the chassis kind of bounce/jerk around. It pulled fine, but is still sucked. It sucked worse after bolting the powertrain in, due to the heavy weight bias to the front/tow attachment point. It works fine, and is perfect for short distances, but the empty or half assembled chassis does not flat tow as well as the assembled Scrambler.

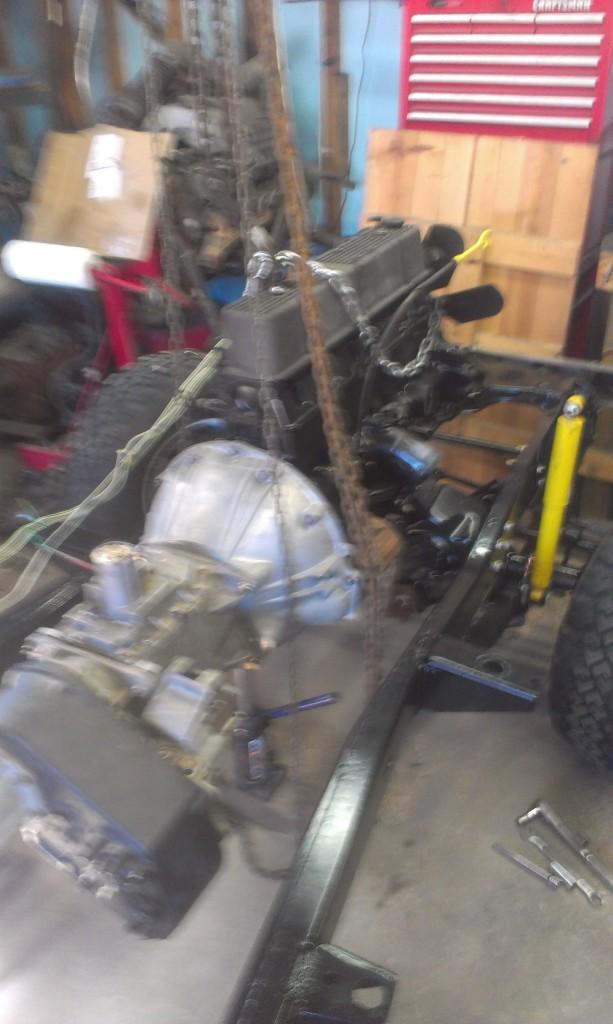
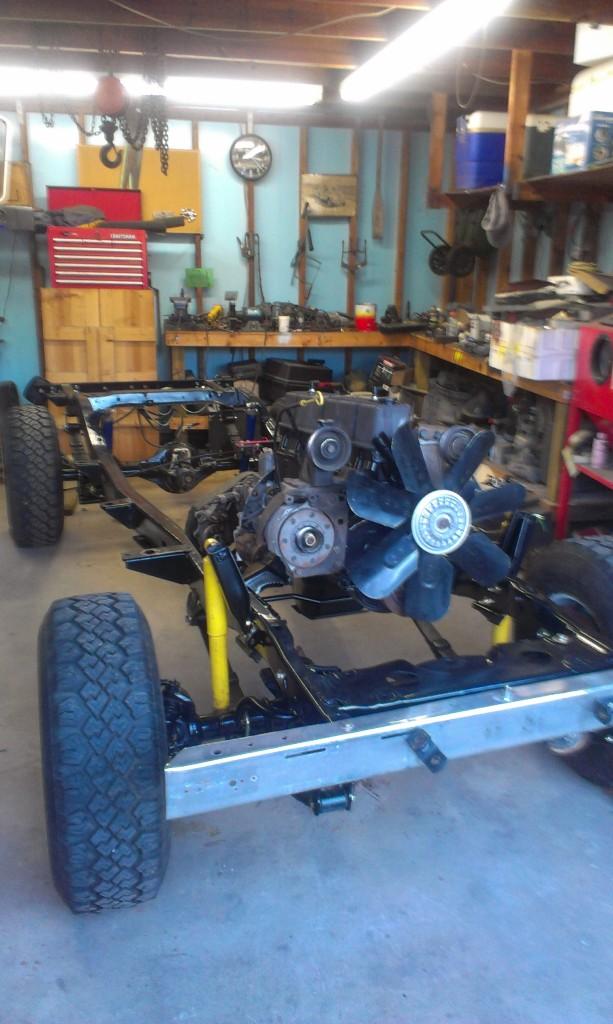
A few pictures of the power train installation.

IMAG0086-1.jpg


IMAG0087-1.jpg


IMAG0089-1.jpg


IMAG0090-1.jpg
 
One last picture of the installed drive train.

IMAG0091-1.jpg


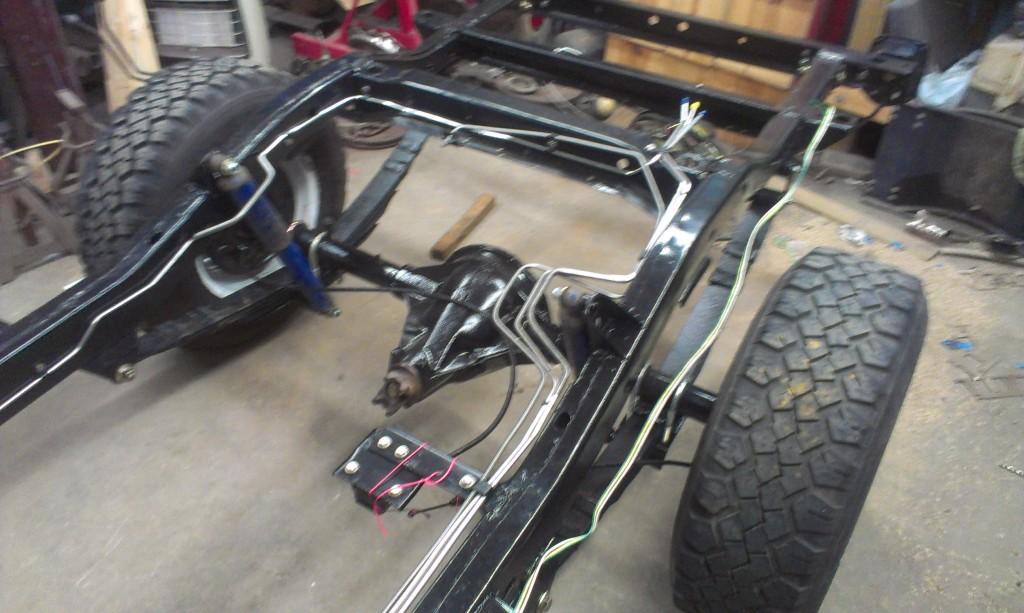
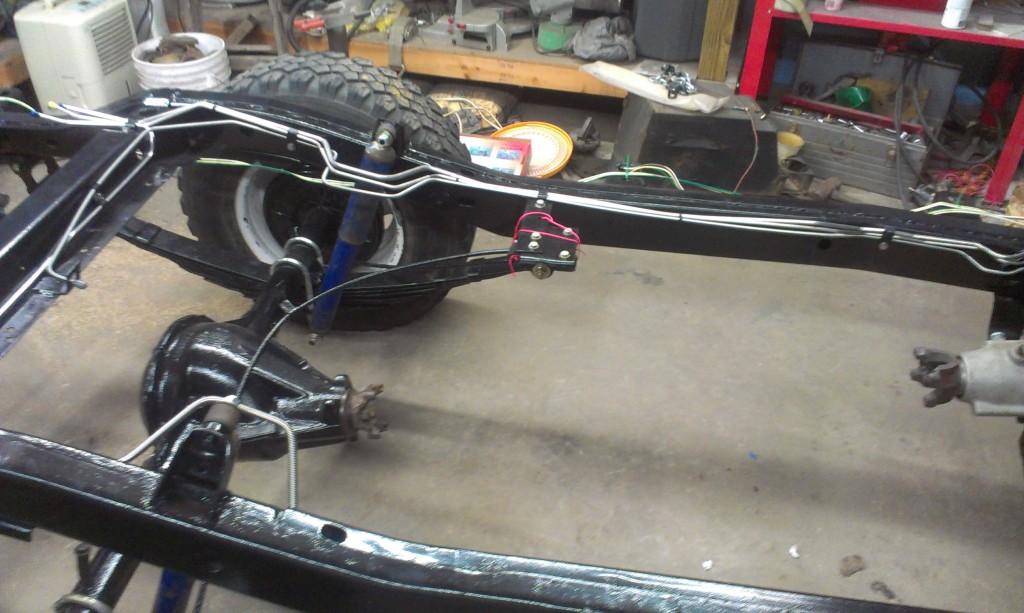
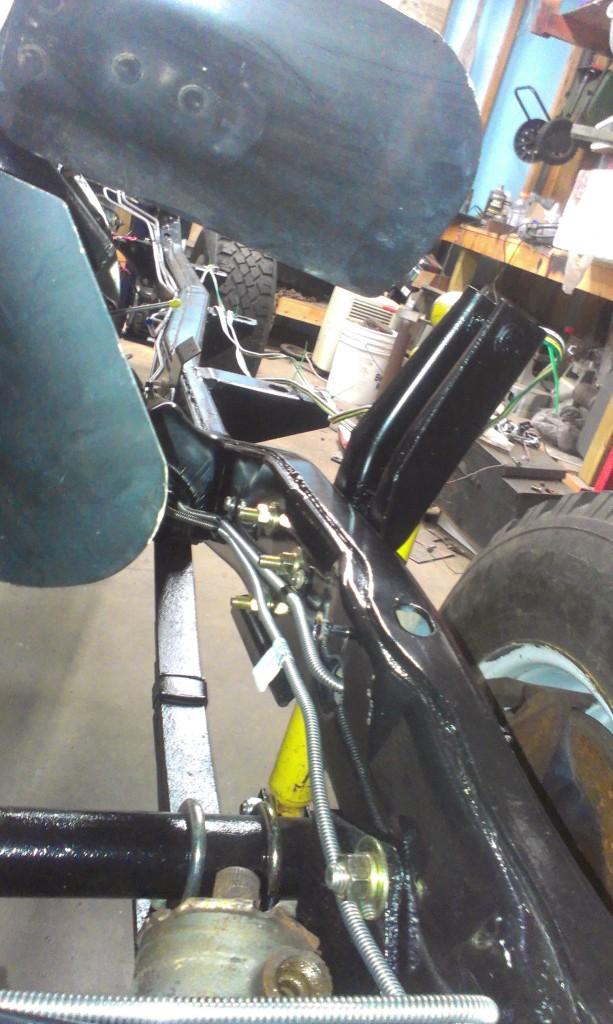
After installing the drive train, I installed all the new stainless steel brake/fuel lines.

IMAG0092-1.jpg


IMAG0093-1.jpg


IMAG0094-1.jpg


IMAG0095-1.jpg


IMAG0096-1.jpg


IMAG0097-1.jpg


I used my green Scrambler as "reference" for running the new lines.

I towed the rolling chassis home, was able to round up a few friends, and installed the body tub Saturday night, thus concluding a long Saturday.

IMAG0098-1.jpg
 
A few day light pictures, it is starting to look like a Scrambler again.

IMAG0099-1.jpg


IMAG0100-1.jpg


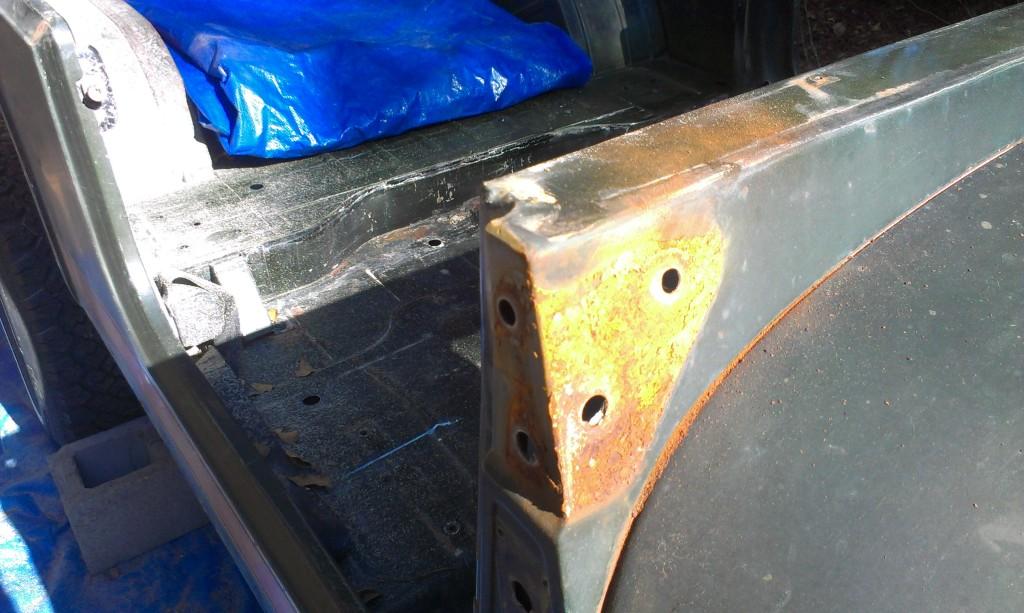
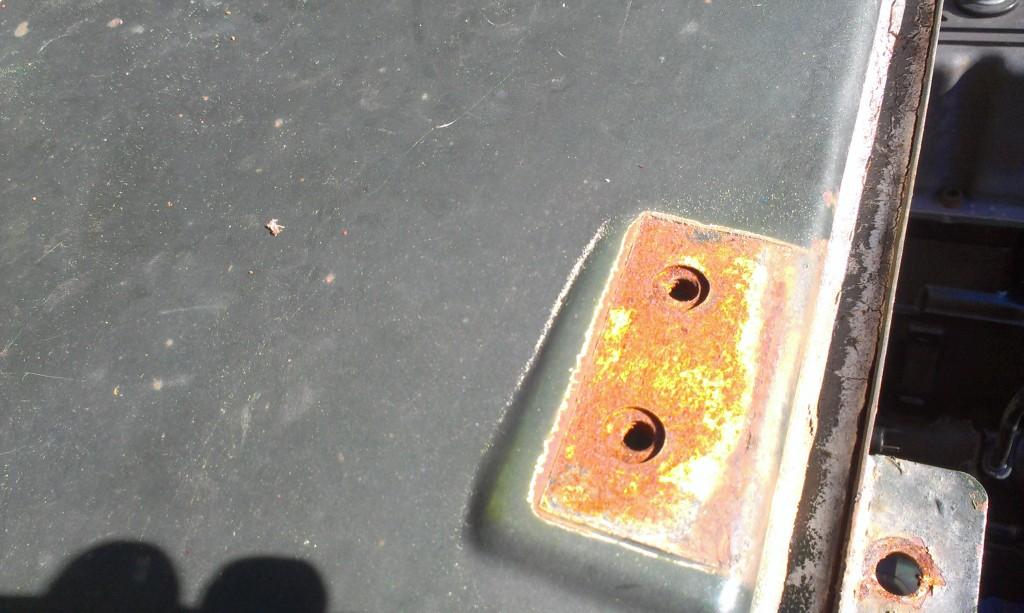
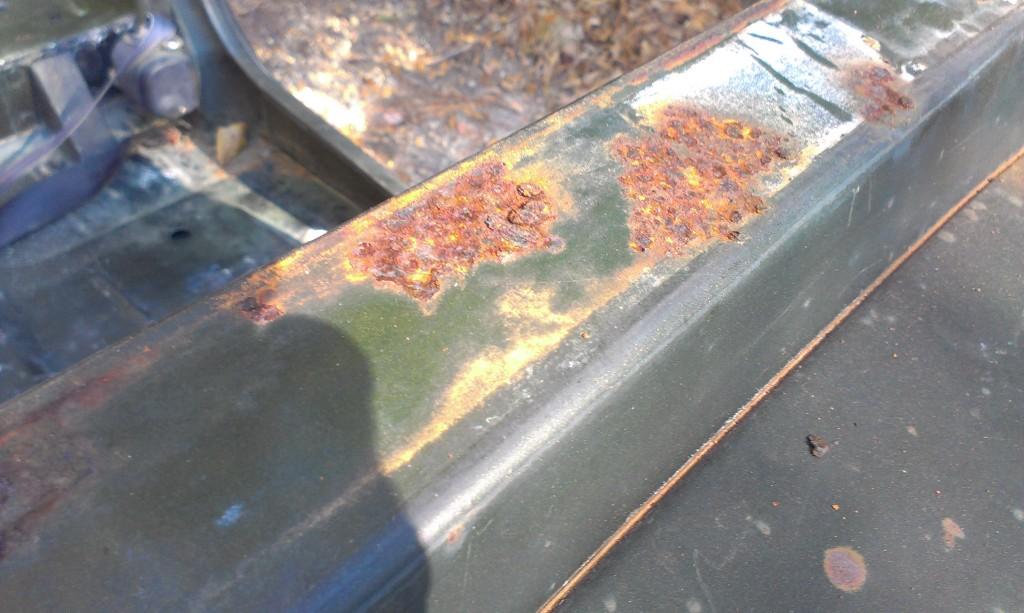
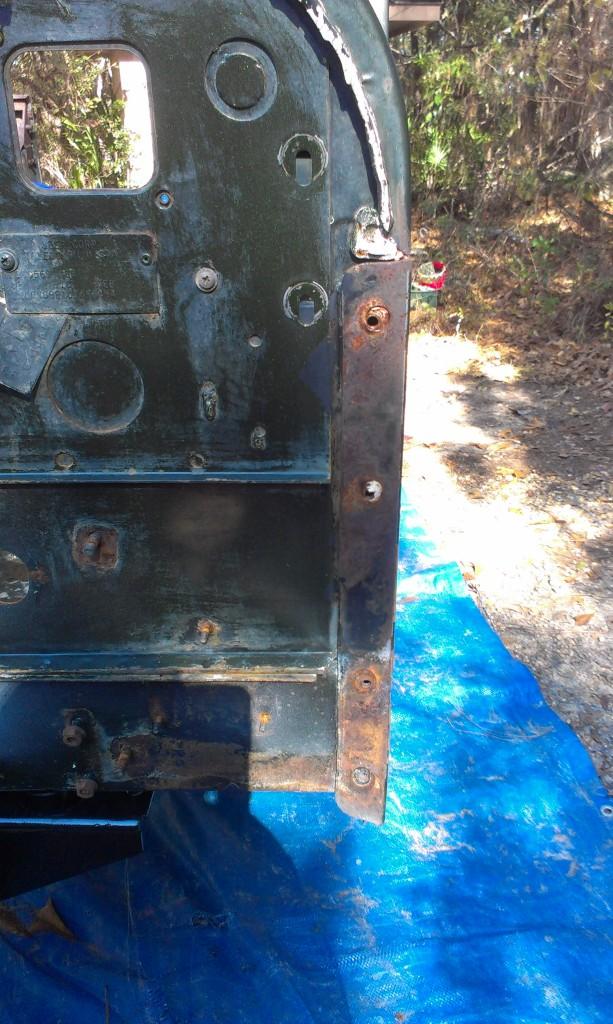
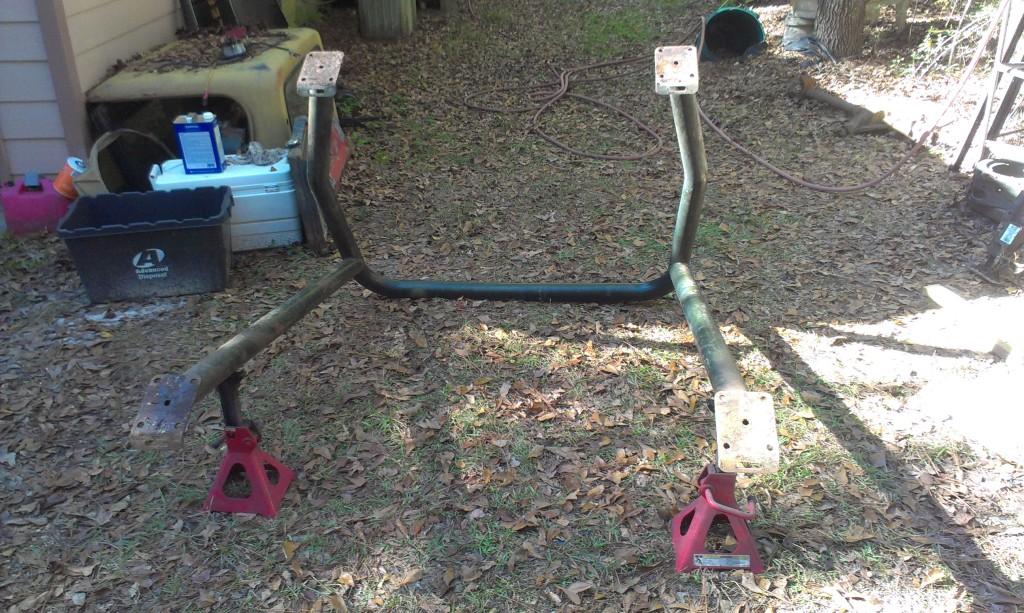
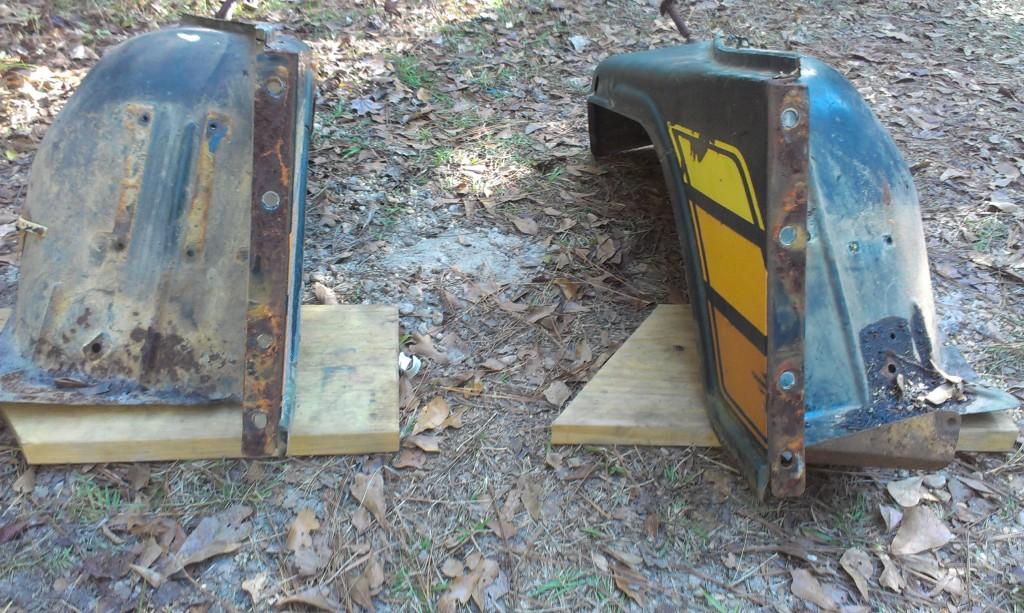
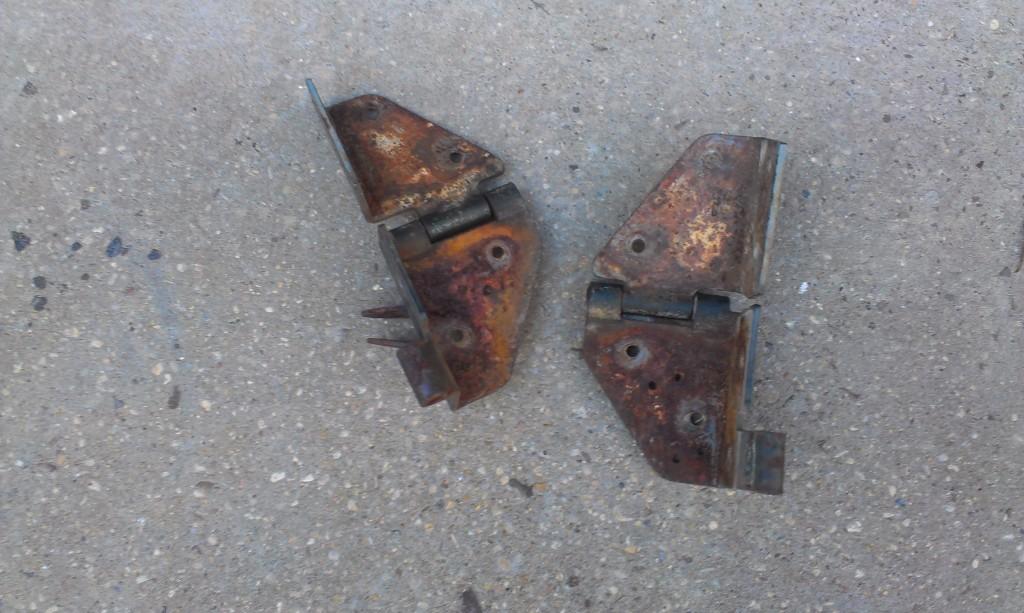
Since the weather was so nice on Sunday, I decided to do to some more work on Yard Scrambler. I wanted to address a few more surface rust spots on the body. I wanted to clean/paint these areas before they get covered up with other body parts. My "problem areas", only surface rust:

behind windshield hinges
windshield hinges
front of tub were fenders bolt
back of front fenders were they meet the tub
roll bar feet
top of cowl where hood bolts
top of cowl where windshield frame sits

Most of these areas were not painted from the factory, so the jeep will eventually rust out at these locations unless something is done.

A few pictures of the "problem areas":

IMAG0101-1.jpg


IMAG0102-1.jpg


IMAG0103-1.jpg


IMAG0104-1.jpg


IMAG0105-1.jpg


IMAG0106-1.jpg


IMAG0107-1.jpg


IMAG0108-1.jpg
 
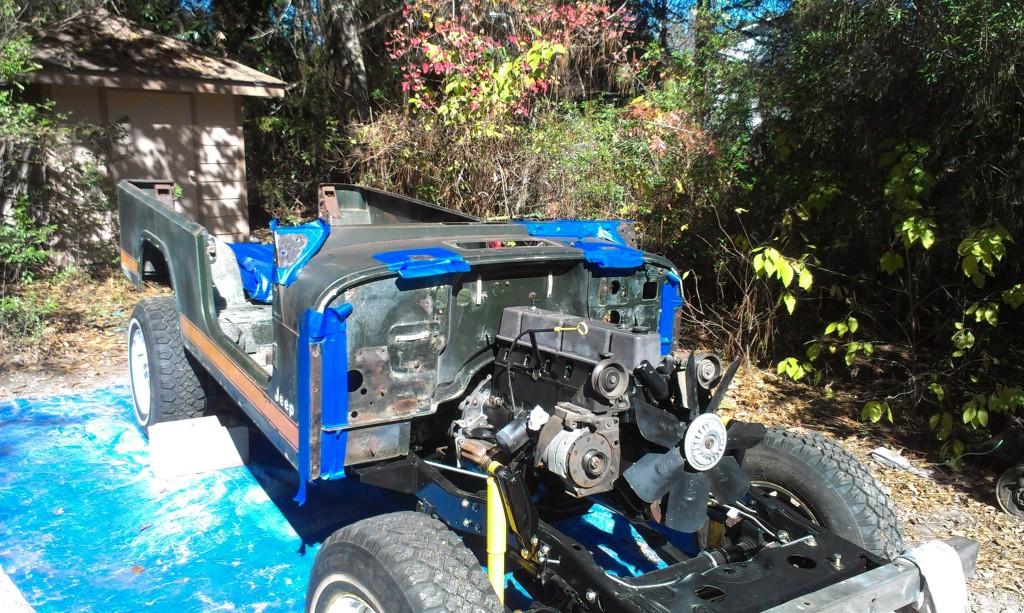
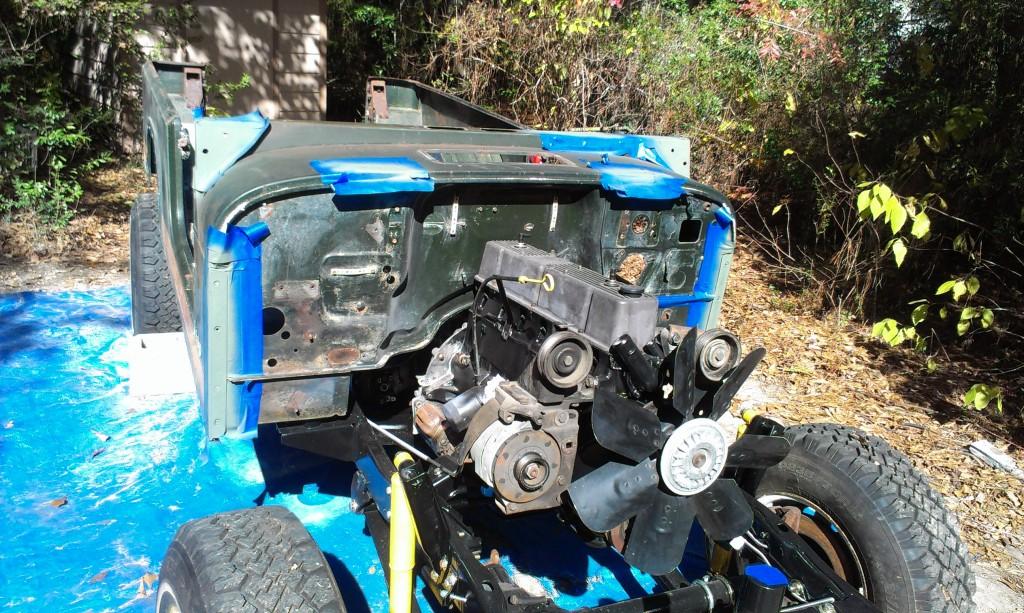
I broke out the wire wheels/grinder and removed all the surface rusts from the "problem areas". I then masked off the surrounding areas to protect from over spray. The primary reason for all my painting work is preservation, not aesthetics. That being said, no reason to mess up the "factory paint patina" with messy over spray.

IMAG0109-1.jpg


IMAG0110-1.jpg


IMAG0111-1.jpg


After masking, I primed the areas with self etching primer.

IMAG0112-1.jpg


IMAG0113-1.jpg


IMAG0114-1.jpg


IMAG0115-1.jpg


IMAG0116-1.jpg
 
Back
Top