• Notice for iPhone users: DO NOT use the image size reduction option when uploading photos to the forum. This causes portrait images to post as landscape. We have added a warning to the image insert pop-up as well.

New To Me 83--Parts Needed

I have always found the factory blower motors more then adequate, I guess mainly because we do not get the extreme cold weather down here:thumbsup:

No blower motor upgrade unless the stock one is broke:shrug:

I think what everyone is trying to tell you Raymond, we need to see you here up north a little more often and don't want you to get cold when you play in the snow with us. :bacon: :woohoo: :bacon: :wave:
 
I think what everyone is trying to tell you Raymond, we need to see you here up north a little more often and don't want you to get cold when you play in the snow with us. :bacon: :woohoo: :bacon: :wave:

I always appreciate the "warm" welcome Toby :wave::thumbsup:

I still remember how cold it was up there when I went and picked up the Scrambler from you in late December a few years ago. When I left your house, I was wearing: long johns, jeans, two t-shirts, one long sleeve shirt, 2 pull overs, full body coveralls, gloves and a furry hat. I was warm, but I looked like that kid from "The Christmas Story" movie - if I would have fell over i wouldn't have been able to get back up :rotfl::wave:

It wasn't that bad, but I am definitely not used to what y'all consider "cold". Winter for us is when it gets below 65:crazy:

But, I wouldn't mind playing in the snow:wave:
 
I still remember how cold it was up there when I went and picked up the Scrambler from you in late December a few years ago. When I left your house, I was wearing: long johns, jeans, two t-shirts, one long sleeve shirt, 2 pull overs, full body coveralls, gloves and a furry hat. I was warm, but I looked like that kid from "The Christmas Story" movie - if I would have fell over i wouldn't have been able to get back up :rotfl::wave:


Yep, that's what I look like duck hunting. I've fallen down a lot over the years (trip on a log hidden underwater) and learned that if you dress warmly enough, even if you DO fall in the water, you'll still warm back up once your body warms up the wet clothes. It will be 50 degrees and I'm bundled from head to toe. Some smartalek will usually say "You cold!!?" and I respond with "Nope, and no matter what happens, I'm not gonna be cold either!"

Still think you should do the blower upgrade while you have the dash apart. Not hard, $13 part, and it helps tremendously with the defrost.
 
You doing OK old friend? Not used to your absence. Something about a Christmas deadlne? :wave:
 
You doing OK old friend? Not used to your absence. Something about a Christmas deadlne? :wave:

Appreciate the concern:thumbsup:

I have just been too busy with work lately to mess with poor Yard Scrambler, that and it is dark outside when I get home:banghead:

I did pressure wash all the wire harnesses the other day, will try to start cleaning/inspecting/re-wrapping them soon:thumbsup:

Did I say "which" Christmas (pulled straight from the "jeepaddict" playbook) :rotfl::rotfl::cheers:
 
Small/boring update of a little bit of work I did last week.

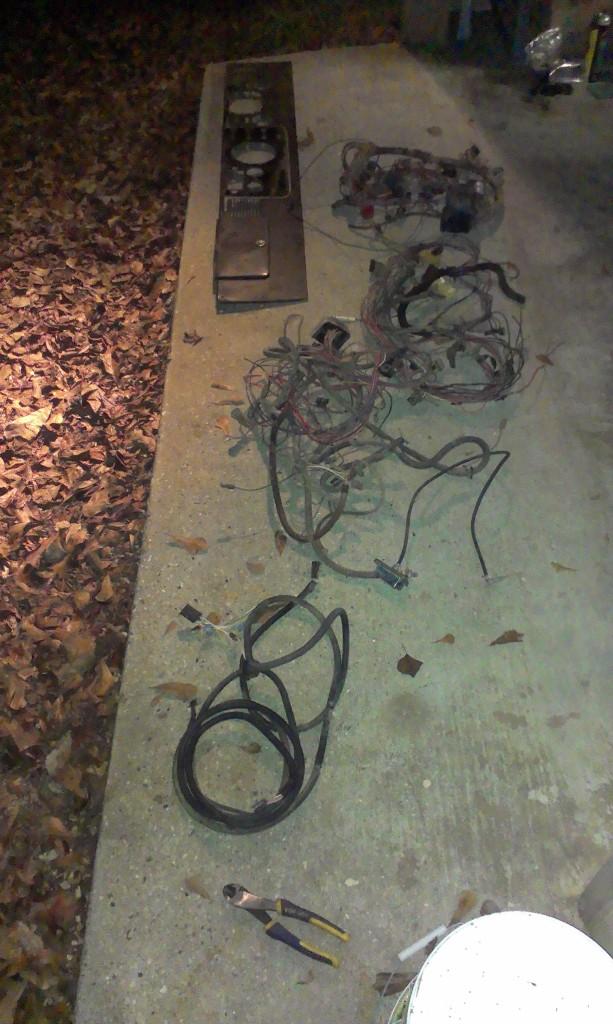
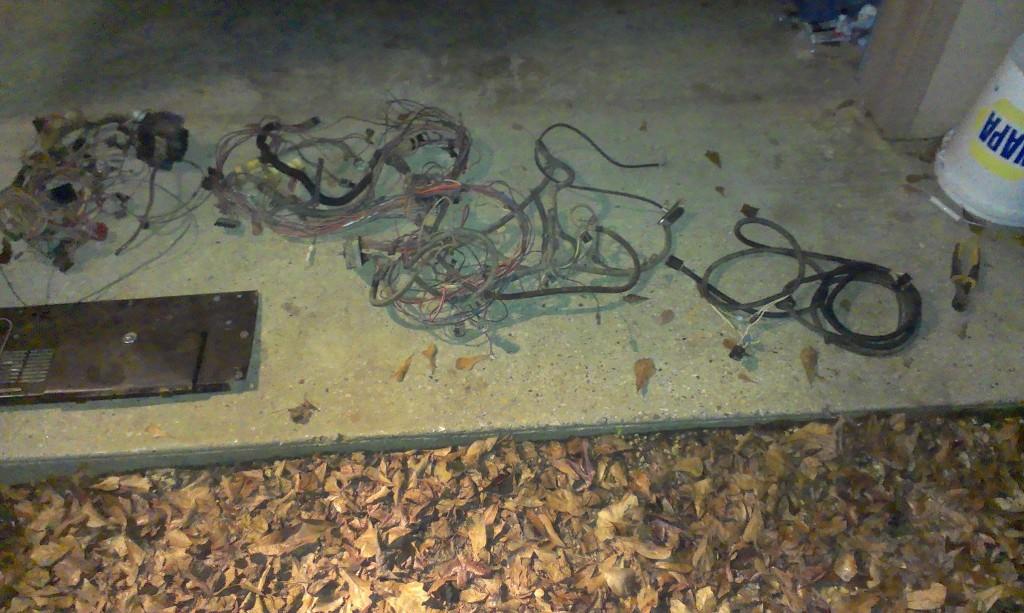
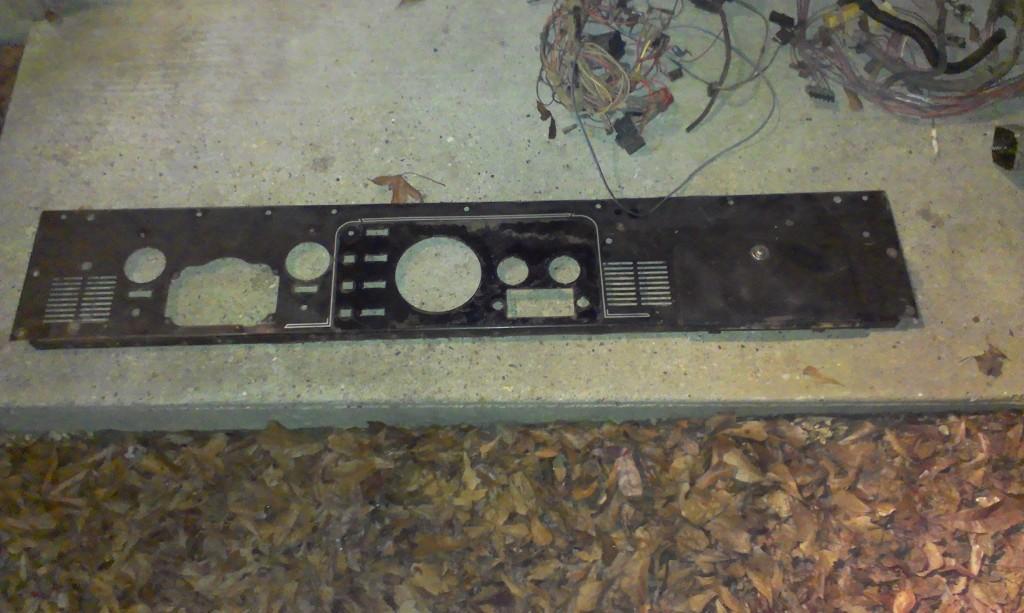
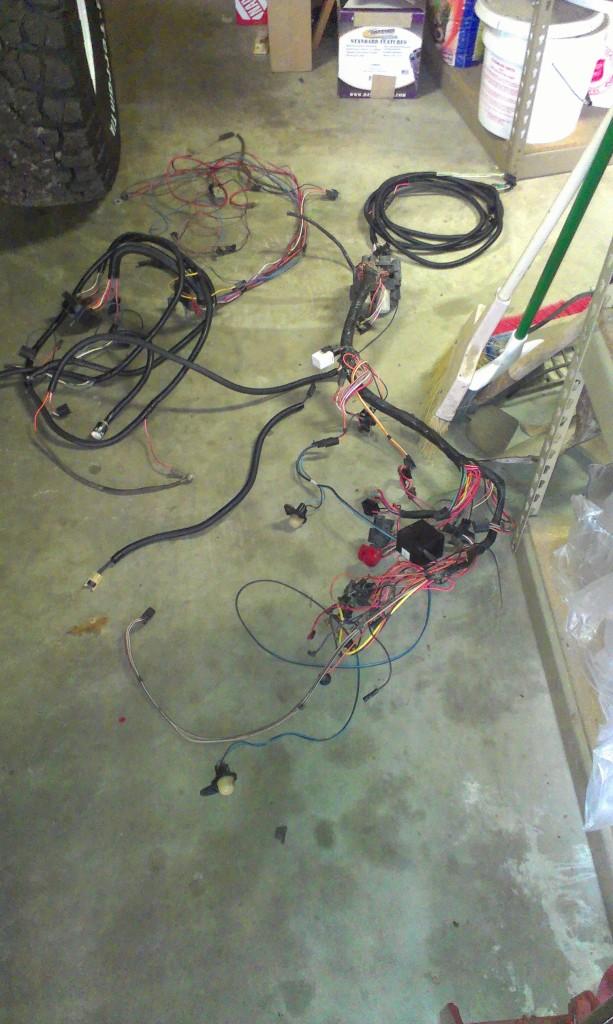
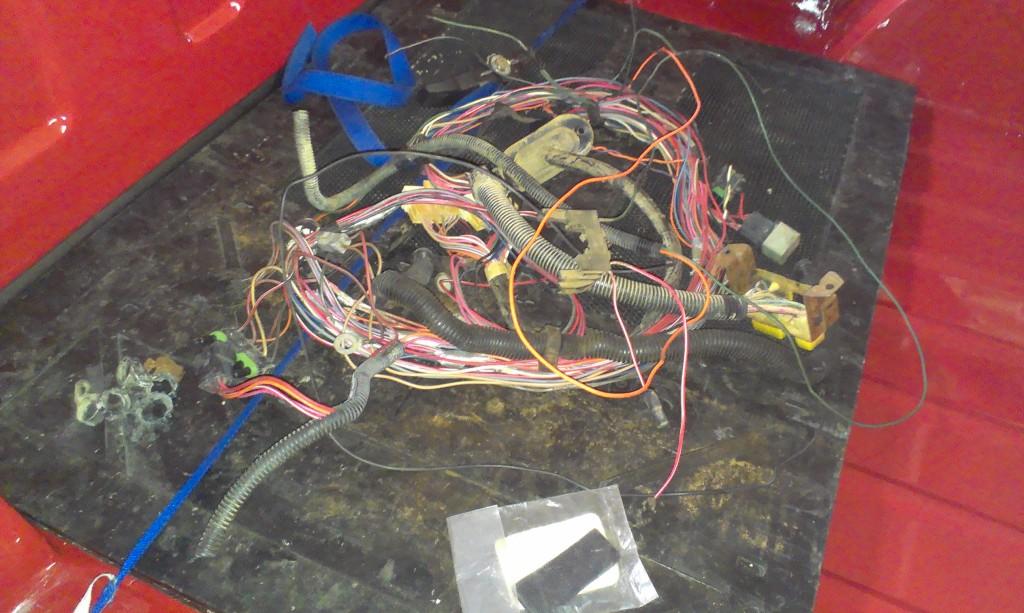
I took the replacement dash, and all the original wiring harness(es) to the pressure washer to clean. The dash board needs a little bit more sanding before paint. I wanted to clean all the wire harness(es) before I inspect/re-wrap/install them. I would say 95% of the wiring is good. The only "suspect' areas concern the distributor area.

Dirty parts:

IMAG0023-1.jpg


IMAG0024-1.jpg


IMAG0025-1.jpg


Clean(er) wiring:

IMAG0027-1.jpg


I hope to get some more work done during the holidays.

That's it for now.
 
  • Like
Reactions: SKT
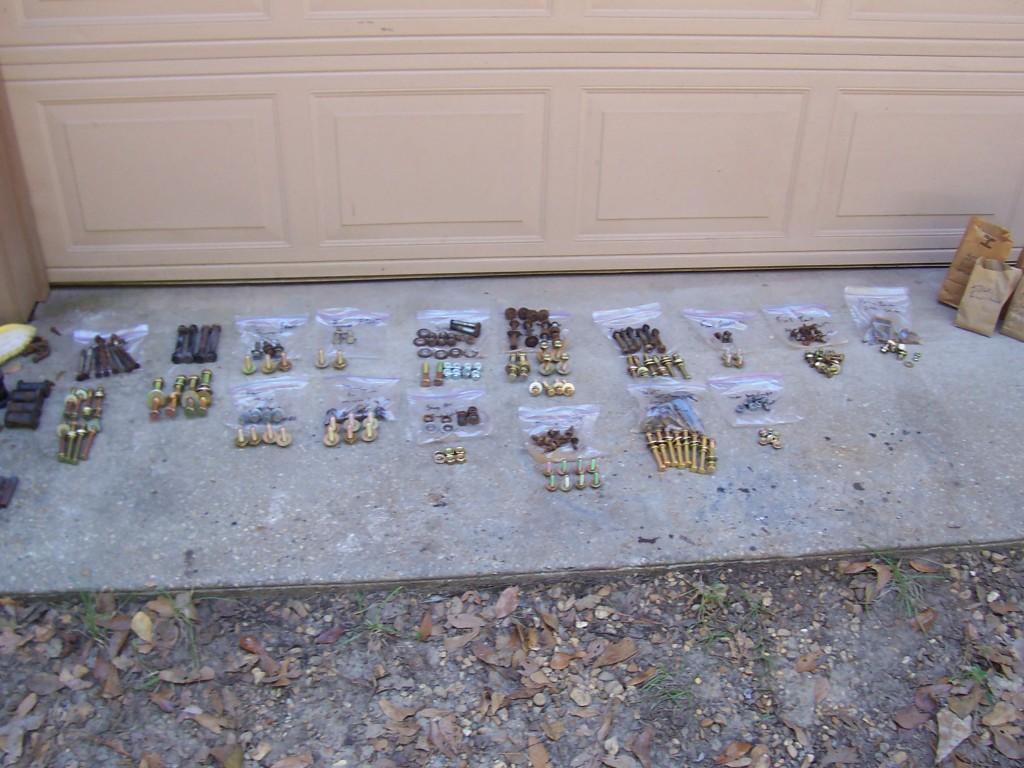
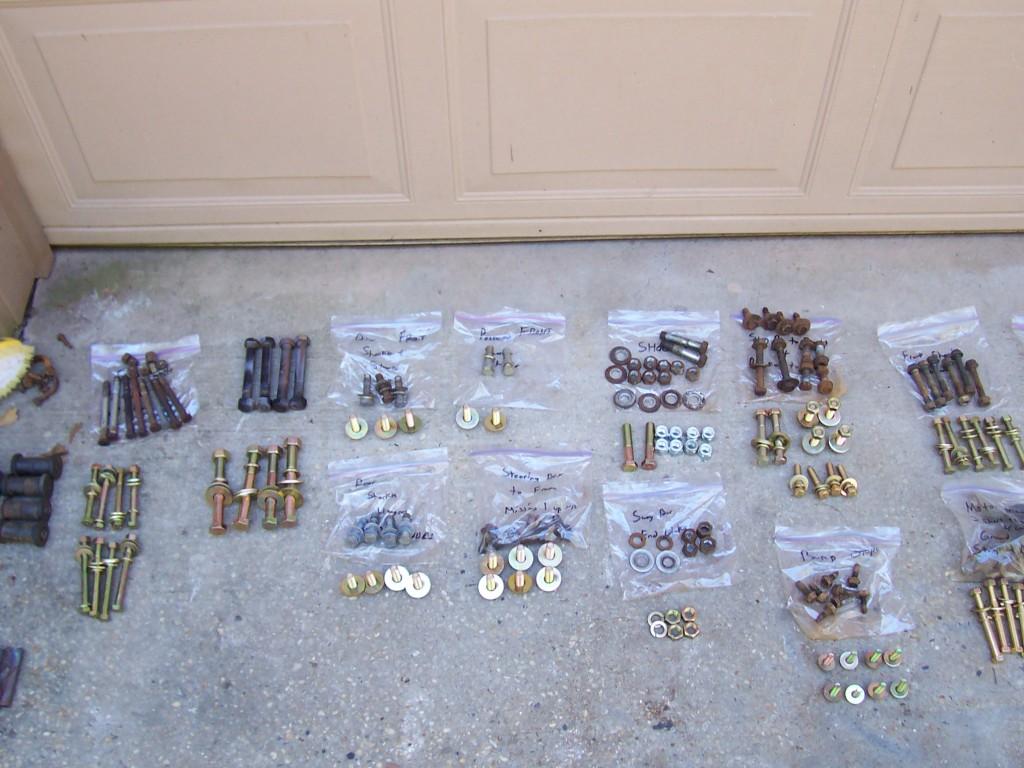
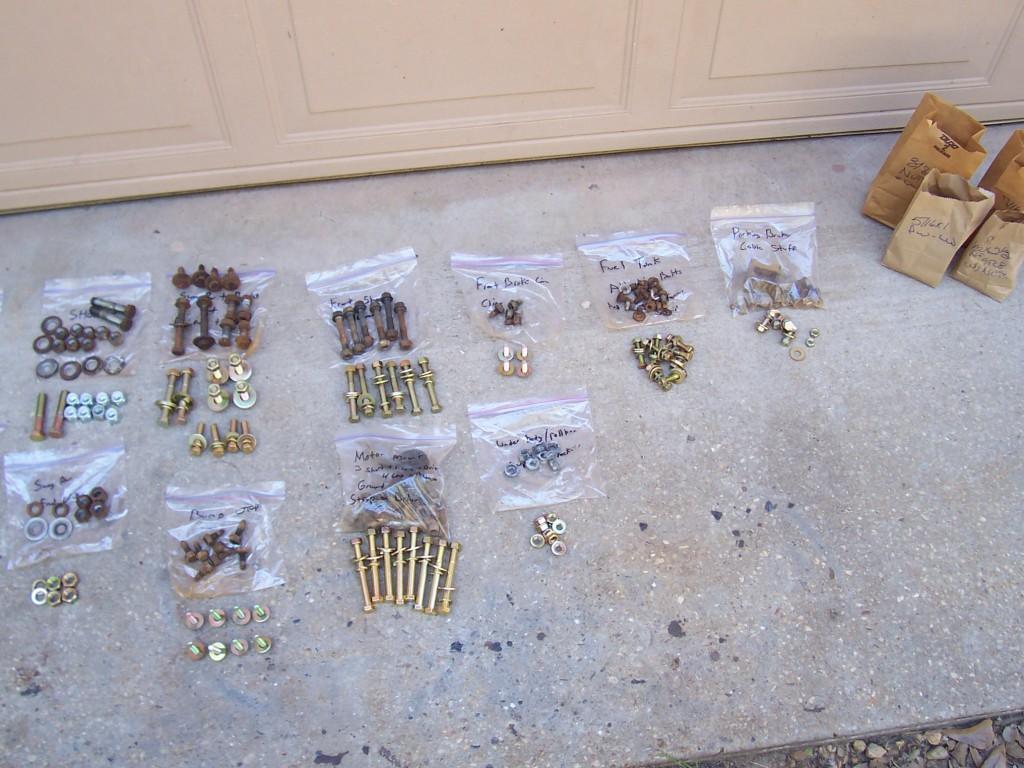
"I also bought all new grade 8 hardware to reattach all the various parts/pieces to the frame. I bought all this stuff from a locally owned HW store, only cost $92.00, pretty good deal I thought. Note my ubiquitous "Ziploc bags full of rusty bolts".

01213-1.jpg


01413-1.jpg


01513-1.jpg
[/QUOTE]

Do you by chance still have your shopping list for all of those bolts,washers, and nuts. I need to do the same thing in the next day or so. I would love if you did as it would save a lot of time matching up everything at the store.
 
"
Do you by chance still have your shopping list for all of those bolts,washers, and nuts. I need to do the same thing in the next day or so. I would love if you did as it would save a lot of time matching up everything at the store.

Unfortunately, I did not keep any of my lists:shrug:

I use a tape measure and a plastic "bolt sizer thing" to come up with my lists. The plastic "bolt sizer thing" is a life saver:thumbsup:
 
I had to work all during the holidays, but I was still able to get a bunch of work done on "Yard Scrambler". It is not running, yet, but it is almost a complete jeep again. The order of the pictures/work done is kind of random, but I wanted to use up all of the parts and pieces laying around the yard/garage/bed of Yard Scrambler before I make one last big trip to the parts store. Anyway, here are the pictures:

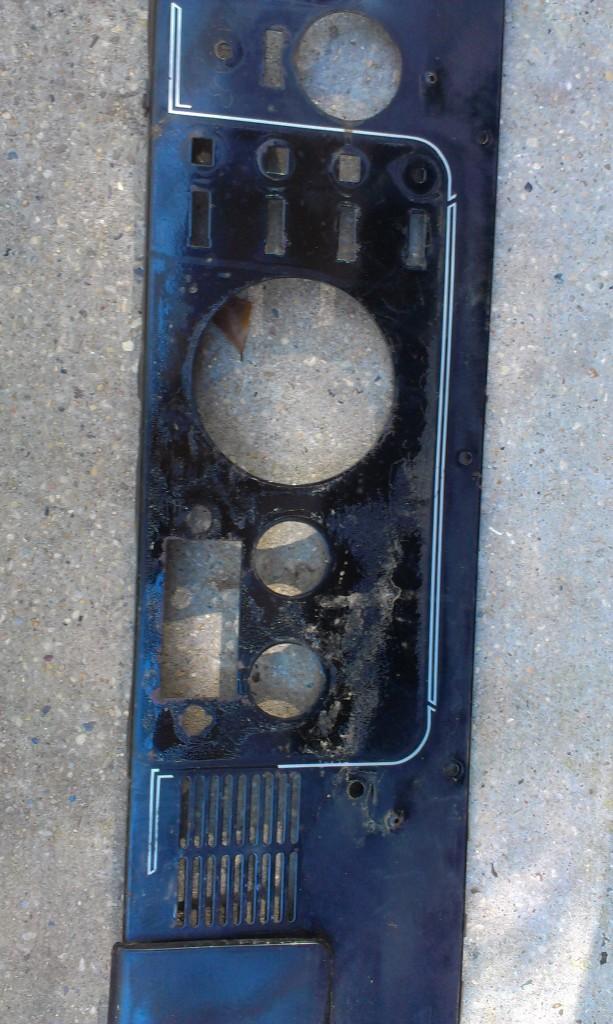
Pictures of the used dash. Close up of the sticky residue from the plastic trim piece. This dash is not perfect, but way better then the one that came with yard Scrambler.

IMAG0028-1.jpg


IMAG0029-1.jpg


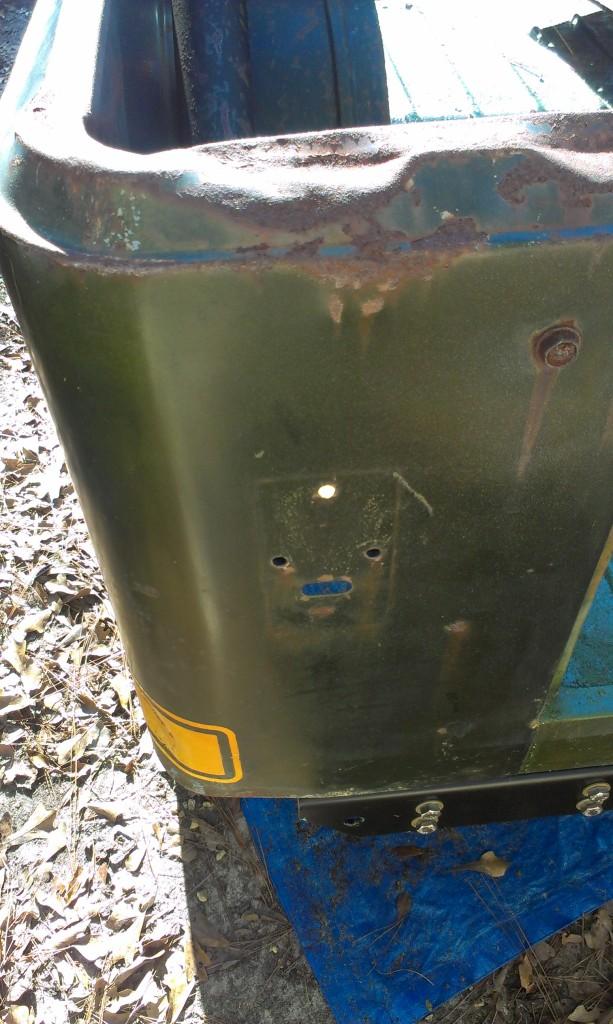
I did a quick experiment before bolting on the taillights.

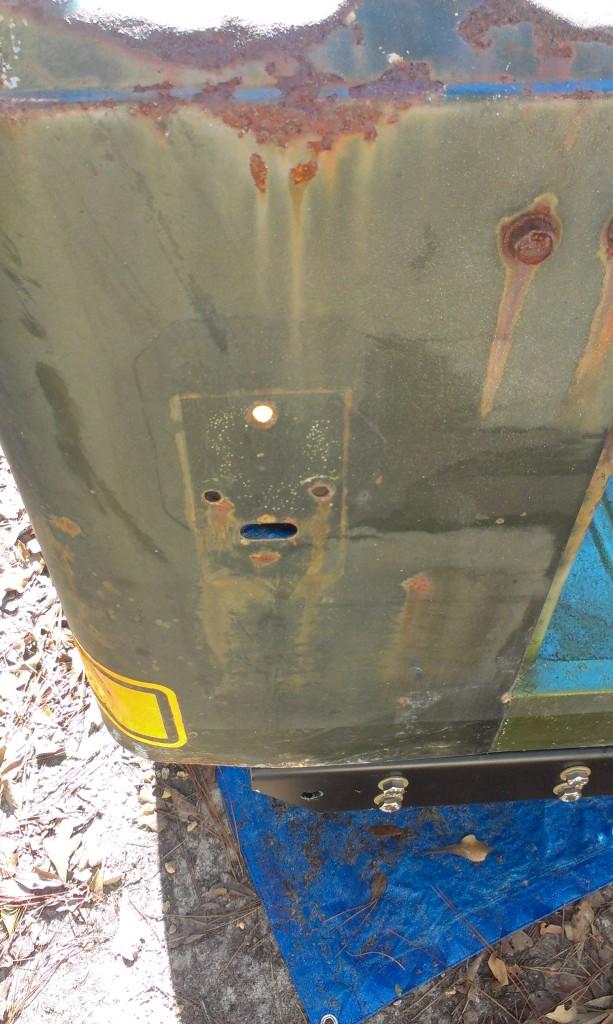
Before picture of the rear corner.

IMAG0030-1.jpg


I used this stuff, hand buffed only.

IMAG0031-1.jpg


With only had buffing, it looks better. I imagine an orbital buffer and a full day of work could clean up the old paint pretty good.

IMAG0032-1.jpg


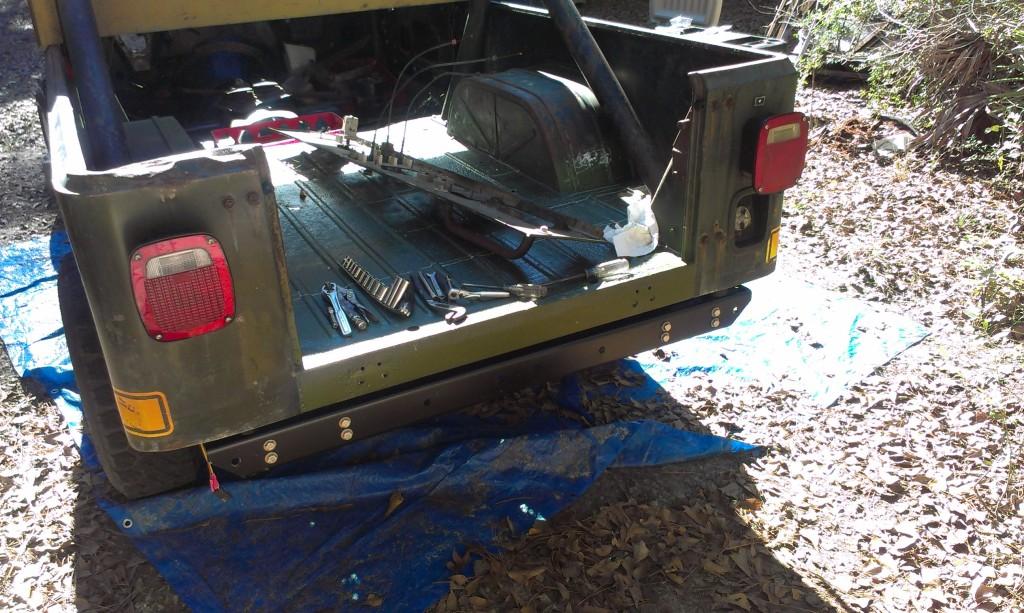
Rear tail lights bolted up. Still working on the tailgate assembly.

IMAG0033-1.jpg


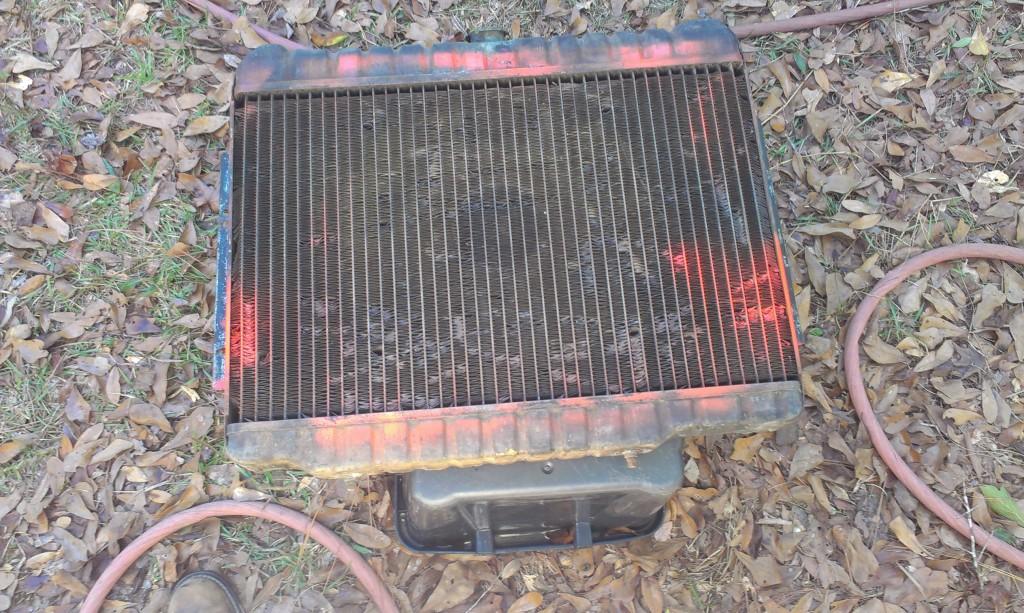
The radiator that came with the engine had some orange over spray. I hit with some black paint to hide the orange.

IMAG0034-1.jpg


IMAG0035-1.jpg


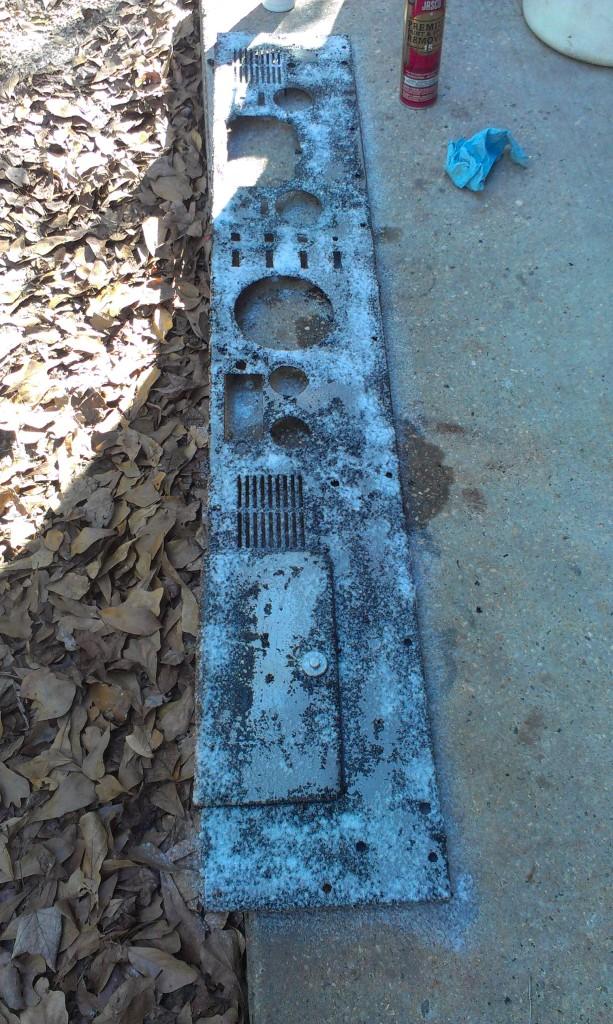
Using some spray can paint stripper on the dash.

IMAG0036-1.jpg


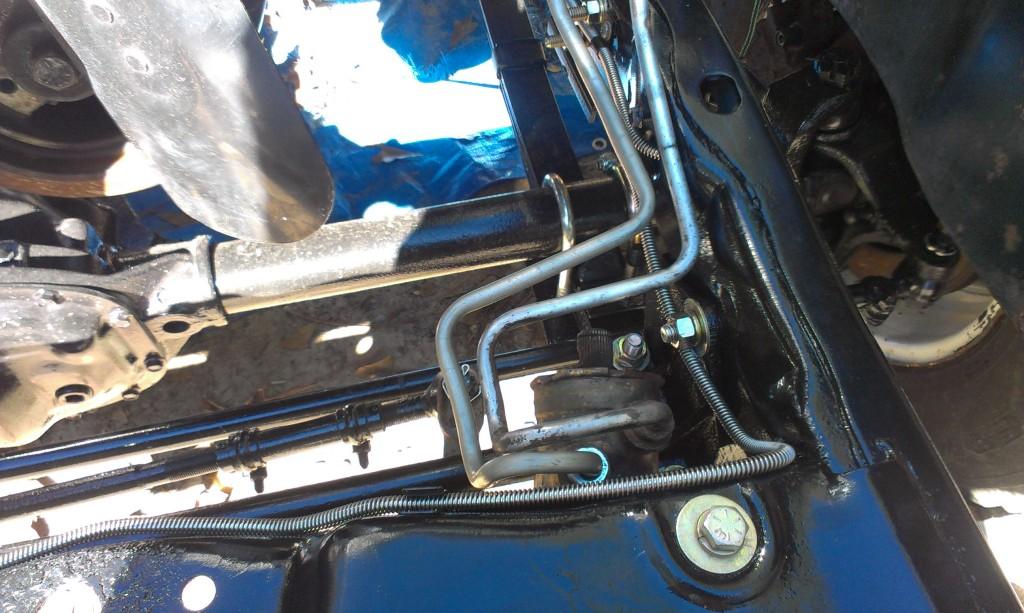
Installed a new PS pressure hose, cleaned up the metal portion of the existing PS return line. Still need to install the little retaining clips that hold the lines to the frame.

IMAG0037-1.jpg
 
  • Like
Reactions: SKT
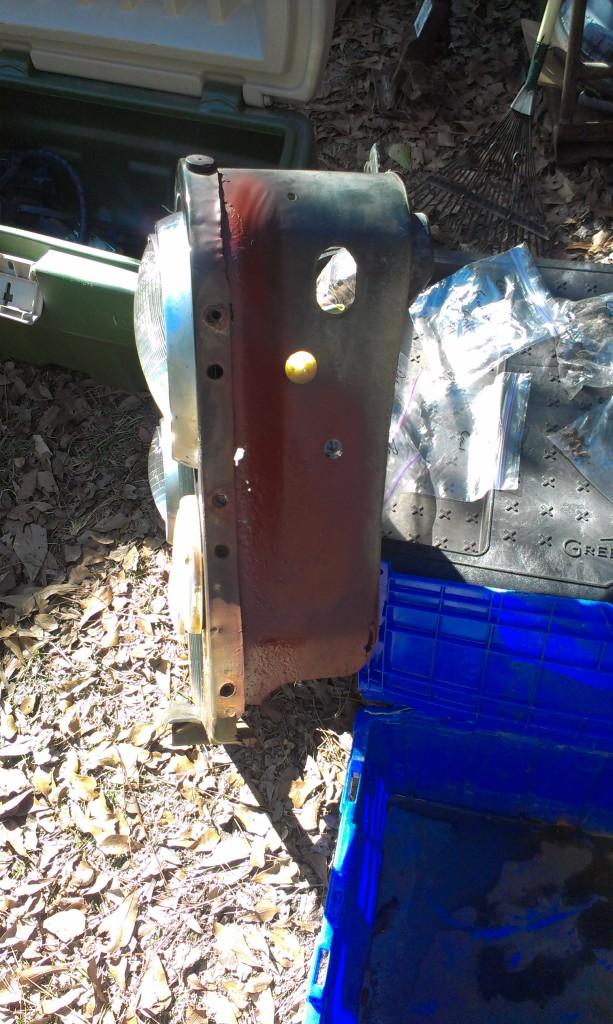
The grill had some surface rust, so I hit it with some primer. The grill is heavily rusted on the driver side inner portion. It is still structurally sound, but it is not worth spending a bunch of time on. The primer will suffice.
IMAG0038-1.jpg


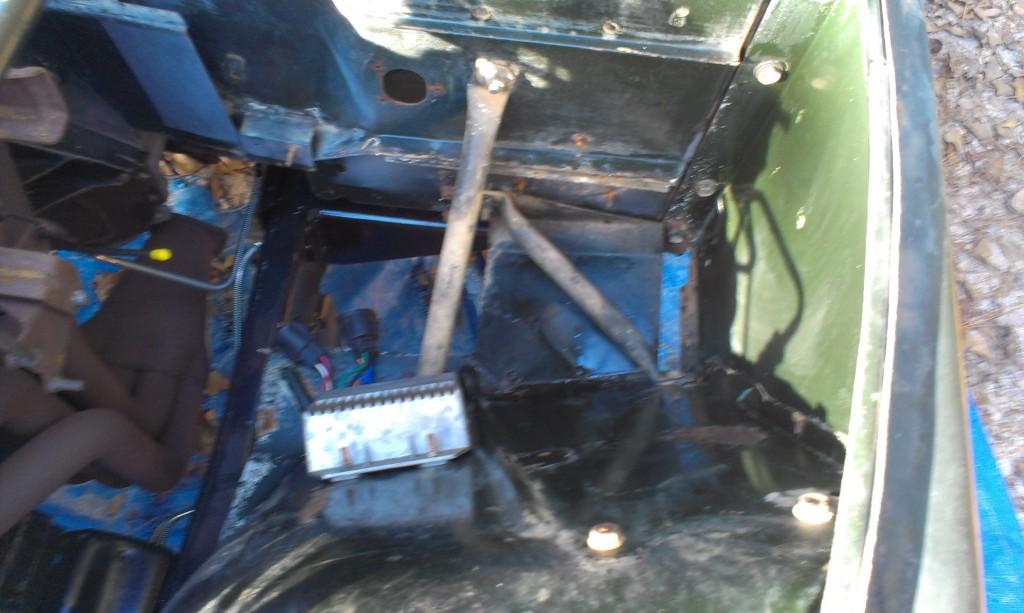
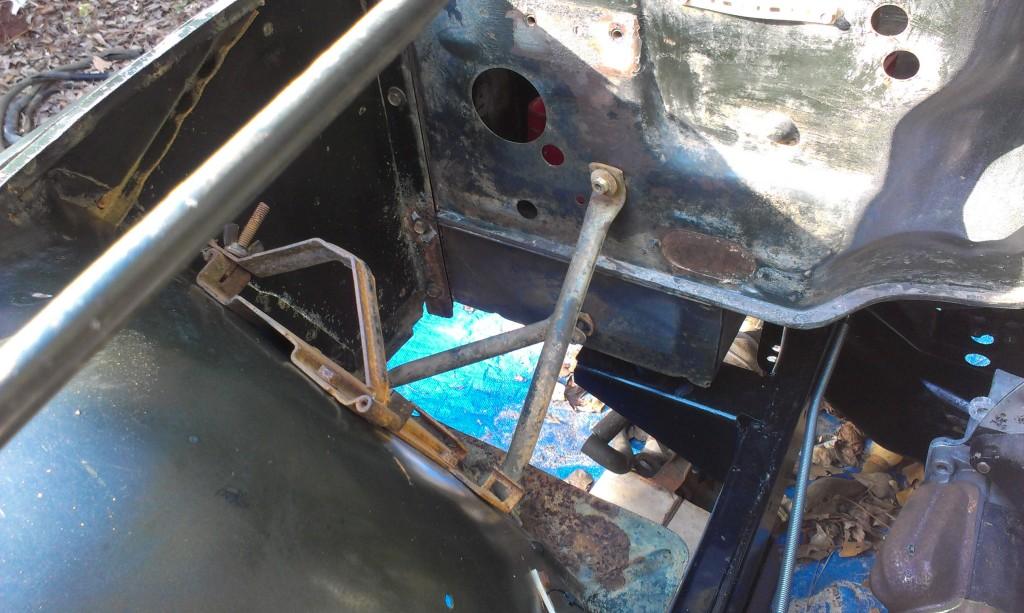
Driver side fender braces.
IMAG0039-1.jpg


Passenger side fender braces.

IMAG0040-1.jpg


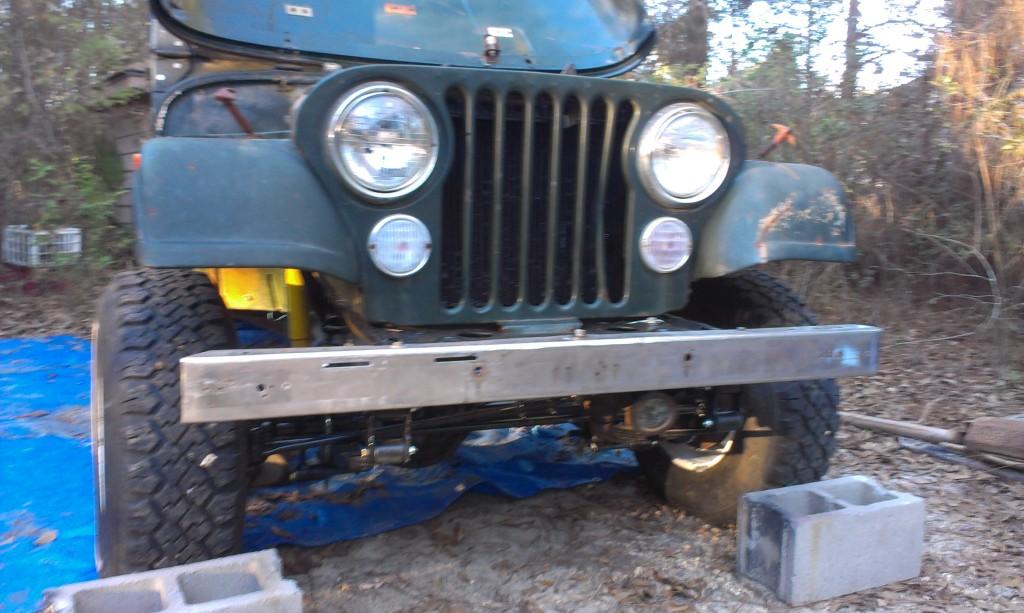
And the grill is installed.

IMAG0041-1.jpg


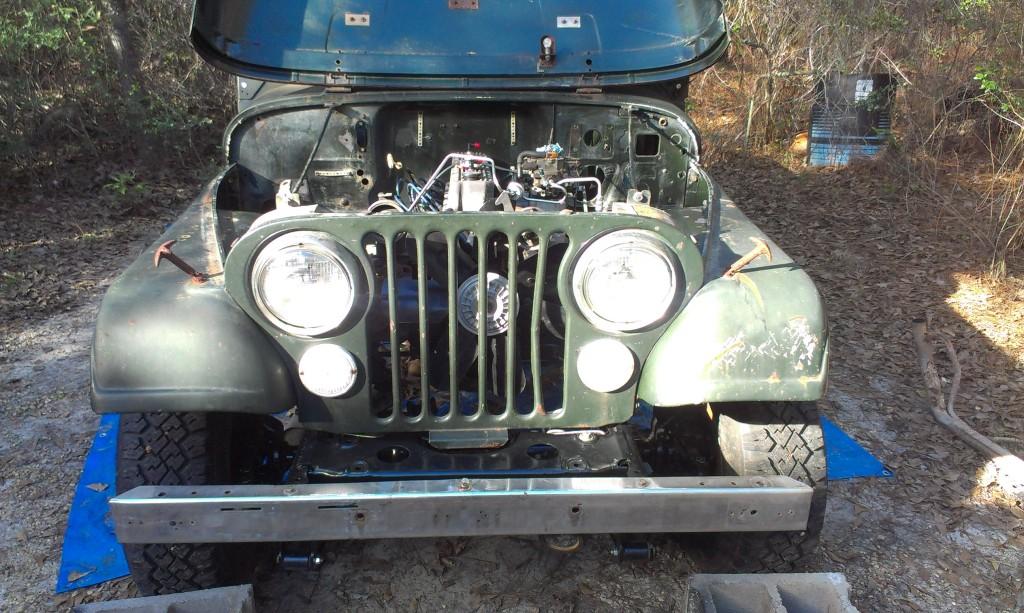
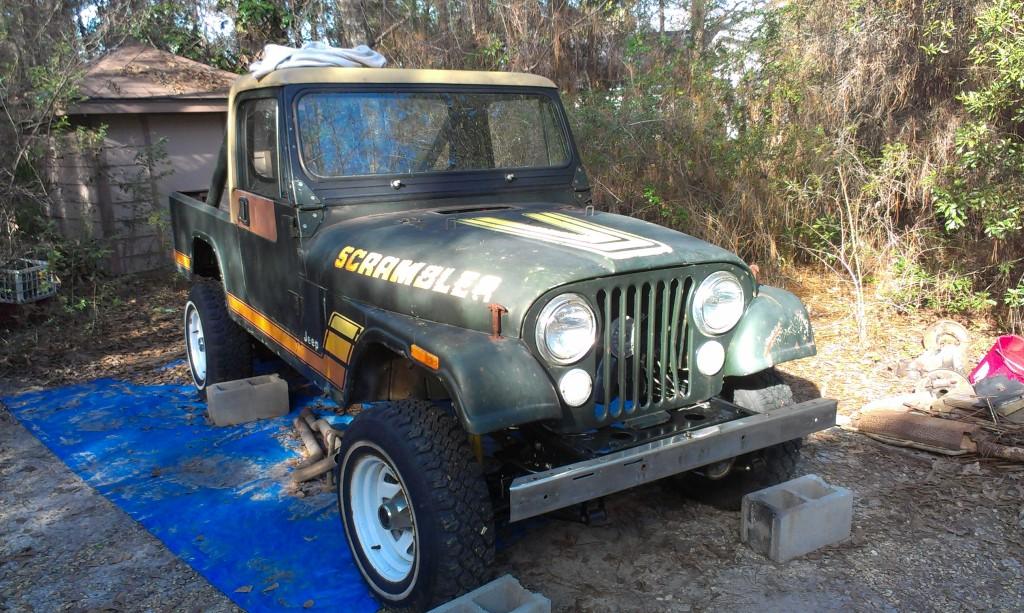
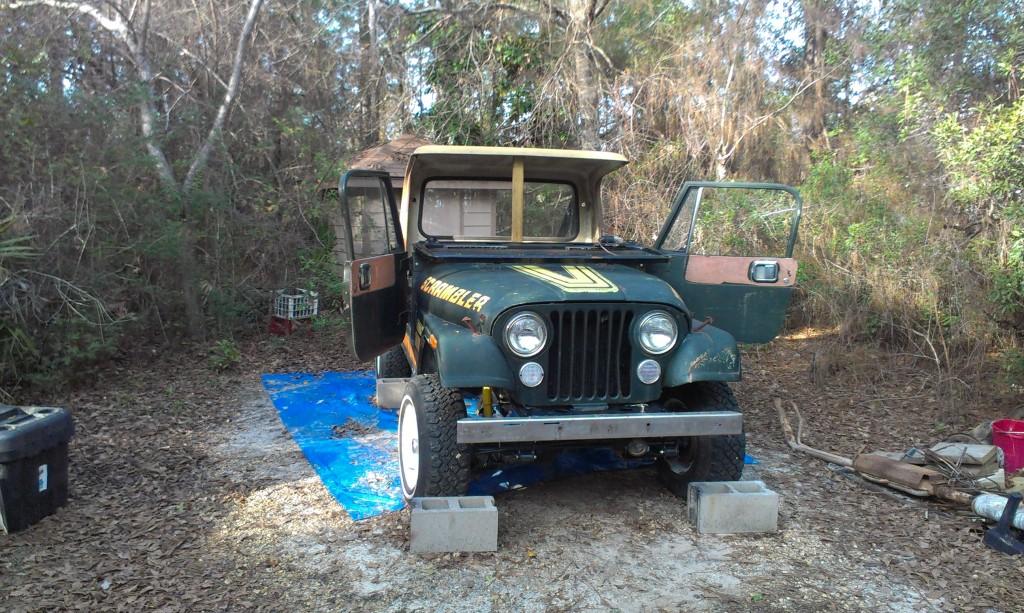
Starting to look like a Scrambler again.

IMAG0042-1.jpg


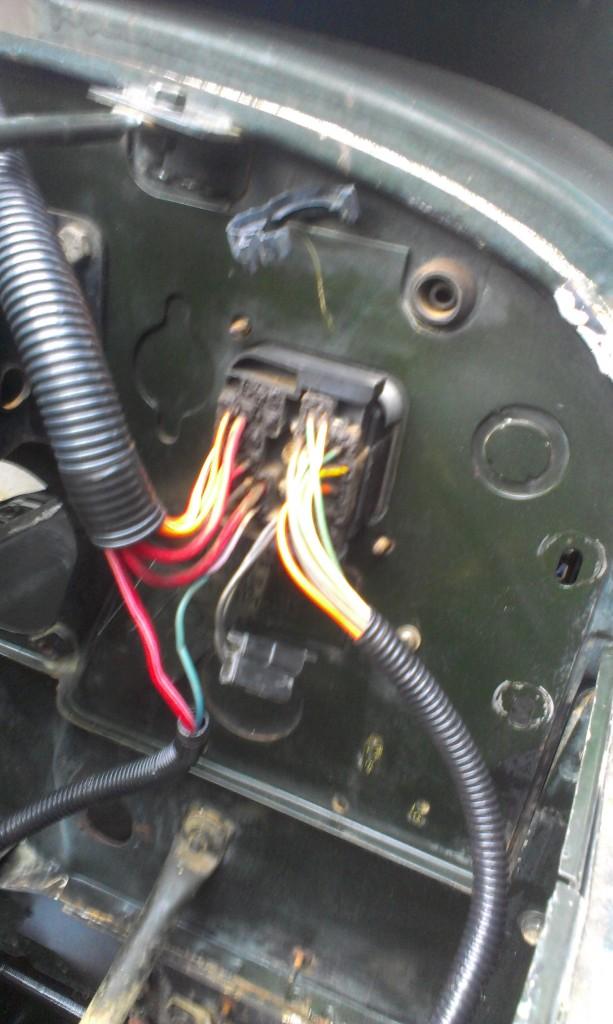
Picture of the cleaned up wiring harnesses. I cleaned all the existing wires, checked for damage, then installed new wire loom.

IMAG0043-1.jpg


Picture of the computer harness. I don't plan on installing this, so i did not clean it up. I might need to take some wires out of it, though, to get the Scrambler running.

IMAG0044-1.jpg


I then installed the radiator, after installing the front lighting harness.

IMAG0046-1.jpg


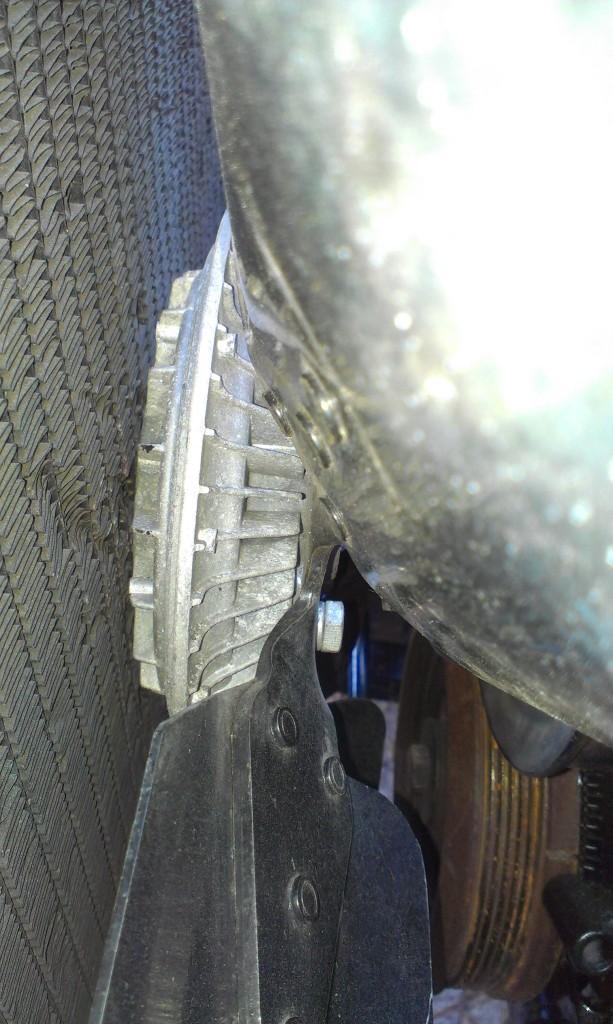
Not much clearance using the clutch fan and a 3 core radiator. I might have to swap in the two core radiator if this becomes an issue.

IMAG0045-1.jpg


Cleaning more stuff.

IMAG0047-1.jpg
 
  • Like
Reactions: SKT
The spray can paint stripper did a pretty good job on the dash board.

IMAG0048-1.jpg


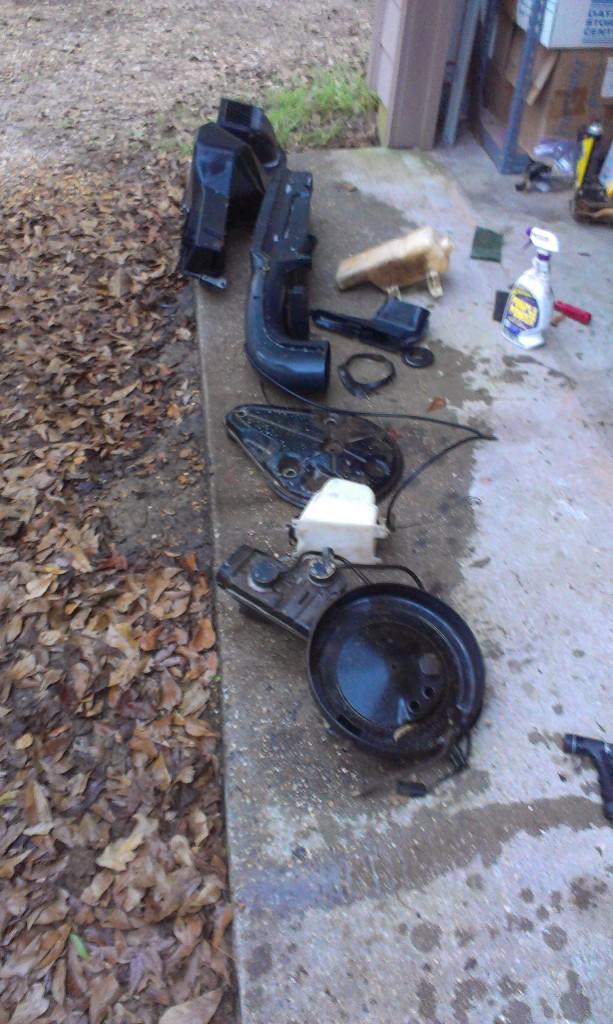
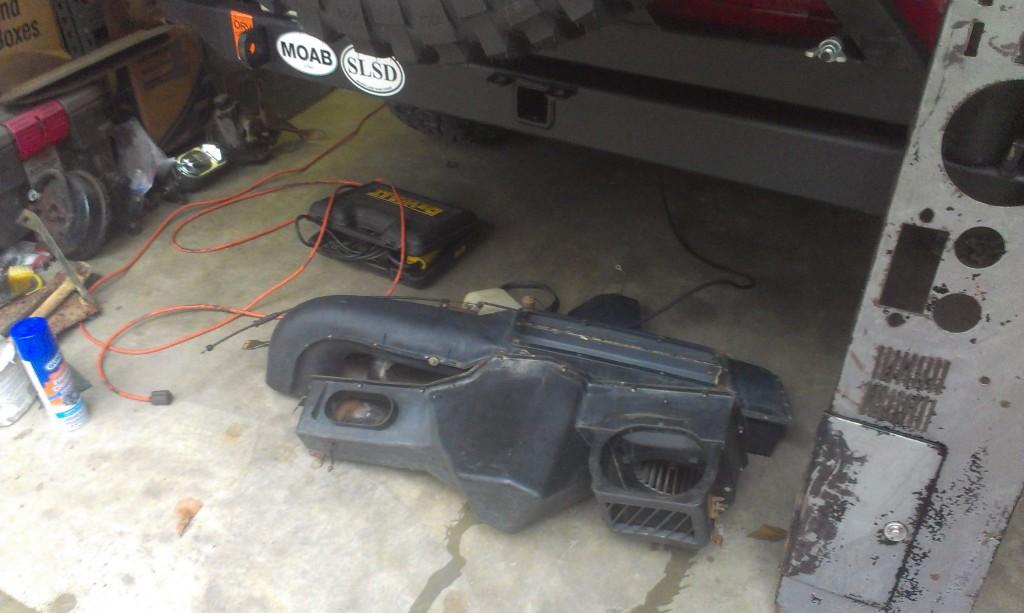
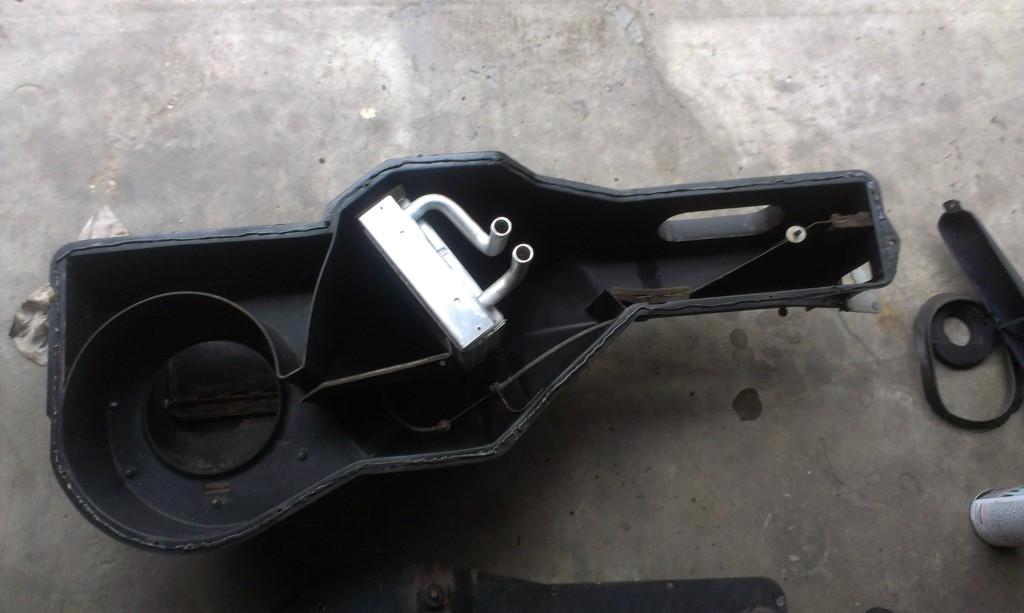
Picture of the cleaned up heater box stuff.

IMAG0049-1.jpg


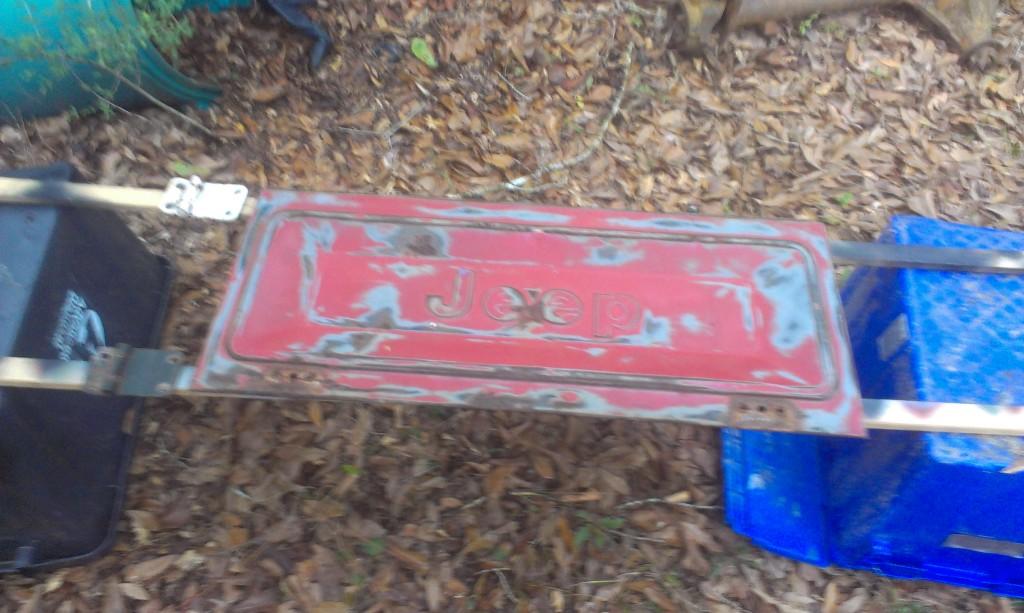
The tailgate I plan on using. I need to strip the old paint off.

IMAG0050-1.jpg


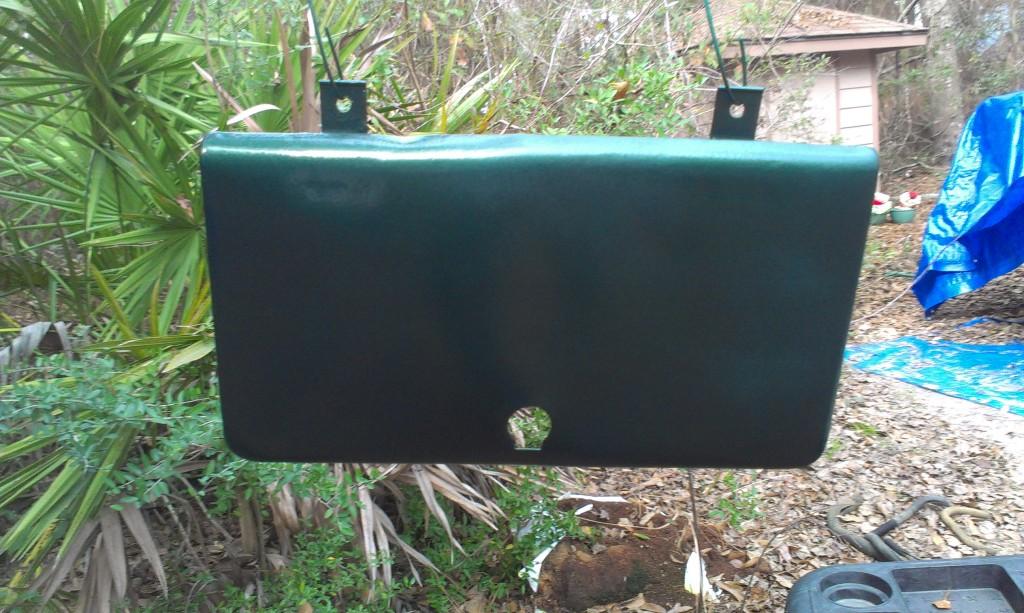
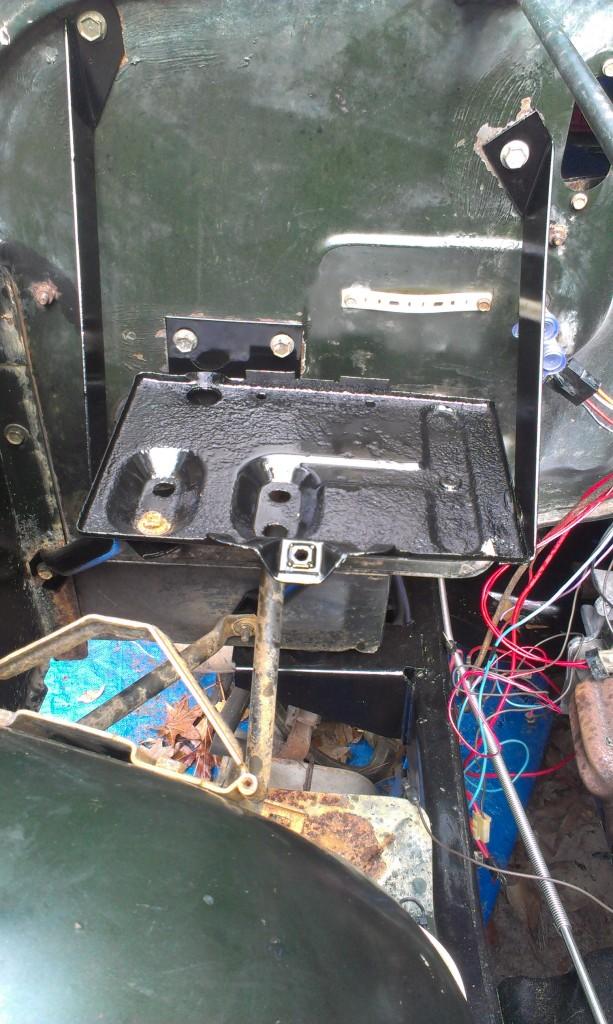
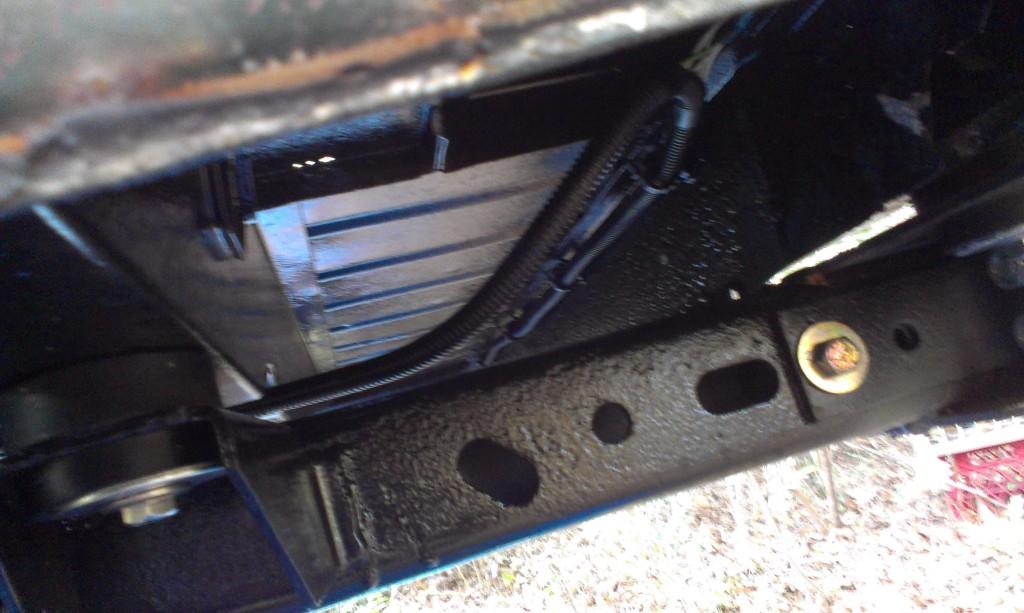
Due to a leaking battery, I had to sand/prime/paint the old battery tray and associated braces.

IMAG0051-1.jpg


IMAG0052-1.jpg


IMAG0053-1.jpg


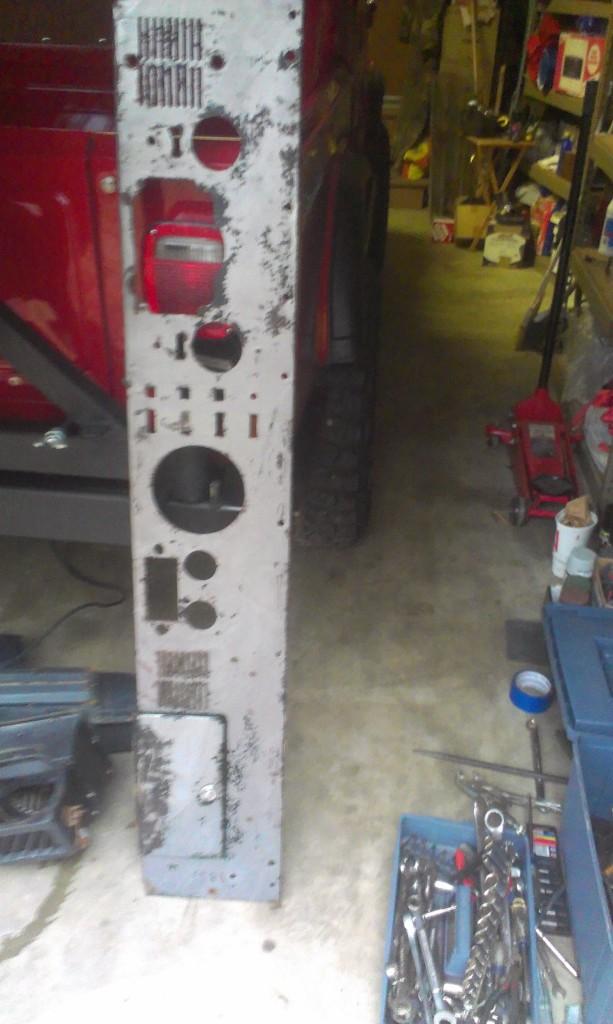
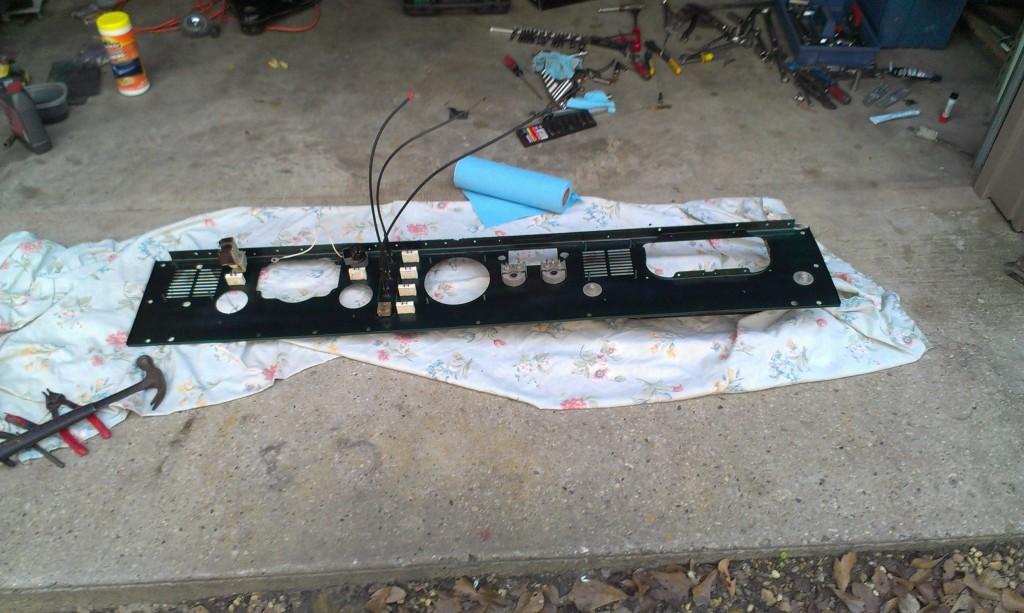
Pictures of the prepped dash. I cleaned off the front side 100%, the back side is good enough.

IMAG0054-1.jpg


IMAG0055-1.jpg


IMAG0056-1.jpg
 
  • Like
Reactions: SKT
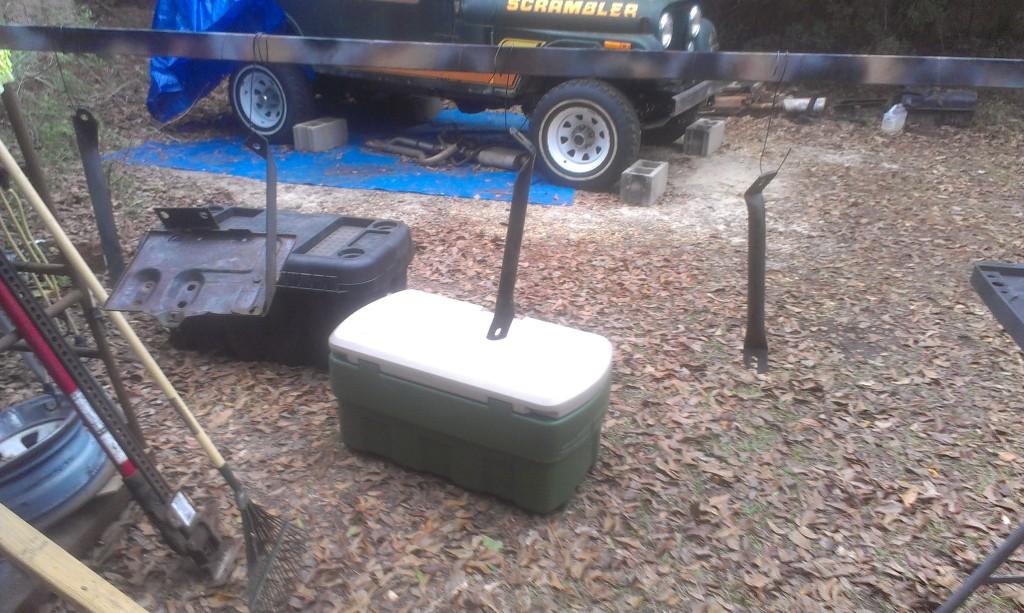
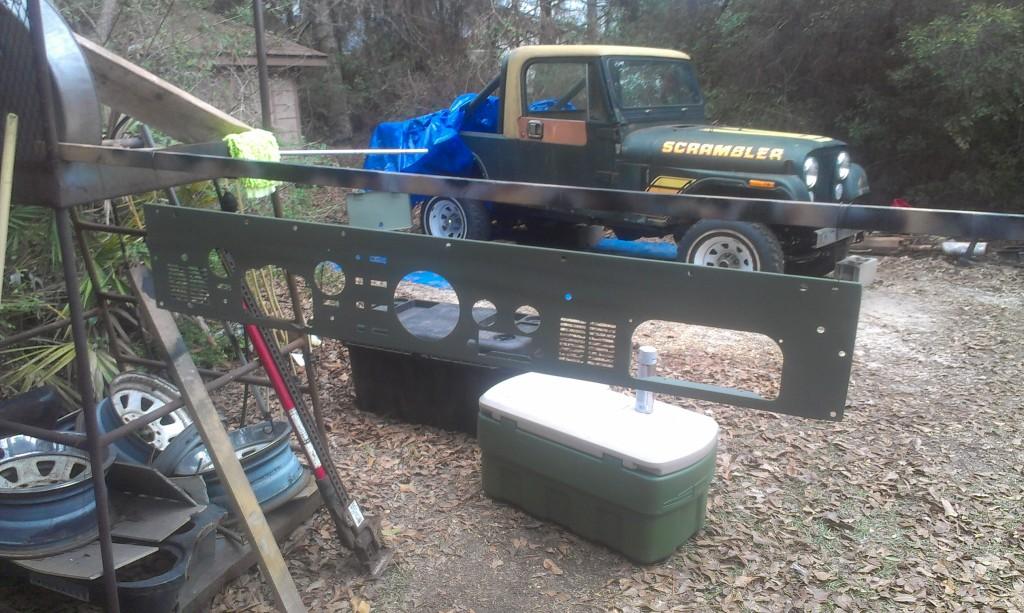
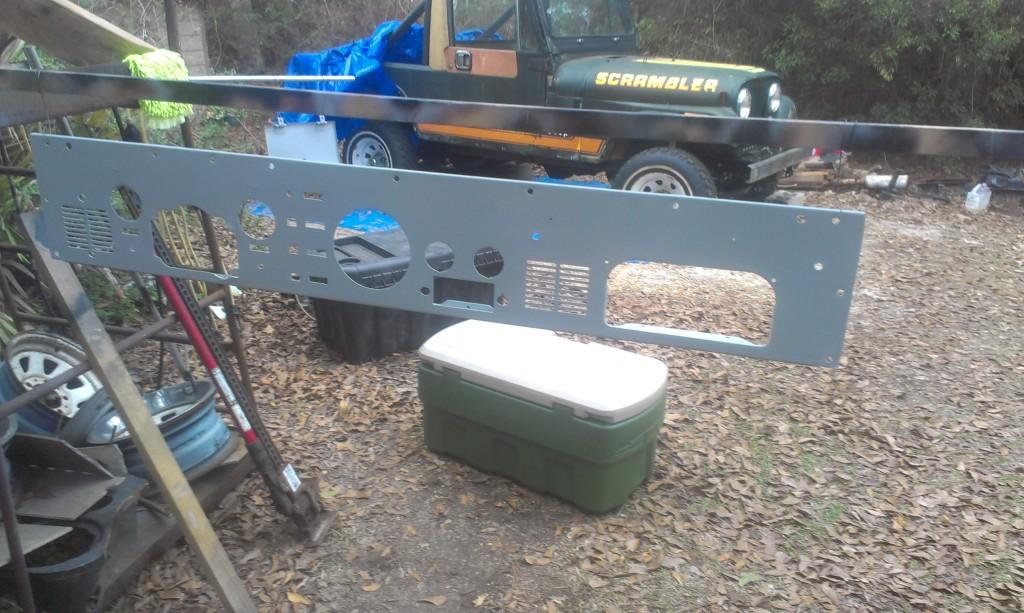
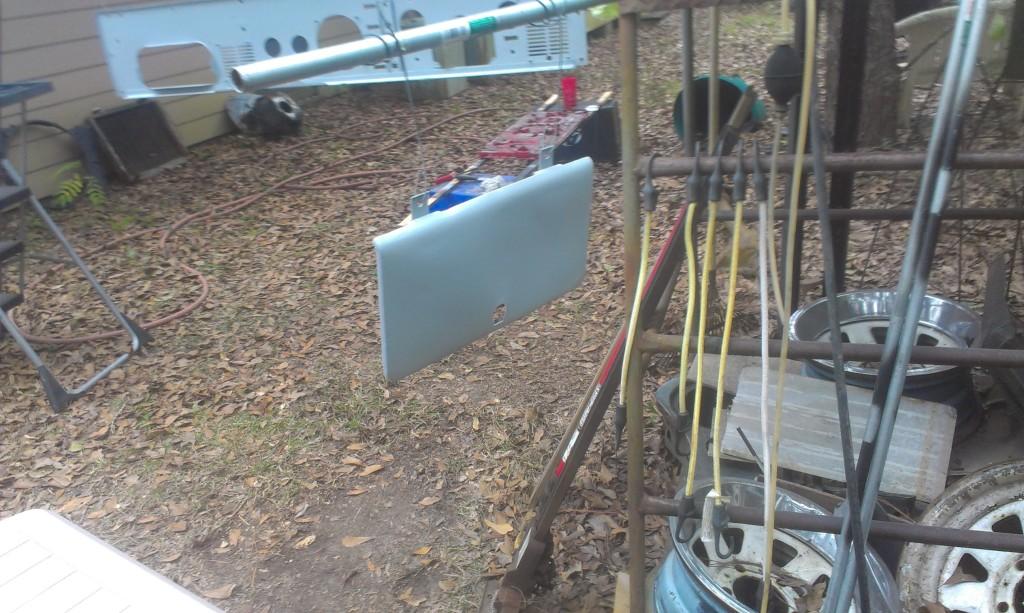
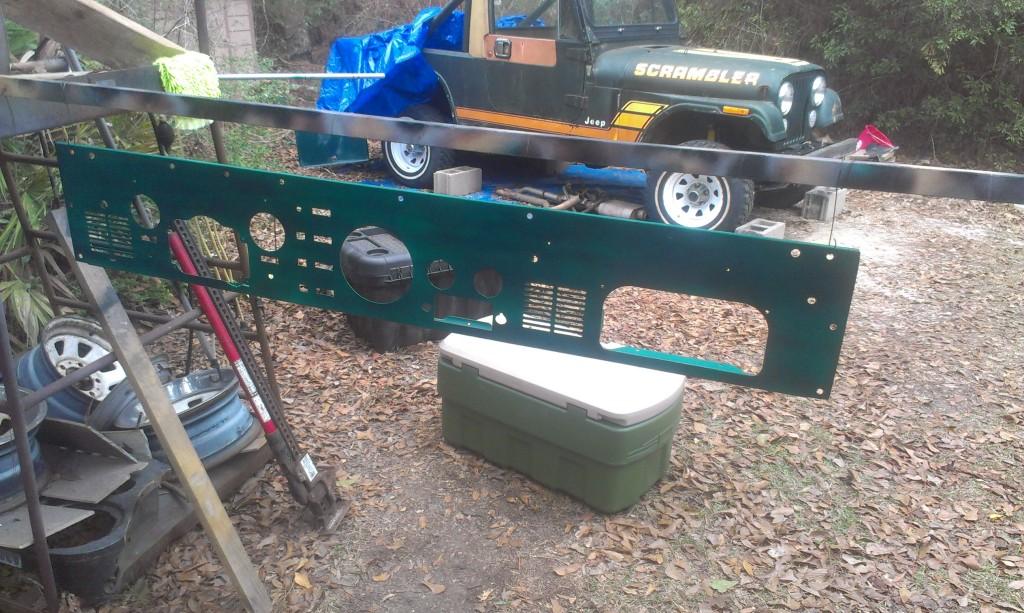
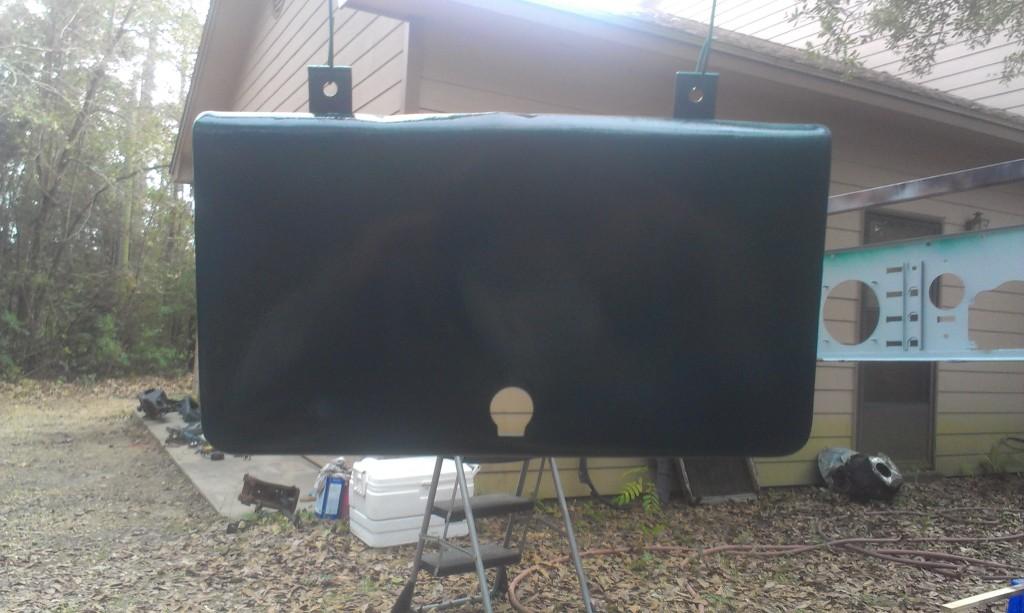
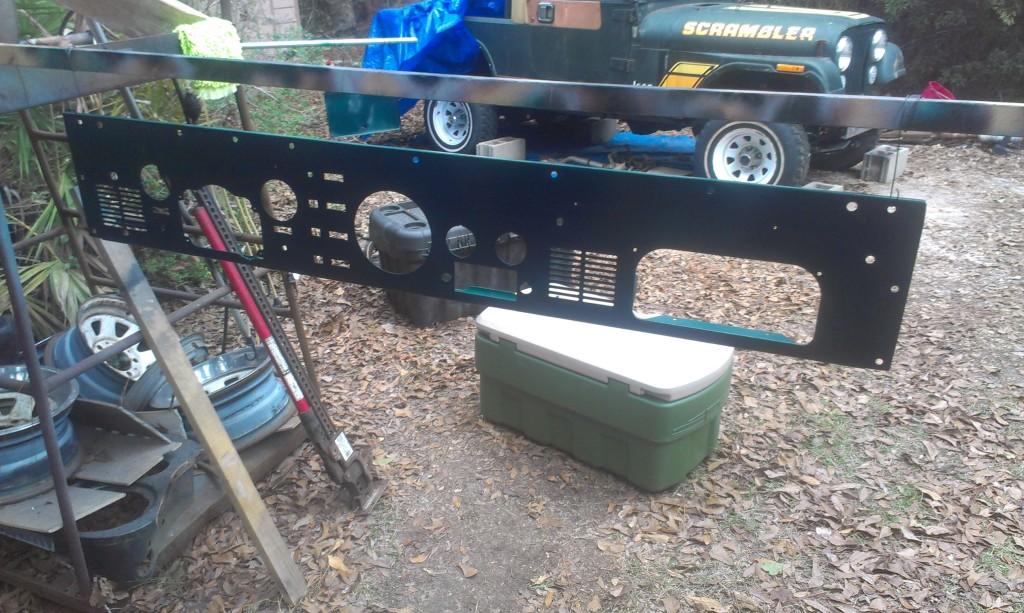
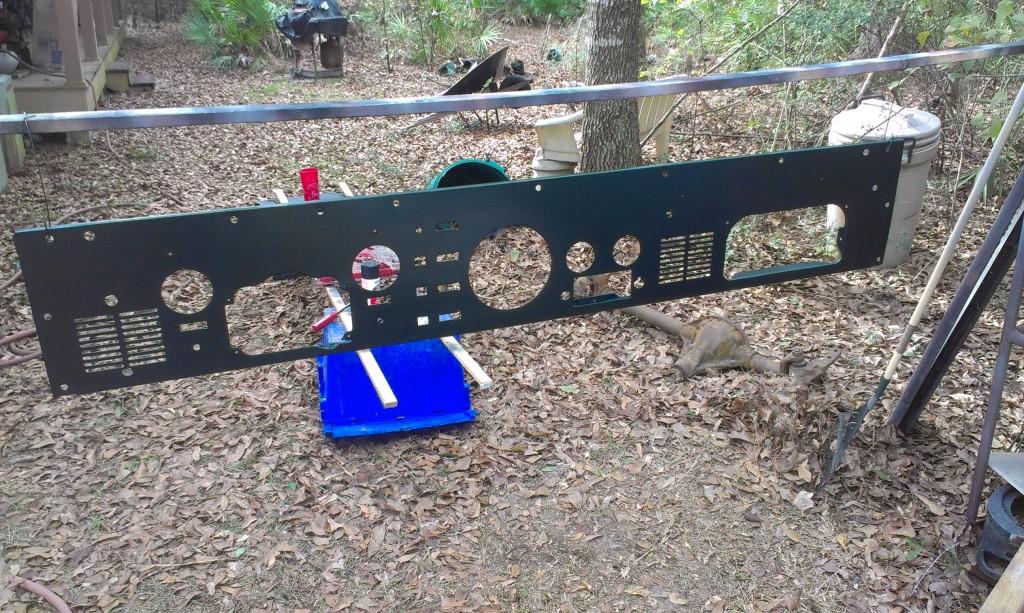
Some pictures of priming/painting the dash.

IMAG0057-1.jpg


IMAG0058-1.jpg


IMAG0059-1.jpg


IMAG00601-1.jpg


IMAG00611-1.jpg


IMAG00621-1.jpg


IMAG00631-1.jpg


The first color I tried did not turn out close at all, too "blue"

IMAG00701-1.jpg


I top coated this color with a "dark forest green", and it came out much better.

IMAG00651-1.jpg


IMAG00661-1.jpg
 
  • Like
Reactions: SKT
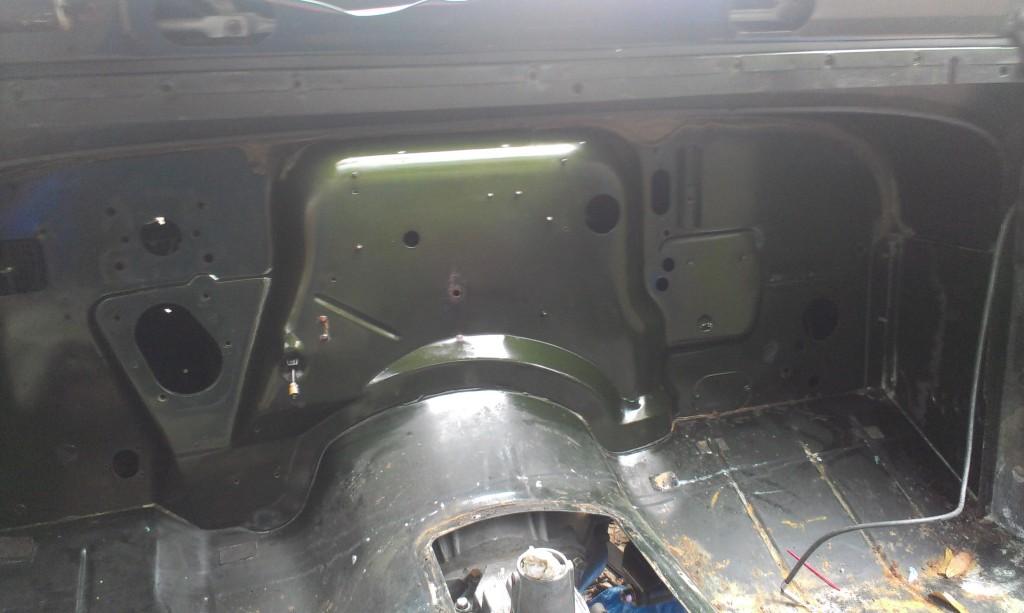
I cleaned up the firewall before installing the heater box stuff. The original paint shined up really well.

IMAG00671-1.jpg


I installed the master cylinder/booster/pedal assembly.

IMAG00681-1.jpg


IMAG00691-1.jpg


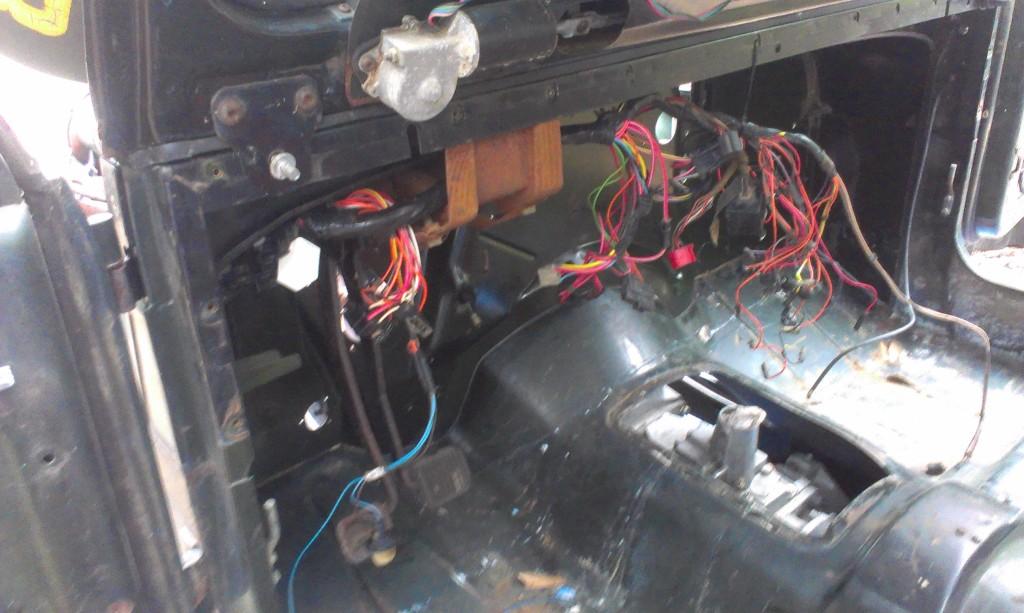
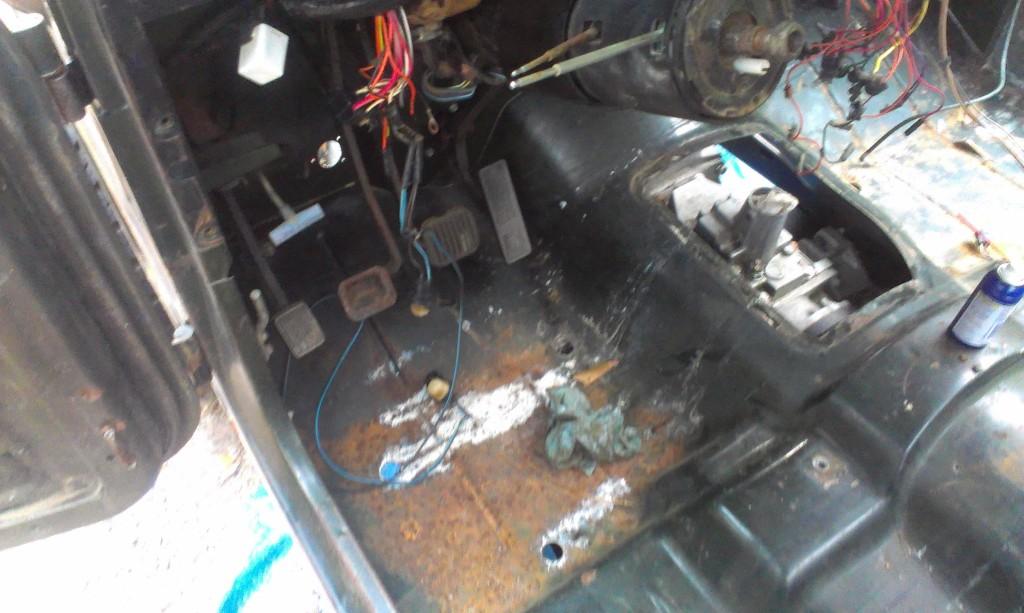
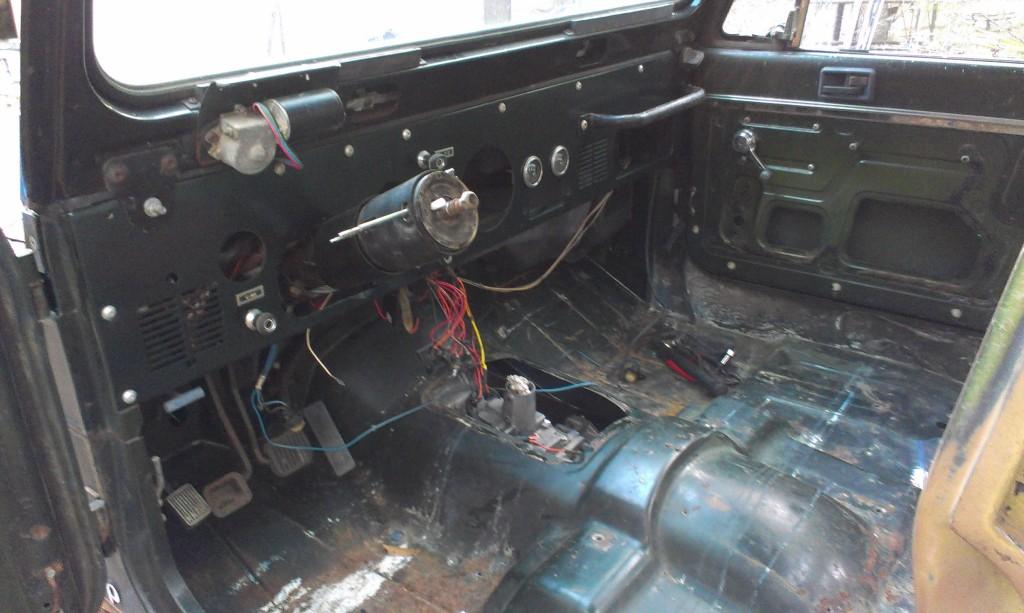
Behind dash wiring installed.

IMAG00711-1.jpg


IMAG00721-1.jpg


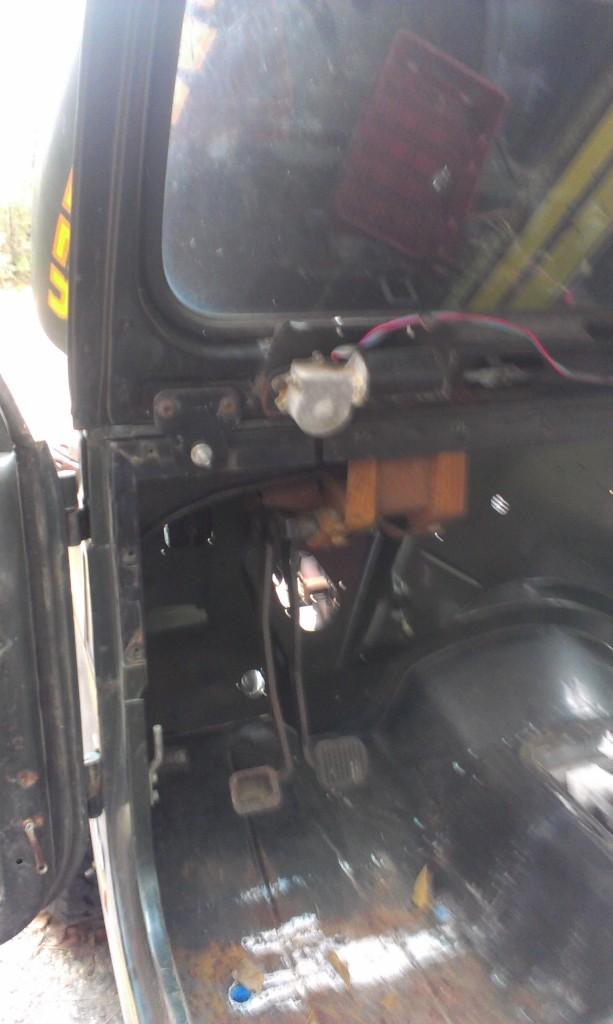
All of the pedals installed.

IMAG00731-1.jpg


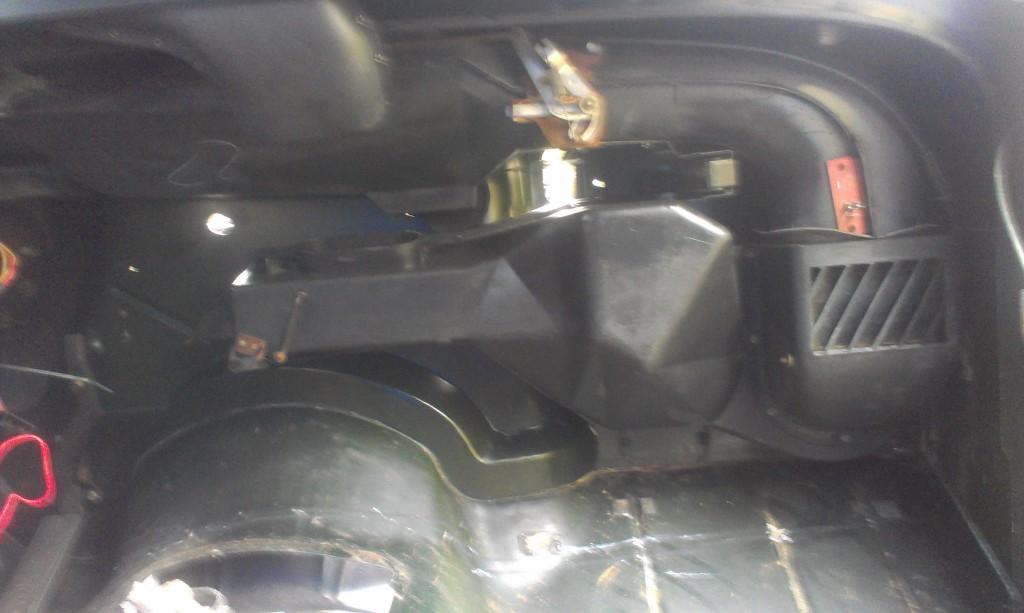
Cleaning up/new heater core/installed heater box components.

IMAG00761-1.jpg


IMAG00771-1.jpg


IMAG00781-1.jpg
 
  • Like
Reactions: SKT
Installed the battery tray and associated braces.

IMAG00791-1.jpg


Installed the two lines that run from the proportioning valve to the master cylinder. I wish I would have installed these earlier, they are a pain to get to.

IMAG00801-1.jpg


Finished hooking up all the parking brake components.

IMAG00811-1.jpg


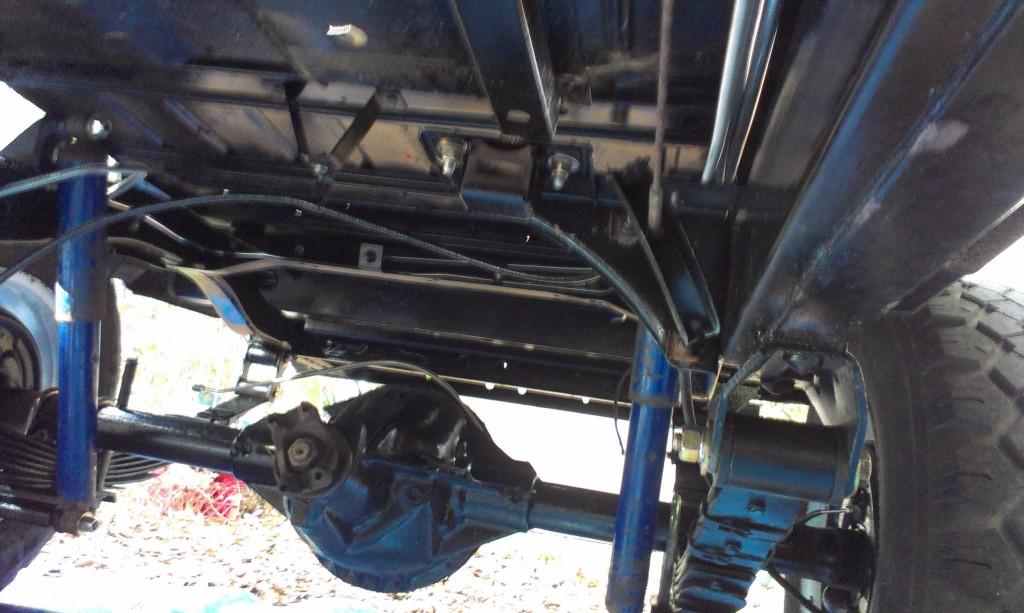
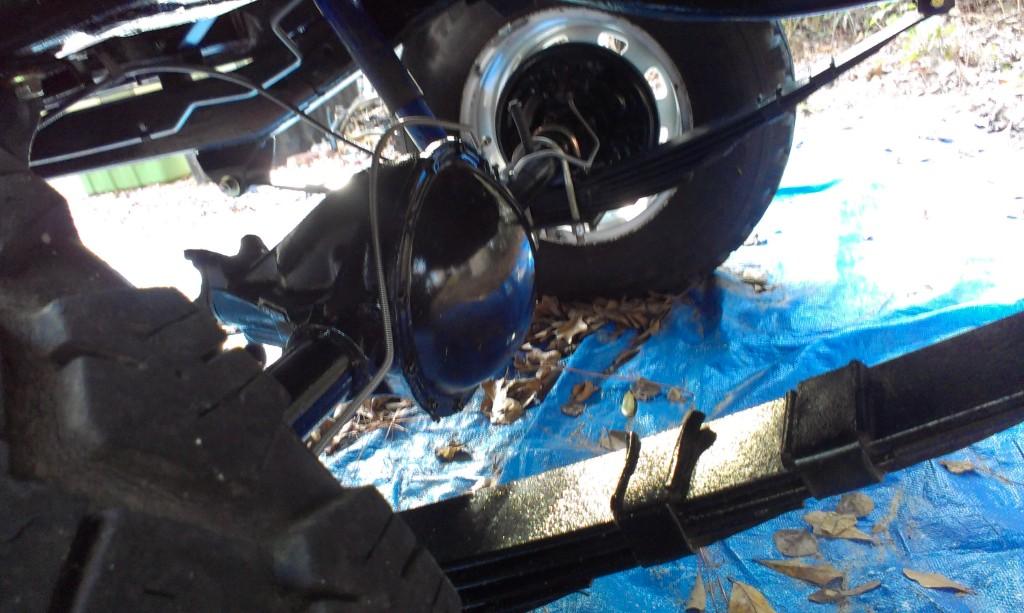
Installed the rear axle brake lines. I still need to install all 3 flexible brake lines.

IMAG00841-1.jpg


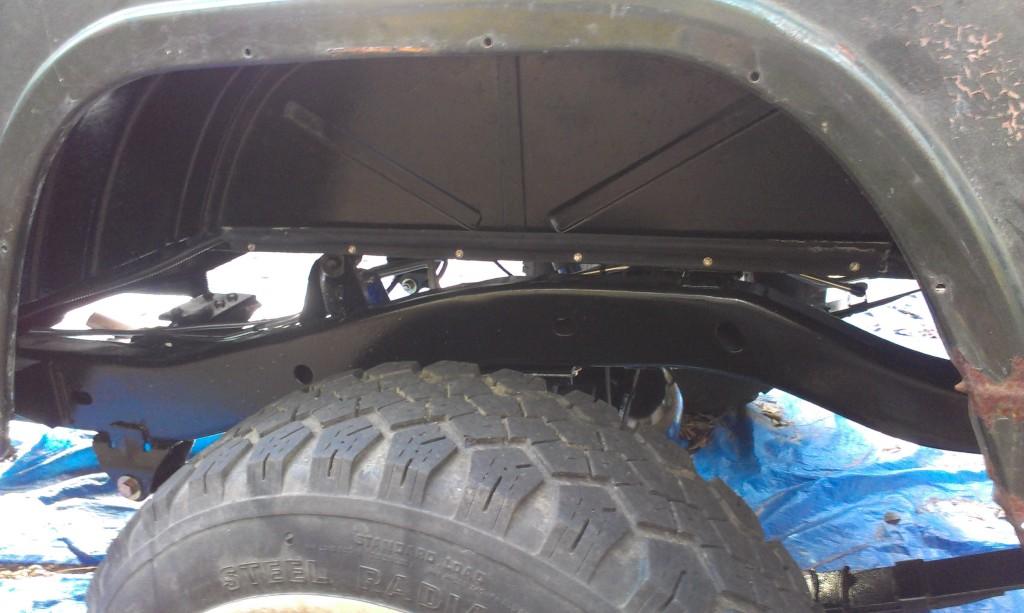
Installed the rear wiring harness.

IMAG00821-1.jpg


IMAG00831-1.jpg


Transferred the dash components from the old dash to the new one.

IMAG00851-1.jpg


Getting ready to install dash.

IMAG00861-1.jpg


And the installed dash.

IMAG00871-1.jpg


Still lots to do, but it is getting close.


That's it for now.
 
Last edited:
  • Like
Reactions: SKT
You sure know how to make me feel worthless. Everything you do I think "ooh, I need to do that"......
 
You sure know how to make me feel worthless. Everything you do I think "ooh, I need to do that"......

Sorry about that, and appreciate it, I think :thumbsup::cheers:

Still lots to do, but since I didn't make my Christmas deadline, and I have the next 4 days off work, I am going to try like hell to get this thing running/driving by January 1:fingerscrossed::fingerscrossed::fingerscrossed::wave:

The only part I don't have in my hands that I need to get this thing running is the serpentine ps pump pulley. Jeepaddict has it, and he is out of town until next week. I am going to have to beg/borrow/steal one:eek: My buddy has a Dodge V10 in his garage, and it has a GM pump with a serpentine pulley that is about 6" across:shrug::smokin:
 
I still need to install the steering shaft, finish installing lines/bleed brakes, track down a bunch of minor electrical gremlins and try to get all the moisture out of the power steering system.

But, it starts up and runs beautifully with just a bump of the key :woot::woot:

I almost beat my deadline, happy New year fellow scrambler peeps :smokin::wave:
 
Congrats! I'm waiting on open shop time to have a place to work on mine, but I have this thread saved so I can use it for reference. Great write up!
 
Congrats! I'm waiting on open shop time to have a place to work on mine, but I have this thread saved so I can use it for reference. Great write up!

Appreciate it:cheers: I am glad all this stuff I post up is helpful/useful:thumbsup:

Good luck on your Scrambler:wave:

"Shop Time", that sure would beat my current "Yard Time":rotfl::thumbsup:
 
Quick update on what I accomplished over the long weekend.

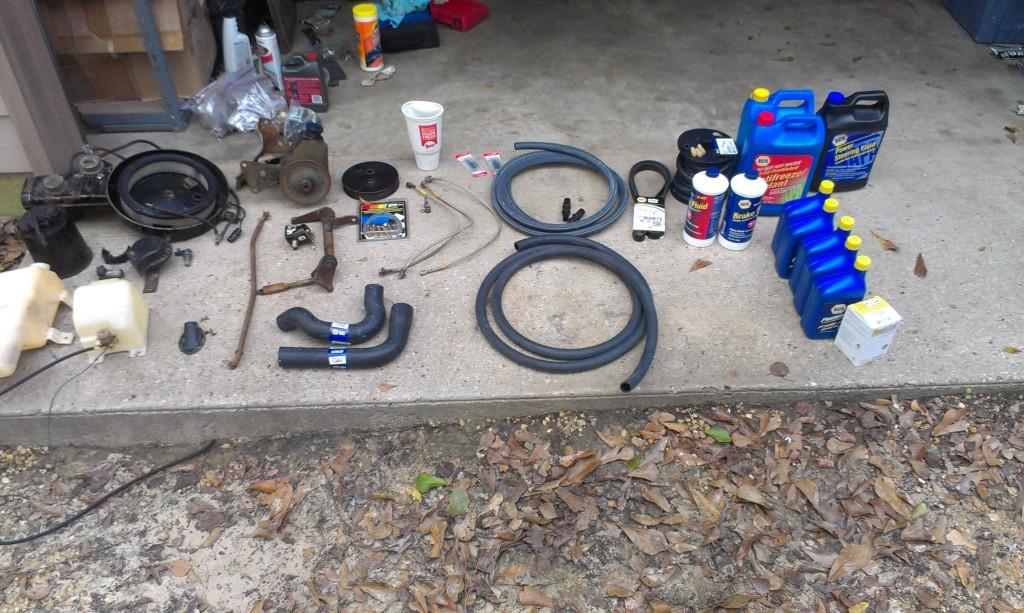
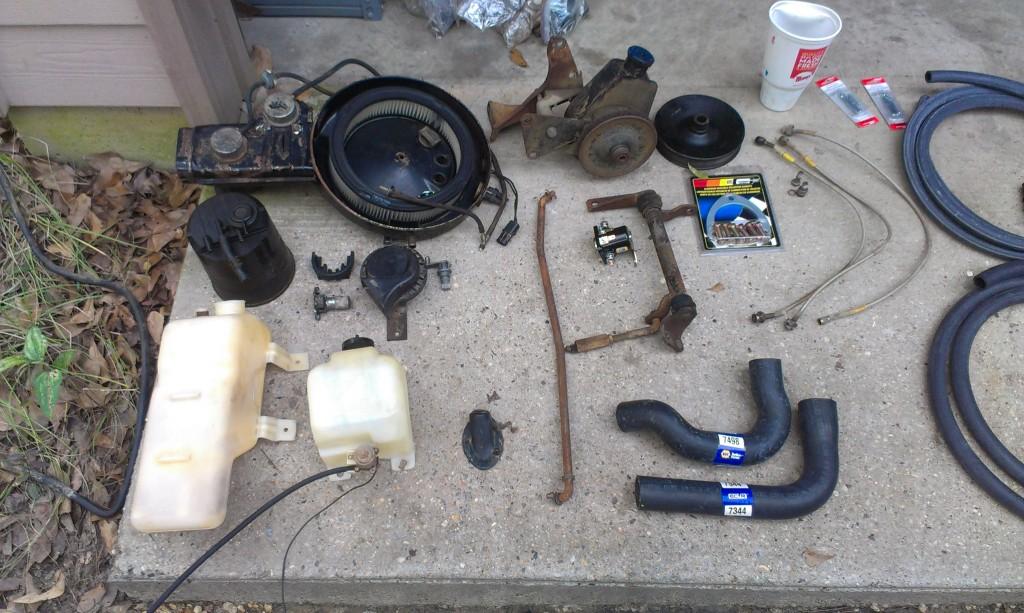
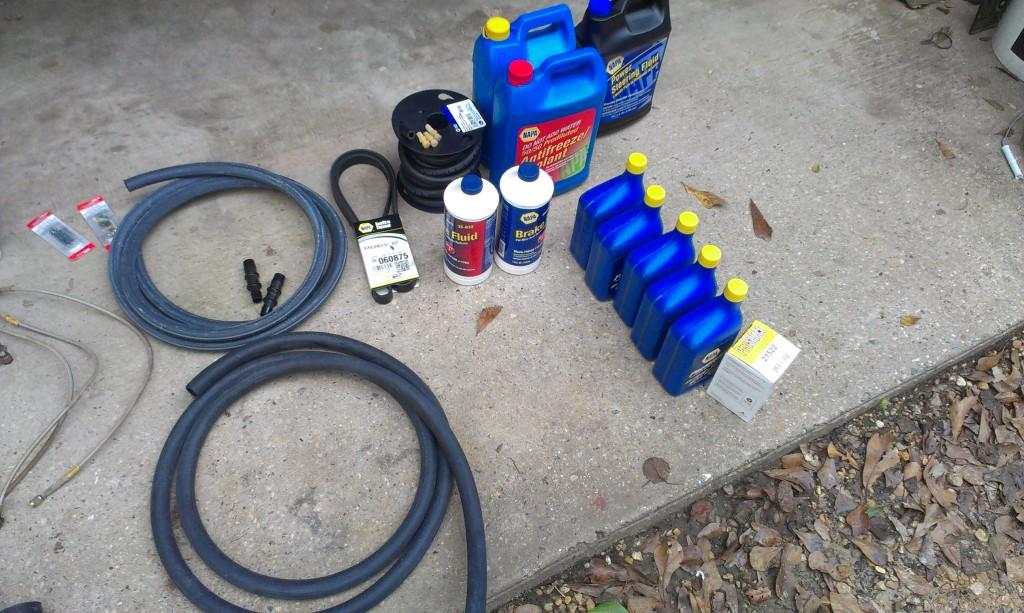
One last "big lot of parts to install" group shot.

IMAG0088-1.jpg


IMAG00891-1.jpg


IMAG00911-1.jpg


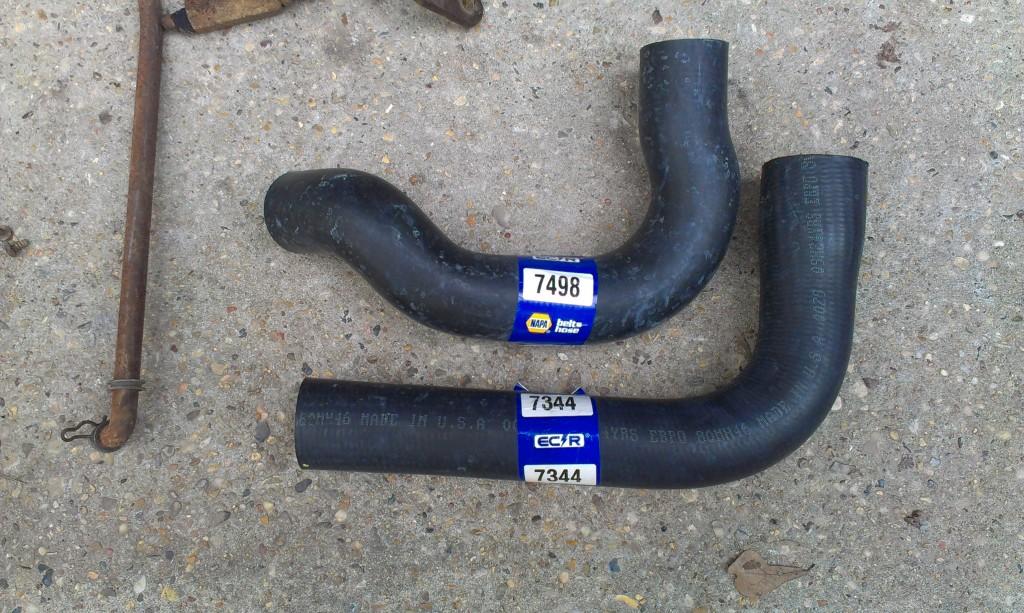
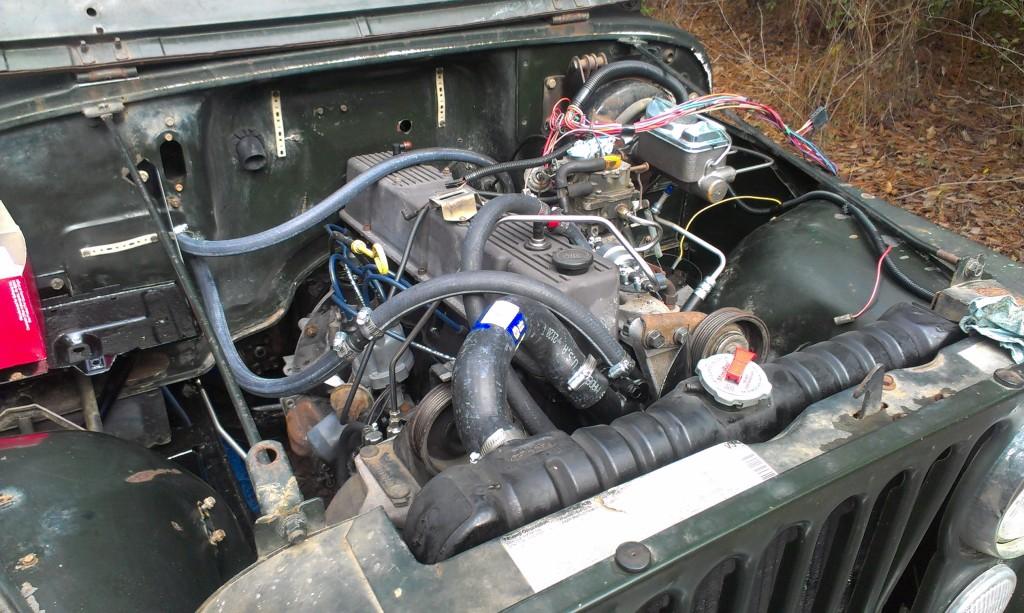
Due to the serpentine belt set up, I could not use the regular upper radiator hose. The two different hoses below will work, I used the top one. It fit perfect, looked better installed.

IMAG00901-1.jpg


All of the coolant/heater hoses installed. I used adapters to splice the bigger heater hoses (coming off engine) to the small heater hoses (heater core/intake manifold).

IMAG00921-1.jpg


IMAG00931-1.jpg


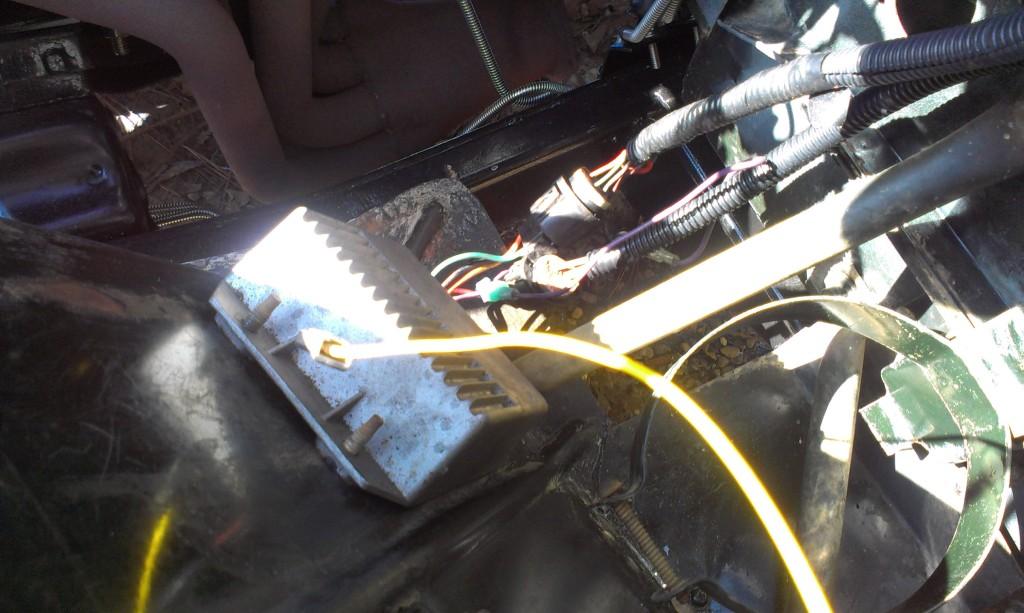
Quick picture of the wiring harness that goes from the ICM to the distributer. This pig tail harness/ICM came off of my red Scrambler. A previous owner had performed the "Nutter ByPass" on it, so I used these parts on "Yard Scrambler", since I am not using the factory computer/computer carb/feedback system/or emissions. You can just make out the "jumper wire" that performs the "bypass".

IMAG00941-1.jpg


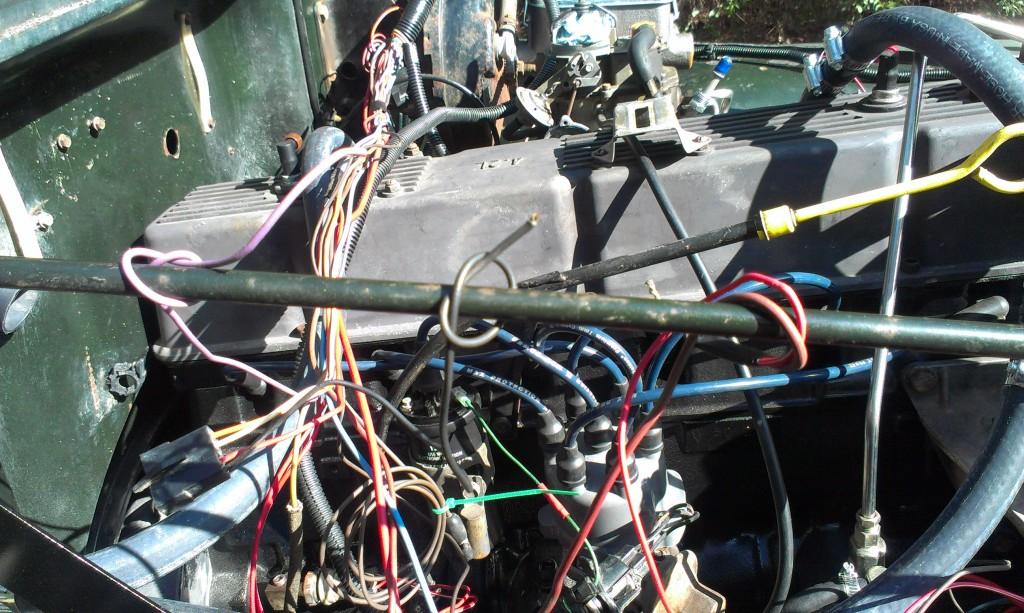
After loosely connecting.tracing down all the wires, I was left with three "cut/where do they go wires":

1) red wire - to coil
2) black wire - ground wire off reverse light/transfer case harness
3) purple wire - not needed anymore

IMAG00951-1.jpg


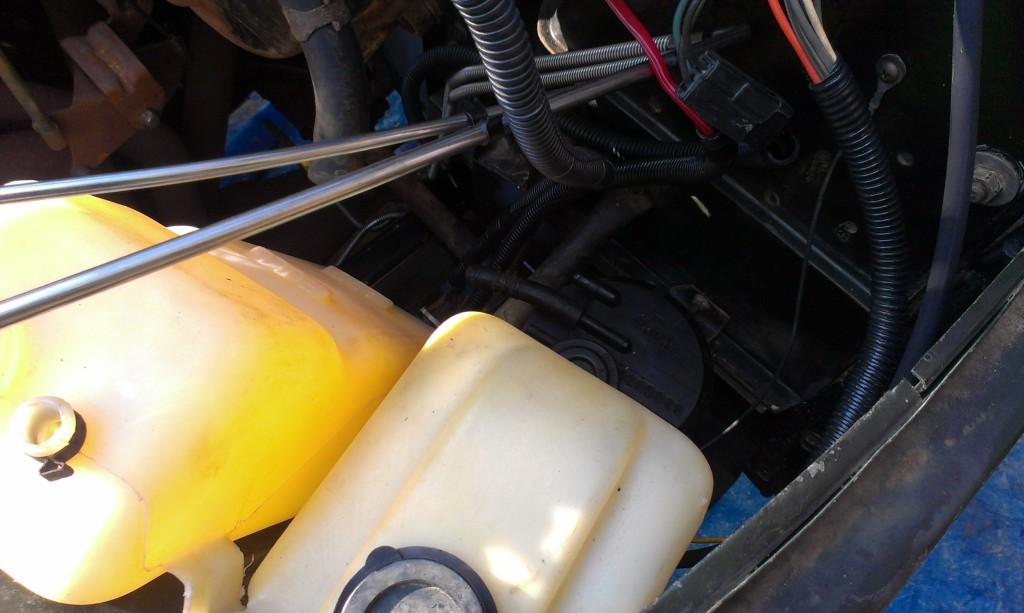
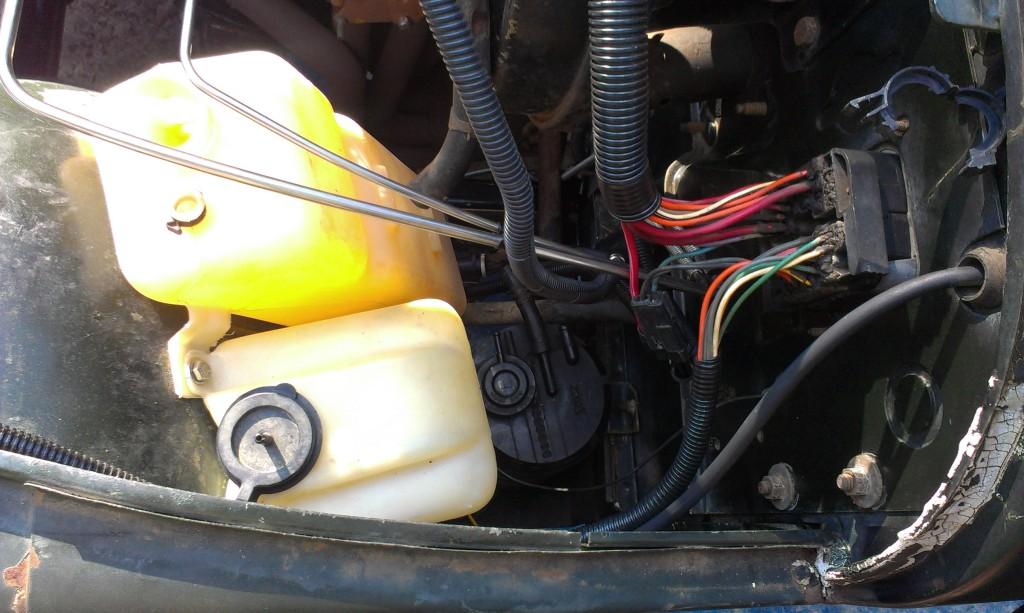
Coolant bottle, washer bottle, evap canister, clutch linkage installed.

IMAG00961-1.jpg


IMAG00971-1.jpg
 
  • Like
Reactions: SKT
Back
Top