• Notice for iPhone users: DO NOT use the image size reduction option when uploading photos to the forum. This causes portrait images to post as landscape. We have added a warning to the image insert pop-up as well.

New To Me 83--Parts Needed

I have been purchasing the fuel/brake lines from Inline Tube. Classic Tube sells the pre bent lines, too, except for one of them, can't remember which one though:shrug:

As for the clips, I am just going to clean these up with a dremel and repaint them. I believe Inline Tube sells them, but the Jeep uses some pretty big ones on the driver side. If you can salvage what you have, might be the best way to go:twocents:

My red Scrambler needed a few new frame outriggers, I believe I purchased an entire set of them from either 4WD Hardware or Quadratec. They look similar to the factory pieces and function/fit fine:thumbsup:

Thanks for the info. I googled a question on my CJ-5 and a year or two ago and a comment from your Red Scrambler build came up. I spent several hours reading the entire build have been hooked on this site ever since.
 
Thanks for the info. I googled a question on my CJ-5 and a year or two ago and a comment from your Red Scrambler build came up. I spent several hours reading the entire build have been hooked on this site ever since.

I am glad that all this stuff I post is helpul to others:cheers:
 
I went Jeeping last weekend in the Red Scrambler, but I have done some work to "Yard Scrambler" this week. But, with the days getting shorter, progress is kind of slow.

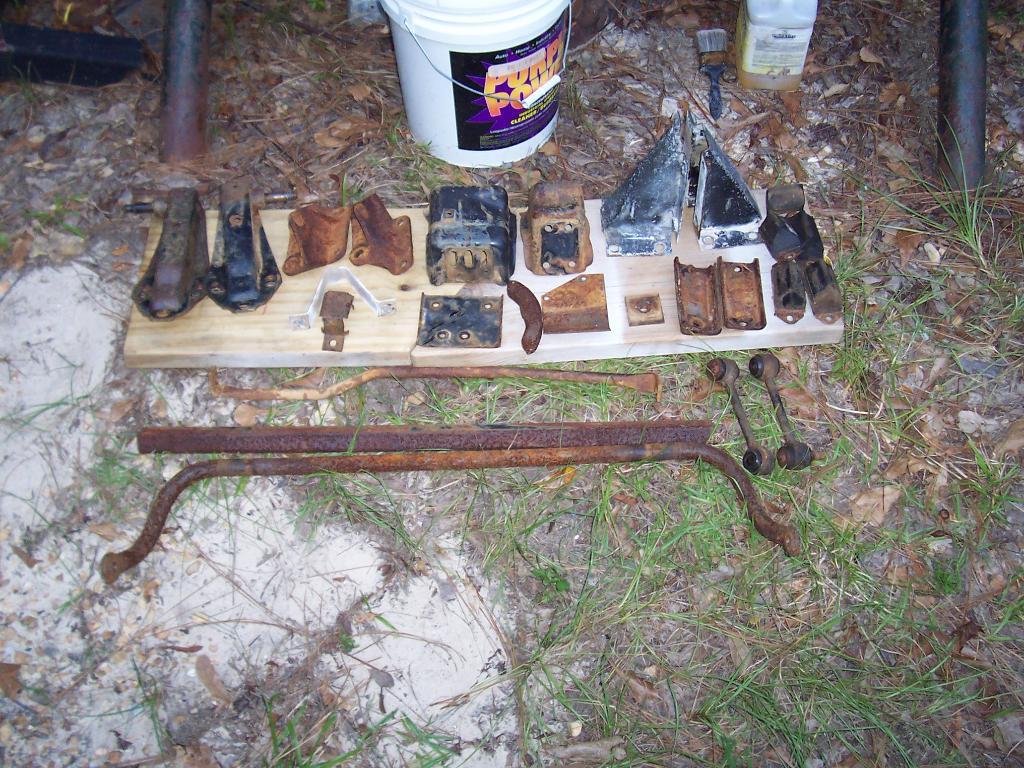
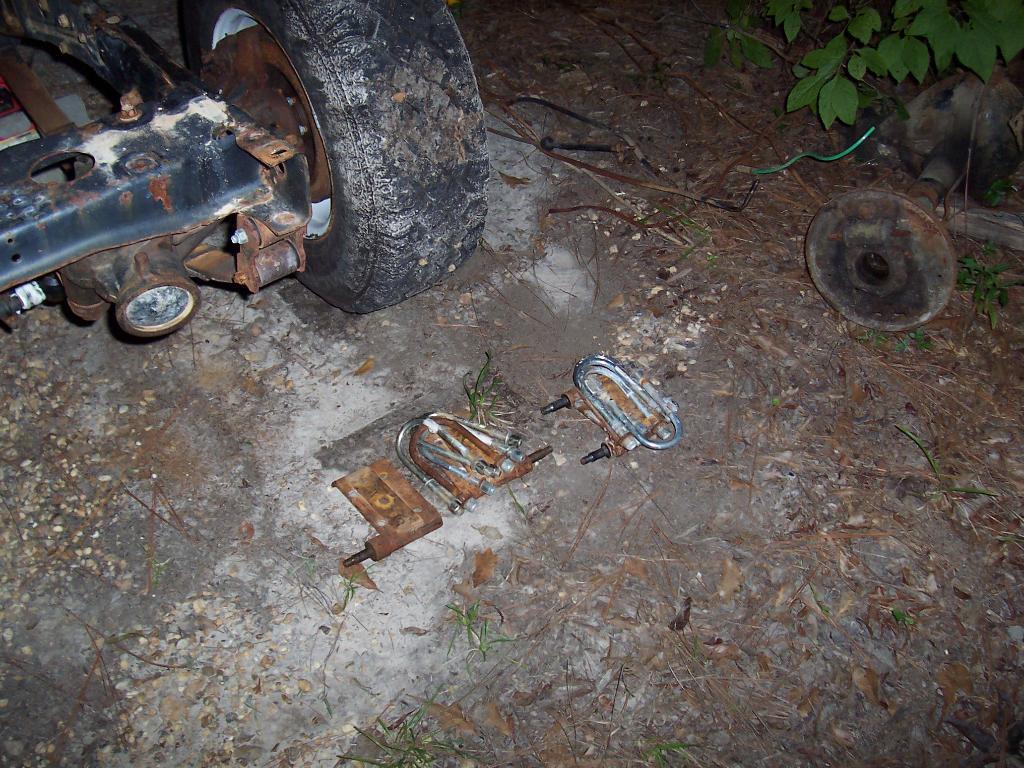
I have been busy this week stripping the frame down. Quick picture of all the stuff I removed from the frame, plus the two under body support pieces. I need to clean this stuff up and repaint it.

00123-1.jpg


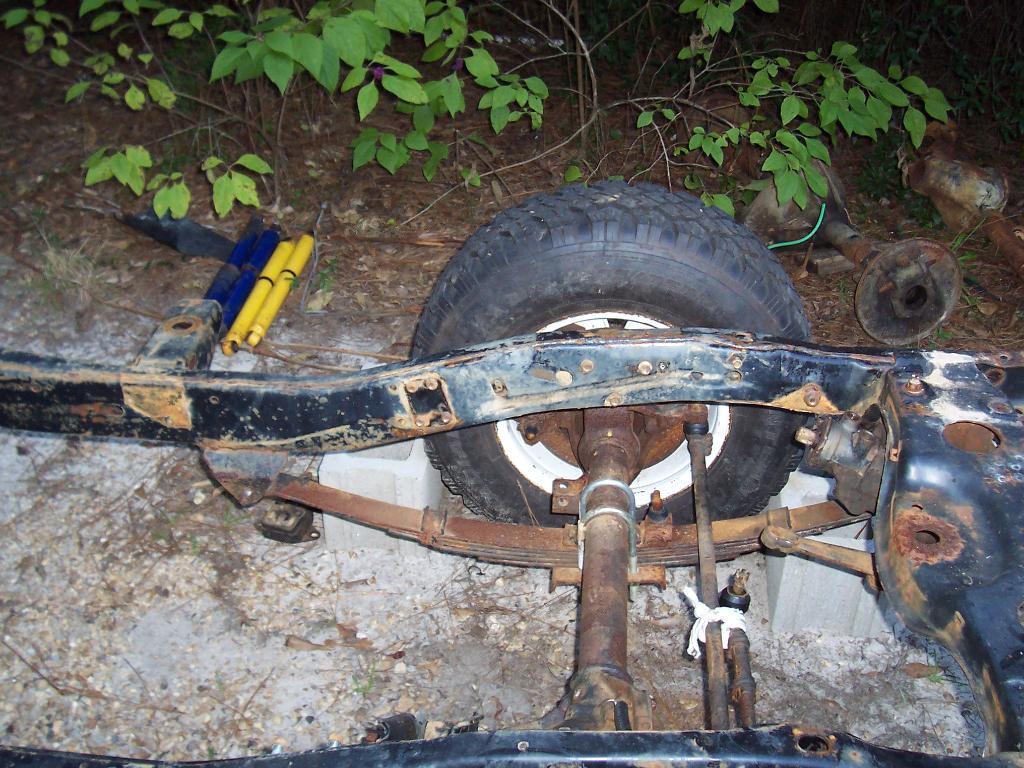
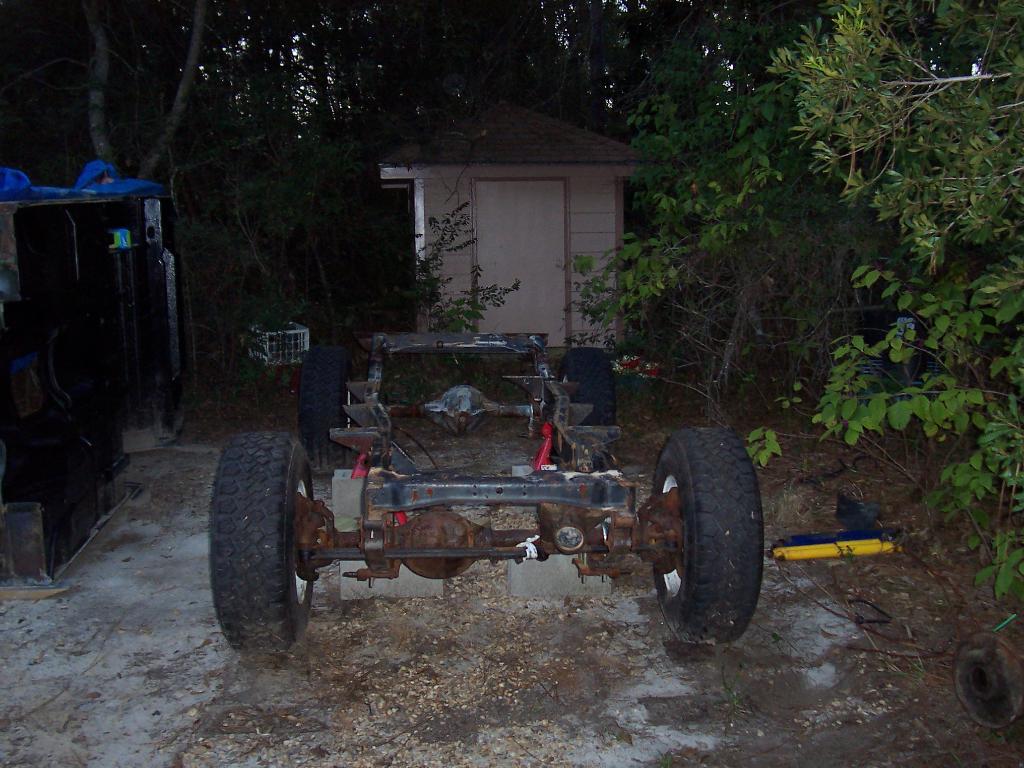
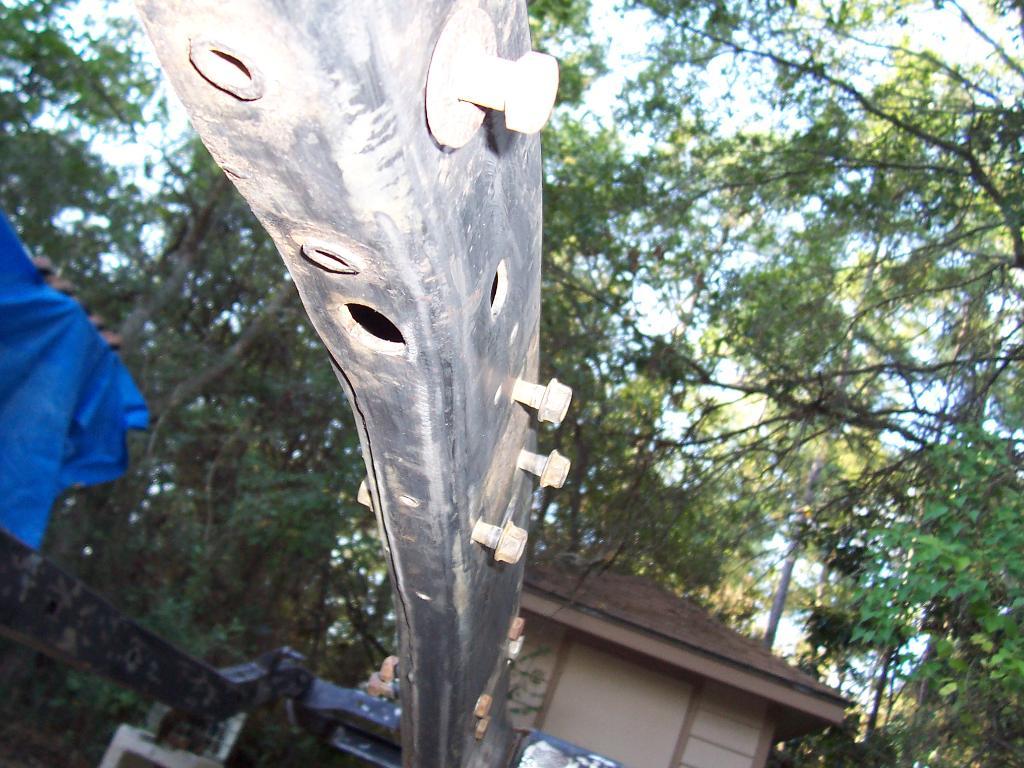
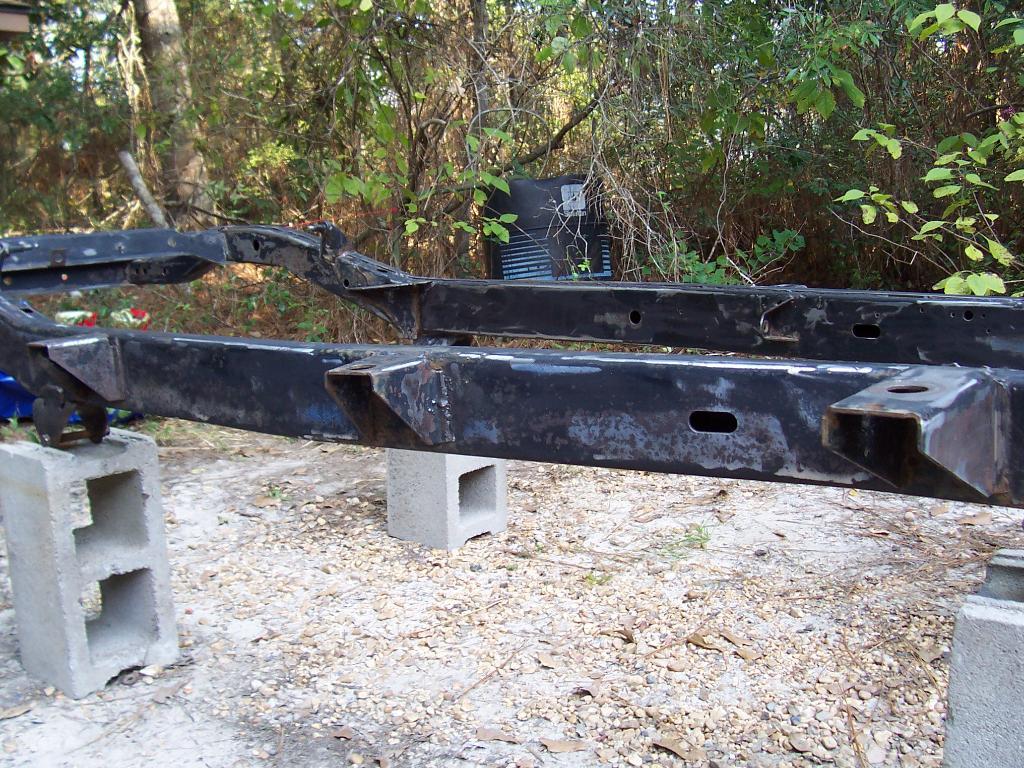
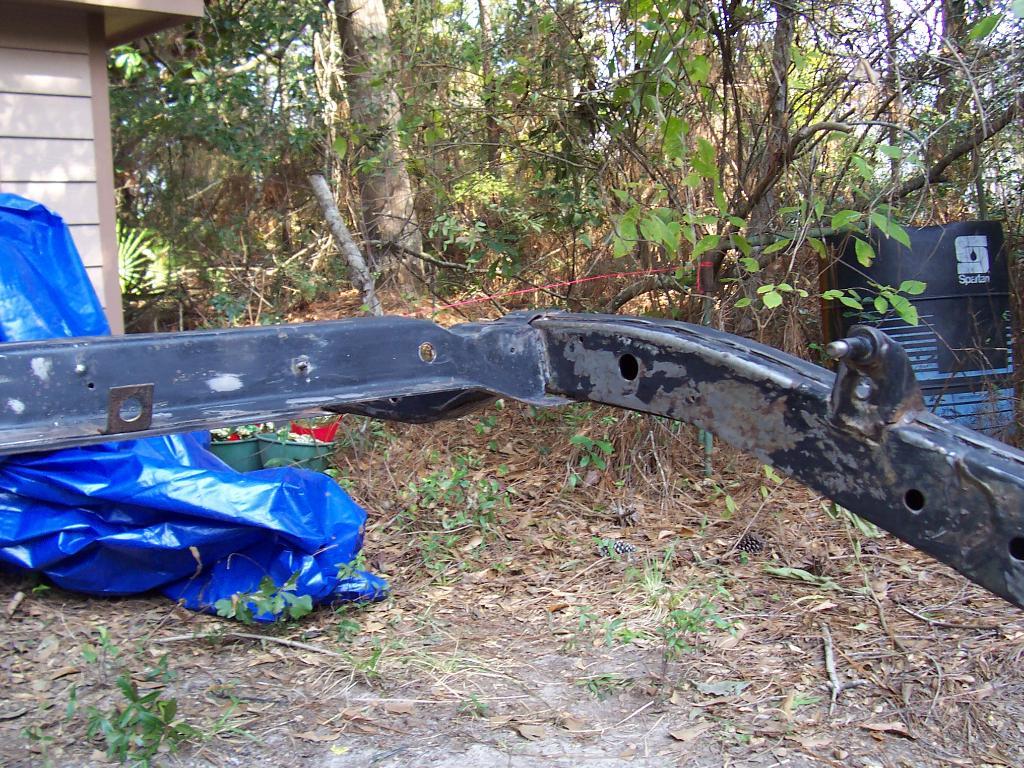
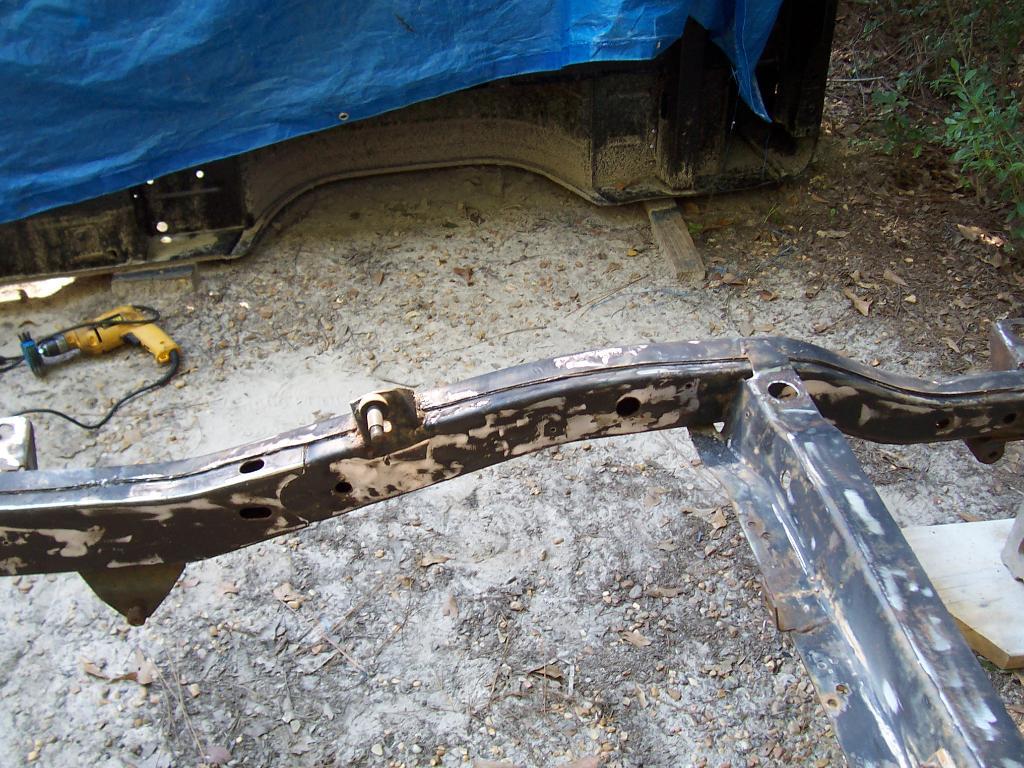
The frame is in excellent shape, even where some of the ancillary pieces were attached. A good portion of the original paint is still present on the frame. I left the bolts in the frame to keep the internal frame sleeves from falling out of place. I will remove the bolts after rust removal, just prior to painting.
00325-1.jpg


00422-1.jpg


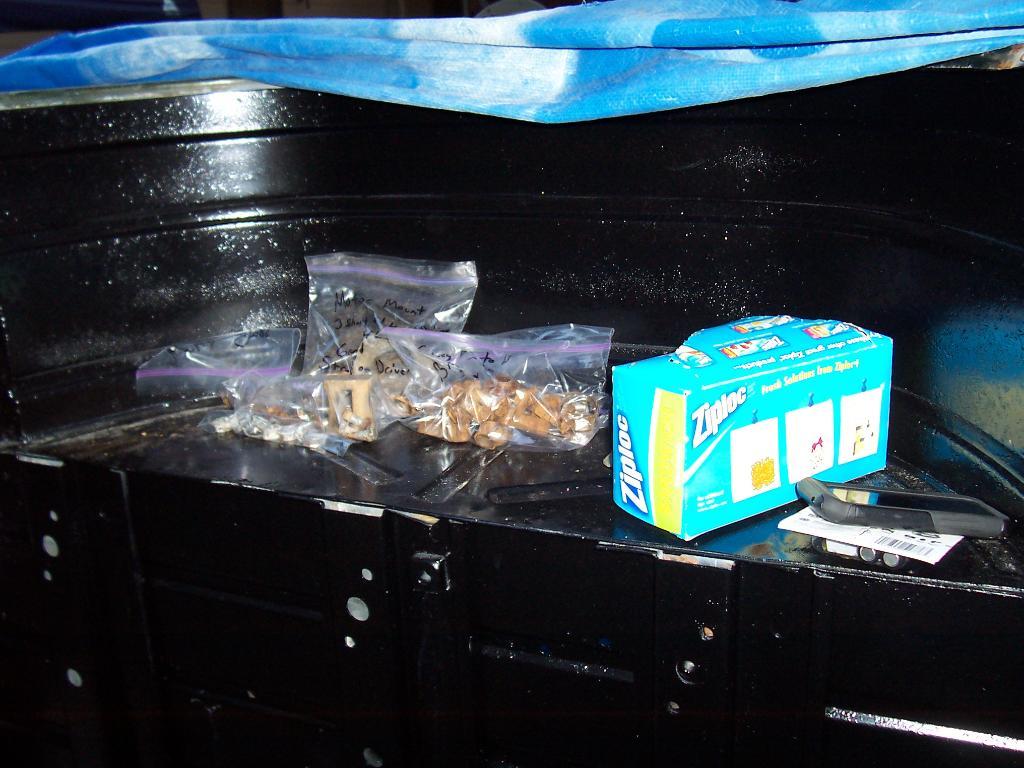
More of my favorite things, Zip-Lock bags full of rusty nuts and bolts.

00520-1.jpg


I was going to leave the leaf springs/axles attached to the frame for repainting, but then my OCD kicked in so I will be pulling everything off the frame for repainting.

Since I have already replaced all the suspension bolts shortly after gaining possession of "Yard Scrambler", all this stuff came off easy.

00718-1.jpg


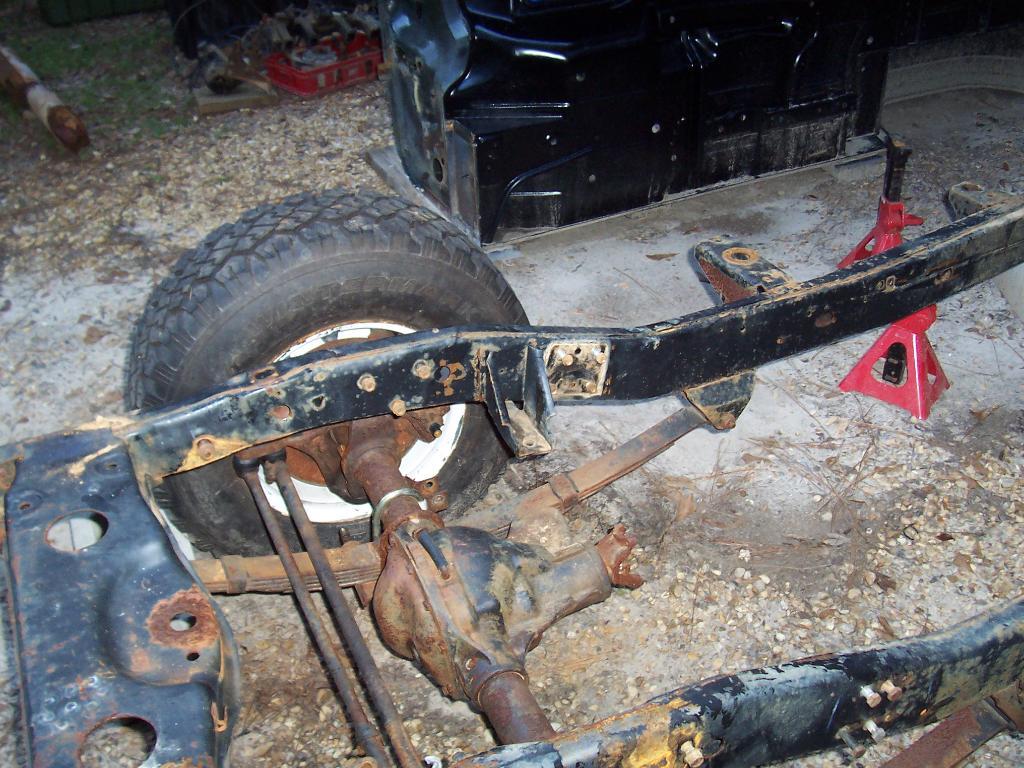
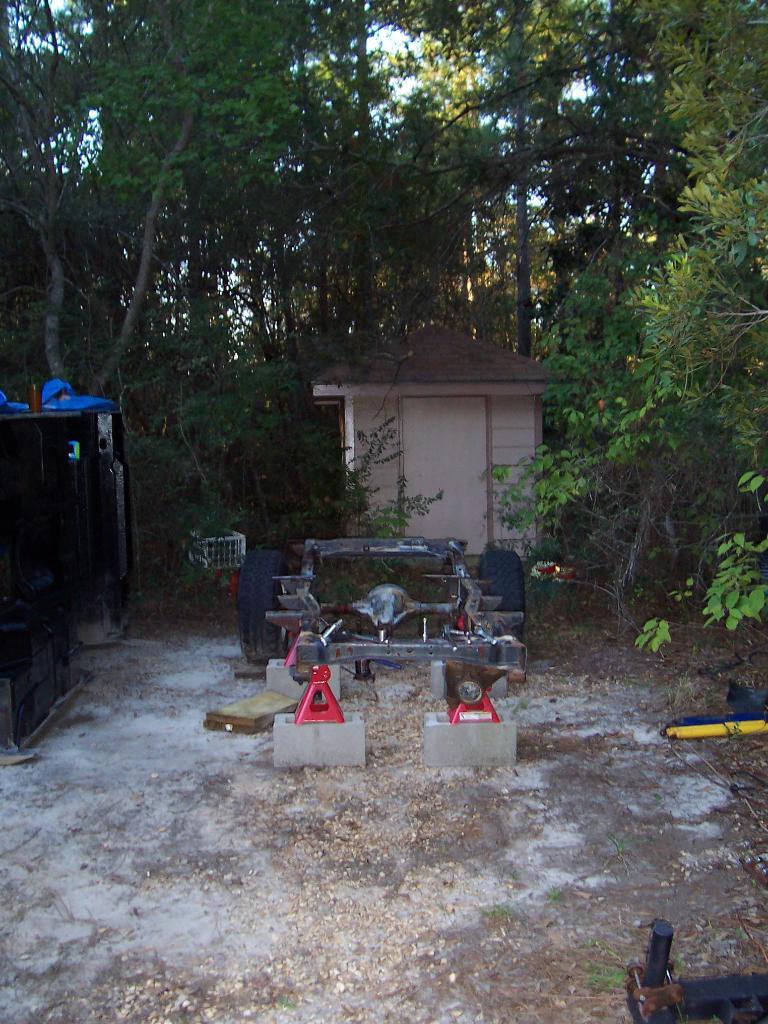
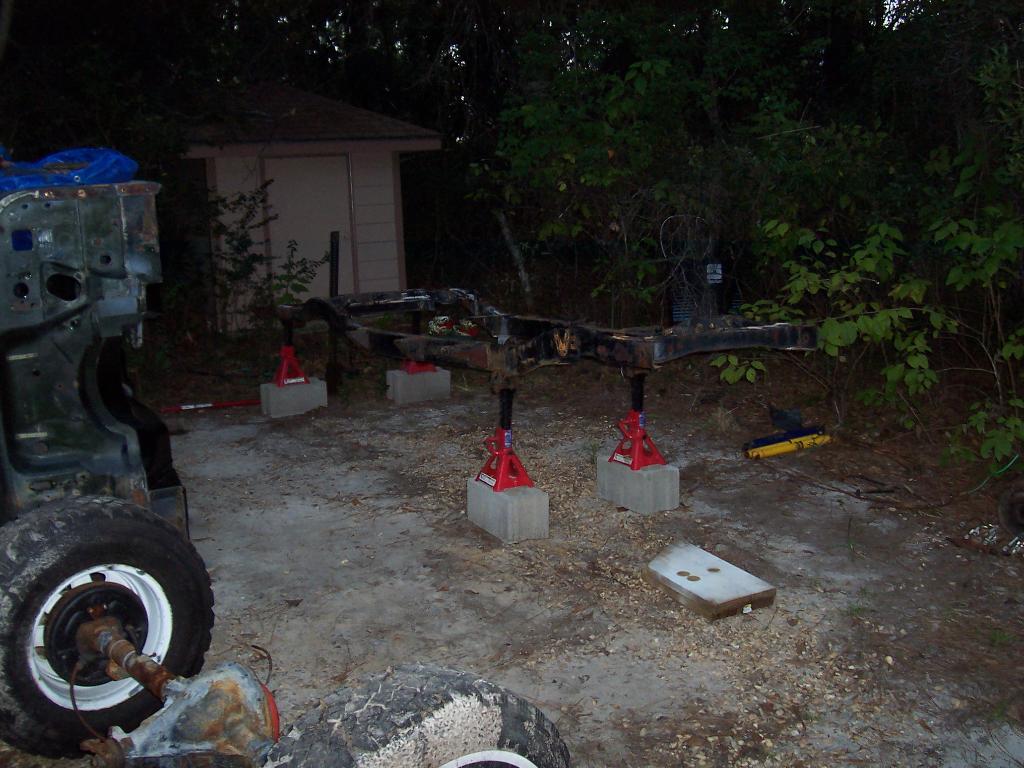
One last picture, frame on jack stands with the axles just resting on the leaf springs.

00619-1.jpg


If all goes according to plan, I should be able to:

1) Remove axles/suspension from the frame tonight.
2) Rust removal/prime/paint axles and frame Saturday/early Sunday
3) Make it to the Superdome Sunday night just in time to watch the Saints lose, again:banghead:

That's it for now.
 
Last edited:
What paint are you using for your frame and axles?

Just good old fashioned Rust-O-Leum in the rattle can:thumbsup: I painted the axles in my red Scrambler with this rattle can paint, and so far, it has held up great:wave:
 
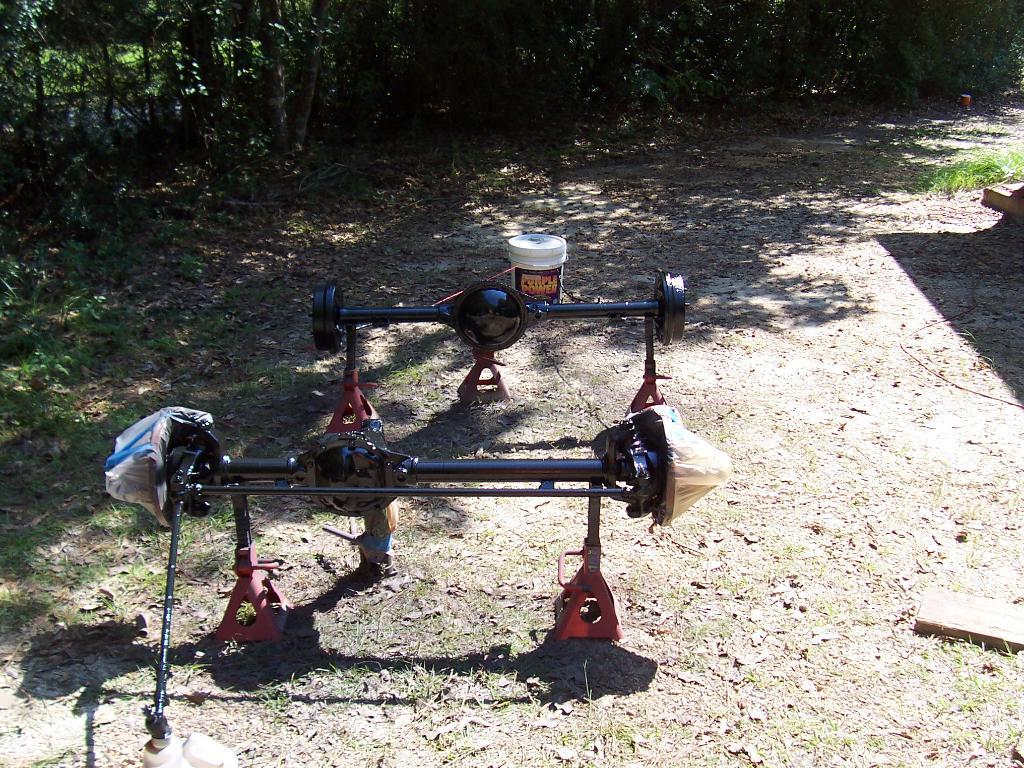
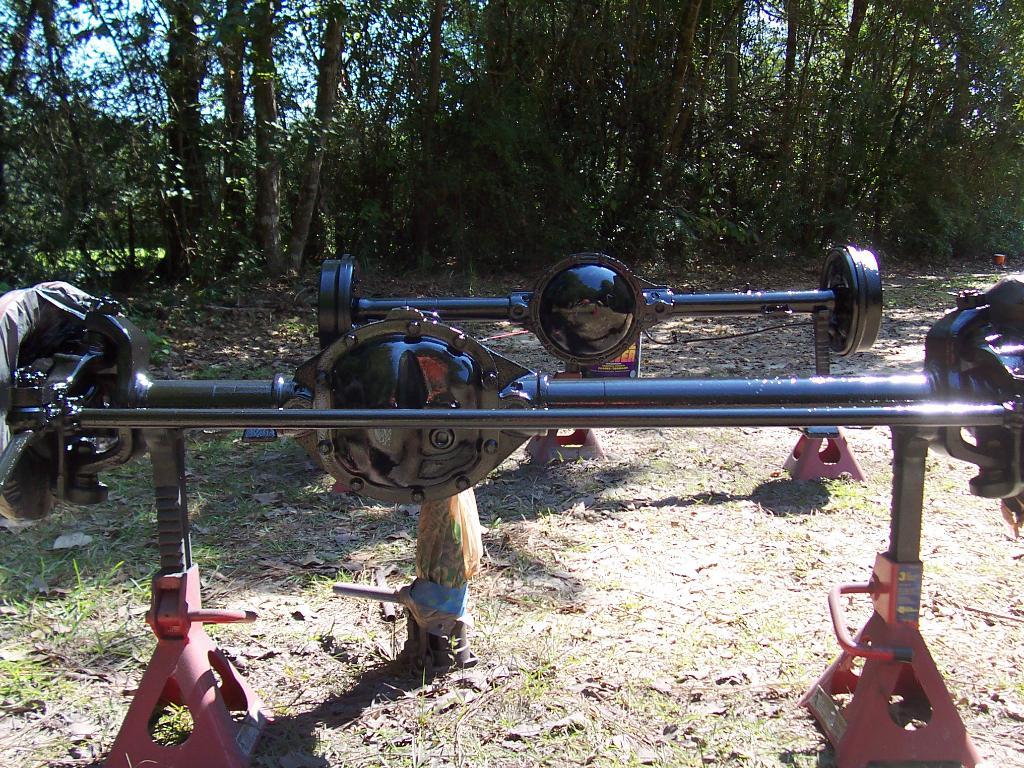
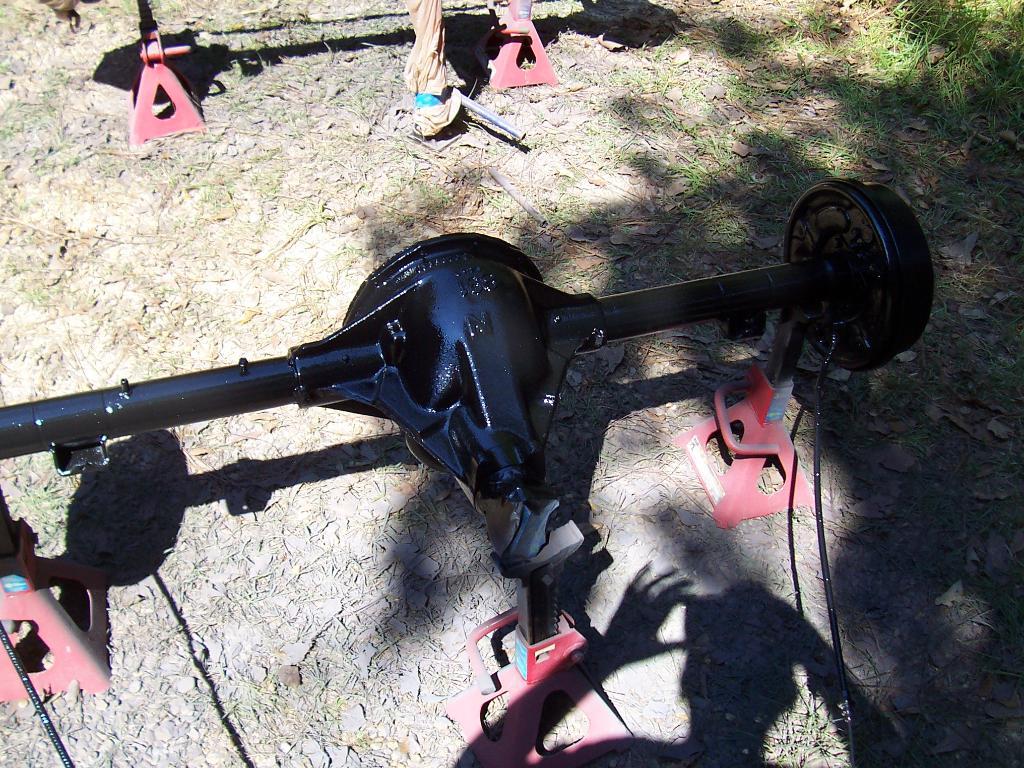
I was able to get the axles and frame painted this weekend, and as a bonus, the Saints finally won a game!!!

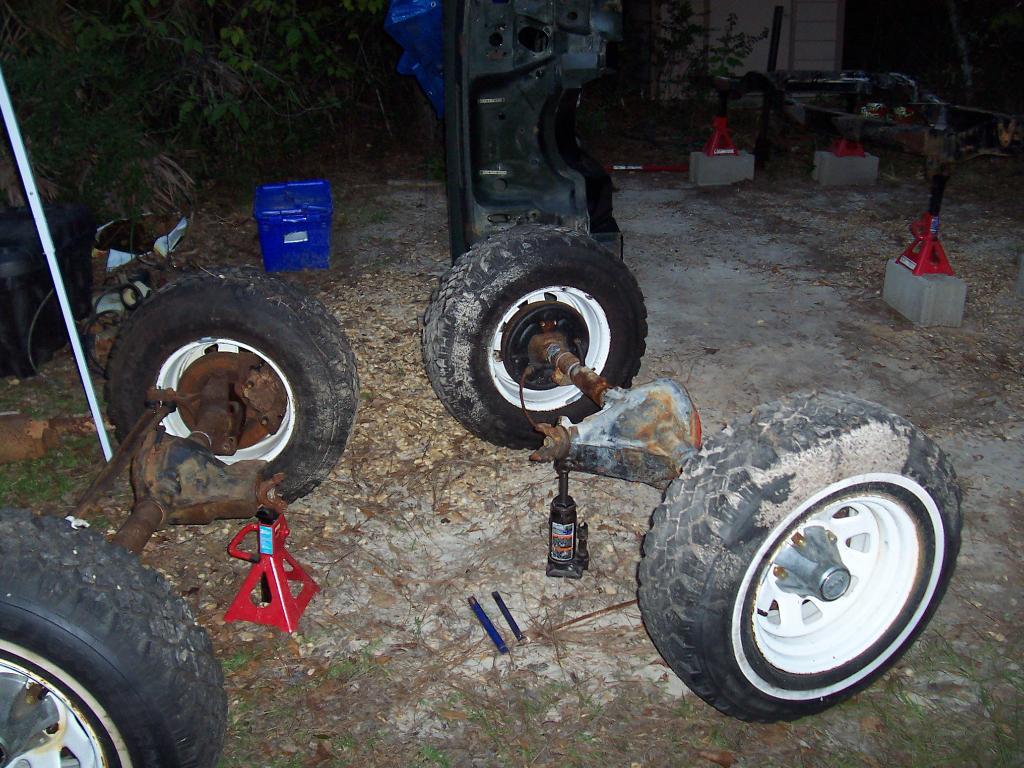
Pictures of axle removal/bare chassis. Keeping the tires on the axles aids greatly with mobility.

00916-1.jpg


01016-1.jpg


01111-1.jpg


01210-1.jpg


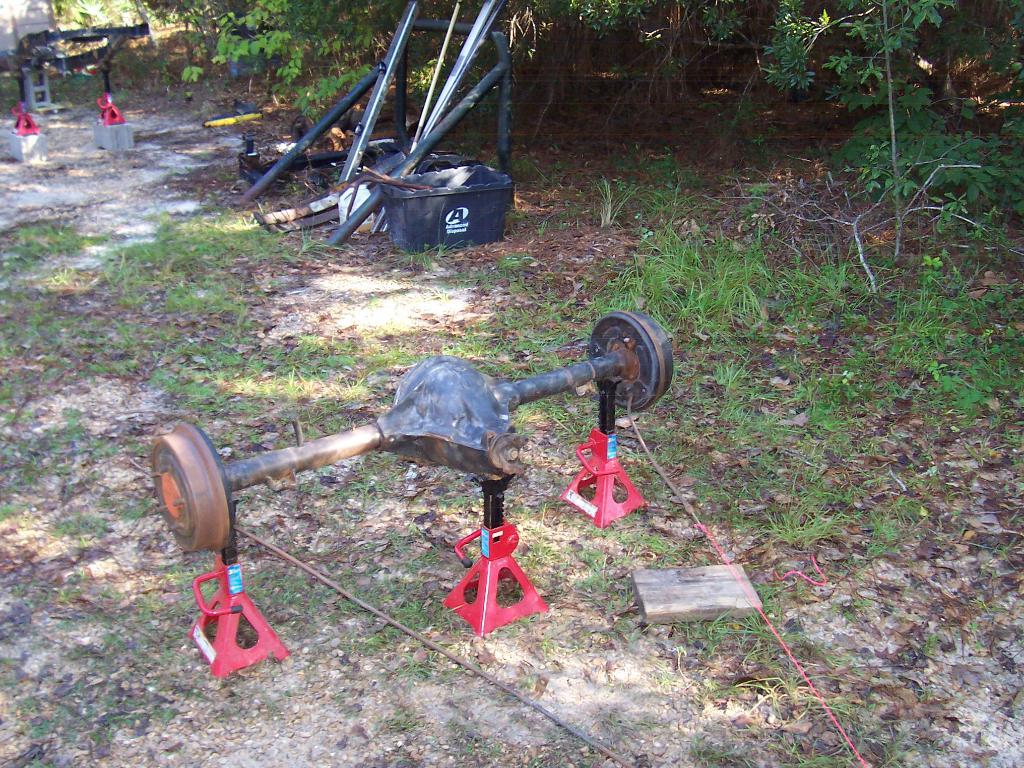
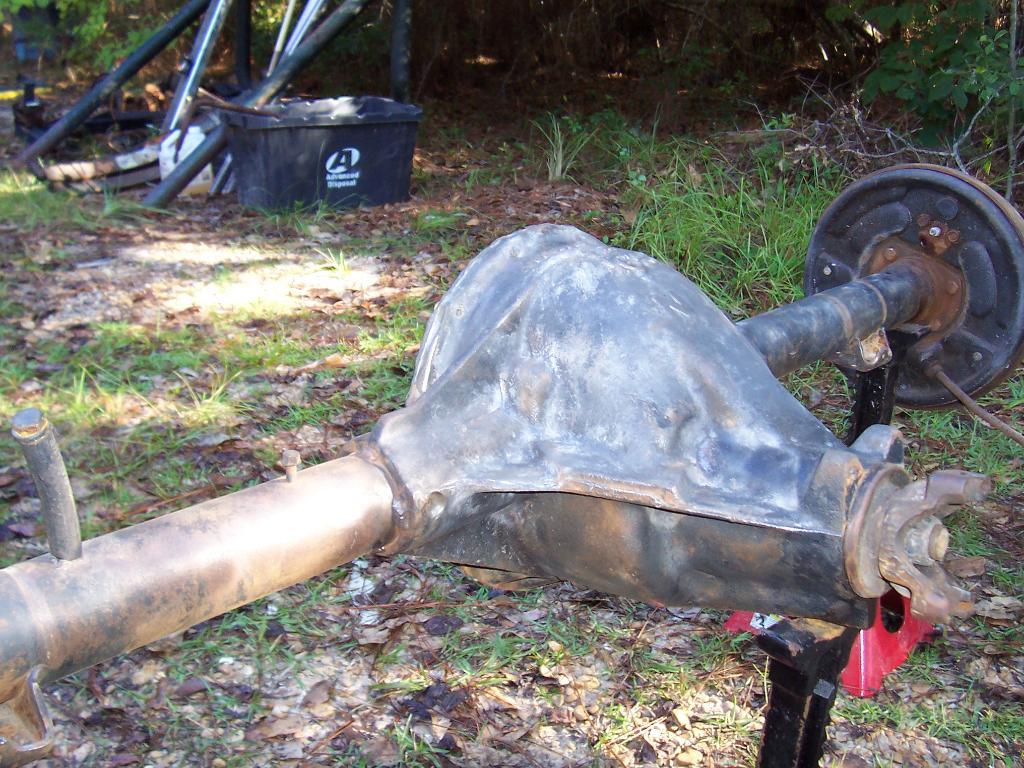
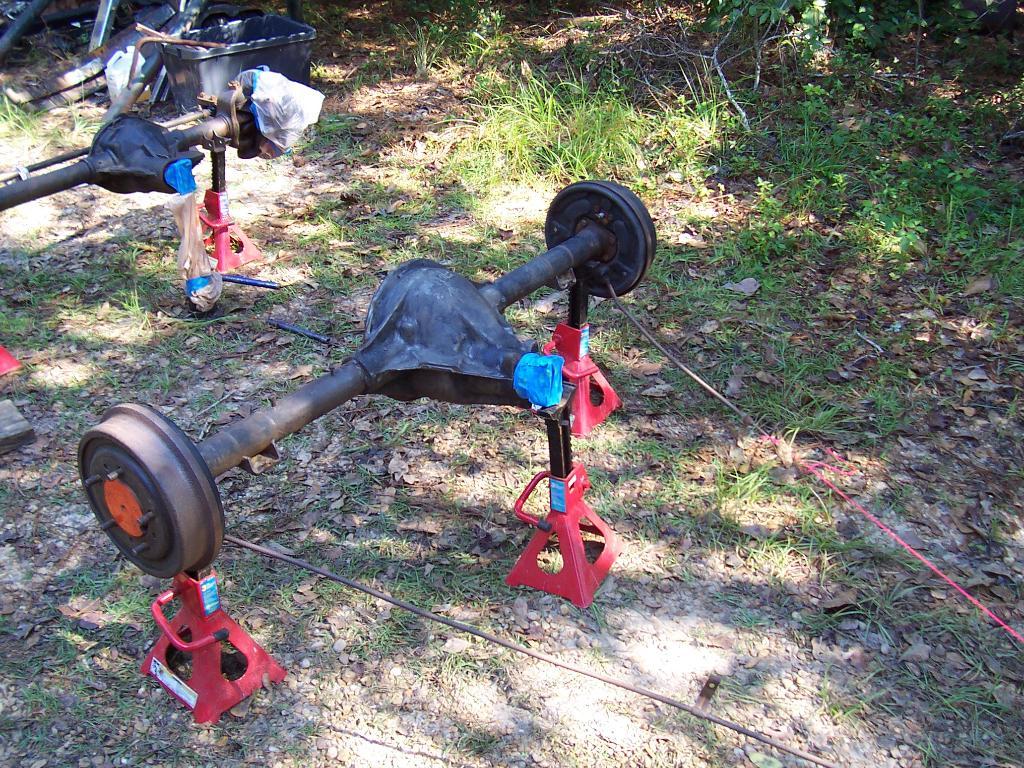
Pictures of getting the axles ready for paint. Both axle housings were in good shape, just minor surface rust. It took about 2 hours prep on each housing to get them ready for paint.

01310-1.jpg


01410-1.jpg


01510-1.jpg


0169-1.jpg


0179-1.jpg
 
I went Jeeping last weekend in the Red Scrambler, but I have done some work to "Yard Scrambler" this week. But, with the days getting shorter, progress is kind of slow.

I have been busy this week stripping the frame down. Quick picture of all the stuff I removed from the frame, plus the two under body support pieces. I need to clean this stuff up and repaint it.

00123-1.jpg


The frame is in excellent shape, even where some of the ancillary pieces were attached. A good portion of the original paint is still present on the frame. I left the bolts in the frame to keep the internal frame sleeves from falling out of place. I will remove the bolts after rust removal, just prior to painting.

00325-1.jpg


00422-1.jpg


More of my favorite things, Zip-Lock bags full of rusty nuts and bolts.

00520-1.jpg


I was going to leave the leaf springs/axles attached to the frame for repainting, but then my OCD kicked in so I will be pulling everything off the frame for repainting.

Since I have already replaced all the suspension bolts shortly after gaining possession of "Yard Scrambler", all this stuff came off easy.

00718-1.jpg


One last picture, frame on jack stands with the axles just resting on the leaf springs.

00619-1.jpg


If all goes according to plan, I should be able to:

1) Remove axles/suspension from the frame tonight.
2) Rust removal/prime/paint axles and frame Saturday/early Sunday
3) Make it to the Superdome Sunday night just in time to watch the Saints lose, again:banghead:

That's it for now.

Someone must have sent a link to your Scrambler build to the Saints and got them all inspired!!!
 
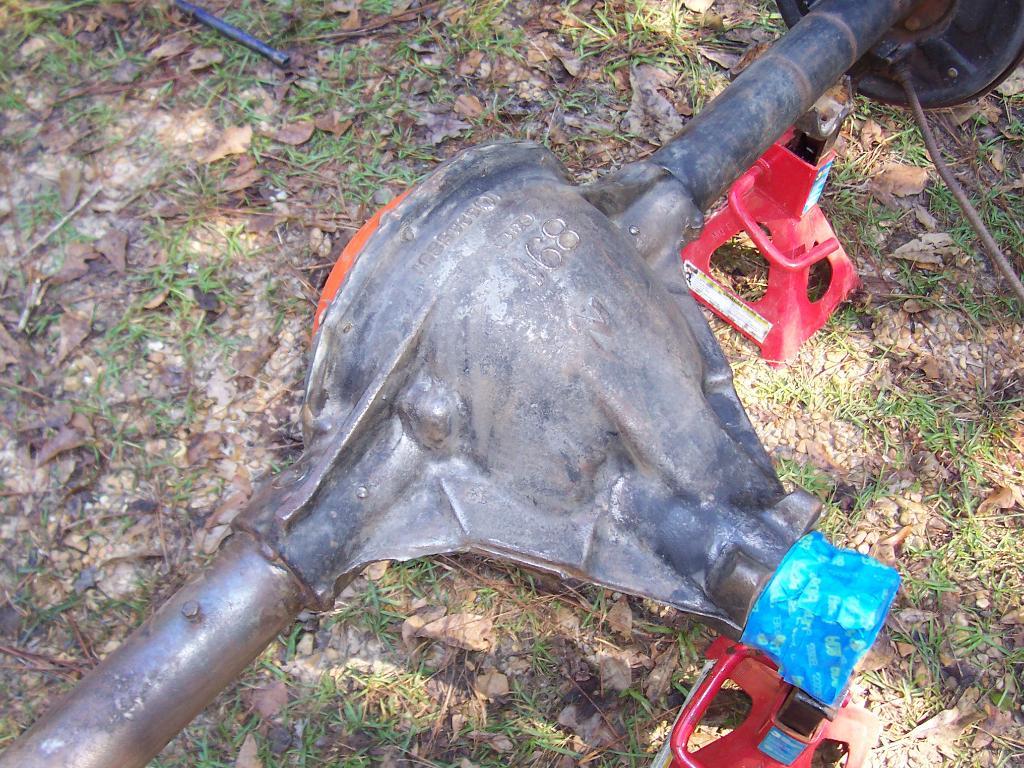
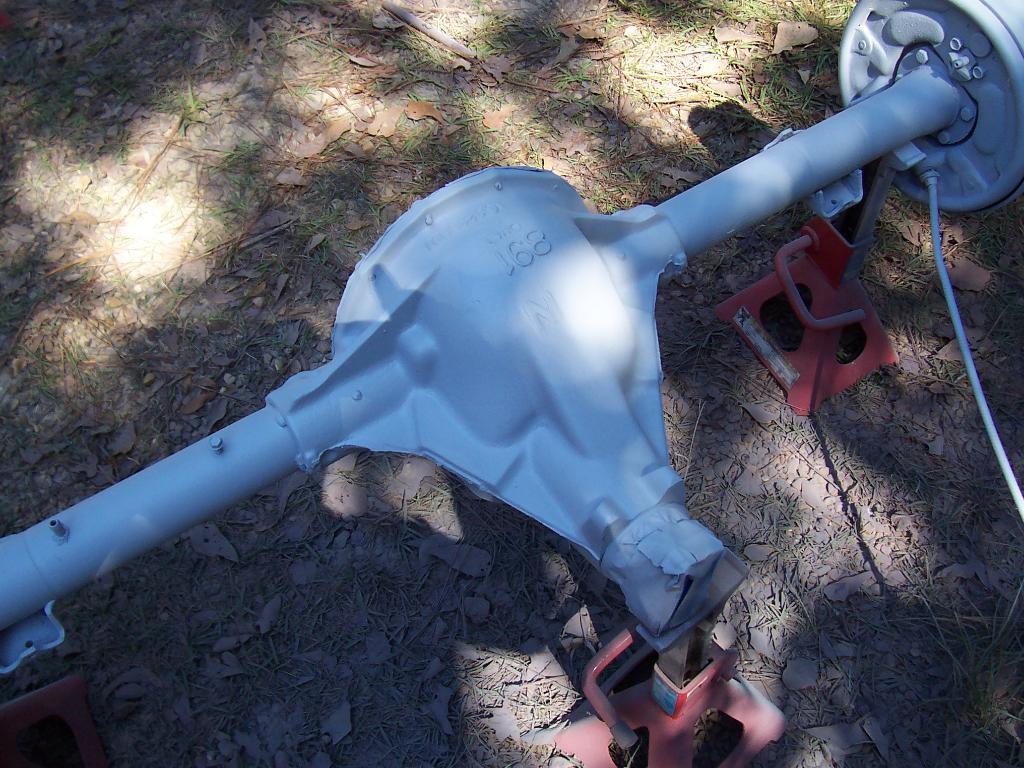
A few more bare axle pictures.

0186-1.jpg


0196-1.jpg


0205-1.jpg


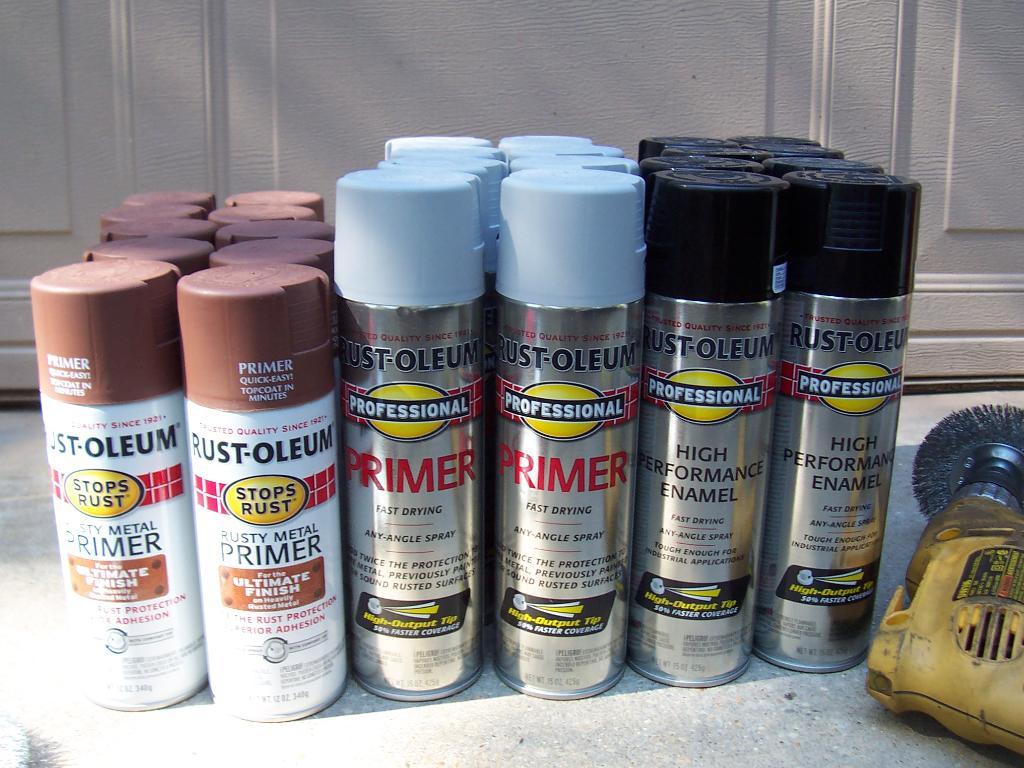
Quick picture of the paint I used.

0223-1.jpg


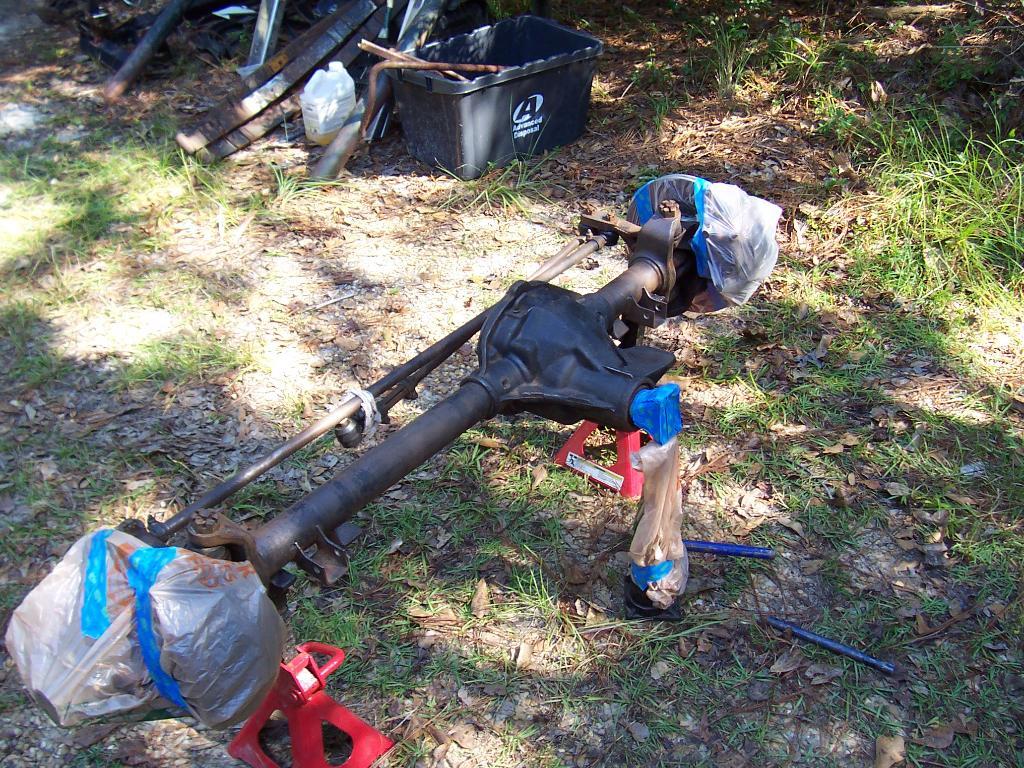
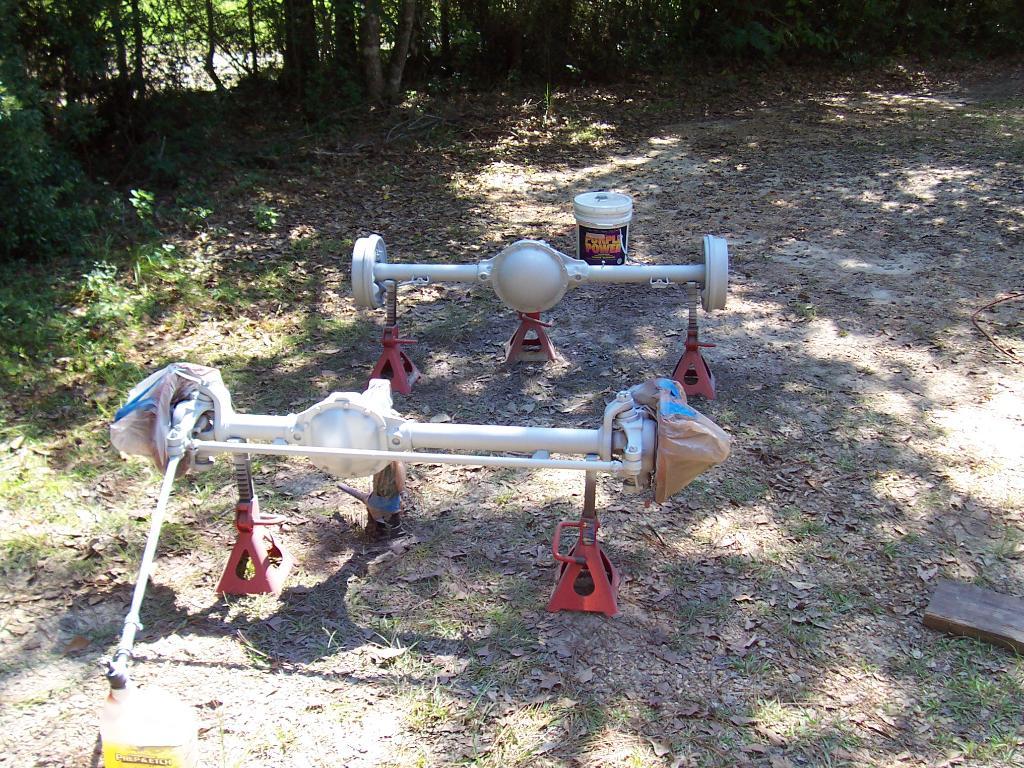
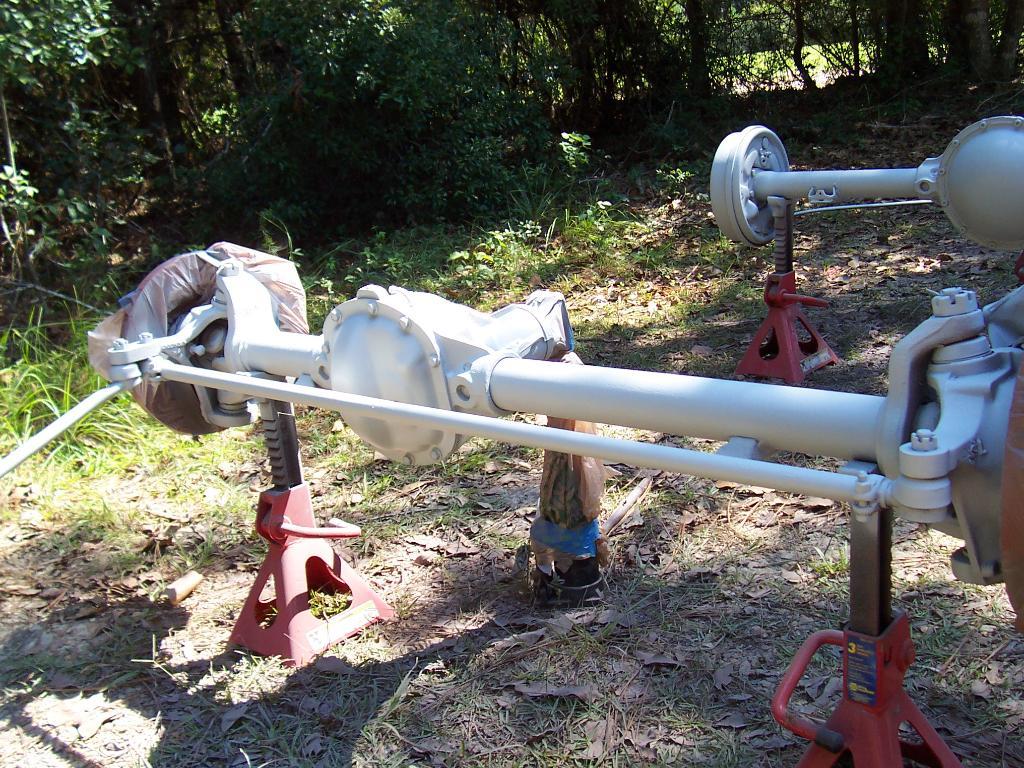
And a few picture of the axles in the first primer coat.

0232-1.jpg


0242-1.jpg


0252-1.jpg


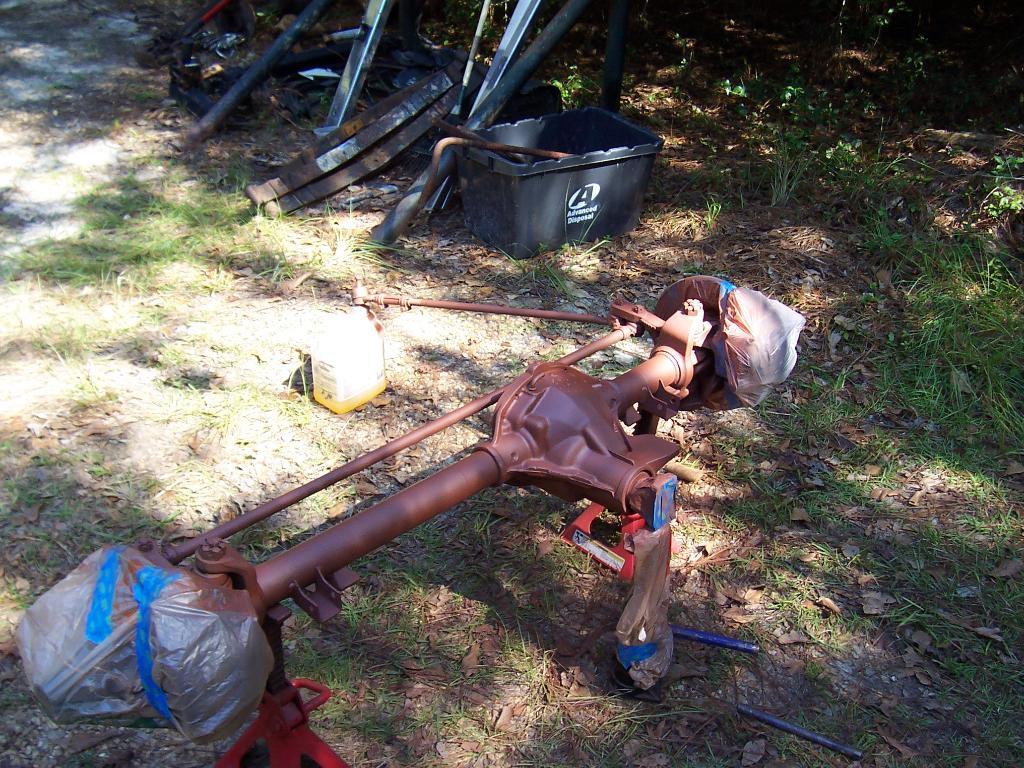
And with the second primer coat.

0262-1.jpg


0272-1.jpg


0282-1.jpg
 
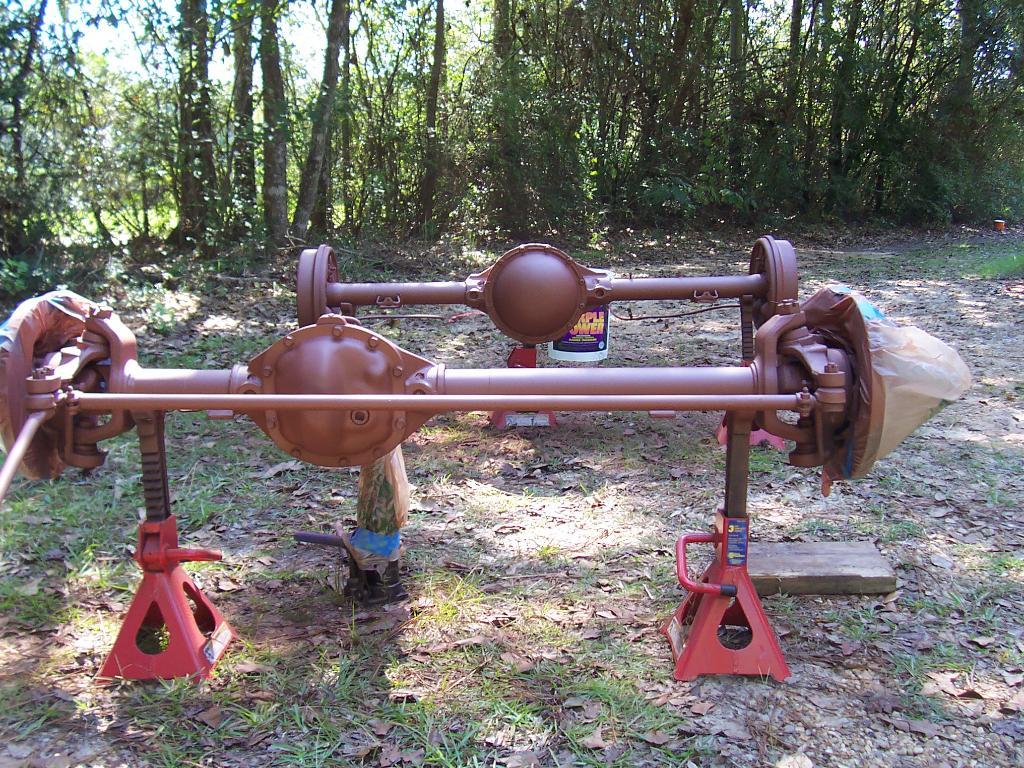
And finally, the painted axles. I think they came out pretty good.

0292-1.jpg


0302-1.jpg


0312-1.jpg


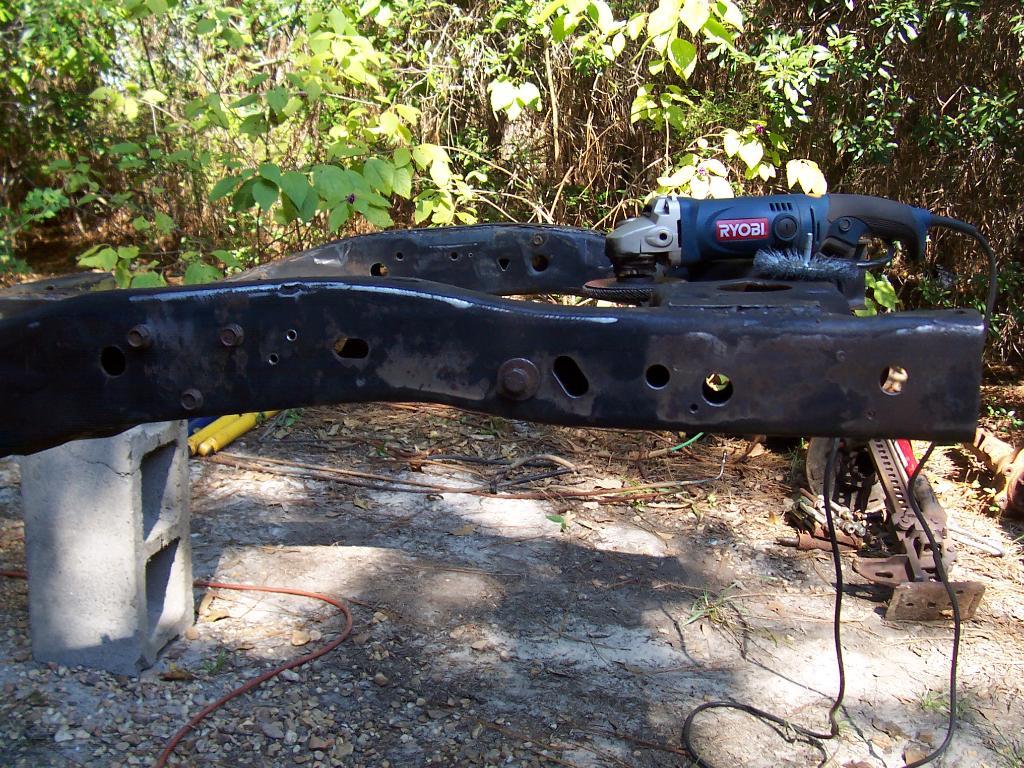
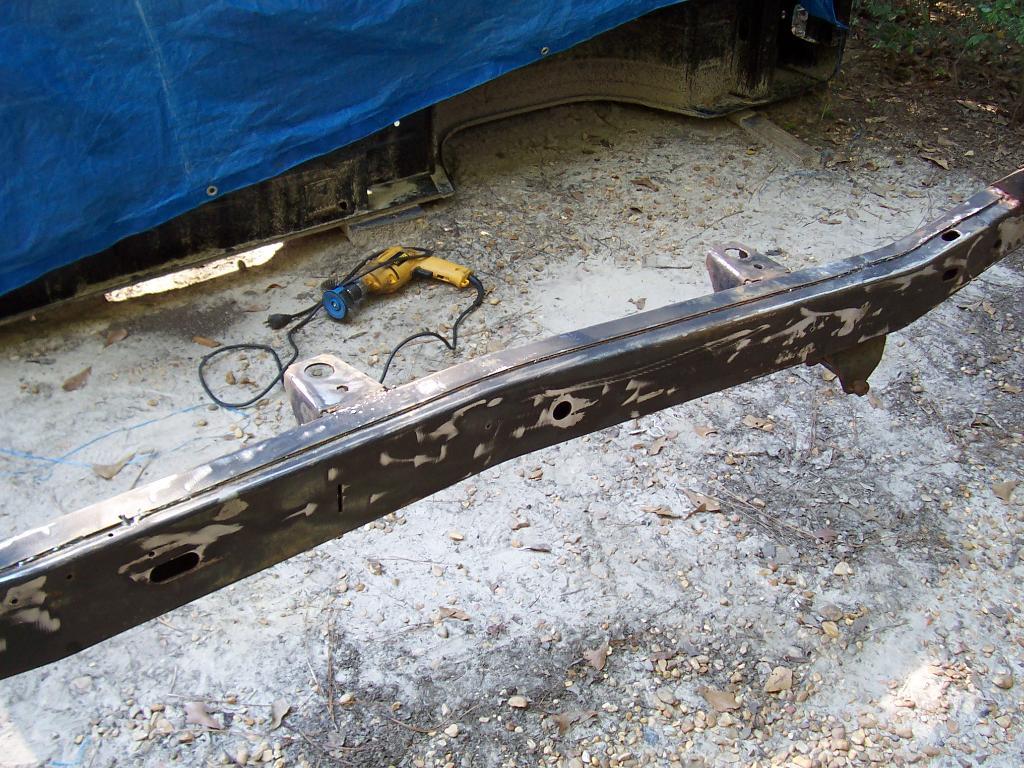
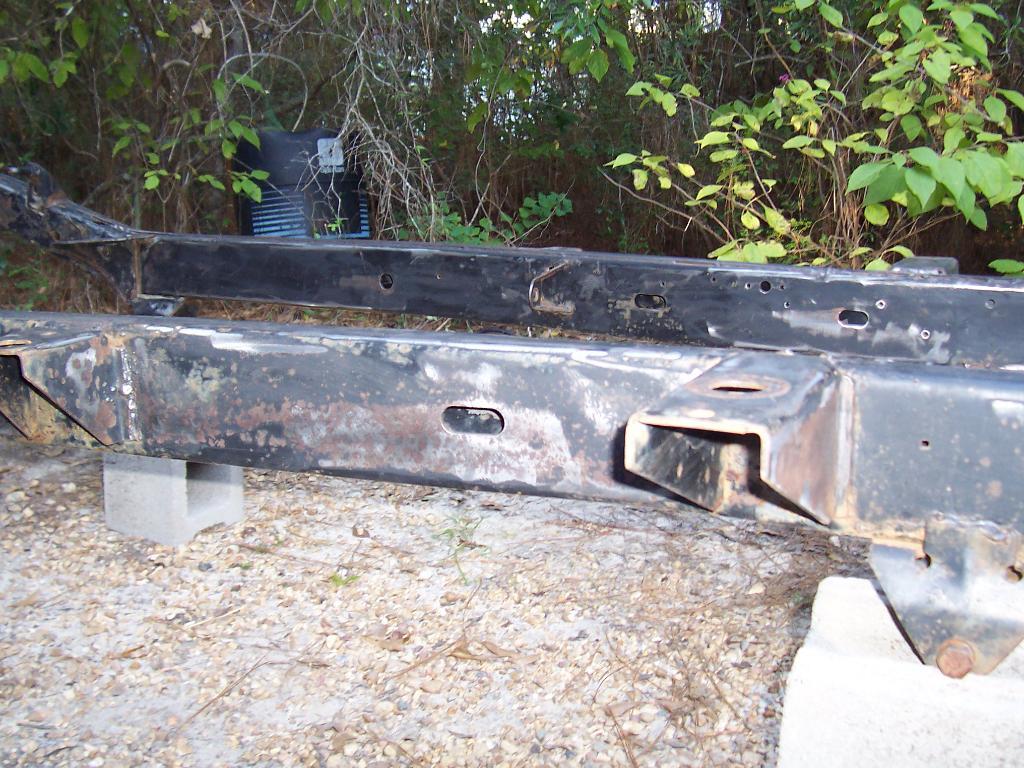
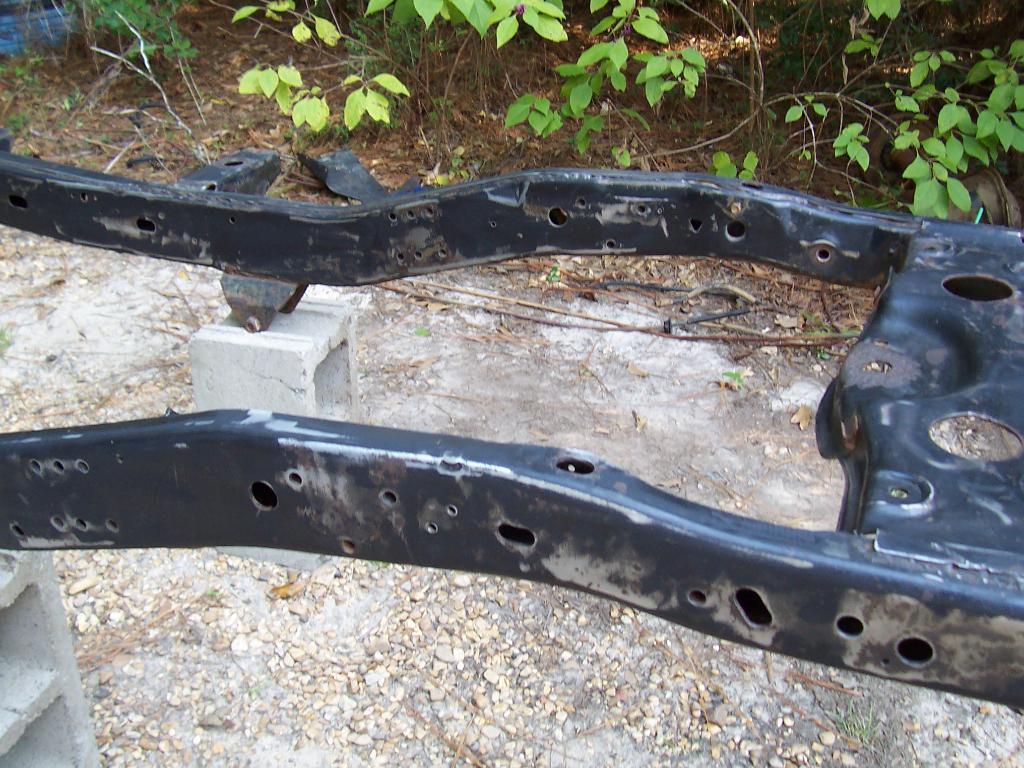
The next batch of picture show the frame. Besides the rear cross member which I cut off, the frame is in excellent shape. I removed all the surface rust and sanded the remaining factory paint. The prep work on the frame took close to 10 hours, it was a PIA.

0341-1.jpg


0351-1.jpg


0361-1.jpg


0371-1.jpg


0391-1.jpg


0381-1.jpg
 
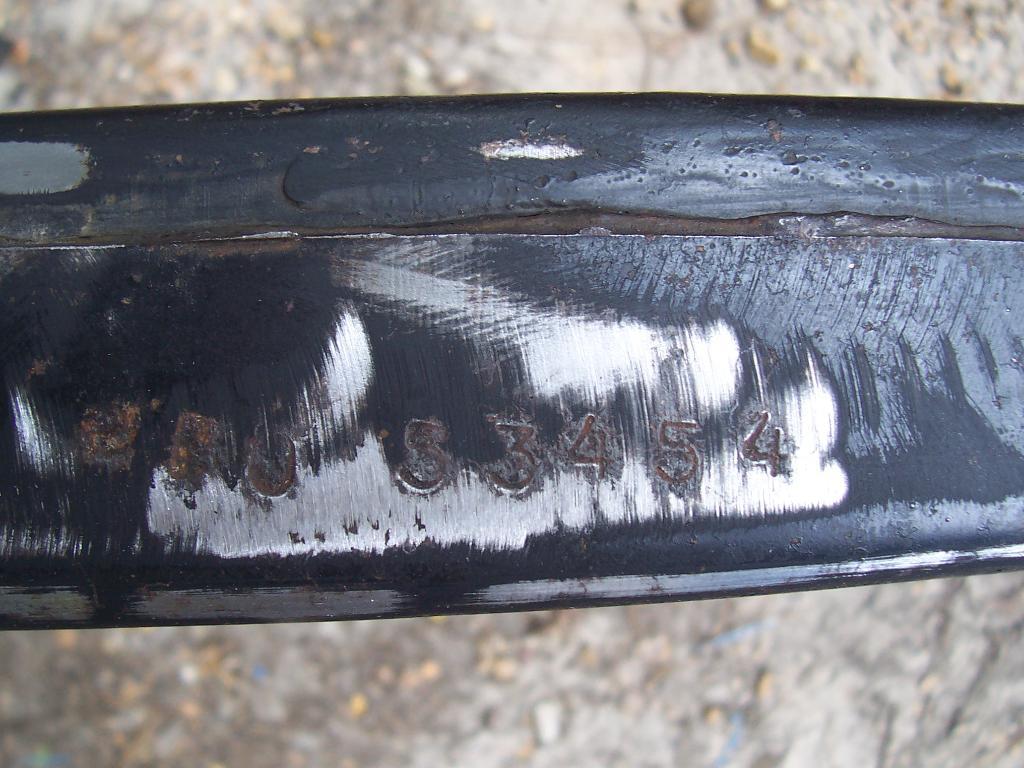
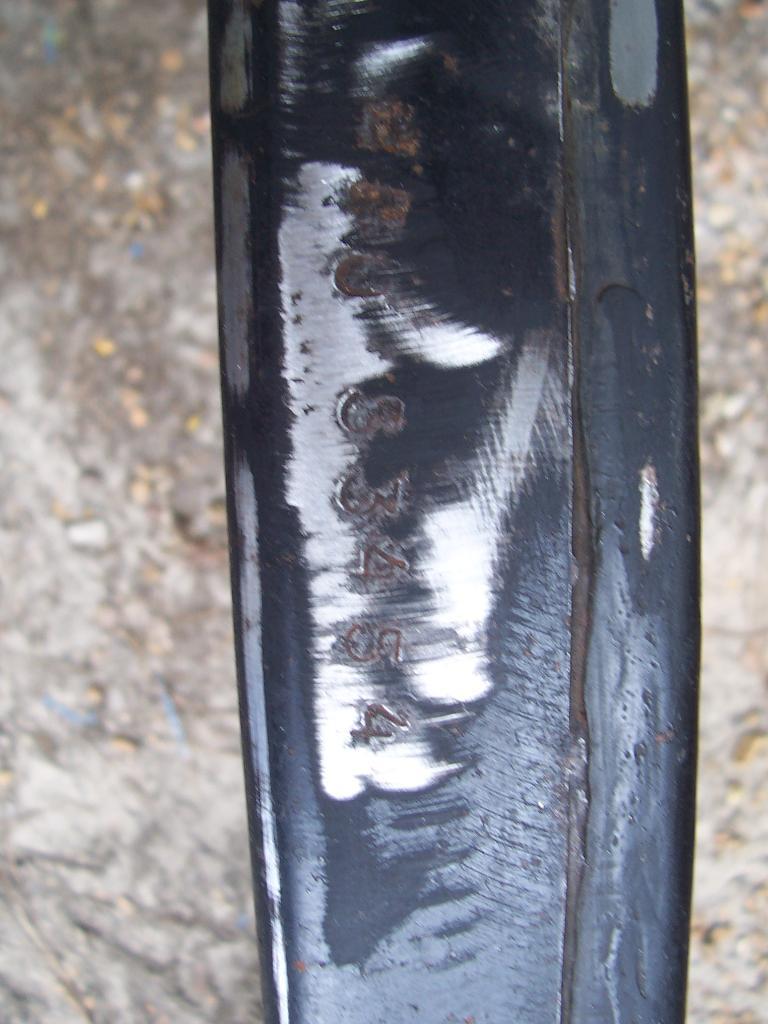
And the last of the frame prep pictures, and a picture of the serial number on the frame.

0522-1.jpg


0532-1.jpg


0542-1.jpg


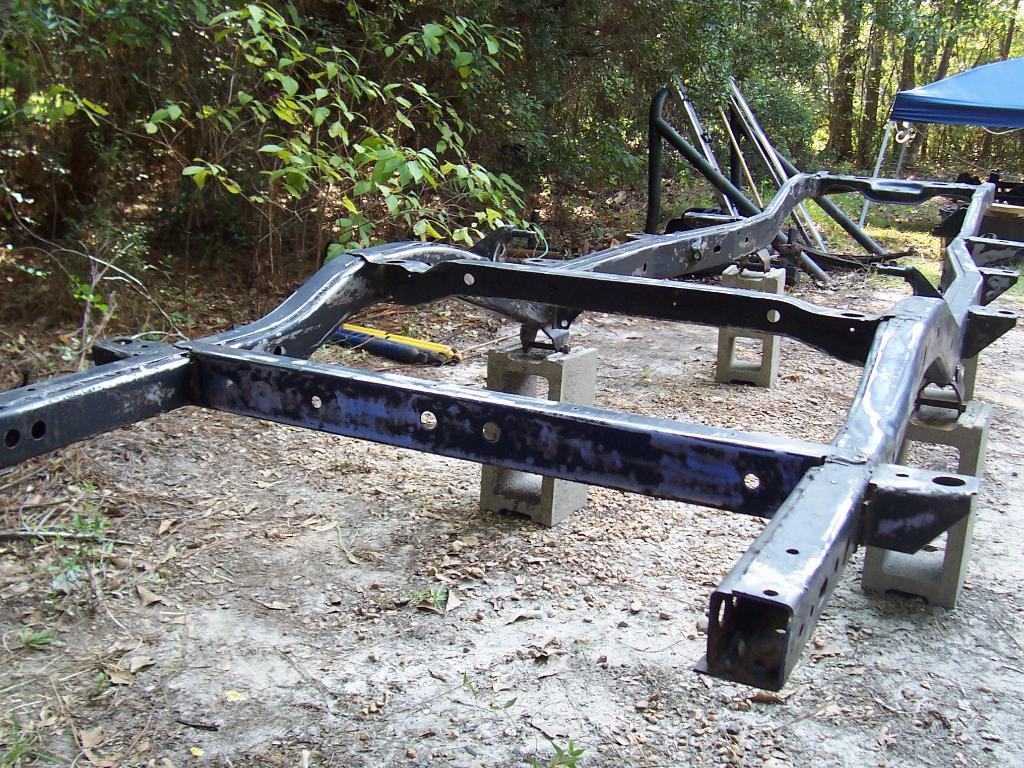
All in all, this frame is in great shape. Hopefully my rattle can paint job will help preserve it.


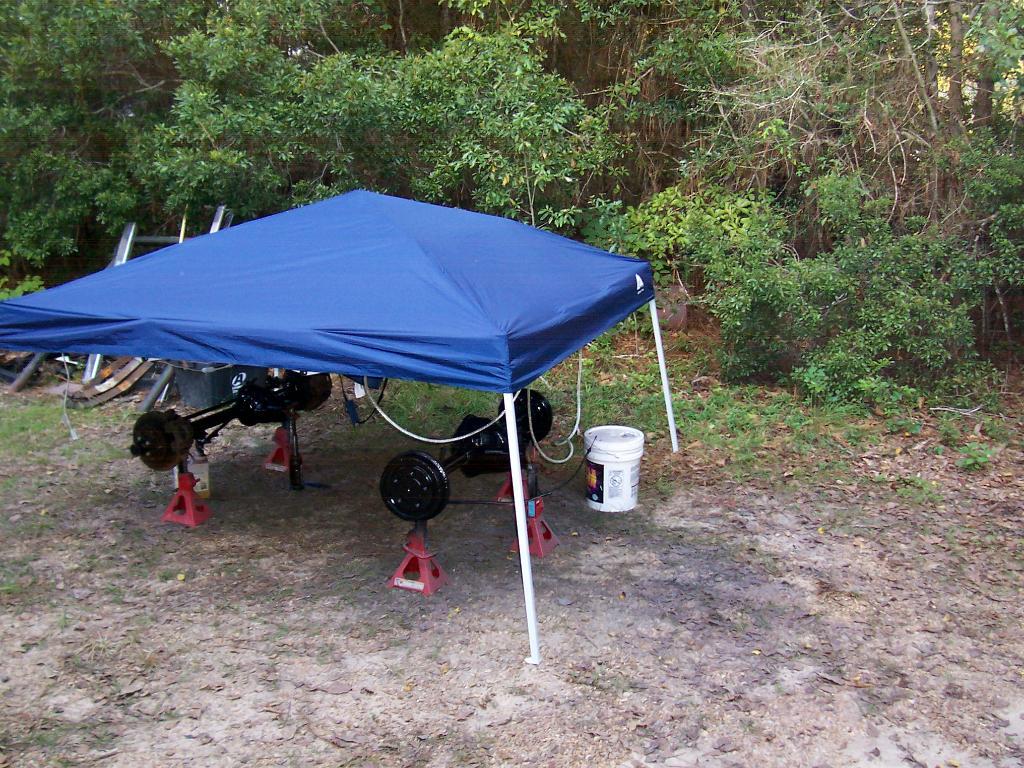
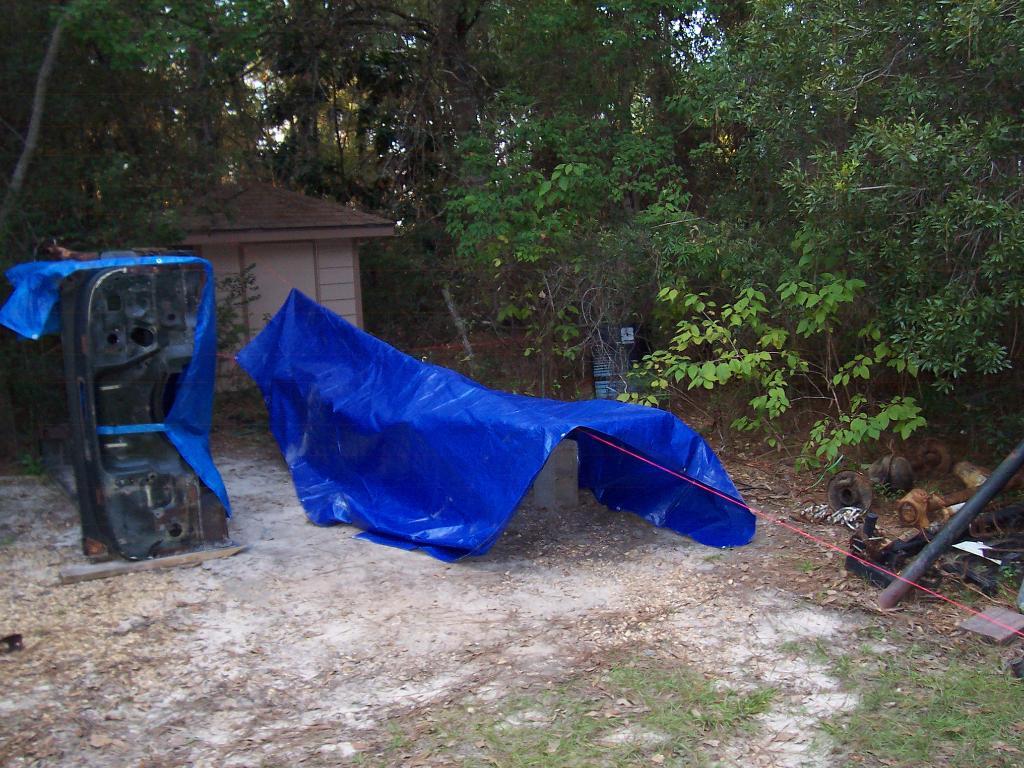
Two quick picture of my paint protection booths. Since rattle can paint take longer to cure/harden, I need to protect the painted surfaces from the morning dew.

0472-1.jpg


0482-1.jpg


Pictures of the frame in the first primer coat.

0552-1.jpg


0561-1.jpg


0571-1.jpg


0581-1.jpg


0591-1.jpg
 
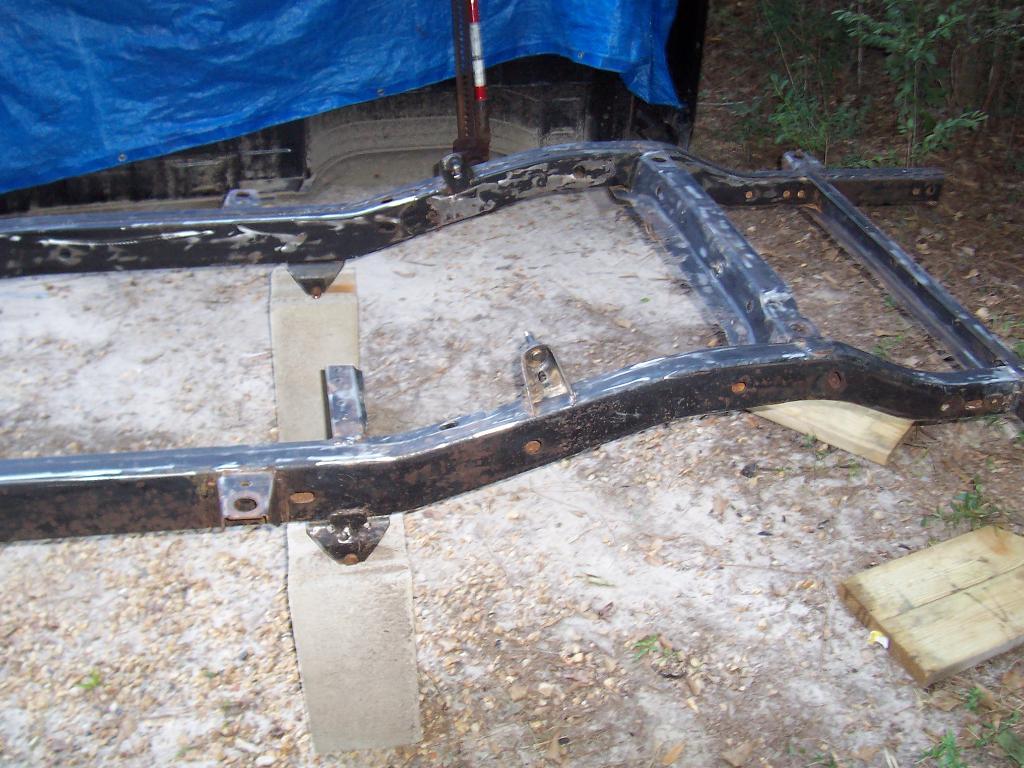
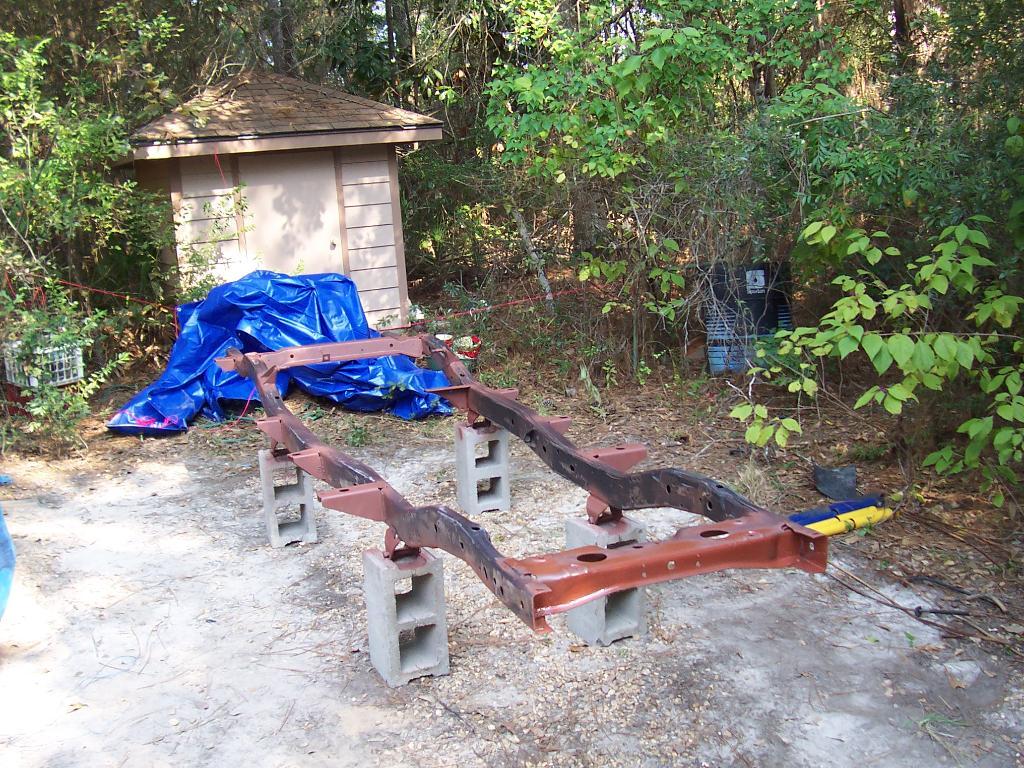
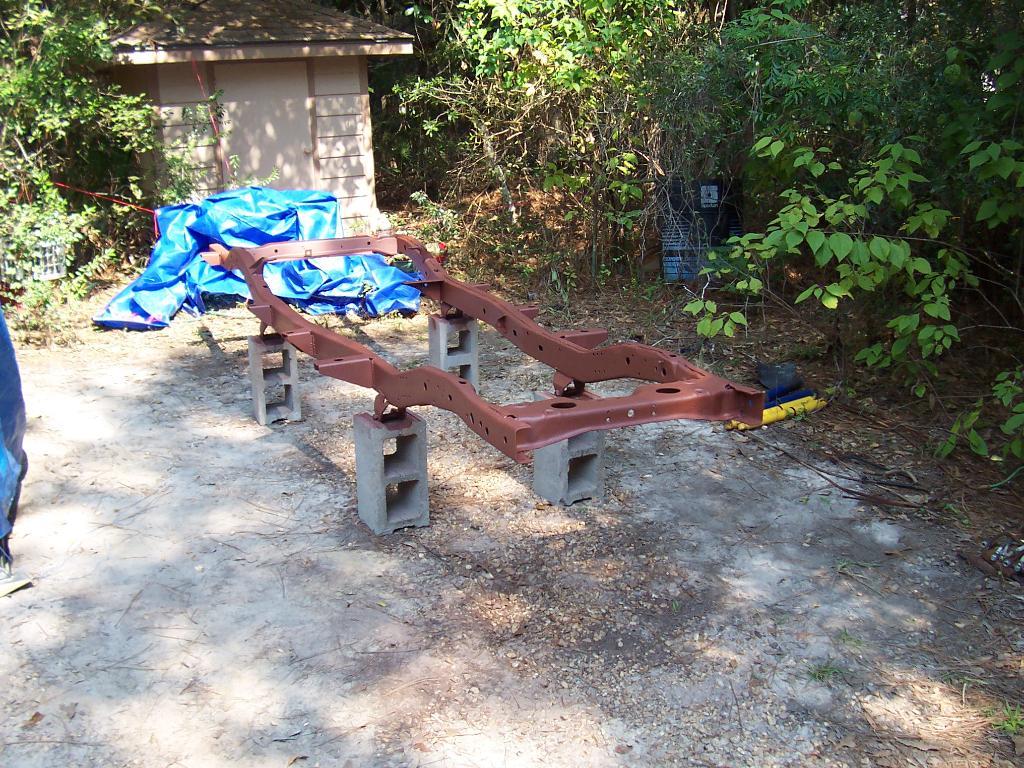
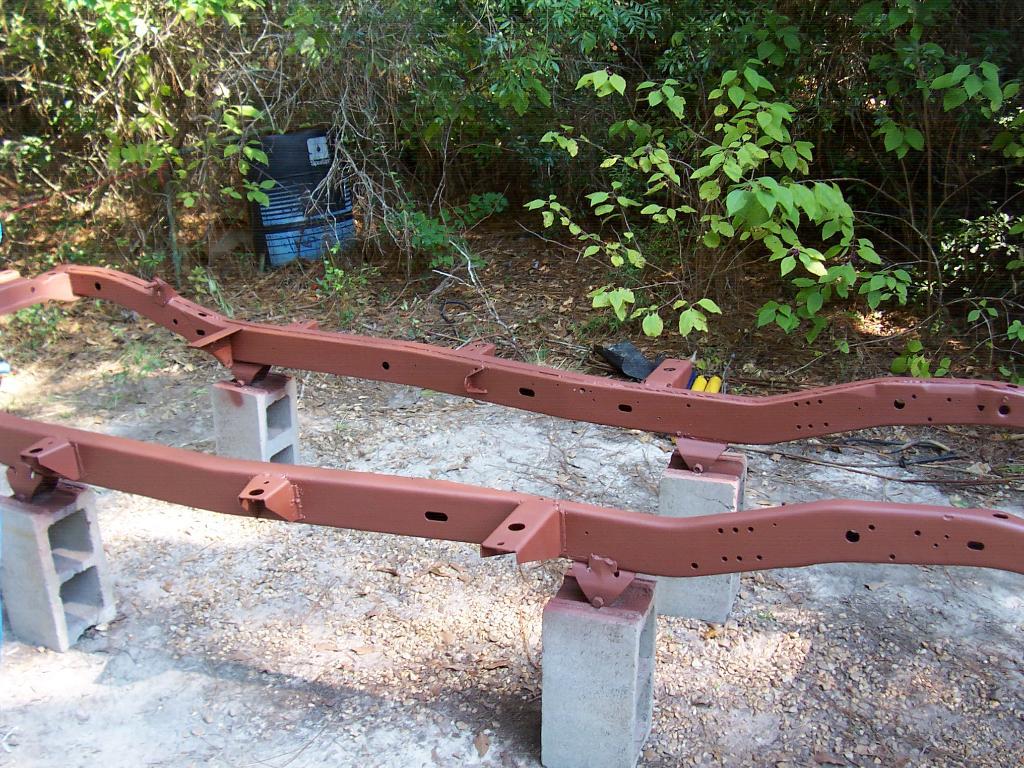
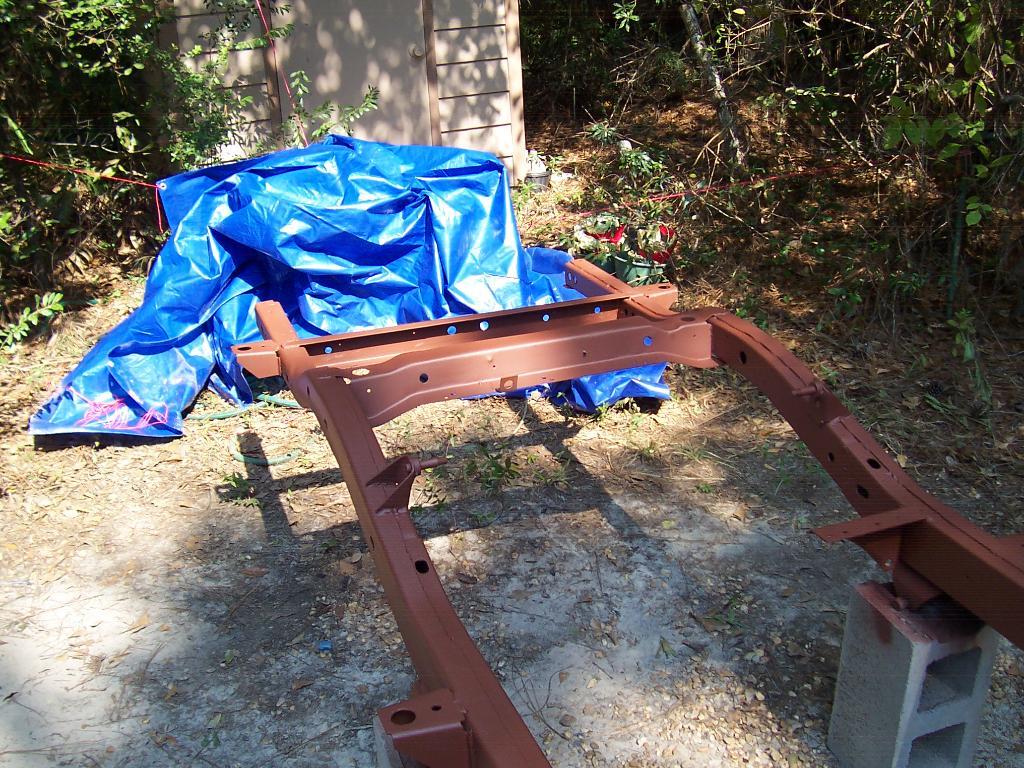
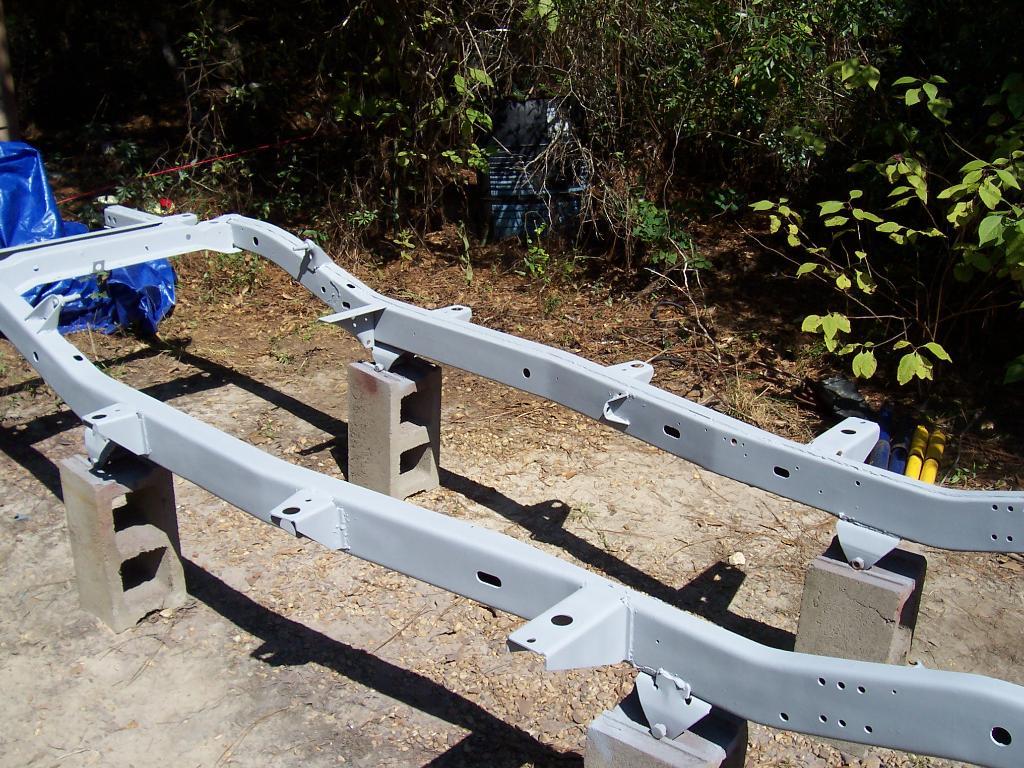
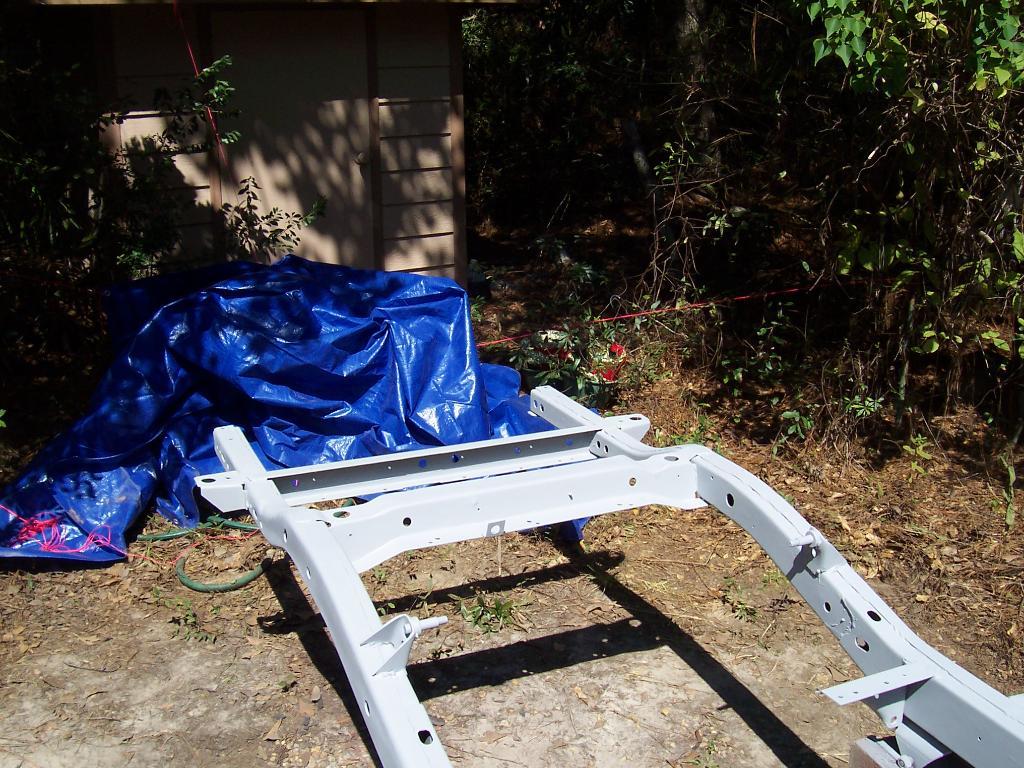
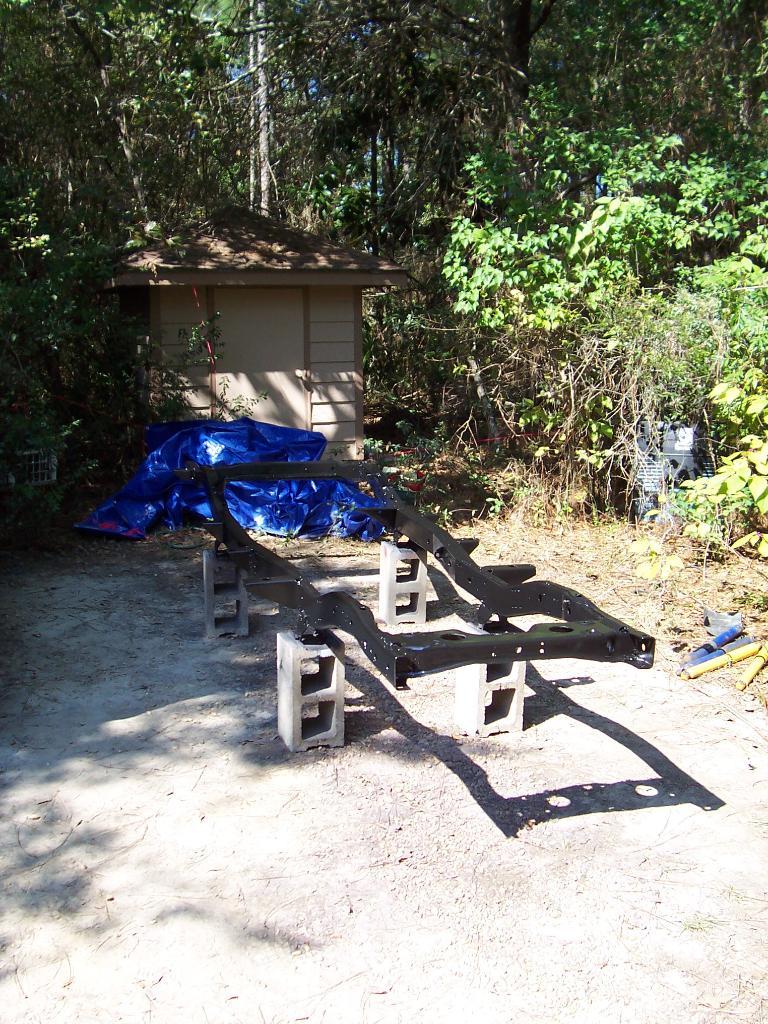
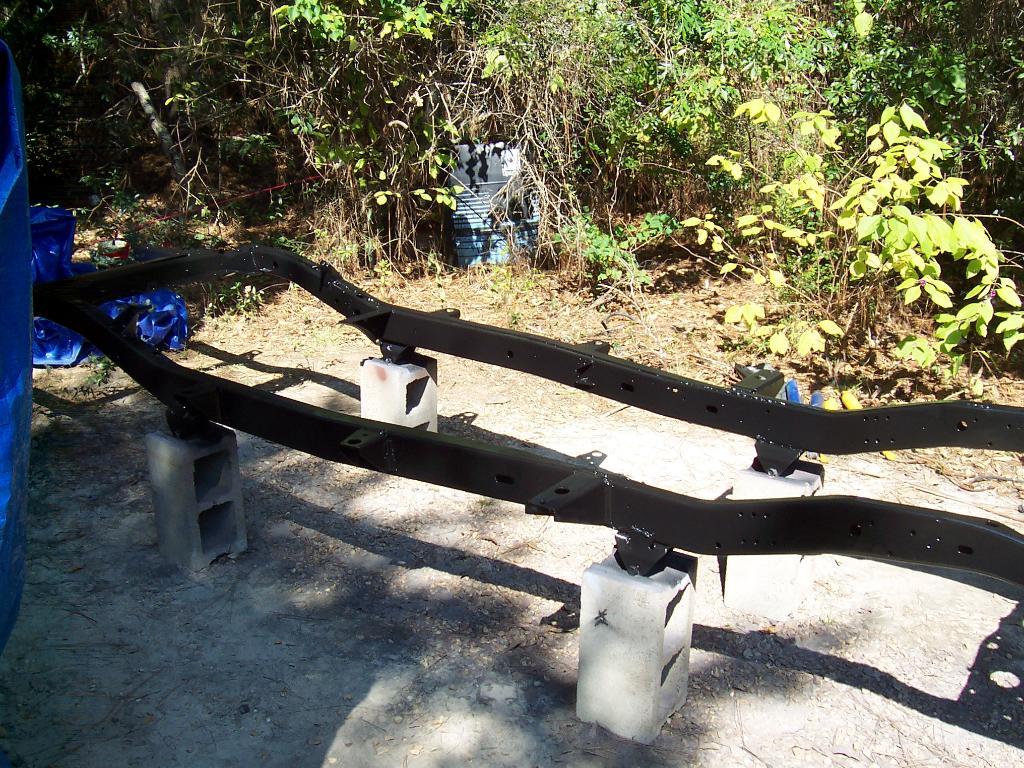
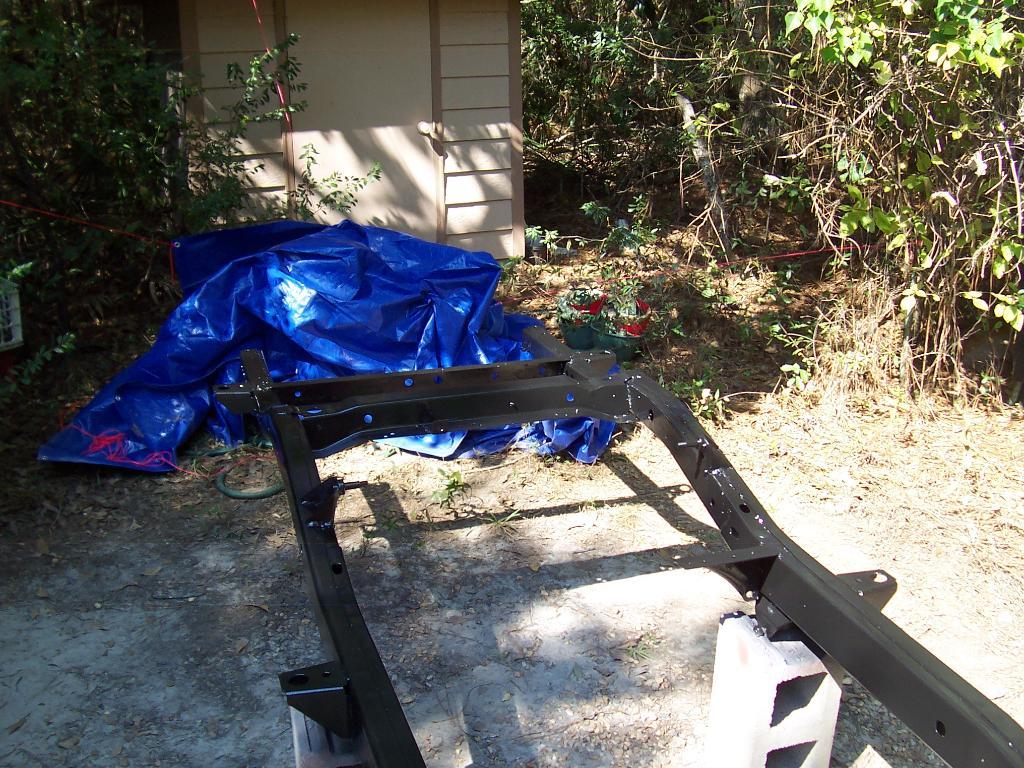
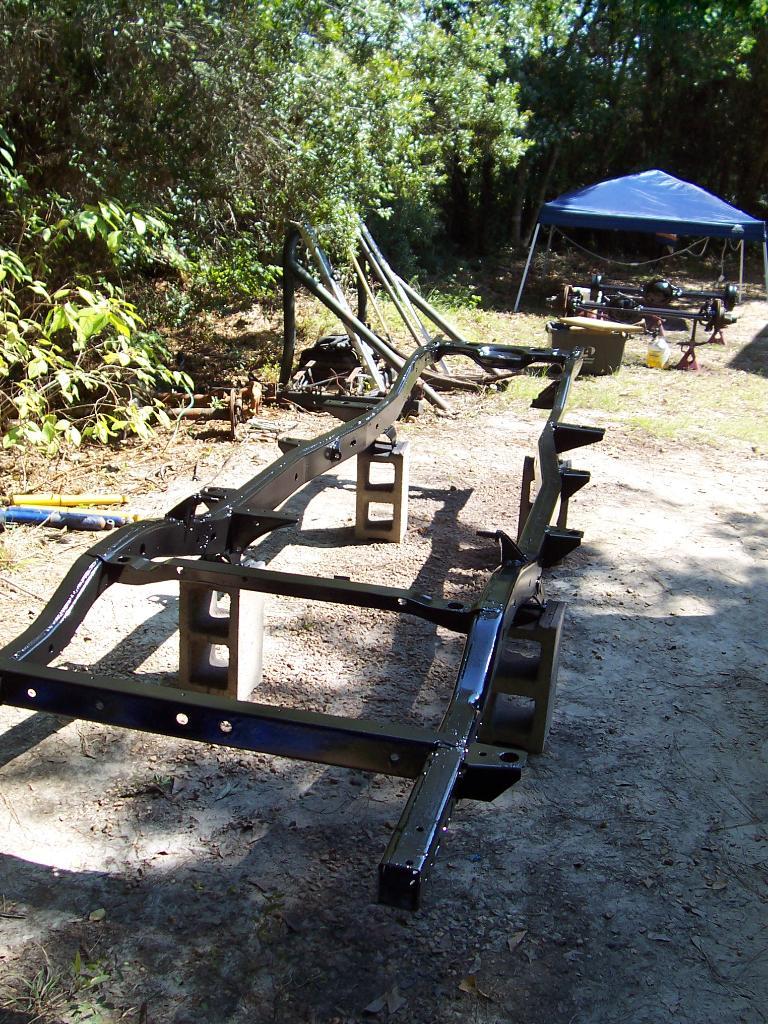
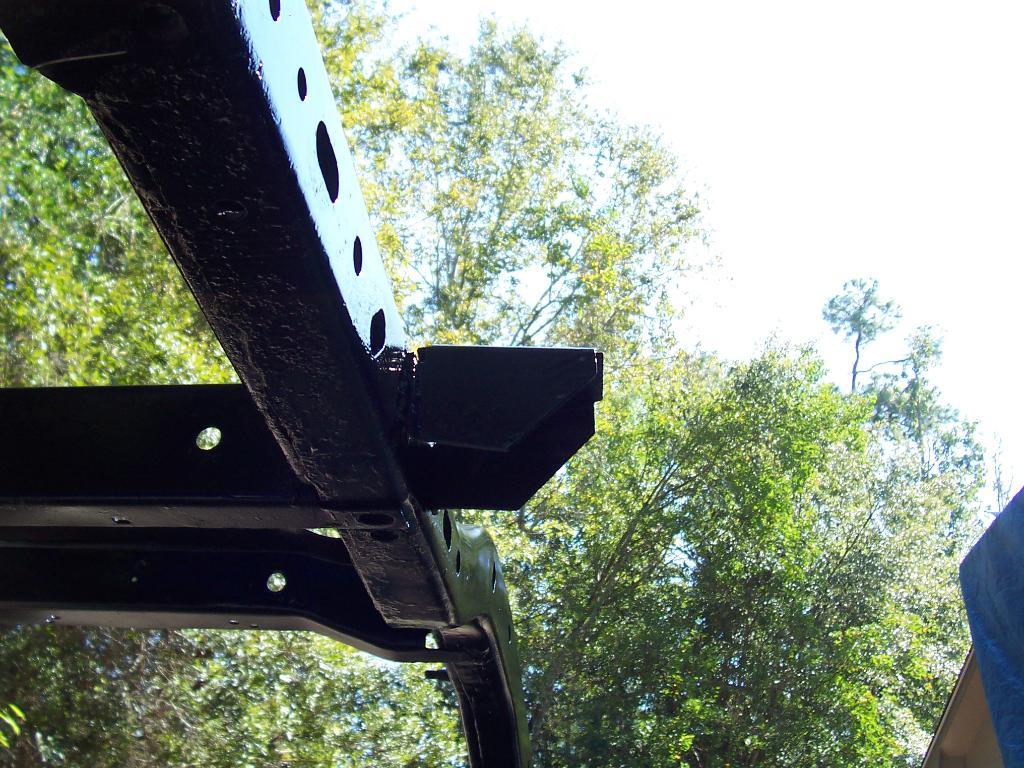
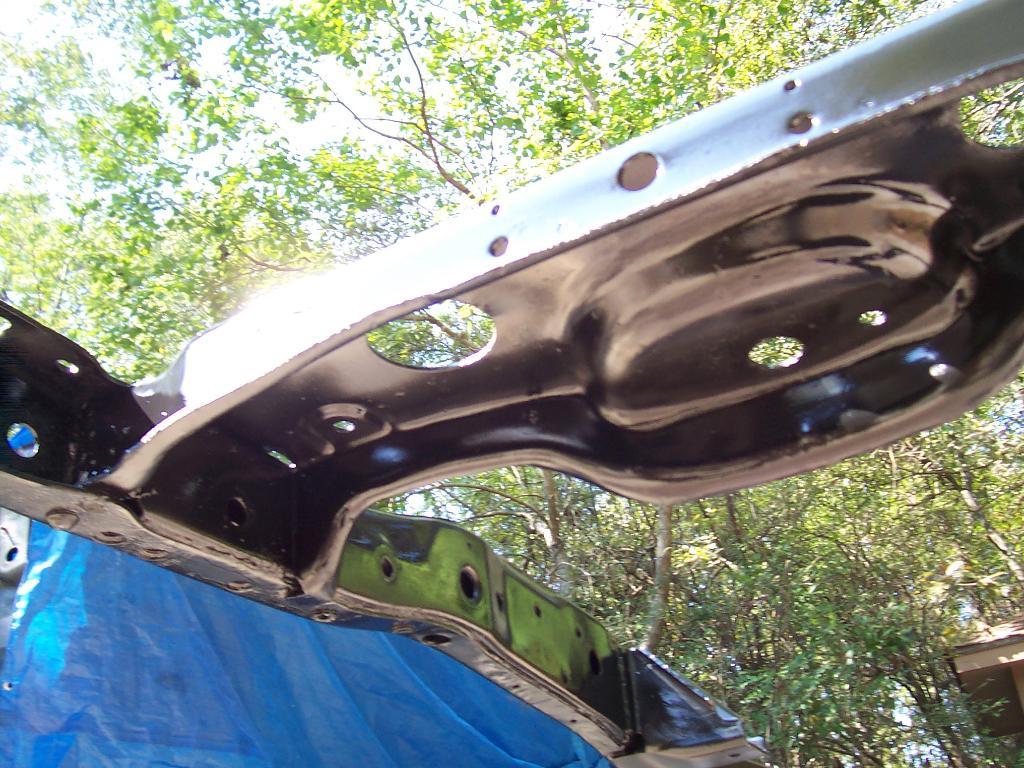
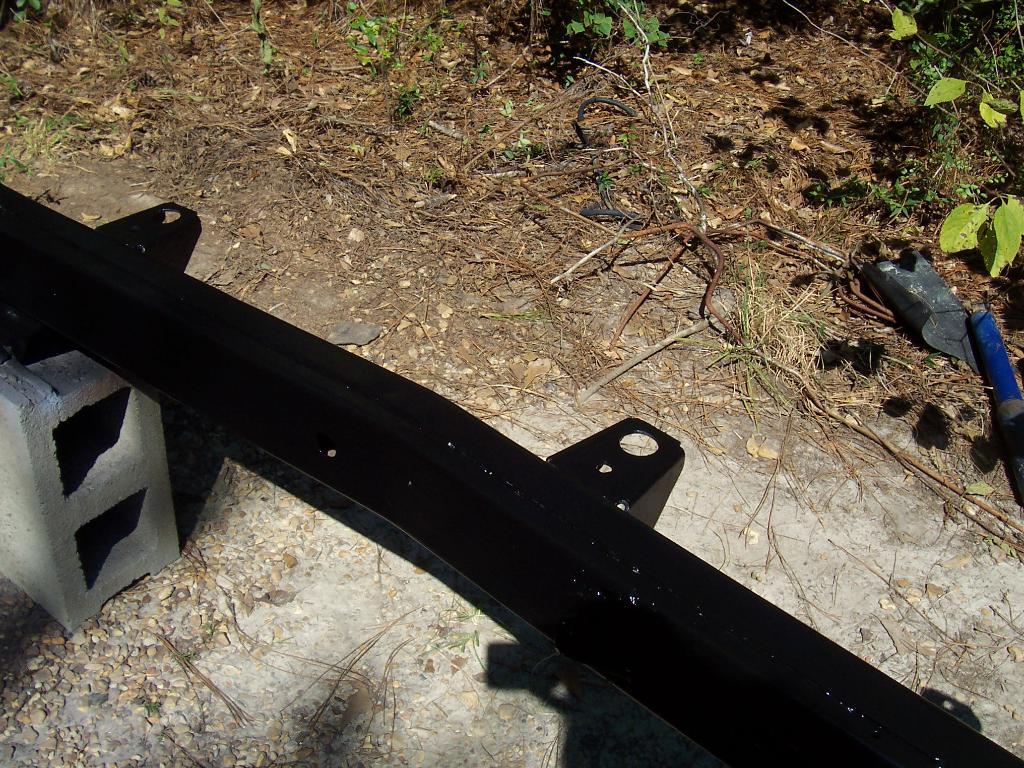
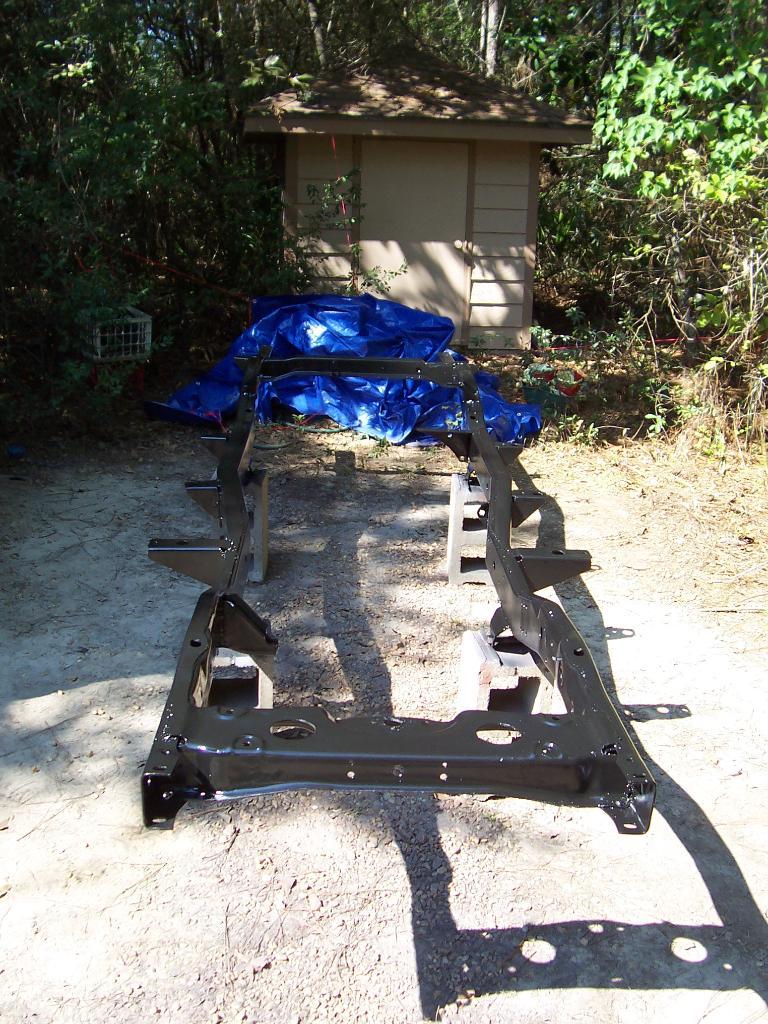
And finally, pictures of the finished frame.

00124-1.jpg


00225-1.jpg


00326-1.jpg


00423-1.jpg


00521-1.jpg


00620-1.jpg


00719-1.jpg


00818-1.jpg


This little undertaking took up almost the entire weekend, Friday 4pm until Sunday 2pm. But, it is now done and I think the finished product was well worth the effort. If I ever do this again I am going to have the frame higher off the ground. My legs/back are killing me from all the bending over/squatting down/laying down and getting back up. But, it is now finished and I made it to the Saints game in time, so mission accomplished!!

Up next, time to prep and paint all the annoying pieces that attach to the frame - damn OCD anal retentiveness strikes again.

That's it for now.
 
With that OCD, isn't that paint on the cinderblocks and jack stands going to be a problem?

Nice work.
 
Wow Raymond, those pics make me ache all over realizing you're doing all this by hand.:eek: Ever considered getting a sand/media blaster? Hell, even your jack stands look better than my frame! Looks great though. Nice job.
 
Last edited:
All your hard work shows again Raymond. Very nice job. :bow: :thumbsup:

John.....He's got enough to do without cleaning the stands and blocks, just look at all that dirty sand. It'll take him the rest of the week to get it to look like Michigan Sand! :headbang: :rotfl: :wave:
 
With that OCD, isn't that paint on the cinderblocks and jack stands going to be a problem?

Nice work.

It is going to be a bigger PITA to sand the concrete blocks nice and smooth to prepare them for paint:eek:

Appreciate it:cheers:

Wow Raymond, those pics make me ache all over realizing you're doing all this by hand.:eek: Ever considered getting a sand/media blaster? Looks great though. Nice job.

Appreciate it!!

A sand/media blaster would be great, but I don't plan on doing this again anytime soon, but I think I said that the last time:crazy: We have a sand blaster rig at work, but I didn't feel like dragging the jeep down there to blast it. Since this is a budget build, I decided to do this work myself, by hand. If it was mine, or I do this again, paying the sand blaster for this work is well worth it. But, I needed the exercise, and it was nice weather outside, so it worked out.

All your hard work shows again Raymond. Very nice job. :bow: :thumbsup:

John.....He's got enough to do without cleaning the stands and blocks, just look at all that dirty sand. It'll take him the rest of the week to get it to look like Michigan Sand! :headbang: :rotfl: :wave:

Appreciate it Toby !!

That "dirty sand" that is showing used to have gravel on top. Kind of gives you an idea of how much time/how many times I walked around this thing!! That gravel is hard on the knees, too, that nice soft Michigan sand would have been great:thumbsup:
 
Wow!! I'm going to start taking the tan 84 apart to help you out on that one...
 
Easy. You have a great track record for getting and dismantling Scramblers. It's the assembly thing that you need to "help out" on. :rotfl:

Agreed! The only reason Spanks' tan 84 is still in one piece is because it's stored elsewhere. Everytime I go to the storage facility I get some blood flow thinking about striping her down. Then I remember I can't use her as a hostage for "Yard Scrambler" if she's missing a bunch of parts.:D
 
Back
Top